


M Beauchamp
Well-known member
- Joined
- Aug 15, 2011
- Messages
- 392
- Reaction score
- 5
- Location
- Sarnia Ontario
- My Car
- 1973 light blue convertible
351c 2V
Hood hinges = Frustration
Trying to get my hood aligned properly to the fenders, fender to the doors, fenders to the aprons, has been the most frustrating task on the restoration so far.
1st attempt
I try what I though was a good tight set of hinges, but the hood walked all over the place and never returned to the same place twice, in addition it scraped the fender as the hood opened and closed
2nd attempt
I purchased new 1/2" bore rivets (1/8" over size), disassembled the hinges, re-drilled all the pivot points, re-pressed the rivets.
This got the slop of the ovaled out holes, but there was way to much slop
The hinges get out of sync and there was way to much side to side movement
Basically I ended up with the same results as the original hinges
3rd attempt
Knowing that if I couldn't get my hood to open and close smoothly with out scraping the fenders I wouldn't be able to move forward on the restoration project, so here is what I ordered from McMaster Carr to rebuild the hinges
1 91259A705 14 Each Alloy Steel Shoulder Screw, 1/2" Diameter X 3/8" Long Shoulder, 3/8"-16 Thread
2 98001A145 2 Packs Plain Steel Tab-base Weld Nut W/center Pilot, 3/8"-16 Thread Size
3 5906K535 28 Each Sae 841 Solid Bronze Thrust Bearing, For 1/2" Shaft Diameter, 1" Od, 3/32" Thick
I completely dismantled the hinges and replace all the pivots with shoulder bolts with bronze thrust washers on each side of the rotating part
All the holes are drilled out to 1/2" diameter
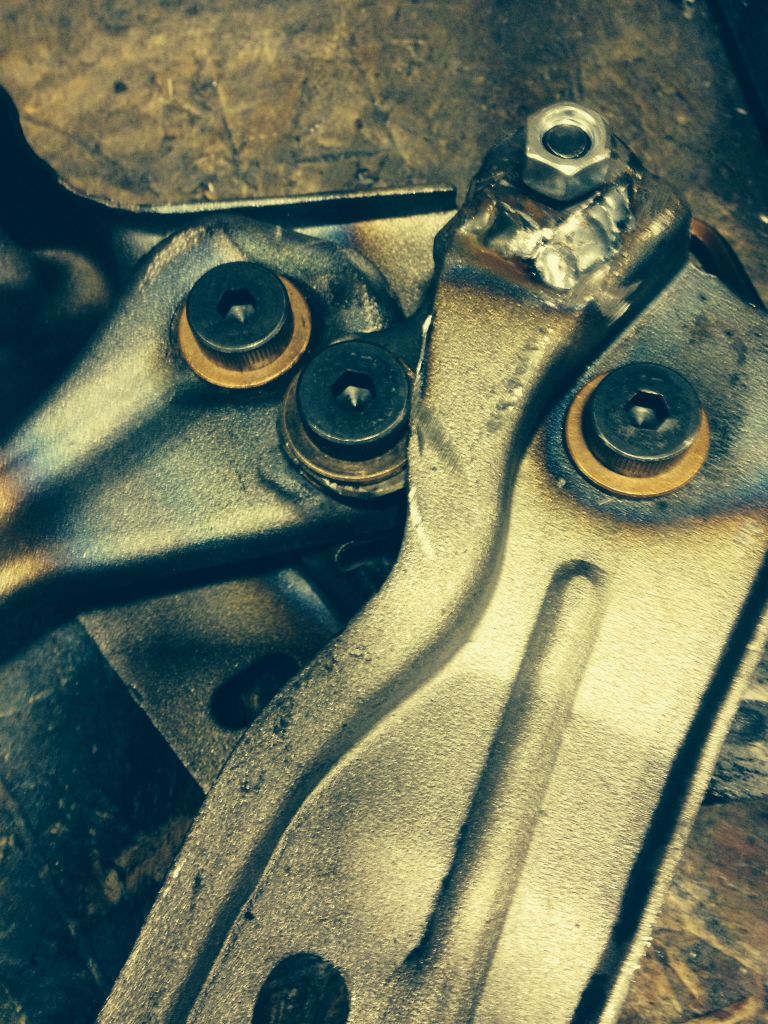
I have welded a welded nut to what I will call the fixed part
I used plain washers as spacers to hold the weld nut tight and keep the end of the shoulder slightly into the 1/2" hole so that every thing would center on the hole

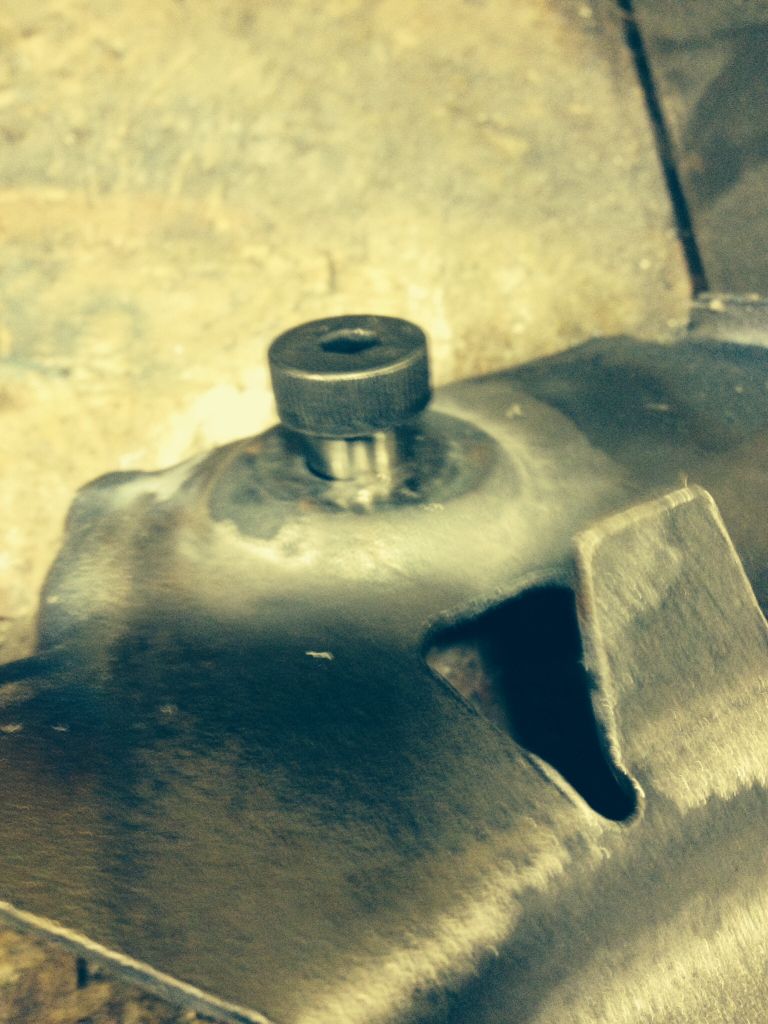
I wanted the bolt head to show as much as possible rather than the weld nut, here you can see the locations that I welded the weld nut to.
I kept the welded nuts to. The hood side
The front arm needs only one weld nut, but remember you will need a right and left hand
The back arm need one weld nut and also need the one edge flattened out to allow the hinge to close because of the bolt heads
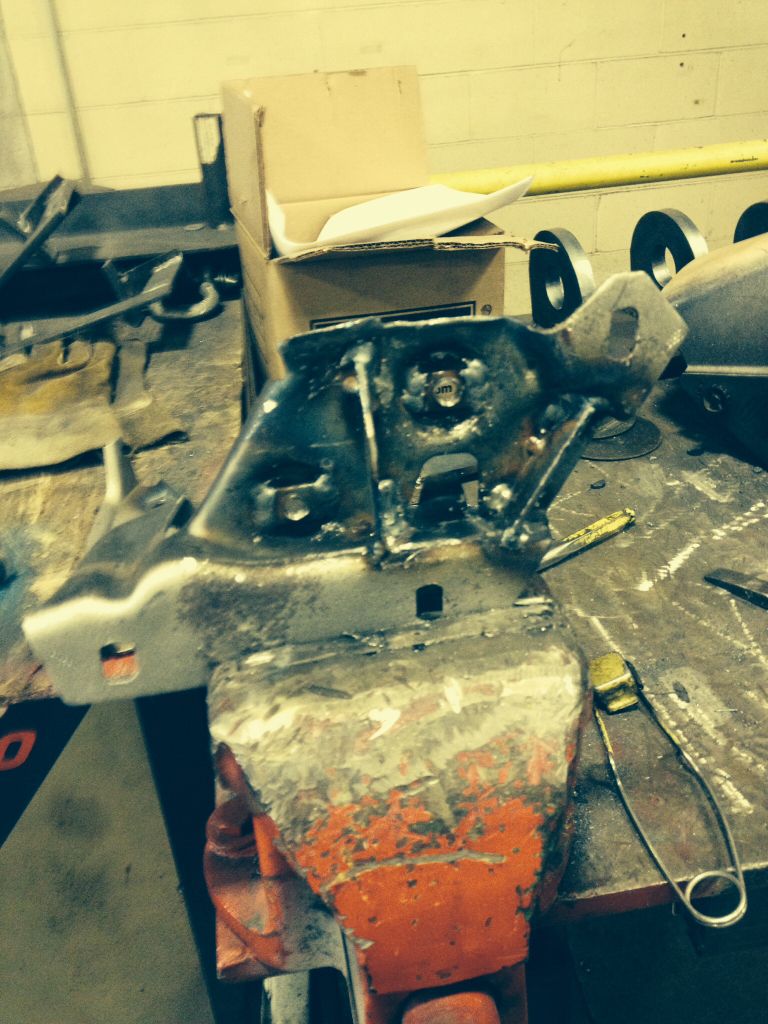
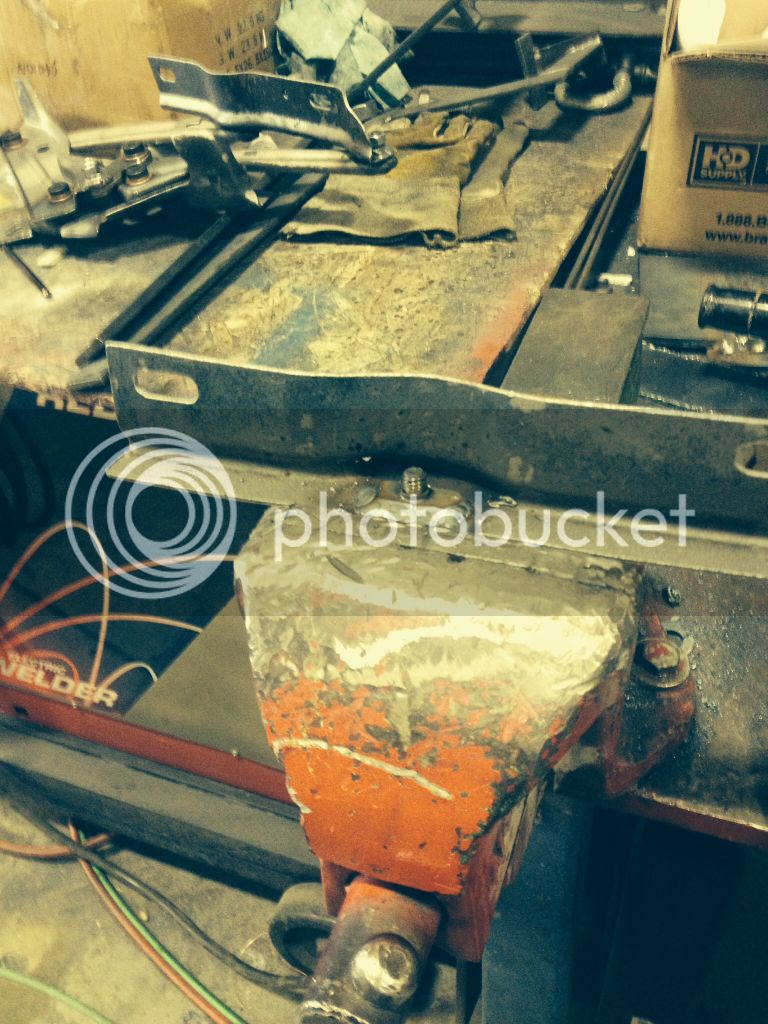
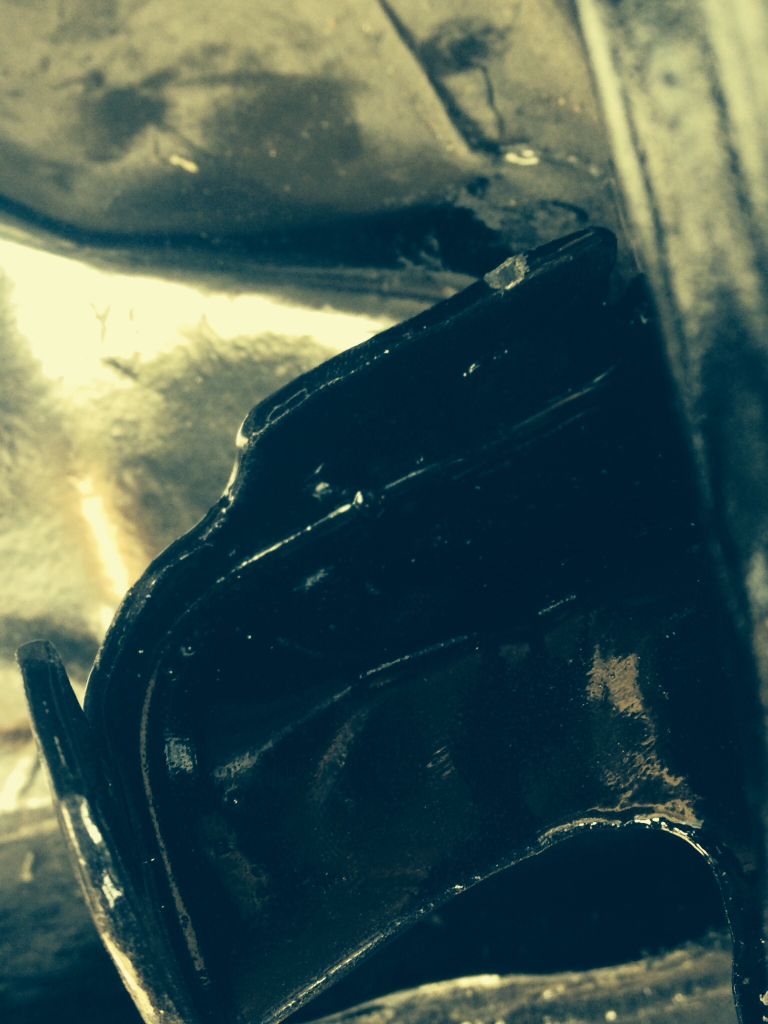
The main body needs two weld nuts, as well I added two stiffener plates to stop the side to side sway which you can see needed to be beveled to allow for the apron ribs
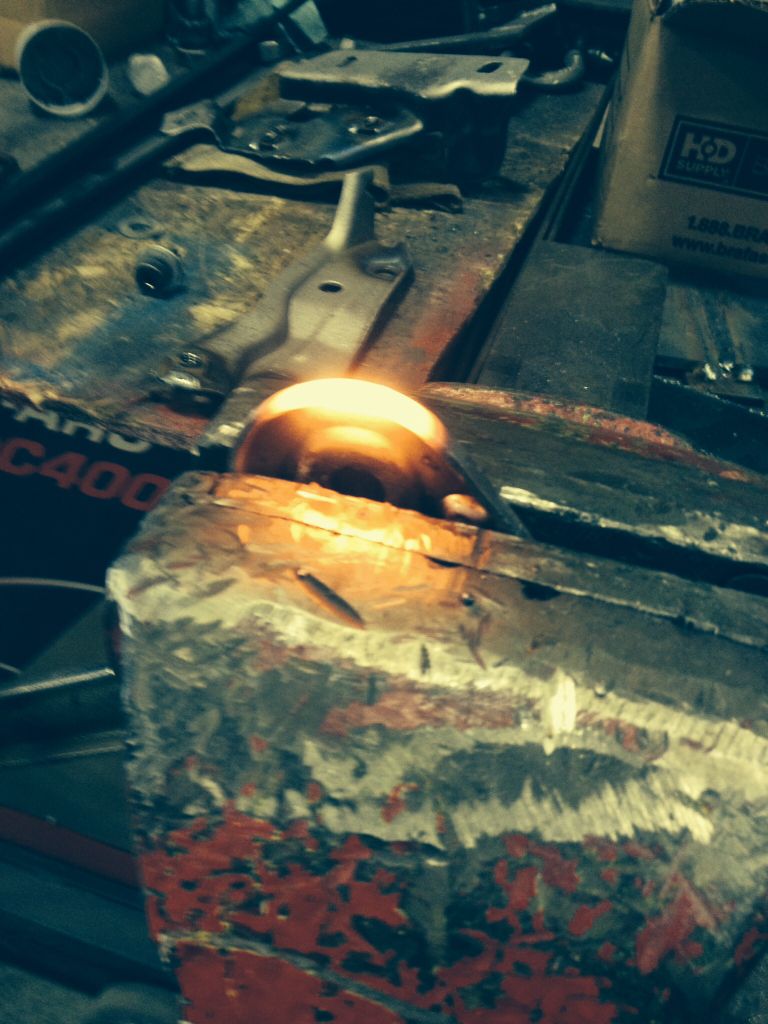
Heat the edge up
Hammer down then grind off the excess
The bottom arm needs one weld nut and one edge grinder down about 1/4" to allow the hinge to close properly and not hit a bolt head

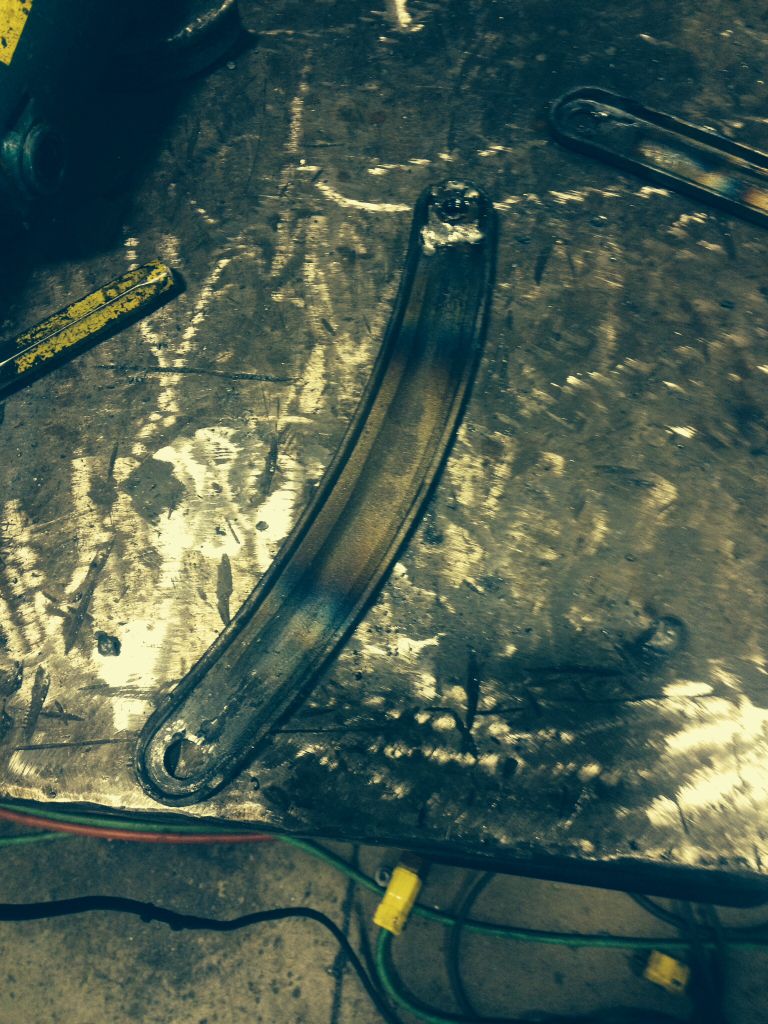
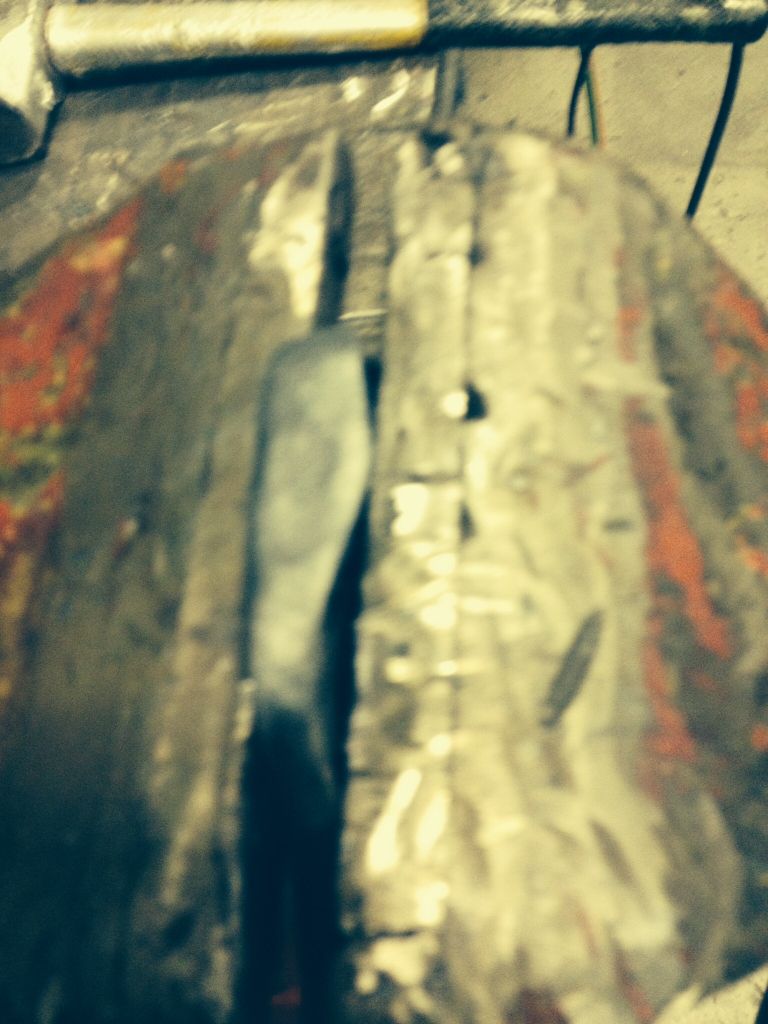
I scraped the light gage bent arm and replaced it with 1/4" x1" flat bar keeping the same hole to hole dimension and adding a scalloped area to miss hitting a bolt head
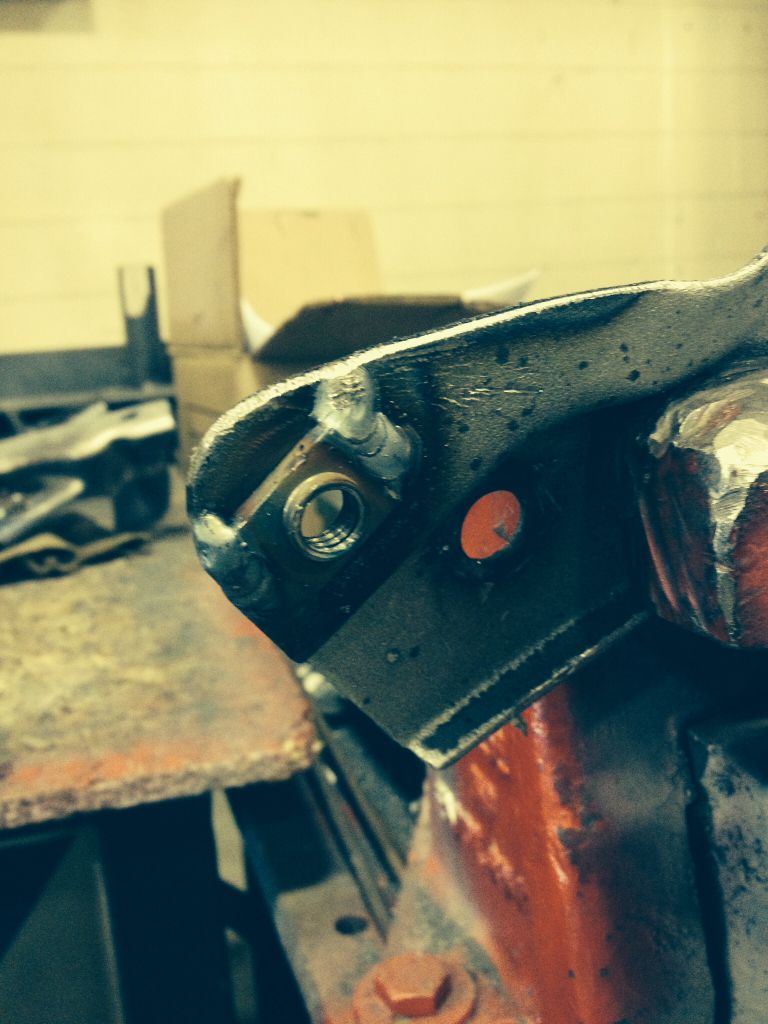
Here you can see how the pivot bolts up
I was using jamb nuts to test the assembly, but after wards I cut the excess thread flush with the weld nut and welded the end to keep it from backing out
I also added a tab so that the rear arm has a positive stop
This keeps the top rear of the hood at the exact height you set the hinges to every time
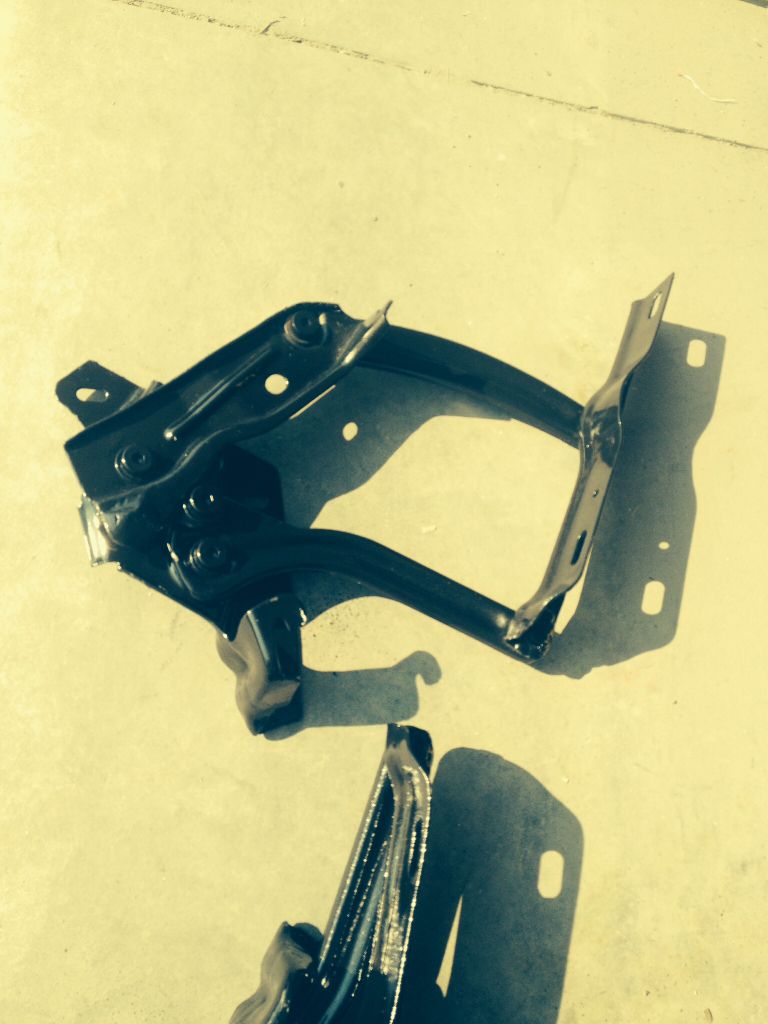
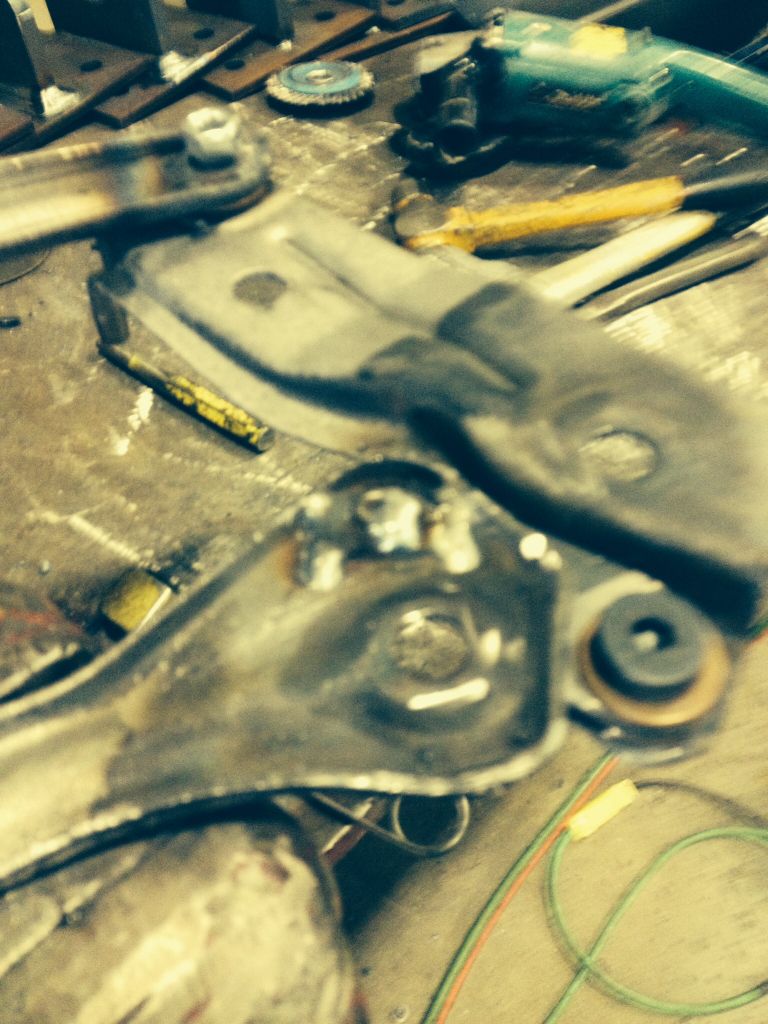
Here is one hinge in the open position
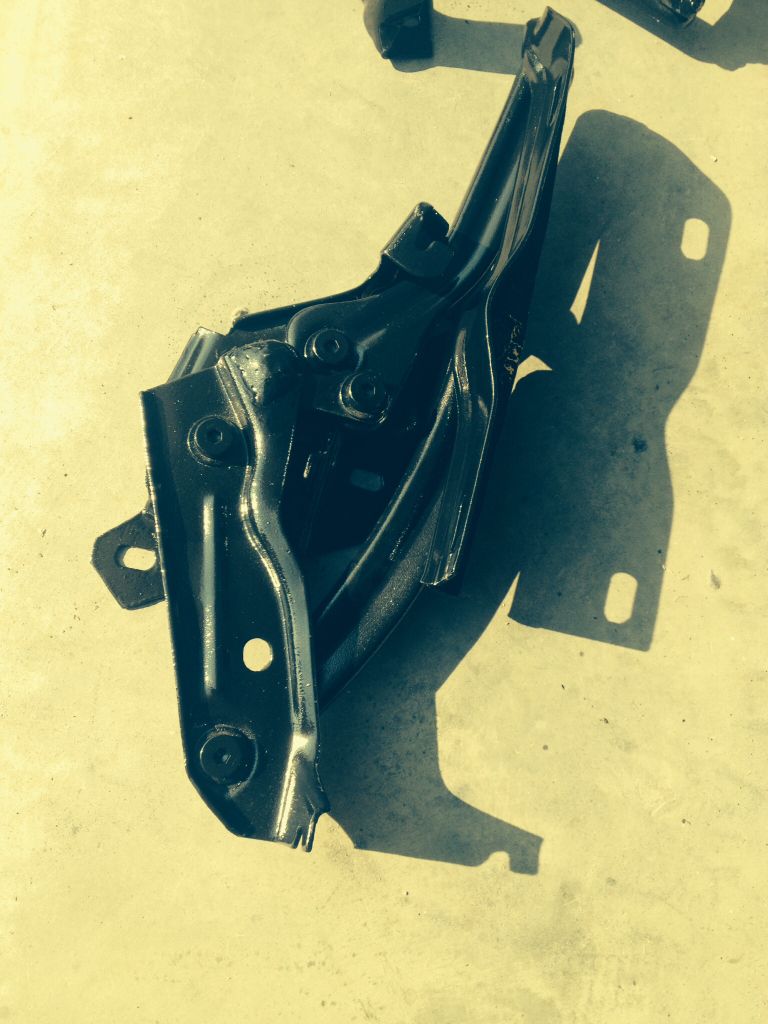
Here is one hinge in the closed position
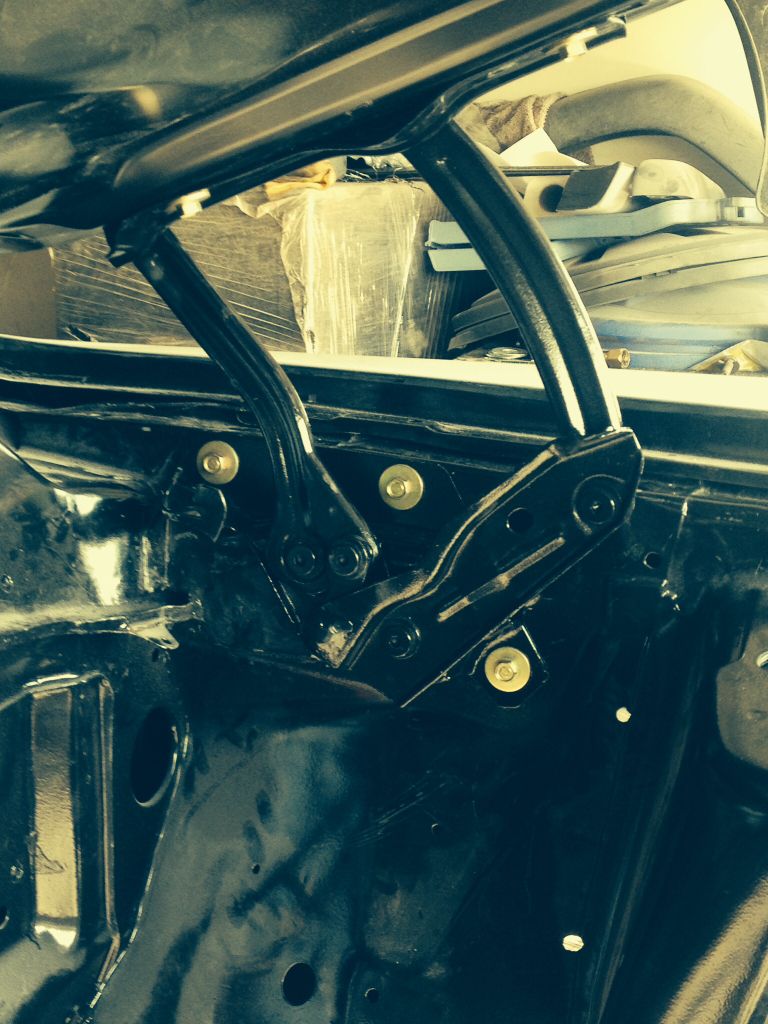
Here is the hinge installed with the hood on it
The nice part about the pivots is that the parts and thrust washers are tight with no slop then once you start to rotate the part the oil inpregated thrust washer slide and lubricated the pivot and will never need lubricating
This pivot the hoods smooth as a baby's bum and has absolutely no side to side movement
If I did another set I would use a one piece nut with a washer which would have welded up nice
I would have also cut the threads back 1/8" so that I could plug weld the inside of the nut to hold the shoulder bolt which would have ground up nice for a cleaner look
You will also need a tap and die nut to chase the treads after welding
If anyone want to try this just message me and I will answer any questions
Bottom line is that this works as smooth as my 2011 explorer hood
Trying to get my hood aligned properly to the fenders, fender to the doors, fenders to the aprons, has been the most frustrating task on the restoration so far.
1st attempt
I try what I though was a good tight set of hinges, but the hood walked all over the place and never returned to the same place twice, in addition it scraped the fender as the hood opened and closed
2nd attempt
I purchased new 1/2" bore rivets (1/8" over size), disassembled the hinges, re-drilled all the pivot points, re-pressed the rivets.
This got the slop of the ovaled out holes, but there was way to much slop
The hinges get out of sync and there was way to much side to side movement
Basically I ended up with the same results as the original hinges
3rd attempt
Knowing that if I couldn't get my hood to open and close smoothly with out scraping the fenders I wouldn't be able to move forward on the restoration project, so here is what I ordered from McMaster Carr to rebuild the hinges
1 91259A705 14 Each Alloy Steel Shoulder Screw, 1/2" Diameter X 3/8" Long Shoulder, 3/8"-16 Thread
2 98001A145 2 Packs Plain Steel Tab-base Weld Nut W/center Pilot, 3/8"-16 Thread Size
3 5906K535 28 Each Sae 841 Solid Bronze Thrust Bearing, For 1/2" Shaft Diameter, 1" Od, 3/32" Thick
I completely dismantled the hinges and replace all the pivots with shoulder bolts with bronze thrust washers on each side of the rotating part
All the holes are drilled out to 1/2" diameter
I have welded a welded nut to what I will call the fixed part
I used plain washers as spacers to hold the weld nut tight and keep the end of the shoulder slightly into the 1/2" hole so that every thing would center on the hole
I wanted the bolt head to show as much as possible rather than the weld nut, here you can see the locations that I welded the weld nut to.
I kept the welded nuts to. The hood side
The front arm needs only one weld nut, but remember you will need a right and left hand
The back arm need one weld nut and also need the one edge flattened out to allow the hinge to close because of the bolt heads
The main body needs two weld nuts, as well I added two stiffener plates to stop the side to side sway which you can see needed to be beveled to allow for the apron ribs
Heat the edge up
Hammer down then grind off the excess
The bottom arm needs one weld nut and one edge grinder down about 1/4" to allow the hinge to close properly and not hit a bolt head
I scraped the light gage bent arm and replaced it with 1/4" x1" flat bar keeping the same hole to hole dimension and adding a scalloped area to miss hitting a bolt head
Here you can see how the pivot bolts up
I was using jamb nuts to test the assembly, but after wards I cut the excess thread flush with the weld nut and welded the end to keep it from backing out
I also added a tab so that the rear arm has a positive stop
This keeps the top rear of the hood at the exact height you set the hinges to every time
Here is one hinge in the open position
Here is one hinge in the closed position
Here is the hinge installed with the hood on it
The nice part about the pivots is that the parts and thrust washers are tight with no slop then once you start to rotate the part the oil inpregated thrust washer slide and lubricated the pivot and will never need lubricating
This pivot the hoods smooth as a baby's bum and has absolutely no side to side movement
If I did another set I would use a one piece nut with a washer which would have welded up nice
I would have also cut the threads back 1/8" so that I could plug weld the inside of the nut to hold the shoulder bolt which would have ground up nice for a cleaner look
You will also need a tap and die nut to chase the treads after welding
If anyone want to try this just message me and I will answer any questions
Bottom line is that this works as smooth as my 2011 explorer hood
")