73 needs a new gas tank and trunk floor repair

7173Mustangs.com

Help Support 7173Mustangs.com:

This site may earn a commission from merchant affiliate links, including eBay, Amazon, and others.

MeZapU

Well-known member
Joined
Feb 12, 2011
Messages
830
Reaction score
11
Location
Southery, UK
My Car
12 GT
73 Mach 1
85 GT
66 F-100
Last week I siphoned a bit of fuel out of the Mach 1 to use in my pressure washer. Out came a few flakes that I thought were rust but were in fact some rubbery substance. I at first thought it was some varnish that I had knocked loose with the hose but it was a bigger issue than I thought.

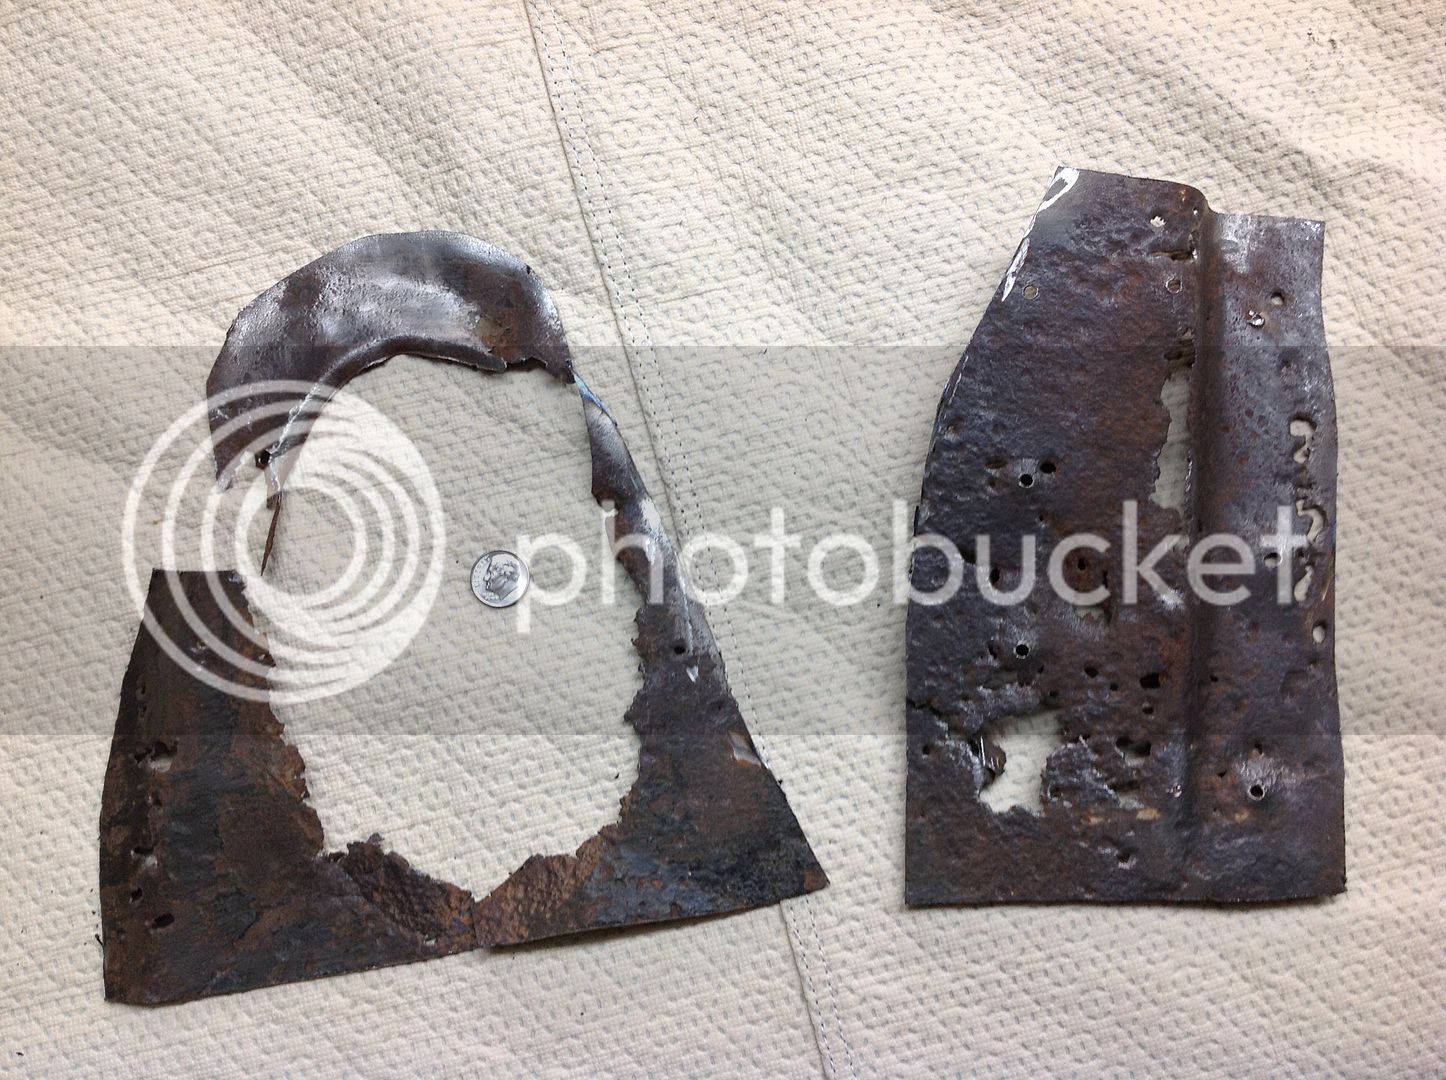
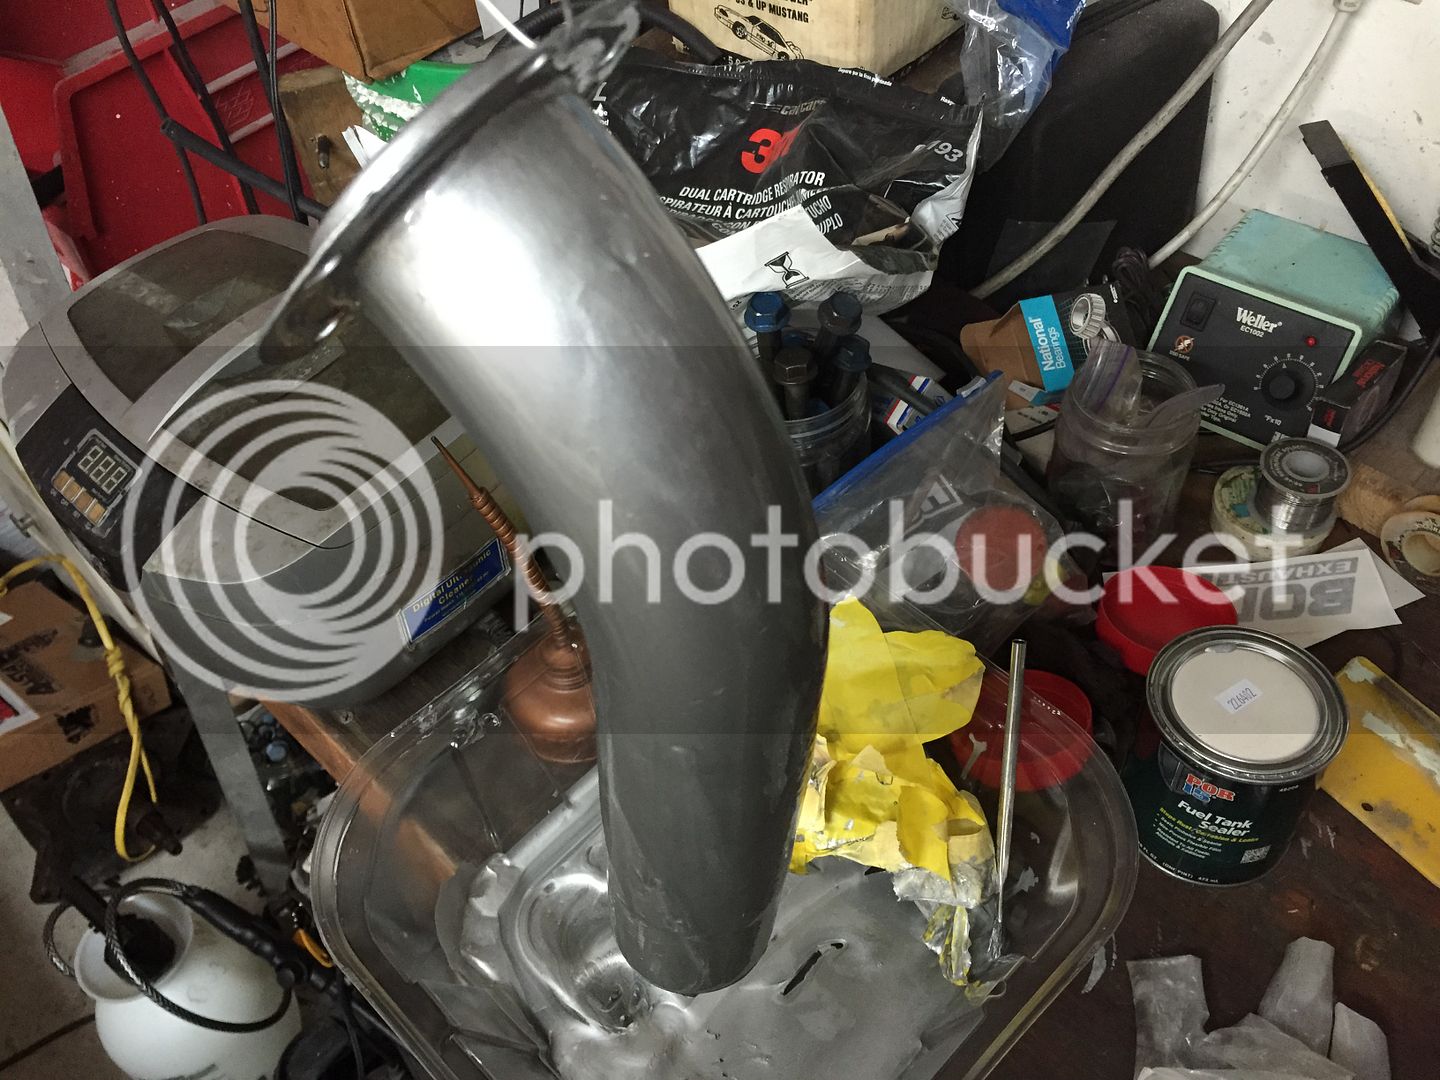
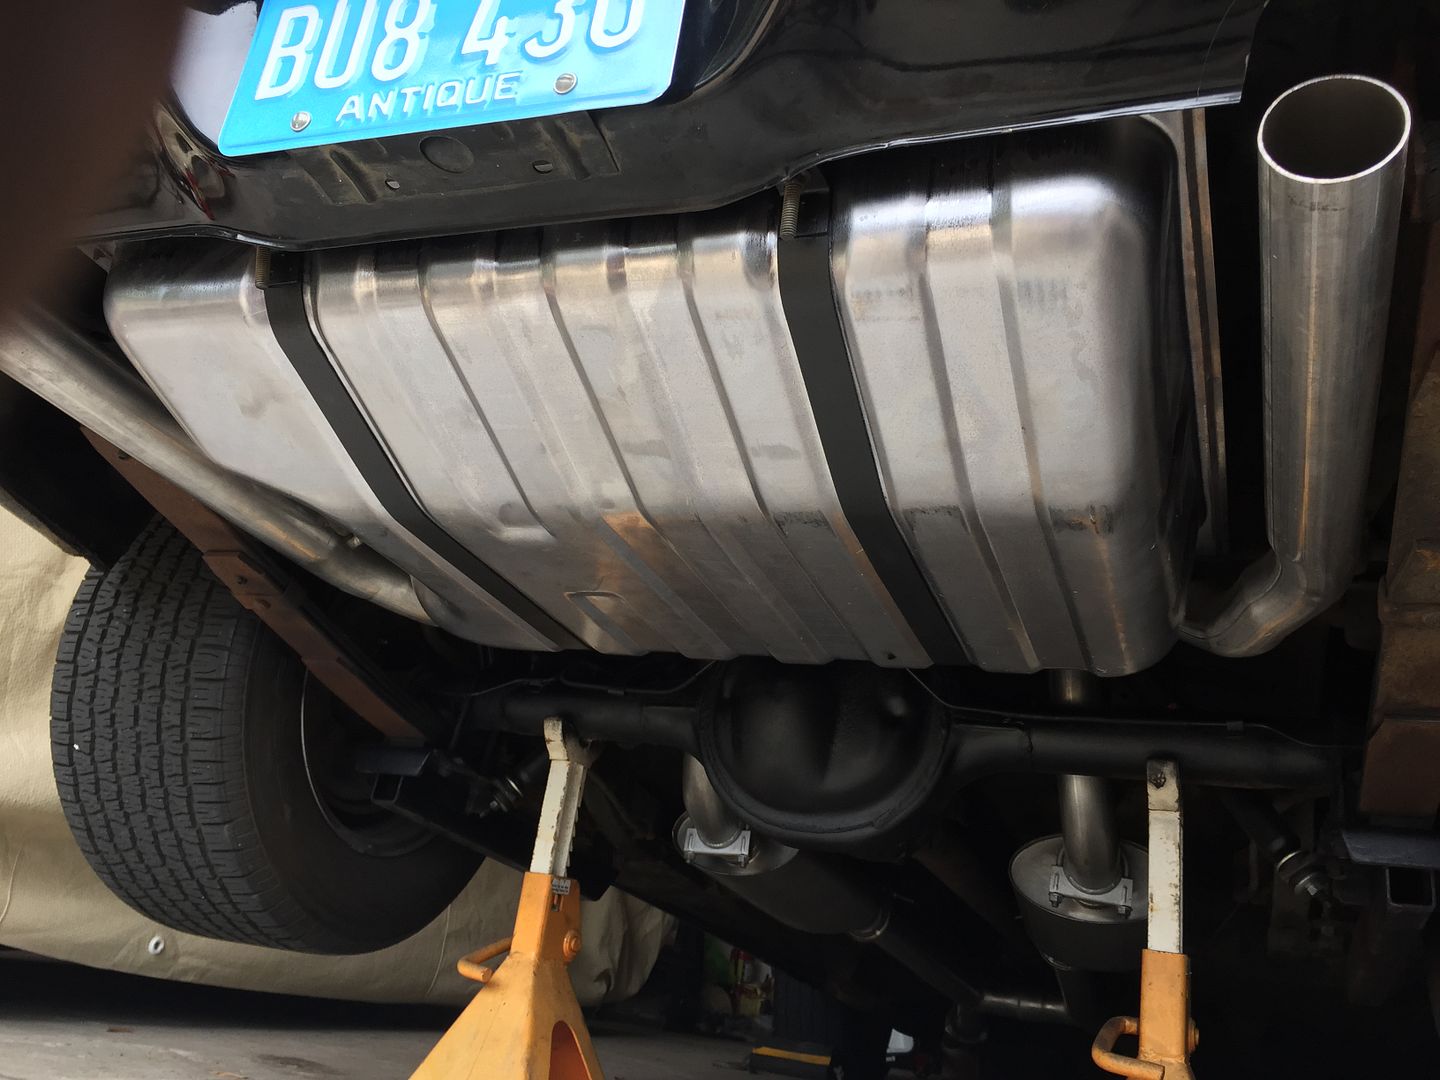
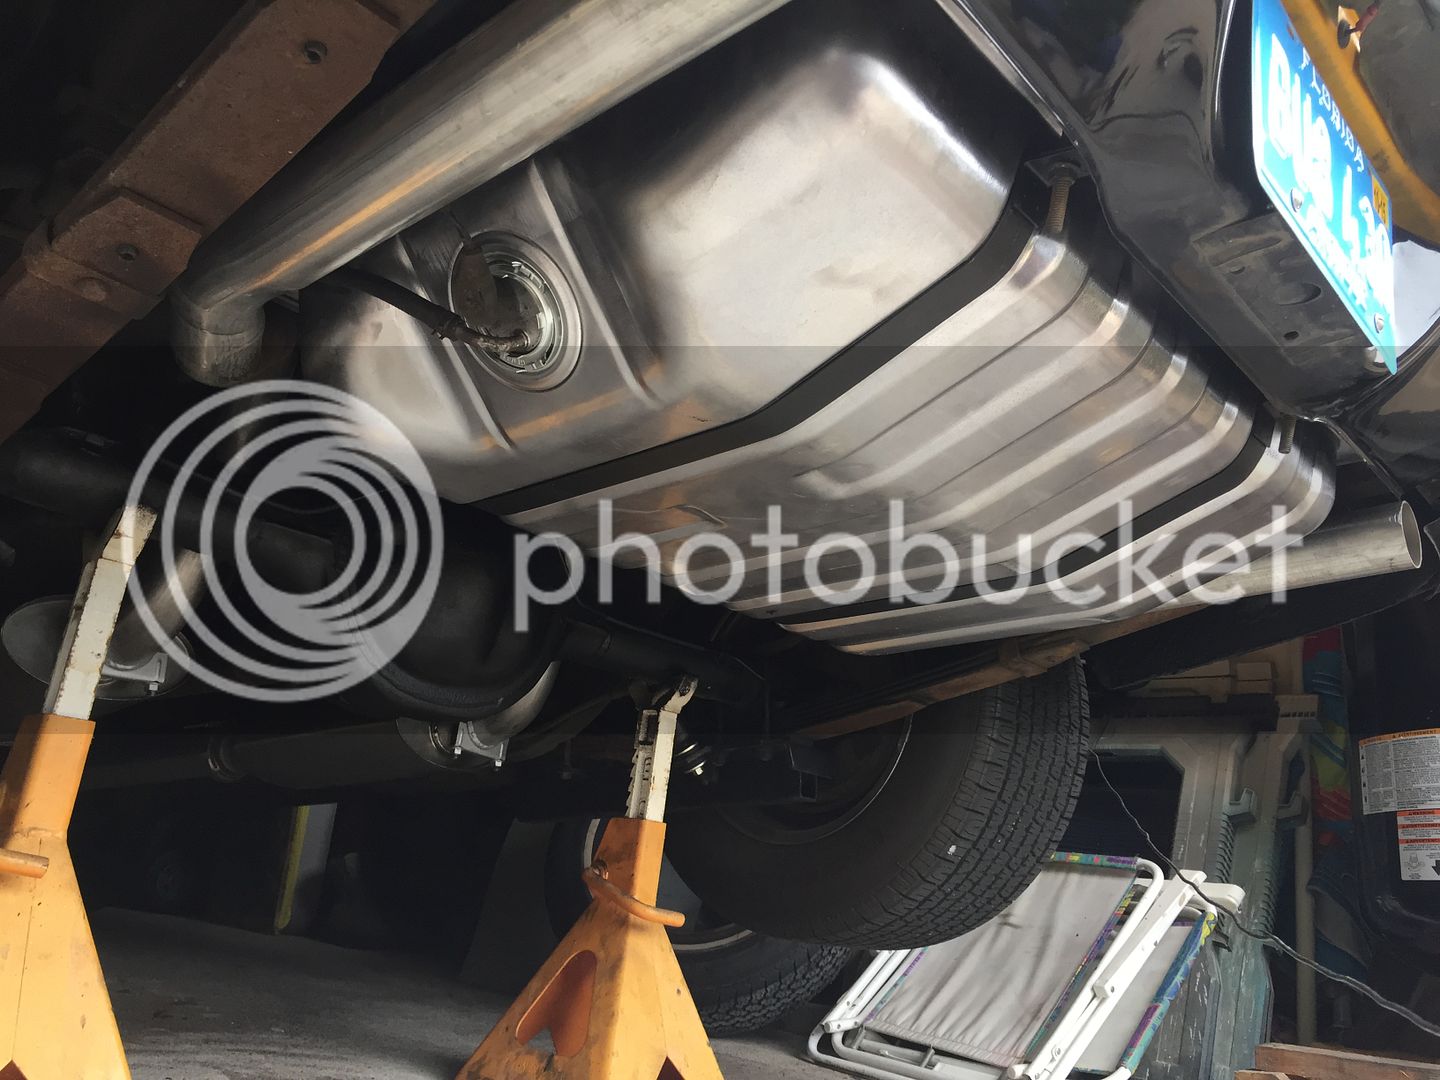
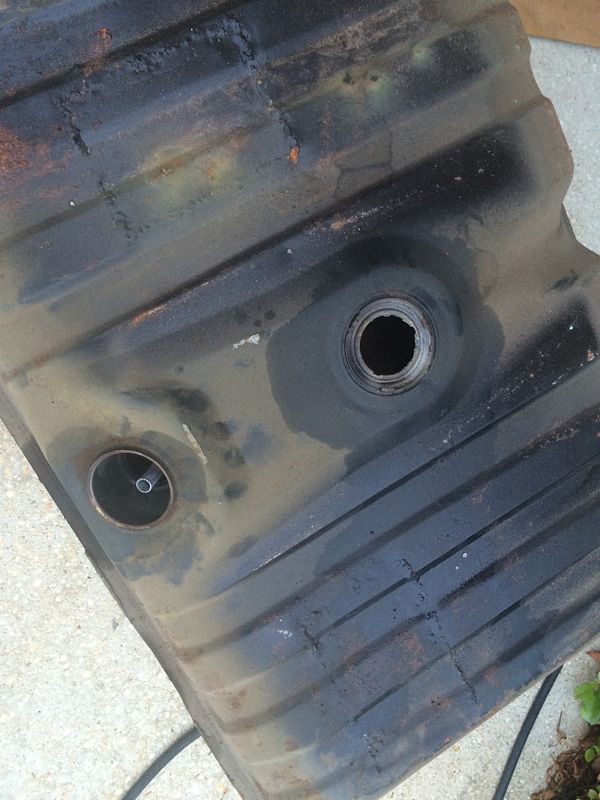
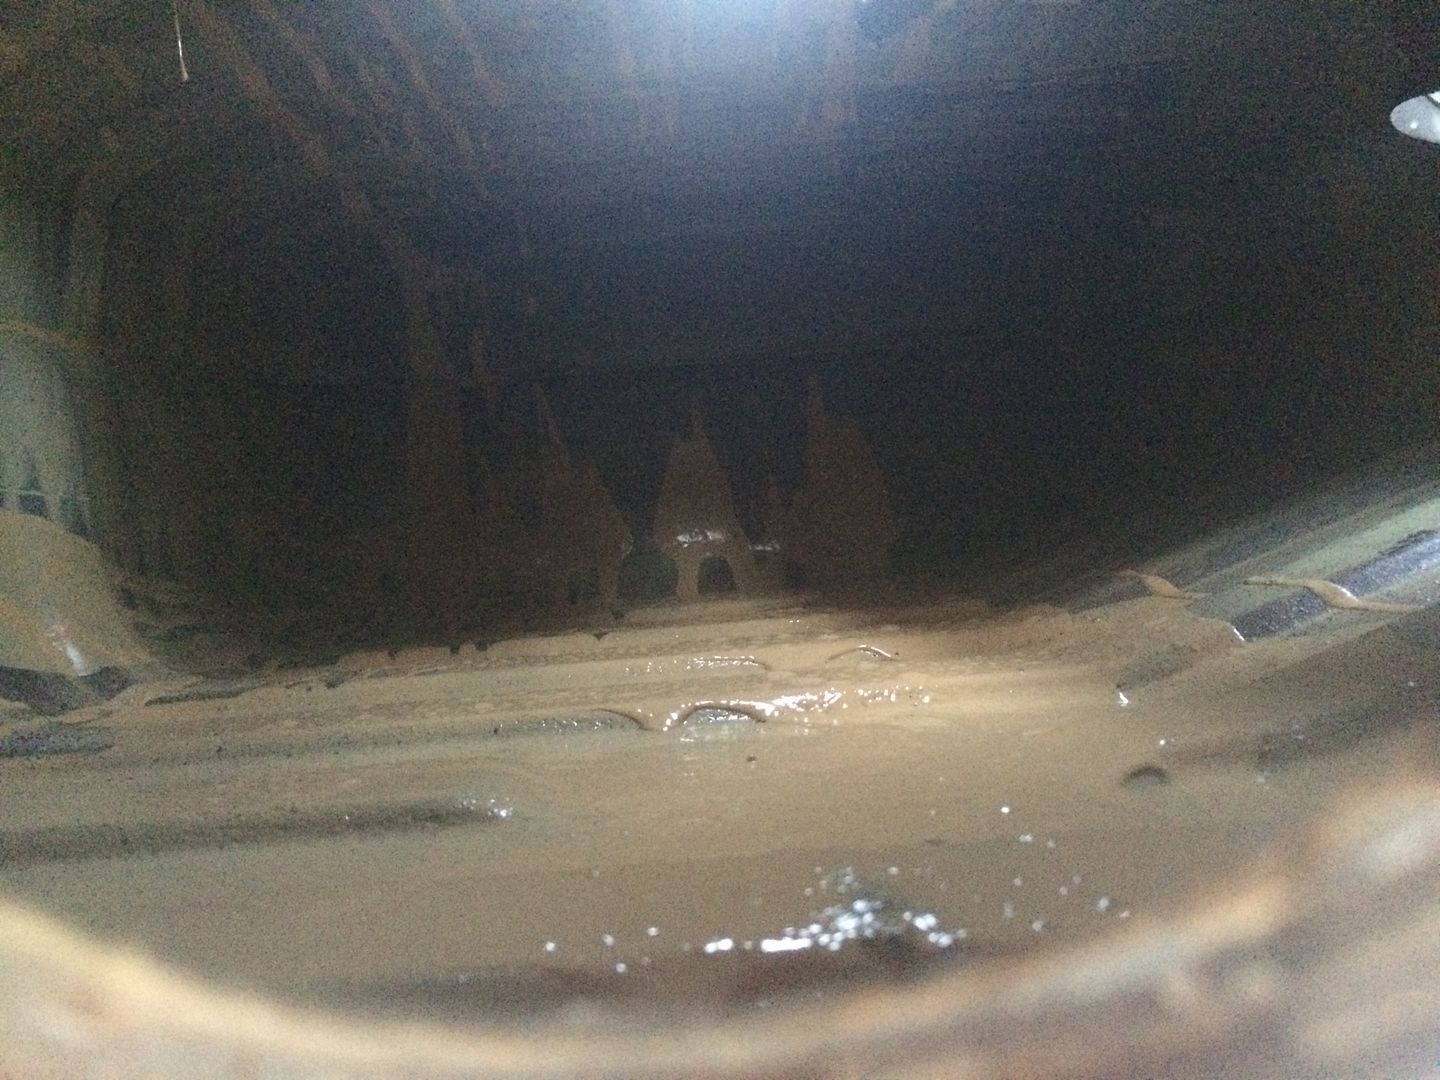
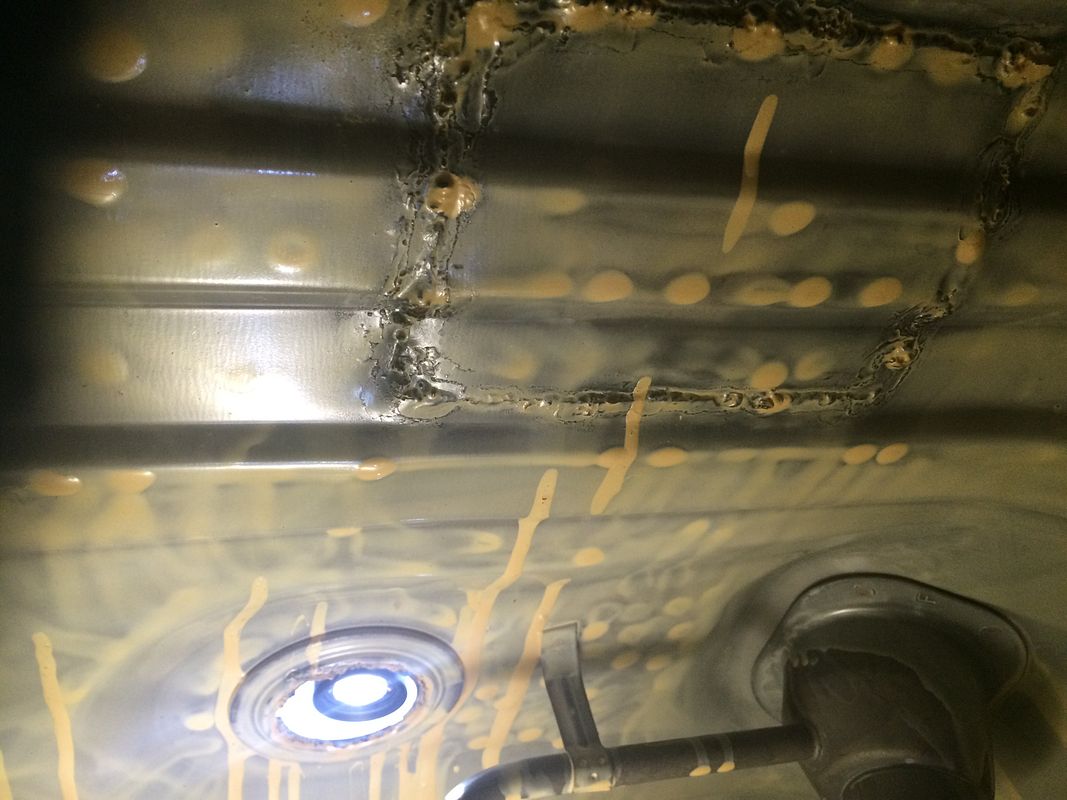
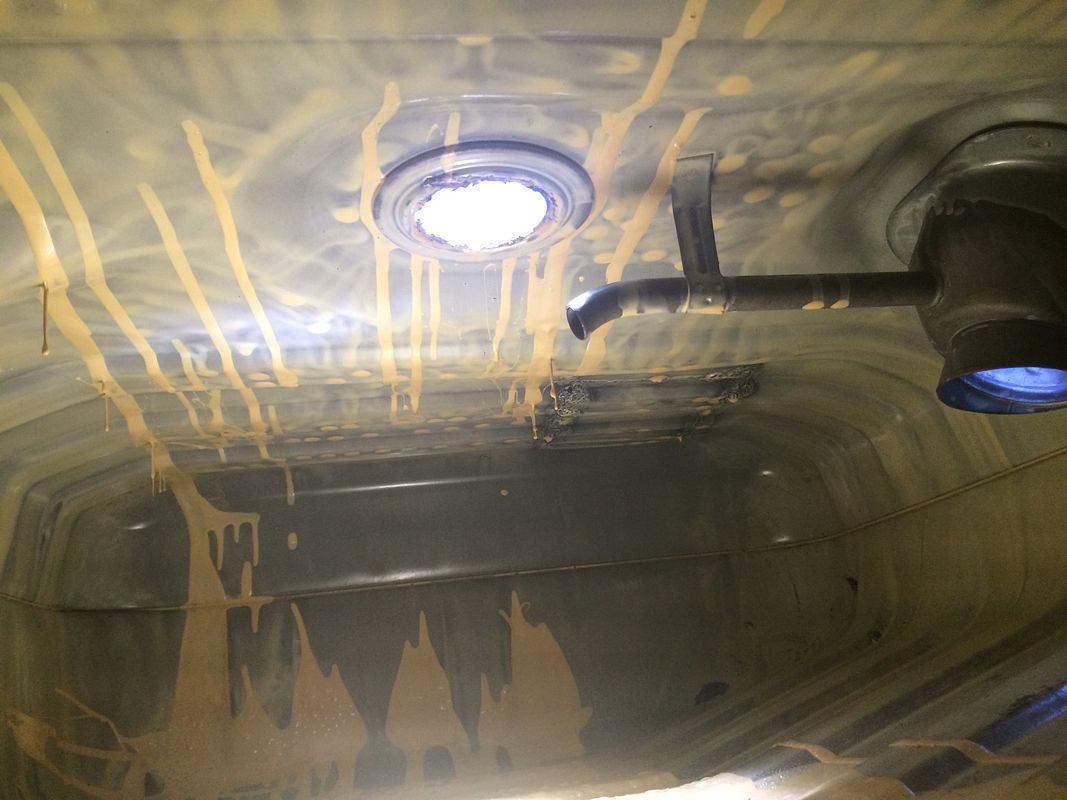
I dropped the tank today to find much more than I would have thought. I'd of bet that I was the first to ever have dropped this fuel tank but it appears to have been removed and work done to it even before I purchased it 20 years ago. There were two patches on top of the tank. Very odd. No idea why they would have done that. The inside of the tank was semi half-ass filled with some sort of tank sealant. Some on very thin but other spots extremely thick (like the bottom) and even some stalactites hanging down from the top.

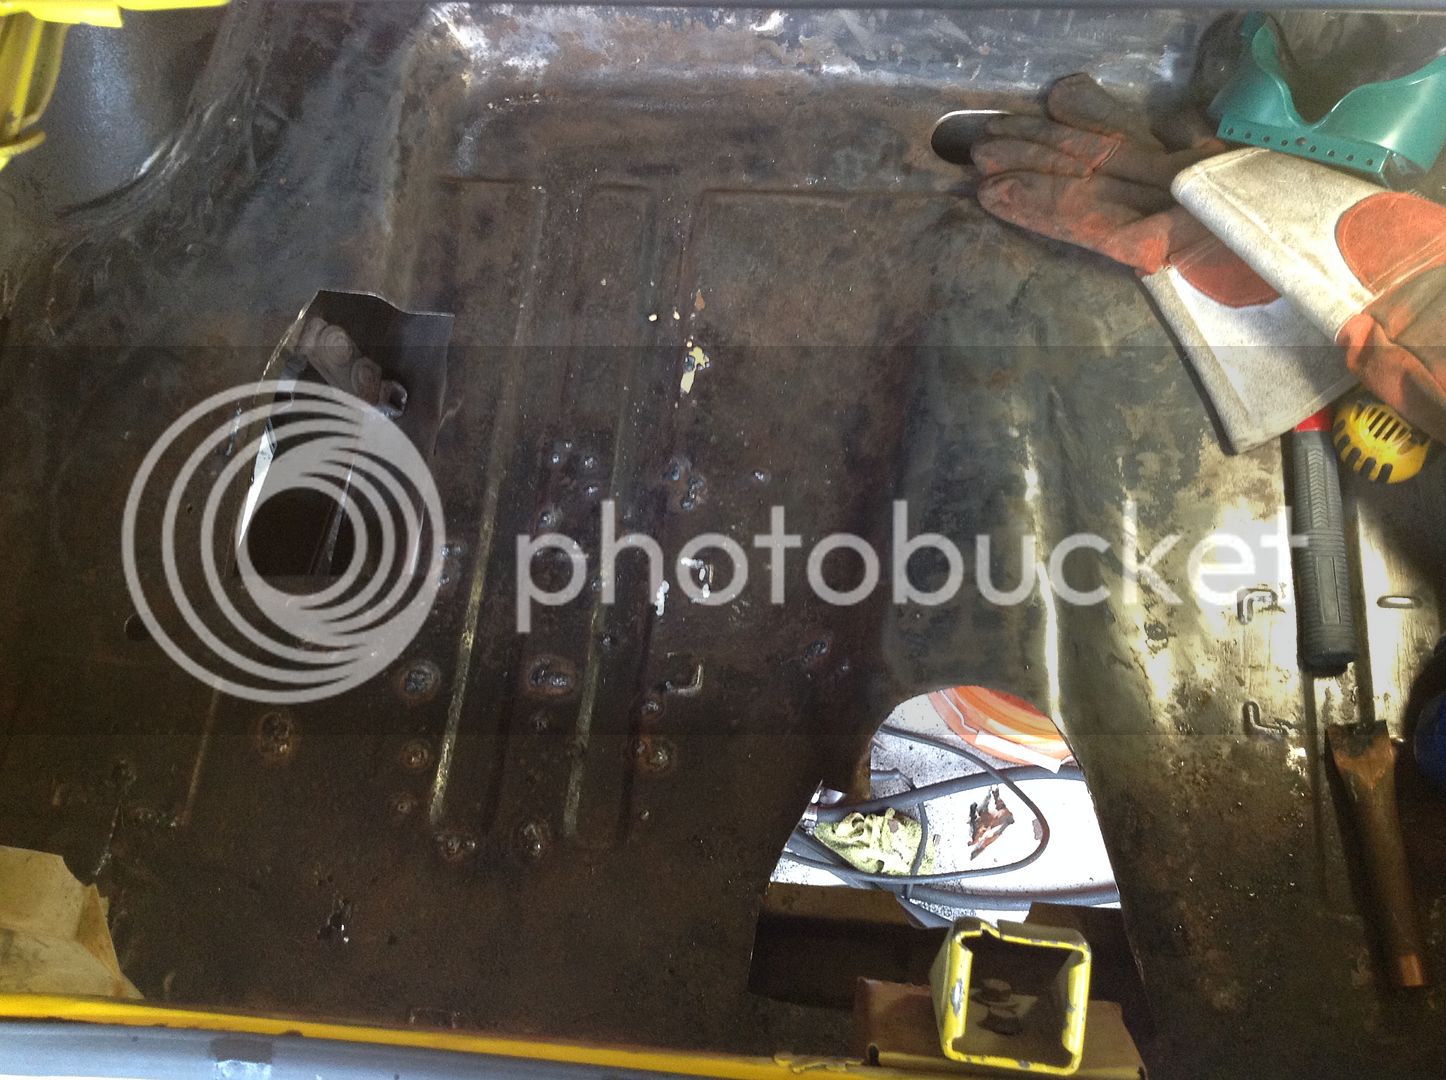
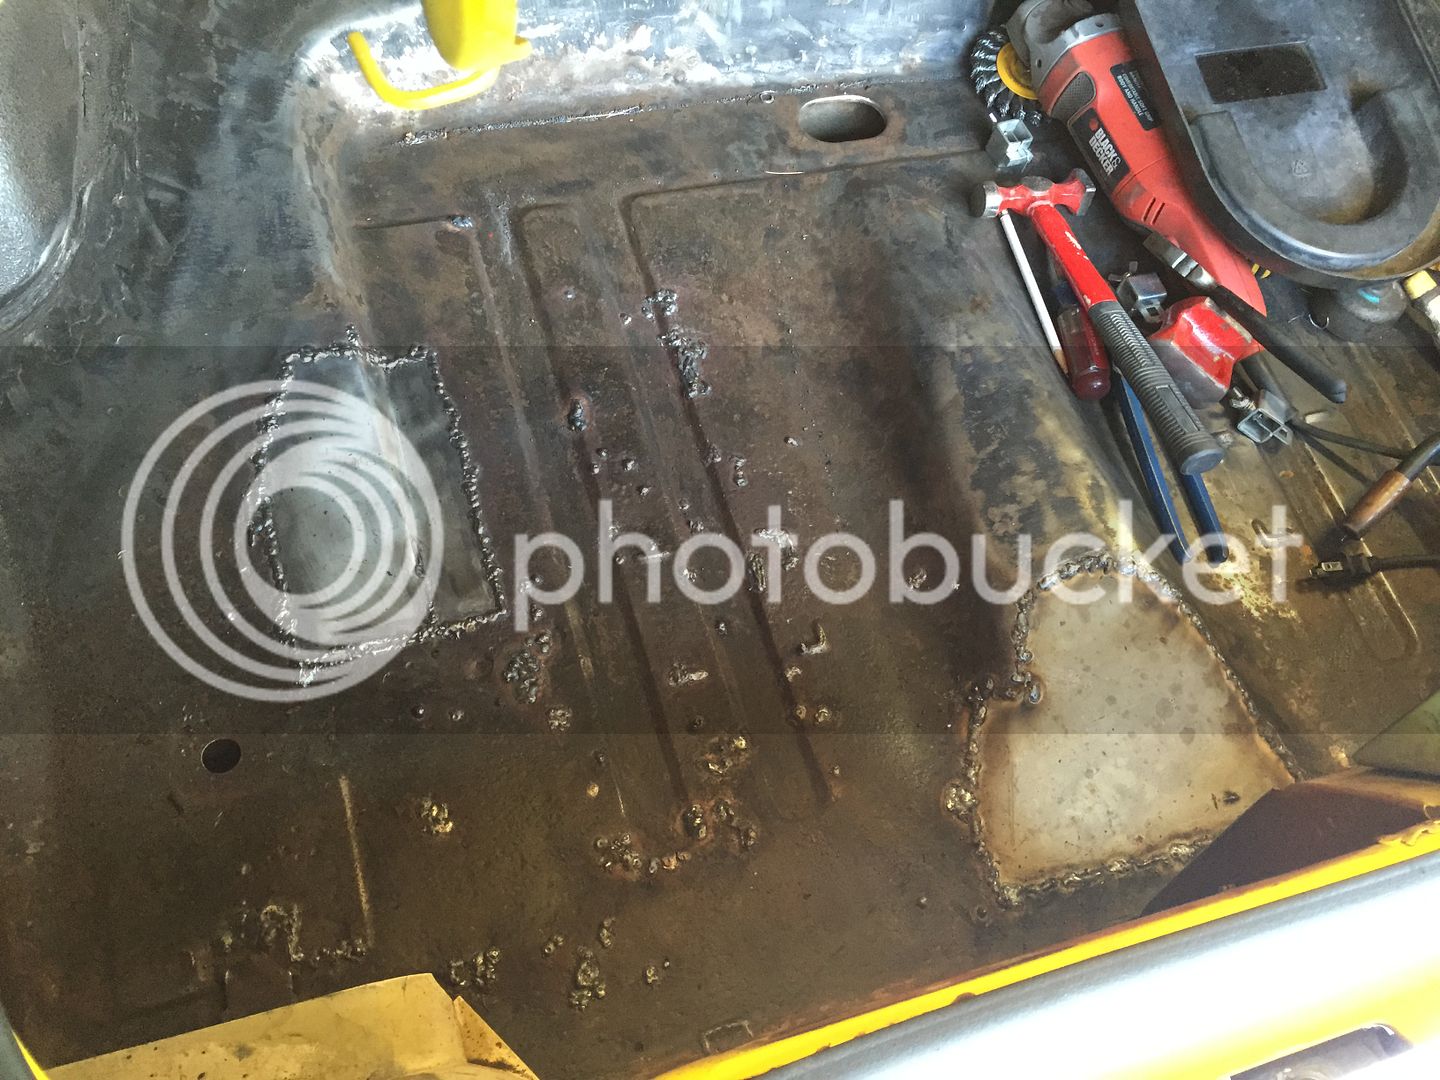
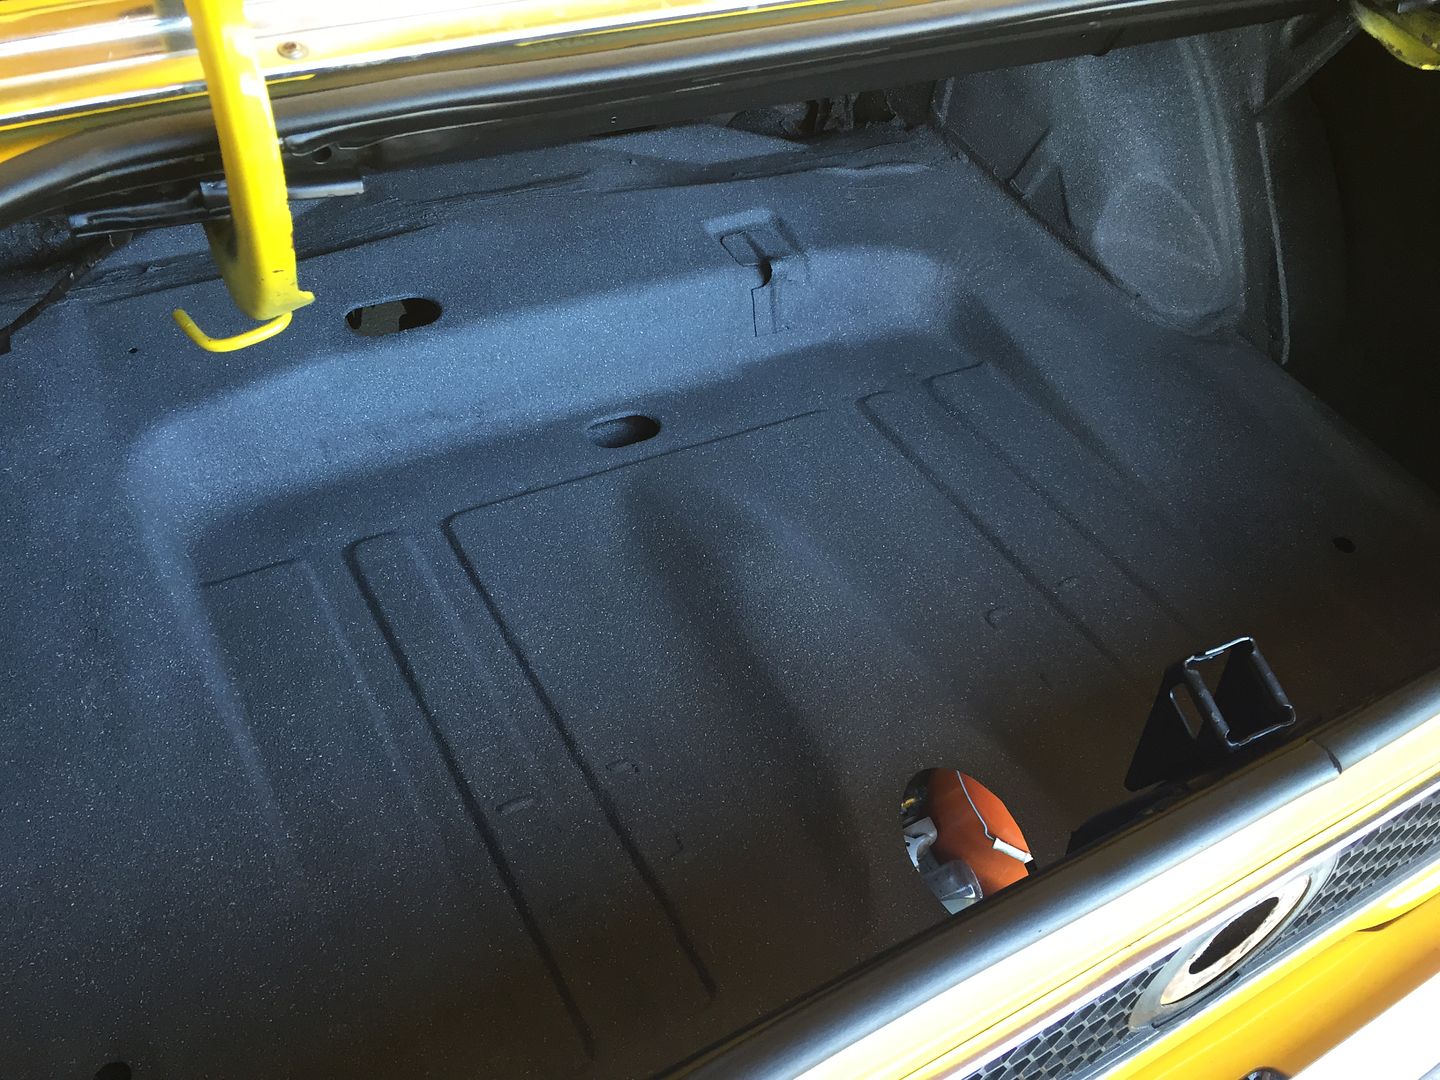
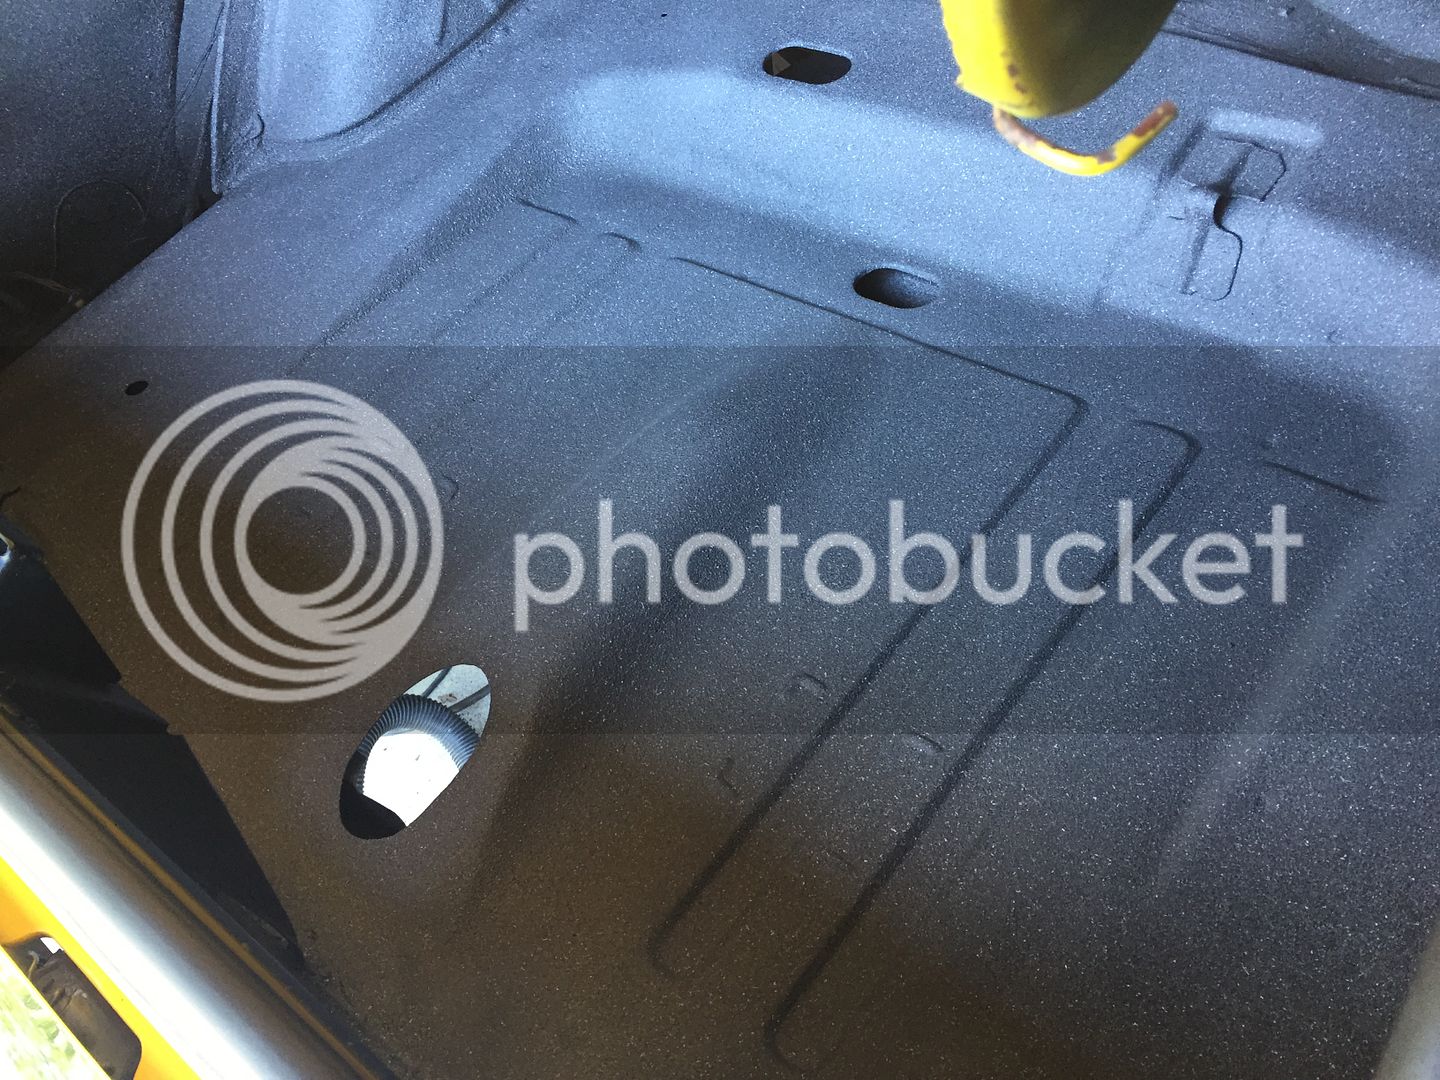
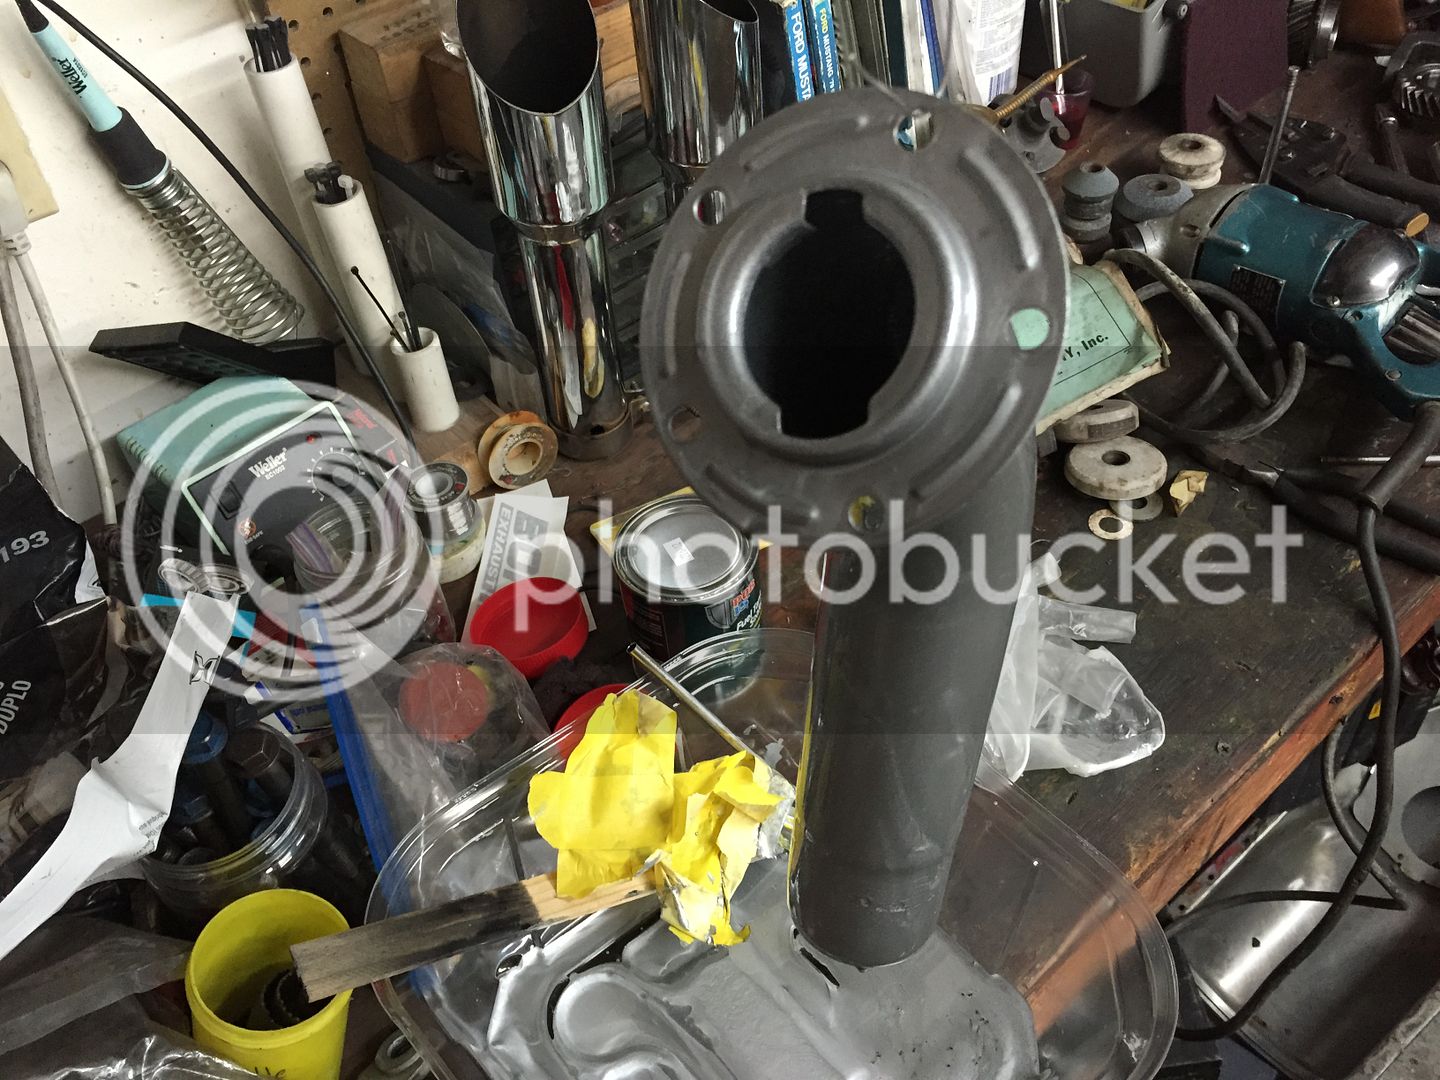
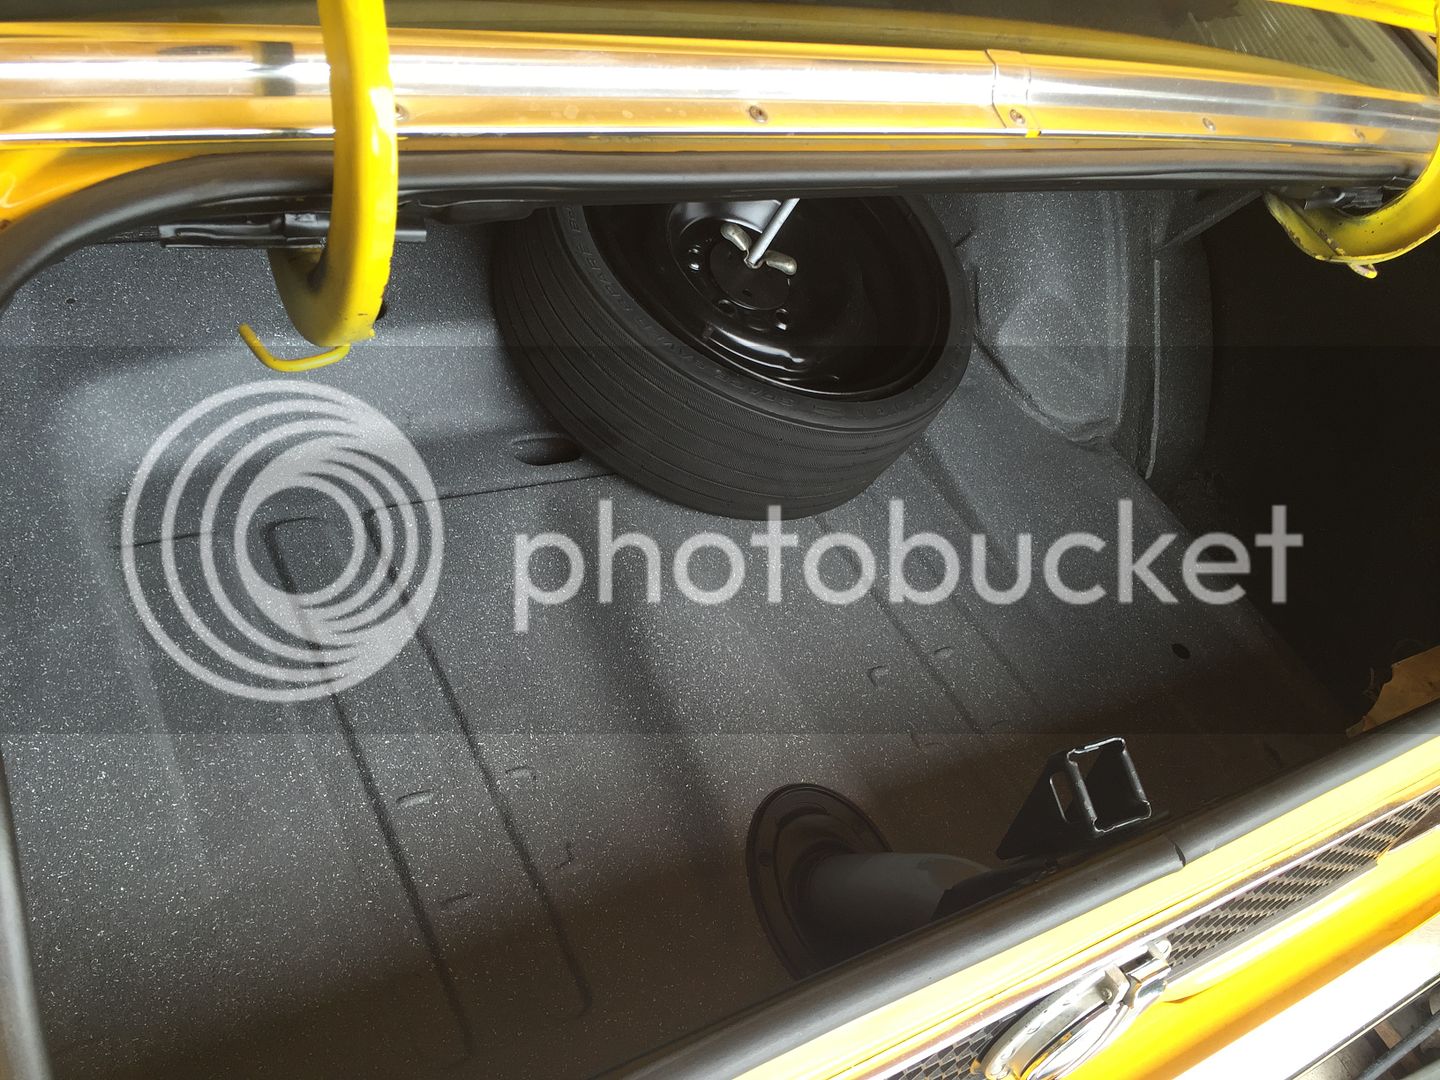
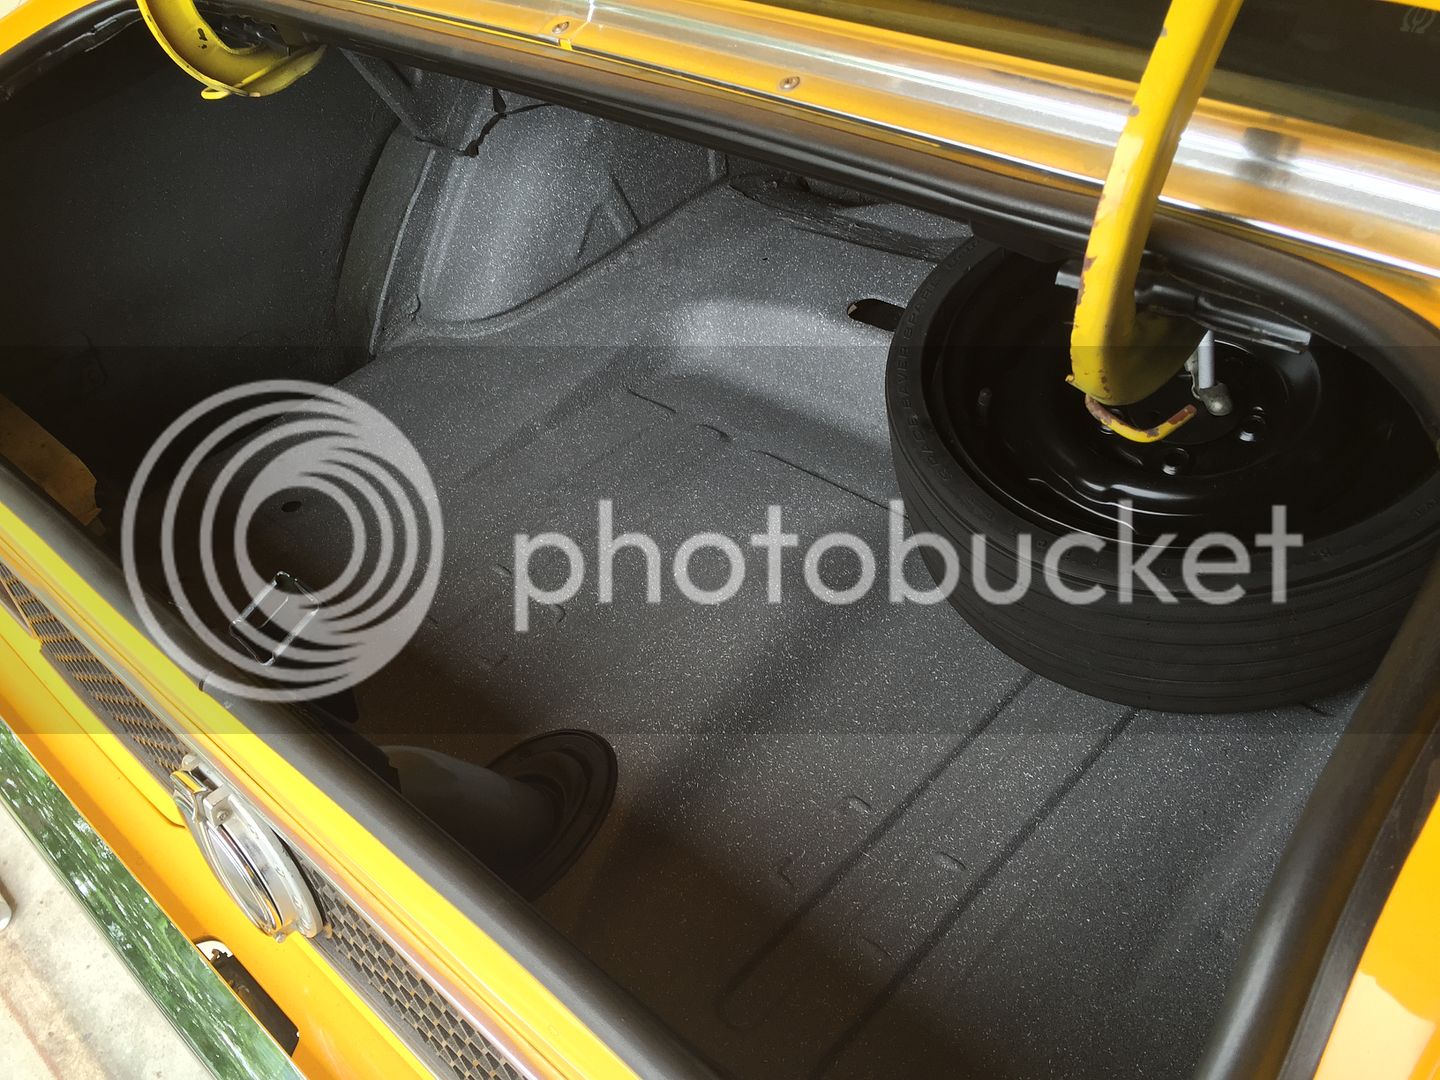
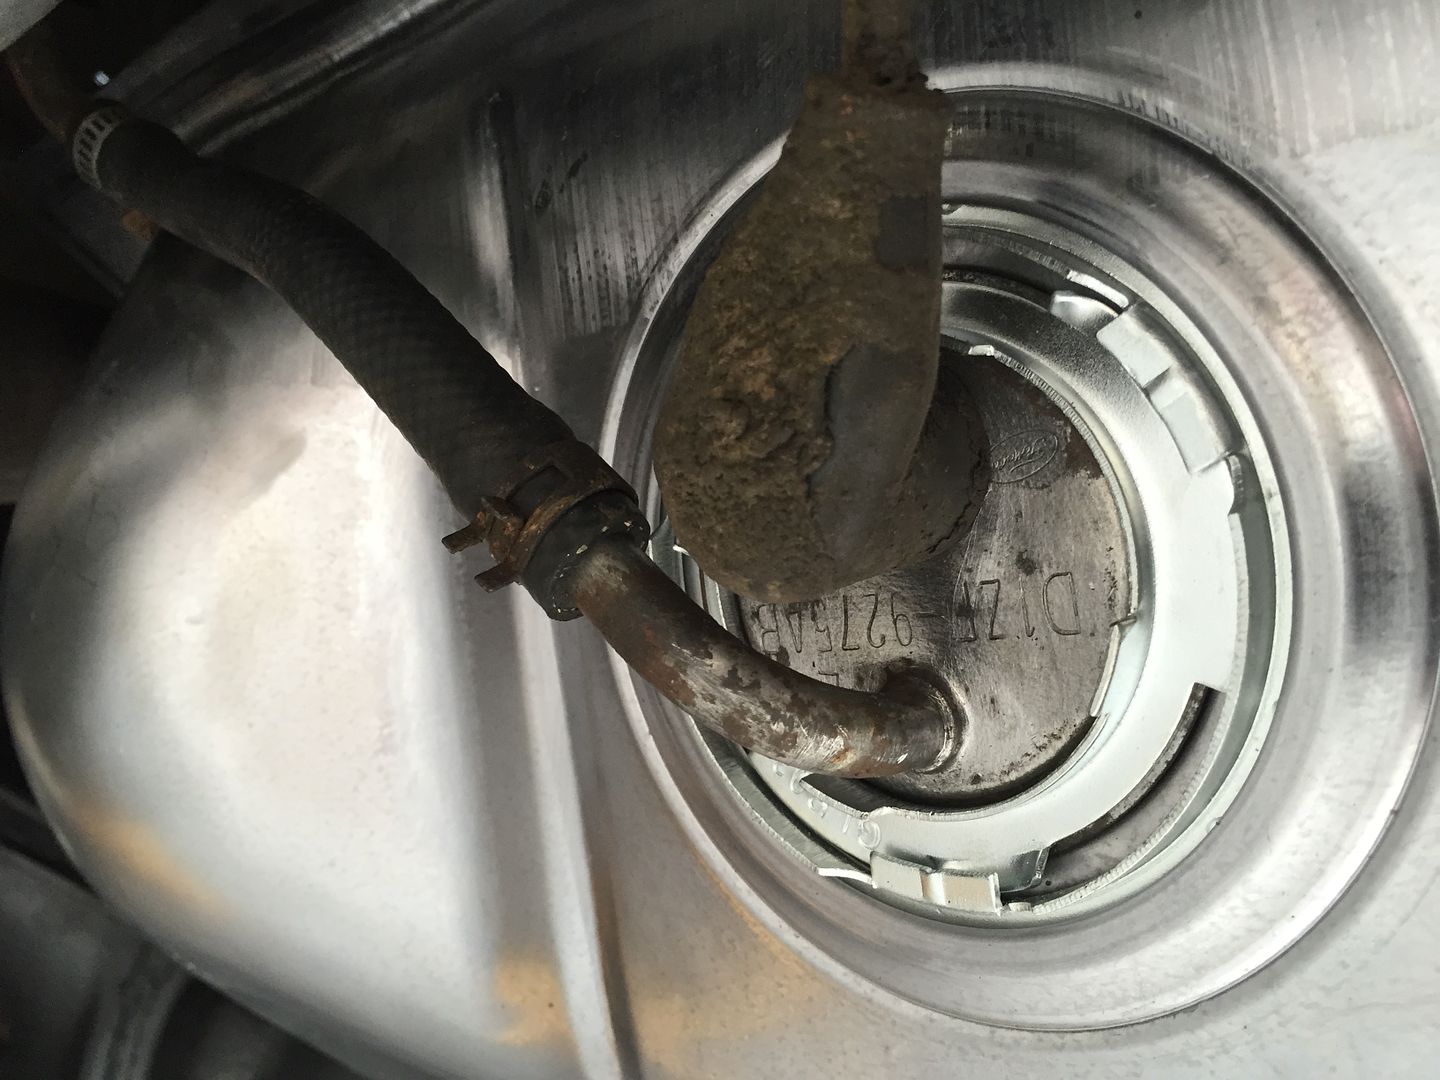
With all this old shoddy repair work I'm just going to replace the tank. The trunk floor needs a little attention so now is the time to address it as well. Filler neck area is pretty bad and there is one spot that was repaired in the past. Thinking their first attempt at the fix was making a hole in the trunk floor.

IMG_2508_zpsowbgmcum.jpg


IMG_2509_zpso4cv7gdc.jpg


IMG_2510_zpssukpfkcj.jpg


IMG_2512_zps5djel9ru.jpg


It is very odd that the two repaired patches were not with different metal, but seem like they were made to perhaps remove something that was inside the tank. The tank really was not that rusty, just questionable repairs.

I ordered one from Rock Auto. NPD wanted to charge me oversized UPS shipping when it's the same gas tank that Rock Auto sells and ships to me for $16.

 
Back in the 80's and 90's it was a challenge to rebuild and restore the 71-73 stangs since there were very few reproduced parts and good used or NOS parts involved searching junkyards. combing through flea markets and annual trips to Carlise, Hershey, Columbus, etc. If you lived in the 'rust-belt' and your car was driven for any length of time during the salted roadways during the winter, you probably had a rusty gas tank. If you had a decent gas tank you could extend its life by using an "aircraft fuel tank anti-slosh' compound which was a two-part epoxy type liquid. After cleaning the inside of the tank with soap, water, etc and letting it dry, you mixed it up and poured it into the tank and then rotated the tank 360 deg to get an even coverage everywhere inside. Messy but effective. Painting the exterior would be the final step.

Those pics look like a half-ass attempt to do something like that. I'm not even going to guess what the welded patches are for.

 
I started work on the rust in the trunk. It's not bad enough that I need to replace the trunk pan, but close. Most of the holes are located in two sections that I believe I can patch pretty effectively with some donor sheet metal. The rest I can weld up and blend. There is a lot to do but it is much less work vs a new trunk floor. This has been an issue since I purchased the car but I always just covered it up with a trunk mat. Now I'd like to detail it with the proper splatter paint and have it look the part.

IMG_0264_zpsob2qosge.jpg


IMG_0263_zpshsdarruy.jpg


All the rust holes in the trunk were welded up. Started on grinding the welds down. Lots of grinding. Went at it for about an two hours. Took a break and still wet on for about another hour of grinding. Then back to the MIG welder and more grinding.

IMG_2509_zpsax0yztt9.jpg


I laid on some SEM Rust Mort for a few hours to neutralize any rust. Cleaned that up as per the directions. Did some filling and sanding. Self etch primer, a spray can of truck bed liner as a base and finally two cans of splatter paint. I probably need a third as it goes quick. Takes a very long time to dry. Hope it sets up by the morning.

But at least all the hard work is done. Still waiting on the new fuel tank and filler pipe seal. I cleaned the gas tank straps but they still need paint. Maybe by the weekend it will be back on all four wheels.

IMG_2523_zpsqywobr1i.jpg


IMG_2524_zpswv8xhbg2.jpg


You have great skills!

I like that a lot of the people on this form do things "right," and don't "hack" their way through something like this.
:whistling::whistling::whistling:

 
I sand blasted the filler pipe as it had some accumulated rust inside that the acid dip would not take care of. After a good clean I decided to use some of the POR15 gas tank sealer on it as I would certainly not be needing it for the new fuel tank. I first taped the ends of the pipe after pouring some of the sealer in. I sloshed it all around for a few minutes for coverage. I removed the tape and proceeded to apply via brush the sealer to the outside surface of the pipe. It's silver so it should look very similar to a clean original part when dry.

Forgive the clutter in the background, and a word of caution. The plastic tub that I was using did not last very long. After approx one hour the leftover sealer ate a hole in the bottom and drained the contents into a old lunch cooler that I used to store parts in. Thankfully it was nothing important but I did need to use some lacquer thinner to clean the sealer off of some hardware that I had in the cooler.

IMG_25251_zpschpqhj7f.jpg


IMG_25261_zpsyi7tjuuz.jpg


Nice job on the trunk floor. Looks good.

 
Finally got the car done and back on the round. I still need to pull it out of the garage and clean the floor off but I'm just too pooped. I have a toploader to rebuild for a friend so I'll likely get cracking on that this evening after dinner and a shower.

The gas tank straps cleaned and painted. I installed a new fuel hose from the sender unit to the fuel line. Installed the filler neck, seal and gas cap. New stainless hardware and even the proper security nut and pin for the gas cap. Routed the wiring and installed new bulbs. Dug out the J-bolt and tire mounting hardware for the space saver spare tire. Looks good in there.

I still need to get some new plugs for the trunk floor. Don't want to put the old grubby ones back in there.

IMG_2527_zps0cxrmewr.jpg


IMG_2530_zps92dkge5n.jpg


IMG_2531_zpsltdam1zm.jpg


IMG_2533_zpsbnrpuz0s.jpg


IMG_2534_zpsotlfuo4m.jpg


IMG_2535_zpsnae27oyt.jpg


Back
Top