


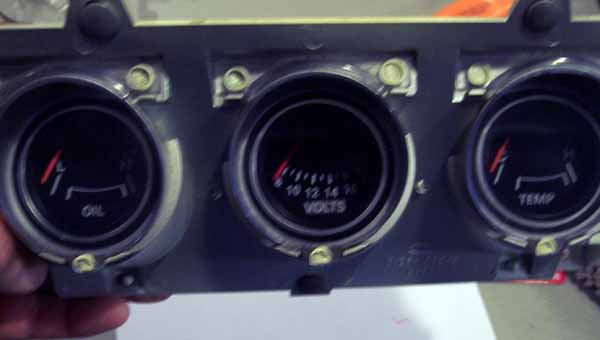
I just recently swapped my Amps gauge for a Volts gauge. This was a complete bolt in replacement with no Mustang pieces having to be altered at all (with the exception of altering the wiring). Mine wasn't set up for an amps gauge so wiring to a voltage source and ground was easy. If you are wired for amps I would simply tape the original wiring off and run a new lead to volts and the other to ground.
Here were the steps:
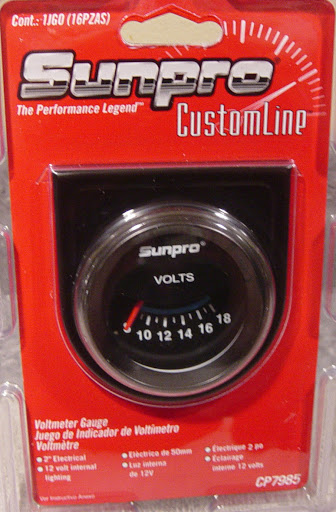
1)Purchase a SunPro Customline CP7985 voltage gauge. I was looking at a Bosch option too but this was more readily available.
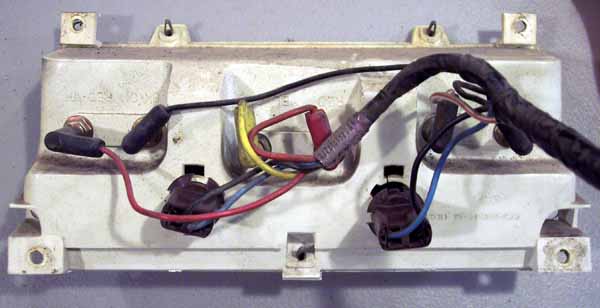
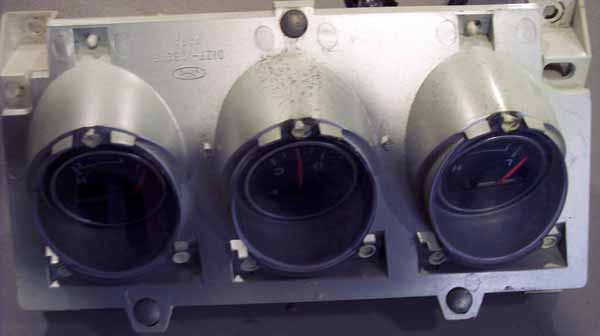
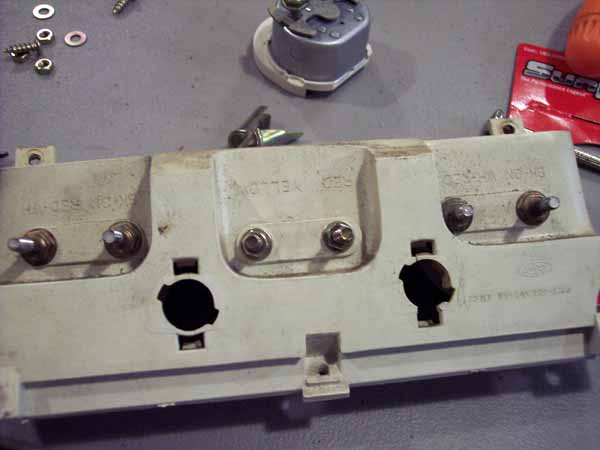
2) Disconnect your center panel then remove the gauge pod assembly.
3) Remove the retainers holding the lens on.
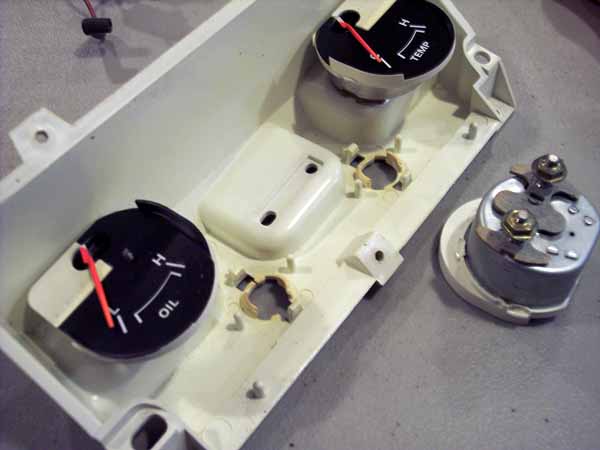
4) Simply unbolt the amps gauge and remove.
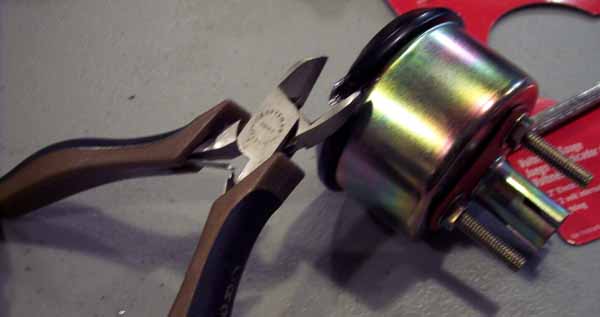
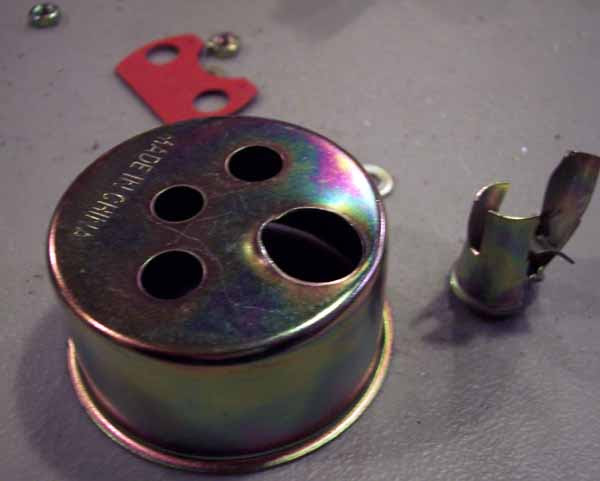
5) Carefully remove (destroy) the bezel from the new gauge. Try not to hurt the housing. The bezel and the lens will not be used.
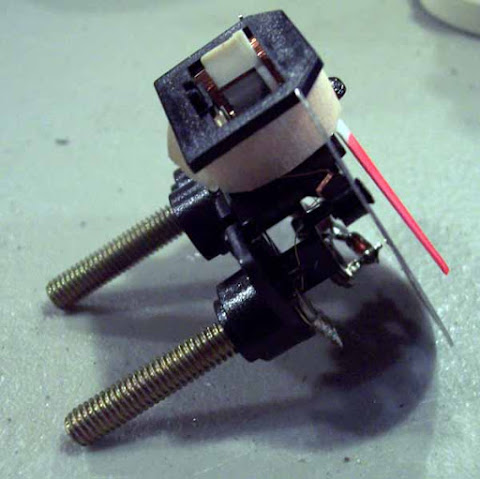
6) Disassemble the gauge.
7) Remove the bulb housing (destroy).
8) Make a note of which is the positive terminal as the marking will be hidden when installed
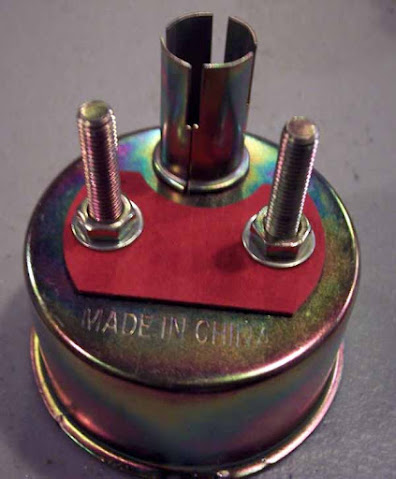
9) Reassembly the gauge without the nuts. I felt the inclusion of the nuts brought the gauge forward in the pod too much. I settled on a single washer for spacing.
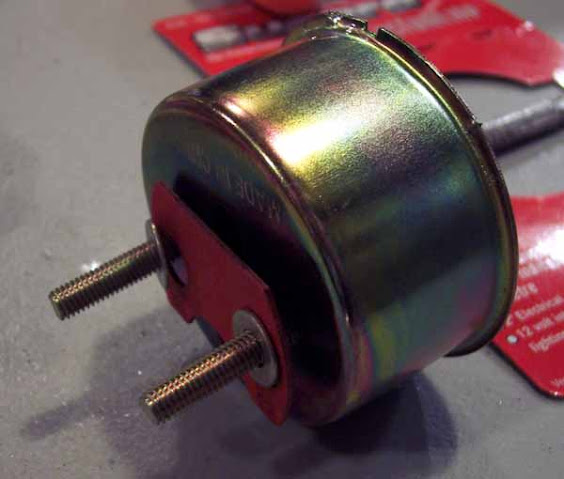
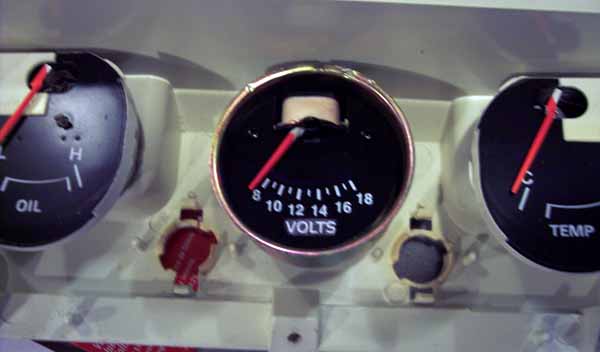
10) Bolt the gauge into the pod.
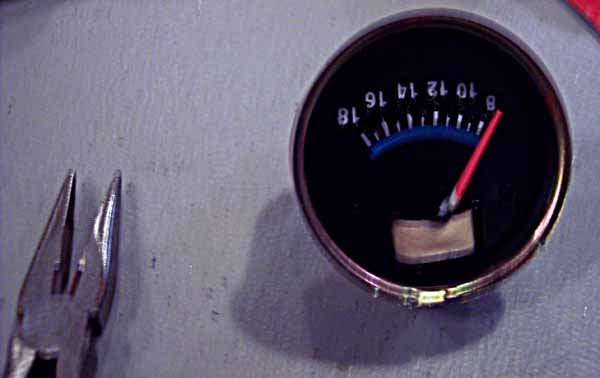
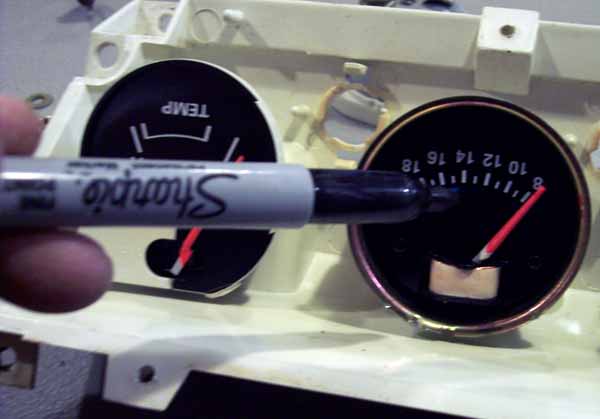
-Optional - Sharpie the blue line out.
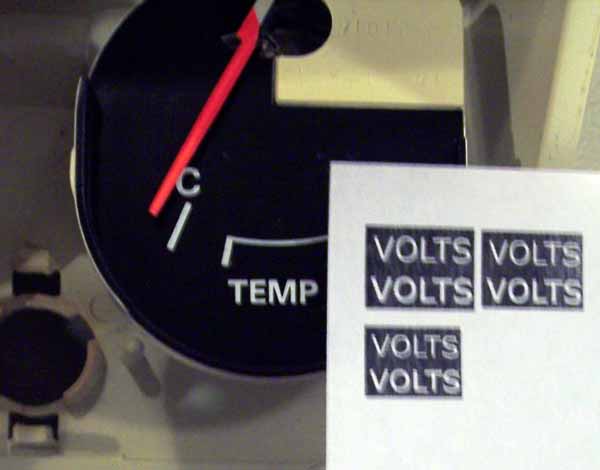
-Optional - create and print out some VOLTS 'decals' and adhere the best match to the gauge. You could use a document program with white text and black highlight or Photoshop like I did.
-Sharpie the edges of the paper!
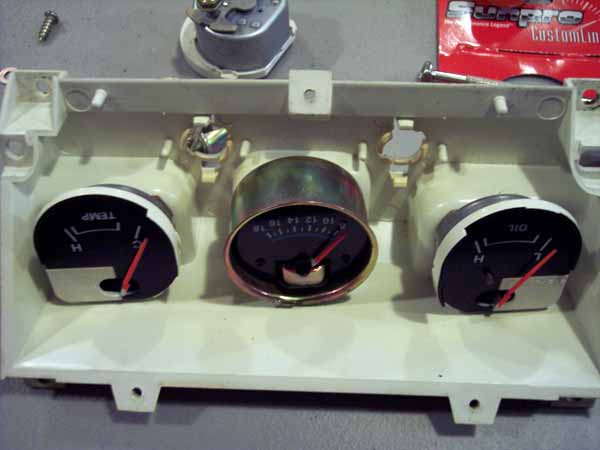
11) Put the lens back on.
12) Wire the pod up.
13) Assemble the panel.
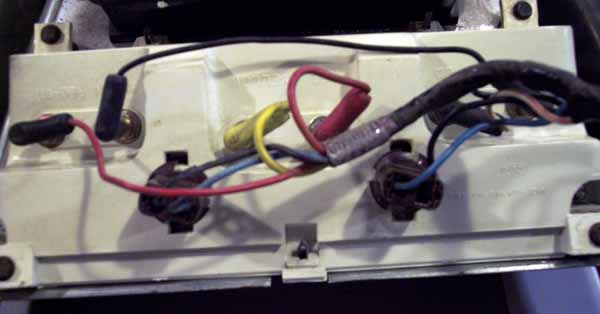
14)Install the panel and wire up the new gauge accordingly. Instead of the amp wire feed, you will instead need to connect to "key on" power.
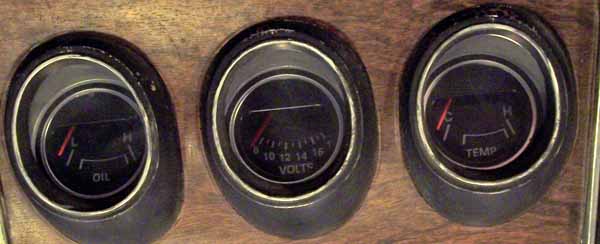
Here were the steps:
1)Purchase a SunPro Customline CP7985 voltage gauge. I was looking at a Bosch option too but this was more readily available.
2) Disconnect your center panel then remove the gauge pod assembly.
3) Remove the retainers holding the lens on.
4) Simply unbolt the amps gauge and remove.
5) Carefully remove (destroy) the bezel from the new gauge. Try not to hurt the housing. The bezel and the lens will not be used.
6) Disassemble the gauge.
7) Remove the bulb housing (destroy).
8) Make a note of which is the positive terminal as the marking will be hidden when installed
9) Reassembly the gauge without the nuts. I felt the inclusion of the nuts brought the gauge forward in the pod too much. I settled on a single washer for spacing.
10) Bolt the gauge into the pod.
-Optional - Sharpie the blue line out.
-Optional - create and print out some VOLTS 'decals' and adhere the best match to the gauge. You could use a document program with white text and black highlight or Photoshop like I did.
-Sharpie the edges of the paper!
11) Put the lens back on.
12) Wire the pod up.
13) Assemble the panel.
14)Install the panel and wire up the new gauge accordingly. Instead of the amp wire feed, you will instead need to connect to "key on" power.
Last edited by a moderator:
")