- Joined
- Oct 4, 2014
- Messages
- 962
- Reaction score
- 101
- Location
- Minnesota, USA
- My Car
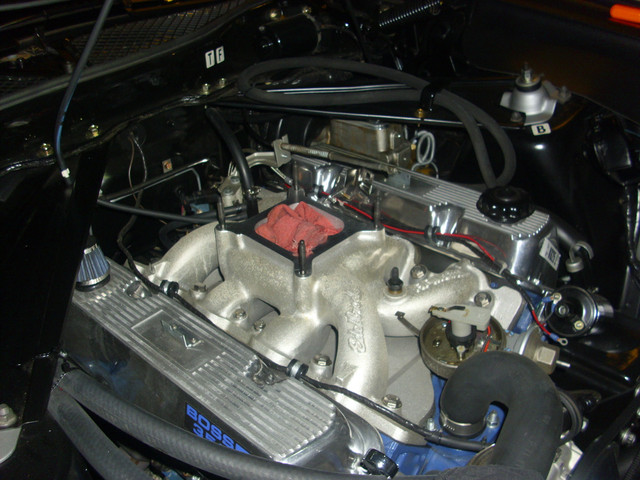
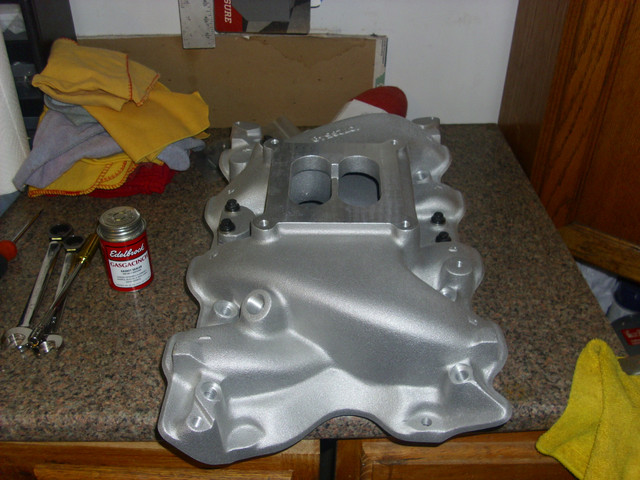
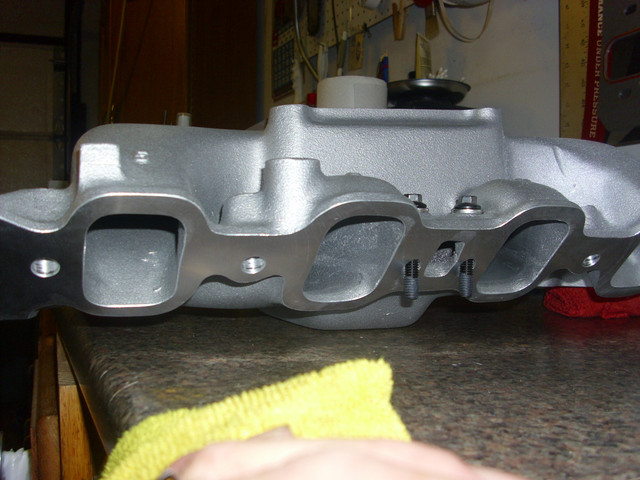
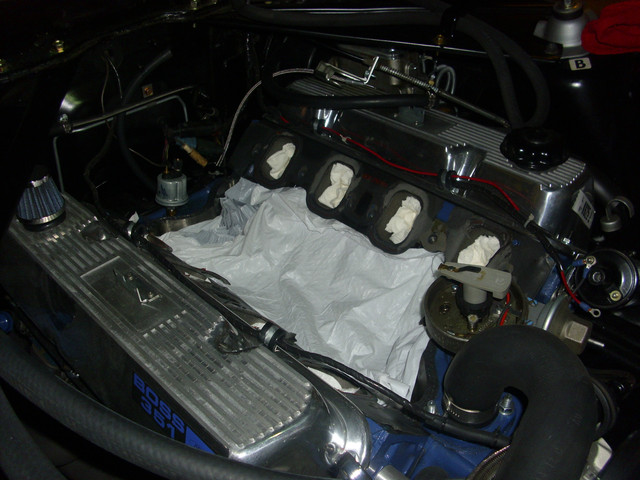
- 1972 H code fastback Boss 351 clone
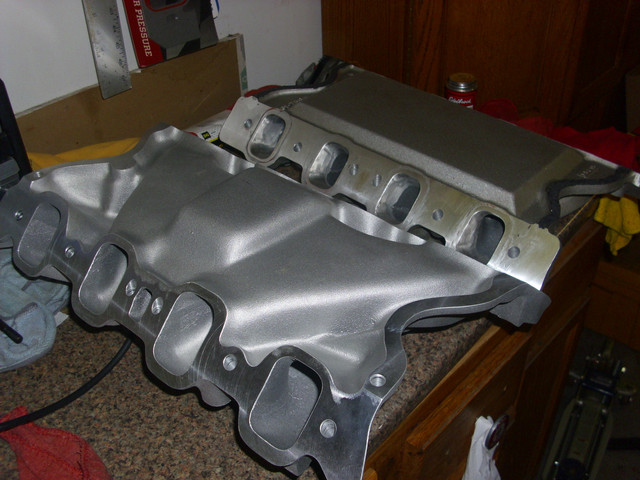
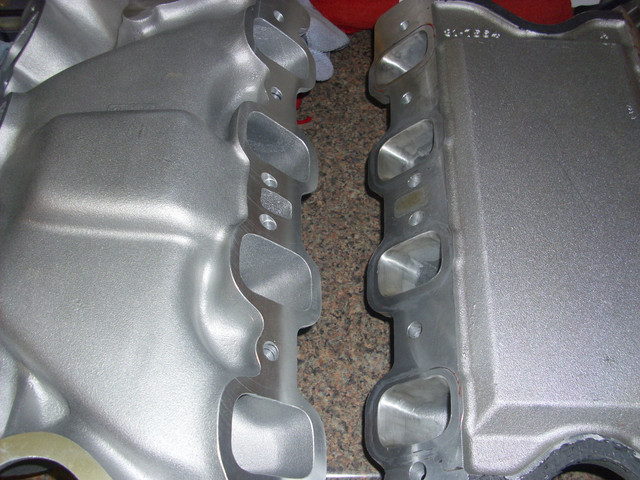
I am going to be installing my new Blue Thunder intake this weekend, and I was just wondering. I got the SCE gaskets for the port surface and rubber China Wall gaskets. Last year I used a little Black Permatex to seal the ports, but I was told to use Edelbrock Gasgacinch. Has anybody used The Gasgacinch for their intake? I found out the hard way last year that the SCE gaskets do not have the holes for the pins in the heads, I had to hurry up and punch holes while the Permatex was setting up. But now my gaskets look like they have wetness stains around the ports from the Permatex, so I want to try something different that wont stain or deteriorate the gaskets. The first set of gaskets I used were the edelbrock paper gaskets, and the bottom lip of the ports split on me and started sucking oil into the ports. The SCE gaskets are working well so I'm going to use another set for this intake.