Polishing of the trim and also of the paint finish is done at a slower RPM that grinding. So a pedestal grinder is not the best choice for buffing. Just like using a side grinder would not be a good choice to put a buffing pad on to do your paint. Equipment suppliers usually distinguish the difference and call the Buffers or Grinders. If you are trying to say buff out your instrument panel lens you need to use something very slow and the headlight polish to keep from melting the plastic.
You will need to get several different grades of polish and never use the same buffing wheel for different grades. I keep my buffing compound sticks and the buffing wheel they go with in plastic bags so I do not mix them up.
When you are first starting you have to remove all the anodizing from the aluminum. You will find many posts on the forum on that topic.
If you are buffing like the stainless trim around the windshield of a convertible you do not have to do anything unless you have dents.
If you have dents in your trim you will need a good flat surface to push the dents back out. Do not hammer on them unless just lightly. Massage the more than hammer them.
You need to find some video showing how to buff your parts. If you do not do it correctly the buffing wheel will catch the edge and bend your trim before you can blink an eye.
I worked in National Lock Cabinet Hardware. We had rows of buffers and two plating lines. We always had someone out of work with a broke finger hand or arm.
NEVER wear loose gloves or loose clothing. The buffing wheel tends to grab onto clothing and can also be dangerous. You should change the wiring on your buffer so that you have a Dead Mans foot switch. That is a pedal that when you take your foot of it the current is broken to the buffer. We wired all our drill presses and buffing machines this way so you did not have to reach for a switch it you were in trouble.
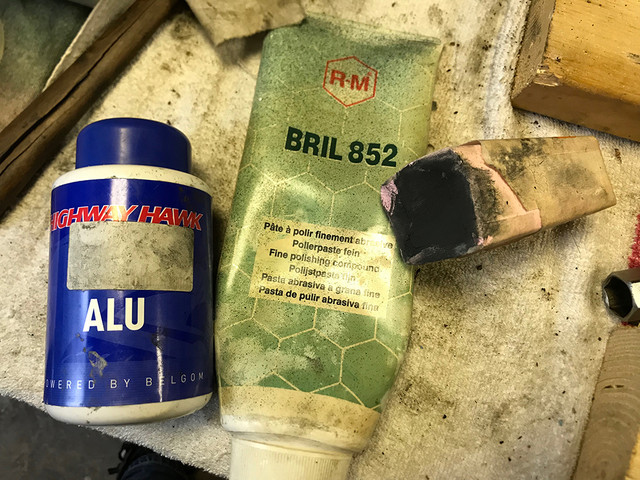
As with any type work you have never done there is a learning curve. If you buff too much there will be a hole in your trim. I usually use two grades a rouge that is for getting the big scratches out and then a fine that is usually white in color for the final buff and then I do a hand buff with aluminum polish cream.
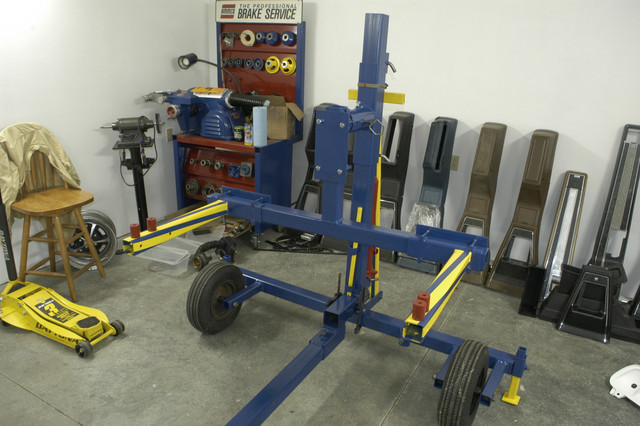
Here in the U.S. you can get a pretty good buffer at Harbor Freight I have one been using for several years and still runs great. It is better to mount to a pedestal so that long pieces can be put into any position.
Again catching an edge will grab the part out of your hand for sure. I would practice with a junk part to get the hang of it.
The buffing pads or wheels come in couple different configurations. The more they are sewn together the more cutting they will do. The wheels for final buff are not sewn close to the buffing surface but are loose layers of cotton usually.
The parts will heat us so keep several handy so you can switch off to let them cool. When switching grades of compound be sure and wash the parts thoroughly so you do not carry coarse material into your fine buff.
When I use to polish molds I kept my different grit stones in different containers so I did not contaminate each other.
I just did some antique Wagner aluminum post the other day to put in yard sale. They were beat up pretty bad so I actually started with 500 grit sandpaper, then 1,000 then red rouge buffing compound then white then the paste by hand. They look like new now. I have done antique hand drills and power saws and sold on ebay also. Good polish catches the eye for sure.
It does not take long and is easy once you know where not to put your part on the buffing wheel.
Always try to stay below the center line of the wheel and stay away from catching edges. Long skinny pieces should be polished long wise so the edge does not catch. When you come to and end point the end down toward the floor so the wheel is pushing away from the edge.
Sometimes I do wear tight fitting shop gloves but not often.
I might try to take some pictures of positions of parts to the wheel tomorrow to better show what I am saying.
Most people get too carried away with trying to make them too good. If you cannot see the defect from arms length I doubt anyone viewing your car will ever see it.
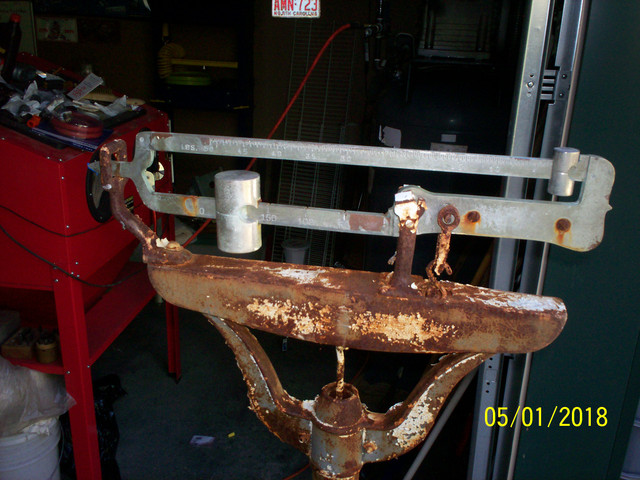
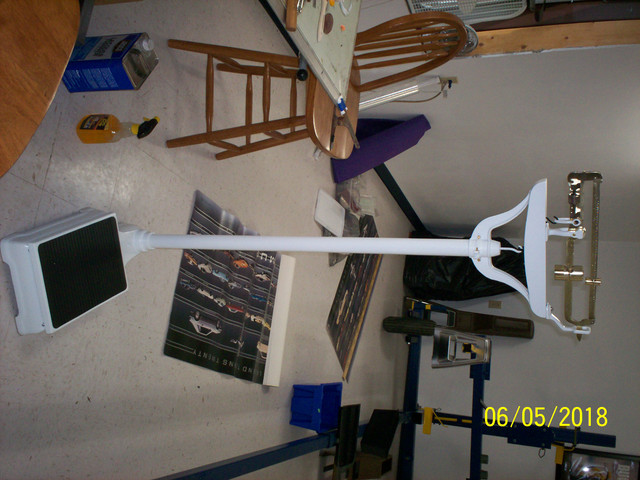
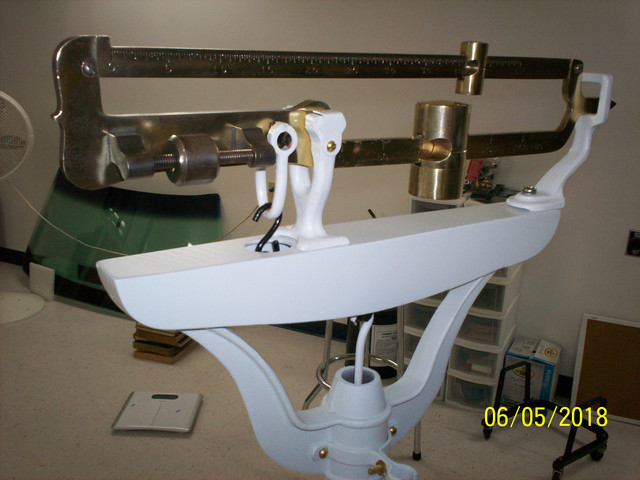
I did a set of Dr. Scales made in the 1920's had been sitting outside for years. I think I paid $15.00 for them. I put the steel and iron parts in my molasses tank and took all the rust off. When I took the balance beam apart I discovered it was all brass so I just polished it some instead of taking to get Nickel plating put back. When I weighed on the old scales and new digital within 1 pound of each other.
Pics of the pots and scales. I did all the stainless on my 73 vert and the aluminum trim on the tail light panel and the aluminum / stainless pieces that hold the rubber seal on the A post. I have some several pieces of trim I stretch wrap and put away. I switch tasks when I get bored doing body repair I go polish. When I get tired of car I work on furniture or something else. I love to learn new skills to use in different areas.
BTW I just wash good with lacquer thinner and spray clear over the parts to protect from the air so they do not tarnish so fast.
David


")