


Finally had to chance to drop this guy in. Unfortunately it wasn't as drop in as I'd hoped. Wasn't a big deal. I just need to tweak my brackets some.
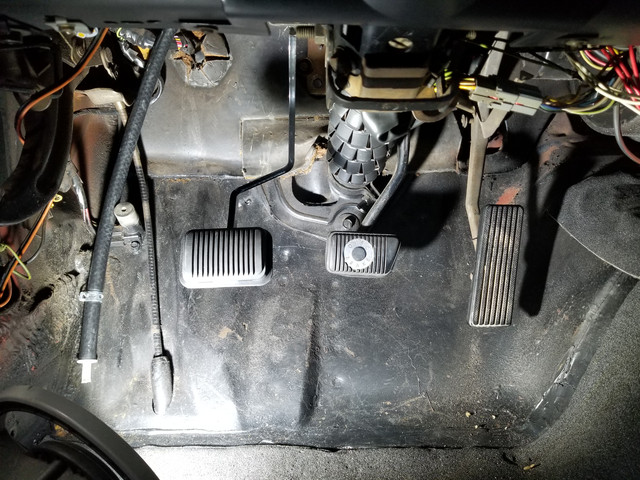
First I had to remove the existing clutch pedal. Since I no longer needed my spring I was able to just cut it with a dremel and the pedal came right out. I didn't have to remove the two bolts holding the spring or and of the steering column. After that you will need to remove the brake pedal bolt. It has a nut on one end that you will no longer need.
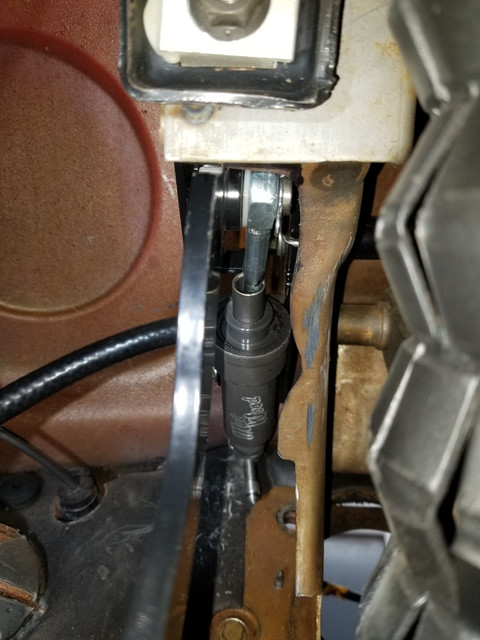
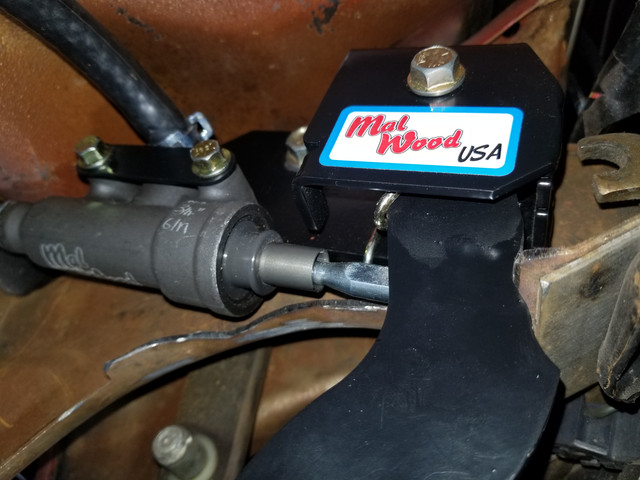
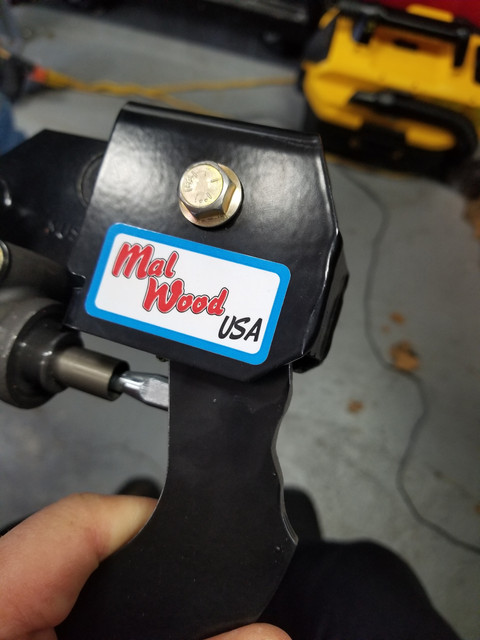
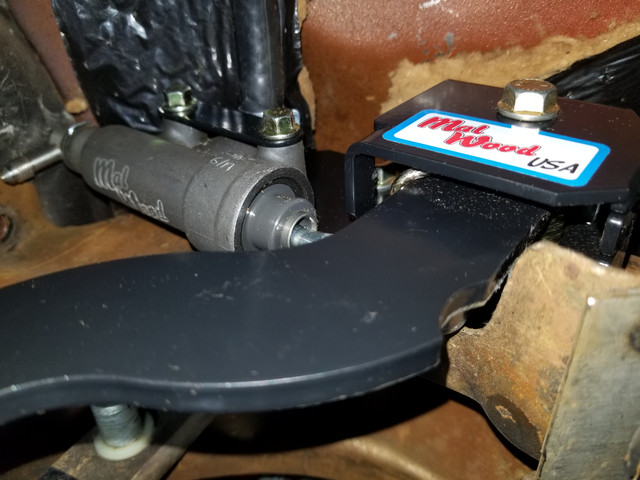
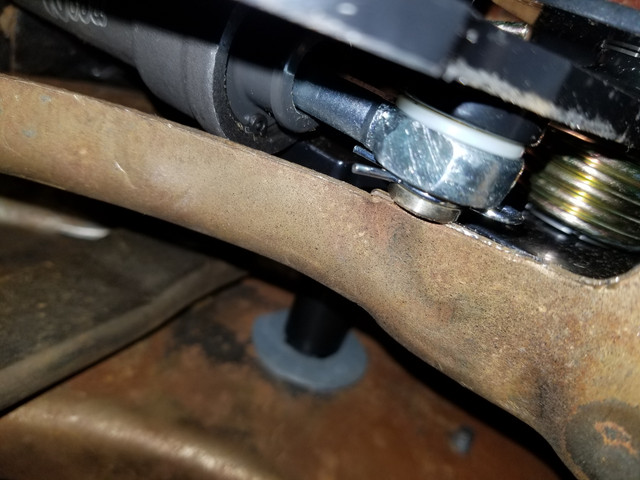
On the clutch carrier there are two holes. There is a through hole and a threaded one. The kit comes with a sleeve that's threaded on both ends and the two bolts for each end. This is the one that replaces your old clutch rod. Next you'll need to run your existing brake bolt back through with the bolt head entering from the passengers side and thread into the threaded hole of the clutch carrier.
This is all that would be required with the exception of drilling a hole into your firewall to run the throwout bearing and reservoir.
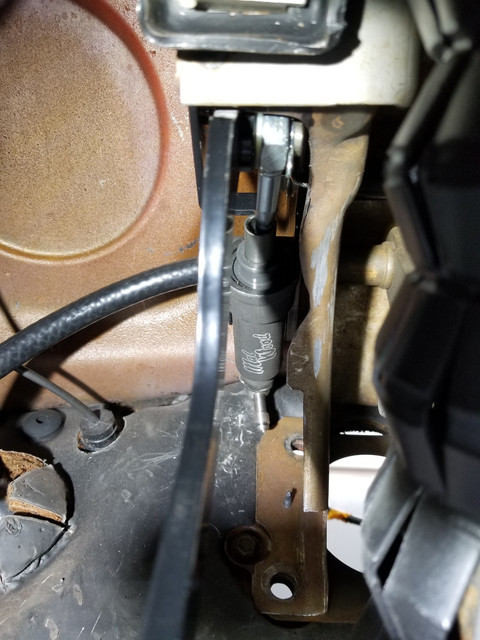
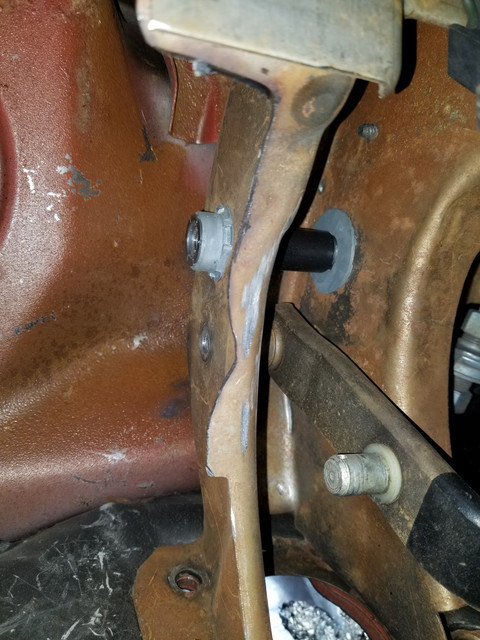
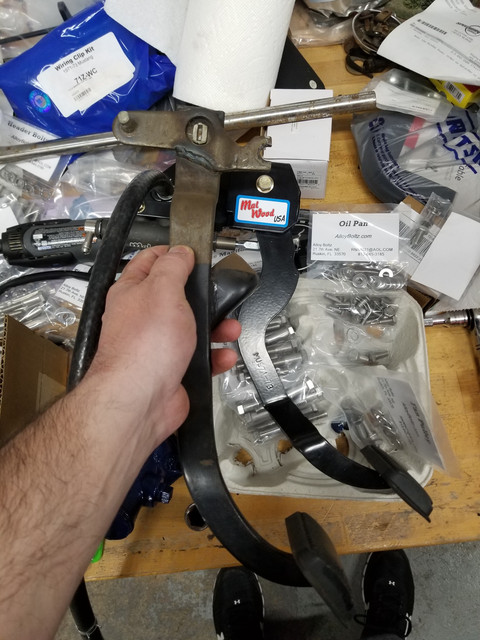
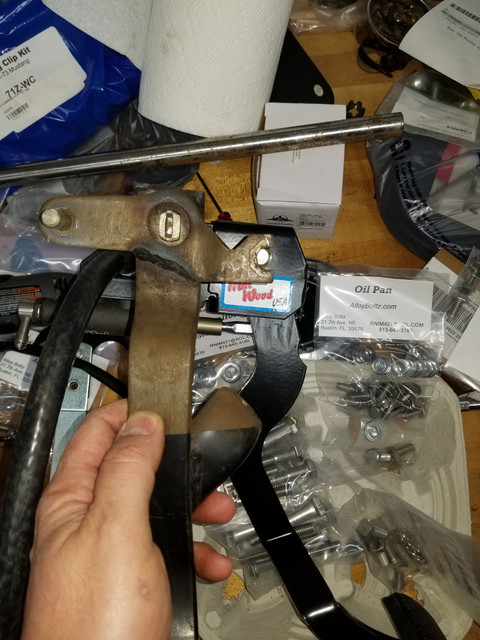
I had to shave down the bracket on my column and notch out the pedal to get smooth and full actuation. I spoke to the company and they are going to tweak the system some more so that this should no longer be an issue.
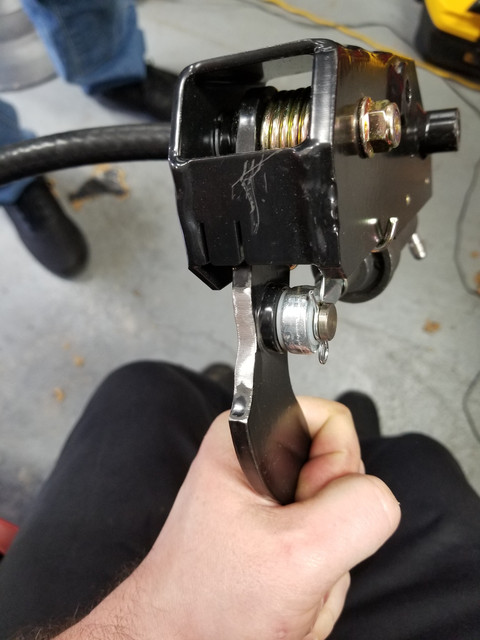
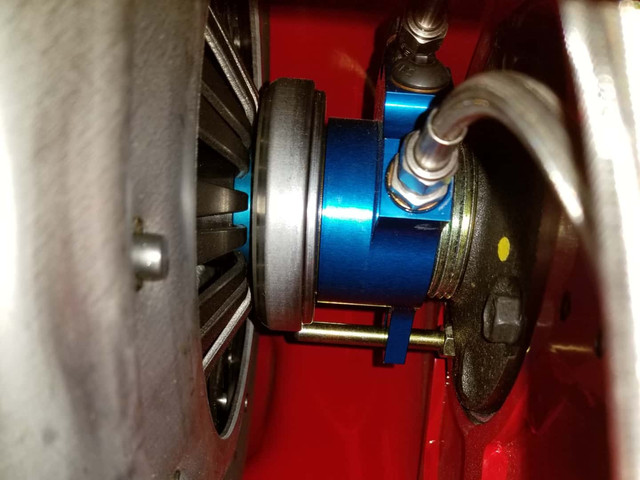
Other mustang's might not run into what I'm seeing. I'm not sure how much manufacturing difference there might be between what's under the dash between the 71-73's. I believe their test carrier was out of a 71. Mine is a 73. Here are some before and after pics. As show before I'm using their throwout bearing and have been assured by the company that I will have full pedal travel without needing any stops. A buddy of mine who's helping me put my build together setup the bearing. I believe you want a 180-200 thousandths air gap for the bearing. Turned out to be 3 of 5 washers supplied with the kit.
I can't speak on the performance yet but as it sits right now it looks like it will be a very sweet smooth system. I have nothing but good things to say about Malwood as a company. It' sunday while trying to install this and the company called me right back to work through this issue with me. Good customer service goes a very long way! Sorry, it looks like the way the pictures loaded will require you to look at the bottom and work your way up.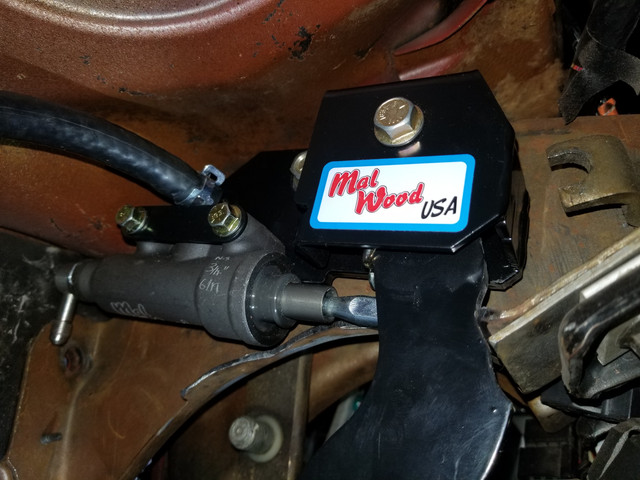


First I had to remove the existing clutch pedal. Since I no longer needed my spring I was able to just cut it with a dremel and the pedal came right out. I didn't have to remove the two bolts holding the spring or and of the steering column. After that you will need to remove the brake pedal bolt. It has a nut on one end that you will no longer need.
On the clutch carrier there are two holes. There is a through hole and a threaded one. The kit comes with a sleeve that's threaded on both ends and the two bolts for each end. This is the one that replaces your old clutch rod. Next you'll need to run your existing brake bolt back through with the bolt head entering from the passengers side and thread into the threaded hole of the clutch carrier.
This is all that would be required with the exception of drilling a hole into your firewall to run the throwout bearing and reservoir.
I had to shave down the bracket on my column and notch out the pedal to get smooth and full actuation. I spoke to the company and they are going to tweak the system some more so that this should no longer be an issue.
Other mustang's might not run into what I'm seeing. I'm not sure how much manufacturing difference there might be between what's under the dash between the 71-73's. I believe their test carrier was out of a 71. Mine is a 73. Here are some before and after pics. As show before I'm using their throwout bearing and have been assured by the company that I will have full pedal travel without needing any stops. A buddy of mine who's helping me put my build together setup the bearing. I believe you want a 180-200 thousandths air gap for the bearing. Turned out to be 3 of 5 washers supplied with the kit.
I can't speak on the performance yet but as it sits right now it looks like it will be a very sweet smooth system. I have nothing but good things to say about Malwood as a company. It' sunday while trying to install this and the company called me right back to work through this issue with me. Good customer service goes a very long way! Sorry, it looks like the way the pictures loaded will require you to look at the bottom and work your way up.