This is very common in the new dynacorn aftermarket hoods. It would of been alot easier to fix when the panel was being fitted before paint, but i believe you can still persuade it to the arch you need after paint. I don't believe shimming the fenders in the middle will get the job done. You will be putting alot of stress on the center of the fenders to try to get them to arch up to meet the hood. The fenders aren't made to bend that way. The way the lip is formed on the fender would be very hard to make it bow.
The factory hoods arch fit very nicely. the aftermarket ones, not so much. The factory hoods pinch seam was much better than the aftermarket ones. The aftermarket pinch seam between the upper panel and lower panel are loose enough to allow for adjustment of the arch. Again this should of been done before paint. you would of re-arched the hood to match the fenders, then tack welded the pinch seam under the hood to keep the panels from flexing back. then ground down the tack welds, seam sealed the entire seam, then paint. But since yours is already painted all is not lost. You can still re-arch the hood but be very careful with the paint.
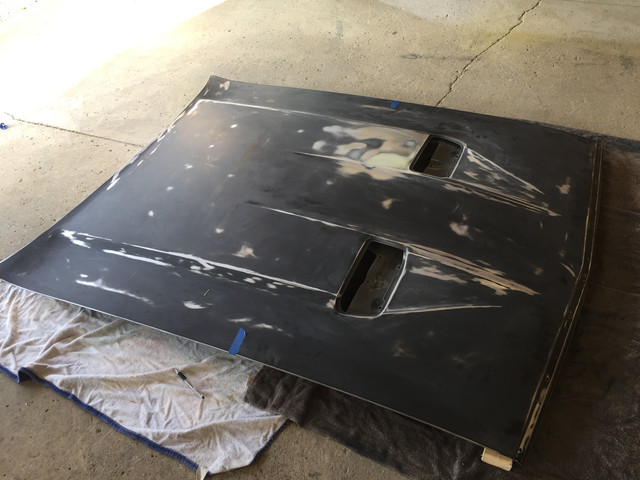
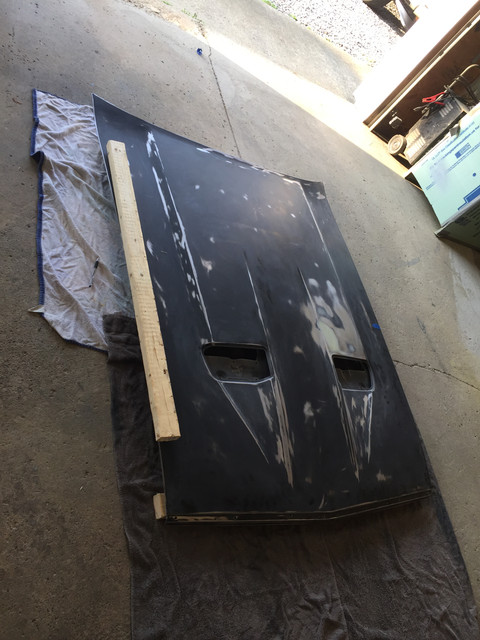
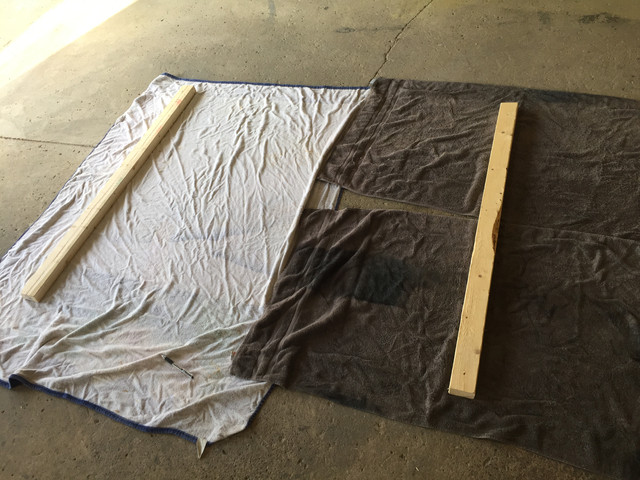
Mark your hood arch with a piece of tape at the highest point of the arch on each side. Measure how high above the fender it is and write it down on the tape. (1/4", 5/16", ect. whatever it is) Then lay down on floor two 2x4's cut to width of the hood and space them so the underside of the hood will sit on the hood latch hump in front and the hump in the back of the hood. Cover 2x4's with a blanket to protect hood. Remove hood, and place on top of 2x4's. Now take a measurement from the piece of tape on top of the hood to the floor. Write it down. Now for the scary part. Take a 2x4 wrapped in a towel or blanket and lay it lengthenwise along hood edge. Now you are going to push down on the hood and flex it downward, rotating from driver side to passenger side, or have someone on the other side helping push down on the arch. You will then want to keep taking a measurement at the tape mark to the floor till it is what you need it to be according to your original measurements that i said to write down. If you needed the arch 1/4" lower then your new measurement should be 1/4" less than the 1st hood to floor measurement you took. If you go slow and gentle your paint should be fine. Once you have the measurements you want, install the hood and check fit.
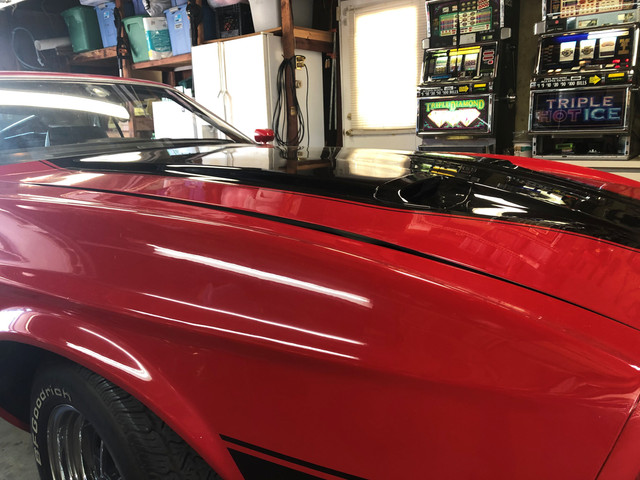
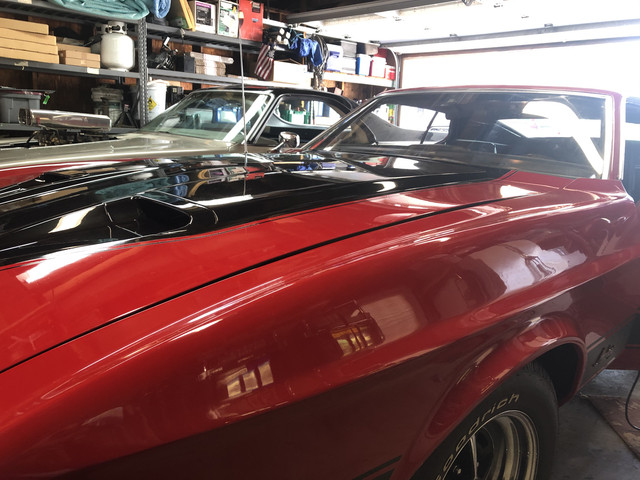
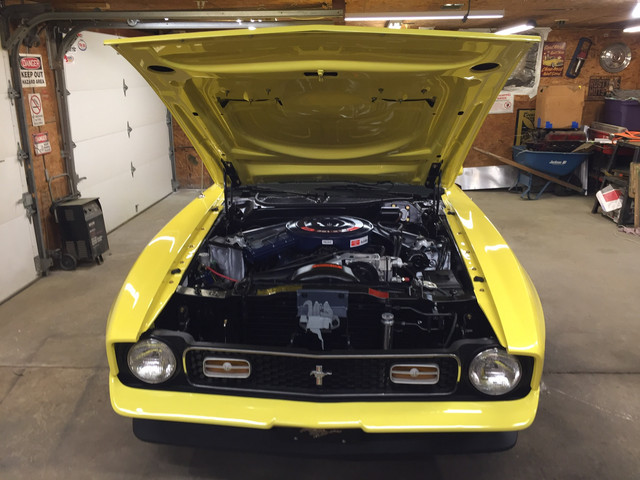
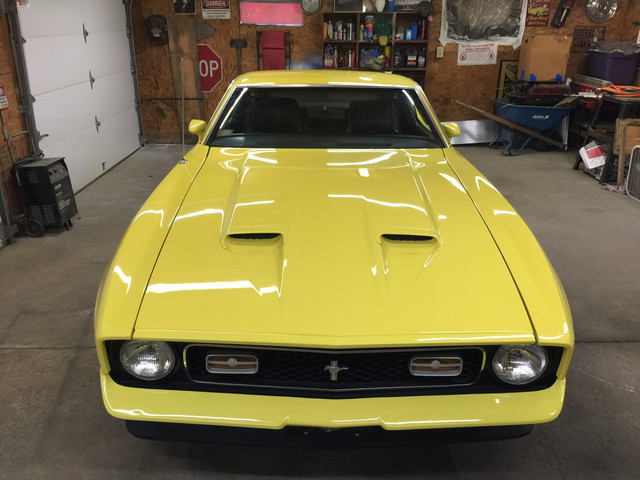
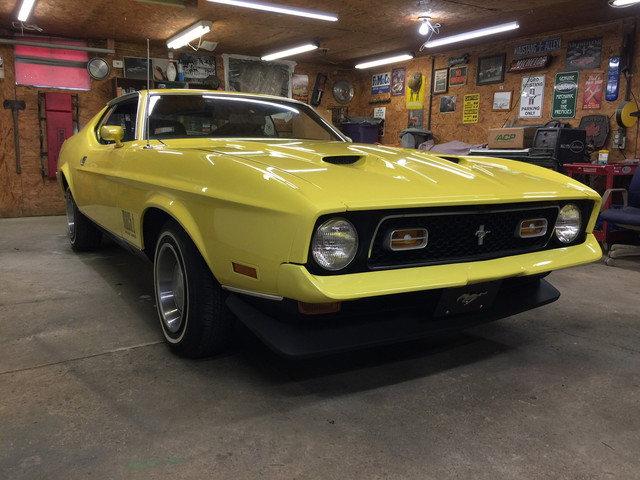
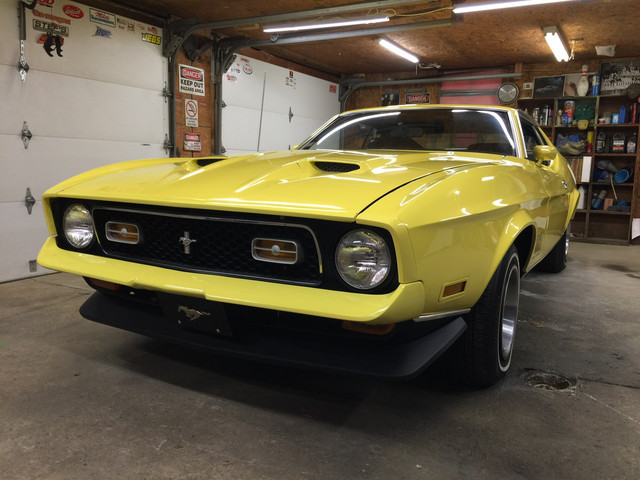
I hope that explanation wasn't too confusing. This is exactly how I did the hood on the yellow mach 1 I restored. Here's a few pics of how i laid it out.


")