Shipwright
Well-known member
- Joined
- Feb 8, 2012
- Messages
- 87
- Reaction score
- 0
- Location
- Canada
- My Car
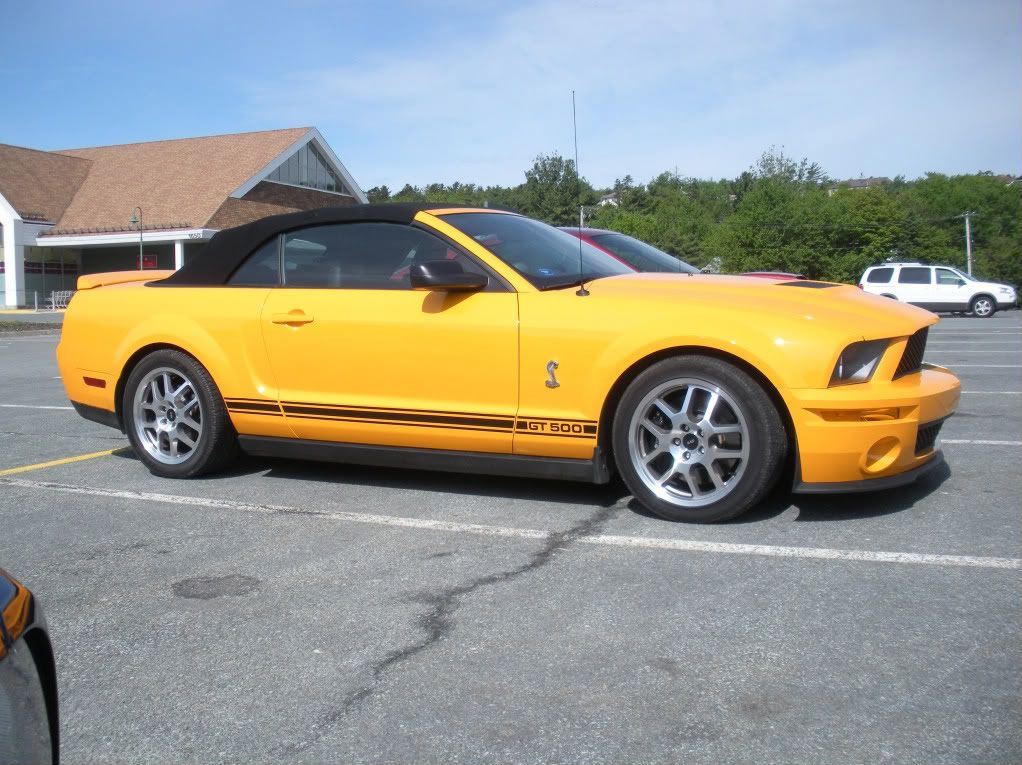
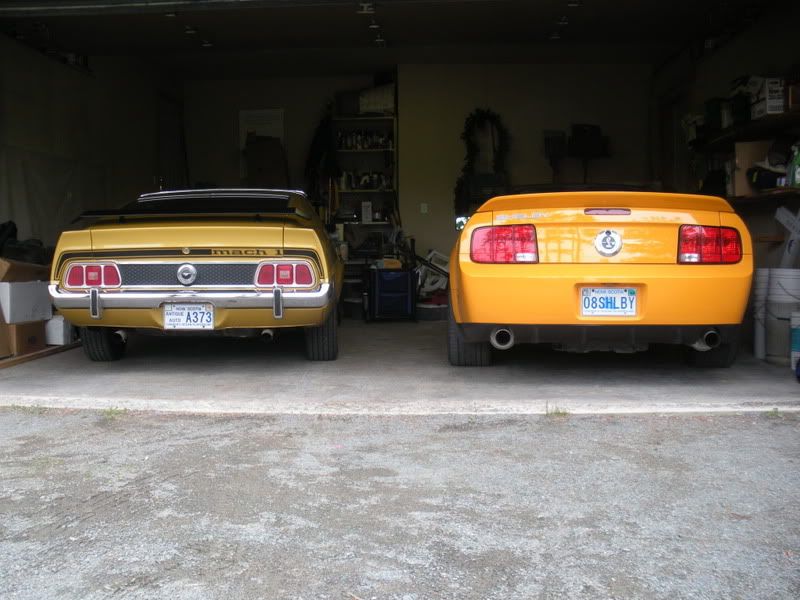
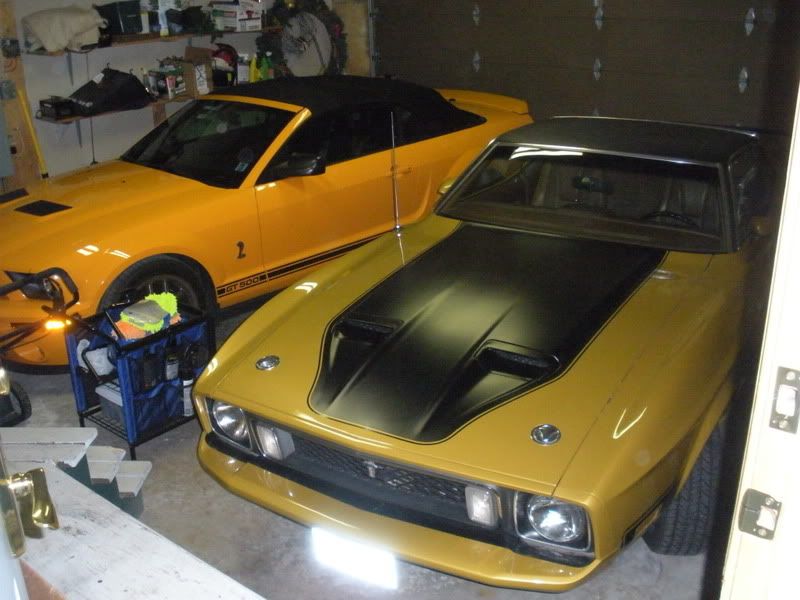
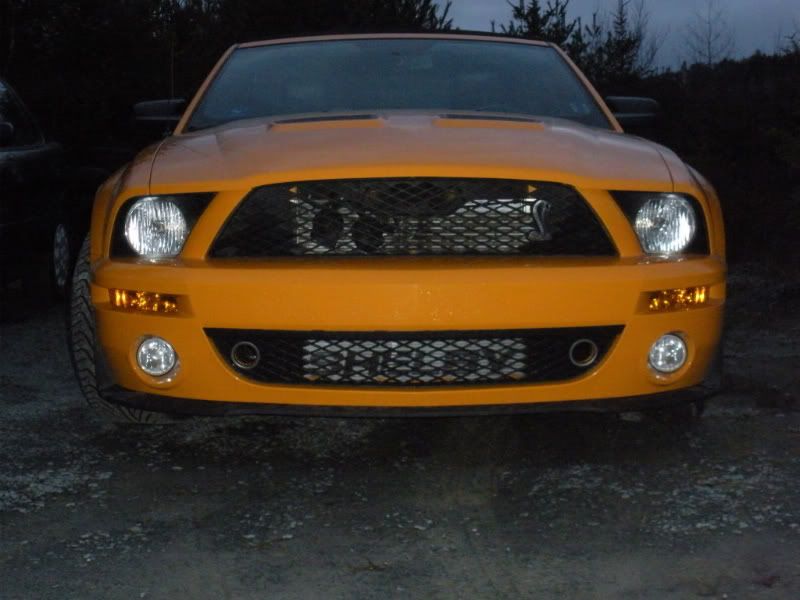
- 2008 Shelby GT500 Grabber Orange Convertible
Since I’ve completed posting the write-up on my wife’s ’11 winter re-work on her ’73 Mach 1 and I’m currently working on a update, I’ve decided to post this write-up on my ’08 GT500. As is my style it will be verbose with a heavy dose of pictures. This series was originally posted on a few other websites so you may already have read it elsewhere.
(Originally posted 20 Feb. 2011)

[align=center]Performance
446.24 RWHP @ 6250
438.85 RWTQ @ 4400
Specification and Mods
Engine
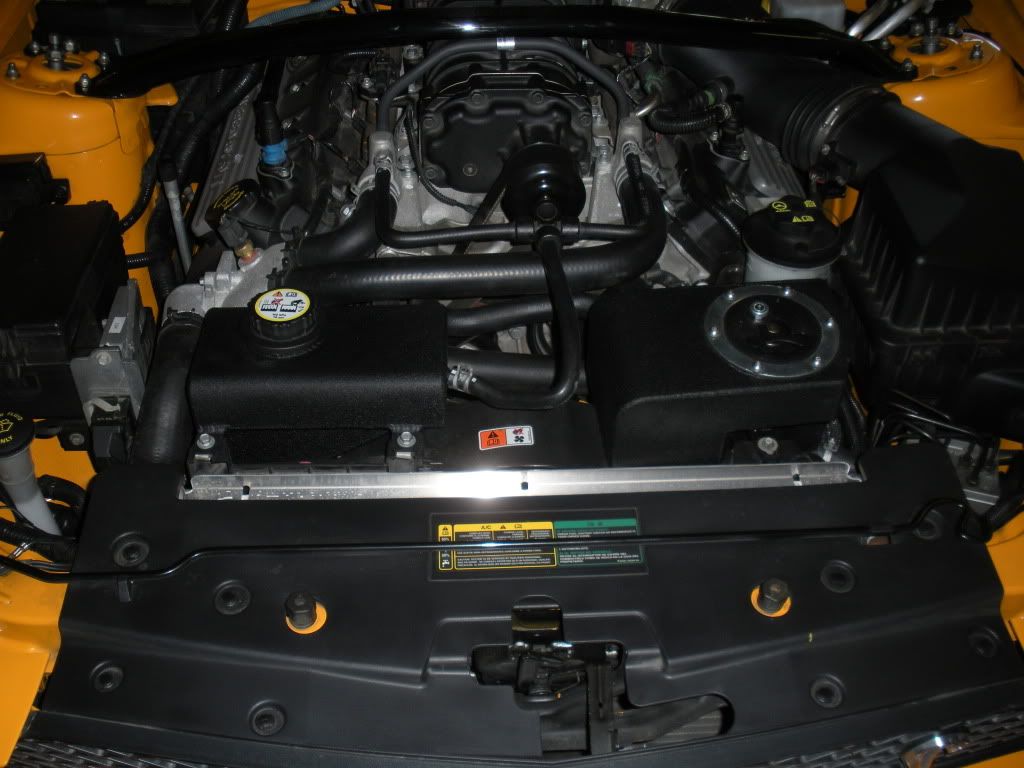
5.4 L Supercharged Engine
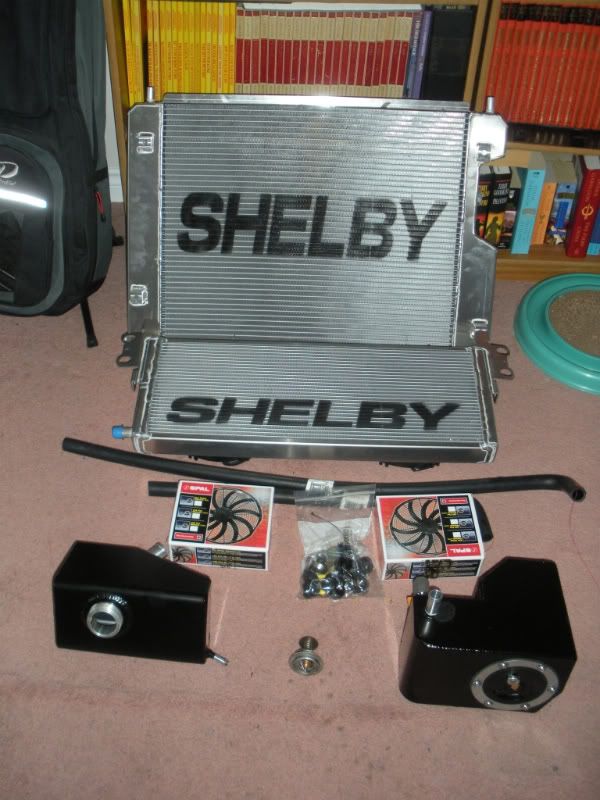
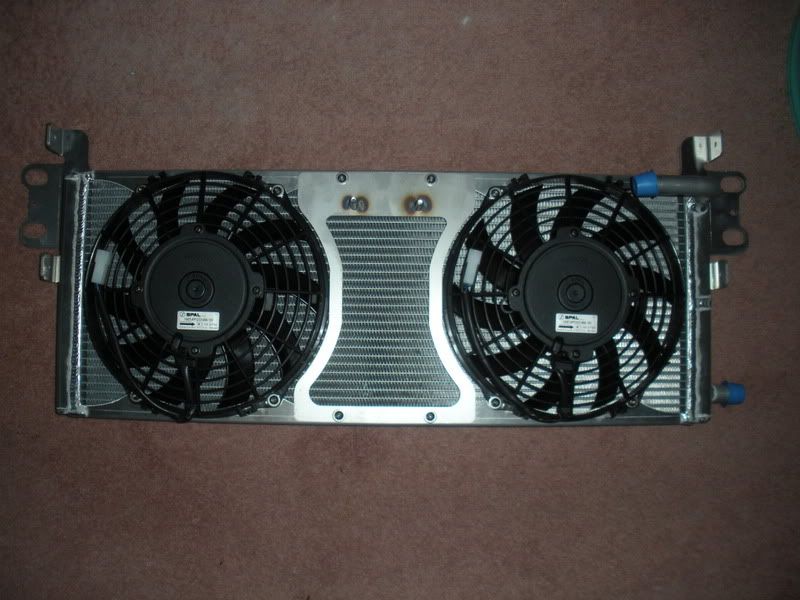
C&R/Shelby Heat Exchanger with Dual Electric Pull Through Fans
C&R/Shelby Radiator
Moroso Heat Exchanger Coolant Tank
Moroso Radiator Coolant Tank
Reisch 170 deg Thermostat
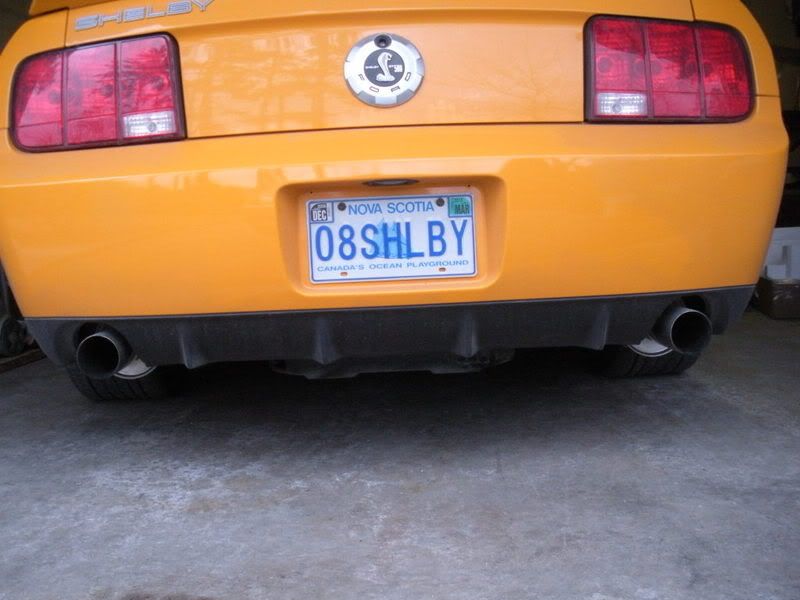
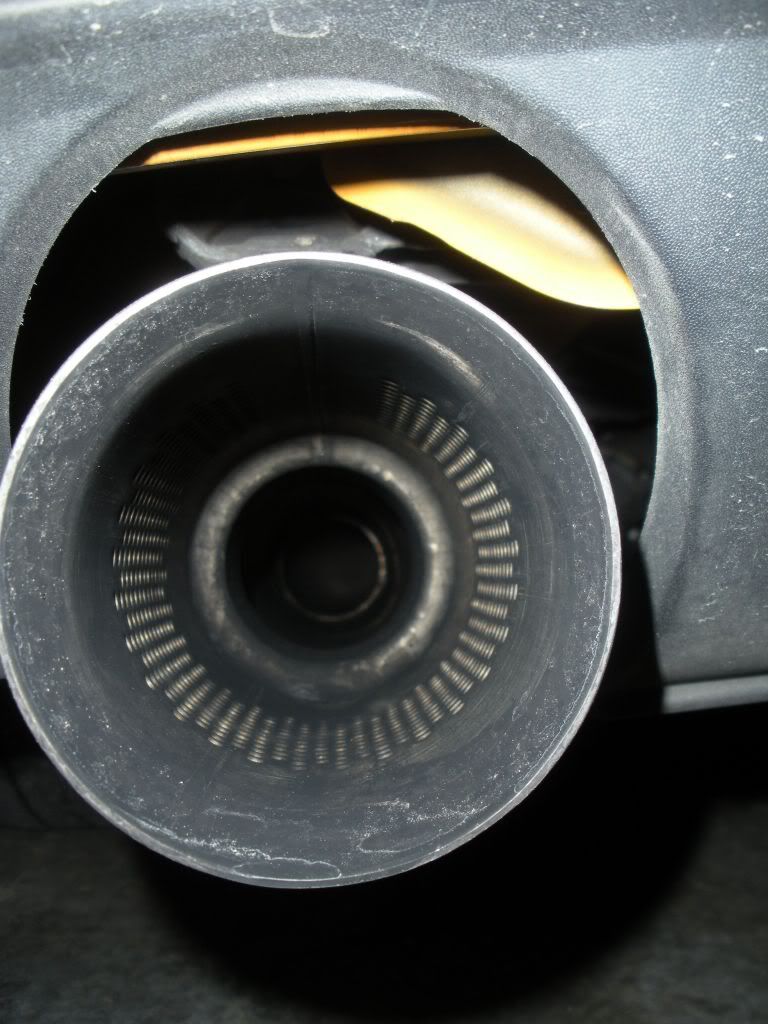
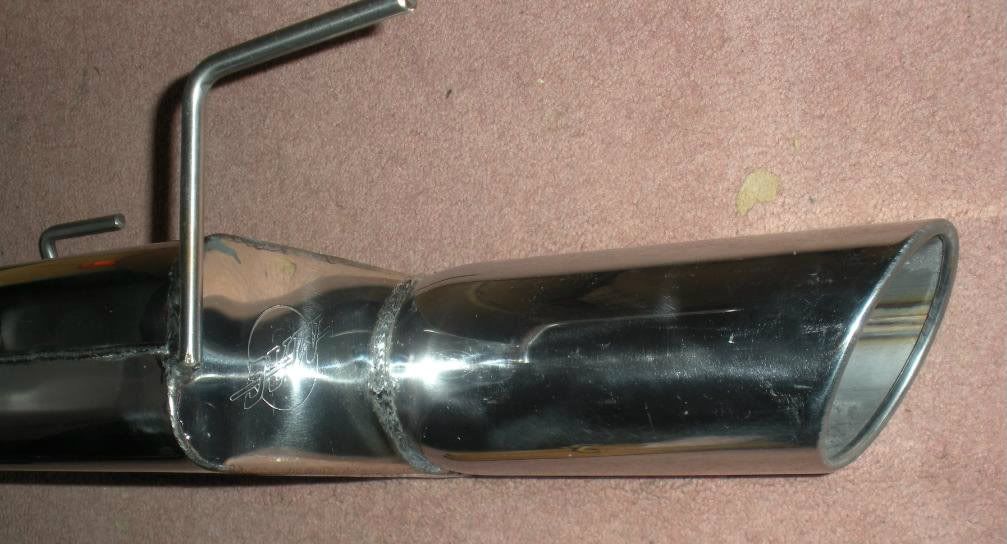
FRPP “KR” Axle Back Mufflers
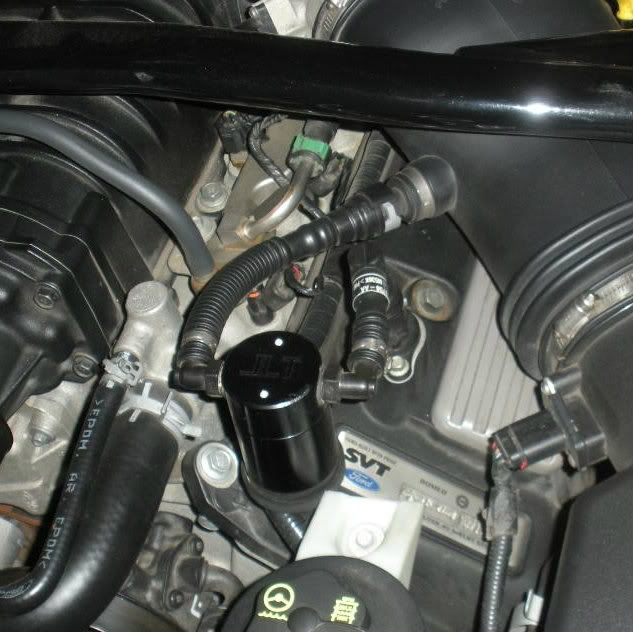
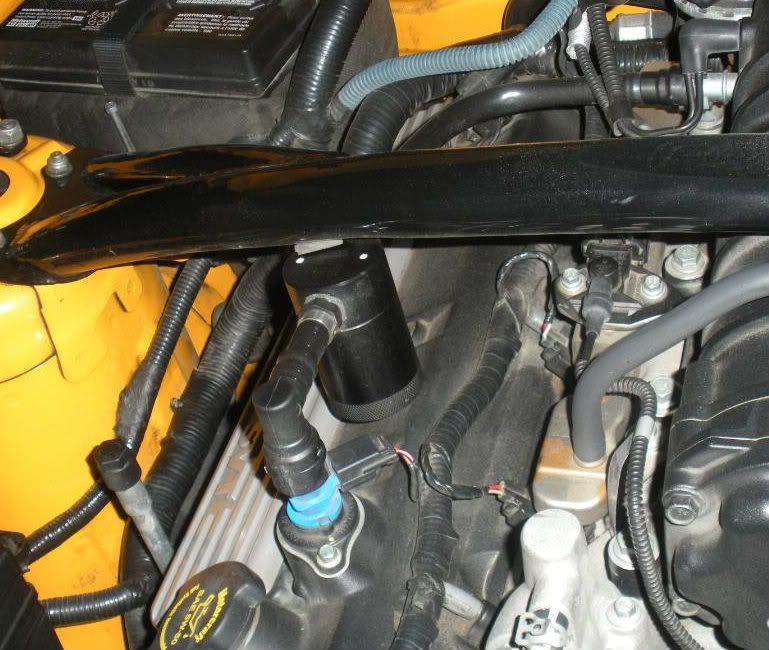
VMP Passenger side Oil Catch Can
VMP Driver side Oil Catch Can
Driveline
6 Speed Manual Transmission
8.8 SRA with 3.31 final drive
FRPP “KR” Short Throw Shifter
PST one piece 3.5” Carbon Fibre Drive Shaft
Suspension, Brakes, Wheels and Tires
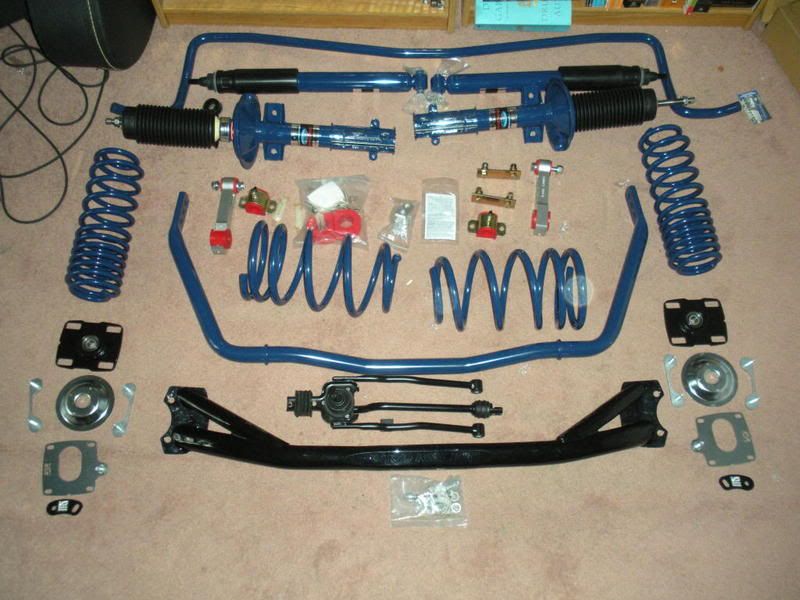
FRPP FR3SVT Handling Package (full kit)
Tokico Shock Adjustment Extensions
Maximum Motorsport Adjustable Caster Camber Plates
Evolution Performance Billet Lower Control Arms
BMR Adjustable Upper Control Arm
Metco Heavy Duty Upper Control Arm Bracket
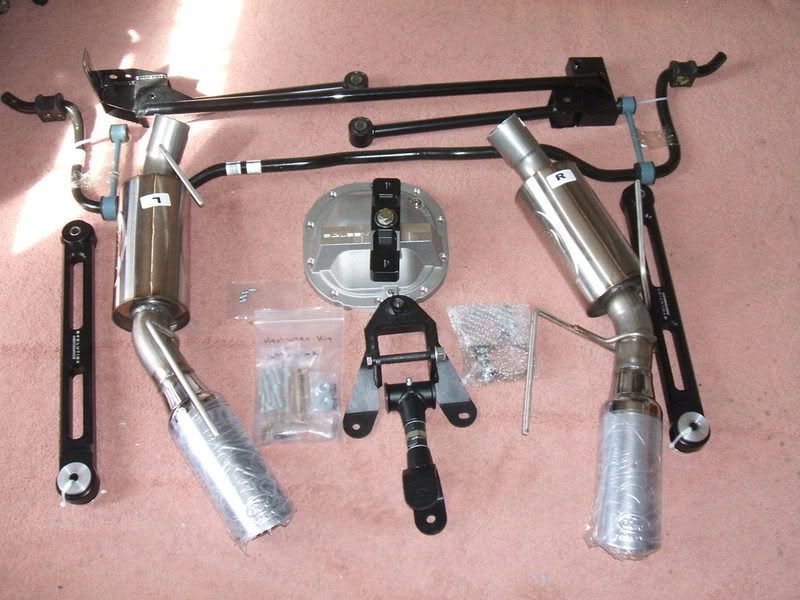
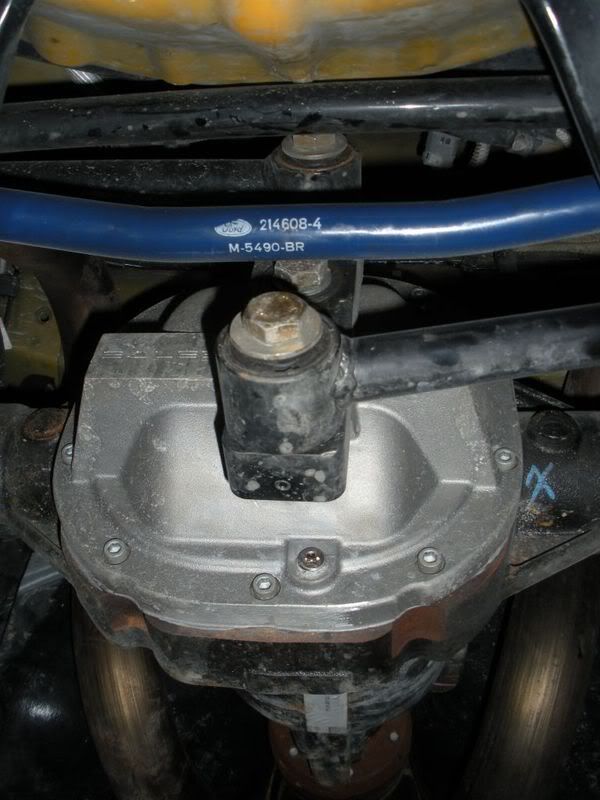
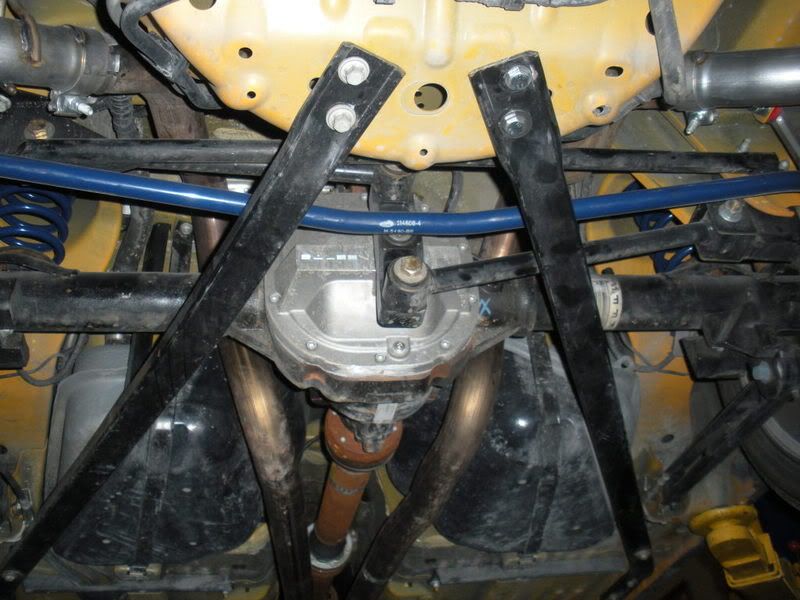
Saleen Watts Link
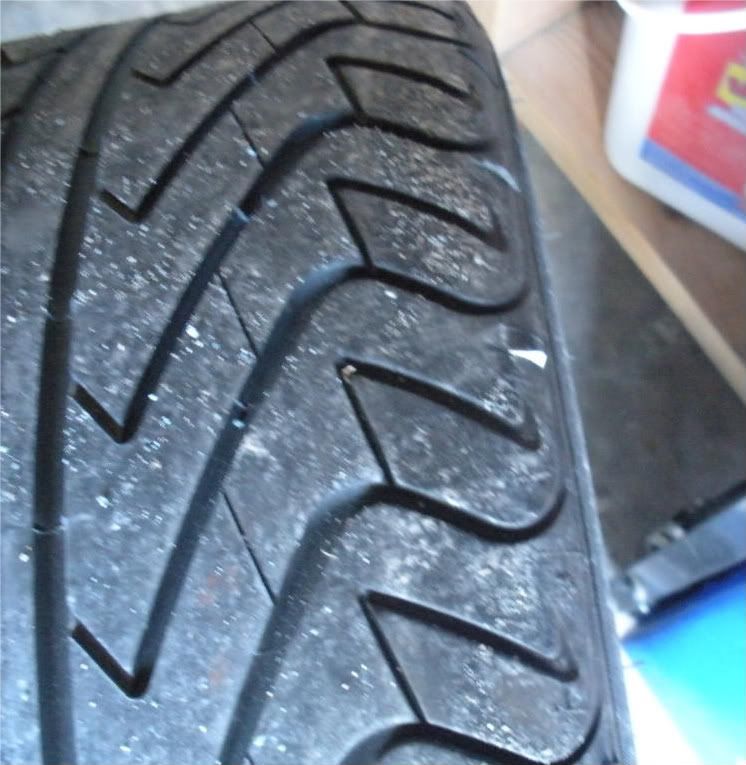
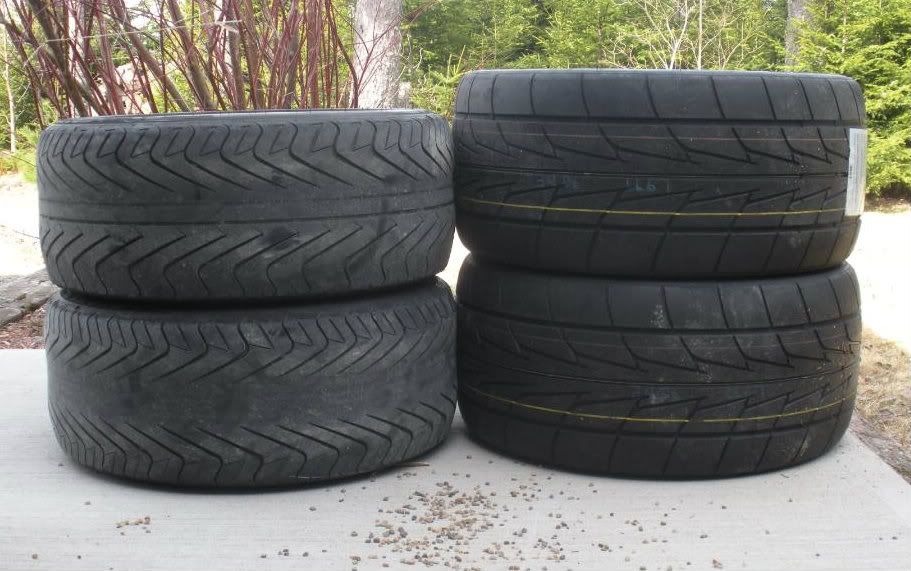
Michelin Pilot Sport Tire (stock sizes)
Stack Racing TPMS band kit
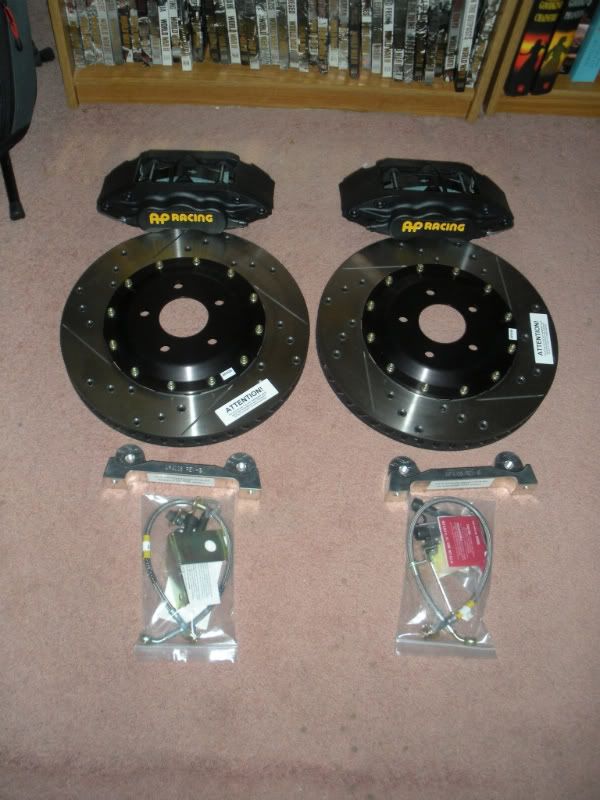
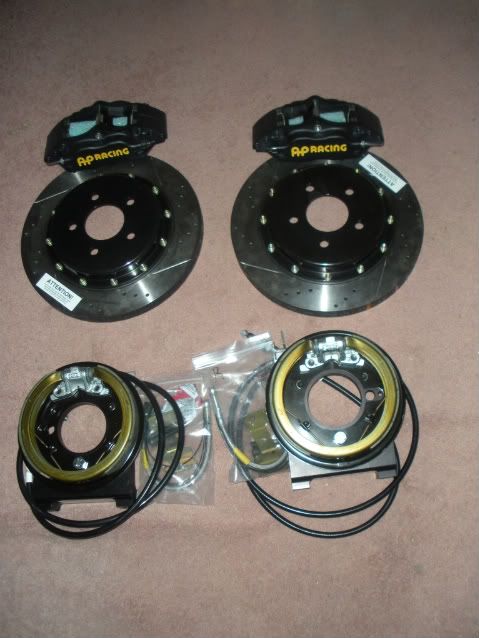
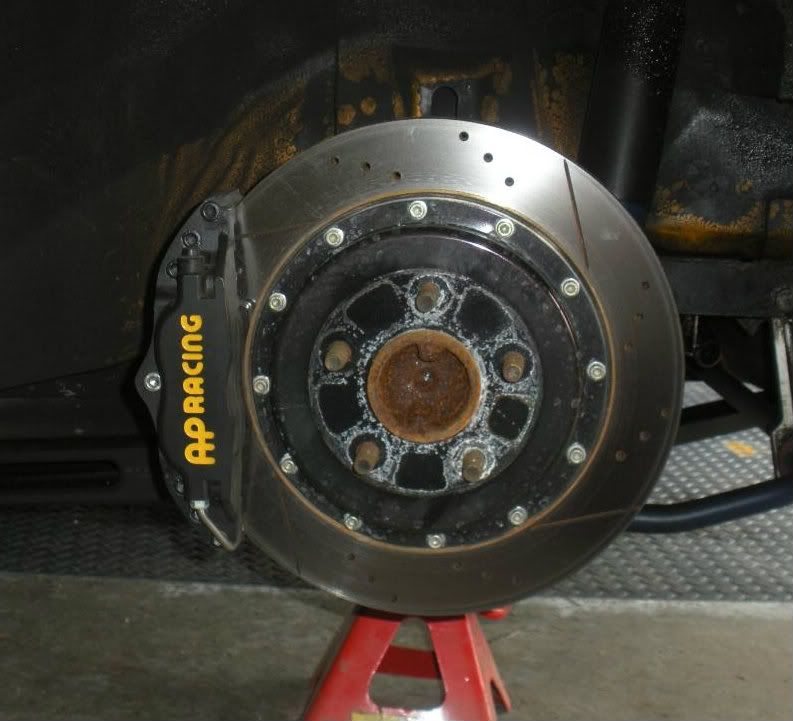
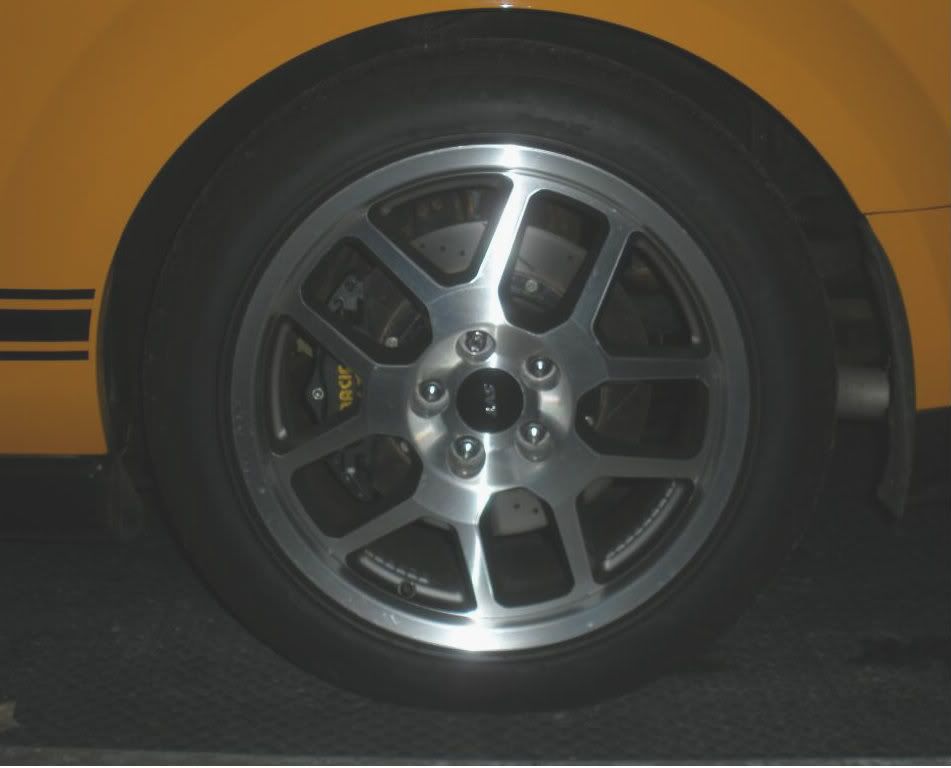
AP Racing 6 Piston 14-1/4” Cross Drilled/Vented Front Brake Package
AP Racing 4 Piston 13” Cross Drilled/Vented Rear Brake Package
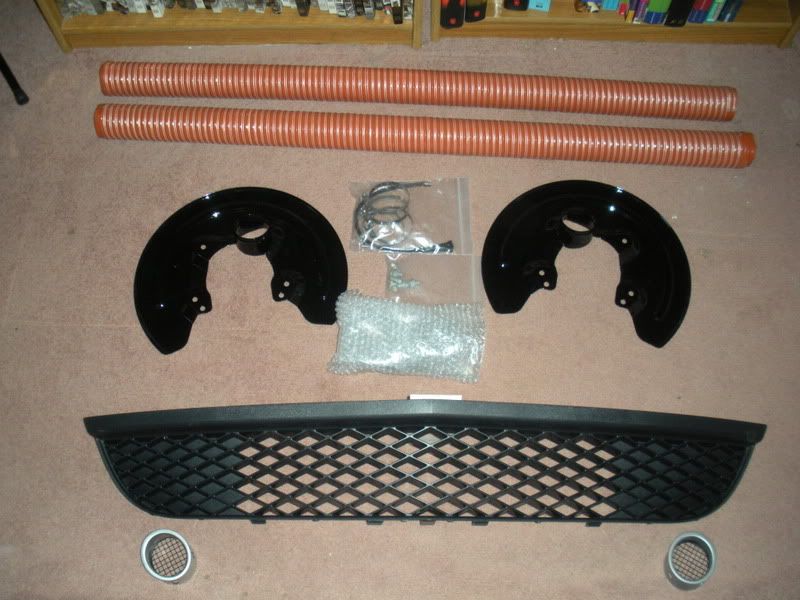
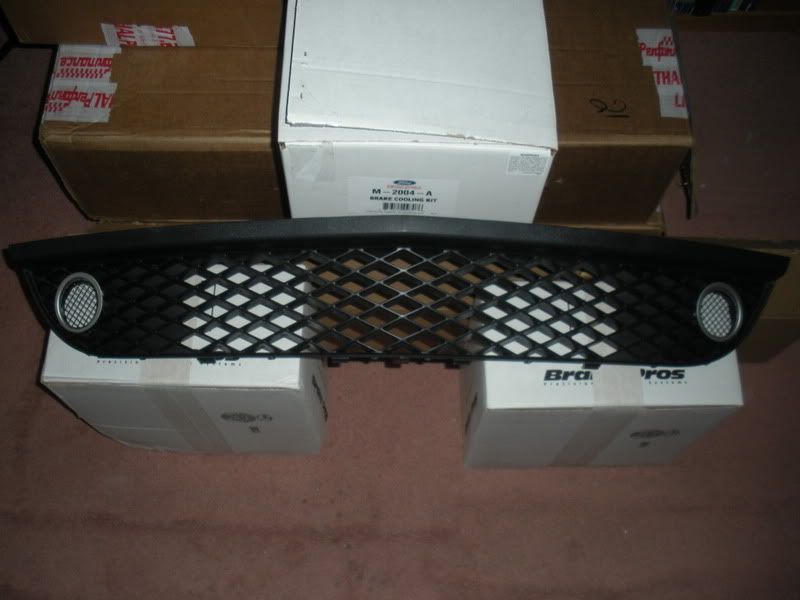
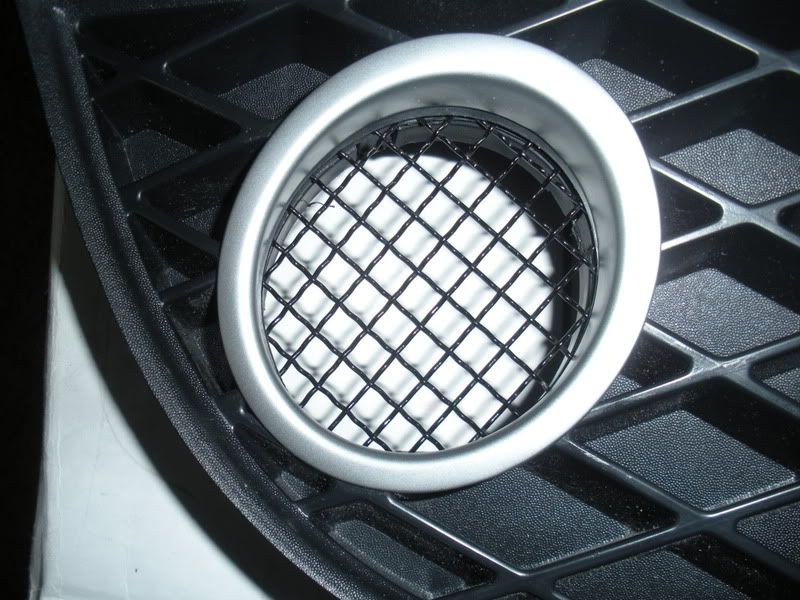
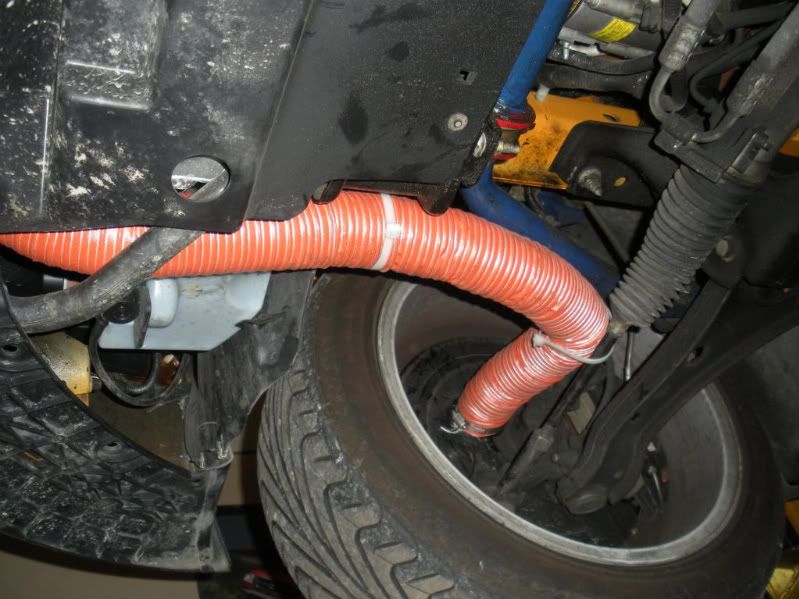
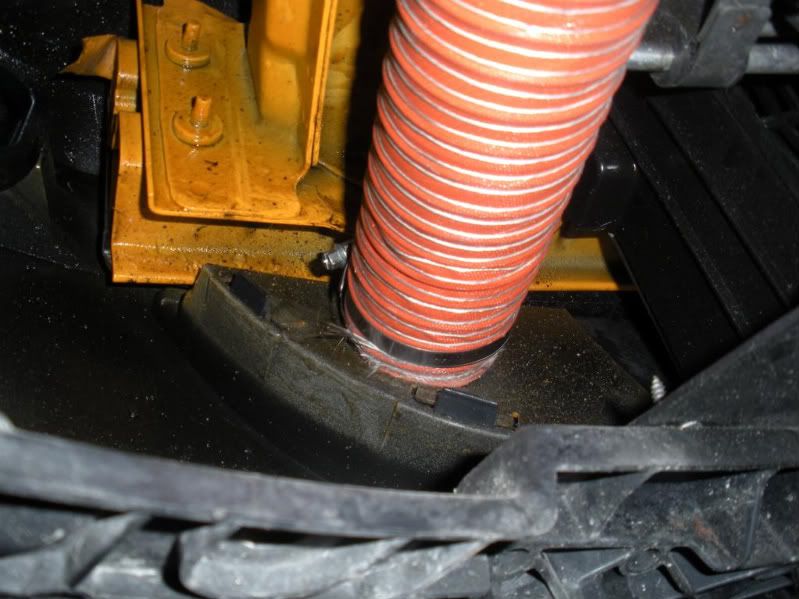
FRPP Front Brake Cooling Kit
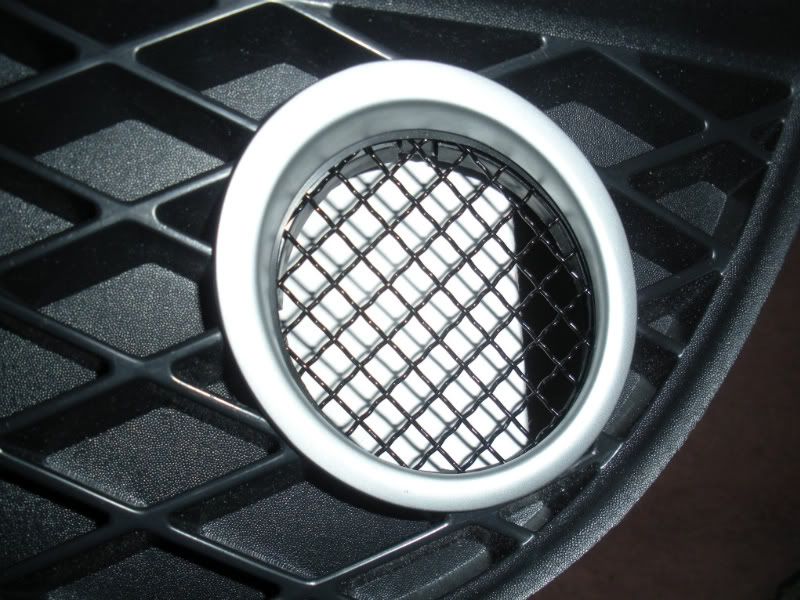
Shelby Front Brake Cooling Bezels.
Appearance mods
CDC Dead Pedal
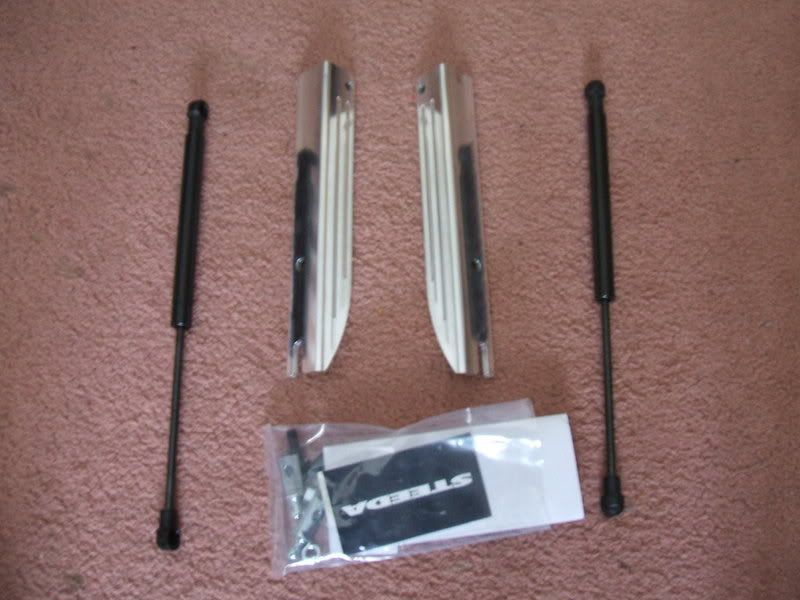
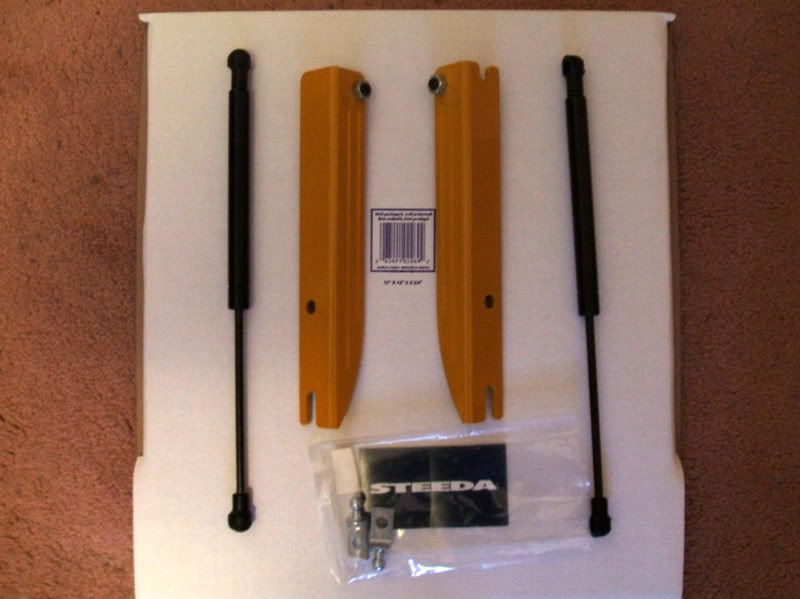
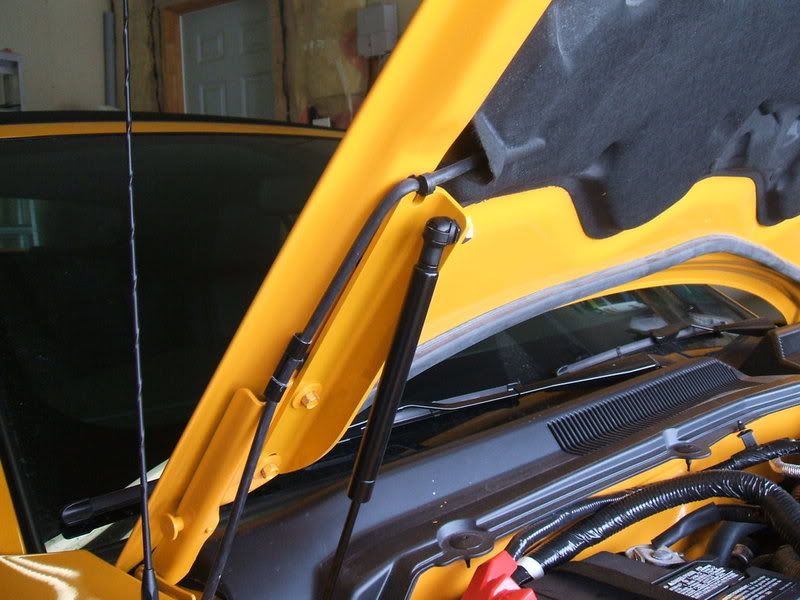
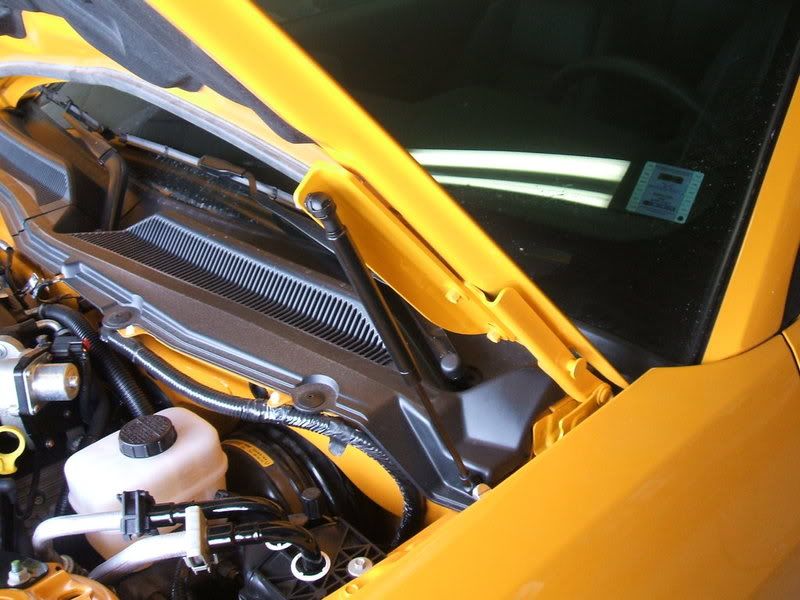
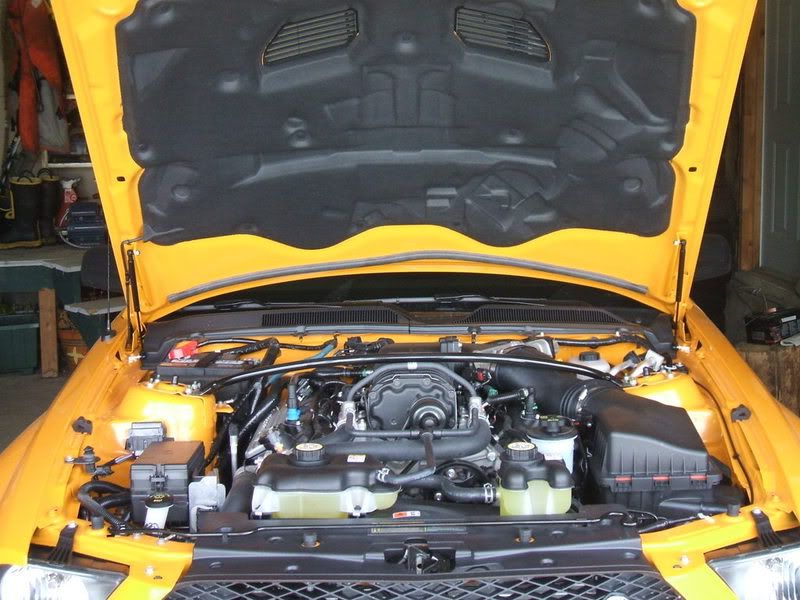
Steeda Hydraulic Hood Lifts
Web Electric Sequential Tail Lights
Carroll Shelby Signed Passenger Air Bag Cover
Carroll Shelby Signed Center Dash Plaque and Door Sills
Carroll Shelby Driver/Passenger/Trunk mats
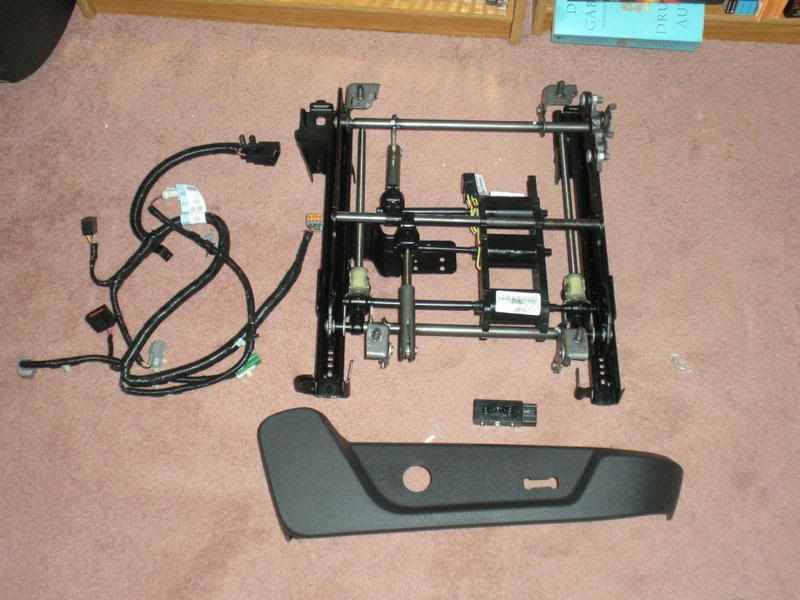
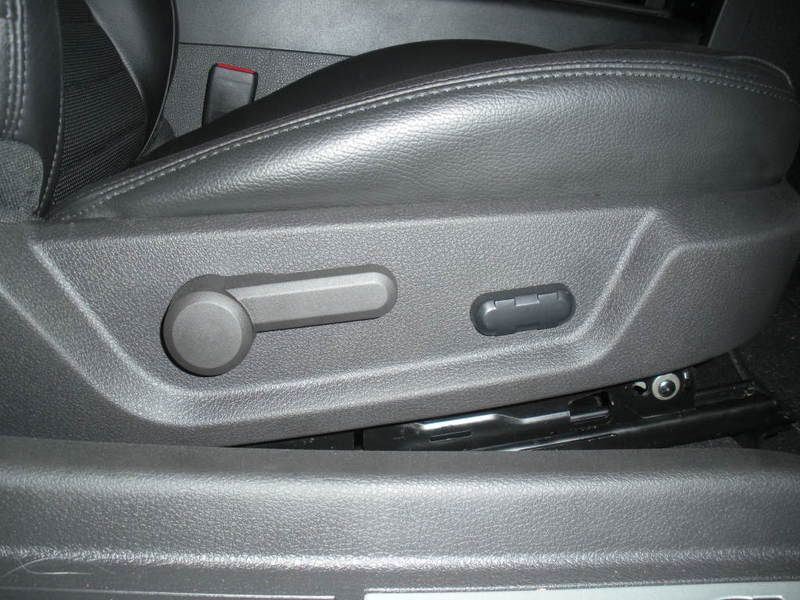
Converted Passenger Seat to a Power Unit[/align]
(Originally posted 13 Mar. 2011)
So I guess you all want to know why someone with a GT500 would name his car “Moosetang” and not something referencing Shelby, Cobra, Snake, GT500 etc…The story starts when I ordered her from Avalon Ford in Newfoundland which was drop shipped at Halifax for delivery to me on the 15th of December 2007. At that time I was a serving member of the Canadian Navy, and the Navy, like many other military units, has certain traditions going back generations if not centuries. One of the traditions unique to the Canadian Navy is an alcoholic concoction known as “Moose Milk”. This beverage is well known to foreign Navies and is frequently requested when their members attend official and unofficial functions onboard Canadian warships. This particular brew can best be described as a combination of eggnog/ice cream/ice with a severe “attitude”, two or three glasses and you’ll feel no pain. When Moose Milk is served it is permissible, but not mandatory, to be appropriately attired. During the first year of my ownership of the Shelby I was slowly acquiring the necessary pieces of clothing to complete my Moose Milk ensemble/uniform.
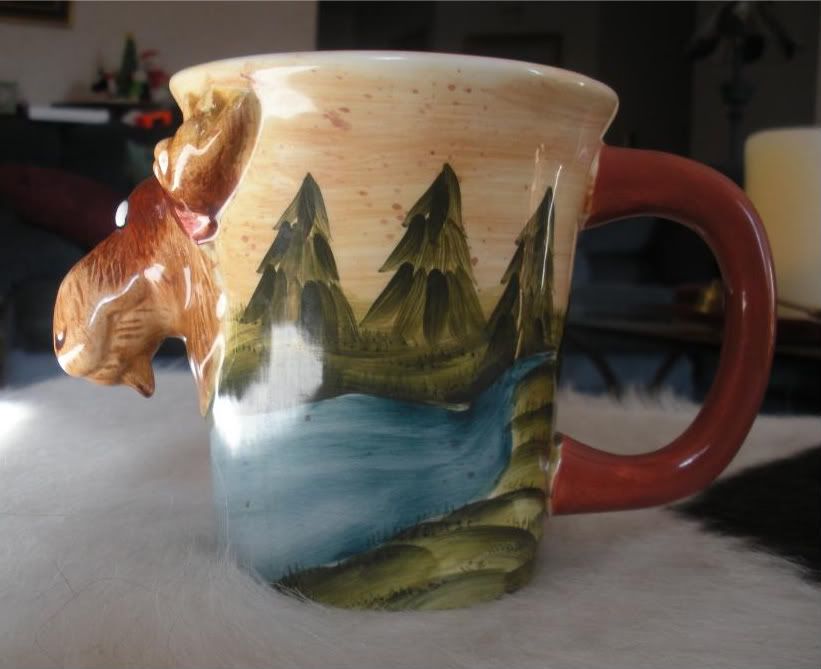
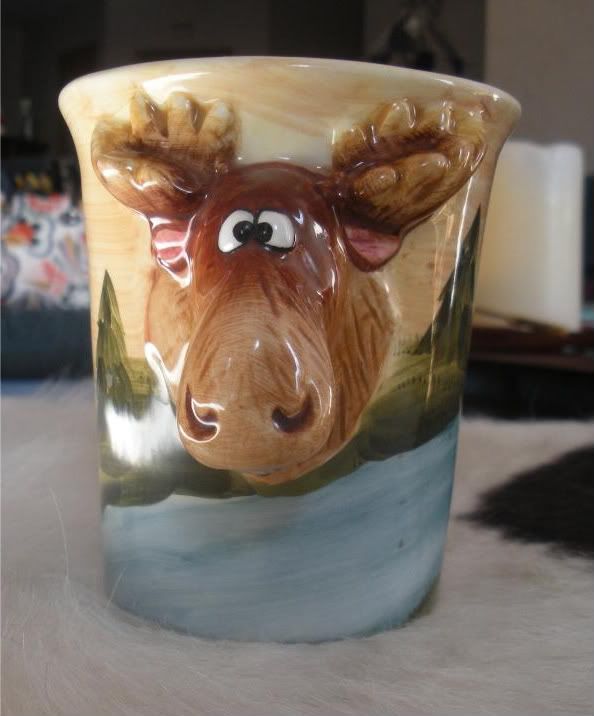
Here you see my Moose Milk Mug.
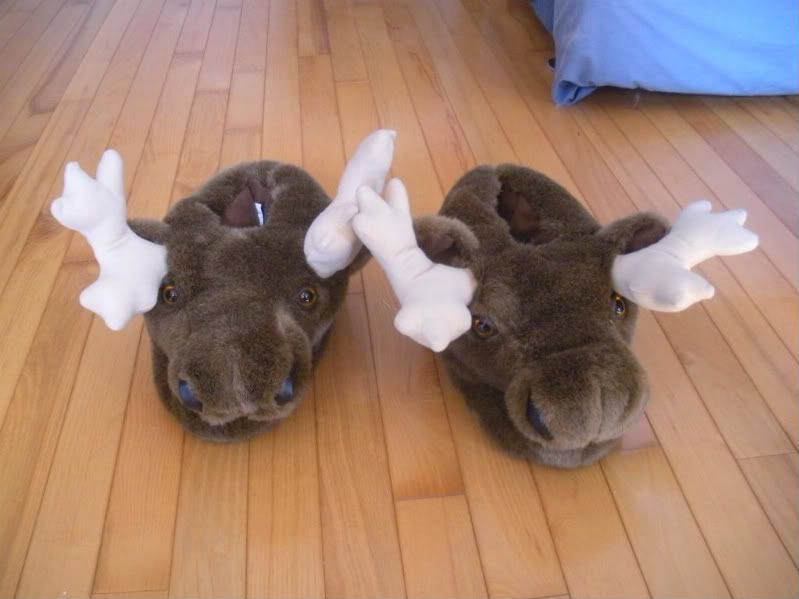
Here are my Moose Milk Shoes.
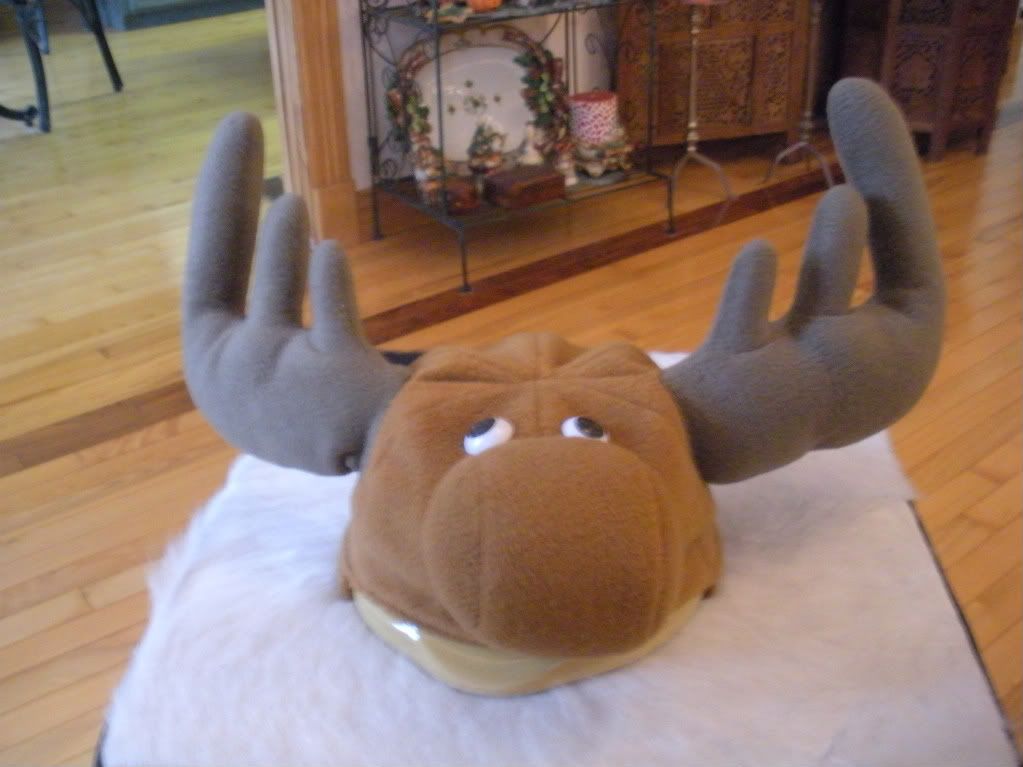
And here is my Moose Milk Hat.
Unfortunately I was unable to complete the ensemble with an appropriate shirt as I retired from the Service in February of 2009 and saw no further need to search out and buy one.
So here I am, I have a ridiculous hat that I have no real use for which my wife absolutely hates. What to do? Then I got an idea, as members of the local Mustang Club myself and my wife frequently go an cruises with the club, some of these excursions require driving on the highways at or below the posted limit in order to allow the older classic cars to keep up and ensure that non-mustangs don’t squeeze into our mini-parade. These highway jaunts can be a little boring, so being a bit of a clown I decided to take my hat, and occasionally wear while it while driving to break up the monotony and give other users of the highway something to laugh at as they pass us.
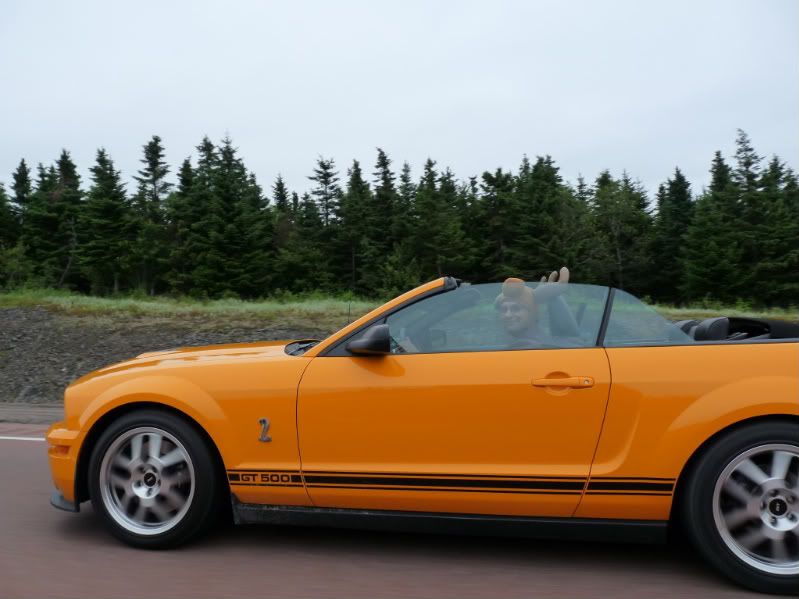
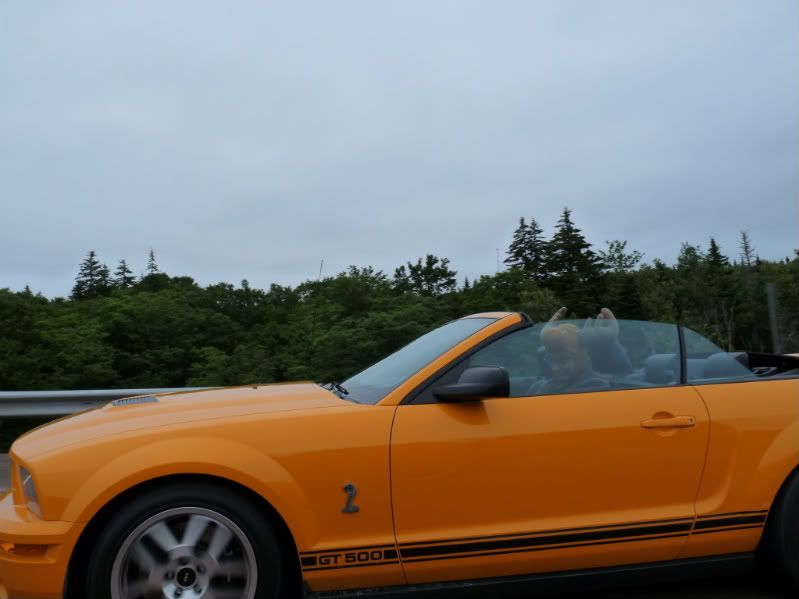
On one of these drives, in this case to PEI to attend a car show, a confluence of events occurred that gave the car its name. One of the club members travelling directly behind me snapped a photo of the back of my car with me wearing my hat just I was passing a highway Moose Crossing Warning sign. The combination of my hat, the warning sign which colour was very close to the colour of my car was very funny, but what the club members found particularly hilarious was that as my speed increased the antlers on my “racing helmet” would start to lean back, the faster I went the further back they would go and conversely as I slowed the antlers would resume there normal position. The club found this the particularly amusing and dubbed myself and the Shelby as the “Moosetang”,
I have been unable to find the picture in question, but have found some taken on that trip.
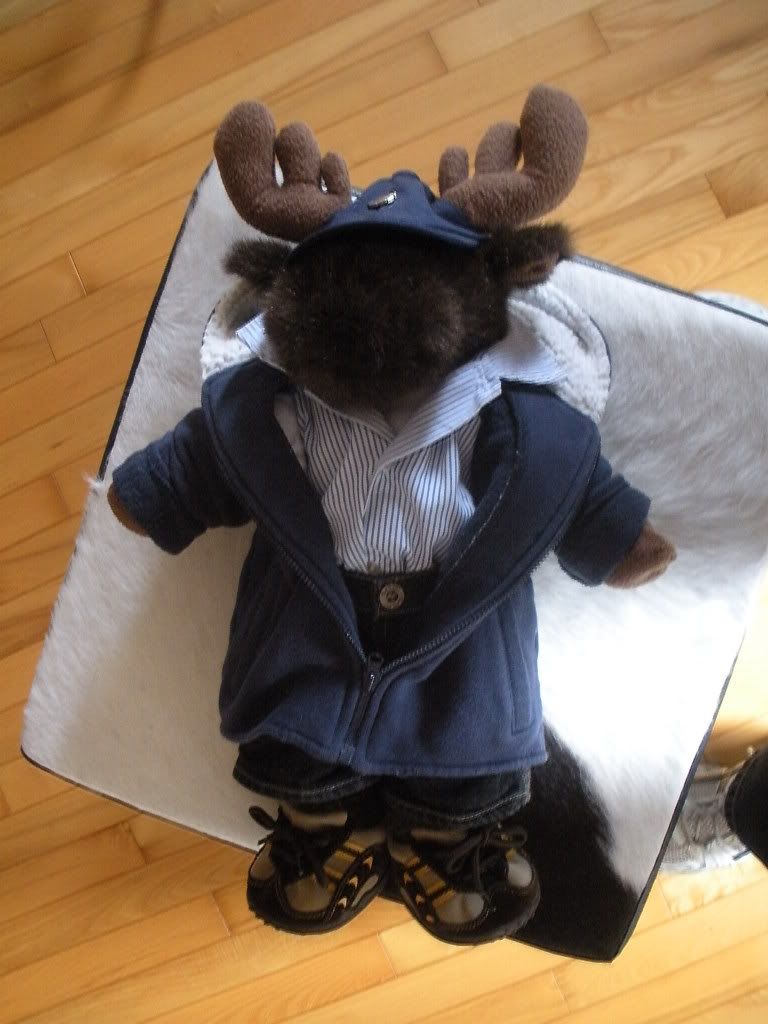
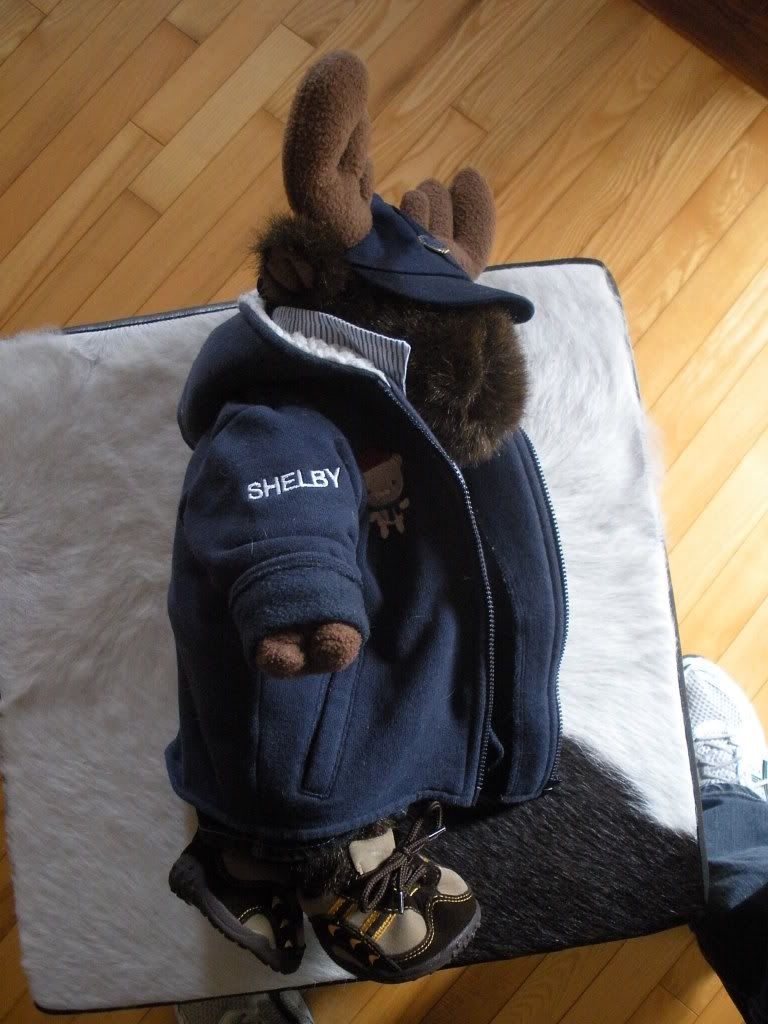
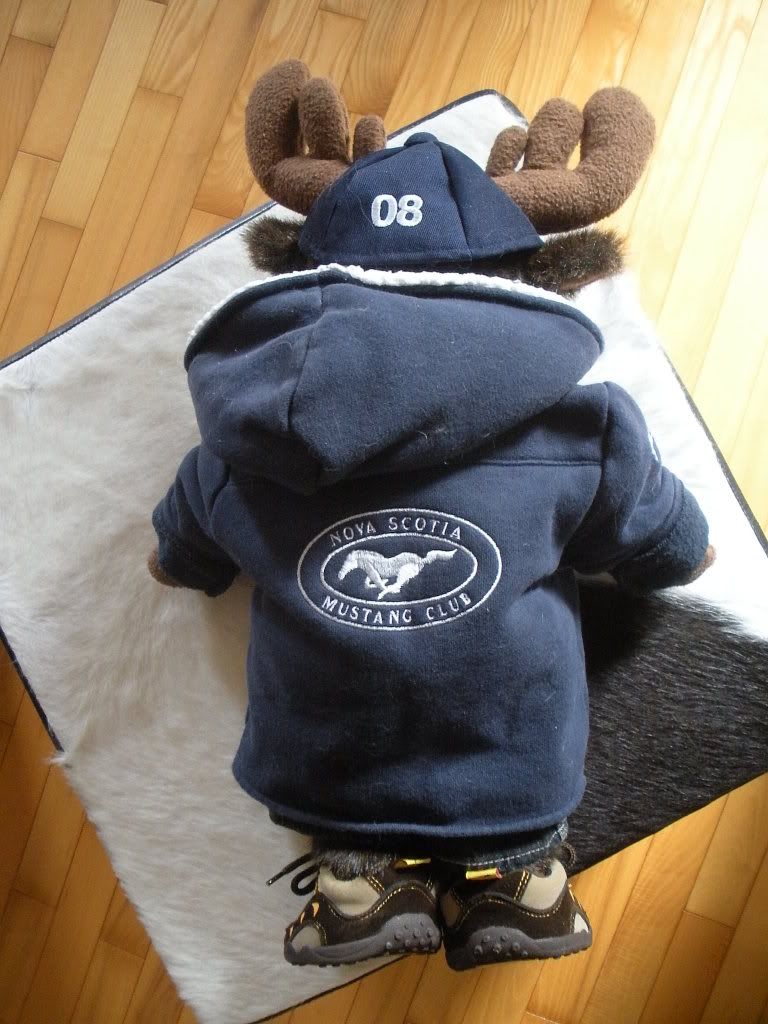
After a year of this foolishness my wife (who thinks I’m nuts) broke down and decided to have fun with the Moosetang by purchasing and dressing a Build-a-Bear moose.
Meet Shelby the moose proudly wearing our club “colours”.
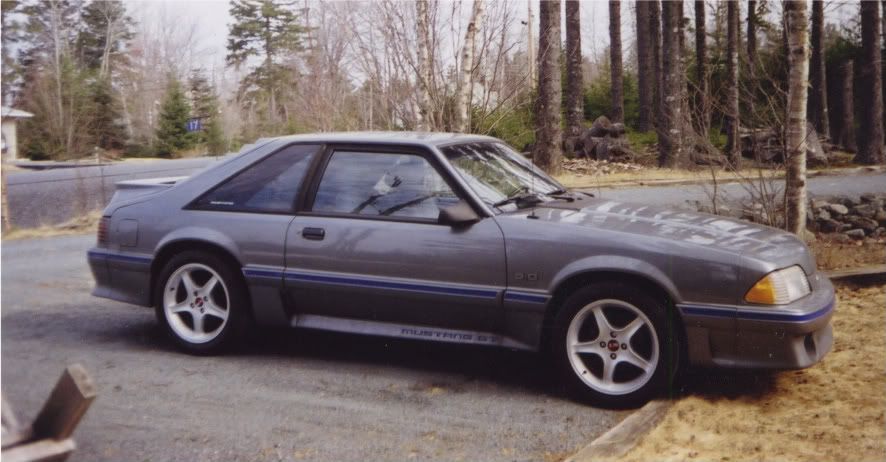
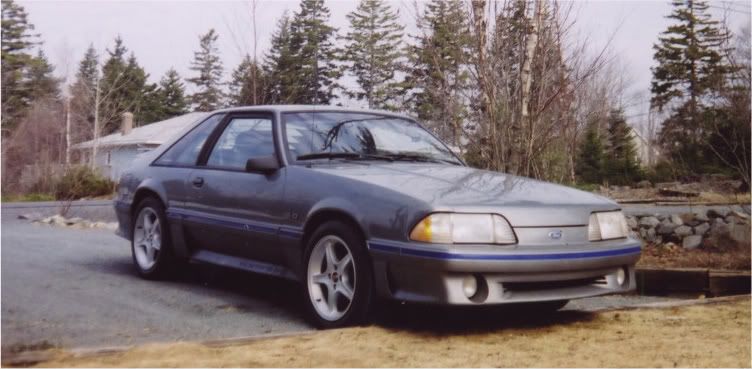
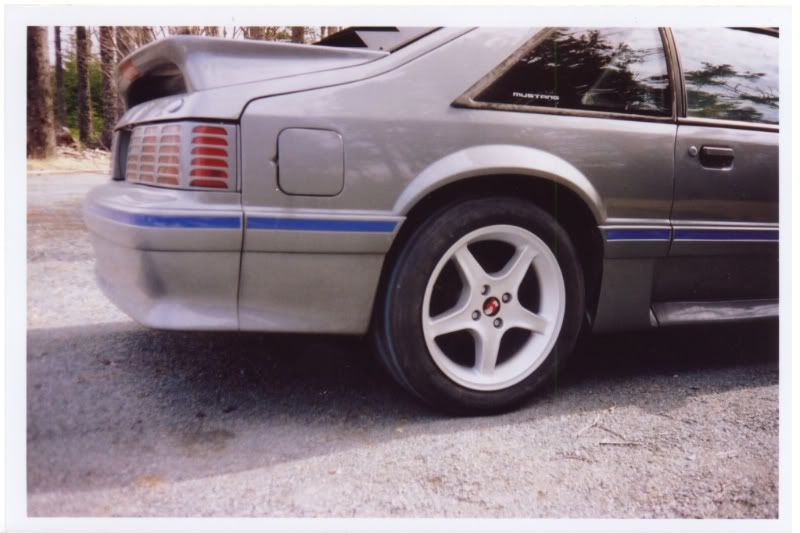
All right, enough with the Moosetang. This 2008 Shelby GT500 was ordered to replace my Mustang GT that I purchased new in June of “88 and was stolen in “02 never to be seen again.
These photo’s where taken two months before my beloved 5.0 was stolen
As you can imagine I was extremely distraught at the loss of my pride and joy, my wife, seeing the state I was in told me that I could buy any car I wanted (within reason) as long as we reached certain financial milestones and she gets to choose the colour. Five years latter in 2007 (after looking at everything from an Audi TT, 350Z, BMW Z3, Subaru WRX, GTO, etc…another story for another time) we ordered a 2008 Shelby GT500 Grabber Orange Convertible. The order was placed with Avalon Ford in Newfoundland mid October 2007, the order was confirmed mid November, the car built early December and the car was drop shipped in Halifax on the 15th of December ’08. Because of the weather we had to have the car flat-bedded to my home where it was stored till early April ’09. The reason we chose Avalon Ford is because at that time there were only two dealerships authorized to sell Shelbys in the Maritimes, one in Newfoundland, the other was Wood Motors in New Brunswick. Of the two, Avalon Ford was much more reasonable (again another story for another time). Since then Chebucto Ford here in Dartmouth has become a SVT dealership.
The very first time I set eyes on my Shelby.

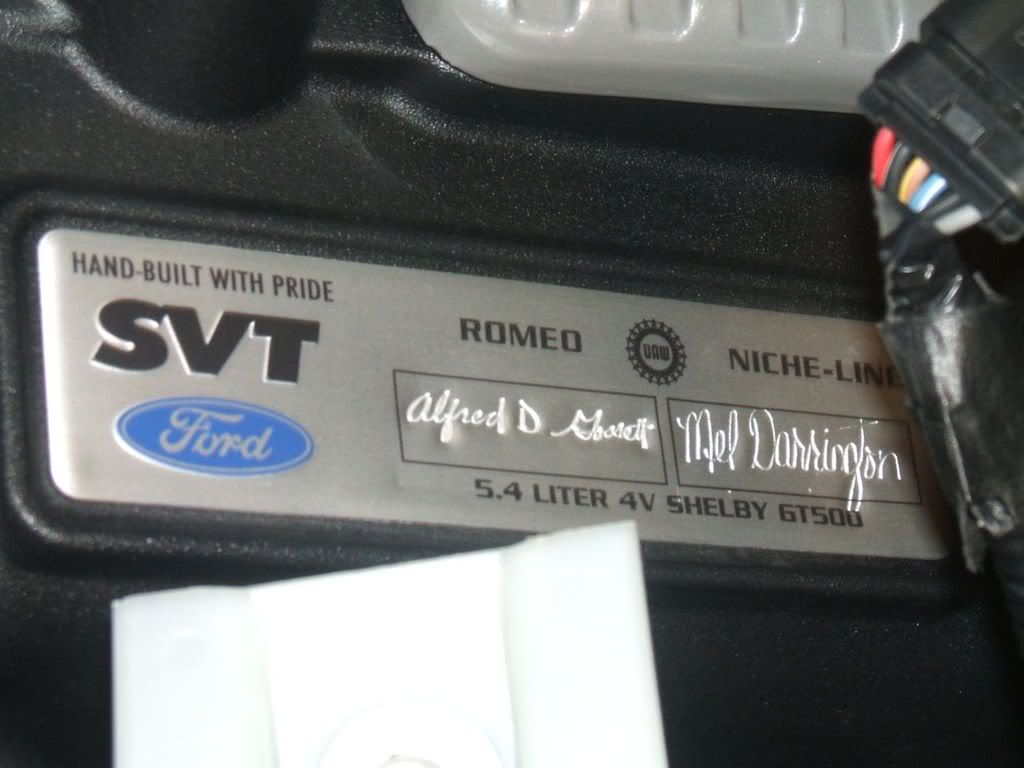
The engine builders, Alfred D. Gossett and Mel Darrington, (she has since retired from Ford).
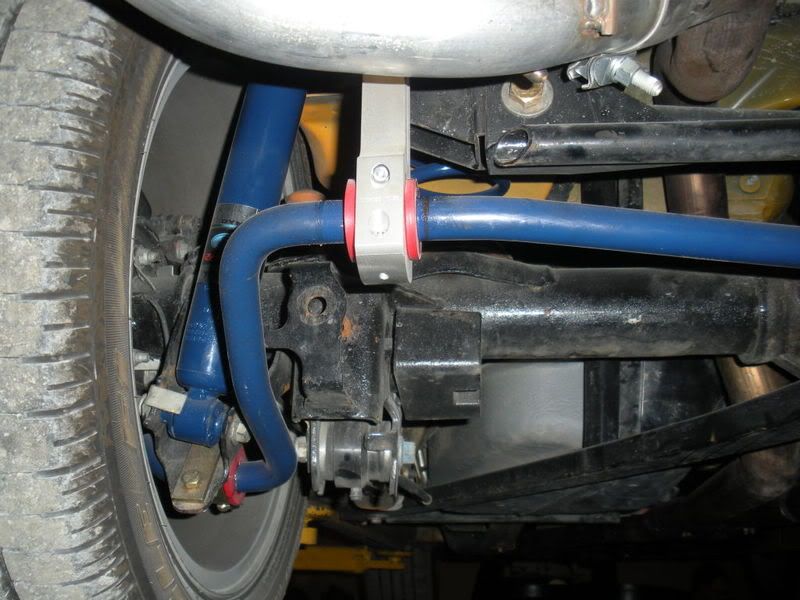
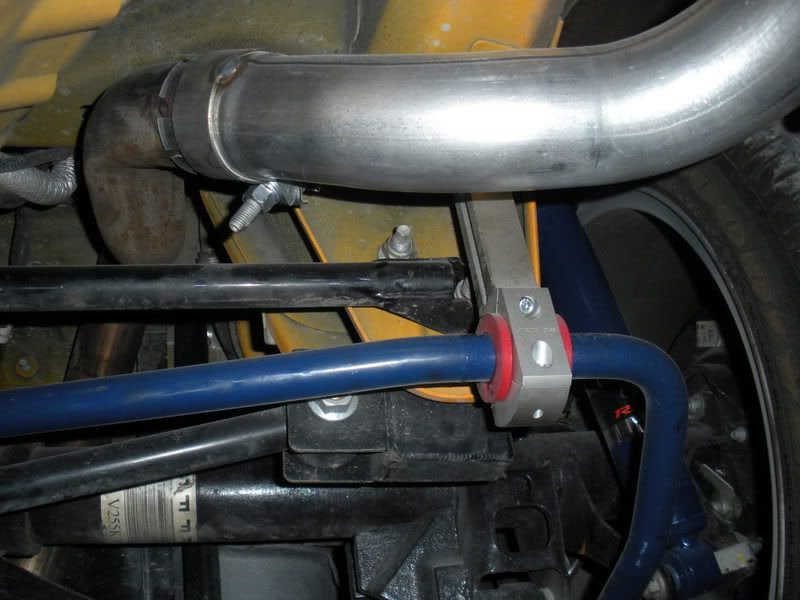
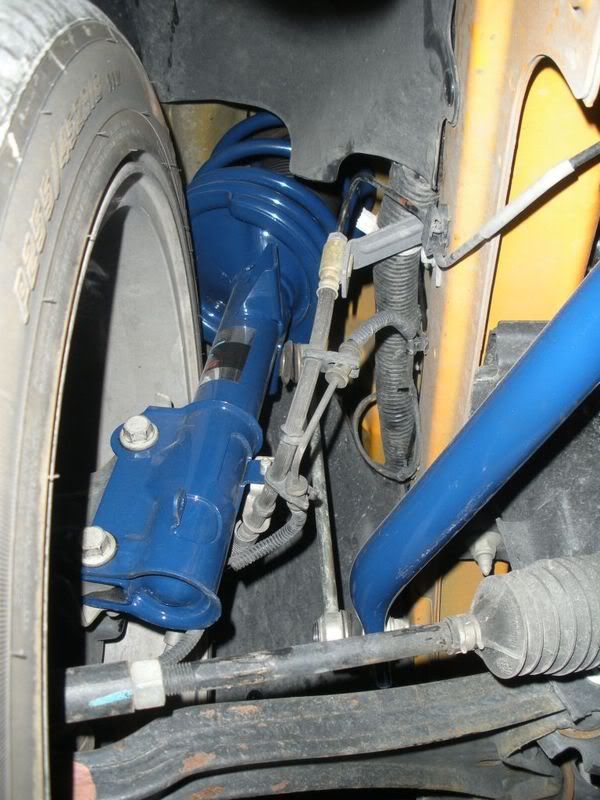
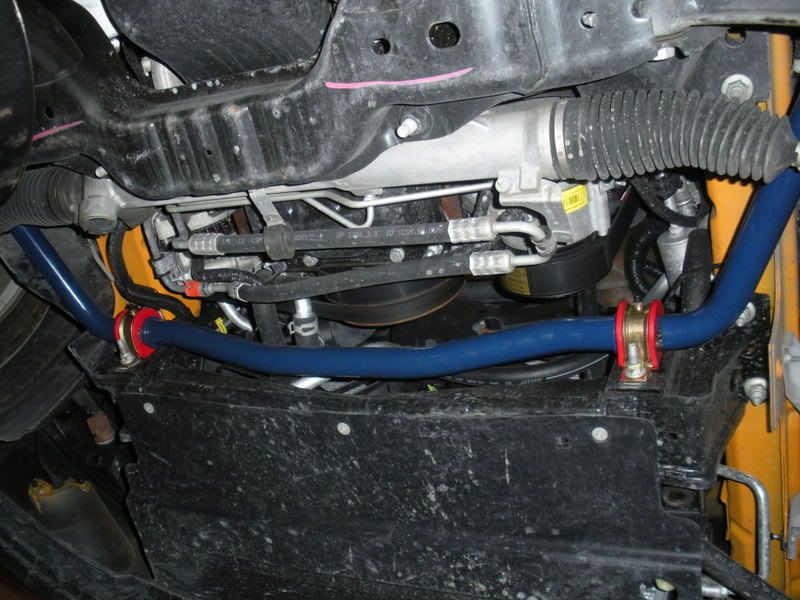
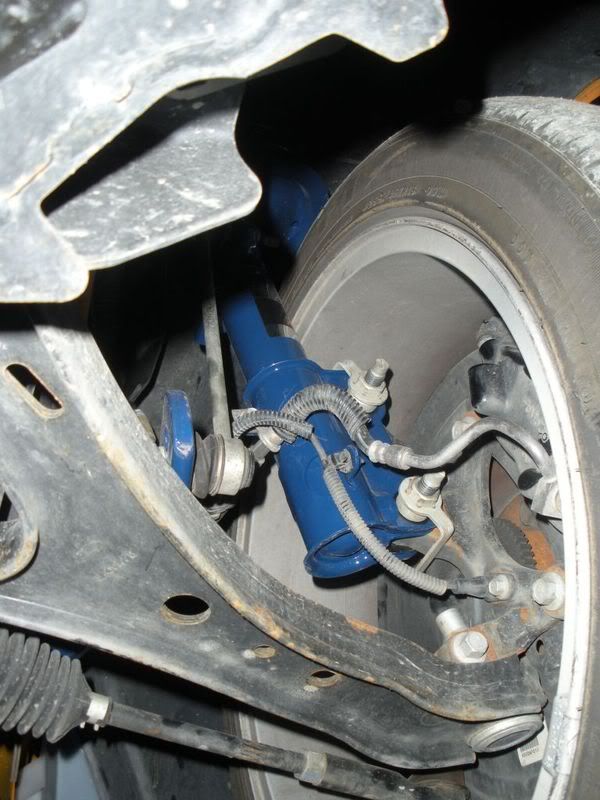
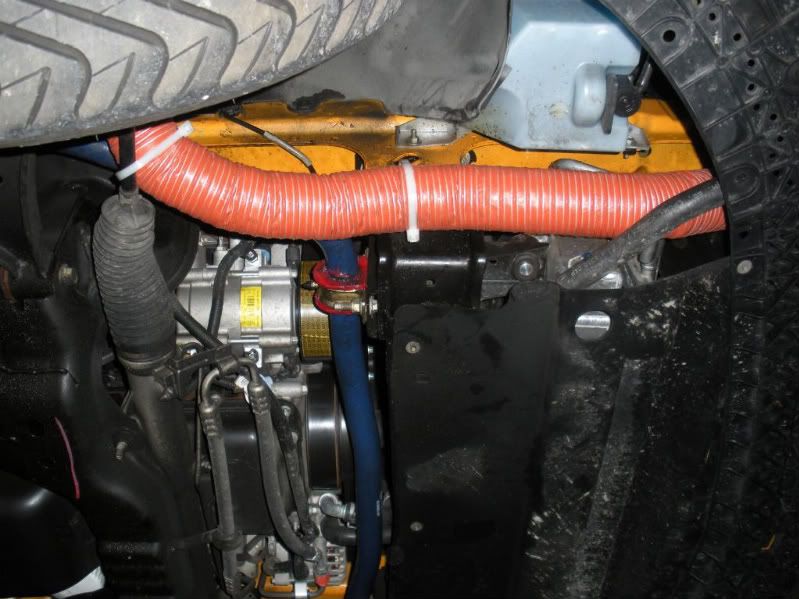
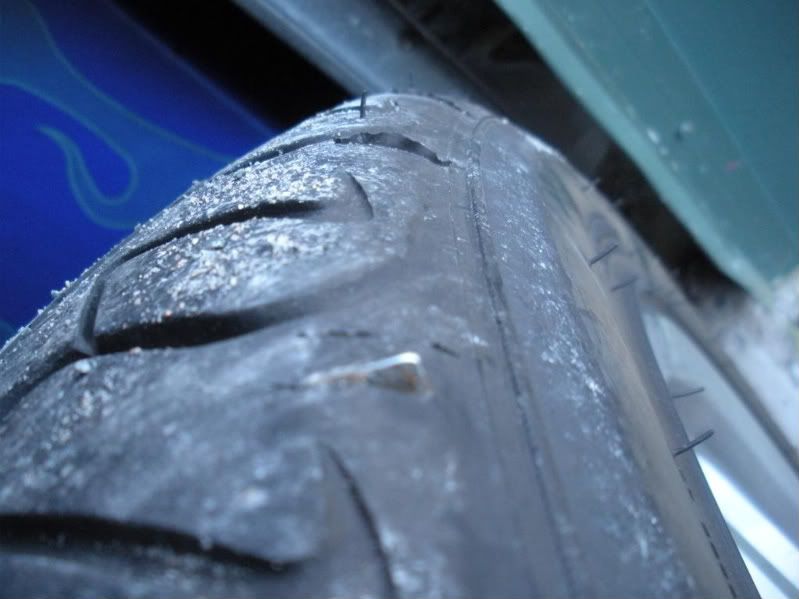
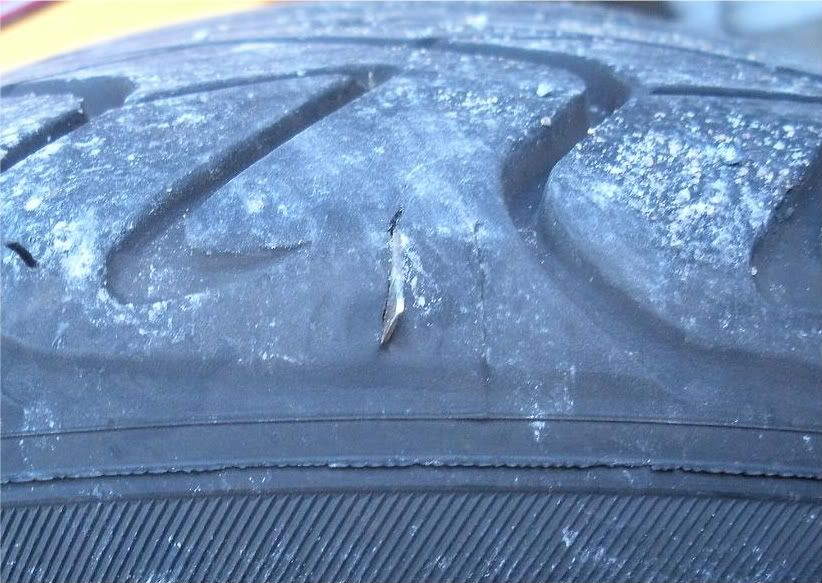
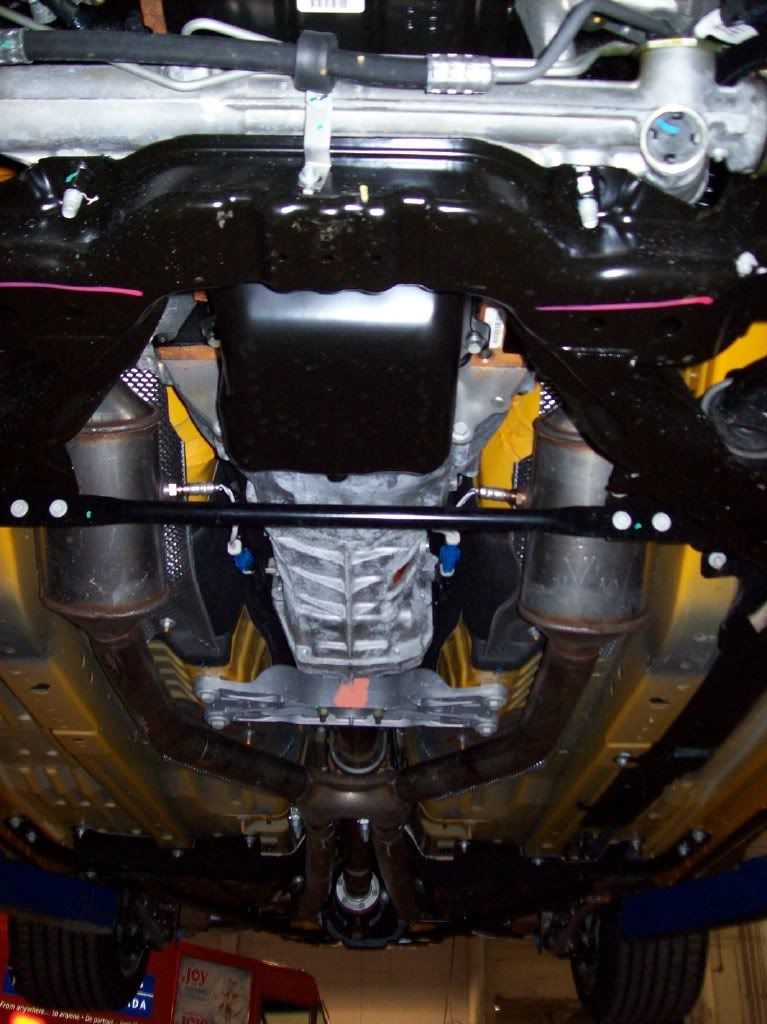
Picture of the bottom of the car during the Pre Delivery Inspection.
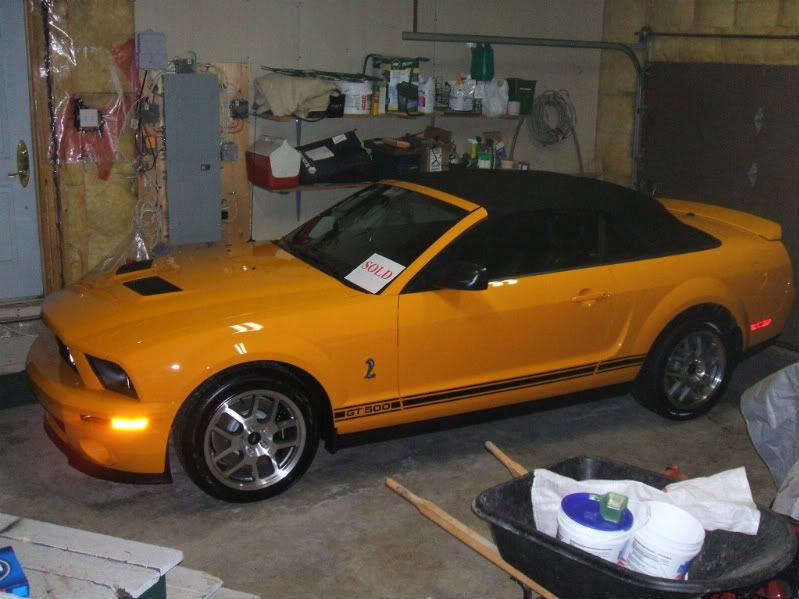
The first day in his new home.
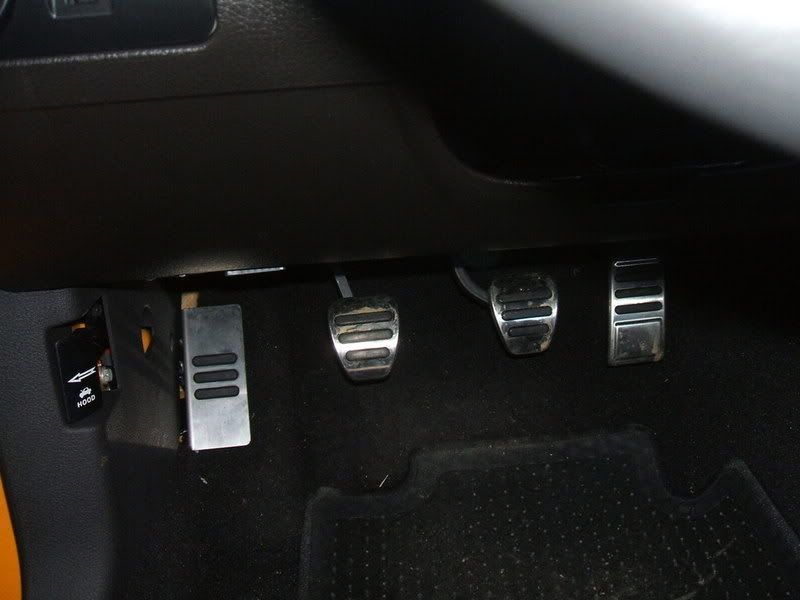
With the car firmly stuck in my garage for the next three months it didn’t take long the modifications to start. For such an expensive car it lacked certain features that came standard in my “88, the most glaring was the lack of a dead pedal, for a car with sporting aspirations it seemed like a glaring oversight on Ford’s part, But I quickly rectified the problem myself.
CDC Dead Pedal.
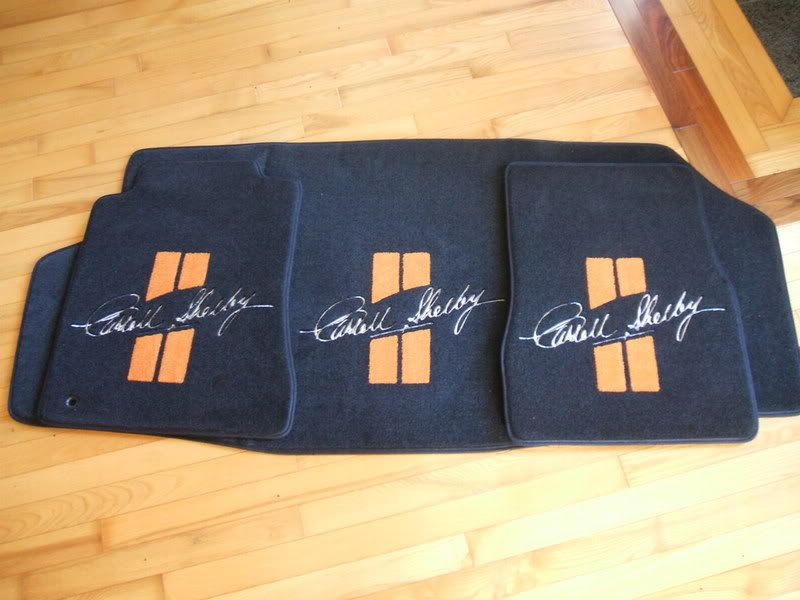
I also installed a Web Electric Sequential Rear Signal Light harness. For a little decoration I got a set of Shelby Trunk and Floor Mats.
I pulled the passenger side airbag from the car, separated the cover from the airbag (that was fun, my knuckles still hurt) and sent it down to SAI for Carroll Shelby’s signature, amazingly it only took 16 days from the time I mailed the parcel to the time it arrived back at my door step.

More to follow.
(Originally posted 20 Feb. 2011)
[align=center]Performance
446.24 RWHP @ 6250
438.85 RWTQ @ 4400
Specification and Mods
Engine
5.4 L Supercharged Engine
C&R/Shelby Heat Exchanger with Dual Electric Pull Through Fans
C&R/Shelby Radiator
Moroso Heat Exchanger Coolant Tank
Moroso Radiator Coolant Tank
Reisch 170 deg Thermostat
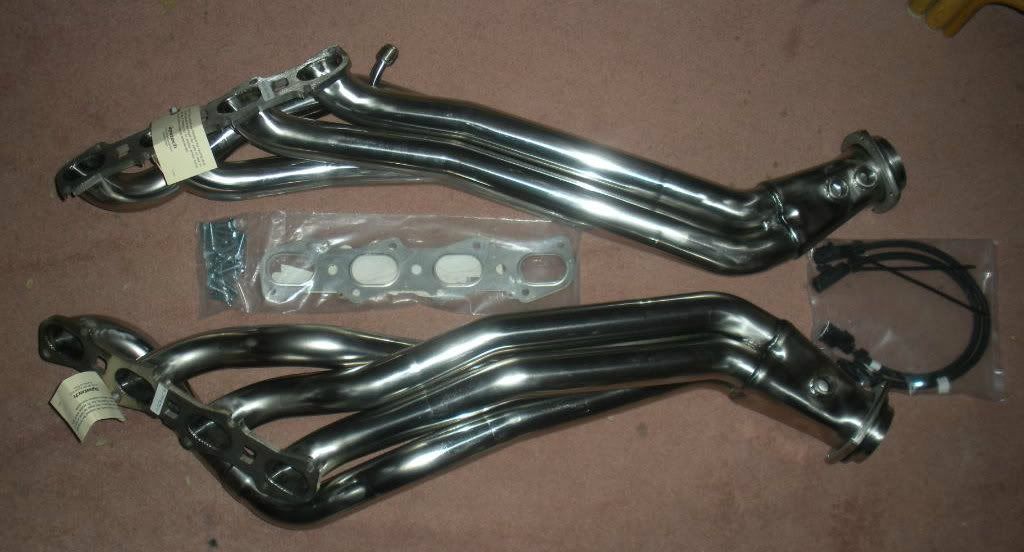
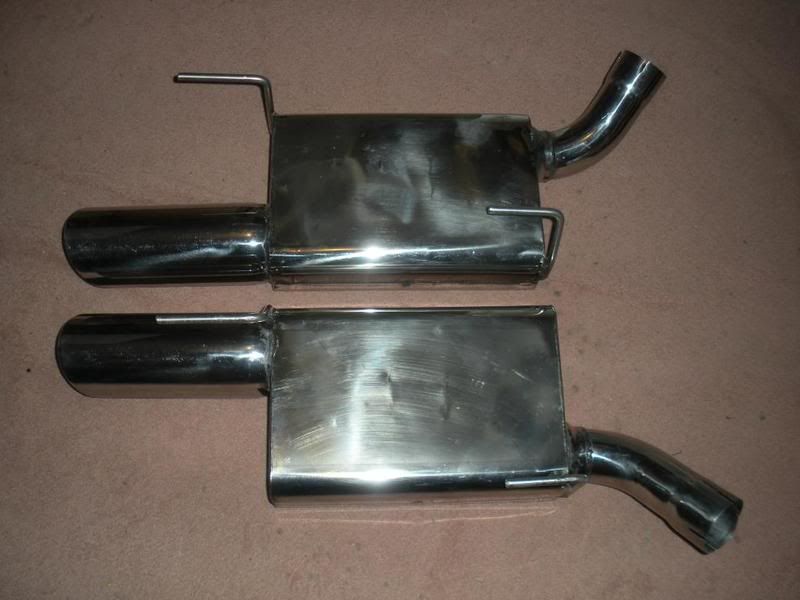
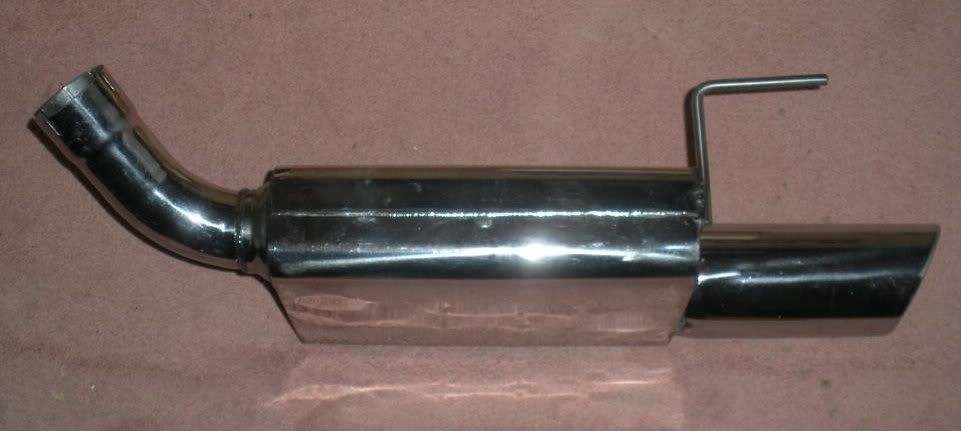
FRPP “KR” Axle Back Mufflers
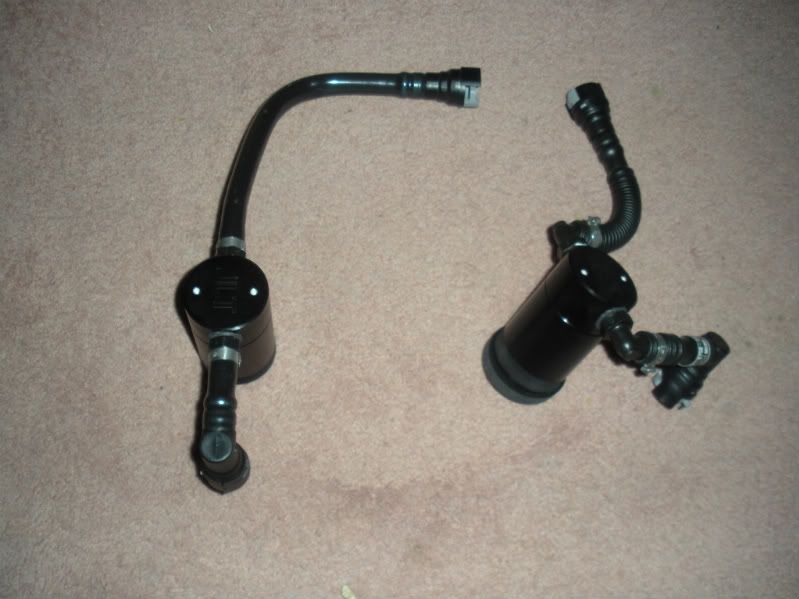
VMP Passenger side Oil Catch Can
VMP Driver side Oil Catch Can
Driveline
6 Speed Manual Transmission
8.8 SRA with 3.31 final drive
FRPP “KR” Short Throw Shifter
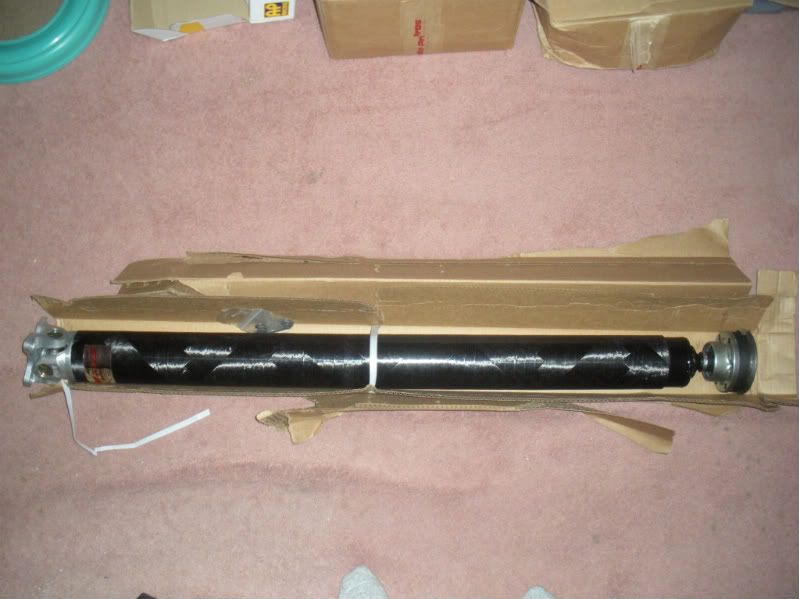
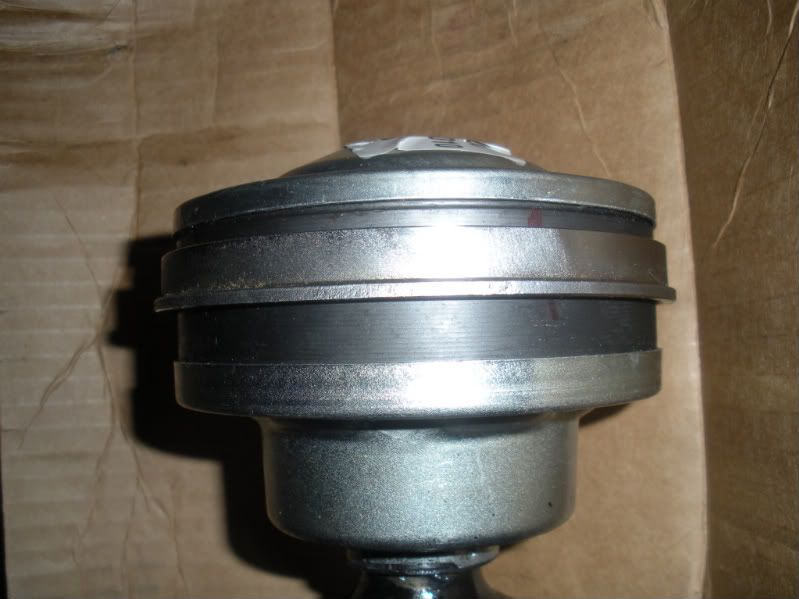
PST one piece 3.5” Carbon Fibre Drive Shaft
Suspension, Brakes, Wheels and Tires
FRPP FR3SVT Handling Package (full kit)
Tokico Shock Adjustment Extensions
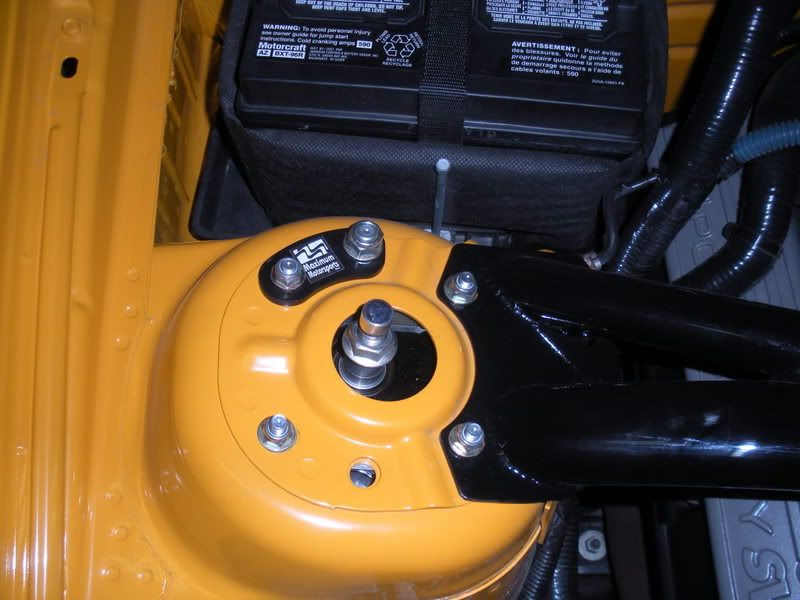
Maximum Motorsport Adjustable Caster Camber Plates
Evolution Performance Billet Lower Control Arms
BMR Adjustable Upper Control Arm
Metco Heavy Duty Upper Control Arm Bracket
Saleen Watts Link
Michelin Pilot Sport Tire (stock sizes)
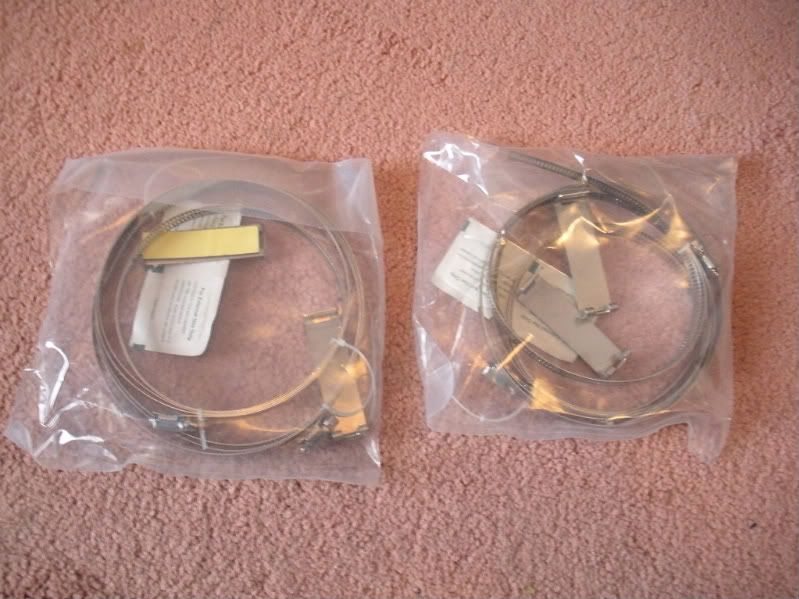
Stack Racing TPMS band kit
AP Racing 6 Piston 14-1/4” Cross Drilled/Vented Front Brake Package
AP Racing 4 Piston 13” Cross Drilled/Vented Rear Brake Package
FRPP Front Brake Cooling Kit
Shelby Front Brake Cooling Bezels.
Appearance mods
CDC Dead Pedal
Steeda Hydraulic Hood Lifts
Web Electric Sequential Tail Lights
Carroll Shelby Signed Passenger Air Bag Cover
Carroll Shelby Signed Center Dash Plaque and Door Sills
Carroll Shelby Driver/Passenger/Trunk mats
Converted Passenger Seat to a Power Unit[/align]
(Originally posted 13 Mar. 2011)
So I guess you all want to know why someone with a GT500 would name his car “Moosetang” and not something referencing Shelby, Cobra, Snake, GT500 etc…The story starts when I ordered her from Avalon Ford in Newfoundland which was drop shipped at Halifax for delivery to me on the 15th of December 2007. At that time I was a serving member of the Canadian Navy, and the Navy, like many other military units, has certain traditions going back generations if not centuries. One of the traditions unique to the Canadian Navy is an alcoholic concoction known as “Moose Milk”. This beverage is well known to foreign Navies and is frequently requested when their members attend official and unofficial functions onboard Canadian warships. This particular brew can best be described as a combination of eggnog/ice cream/ice with a severe “attitude”, two or three glasses and you’ll feel no pain. When Moose Milk is served it is permissible, but not mandatory, to be appropriately attired. During the first year of my ownership of the Shelby I was slowly acquiring the necessary pieces of clothing to complete my Moose Milk ensemble/uniform.
Here you see my Moose Milk Mug.
Here are my Moose Milk Shoes.
And here is my Moose Milk Hat.
Unfortunately I was unable to complete the ensemble with an appropriate shirt as I retired from the Service in February of 2009 and saw no further need to search out and buy one.
So here I am, I have a ridiculous hat that I have no real use for which my wife absolutely hates. What to do? Then I got an idea, as members of the local Mustang Club myself and my wife frequently go an cruises with the club, some of these excursions require driving on the highways at or below the posted limit in order to allow the older classic cars to keep up and ensure that non-mustangs don’t squeeze into our mini-parade. These highway jaunts can be a little boring, so being a bit of a clown I decided to take my hat, and occasionally wear while it while driving to break up the monotony and give other users of the highway something to laugh at as they pass us.
On one of these drives, in this case to PEI to attend a car show, a confluence of events occurred that gave the car its name. One of the club members travelling directly behind me snapped a photo of the back of my car with me wearing my hat just I was passing a highway Moose Crossing Warning sign. The combination of my hat, the warning sign which colour was very close to the colour of my car was very funny, but what the club members found particularly hilarious was that as my speed increased the antlers on my “racing helmet” would start to lean back, the faster I went the further back they would go and conversely as I slowed the antlers would resume there normal position. The club found this the particularly amusing and dubbed myself and the Shelby as the “Moosetang”,
I have been unable to find the picture in question, but have found some taken on that trip.
After a year of this foolishness my wife (who thinks I’m nuts) broke down and decided to have fun with the Moosetang by purchasing and dressing a Build-a-Bear moose.
Meet Shelby the moose proudly wearing our club “colours”.
All right, enough with the Moosetang. This 2008 Shelby GT500 was ordered to replace my Mustang GT that I purchased new in June of “88 and was stolen in “02 never to be seen again.
These photo’s where taken two months before my beloved 5.0 was stolen
As you can imagine I was extremely distraught at the loss of my pride and joy, my wife, seeing the state I was in told me that I could buy any car I wanted (within reason) as long as we reached certain financial milestones and she gets to choose the colour. Five years latter in 2007 (after looking at everything from an Audi TT, 350Z, BMW Z3, Subaru WRX, GTO, etc…another story for another time) we ordered a 2008 Shelby GT500 Grabber Orange Convertible. The order was placed with Avalon Ford in Newfoundland mid October 2007, the order was confirmed mid November, the car built early December and the car was drop shipped in Halifax on the 15th of December ’08. Because of the weather we had to have the car flat-bedded to my home where it was stored till early April ’09. The reason we chose Avalon Ford is because at that time there were only two dealerships authorized to sell Shelbys in the Maritimes, one in Newfoundland, the other was Wood Motors in New Brunswick. Of the two, Avalon Ford was much more reasonable (again another story for another time). Since then Chebucto Ford here in Dartmouth has become a SVT dealership.
The very first time I set eyes on my Shelby.
The engine builders, Alfred D. Gossett and Mel Darrington, (she has since retired from Ford).
Picture of the bottom of the car during the Pre Delivery Inspection.
The first day in his new home.
With the car firmly stuck in my garage for the next three months it didn’t take long the modifications to start. For such an expensive car it lacked certain features that came standard in my “88, the most glaring was the lack of a dead pedal, for a car with sporting aspirations it seemed like a glaring oversight on Ford’s part, But I quickly rectified the problem myself.
CDC Dead Pedal.
I also installed a Web Electric Sequential Rear Signal Light harness. For a little decoration I got a set of Shelby Trunk and Floor Mats.
I pulled the passenger side airbag from the car, separated the cover from the airbag (that was fun, my knuckles still hurt) and sent it down to SAI for Carroll Shelby’s signature, amazingly it only took 16 days from the time I mailed the parcel to the time it arrived back at my door step.
More to follow.
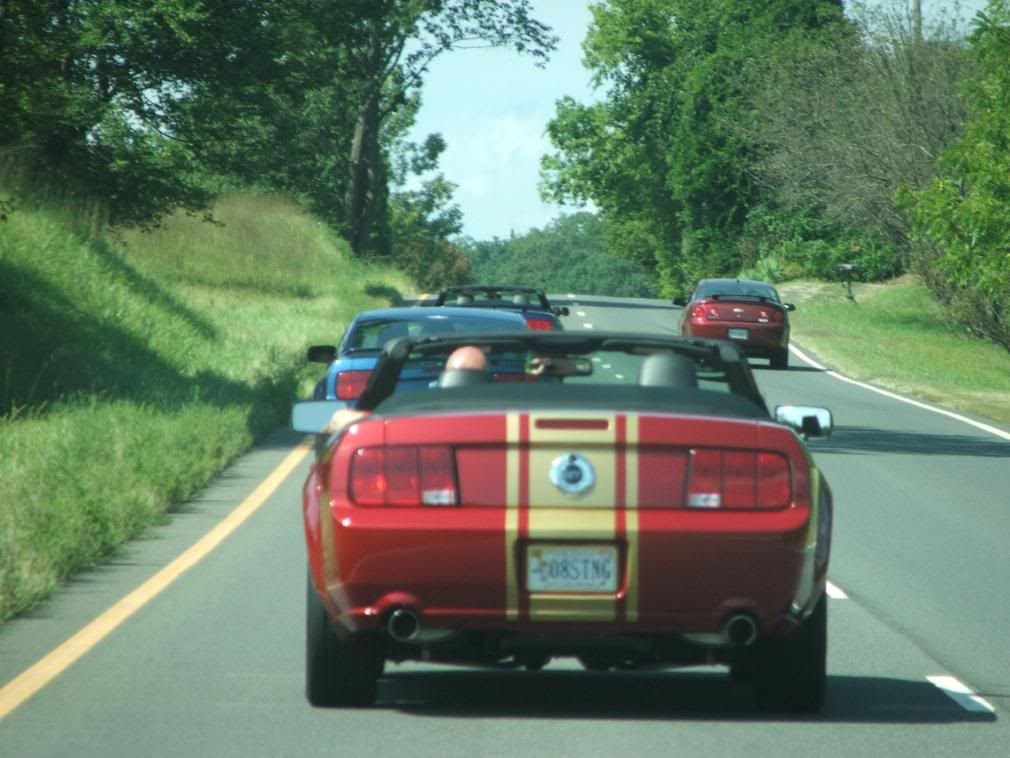
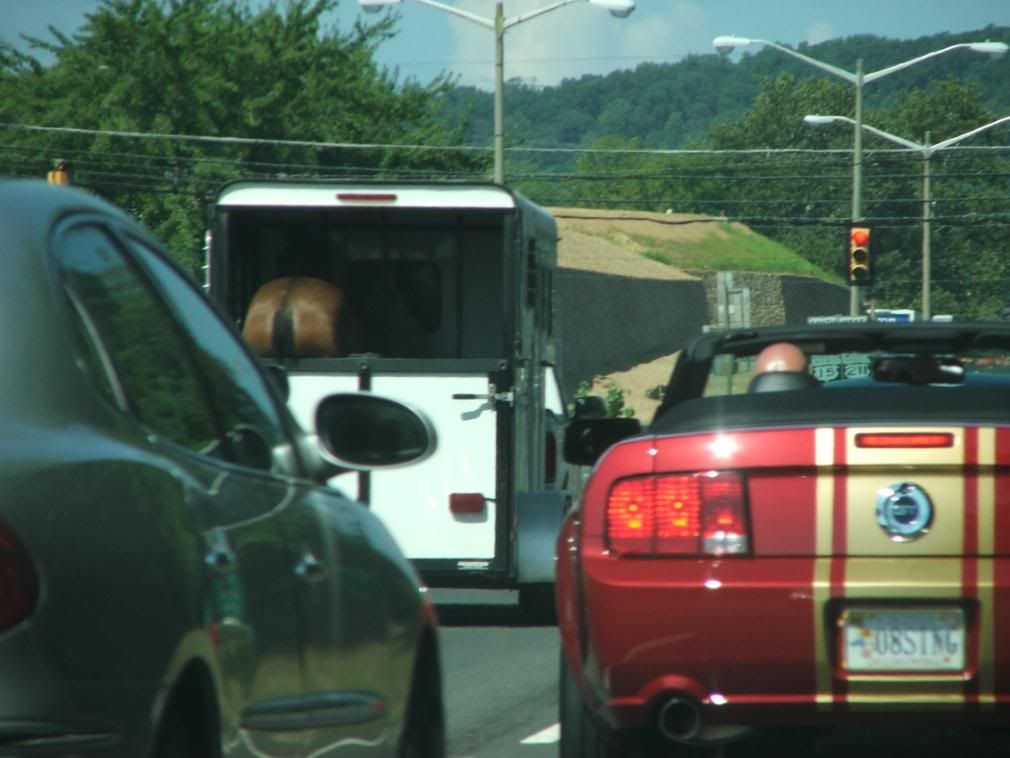
 fftopic:: Not to take away from your story, but your description of your missing photo of your moose hat and moose crossing sign in regards to your Moosetang name reminded me of the pictures I took a few years ago. I was participating in a local club cruise up to the Blue Ridge Mountains. My daughter was driving our 04 Mach 1 and I was snapping pictures. One of our members sports a very shiny bald head and is prominent while driving his GT Convertible. While we were driving our pony cars through horse country I snapped a couple of interesting pictures and later posted them on our local club site noting the interesting resemblance, but he didn't adapt a name related to the comparison.