A-Pillar Tweeter Pods

7173Mustangs.com

Help Support 7173Mustangs.com:

This site may earn a commission from merchant affiliate links, including eBay, Amazon, and others.
Joined
Nov 15, 2010
Messages
935
Reaction score
19
Location
annapolis-maryland
My Car
73 Mustang Convertable
Ok Gang, Here's the plan.

I getting ready to upgrade my stereo sound. Not that what I have is bad, by any means. I've got Kickers : 5 x 8's in the door and 6's in the rear side panels. With a nice Sony head unit pushed with a Kicker 4 channel amp. Cruising with the top down, I don't even realize how high I have it cranked until I stop. We live at the end of a 1/4 mile road, and the misses says she can hear it over the mufflers when I make the turn onto it.

BUT

In my daily driver,2006 Chevy HHR, I have a nice Sub Woofer and tweeters in the A-Pillars. I drive 1 to 1/2 hours each way to work and back, and I have a Gazillion albums loaded onto a I-Pod touch that I usually just have on shuffle the whole time. Except when I really want to rock on :cool:

So I am going to put Tweeters in the A-Pillars of the Mustang and a Sub Woofer in the trunk.

This thread is going to be a progress report for the Tweeters. I contemplated waiting until everything was done and then posting a synopsis, but I figured maybe some here might like to ride along during the trip.

I actually looked at mounting the tweeters in the dash face or top. But I didn't think that I'd get the sound I want, and I couldn't bear to drill openings for them. And, there is no way that I am going to modify the stock A-Pillars. That would be unforgivable. :p.  

So I did a little searching on the net and found various forum threads where people modified their ricers in a multitude of different ways. I really like the technique that I'm adapting.

I also figured that I need some practice before plunging right into the Mustang, so I'm going to use my 1996 F350 Dually (non-superduty) as a Guinna pig. If everything goes as planned the Mustang should be easy.

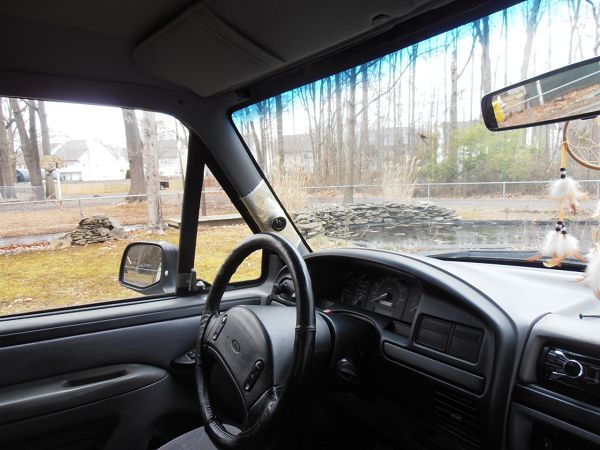
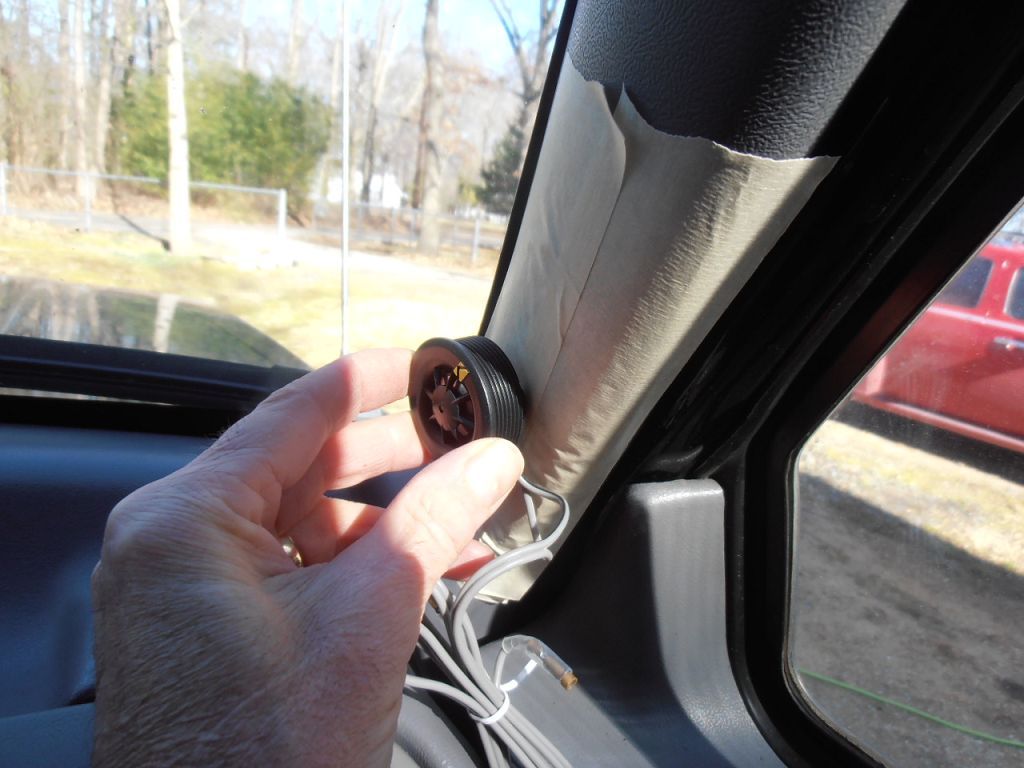
Here's where they are going to go.
P2140003.jpg


The idea is to build the housings out of fiber glass that will fit over the pillars, and although probably not look like original, hopefully will not be obnoxious.
P2140007.jpg


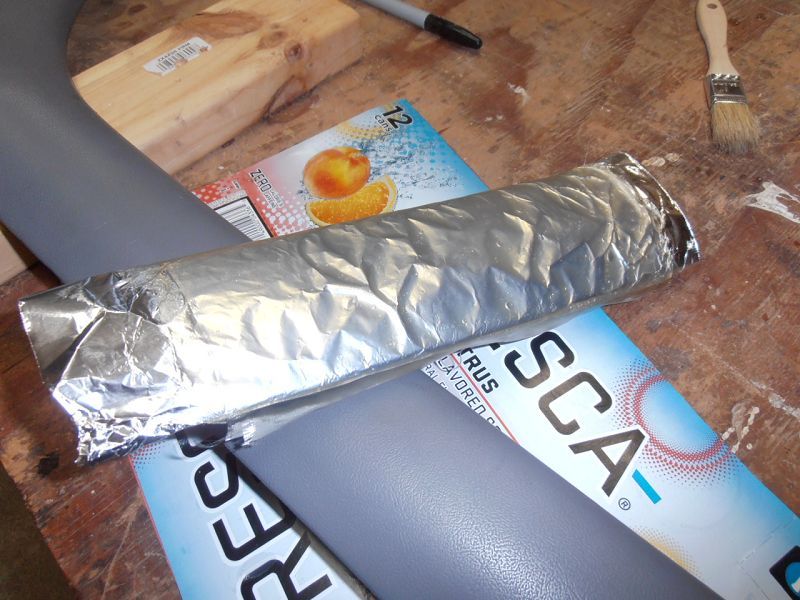
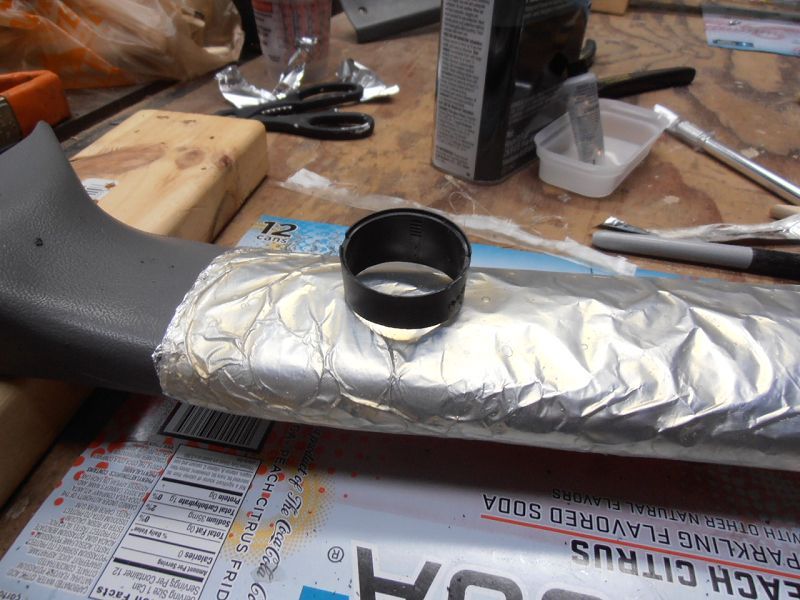
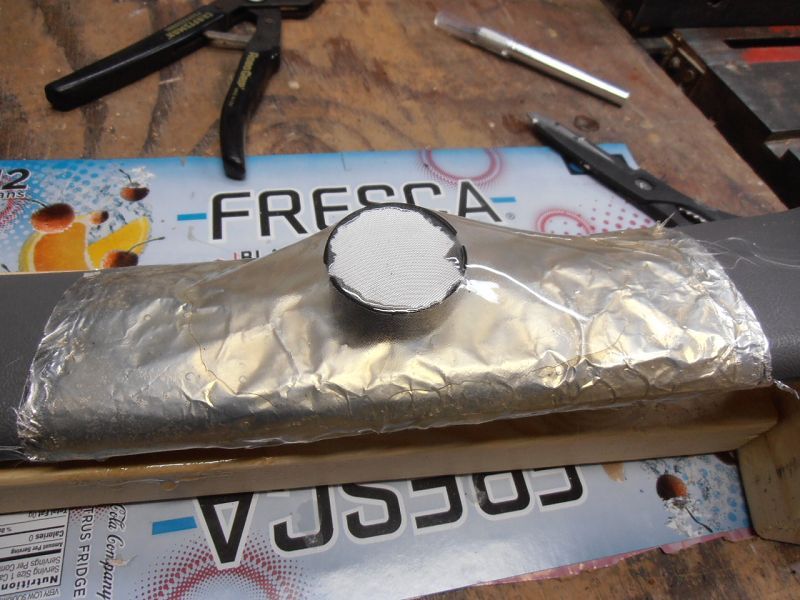
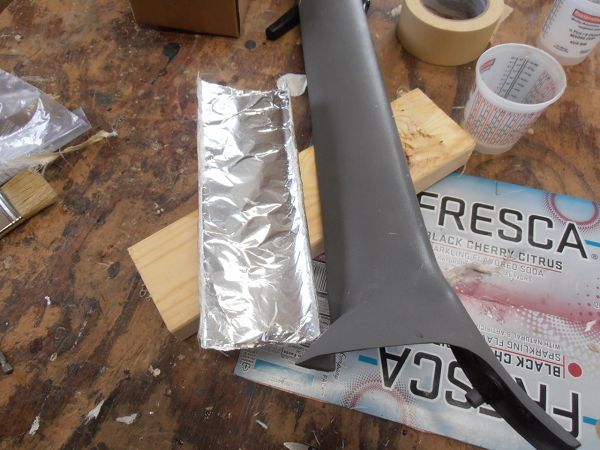
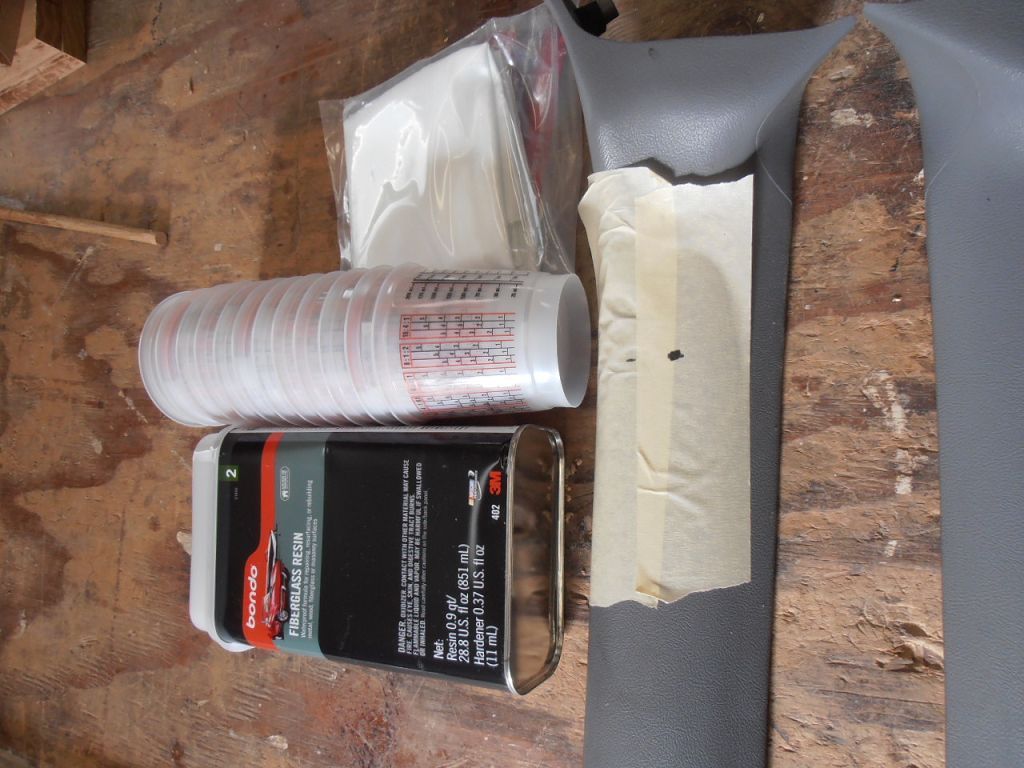
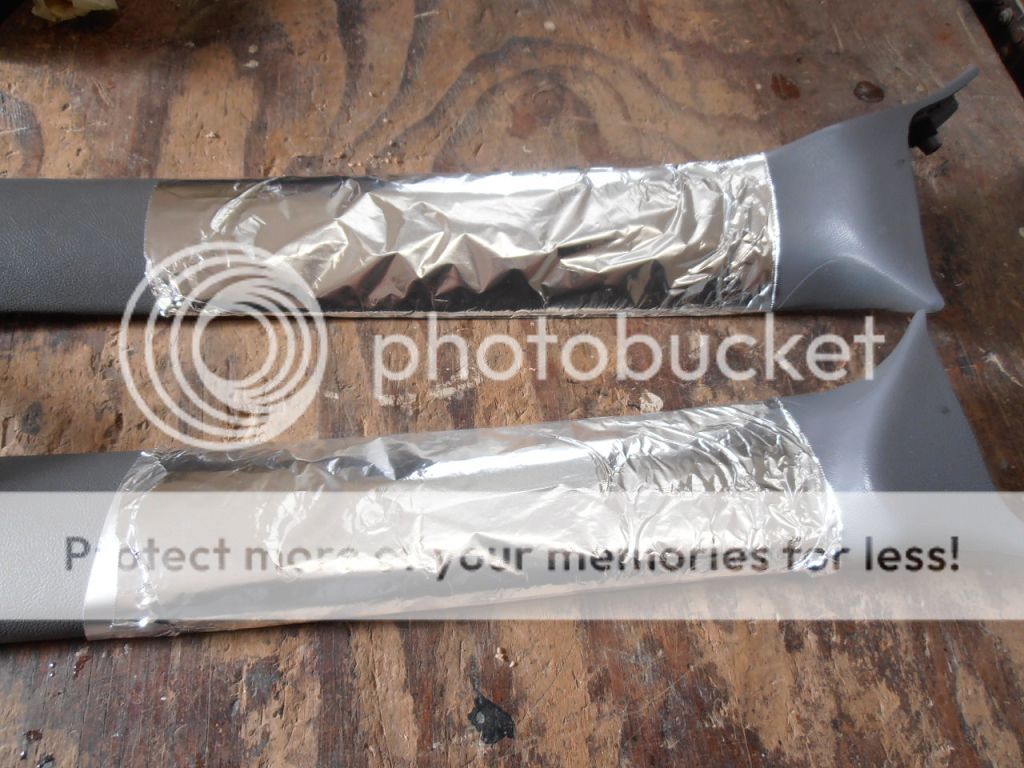
Using aluminum foil to protect the pillars from the glass.
P2140008.jpg


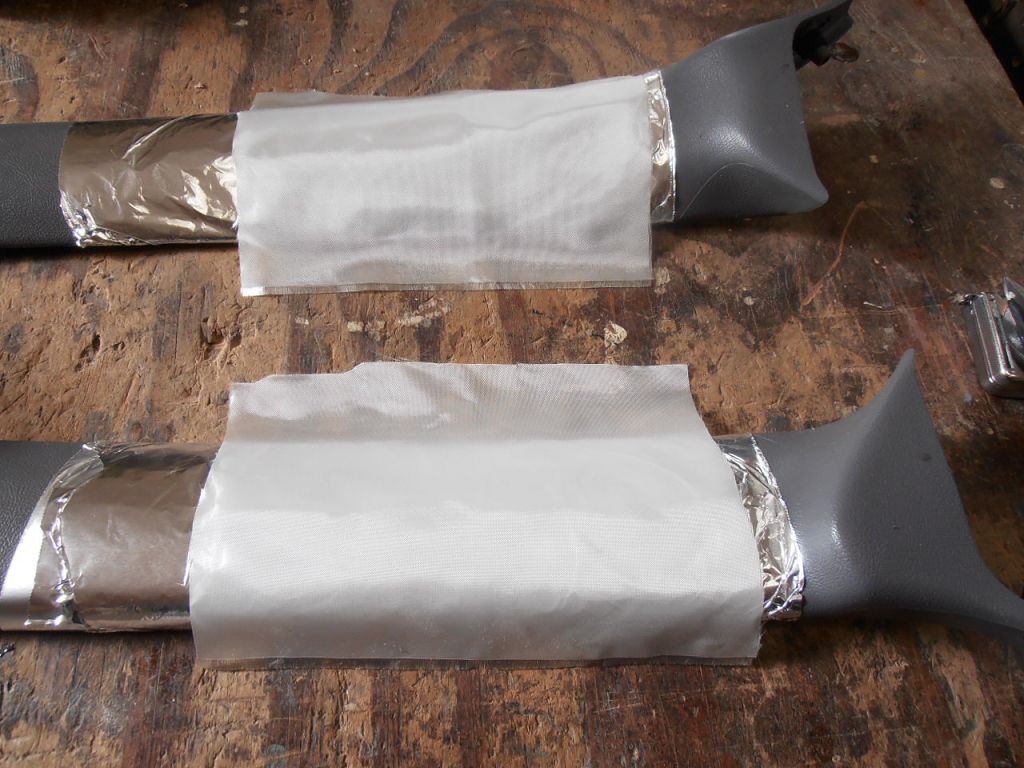
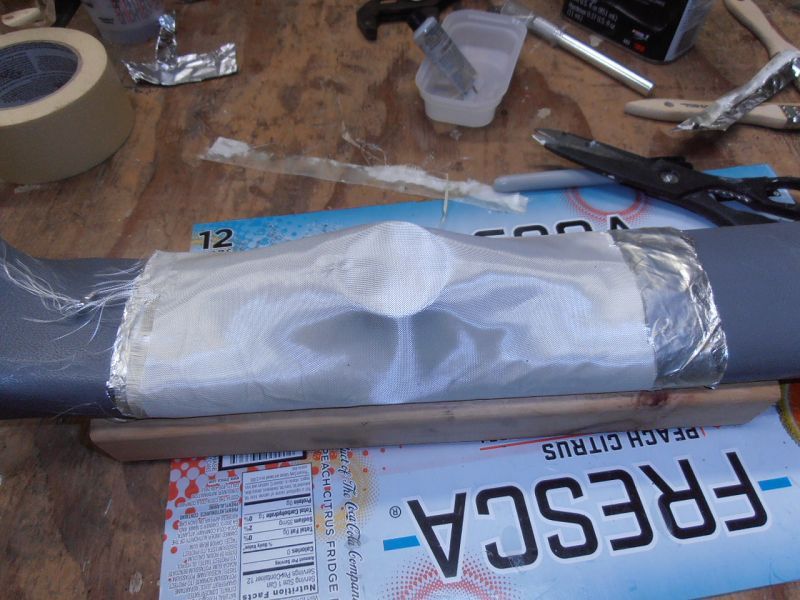
Laying out the glass cloth.

P2140009.jpg


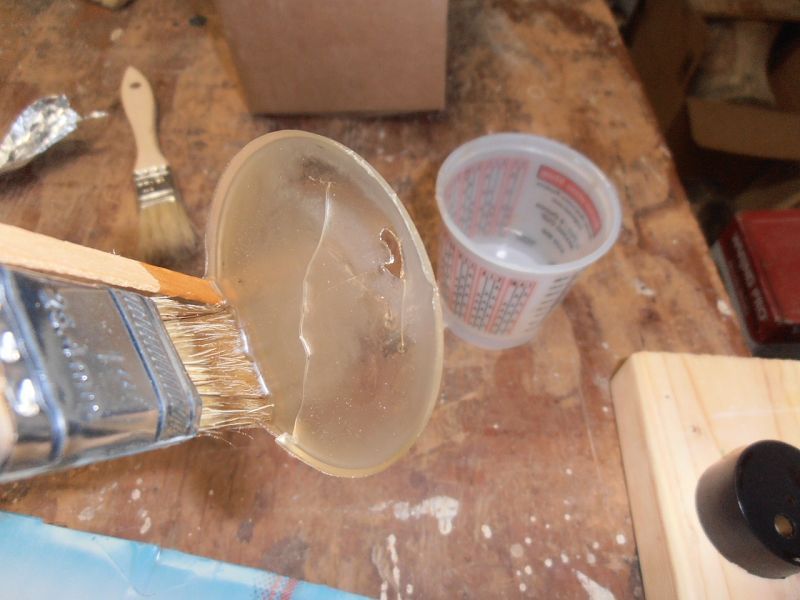
And here is the first coat of resin applied
P2140012.jpg


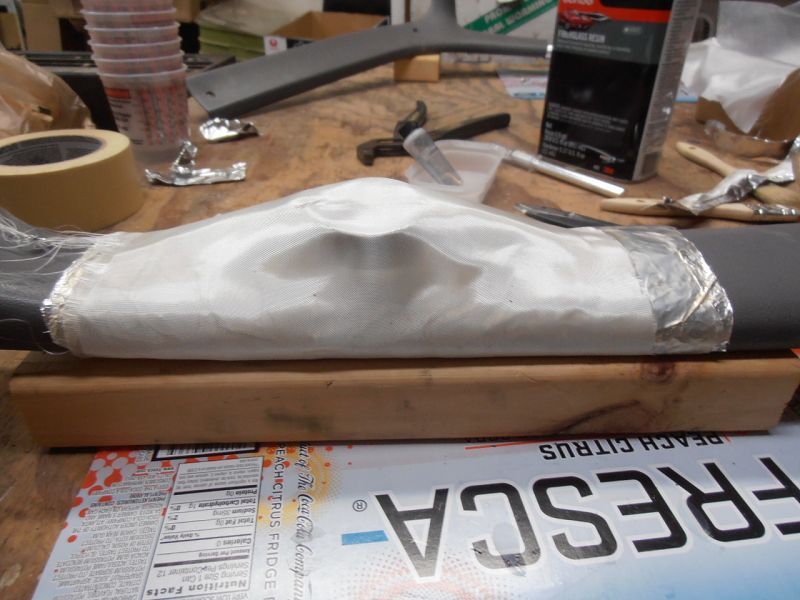
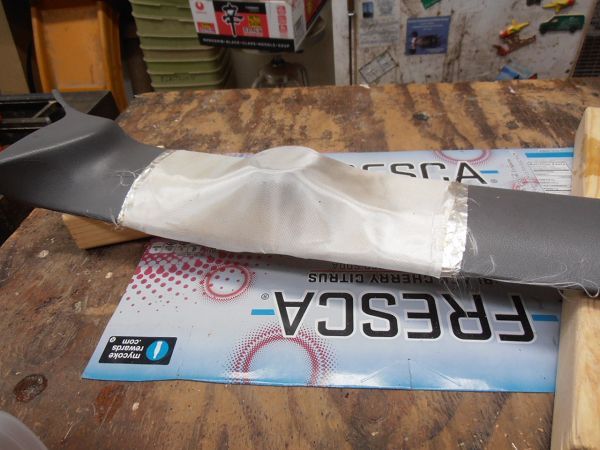
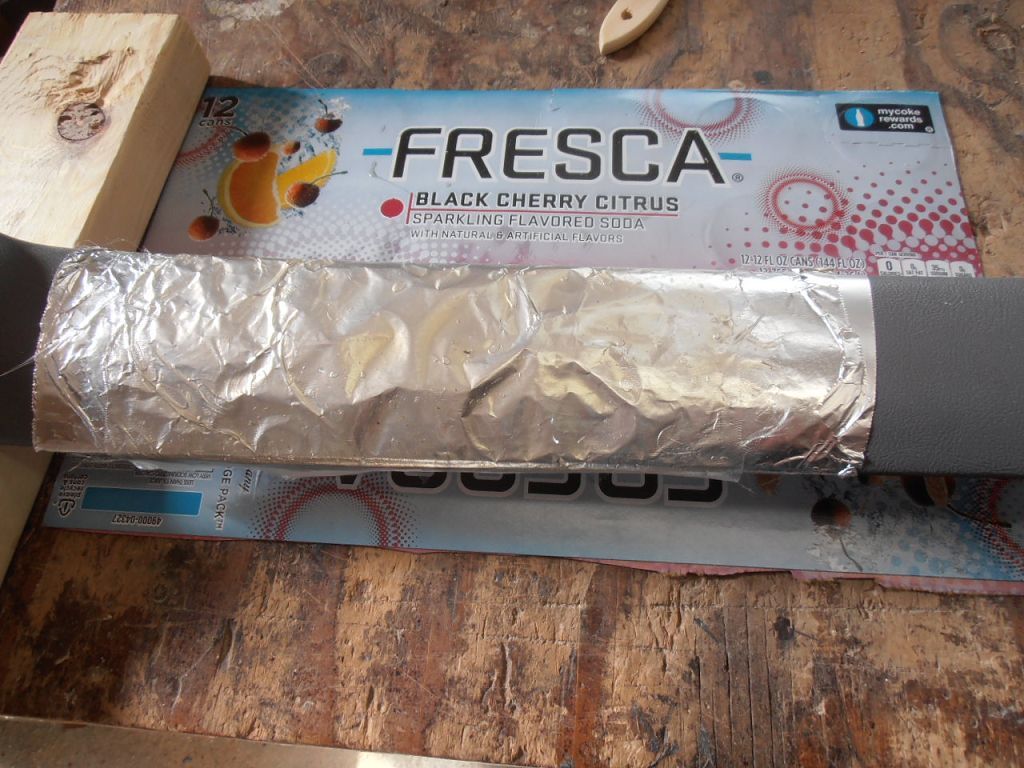
Put another layer of cloth on while the resin was still setting up, and added more resin.

To be continued ::chin:

 
Last edited by a moderator:
I am a fan. Keep us updated!

Scott
Humm, I just spent a bunch of time taking a system out with two amps, enough wire to wire a home, pioneer CD radio and a boom box in the trunk. Put back small alternator. Along with the alarm system and the radar detector hidden under the carpet.

Now if you want a big system in the garage that is fine that is where the one I took out is going, lol.

To each his own.

David

 
LOL..........Funny, in preparation, I recently wired in a high output single wire alternator :D

Where were the speakers in your set up ? Any separate tweeters ?

What are you going to use to drive the unit when you set it up in the garage to drive it at 12VDC ?

 
LOL..........Funny, in preparation, I recently wired in a high output single wire alternator :D

Where were the speakers in your set up ? Any separate tweeters ?

What are you going to use to drive the unit when you set it up in the garage to drive it at 12VDC ?
He had used the space in the doors for speakers and then put some kenwood speakers on each side in the rear and then the boom box in trunk that filled it up. He had to take the spring lift rod out to get it in there. I forget the name on them I think three letters. Put in storage building a year ago.

I figured on using a transformer for the 12V in the garage.

I never got a Marti on the car it either had and AM/FM or AM/8 Track since it had all the wiring to the doors, bellows and speaker grills in the door panels. I am going back with an AM/FM but have AM/8Track also.

My son in law use to have a stereo shop and I would build the boxes for him, specific volumes. He won a national competition in Daytona back in the 80's. It would make the windshield push in and out it was so loud. Wipers would jump off the glass. I am sure they have much louder now with all the new stuff out. I can hardly hear anyway don't need more loud music, lol. I do like good Floyd cranked up.

For sure not against a good sound system I was just trying to go back more original. Never going to find a set of side panels without speaker holes, lol.

David

 
Day one was a huge success.

I actually mixed in too much hardener with the resin, and it set up faster than I could use it. When it started setting up, it started to pull and I'm glad I scrapped that batch and mixed some more.

P2160006.jpg


day 2 update :

The frames came right off the pillars easily, and snap right back on with just a little force.

P2160001.jpg


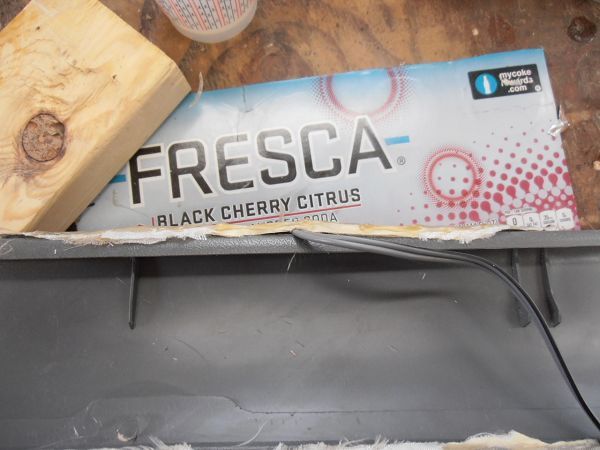
I'm trying to make the bumps as shallow as possible, so I decided to shave the bottom off of the Tweeter mounts before installing, every 1/16 of an inch counts :chin:. Plus I'm not really sure how I'm going to run the wires, so I thought that not having a bottom in there would possibly make life easier down the road.

P2160009.jpg


Here's the mount on the pillar,

P2160010.jpg


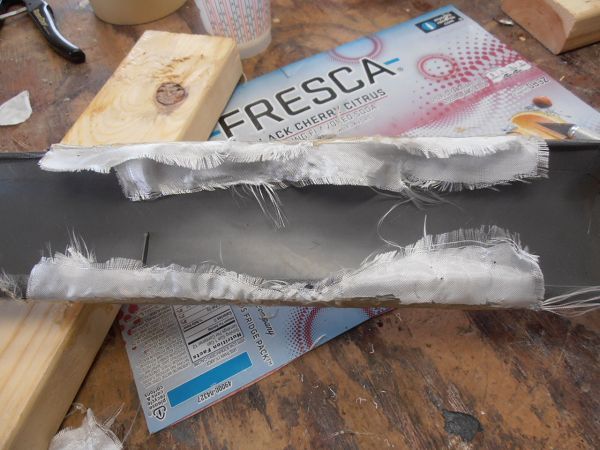
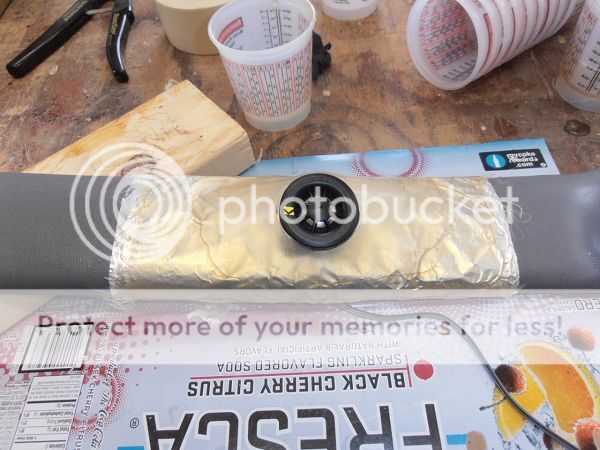
I was going to glue or glass this on now, but as I was practicing placing on the cloth, it fit so nice dry that I decided to glass them in place without actually adhering them to the frame. I figured that I could glue them in later if needed.

P2160012.jpg


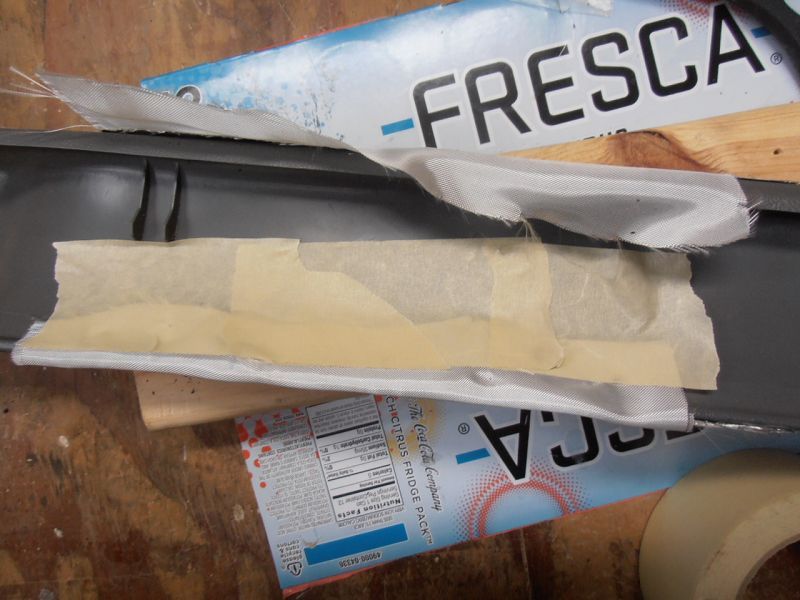
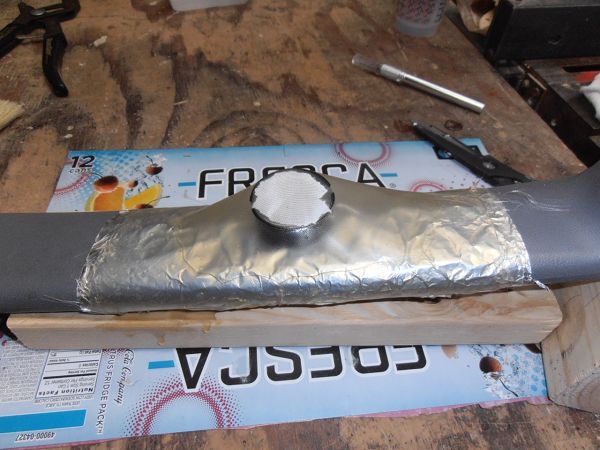
I learned from day one, that it made things difficult with the cloth not pulled tight, so this time around, I pulled it tight and used tape to keep it taunt.

P2160011.jpg


P2160014.jpg


This is with a coat of resin applied.

P2160015.jpg


I didn't coat the centers, knowing that I was going to have to cut them out anyways.

So far so good ::thumb::

 
Sweet! This is going really well - nice job! ::thumb::

I have a Retrosound Model 2, with Retrosound 4x8 speakers in the stock locations of the doors and some 6x9s with spacers in the package tray. I was actually surprised with the sound quality, and the USB/Bluetooth/iPod inputs are really cool. As a "stock" stereo, it sounds pretty decent, but as with most stock stereos, it's a little flat - I like having everything filled in to include "make your hair tingle" bass (clean, but not over-powering). To that end, I have a pair of 10" MTX Terminator subs with an MTX Terminator 400w amp to drive 'em - just gotta build the enclosure and plug it all in, now - that space under the non-folding rear seat package tray was just begging for a box. ;)

If it turns out I discover I might want some tweeters down the line, I believe this is definitely the way to go about it. Pretty much everything in my car that I've done in the way of "restomod" can be undone with just about zero evidence of having been there, carpet and upholstery aside. This would go a long way toward continuing that trend... like you said, cutting up the A-pillar trim would be 'unforgiveable.'

Again - lookin' good so far! Can't wait to see how it all works out. :bravo:

 
Have you considered setting up a vacuum bag system? It can be done fairly cheaply and you are clearly handy enough to do it.
I don't know what a vacuum bag system is ?


Sweet! This is going really well - nice job! ::thumb::
Thanks, I appreciate the feedback::thumb::

I've actually got enough volume with my current setup, but I just really can't stand the lack of highs with the speakers in the doors and rear panels, especially being a ragtop with or without the top down. I probably wouldn't even notice it except for having the sound I do in my DD having the tweeters at ear level.

 
Last edited by a moderator:
http://www.bertram31.com/proj/tips/vaccuum.htm

In the simplest terms, vacuum bagging a part uses the vacuum to apply pressure to the fiberglass lay up allowing the part to be thin and strong by both providing an even clamping force and removing the excess resin.

It is likely overkill for a project of this nature, but it makes for a really nice layup

 
I see. This might be something that could be done if I want to make more. It looks like I'd need to make the first one and then use it as the mold.

Maybe if things go well, I can make some $ selling these. I'd have to do something like what you suggest in order to make it worth while.

Thanks


Day 3 is kinda boring. The first skin for the domes is pretty springy, so I added another layer of cloth to stiffen in up. I'm going to edit my first post, because I remember that I did 2 layers on the base, but did them at the same time.

Second layer of cloth

P2190004.jpg


and more resin

P2190001.jpg


Last edited by a moderator:
Day 4 , Learning as I go, which is the whole reason I'm practicing :p

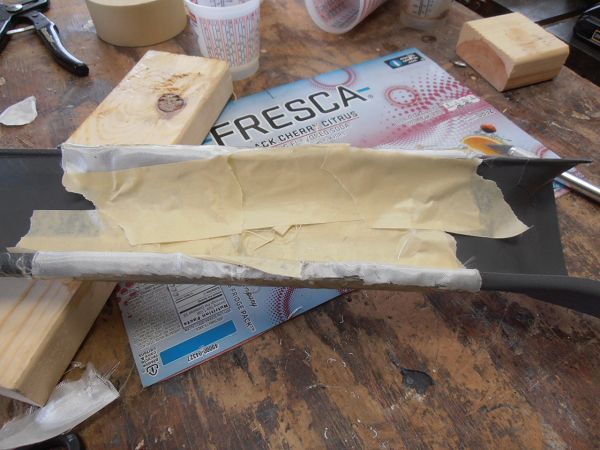
The tape on the back side held everything together, but I wish I would have put resin further around the bend. I was afraid that doing so, would make it hard to trim, or get them off. But I think that next time, I'll resin further around and use a a Dremel cut off wheel to trim if necessary.

P2200020.jpg


P2200021.jpg


P2200022.jpg


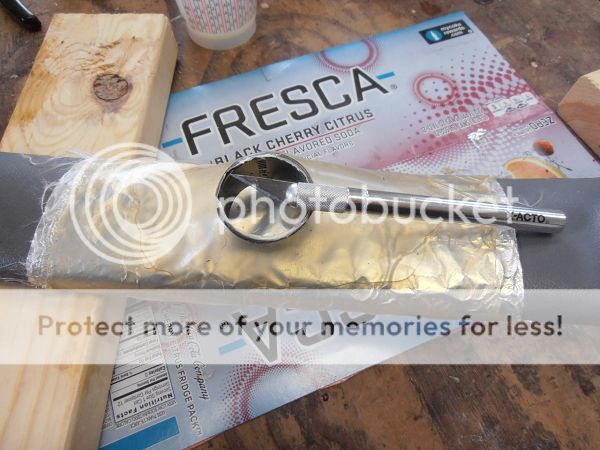
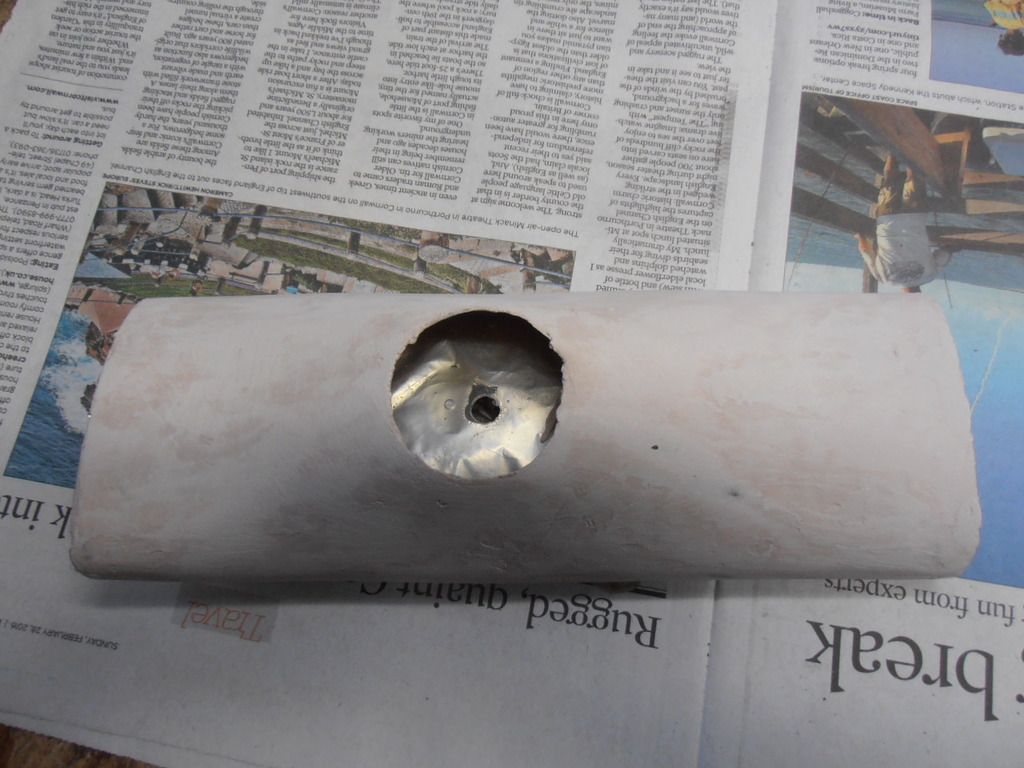
Cut out the opening for the Tweeter

P2200006.jpg


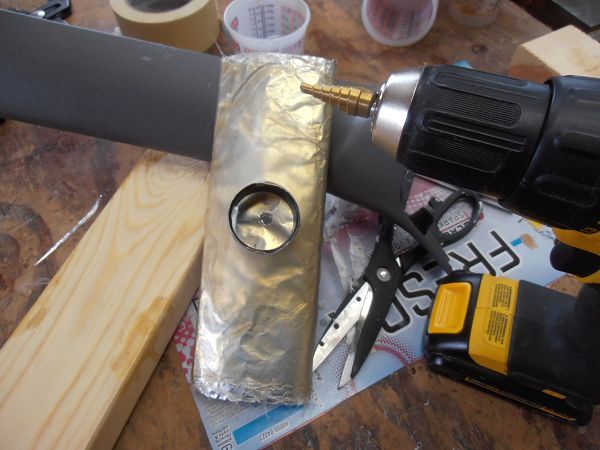
And cut out a hole for the wires.

P2200012.jpg


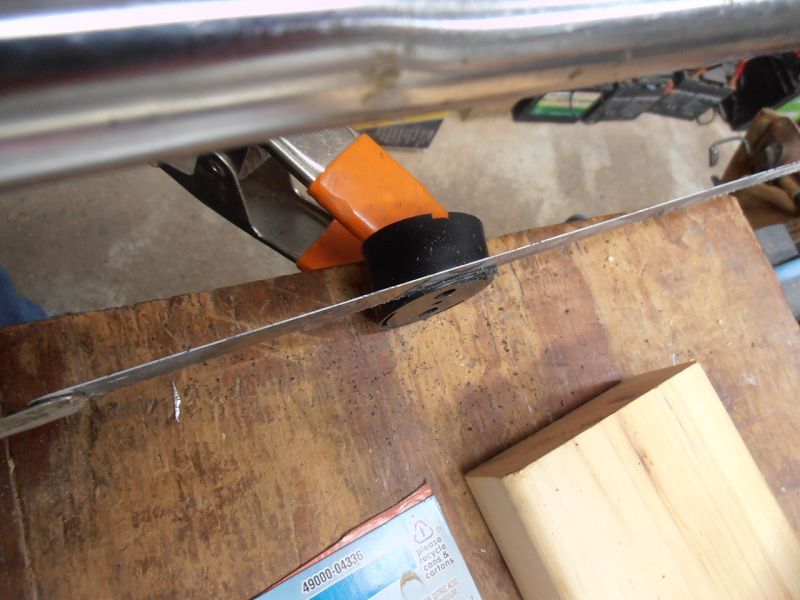
For those not familiar with a Unibit, these are the ONLY way to drill holes in sheet metal, I figured it would work great on the thin Plexiglass and it is perfect. If you've ever tried cutting thin sheet metal with a standard drill bit without clamping it firmly down, and it grabs and spins the metal so that you can lose a finger, you know what I'm talking about.

Not only does the Unibit cut the hole without binding, it is way easy to just make the hole bigger as required.

Going to try to run the wires through the hole and slip out between the pods and the pillar.

P2200015.jpg


P2200013.jpg


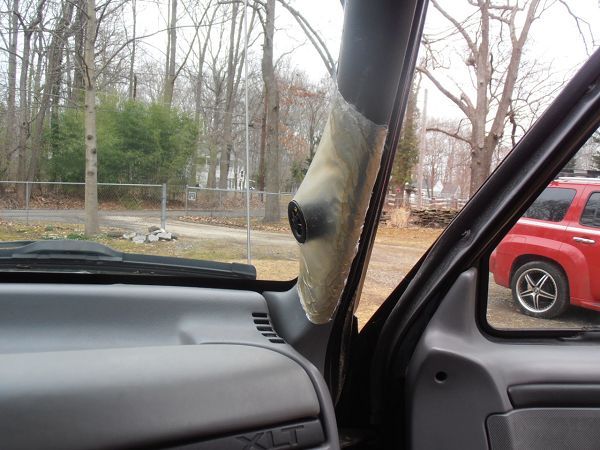
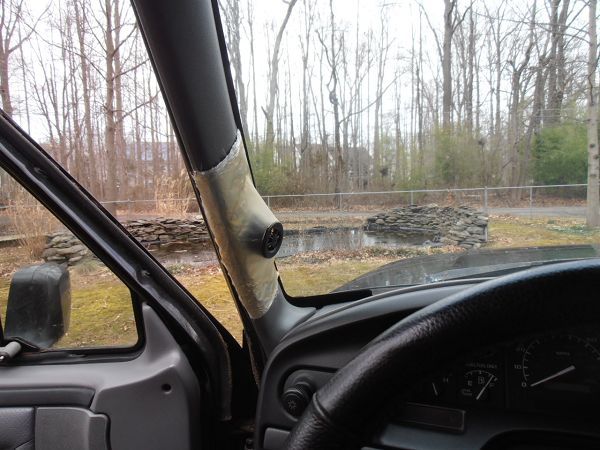
Lets see what they look like in the truck

P2200026.jpg


P2200016.jpg


P2200024.jpg


I have to use a little imagination to not see how ugly they are in their present state, but I'm liking what I see so far.

The wires are easily hidden and can run without being seen down into the dash.

so far so good ::thumb::

 
Last edited by a moderator:
day 5 progress report;

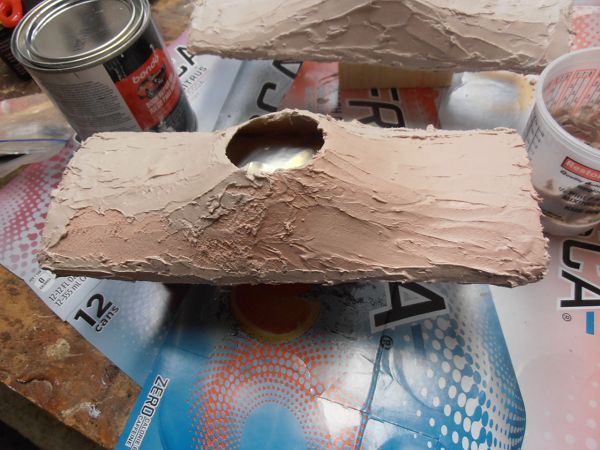
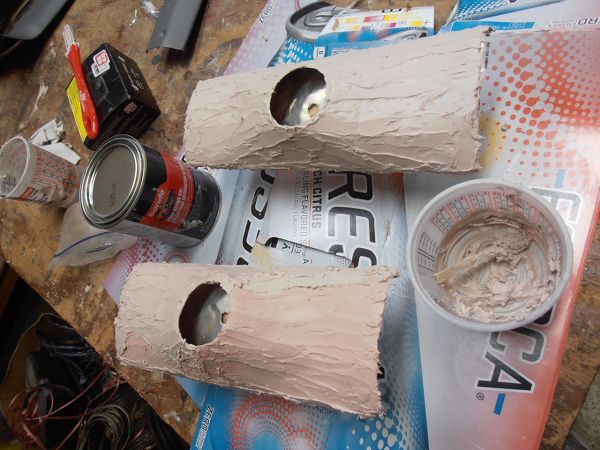
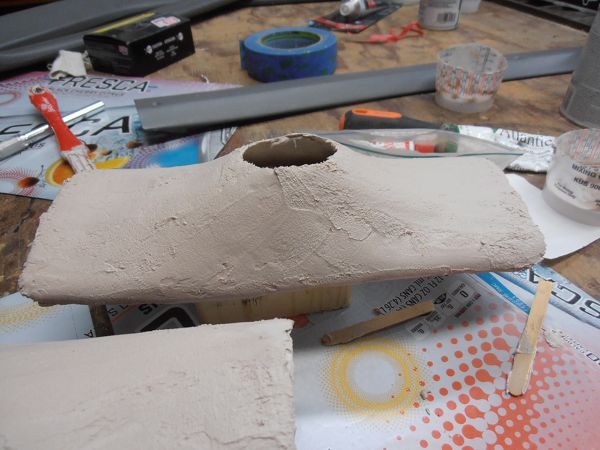
Time to start making them more shapelier. Unfortunately, I do Bondo work about with the same technique that I do dry wall mud.....Pile it on thick & lumpy and then work like heck sanding it back off :shootself:

P2250035.jpg


P2250034.jpg


Day 7............

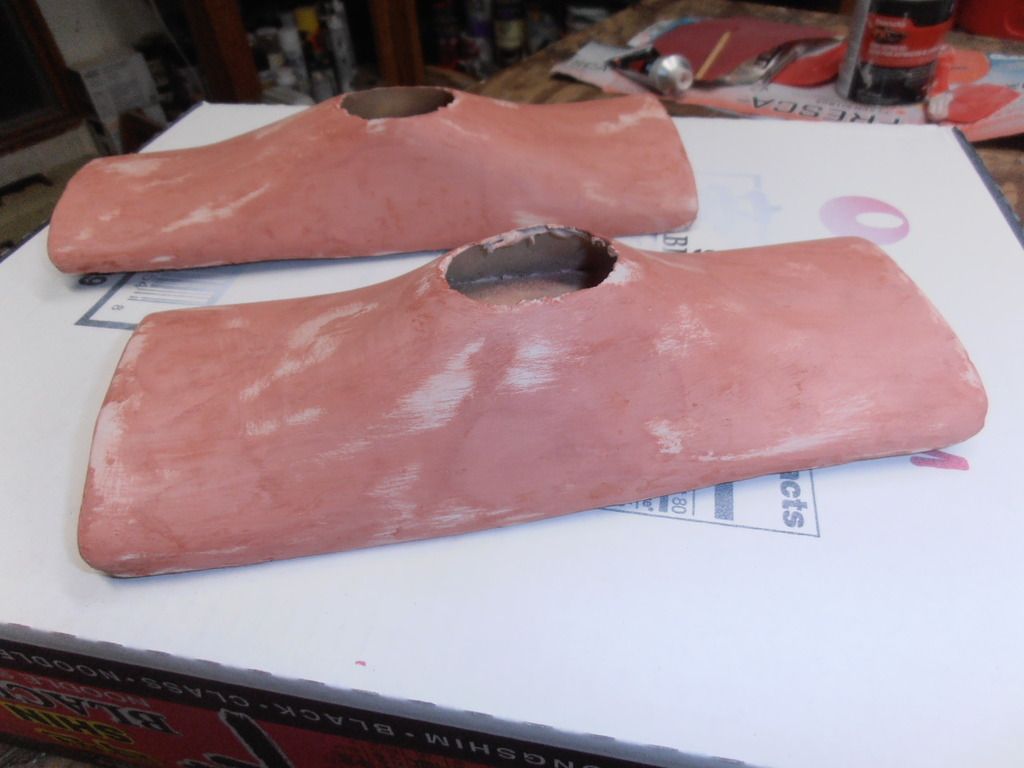
Bondo all sanded

P2270042.jpg


P2270043.jpg


and skim coat applied...........

P2270045.jpg


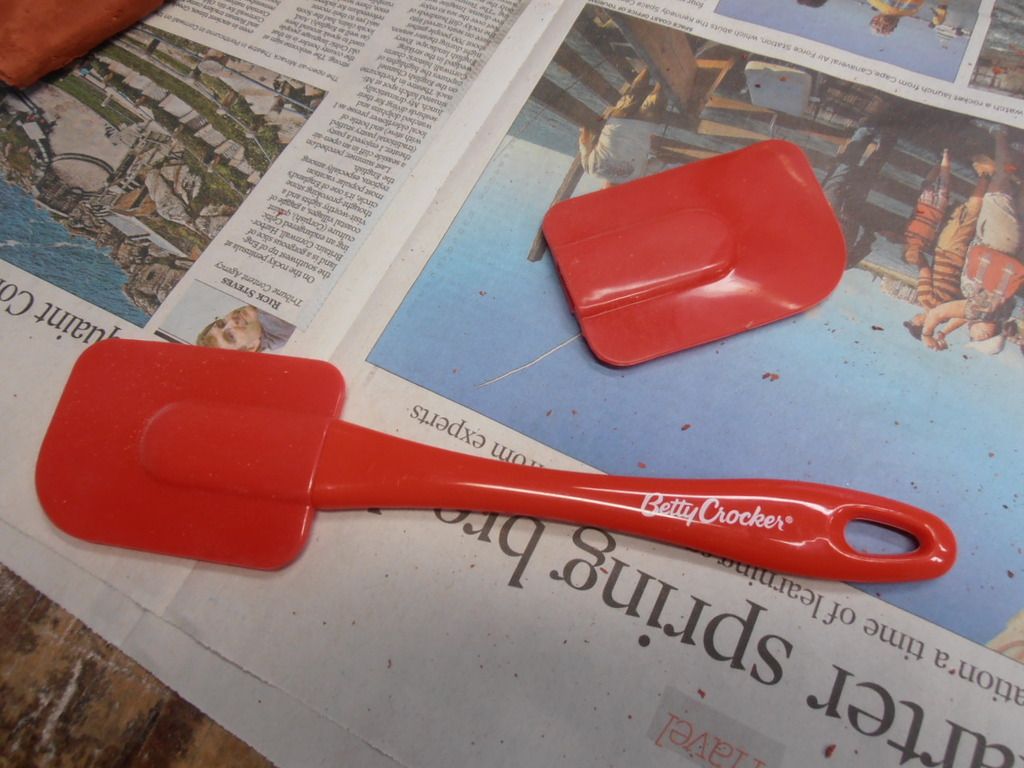
The applicators at the auto stores just seemed too stiff , :idea: so I stopped at the dollar store and picked up a couple of these..............worked like a charm..

P2270046.jpg


Last edited by a moderator:
Day 9

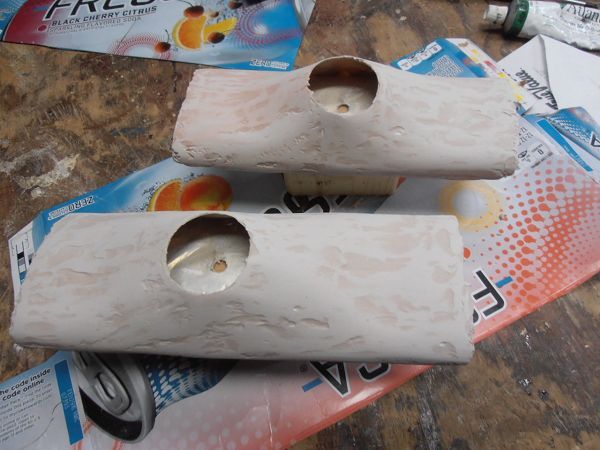
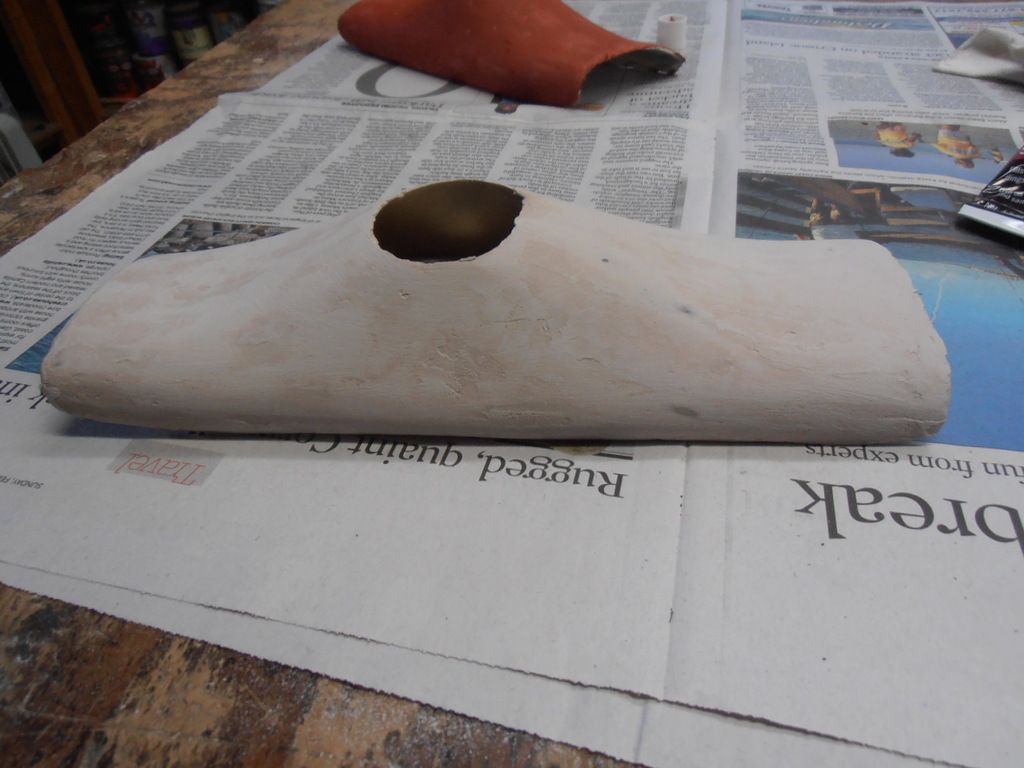
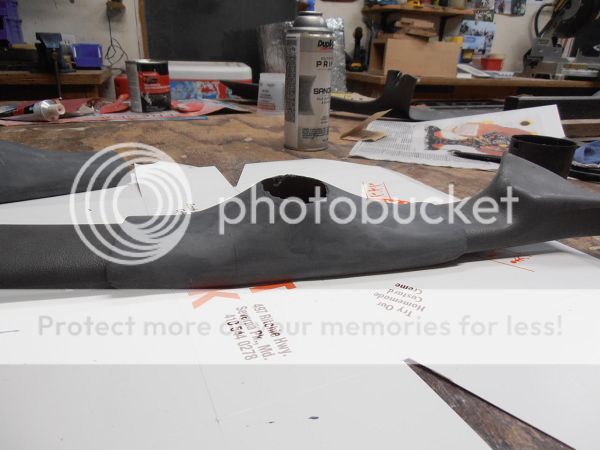
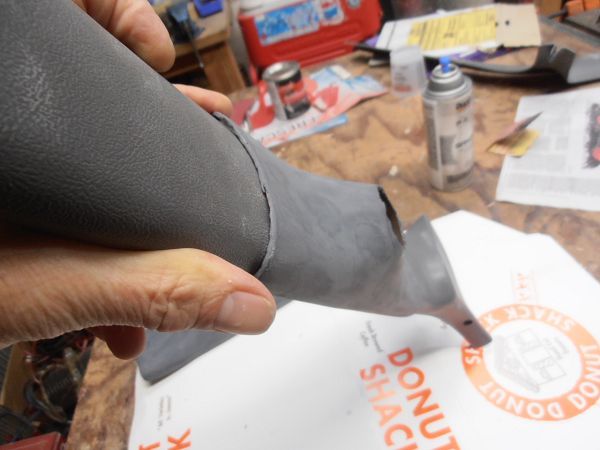
Final sanding and ready for primer.

P2290051.jpg


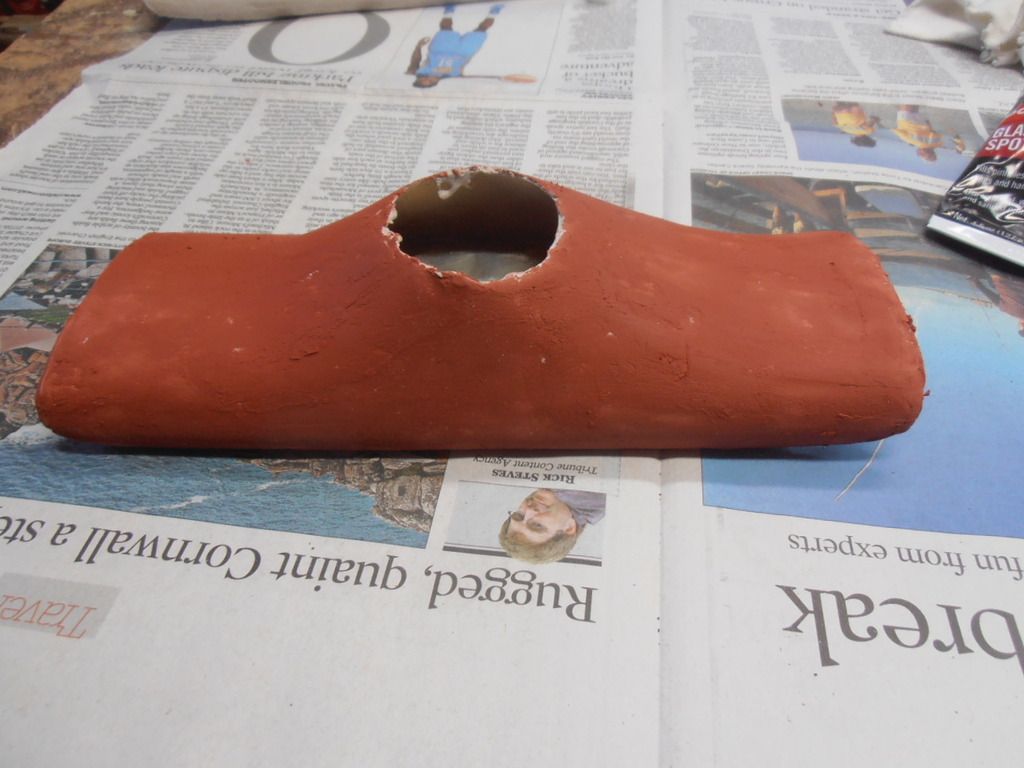
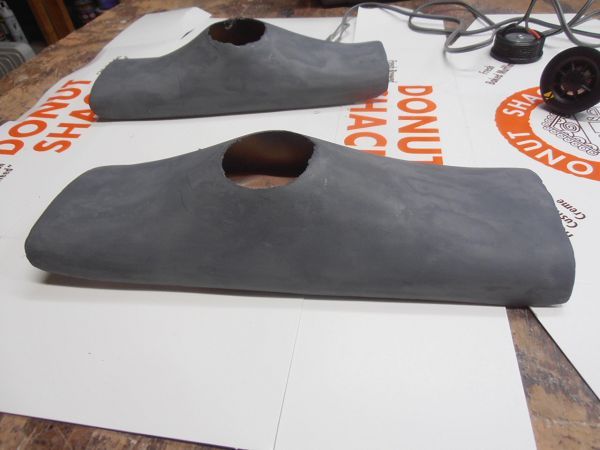
Day 10 could have been done in day 9 , if I had bought the primer before hand :p

P3010058.jpg


P3010059.jpg


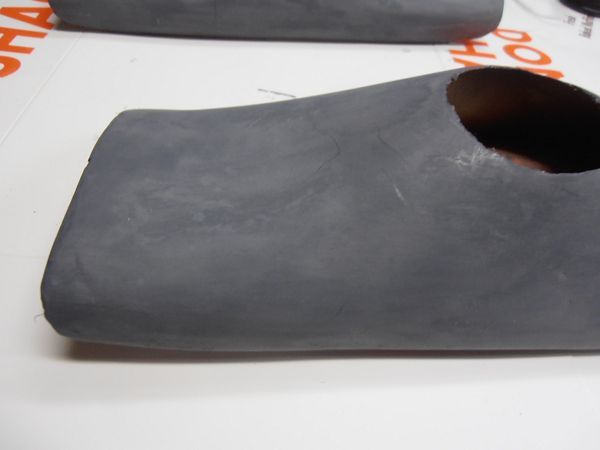
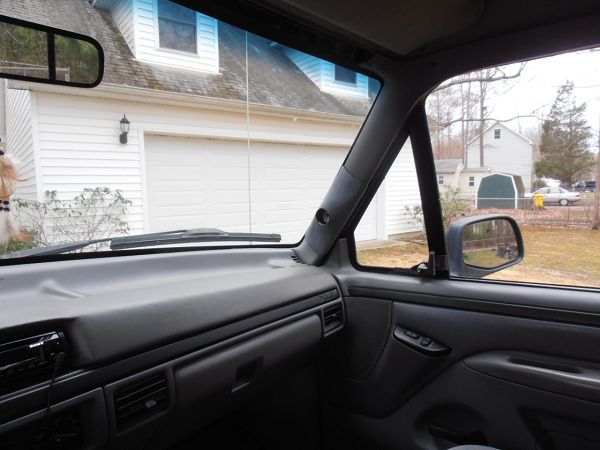
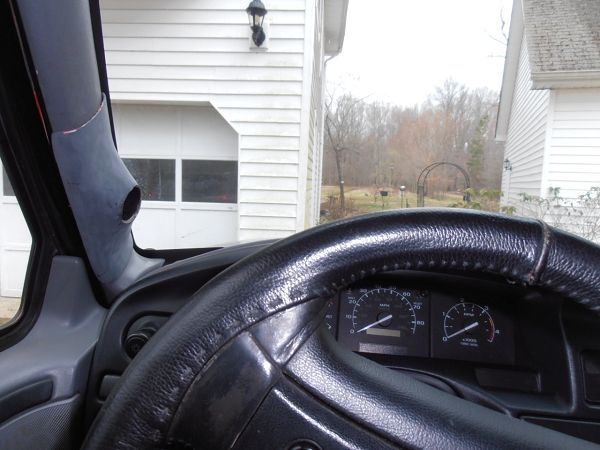
Even though they are only primered, since the pillars are also grey they don't look half bad

P3010062.jpg


P3010061.jpg


I drove back and forth to work, and they blend in so well that after 5 minutes, I didn't even notice them in my eyesight.

P3120011%20-%20Copy.jpg


P3120001.jpg


In the future when you do "bondo" or filler work you can save yourself hours upon hours of sanding by using whats called a "cheese grater" to rough cut the filler to shape. you do this 2-3 times then apply your final topcoat. Gets you there a lot faster. You use it as soon as the filler kicks is still rubbery just like a piece of cheese. Also don't mix your filler in a cup,A flat piece of tile or plastic is what you want.

http://www.amazon.com/AES-Industries-10-Inch-Surform-Cheesegrater/dp/B002DLT2LM

 
Cool, it even looks like it is the perfect size/shape for the pods. I'm ordering one for doing the Mustang pods. I'm guessing that there is some experience needed to get the timing right.

I would have never thought about mixing it on a sheet. Does that also stop it from hardening so fast ?

Thanks for the tips. ::thumb::

 
Back
Top