advancements in LED lighting 2014

7173Mustangs.com

Help Support 7173Mustangs.com:

This site may earn a commission from merchant affiliate links, including eBay, Amazon, and others.
Has anyone tried a color change? I know a few posts said you will be unhappy with the stock defuses in the panel so remove then. I would love to have the same greenish blue color it has now only brighter but if I cant do that may as well go crazy right?
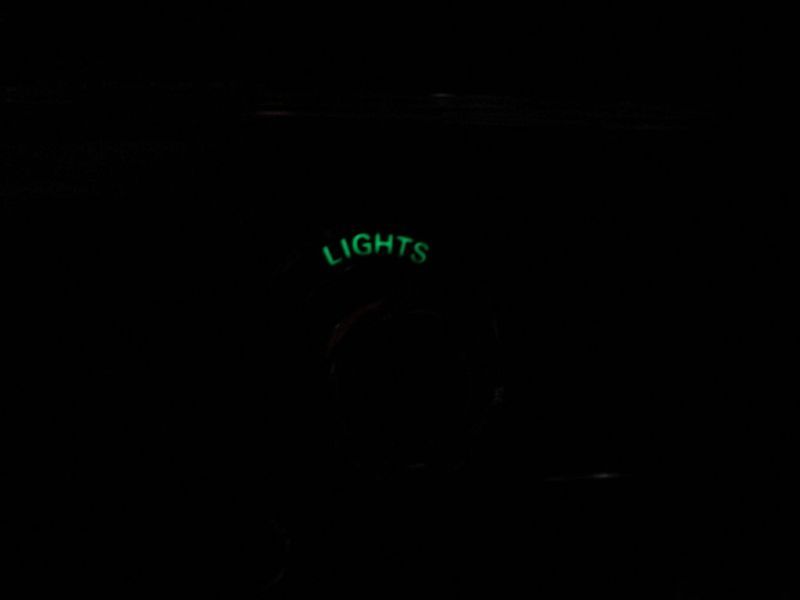
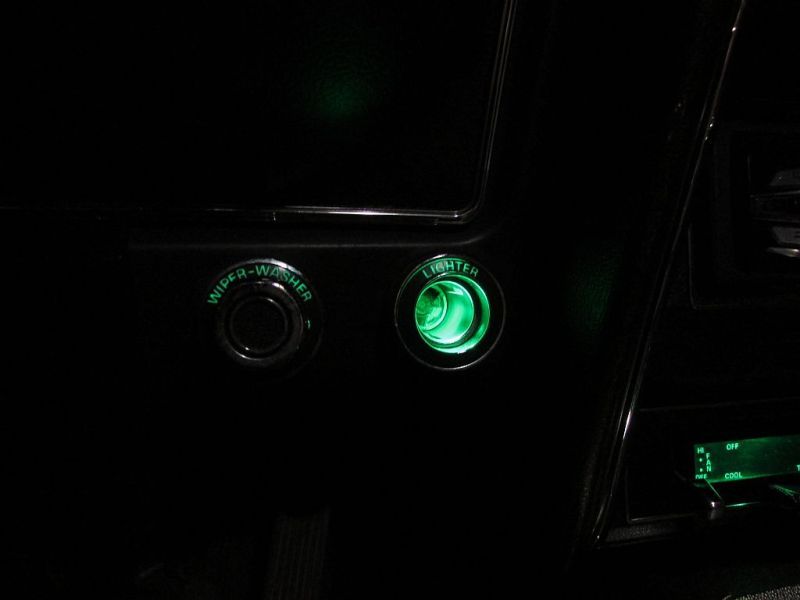
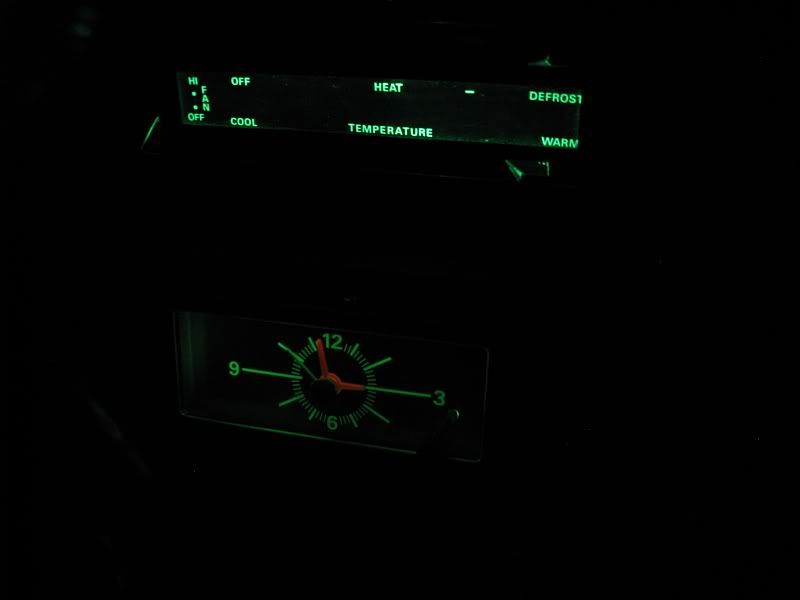
I removed those blue diffusers in mine and went out to Superbright LEDs in Earth City MO to pickup new LED bulbs.

Very happy with the outcome. I spent about 100.00 for the LED Bulbs and Blue LED strips for under the dash, trunk and engine bay.

led dash 1.jpg

led dash 2.jpg

141119_004.jpg

 
@ EBSTANG

Yup still happy with them, just take extra time when you install them to watch for any weird reflections that the leds can cause. I had to black out one LED array element to stop one of these reflections inside the the gauge cluster.

i'm still amazed when i turn on the headlight lights and the instrument cluster lights up nice and bright

the ebay bulbs i got were

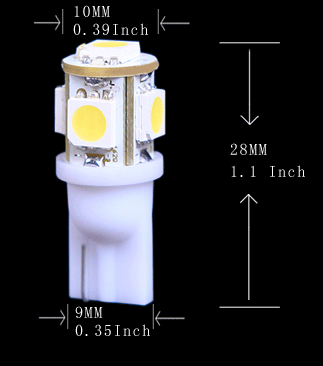
10x T10 194 168 W5W 5SMD Green 5050 LED Wedge Tail Side Plate Light Lamp Bulb US

http://www.ebay.com/itm/10x-T10-194-168-W5W-5SMD-Green-5050-LED-Wedge-Tail-Side-Plate-Light-Lamp-Bulb-US-/161338866160?hash=item25908bb9f0

the closest link today i found was

http://www.ebay.com/itm/20x-T10-5050-W5W-5-SMD-194-168-LED-Green-Car-Side-Wedge-Tail-Light-Lamp-Bulb-/171280734802?hash=item27e1209a52

for a bunch of colors other then green:

http://www.ebay.com/sch/sis.html?_kw=10x+T10+194+168+W5W+5SMD+Green+5050+LED+Wedge+Tail+Side+Plate+Light+Lamp+Bulb+US&_id=161338866160

 
Thanks, so I think the consensus was to use the original bulbs (or white LED) in the turn signal indicators, wiper/washer sw, headlight sw, yada yada yada, as well as the high beam indicator...correct?

Assuming you say yes to putting the green LEDs in the remaining positions on the speedo/tach cluster and the temp/oil/amp center triple pods in the center dash console how many would you need?

Have I listened/read correctly and is it also correct that I can just exchange these bulbs for the bulbs which are existing...I have installed a new headlight switch and it's dimming capability will work with these bulbs? (I did read all the posts but am just confirming)

The replacement of the standard flasher with an electronic one can be done even if I haven't switched the stock filament turn signal/brake/parking bulbs?(electronic flasher will work with filament bulbs?)

...where to get the electronic flasher?

...switching this flasher is a no-brainer, right?

Then I could switch out the filament bulbs with LEDs anytime in the future?

Feel free to copy/paste my post and just type in yes & no & where to get flasher...thanks so much!

 
Hi folks,

I'm going to jump in here at this point and add some extra helpful reference information to help people find the extra LED replacement bulbs for their interior lighting needs, as well as the main instrument cluster LED bulb replacements. These contacts provide further info on the good advice and selections that have been provided above.

Also, to bring home a point again already made, i think it's very important to remove the old blue frosted up instrument cluster lens pods in any case, because they wont let a lot of light through them no matter which bulb you try and install. Getting rid of them is crucial in trying to achieve top brightness in the instrument cluster as your end result. They do have to go. This happened to me. I did not remove the old pods, and installed the best, brightest Hi Po white LEDs, and the end result was not all that good in the brightness department. Now, i will remove the old blue pods and buy the green T10 5050 LEDs as mentioned above, and that should see me right. Unfortunately, repro pods can't be purchased at this point of time to save the day.

These bulbs would be for example to replace -

the foot brake warning light

the headlight switch light

the wiper washer switch light

the map light

the roof dome light

the center console clock light x2

the ash tray light

the shifter marker light

the aircon/temperature control lights

the original radio lights

the center gauge lights

the under dash courtesy lights

I list two separate companies that cater for all these extra bulb applications.

Both are a good source of reference for your LED bulb needs. Study both sites for specific details relating to our Seventy 123 Mustangs.

HI Po Parts Garage -

http://www.hipoparts.com/1971-73-ford-mustang/

Superbrightleds .com -

https://www.superbrightleds.com/cat/led-vehicle-replacement-bulbs/vehicle/1973-ford-mustang--/20-772--/

Hope that helps,

Greg.:)

 
I did the same to my car as others here have done.

Changed out all to blue convex leds, then as the newer multismd LEDs were available, swapped all out again for those.

Huge difference.

Only use incandescent for blinkers and alternator idiot light.

Even put blue leds under the dash on both sides so when I open either door, there is a blue hue glowing under the dash.

It's amazing how something simple like this attracts the biggest wow factor! Go figure!

 
Don't put LED's in the turn indicators. They are almost line of sight and will blind you at night.

I put green LED's in everything, and they show green in all the switch bezels, shifter indicator, and heater controls through the bluish filters.

IMG_0103.jpg


IMG_0102.jpg


IMG_16171.jpg


i'll note i replaced my circuit board 2 times.

the original circuit board : you can clean the copper i used kaboom and it shined the copper up like new, Problem the 40 year old mylar was brittle and the contact areas where the bulb sockets touched were worn out.

when i changed out the old voltage regulator on the board i broke the mylar and snapped off one of the regulator connectors, also the copper around the main connector started to de-laminate from moving it around.

enter repro board #1

I swapped the board and i had it in the car about 3 years. I was using the normal 194 bulbs and i decided to go with the HIPO kit.

when i pulled it i found the copper was again de-laminating. i was having problems with one bulb and i kept pulling the cluster and eventually one of the copper contacts actaully broke off.

enter repro board #2

i kind of learned my lesson and i took clear tape and carefully around the edges of the copper where the connector goes i wrapped the tape around the ends to keep the copper from popping off the mylar.

i also put a couple of pieces around 2 bulb sockets that i had an issue with in the past on my car, this board has been in the car for over 5 years and i just did the swap to the next gen LEDS on it.

the black bulb sockets themselves are the cause of problems. the Plastic itself suffers from 40 years of degrading from the heat of the 194 bulbs, many times the sockets will break apart in your hand from just touching them. 10 years ago i had to find replacement sockets from a junk car to replace many of mine that had fallen apart.

the metal contacts are 2 piece and they slip into the plastic, these get corroded. i soaked mine in rust / oxidation remover a couple of years ago and i also coated everything with dielectric grease to try and protect the metal from corroding again.

this worked pretty well i had 2 sockets that required me to bend the outer arms a little to get the bulb working.

sometimes somebody bent the socket arms too far because they got angry with a light not working when you do that you can tear the copper pcb wires on the mylar then you get to replace the circuit board again.

i know one friend that soldered jumper wires from the sockets to the circuit board. its possible with a low heat iron and thin solder.

corrosion on the circuit board just causes bad contact so you hit a bump and a light turns on and off, the copper is wide on the mylar so that is not the issue. the only time i would replace a board is when the mylar cracks, the copper peels off the mylar, or the copper is torn, everything else is the tension you set with the bulb sockets.

a word of caution on the next gen LED bulbs. there are many manufacturers. i ordered a specific bulb that has a filament of wire for the bulb contact on both sides, many just put the filament on one side of the bulb i figured 4 connections is better then 2

example.

the filament is bent around the base of the green plastic giving you contact for both wires on both sides of the case.

$_12.JPG


this version only has the filiment on one side and is cut shorter so you only get contact on one side.

3001_zpsde096ba4.gif


the double filament makes the bulb base thicker and it holds in the sockets with more tension.

its a small difference but it can make or break you.

i can give the ebay link to the bulbs i bought but the seller is pretty terrible,,, example i bought 20 led bulbs, 18 came and he sent me some kind of adjustable IR circuit for a remote and a made in china Iphone charger that will most likely burst into flames if used. the seller grabbed a bunch of boxes off the shelf and shipped me the stuff so i know it was a mistake but his rating isn't very high... i figured for less then 10$ with free shipping it was worth the risk,,, the bulbs cost me about 7$,,,, verse 75$ dollars if you buy from a more reputable vendor.
Do you still have the contact info to acquire the green 5 SMG LED bulbs which have the double filament? I am ready to order them and am trying to locate the dual filament bulbs, in green, and have not been able to find them... Thanks, Eric

 
the bulbs came off eBay and the seller re-listed them numerous times since last year. the links i copy pasted from eBay came from the same seller so it is a guess if they are the same bulbs.

you can use the single filament bulbs they just don't sit as tight in the sockets but that might not cause problems.

basically when they ran the wires out the bottom from the led array inside they either had 1 wire per side or 2 wires per side.

so a single filament bulb has 1 wire for the pos and 1 for the neg wrapped around the bottom of the plastic bulb seat. a double filament has 2 wires one wrapped around the back and the other around the front for both sides basically you get more surface area for electrical contact with the socket. i just figured more exposed contact area the better.

besides the turn signals using regular bulbs to avoid blinding yourself when driving at night. i found i needed a normal bulb in the brake warning lights spot, a led bulb kept doing weird things from the brake warning sensor. everything else was ok from memory... i did leave a normal bulb in other areas like the ashtray and gear shifter selector just so the light coming out of them looked Factory stock.

 
Last edited by a moderator:
1) yup stay away from the reproduction light sockets.

2) is not true unless they are non-dimable leds.

these are dimable so you have to be careful low voltage/ bad contact will cause them to illuminate dim.

on a non-dimable LED they reach a threshold and are either fully on or off.

the deal with LEDs is they are low amp draw a bad joint on a pcb may cause proper voltage transfer but no amperage, so you measure a gap and get a 12 volt reading but put a bulb across the contacts and it will not light up. (happens on cold solder joints where there is an airgap caused by a bad joint or damage to the pcb. so an led being a low amp draw can still fully light up on a bad contact or bad joint.

now SMD made non-dimable T10 style LEDS just 2-3 years ago they came in 2 forms one was a PCB mounted system that plugged into the standard 194 socket and these newer ones that simulate the base of a bulb and then have colored plastic showing the color of the light. these newest ones support proper dimming.

the older SMD bulbs would either be fully on or off when you tried to use the dimmer on the head lights switch.

OH i forgot to mention you will want to mark the power polarity on your circuit board, leds will not work when installed backwards.

I can post a scan of a + or - layout for the circuit board.

Messing around with the gauge lighting is frustrating so i recommend 2 tests one on the bench with a 9 volt battery touching the terminals and a second one hooked up in the car to the harness but leave the speedo cable and the tach wire disconnected so you can move the housing around.

flip the headlights switch and look at how the gauges are lit, this was when i found the problem with mine having this weird triangle glare and i traced it back to one LED, i then masked off the array and found it was just the top led causing the issues, so i painted just that led black and then reinstalled and re-tested.

better find out then then after you put everything back together.
dcb4[1].jpg

 
Thanks I couldn't find my instruction sheet from when I first did the LEDs years ago.

 
Back
Top