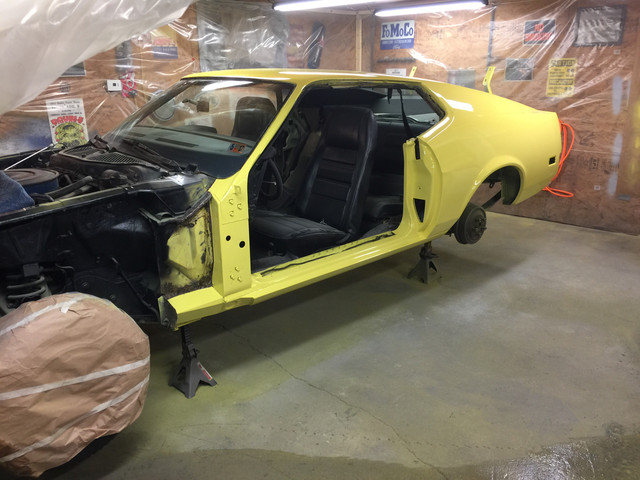
Block sanding question.

7173Mustangs.com

Help Support 7173Mustangs.com:

This site may earn a commission from merchant affiliate links, including eBay, Amazon, and others.
Hi Mark,

Thanks for your reply and feedback. Yes, you are correct about products and paint chemistry  specs changing and varying around the world at any given time.

I started out in my trade of auto spray painting back in 1976, and have never got out of the game since. I still now paint 5 days a week at the tender age of 60 years. :p and work only on brand new cars. Most major paint companies around the world are a pack of dead sh-ts, because they are money or profit driven only.   They charge rediculous prices for their products and continually change the paint chemistry of their products from year to year, sometimes going backwards in performance and quality would you believe. Yes, it's freakin' true.

For example , sand paper companies around the world, list their papers on a stock universal number's basis. However, the true  story is that the abrasive factor varies from company to company. I base my tech advice on the 3M company, and use them as a yard stick to go by internationally.  The interesting thing about this game is that when i did my 4 year training apprenticeship from way back then, you were taught the proper and correct procedures  of all aspects of the trade or job. What i found over the years, was a lot of pro painters tweak and change the basic rules as they go along in their jobs, to suit themselves, or what they perceive works best for them. That goes for everything from gun application  techniques to all aspects of preparation methods etc, etc.

Don't be scared regards using abrasives over the 400 grade mark. For example, i use 2000 grade  to prep up an original factory painted panel before top coating, and get fantastic results.

Regards hand sanding techniques - time has got me right now, but i will try and follow through at some stage in the future, and lay out the whole thing. If you really want to get technical, at some stage, we can link up and have a phone conversation about it all. That would be great!

Thanks,

Greg. :)
That answered a question that I had in my head earlier but forgot to ask, what brand of paper you use?  It does make a big difference in some cases.  

3m is a good standard, typically it cuts well and is more consistent, less "why the heck am I getting the occasional heavy sanding scratch out of this grit???" but sometimes hard to get around here if you just need something at 6pm on a Saturday (but I have a pretty good pile of the wet/dry stuff, at least in 400 and the color sanding grits, I only have a few pieces of 600 and no 800 that I know of, and it seems like <400 I'm always looking for last minute and have all sorts of weird stuff).  

I'm not quite as "young" as you and definitely not as experienced but I have been around enough to see the products change constantly and not usually for the best.  I know that they argue that they're doing it to meet regulations (and I've run into "we reformulated to meet California emissions regulations on the east coast  :shootself: ) but sometimes it just seems like they do it to keep selling new products, techniques and raise prices.  

Honestly I often miss how simple lacquer and enamel was.  I'm really tempted to do a project with all rustoleum enamel at some point, just because it would be old school simple and cheap (the stuff runs <$30/gallon at any hardware store, I'd probably mix in some valspar enamel hardener just to get more UV protection and a smoother, harder finish), and I'm sure with good work would yield results that people wouldn't believe.

 
Nope.  Like I mentioned and listed, I know that the right way is, but I rarely have ended up doing it like that.  

In that case I did a bunch of cutting/grinding/welding/hammering, put some 'glass filler over anything that was cut/any exposed edges, then a light skim of regular filler (Marson's Platinum, when I went to get some the body shop supply was out of the evercoat I usually use, they told me it was equivalent and I didn't have time to wait), a few iterations of prime-sand (first with a bondo buster DA, the 8" pad makes fast work of large flat surfaces, later with a regular DA and then some long boards, smaller blocks and by hand in the details like around the taillights and the tailgate opening).  Once I had it blocked straight in 400grit and no metal exposed I hit it with base and clear, I was in a hurry- I was doing it outside in November 2015 in Maryland it was getting cold, I just wanted it straight, one piece and covered up before winter.  I used 1000watts of halogen work light and a heat gun to warm it up, I kept the paint and primers in a bucket of hot water till I was ready to use them.  Most of it was done on 45-60 degree nights, without the heat I was having problems with condensation by the time I got to doing paint.

FWIW, I would have been happy with this one looking OK straight and the right color from 10 feet away (work truck, just keeping it from falling apart over the winter), but it turned out really well, better than the other side of the bed that a bodyshop did a few years ago.  Honestly you can't tell it from the factory paint on the cab a year and a half later when you get right up to it (except where the factory clear is starting to oxidize).
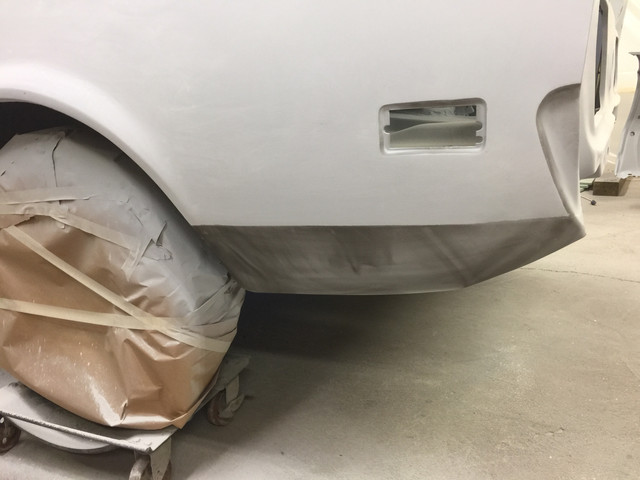
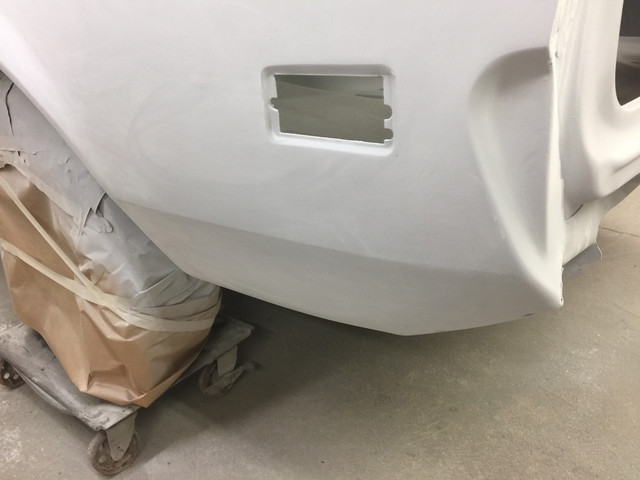
After reading that I was thinking "holy crap, I'm sure that looks awful, why would I listen to someone that would do that?" So I ran out and took a couple of pics of it.  

Now mind you, this is a year and a half later, this truck is used regularly and dirty, never washed, there are new dents over the wheel well and under the gas filler (you can see a little wow in the reflection over the wheel well and the white marks going across under the filler and across the door).  I also took these pics at about 6:30pm, it was pretty dark so what looks like it might be some slight orange peal is actually the graininess caused by the f/ stop needed to get the exposure on the phone camera.  

It had 3 or 4 rust holes that I could put my fist through and a dent/burn in the front of the bed that looked like someone hooked a winch to it there, pulled and burned it.  I painted the whole length of the bed below the pinstripe (I didn't feel like messing with pinstripes).

I know these pics won't show sanding scratches, but they will show you that it came out well and I assure you there are none.  

Honeyview_20170303_180758.jpg

Honeyview_20170303_180842.jpg

 
Hey Mark,

This one's for you and Kevin, and any other Forum folk who are interested.

First up, i was going to mention before that sand scratches tend to show up more so, in lighter colors (metallics/ pearls/ solids) than darker ones. Any light silvery colored metallics and pearls are the worst for revealing them.

Now a little on hand sanding. -  The human hands are a fantastic ,versatile tool as a sanding aid. Used properly, they deliver a top result for the final finish on any paint job. In my college training days, we were taught the proper techniques and procedures to good hand sanding, and good outcomes. The human hand is fairly soft, spongy and fleshy, and is the perfect tool for smoothing down paints for various  outcomes and situations in the paint shop.

Block work plays a vital roll to levelling, flattening, shaping and straightening out flat and curved shaped panels for sure. But after a good block work job has been performed correctly, you will still have surface imperfections in the putty or primed substrate. They could be for example, block tracking marks created from the edge of the block, or sand scratch marks from using rough grade papers for your block work. So basically, the surface now needs to be finally smoothed down in prep for the application of any top coats. The human hand in conjunction with the correct grade of sand paper is just the thing for smoothing down the putty/ primer to remove any surface imperfections. The end result leaves the surface beautifully , and evenly smooth, ready for any top coats to be applied. Choosing to use soft blocks for final pre top coat sanding  works quit well for flat surfaces mainly, but can't compete to using your hands. The hands will do all flat or curved concave or convex contours and any edges to perfection.  Hand sanding is fantastic also when you want to oil back or level out/ flatten out your top coat, be it clear coat of 2k solid enamel. This procedure is used when you want to remove the orange peel from your final top coat to a peel less flat glossy finish. There are a few more apps where hand sanding holds its own perfectly, which i won't prattle on about now.

The average sheet of dry or wet & dry sand paper is around 12 inches square i think. The idea is to either cut the paper into quarters or halves depending on your application. Most of the time your will be using quarters. Halves are useful when you are hand sanding down panels and you are using the fingers and palms of your hand together. Halves are  also good when you want to fold them into quarters. The idea here is that the folded up side of the paper, now provides a useful non slip function, gripping onto your skin more, and preventing the paper from slipping or moving around in your hand when you are sanding. Most of the time painters who hand sand, will use  the flat of their closed fingers and maybe a little of the front palm as well. Below, i have given two separate charts explaining firstly the various parts of the human hands that can be used for various sanding applications, and secondly, the correct and incorrect positions of the hands when sanding. These apply for both wet and dry sanding as well.

Lastly, modern day spray shops have embraced the use of air driven tools to assist and speed up the production times of refinishing cars. Dry sanding with dust extraction, and wet sanding is the thing now, and machines like DA sanders are very popular for sanding down panels for various procedures. For example, they are commonly used for final or detail sanding before the application of any top coats. They do save considerable time and energy, and deliver a pretty good job. This has caused the old way of hand sanding to fade into obscurity somewhat, and so hand sanding is fast becoming a dying art or a thing of the past.  I use air driven tools myself for different sanding apps, but still use hand sanding  to prep up my jobs. The interesting thing in my opinion, is that modern  day air sanding tools deliver good and fast results for sure, but there is no substitute for the quality and the final appearance of using your hands for hand sanding panels. ::thumb::

See my charts below...........................

View attachment HAND SANDING WITH HUMAN HAND.jpg

View attachment HAND SANDING POSITIONS VER 2 .jpg

Many thanks,

Greg. :)

 
It's funny, I know and have heard all the "you'll sand gooves into your bodywork if you don't use a block," but to be honest, sometimes i do, sometimes I don't and I've never had a problem... reading your post it became clear that instinctively I do what you just outlined there.

 
I got the car body and the doors wet sanded down to 400 now. I long blocked everything dry. Then when I went to wet sanding I used a 6" block where it would reach and my hand for all the other areas. Seems to be working quite well. Moving to 600 wet next. My even get some color on the doors this weekend.

 
Great info especially from Greg

I use a DA sander to knock down larger flat areas and with a soft backing pad for curved areas but will always finish with hand sanding

Purple scotch brite for the difficult areas

One question though and perhaps need to make a new post but would like opinions on paint types i.e lacquer vs 2 Pack

Many of us here can't afford to get their vehicle sprayed by a pro and don't have access to a spray booth

Although I have spray painted some vehicles with 2 Pack in my driveway I always have to block it down afterwards due to dust or even insects getting in the clear coat especially

I like the durability of the modern 2 pack urethane paints but for the backyard operator who doesn't have the luxury of a decent shed or spray booth plus the environmental/health issues sometimes acrylic lacquer is a better option

I'm tempted to do my engine bay/door jambs with 2 pack and the exterior with lacquer

Seen some great results with lacquer in the old days but concerned the quality of current lacquer paints is not as good as in the past

 
Hi Oz,

To keep it simple, lacquer quality is very OK these days, just as it was always. You can achieve a very good finish with lacquer, providing you follow some basic rules. It is not a durable a finish compared to 2 pack paints, but for the home jocks  it's very user friendly compared to using 2 pack paints in sooooooooo  many ways.

I believe that in America, Acrylic Lacquers have been banned from being used in most States unfortunately, but here in Australia , it's all  AOK  Skipper, and go for your life. ::thumb::

I will PM you Oz.

Cheers,

Greg. :)


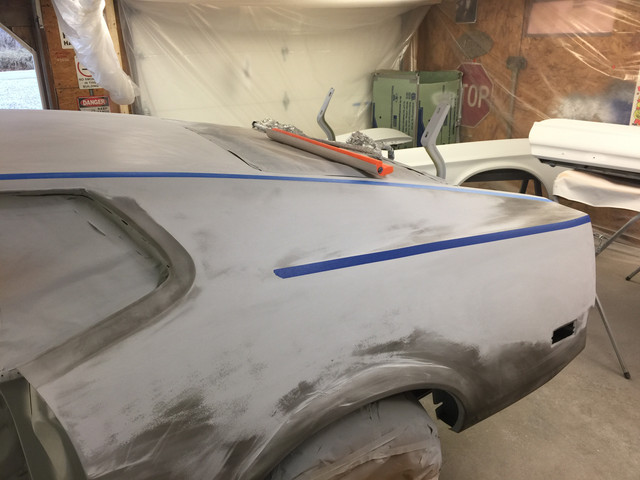
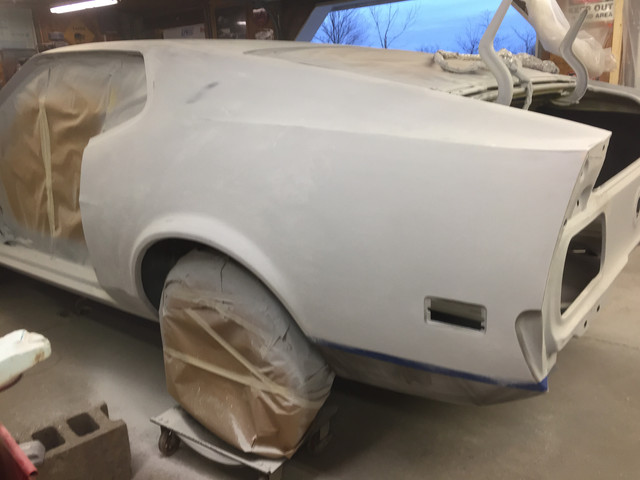
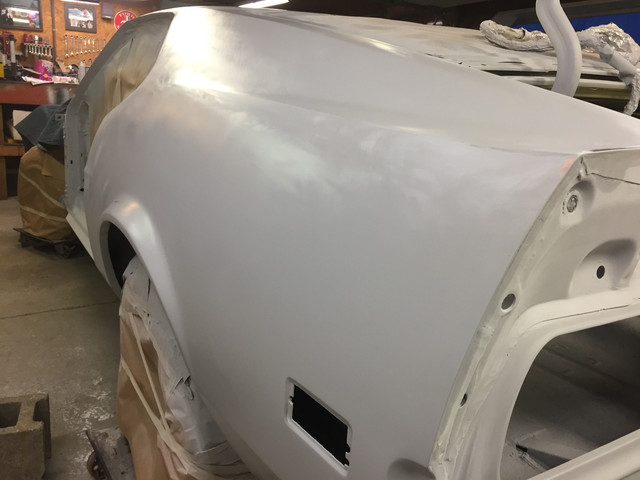
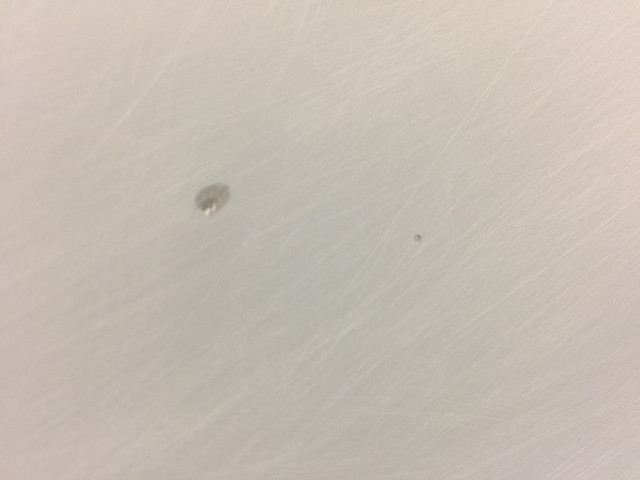
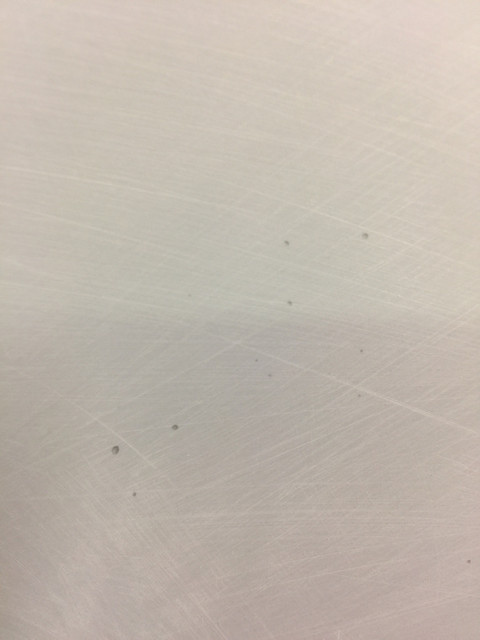
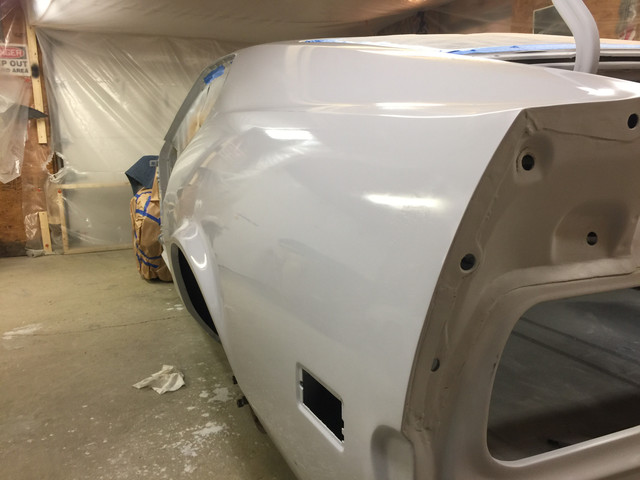
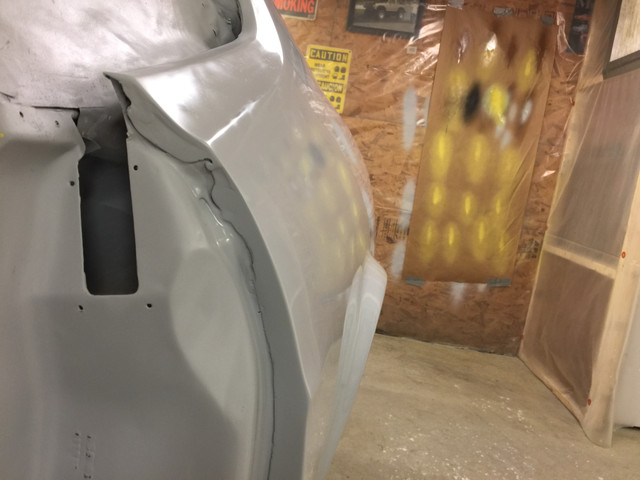
So I had a few questions for all you body work gurus. I am block sanding this 71. I got half the roof done and the driver side quarter panel. I ended up sanding it with 220 grit and sanded through the primer in a few spots also found a couple pinholes. I am going to finish blocking the rest of the car with 220. Then what should I do?  So do I need to shoot the whole car again with primer then sand with 400 grit? Or can I just shoot over the areas that sanded through then sand with 400? And what is the best way to deal with the pinholes? Do I need to sand to bare metal then filler? Or just scuff primer and use  icing filler? Then prime and sand with 400? Any input is appreciated! Thanks for looking. 


free image hosting


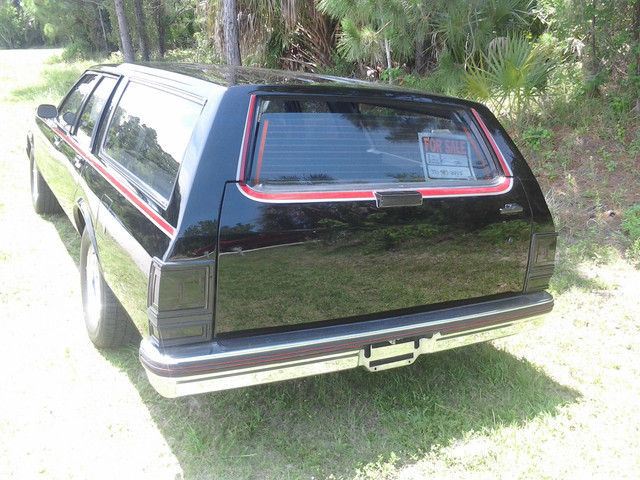
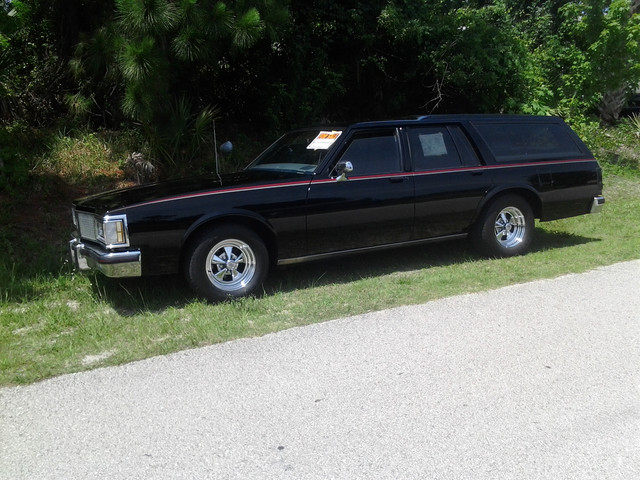
hi kevin, you are on the right track, here's a couple of things that may help. give your primer cure time, if you put 3 coats on then go to town blocking the next day you're not allowing time for shrinkage. not to say you can't spot prime here and there. just keep in mind that urethanes take 10-14 days to fully cure. production shops can' do that, but you can. I keep my eyes open for things to sand with its very old school but I still use a nice straight paint stick in some places. rip laminate flooring 3" wide strips. I also use them if I want to make a dura block more stiff. personally I start with 180 in my opinion it shapes things better than the finer grits. if you want to get a good look at a panel wet it with your surface cleaner. the aresol versions of these are handy. the surface tension of water can through off. sand in a cross hatch pattern where you can. usc pro gold is decent paper in continuous rolls at a good price. when you get into 800 and finer its worth it to use 3m or other premium brands. a upol tech. rep gave me some of the 20:25 primer to try I thought it was pretty good as a surfacer even reduced a little. I reduced it with hb body slow reducer to see about using it as a sealer, not impressed. sandable sealer ok. but if you want you sealer to lay out really slick use the good stuff, my favorite is chroma premier. pricey but good. the smoother the base the smoother the clear. if that's the way you are going. you have already received some really good advise. if you really want your car really straight, obcess over it, study it, and remember there is no time limit to getting it there. heres a couple pics of my moms old wagon that was my almost every day driver 4 years. my mom bought it new. thought it would be cool to do something with it. I sold to to help pay for my Cleveland. good luck it's lookin good! give me crankin toons i'll sand all night!

 
Thanks for the input Keith. Looks like you know something about painting!! The wagon looks great! I checked out your car too, great job! It's funny you said about tunes and sanding all night, I've been in garage all evening tonight, wetsanding and tunes blasting and fewbudlights . I am planning on shooting the body tomorrow.  Here's a pic of my last round of wet sanding with 600 and wetted down with wax and grease remover. 


upload photo

 
thanks kevin, I've painted a bunch of cars at home over the years. one thing you can do is ground the body with a chain or jumper cables. its supposed to help control static electricity. if things don't go well lots of dust,fish eyes etc. just stop, let it dry and regroup. you may find something you want to fix anyway. put any left over actiaved paint in the fridge. then let it warm to rm. temp. good luck and have fun. don't forget to drain your compressor

 
hi Kevin, did you get some color on any of it?
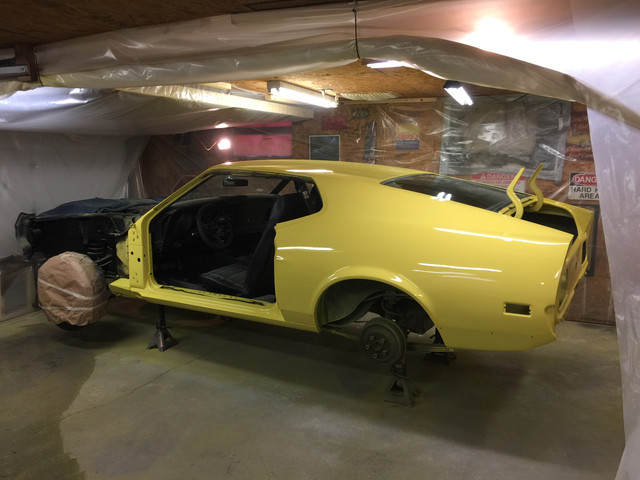
Yes sir. Turned out pretty good. Gonna let it sit today and then tape off the bottom to shoot the black stripes on rockers tomorrow night. Here's a link to the build so far if you haven't seen it. https://www.7173mustangs.com/thread-new-project-for-this-winter-71-mach-1?pid=294509#pid294509


Last edited by a moderator:
Any recommendations on what grit sand paper to start with on the clearcoat to wet sand before buffing? Gonna let it sit a few weeks before I start that but just wanted to know what paper to pick up? Not really looking to knock down much orange peel. It's pretty good! But do have some bug tracks and dirt nibs in the clear I would like to sand out. I was thinking of starting with 1200-1500 then finish with 2000 or 2500. Buff with rubbing compound.

 
looks really good ! you are on the right track as far as grits. pick up a couple motor guard sb-1, sb-2 blocks. 3m or carburendum wet paper is what I like to use. along with 3m 36360 ex and their white foam cutting pads. meguires diamond cut or solo and their foam pads work pretty good also, start with the w7000 maroon pad then go to the yellow and tan ones. If you want to use wool get good ones. I seldom use them any more (swirl marks). keep the rotation of the pad going away from the edges. there are many other very good products besides what I like. and every one has their own methods. if you are using matt or satin black you may want to sand and buff, before the black or mask it off so you don't get compound all over it. the nice thing about the solo is with one bottle of compound and the different pads you don't have to buy 2 or 3 different products at 30.00-40.00 per qt. I think evercoat and Norton have similar systems. have fun!

 
Back
Top