More hood cooking

7173Mustangs.com

Help Support 7173Mustangs.com:

This site may earn a commission from merchant affiliate links, including eBay, Amazon, and others.

Vinnie

Project manager "Project AmsterFoose"
7173 Mustang Supporter Member
Joined
Nov 7, 2013
Messages
1,594
Reaction score
286
Location
Amsterdam, The Netherlands
My Car
1973 Mustang Grande 351C 2V, built on the very last production day (July 6, 1973) for Grande's.


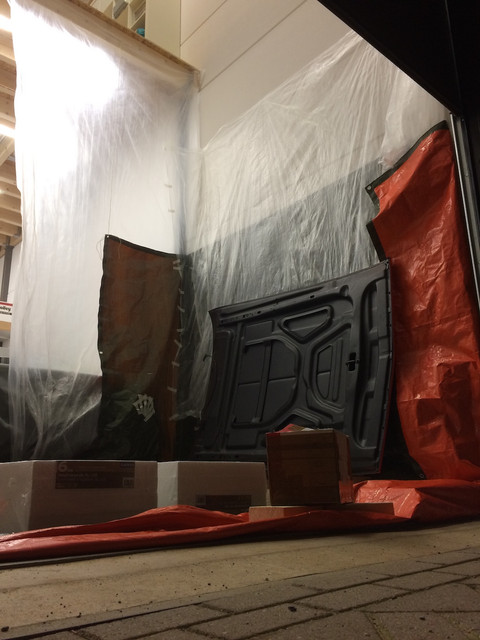
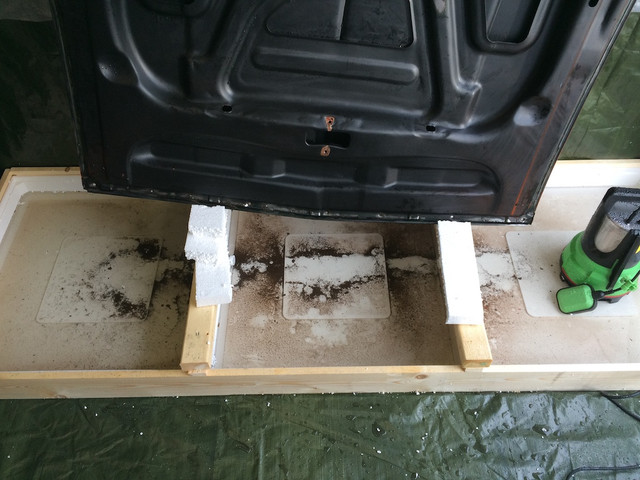
I thought I'd try Fabrice's recipe for cleaning up my standard hood. So I played around with vinegar and Rustyco. To be able to do this I needed to create a "wet area"in my garage. And since I do not have a drain I needed to create a place where the fluids could be dumped untill I was done:


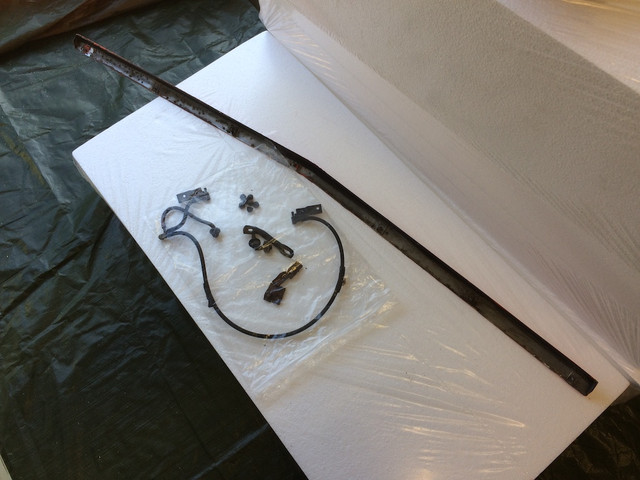
Remove all the loose bits:


Bag it all:


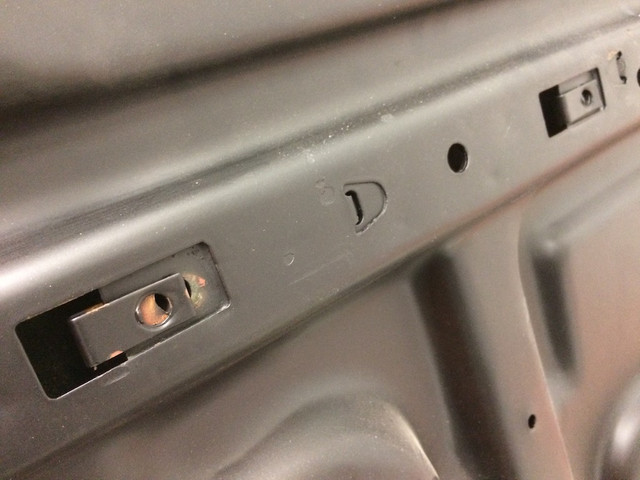
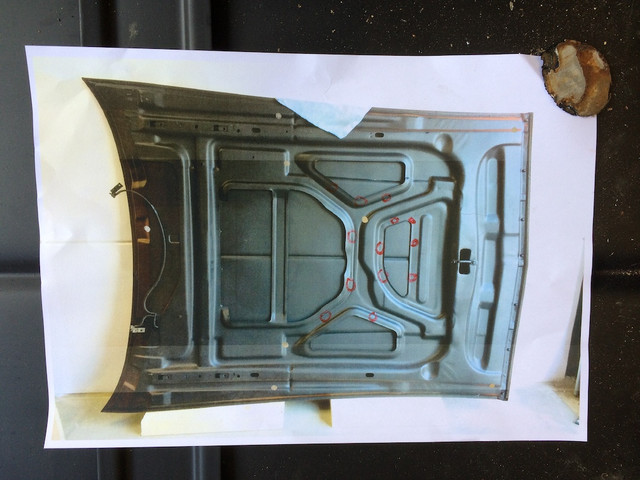
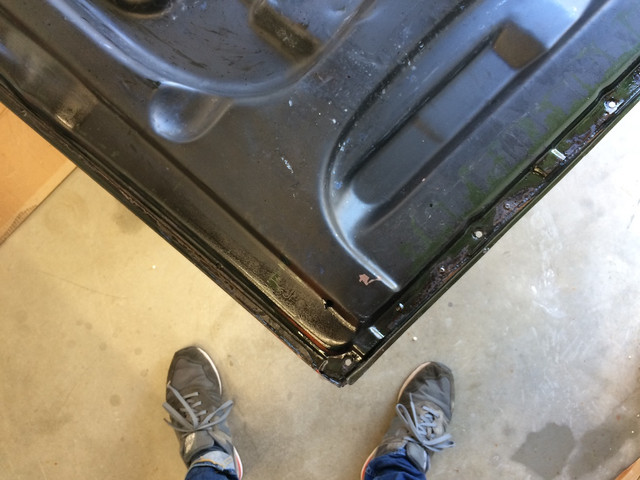
Make a plan: silver dots will become extra holes to be able to spray inside. The red dots are places where I removed loose sealer that needs replacing.
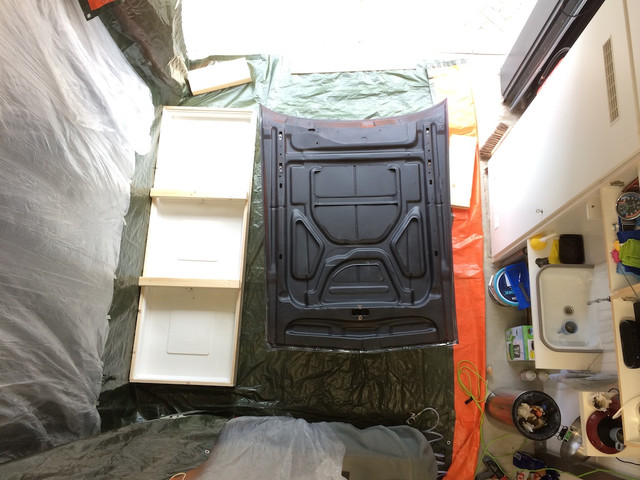


My work area:


I started off with a good rince, lots of debris came out.


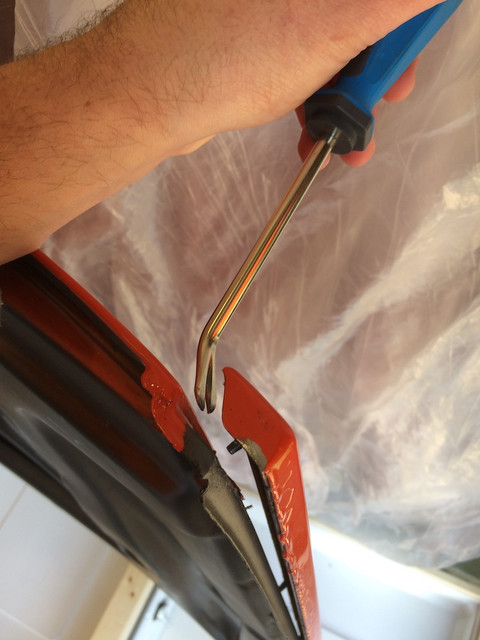
Then it was time to tape it up so the magic could be poured in. This seemed to be a royal PITA, it took forever. The standard hood has a LOT more areas to tape off. This is bad coz taping off sucks but it's also good coz it means less unreachable surface.


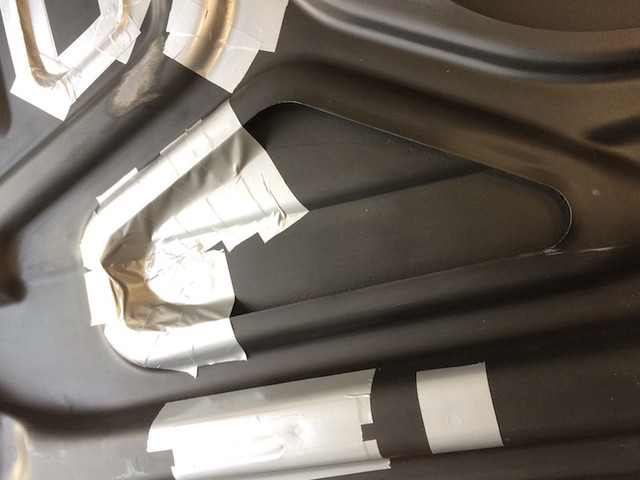
Above: taping hell. Below: taping hell.


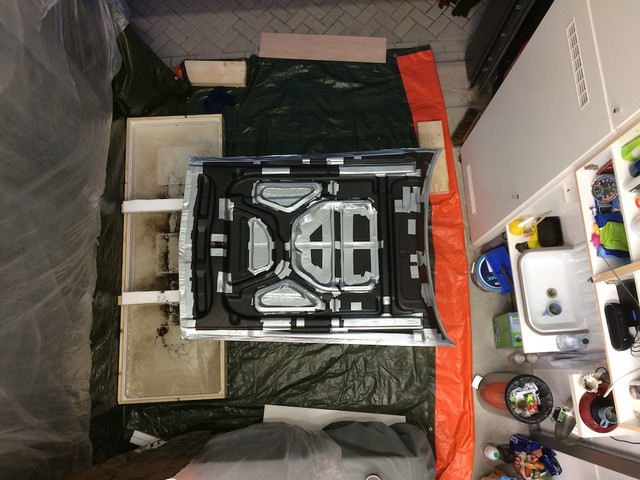
Up till here is the result of ONE days work!

The 2nd day I primarily shook the hood every 15 minutes. Things got messy coz tape had started leaking in at least 4 places. But it was no biggie, the leaks were only small. In the afternoon I removed the tape at the front and some at the back to give it another power clean. Then I taped up again and poured in a second batch of yum.

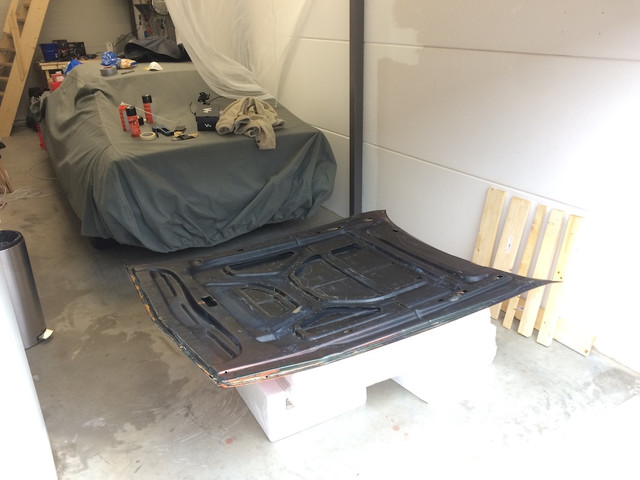
Today, the 3rd day, I emptied the hood, power cleaned it and then rinsed the inside with hot soapy water to take the PH down. I gave it a few more shakes and then put it up against the wall to dry. I used a heat gun for this otherwise it would take 2 weeks. This seemed to be one of the better investments of this project!
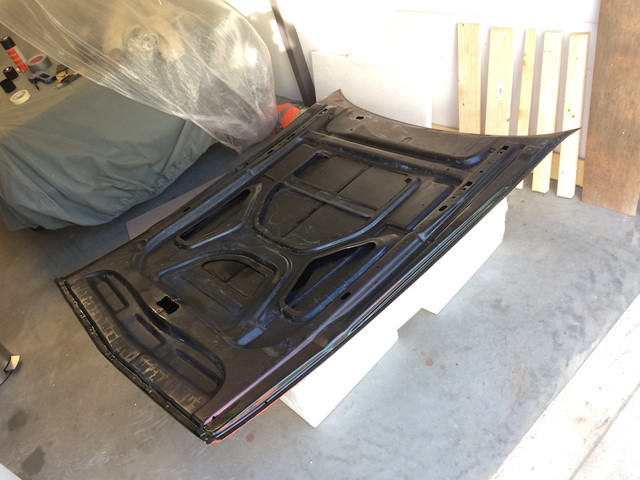
The result:


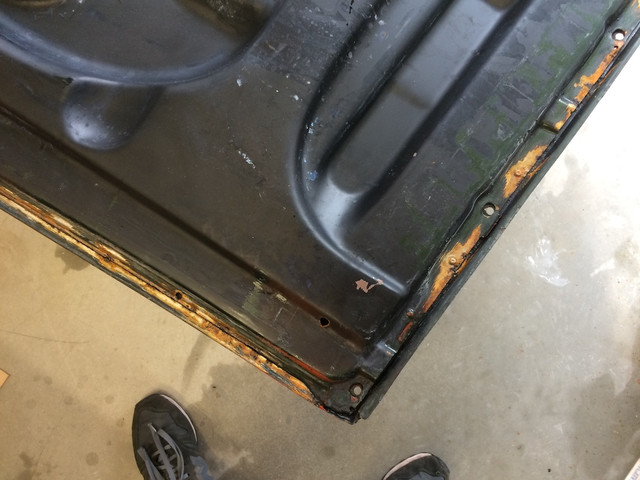
I was perplexed by the speed of rust forming on the fresh surface. Even after the soap and another power clean:


But after spraying on the rust inhabiting primer this view quickly became a whole lot better:


I sprayed the whole inside with this stuff:


And now it's drying. I sprayed a lot inside, I hope that will work out.

It's been a lot of work, very dirty work as well. The worst part was cleaning up the basins with fluid. I needed the area to be clean and dry before I started putting on primer.

I'm glad I did this, but I know the shaking does not get to every corner of the hood and that leaves me with a bit of doubt about the new state of the hood after all this effort. The nasa hood that's on my Mustang needs treatment badly as well but I'm not sure this shaking is going to cut it. May need to think of better strategies.

But this round is over and my hood didn't get worse so all is good :)

 
Lol nice menu! :)

Wow the flat hood is much more tapping than for the nasa! Especially doing it indoorI Really would have thought the opposite.

Its a pain to get the massive holes for the scoops closed, but that's about it.

I think that if I ever do it again, i'm gonna use plastics around it (might try for my doors) , less work on tapping and less chances for leaks.

Also that should help to reduce the shaking/rocking required but you still need to do it simply because the hood isn't flat.

Or you need a pool and have it totally submerged.

 
Thanks for the menu, I plan on using a kiddie pool filled with some sort of concoction to let my nasa hood soak. I don't know if I should go with the molasses technique or something else though. Really like the menu, good job and great job on the hood. Thanks for posting that for us.

Tom

 
Thanks for the menu, I plan on using a kiddie pool filled with some sort of concoction to let my nasa hood soak. I don't know if I should go with the molasses technique or something else though. Really like the menu, good job and great job on the hood. Thanks for posting that for us.

Tom
if you can submerge the hood entirely that'd be the best practice. Both @Vinnie and me are limited by space to do so. We had to go the hard way. Vinnie even more as the flat hood requires more work and he did it indoors. 

Molasse is an excellent alternative, and would go for it. The only problem is the time it takes with it. Count a few weeks "cookin" if you do so.

Also it's the moment of redoing the paint, as you will damage it during the process. Lots of work to remove it (if you go bare metal as I do and have tons of ancient layers of all kinds applied) and potentially rust/weld repairs as well if your hood is weak in the latch area like mine was.

Separating both metal layers is possible too and would allow a perfect cleaning with no bathing, but from what I saw, with my available tooling&space, it was a no go for me. I don't think I could manage to get it fit right with the same arch.

 
Thanks for the info Fabrice, I think I will be doing the complete submerge. My wife picked up a 10 foot diameter pool for the dogs to kinda wade in during the summer months and I have some tarps to cover it so the dogs don't try swimming in the molasses ( if they do, I will definitely get some pictures). Autumn is upon us here so I was planning to let it cook for a good amount of time so that is no issue there. As far as the paint, well it was in bad shape anyway and I plan to go down to bare metal with it. Thanks for the information and advice. Hopefully it will turn out as well as your's and Vinnie's when I am done with it.

Tom

 
I have considered the pool option but the smallest one fitting my hood would require more than 300 litres of fluid, in my case 300 bottles of vinegar...

 
Back
Top