Slowest resto ever - Project AmsterFoose / Current subject: The roof

7173Mustangs.com

Help Support 7173Mustangs.com:

This site may earn a commission from merchant affiliate links, including eBay, Amazon, and others.
Going well and lucky you had Fabrice there to help you along

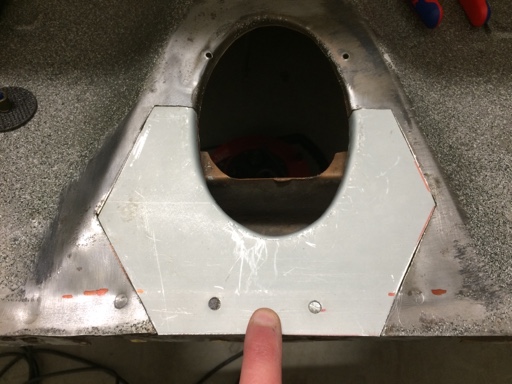
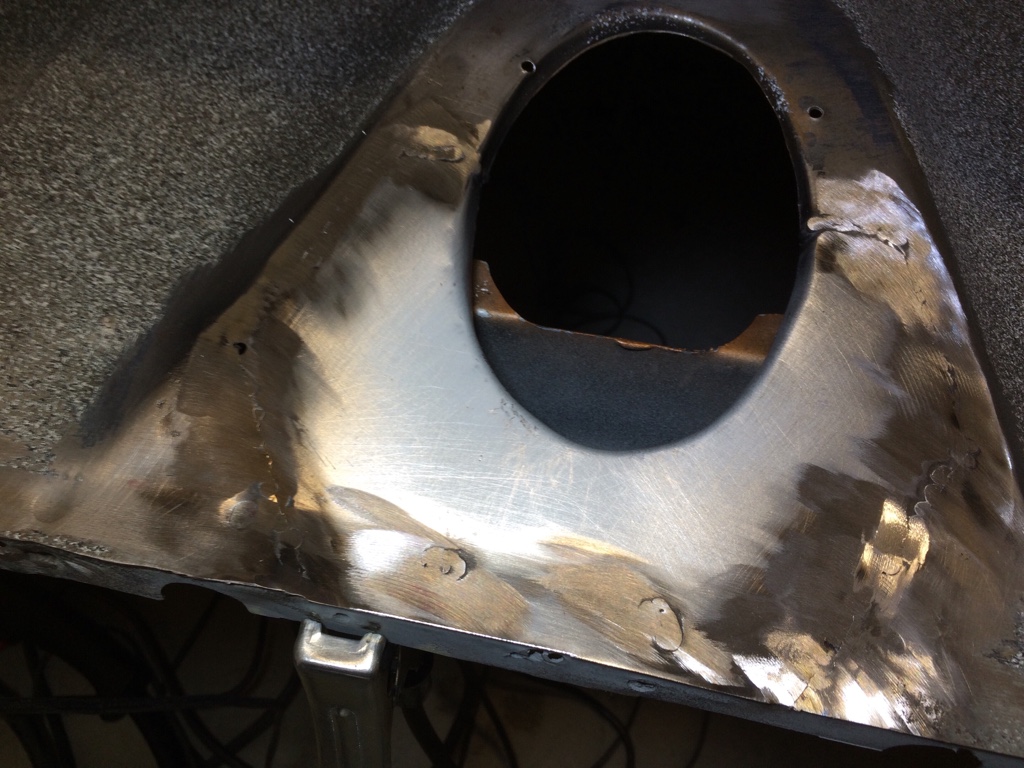
Make sure after grinding down your welds to tack up any pin holes

I'm not a good welder but with practice got better at

I am pretty good with a grinder though!

 
So excited! Today I got to use my funky hammer!

I cut out the rust around the filler neck:

4dd76aecd683f68a70e19c343de5f856.jpg


I learned this from a youtube video:

d699f66fa2ebfe58adf5283a707d4abf.jpg


4adf4d626c2f10e9ef4e68d4b196b881.jpg


5c989a63e6bf16271560a6e331f5ae51.jpg


33efc20e3370e524bb664d8d836f3c18.jpg


077b30002ca926b9202407b33eb3f056.jpg


beb8eeb47d8fc0aead9a57f499f55388.jpg


And then I had a new, quite well fitting filler opening:

4f3bdeaf00c78d820cdc1e1e312f1cd5.jpg


Patching will happen in prolly 2 weeks. Can’t go tooooo fast ;-)

 
Last edited by a moderator:
The goal this weekend was welding in the patch around the filler neck. I learned about making sure the ground cable is clamped on well. I managed to get decent welds in the end but I clamped it on to a surface that had zink spray on it. After relocating it to a spot with bare metal my welds improved noticably! So I patched around the filler neck first:

94b7fe9f86c6a4707ab9972eec32f376.jpg


On the left I sanded too much though and after trying to fix a bad weld I ended up with a hole. After a night of sleep I decided it wasn’t worth trying to fill-weld it and that I’d cut it out and patch my patch ;-) The result:

043ac8e040b62d112f07a4c659b5a9a7.jpg


Pretty pleased with this.

I also had a side goal which was fixing a corner of the top-back of the quarter panel. Worked out well too:

59f7bfeea926ef6287fe79daae834088.jpg


And then I mocked up my new tail light panel:

0622e7f3b5bdda880fb9fa5a6bed092e.jpg


That was a good weekend. Now I’m off to watch Le Mans ‘66!

 
Last edited by a moderator:
Turning out some nice work there Vinnie

I know I have had some doubts before about tackling a job I'm not familiar with but in the end just do it and it usually turns out fine although not always perfect

It's a good feeling when you get over the hurdles and just gives you more confidence for the next challenge

 
I knew you'd bite and nail it! Well done!
You realise it's just a mock-up? It's not welded in yet. I might actually put patches in other holes in the trunk floor. Some that are original but have no use and some made by the PO putting in a LPG tank.

 
Kinda trying to find out what the best next step would be and figured I’d look at the quater patch I bought NEW from Germany, was NOT cheap to get here...

So:

38b4ffcfc60420c50ebfe2fd9524695a.jpg


bc7492c2079b8590d14507d0d6e18dd2.jpg


I forgot what a piece of sh€t it was and couln’t bear the look of that crooked insert anymore!

Thankfully it was attached with only a few spotwelds so I had it drilled out in no time! :)

66043d1e447e4716c754168da2dc3b98.jpg


Looks better alteady:

4de6e1dec6441250663073f046c740f3.jpg


Now I have to make an insert myself. Interesting fabrication job:

1f120d8261441a84e6e34f7e05036f98.jpg


df7b3e37d6dae6b8126c8d27341d1211.jpg


More tomorrow...

 
Last edited by a moderator:
Wow, this is a royal pita. Such a little piece of sheet metal but crooked in every direction. Good luck to me...

I ended up using my third sheet as I screwed up the first two.

The score so far:

c041d15001cb3c2c6556ff56a133f2c9.jpg


Last edited by a moderator:
Back
Top