Starting the floor/Trunk + fuel system rebuild

7173Mustangs.com

Help Support 7173Mustangs.com:

This site may earn a commission from merchant affiliate links, including eBay, Amazon, and others.

jt.db

Well-known member
Joined
Jun 28, 2018
Messages
52
Reaction score
0
Location
Texas
My Car
1973 Coupe- oddball mystery hand me down thats full of surprises
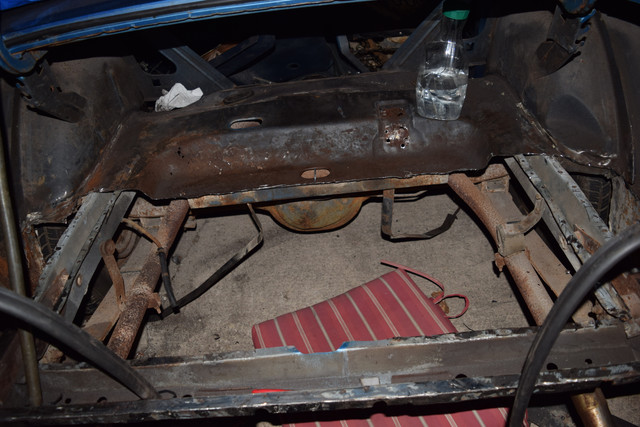
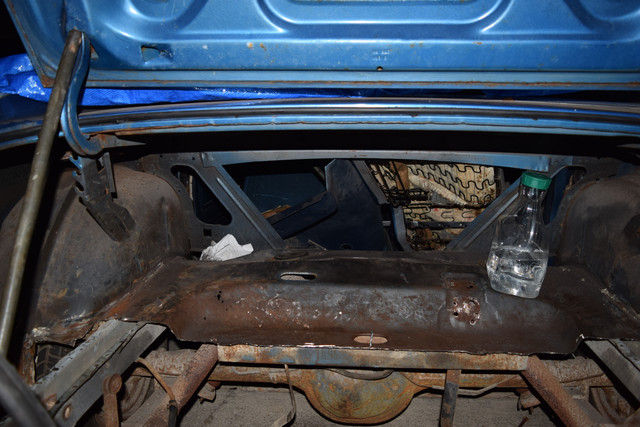
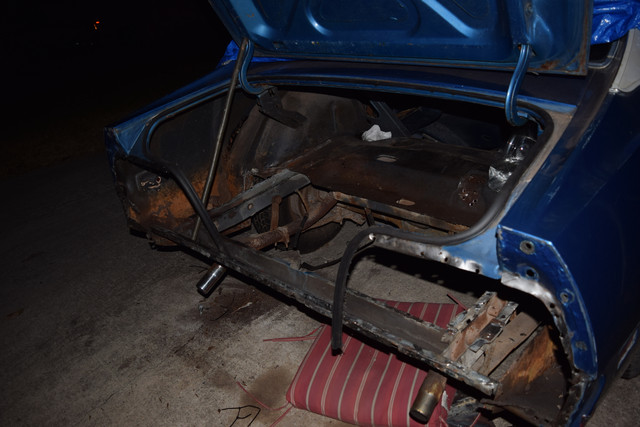
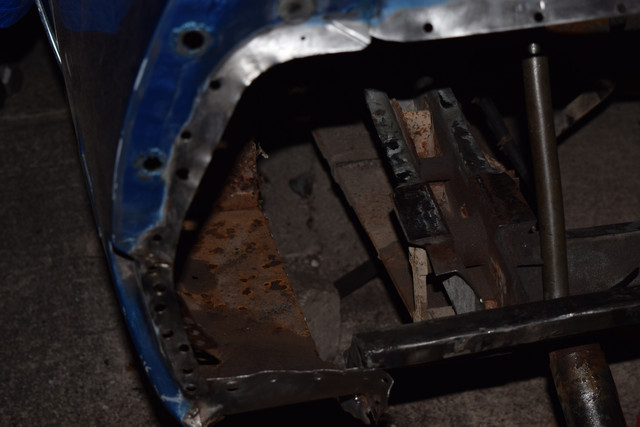
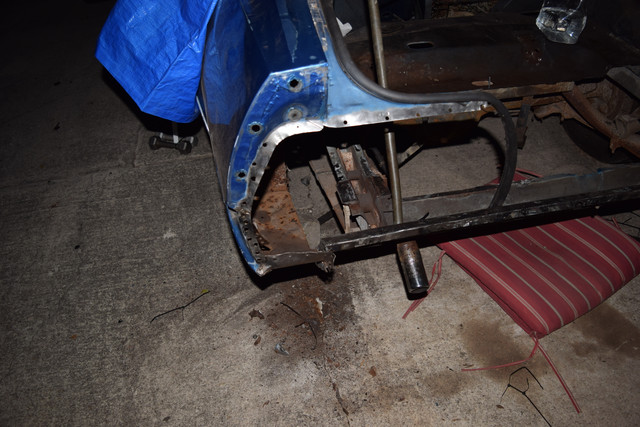
Pulled off the gas tank, about to replace the trunk floor.

I bought an air cutter, and an air chisel

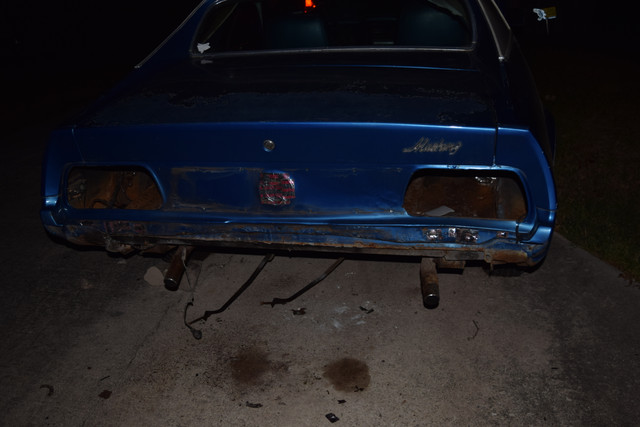
any tips on replacing the tail light panel too? the floor of the trunk drop offs need to come off, how do i find the factory spot welds?

This is my first rodeo with body work, im gonna take ALL the rust off of it and fully restore the car

Prior knowledge; Front end only has been re-done before, back end should be ford

everything is original in the back ( i think)

Hopefully I can get the replacement of everything done on video that ways i can help out any other members who are a visual learner like me   ::thumb::

Here are all my questions:

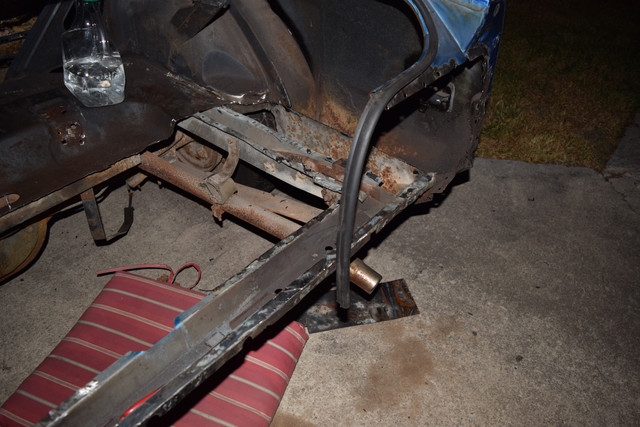
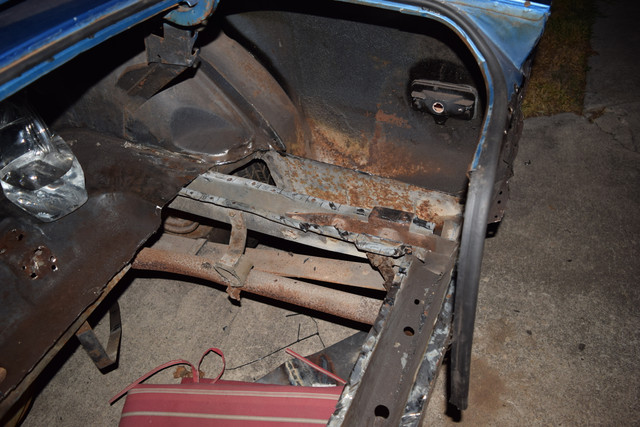
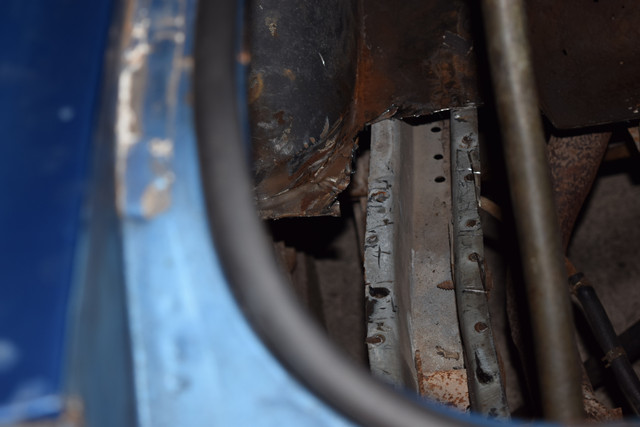
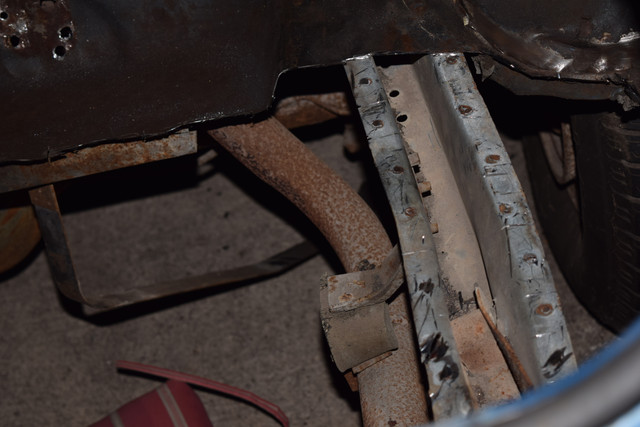
how should i go about removing the old sheet metal safely without ruining the parts i need? (frame rails, quarter skins, the bottoms of the trunk floors)

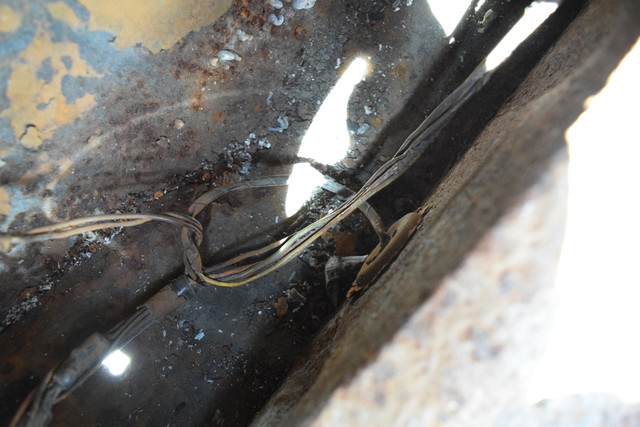
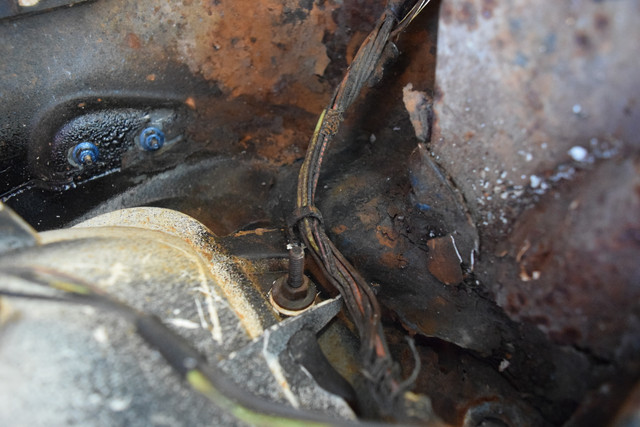
how do i take the wiring out of that plug without destroying it?

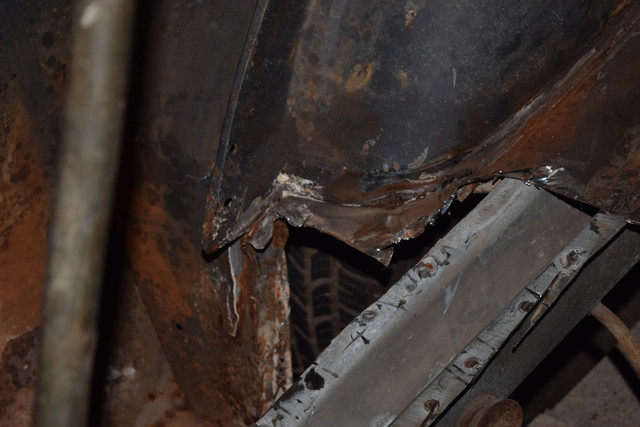
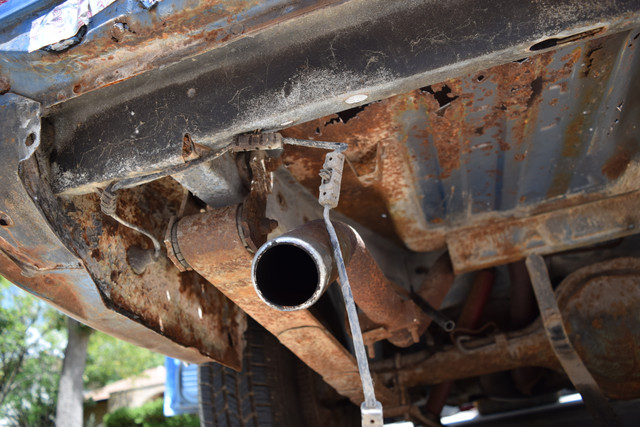
whats the best way to remove the tail light panel?


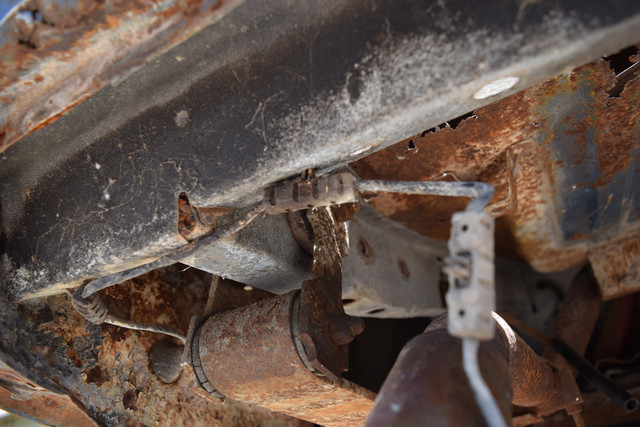
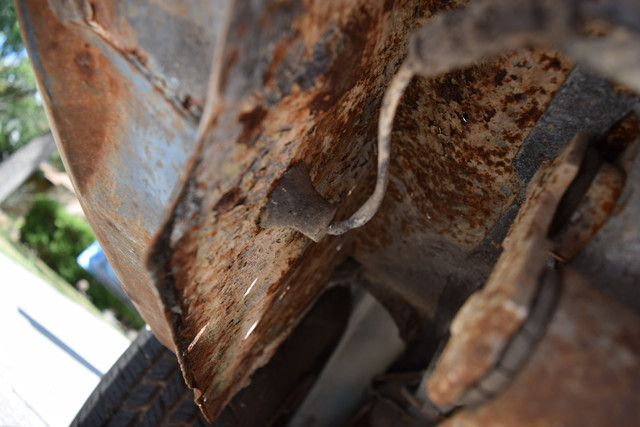
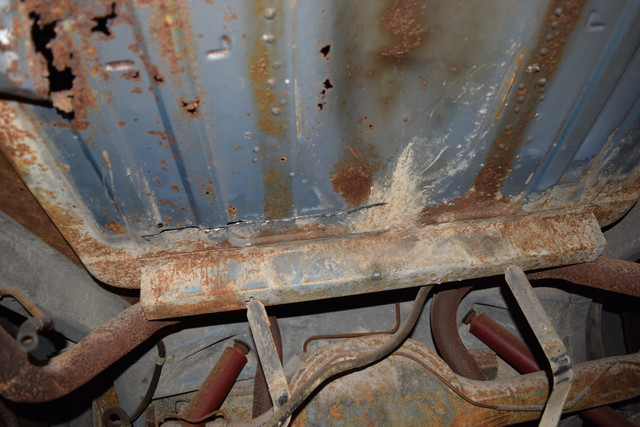
Right next to the bend in the wire, that metal piece hanging off the trunk floor, what is it for?


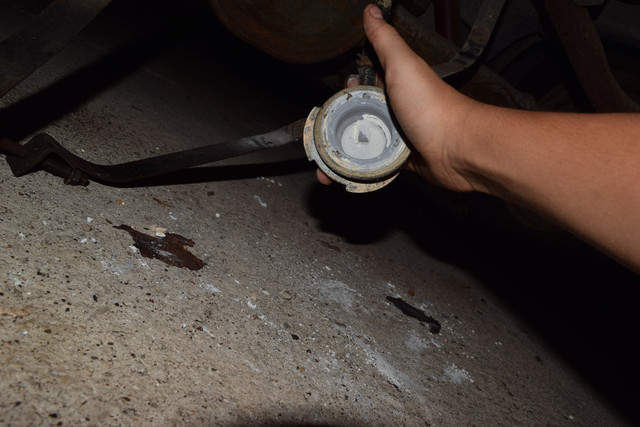
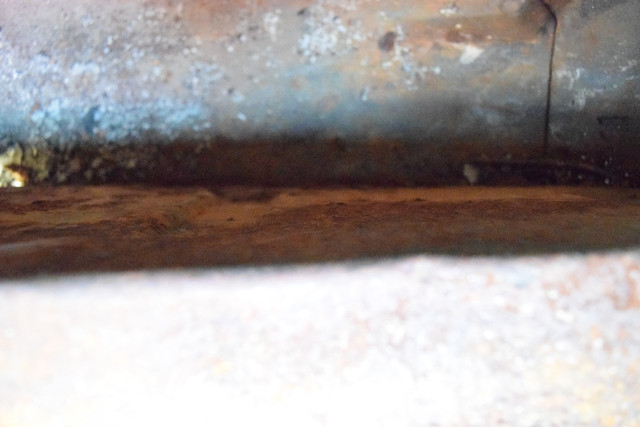
whats this white residue in the vent tubes also?

I appreciate the help so much. I dont think id be able to pull this off without the help of you all!

 
I might be wrong, but I would think rough cut everything as close to rails, panels etc. Then start drilling spot welds anywhere you can find them. I would leave the wires 100% intact and just clean them with mineral spirits. As far as the tank vent goes, I believe there is a screen and a foam type stuff that is supposed to be in the tank vent for an anti-splash buffer I think. I just stuffed mine with stainless steel wool and called it good. I have heard many times just take your time with the sheet metal, and take lots of measurements. Be patient with it, it will come out much cleaner if you are. I know that's not direct advise, but it's a good place to start.

 
On taking the wires out. You should remove them for sure will be in your way all the time. You simply take a flat blade screw driver and push the smaller end of the rubber grommet back through the hold. The grommet is molded onto the wire so has to come out together.

On the vent yes there was a piece of foam in there. Clean it out and you can use a piece of foam from a lawn mower air filter to replace. Just keeps the liquid fuel out.

To get the rear trunk floor in you will have to take the tail light panel out. The 73 panel has some extra holes for the filler for the rear bumper. They are not in a 71 - 72 Panel.

On drilling the spot welds. You drill from the side that you are replacing the panel from. So for the trunk you drill from the inside. You can take a wire brush on drill and they will show up a little better. Use a center punch and put you a dimple as close to center as you can. You can get spot weld cutter from internet or your local body shop supply. You are going to find lots of rust inside the frame rails and they may need changing. If you have competition suspension and get into the panel with the shock mounts you need to save your old shock mounts. Also your spare tire mount in trunk floor and the brace that holds the trunk latch need to be saved. Just go slow and you will catch on.

You might also do some measuring on the frame before you get started to verify that the car is square and on the correct plane. The chassis drawings are posted here do a search. If you start with a crooked car will haunt you forever.

Go back through some of the old posts do a search for trunk replace or tail light panel replace. There are some great posts that show it all. Also youtube has some great video.

Take lots of before pics for reference.

 
Update: 


I know the work is sloppy, i can patch/fix the frame rails. but NO RUST ON THE RAILS WOOT

couple complaints/ questions: 

how do i remove the corners of the trunk floor properly? ( the area that meets the wheel house. its been giving me a real hard time, third picture up)

i cant fit my drill in between the frame rail to drill the spot welds out, nor can i cut the bugger out! I made the mistake of buying an incomplete cj pony parts trunk floor instead of the nice one from ohio mustang, so im stuck with that one. all the rails are good.

Has anyone replaced their trunk floor with the incomplete one from cj pony parts? if so how did it go for you? and how do you weld in a new one properly? (how many spot welds, etc)

this car has not been inspected/ registered for over 20 years so im trying to make it show room quality. glad the rails are ORIGINAL, and clean.

 
Also, the pictures are  high resolution, 6000 x 4000, so you can load the full image on the image host to zoom in on certain parts!

 
When I replaced my trunk floor I ended up having to use a mixture or air powered cutting saws and a die grinder to get the last bits out ( a right fiddle ). Also I do not know if you are going to do this but it is worth putting in the factory exhaust mount position on the drivers side inside the rail so you can use the factory rear exhaust mounts, and it is also worth putting some fixings in the factory rear sway bar position so you can use that if you wanted to as well.

As for the floor, I just checked my photo's and I had used the full size floor panel so I cannot help you there.

 
Back
Top