baz70
Well-known member
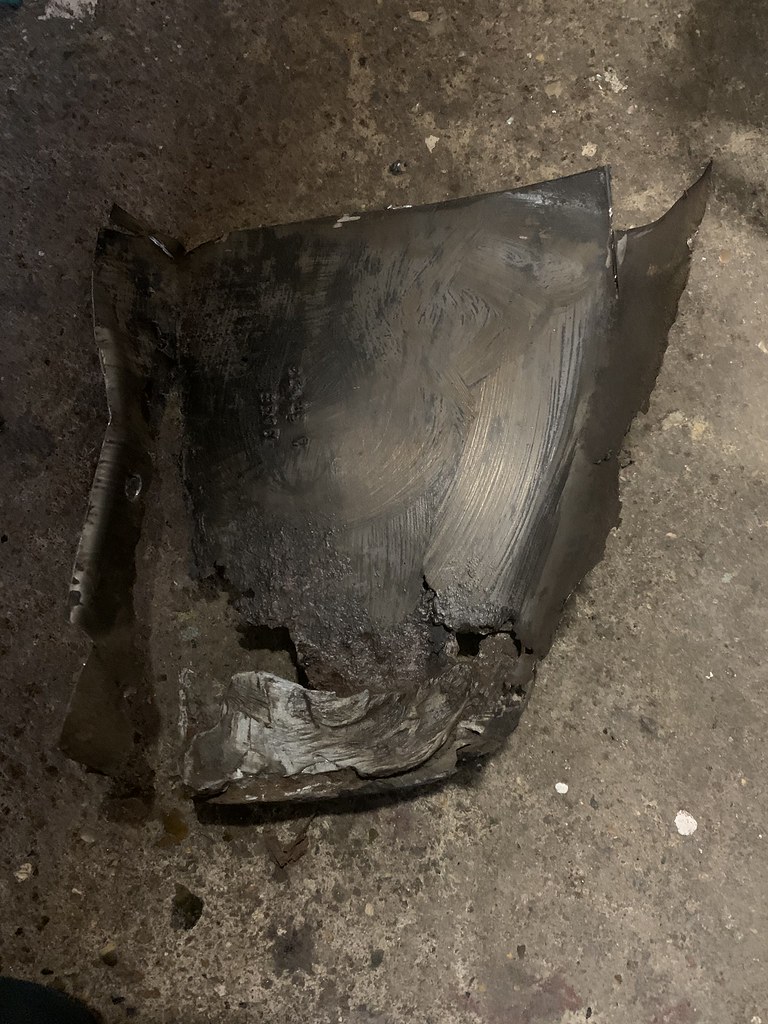
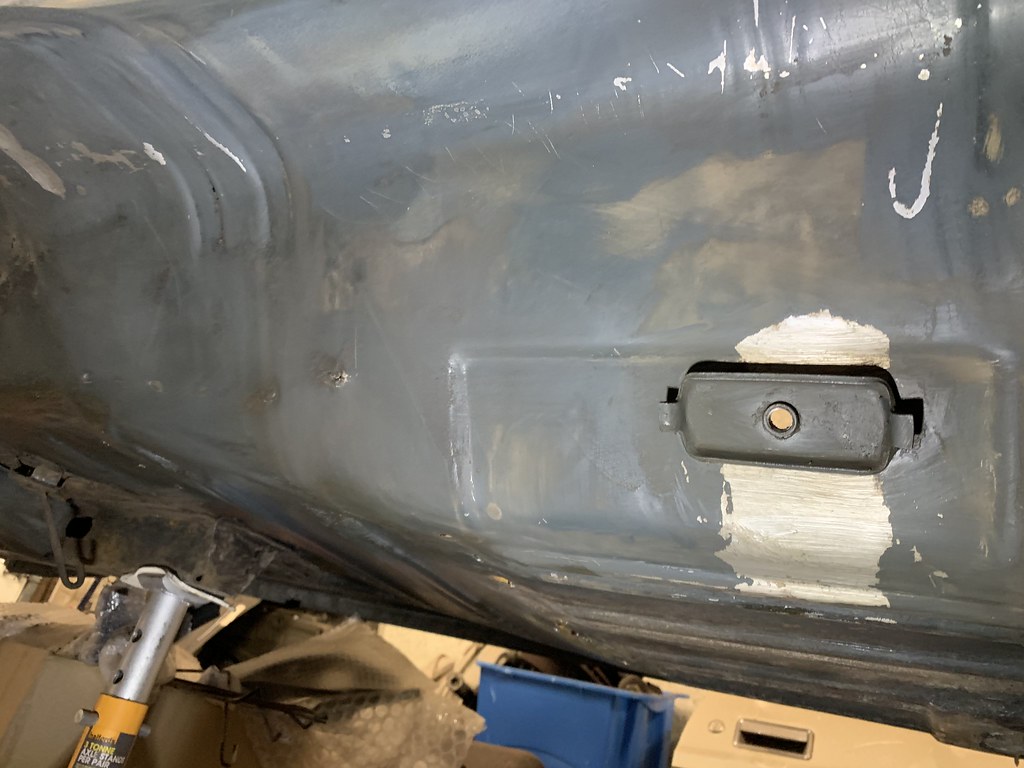
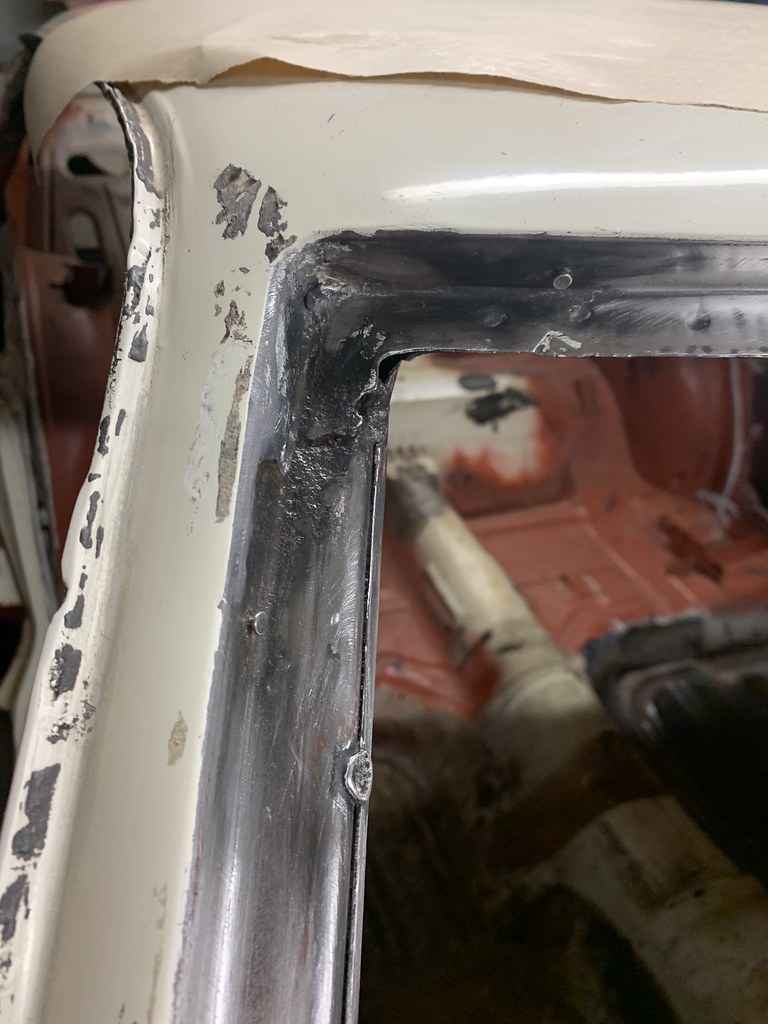
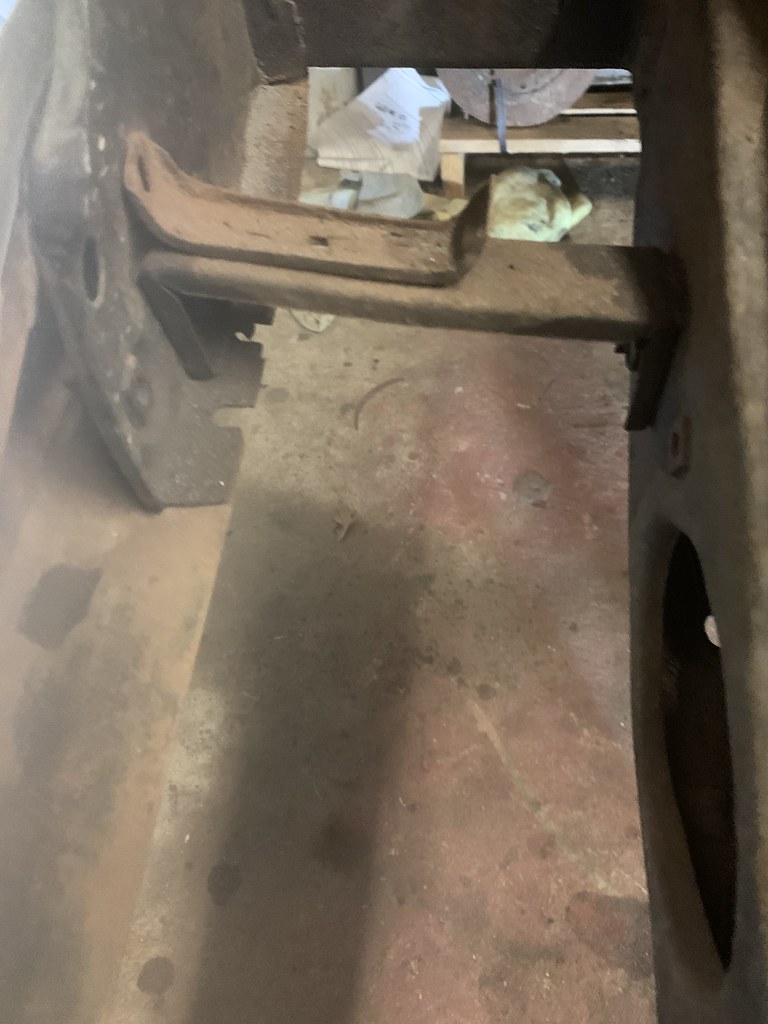
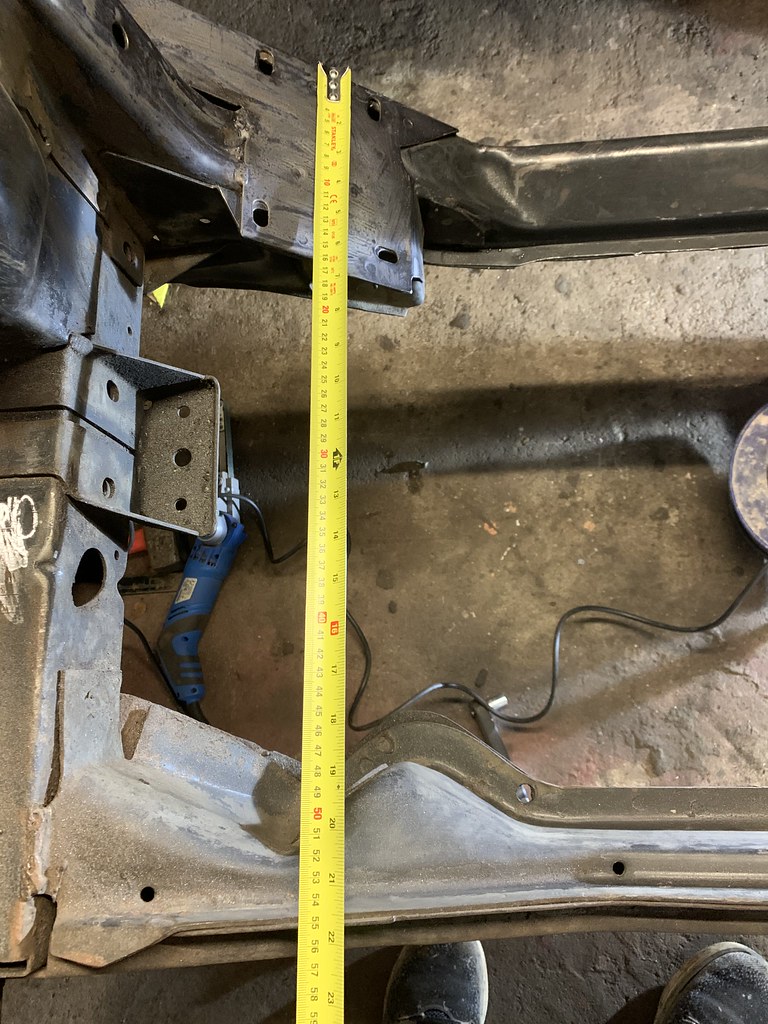
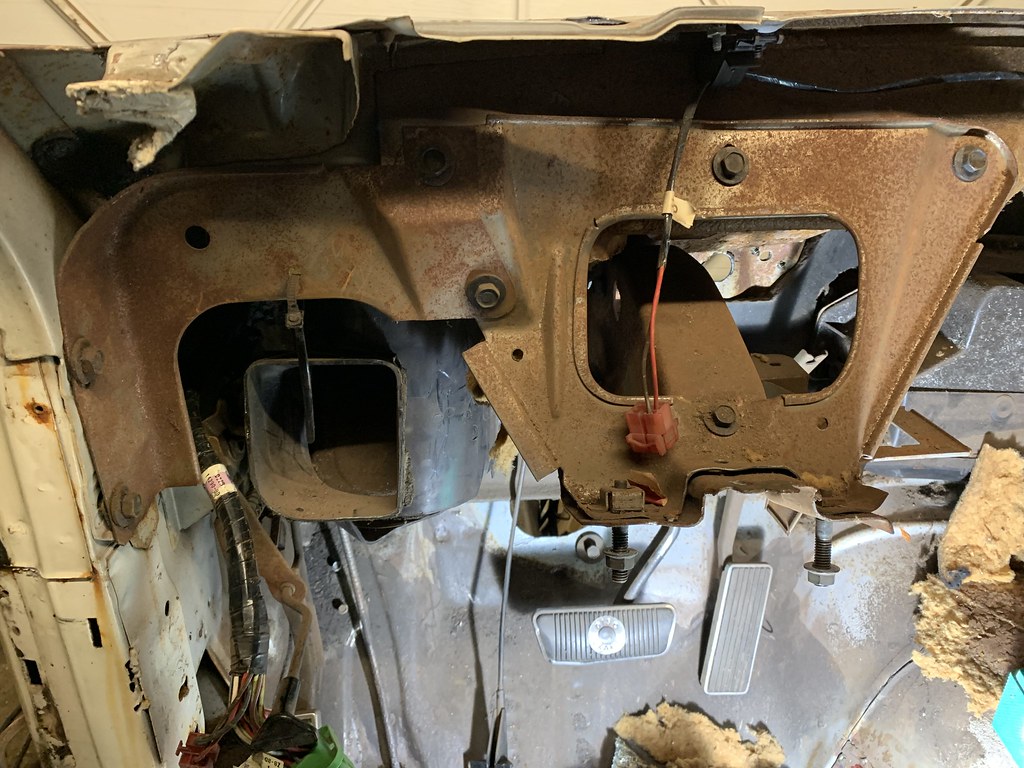
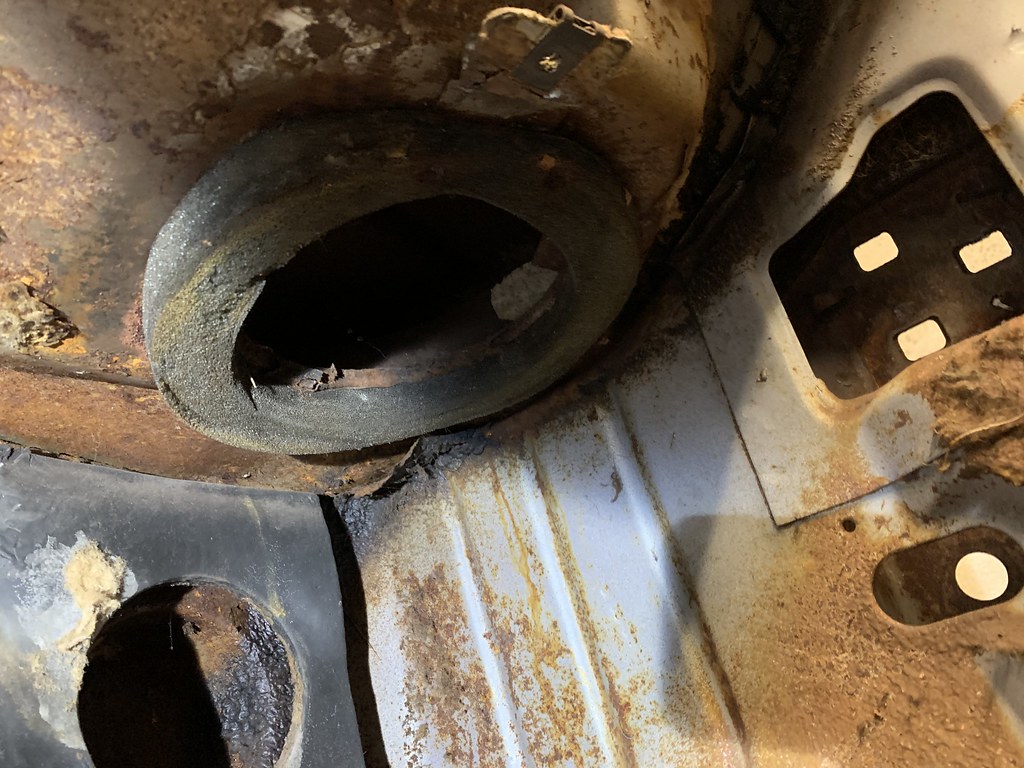
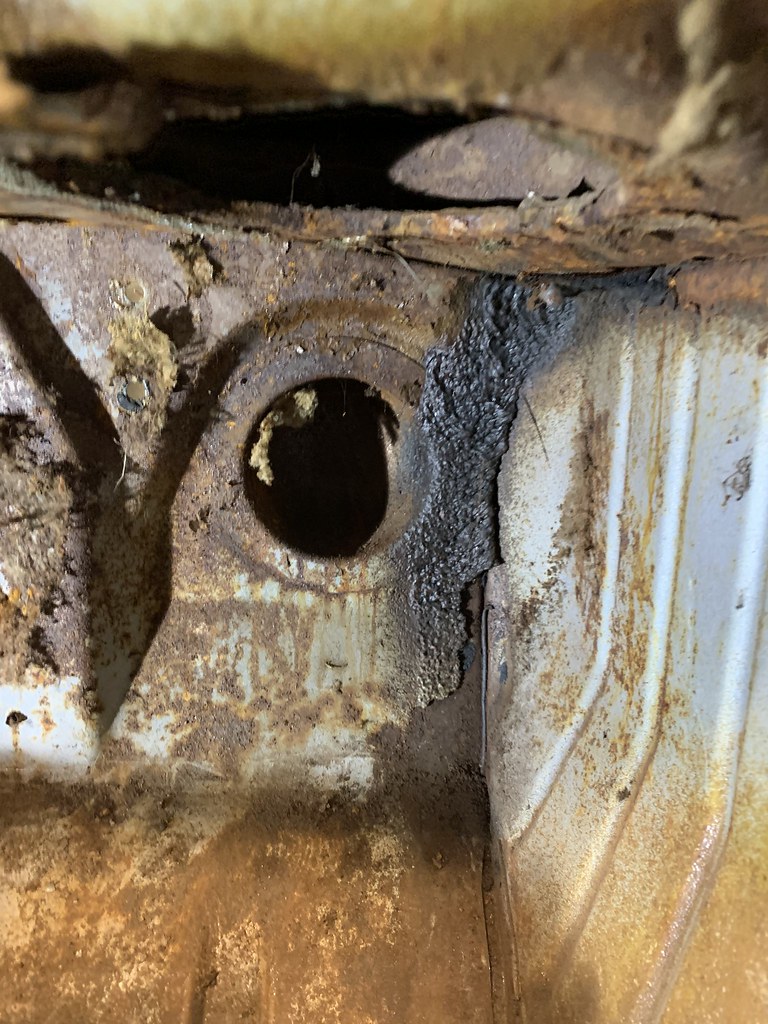
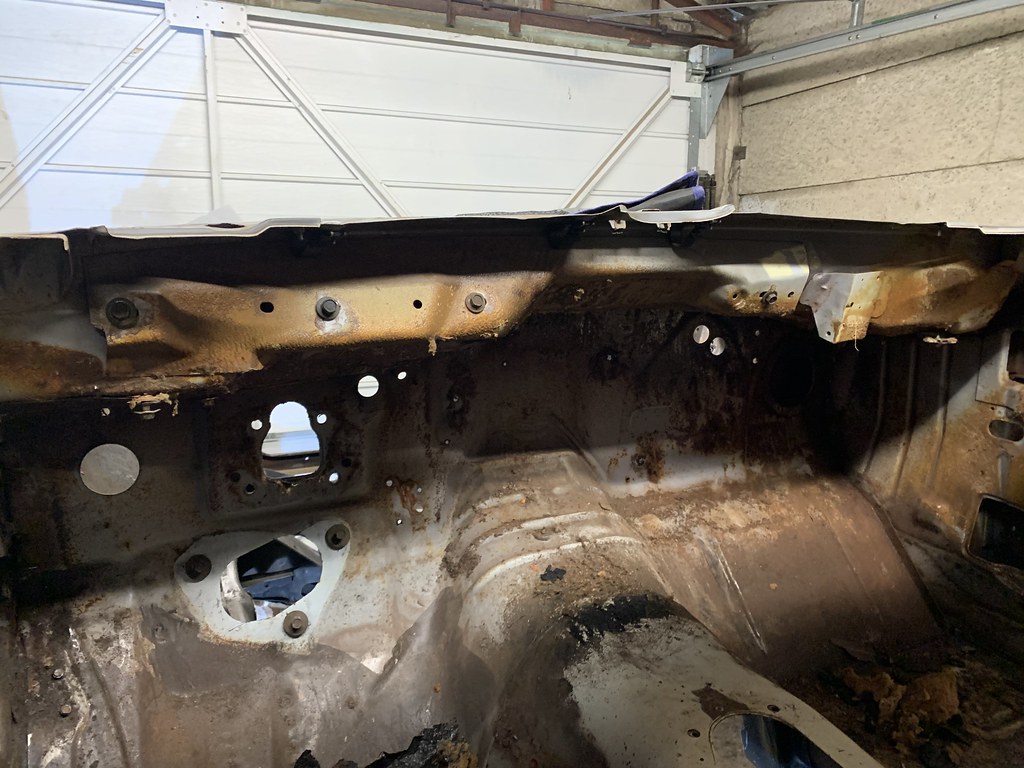
cut out rusted section in outer wheel arch. left hand quarter panel and drop off with rust holes. what would you do ?

Last edited by a moderator:


thanks!Keep up the good work!
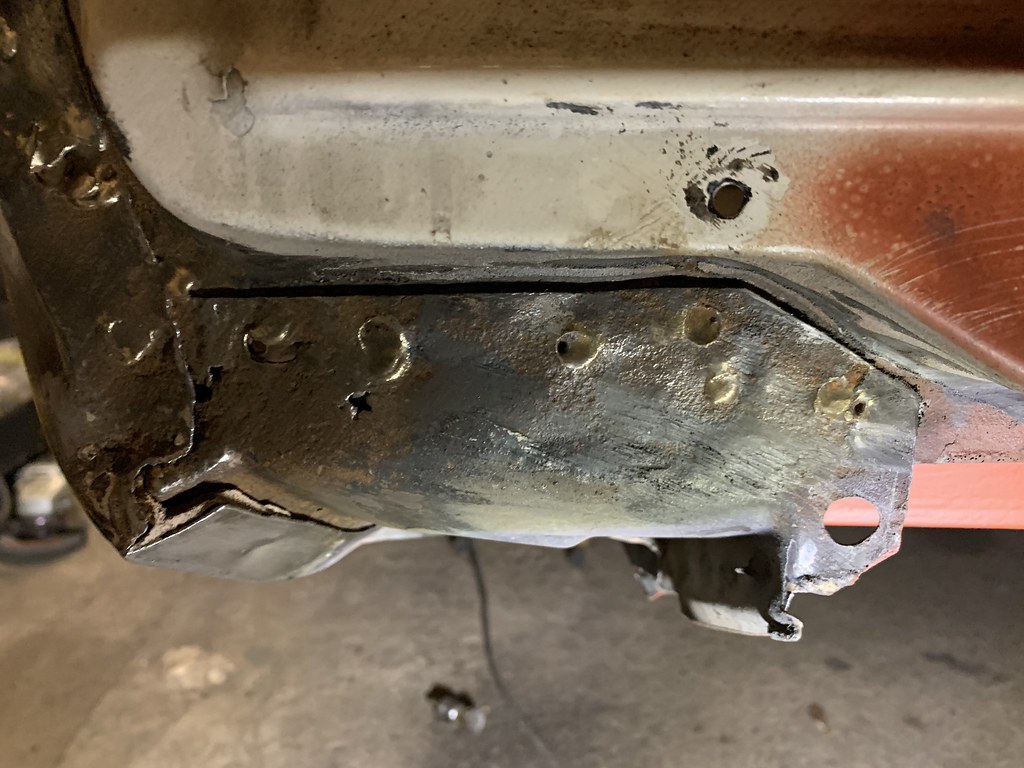
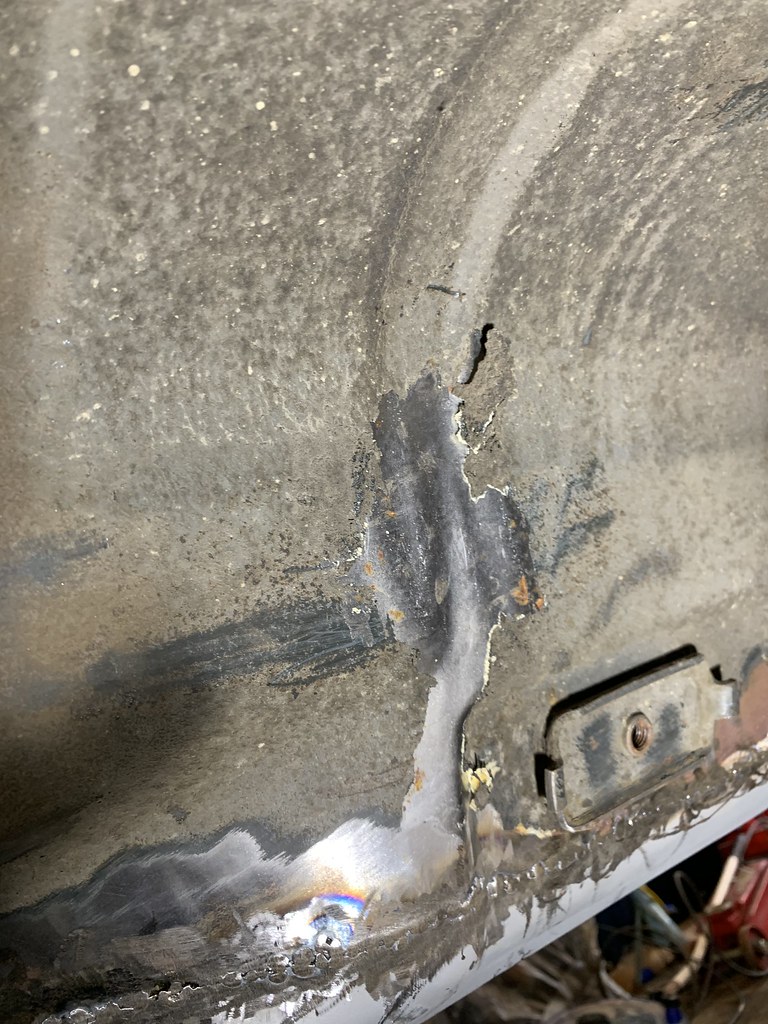
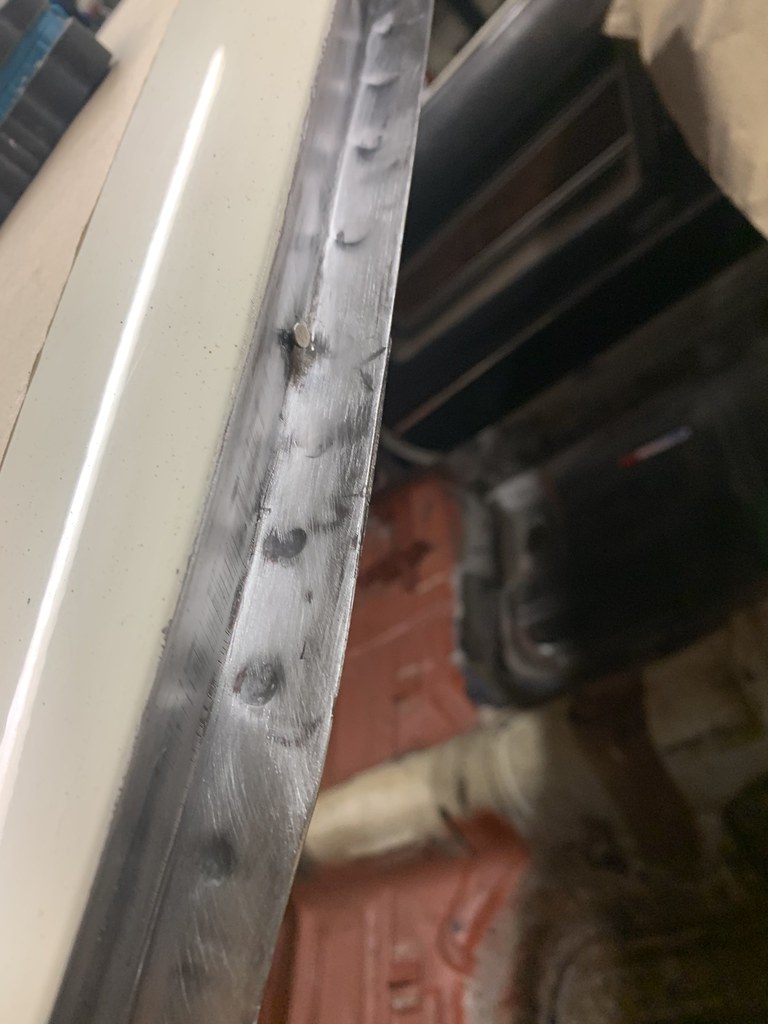
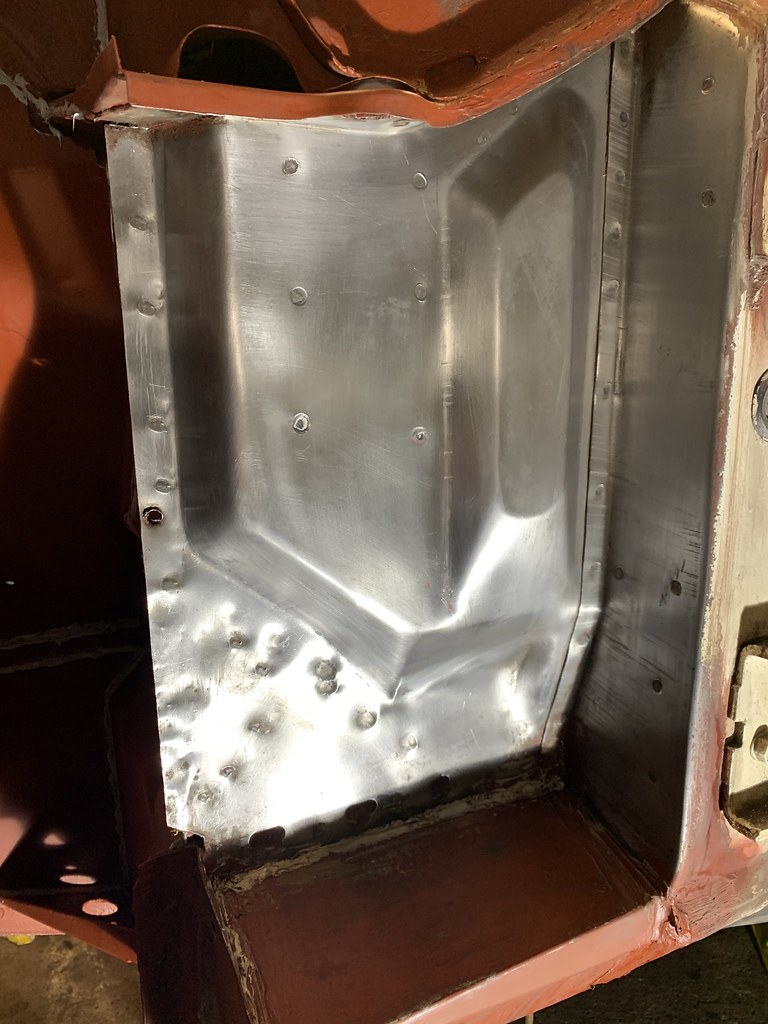
thanks, noted and will do. Might leave the brazing to body shop when they prep for paint as tail panel will probably also need some brazing. either that or another skill to learn !If you are trying to improve the joining I would braze it. Hammer and dolly as flat as possible and then fill in the low paces with brazing which will not come loose like bondo would. You can fill in rust pits with brazing also then prime and good to go.
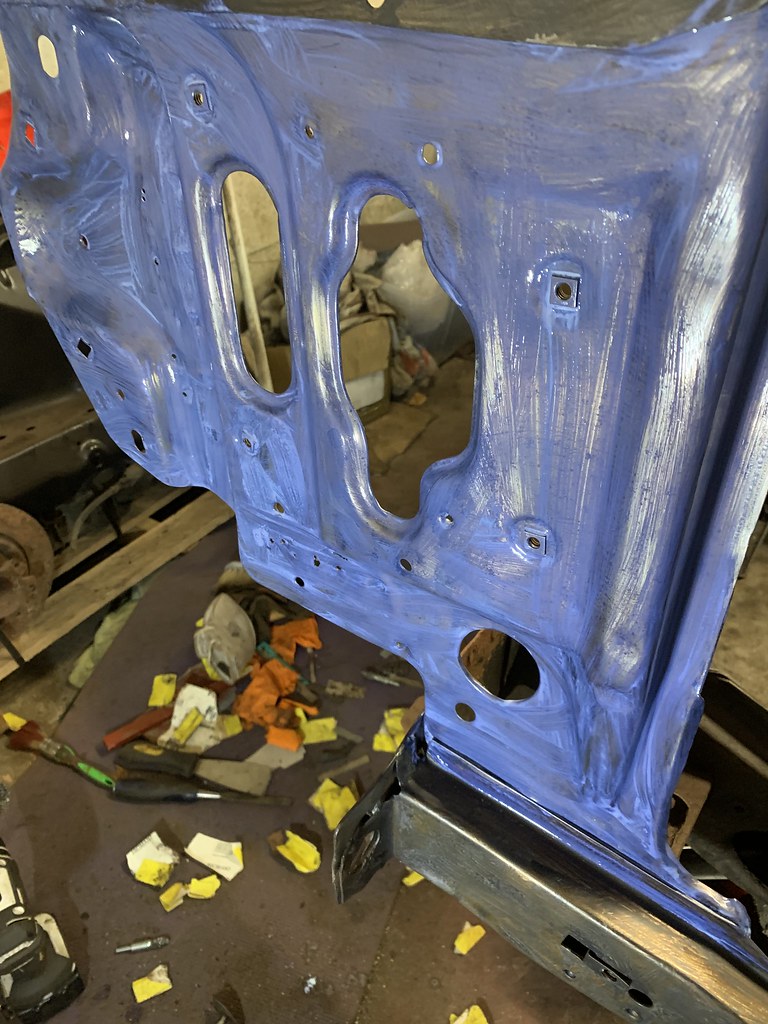
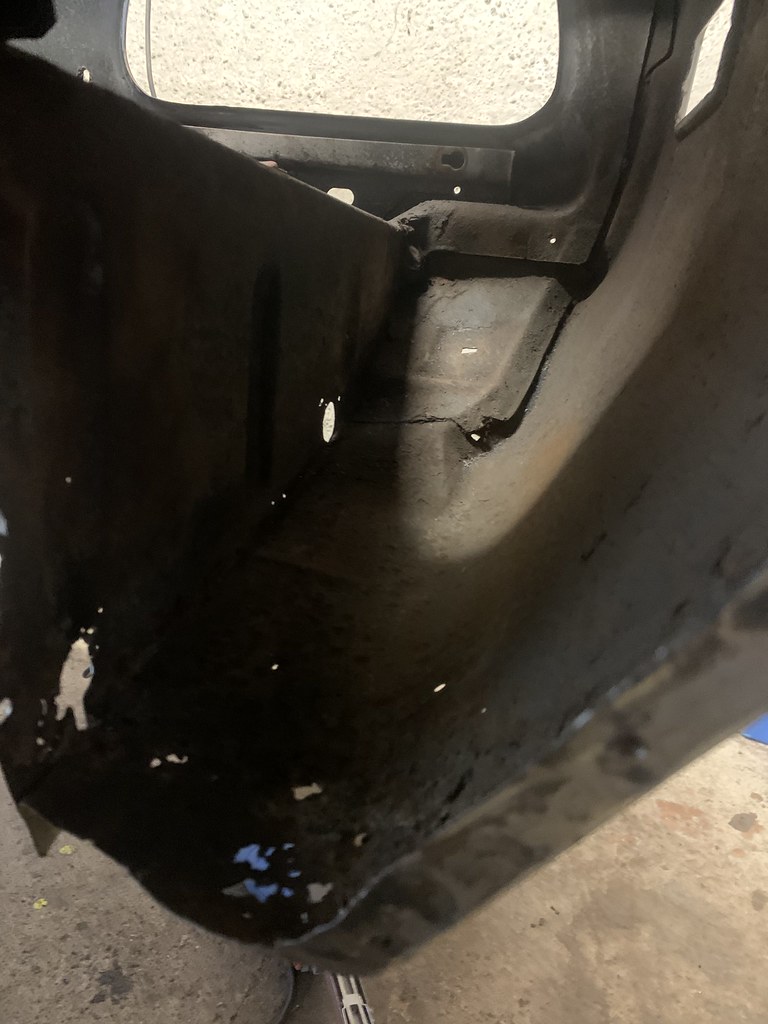
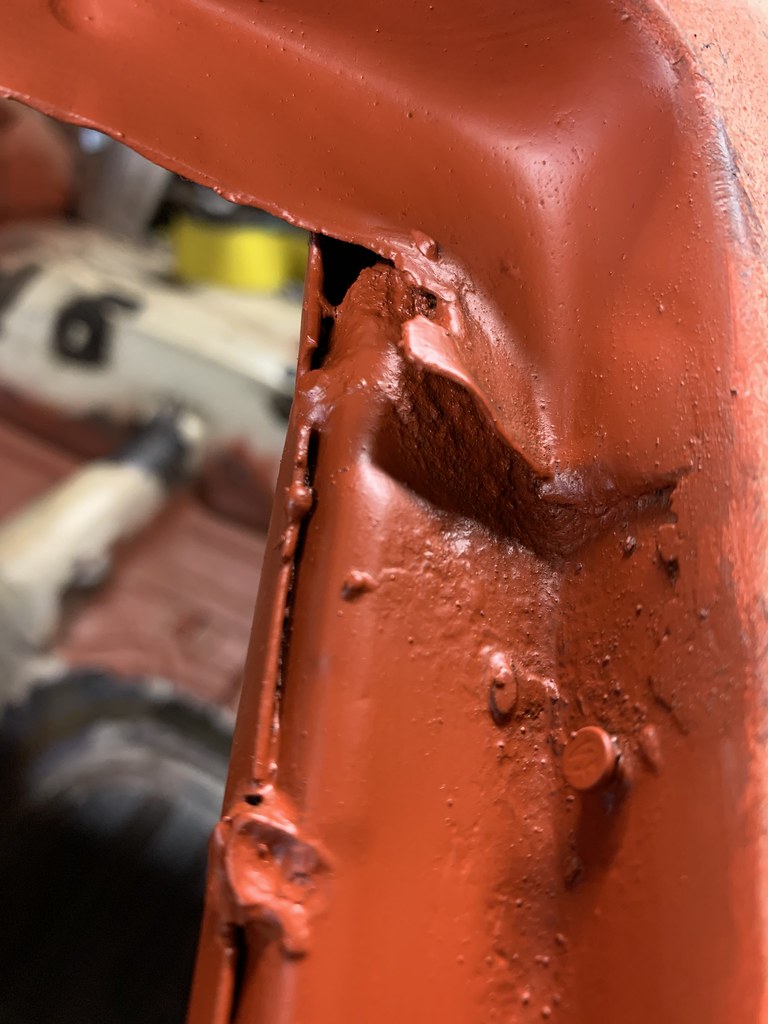
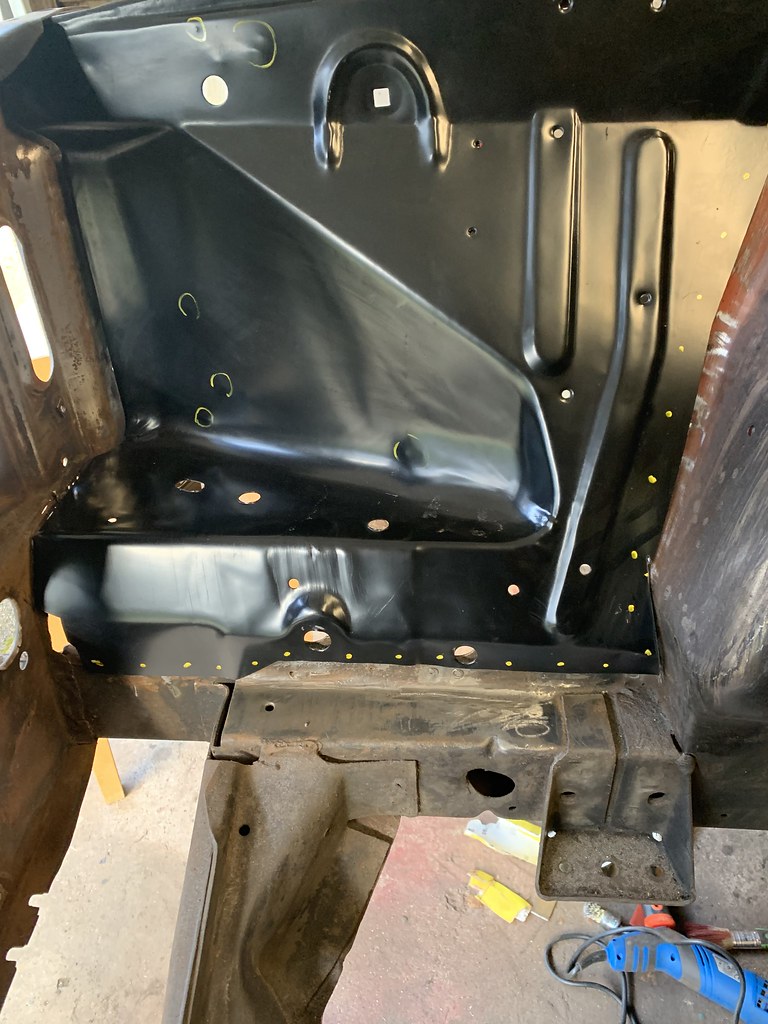
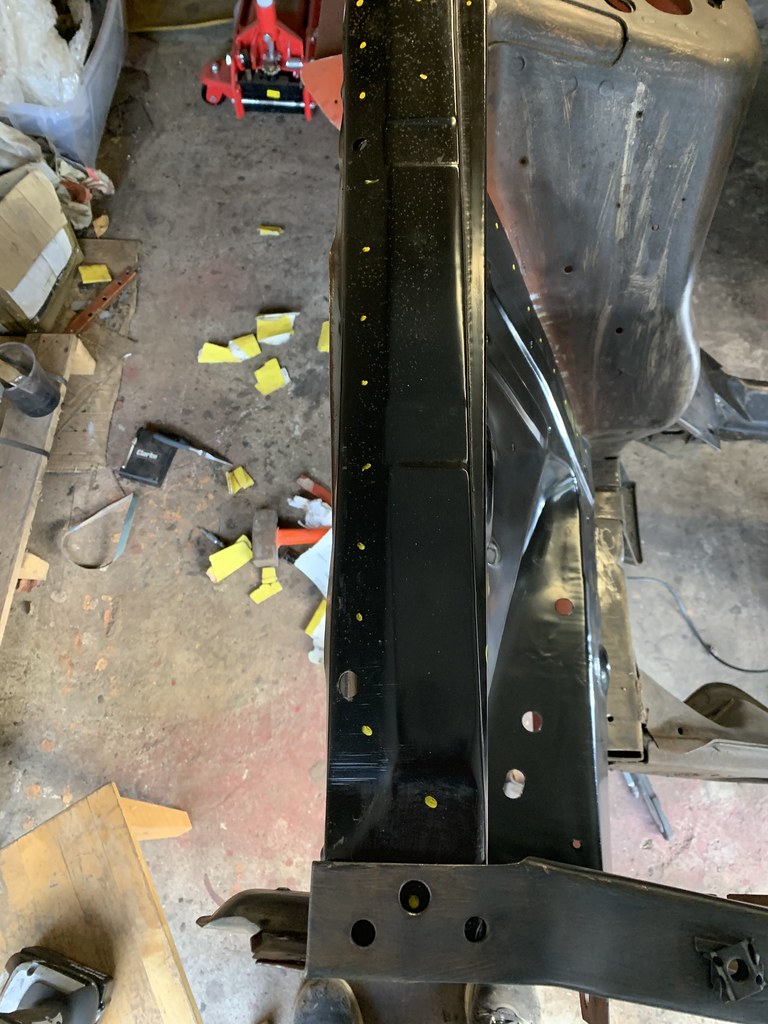
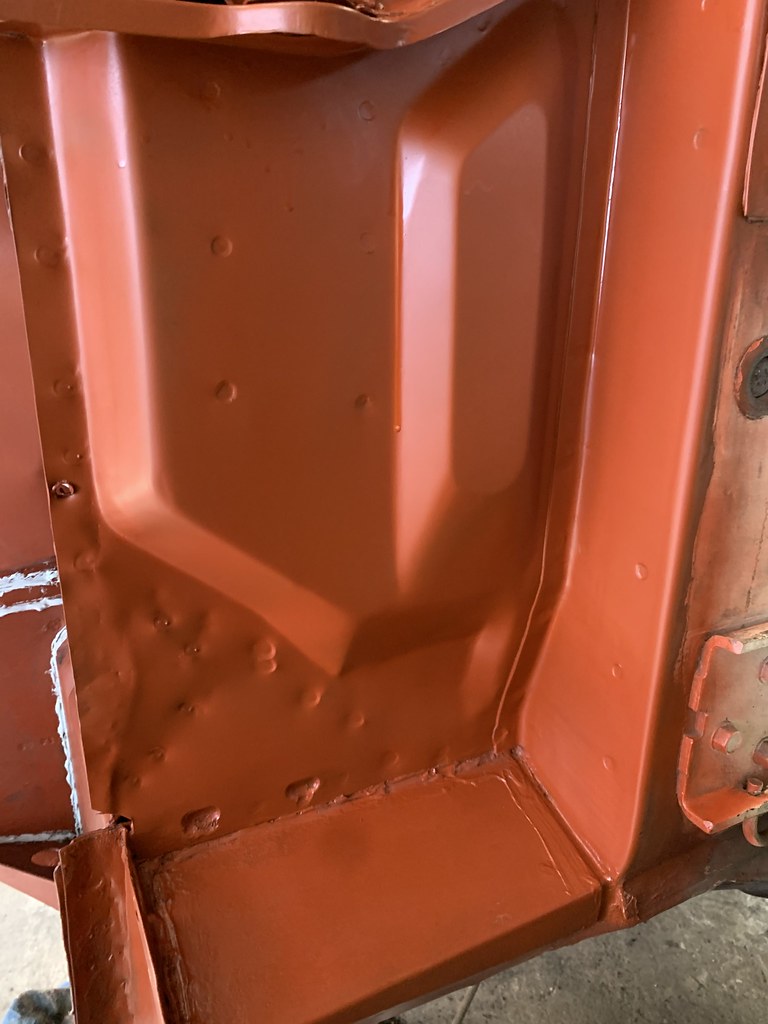
After all the prep work you have done on that engine bay, don’t skip on paint. Do a proper paint job with catalyzed products. Spray can looks ok, but it isn’t very durable. Salt air goes right through if you live by an ocean as I found out. Also it is not very chemical resistant, fuel can wash it off in most situations.this past week I've been snatching a couple of hours per evening to hand sand down engine bay and then cover in Hydrate 80, before I red oxide prime it all and then paint black using eastwood underhood black. looking for any suggestions for painting engine bay, should I go with rattle cans or use compressor and paint gun ? any other points for consideration ?
loads more work!! but you're right. Should do it propa! more to come....After all the prep work you have done on that engine bay, don’t skip on paint. Do a proper paint job with catalyzed products. Spray can looks ok, but it isn’t very durable. Salt air goes right through if you live by an ocean as I found out. Also it is not very chemical resistant, fuel can wash it off in most situations.
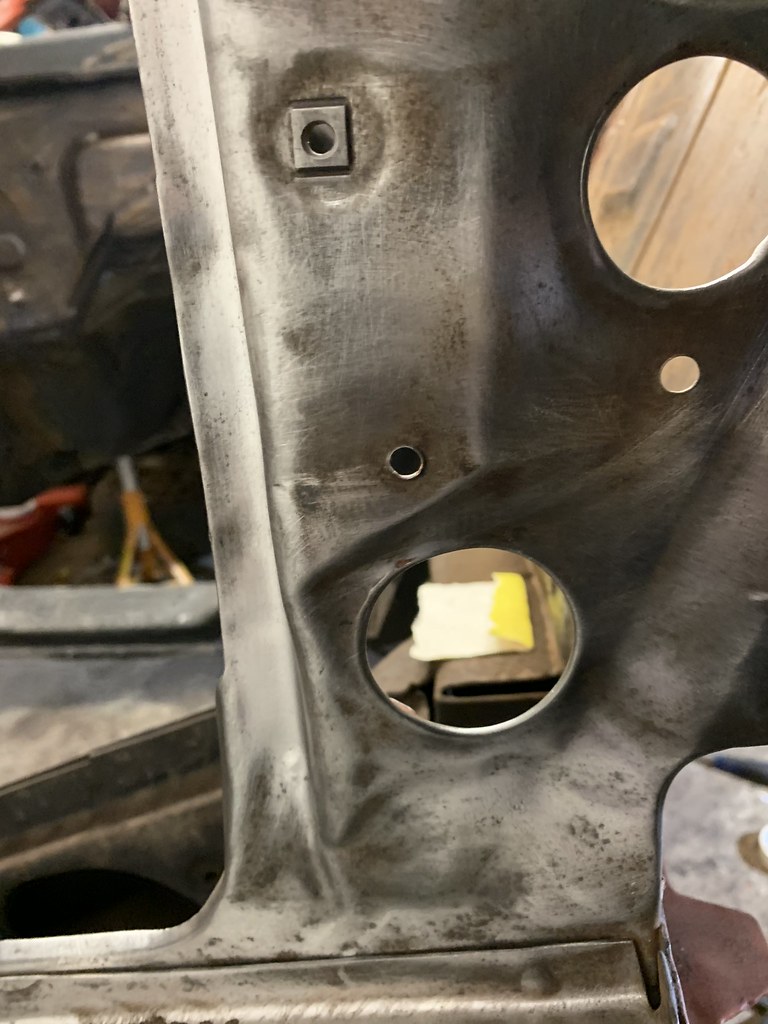
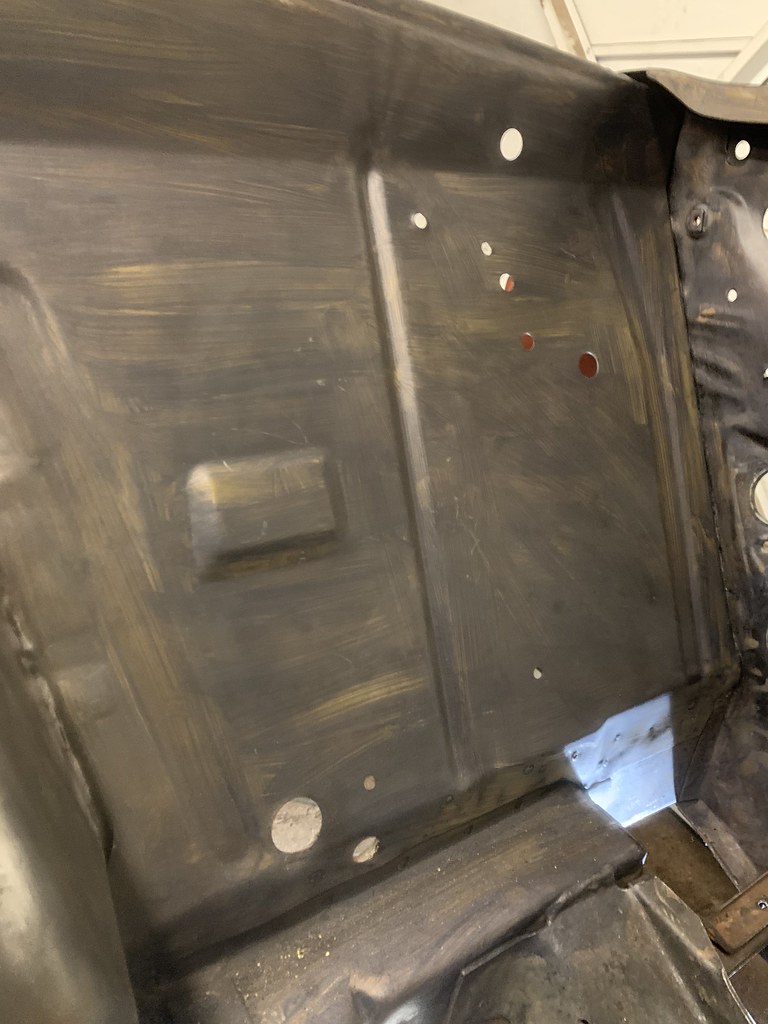
Fabrice! da main man.... it's all biachy and dirty my friendbiatchy dirty work is it? Busy welding and getting the engine bay bare metal as well atm... Not the most fun work to do.
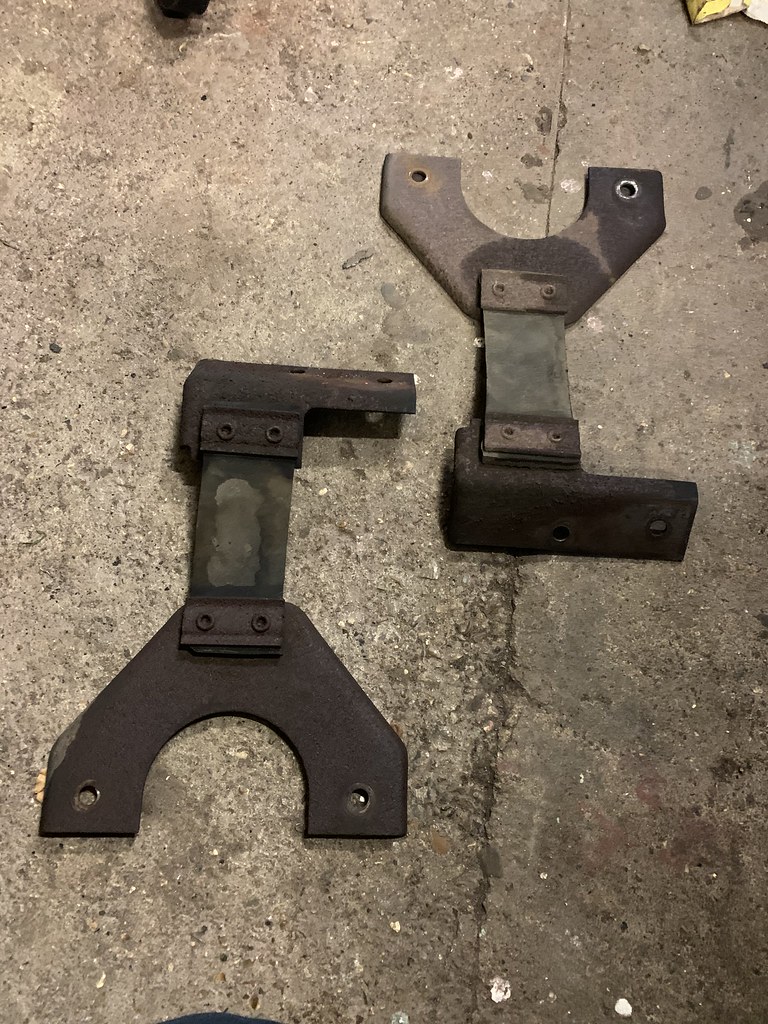
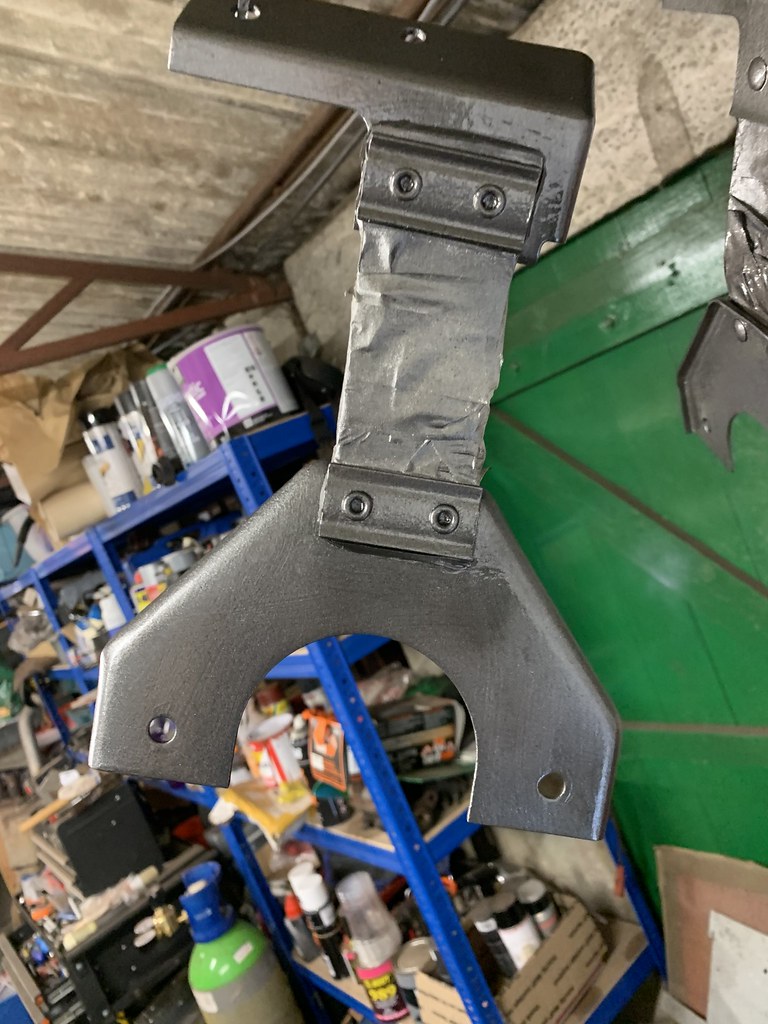
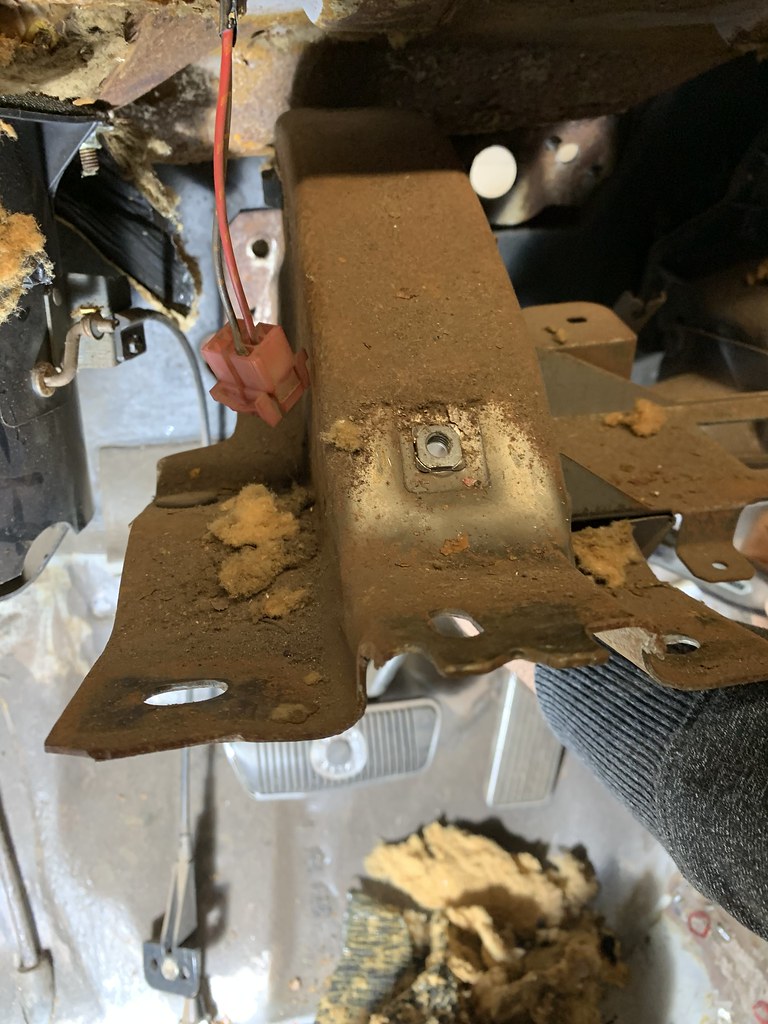
I'd remove the radiator mounts while at it, rust is everywhere on these things. zinc plated mine last year. And also would inject whatever you can inside the frame as it's where the condense stays before spray.
I use cans for small details or plastics sometimes, but with a gun all gets much nicer and more durable imo. Cheaper too.
I know mine will get epoxy, filler primer, wet on wet primer after fine sanding the first primer, then black base and semi gloss coat. No oxygen will go easy thru that!
") I spend a half hour each evening cleaning the crap out of my nostrils, and that's with full PPE....
I spend a half hour each evening cleaning the crap out of my nostrils, and that's with full PPE....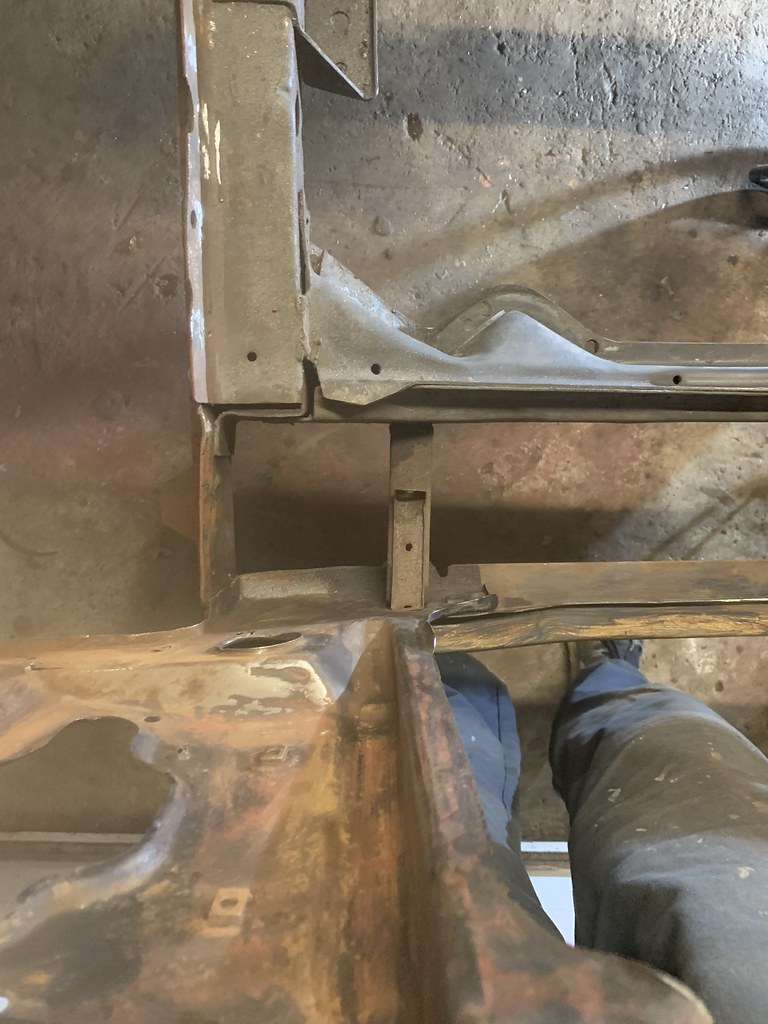

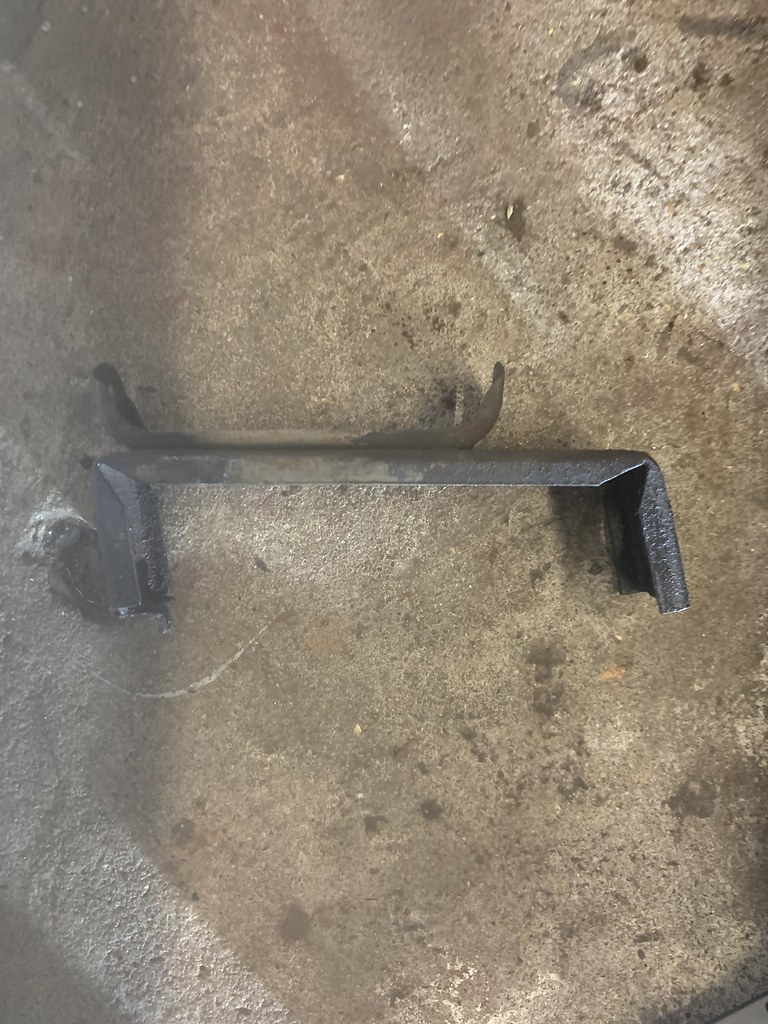
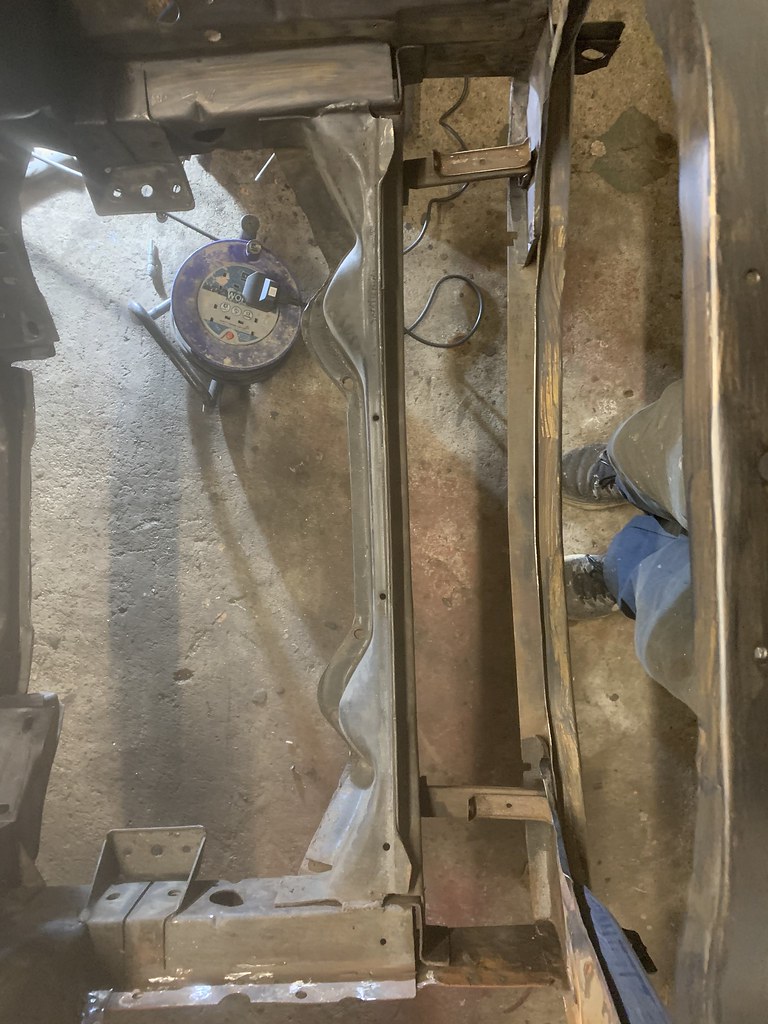
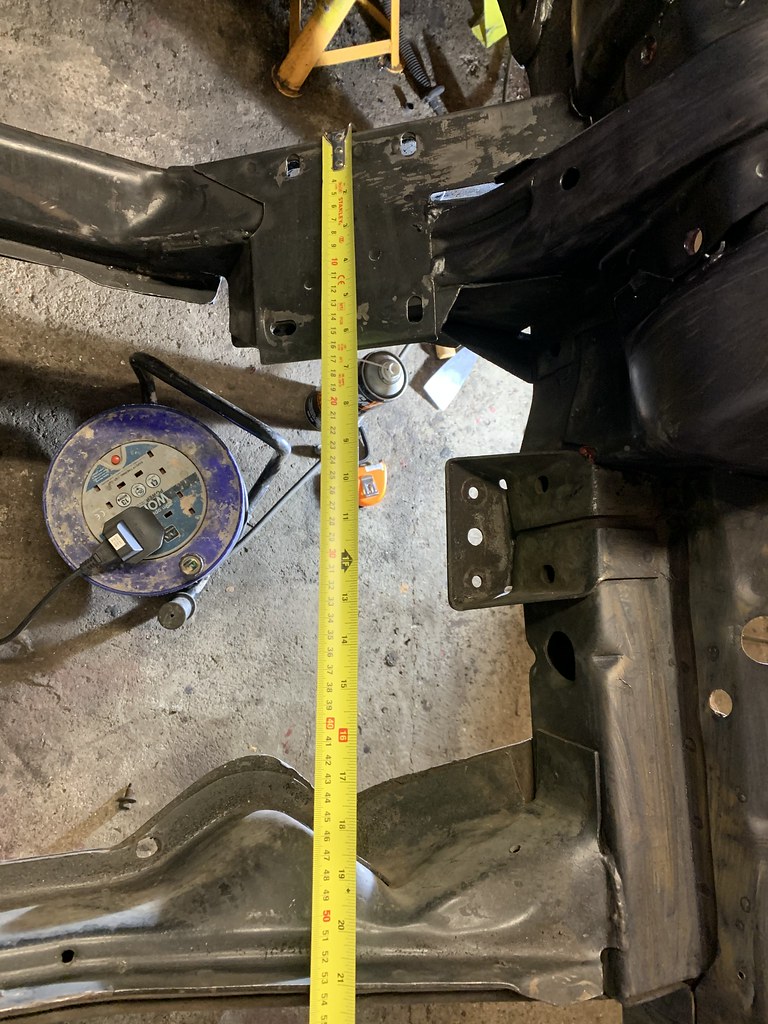

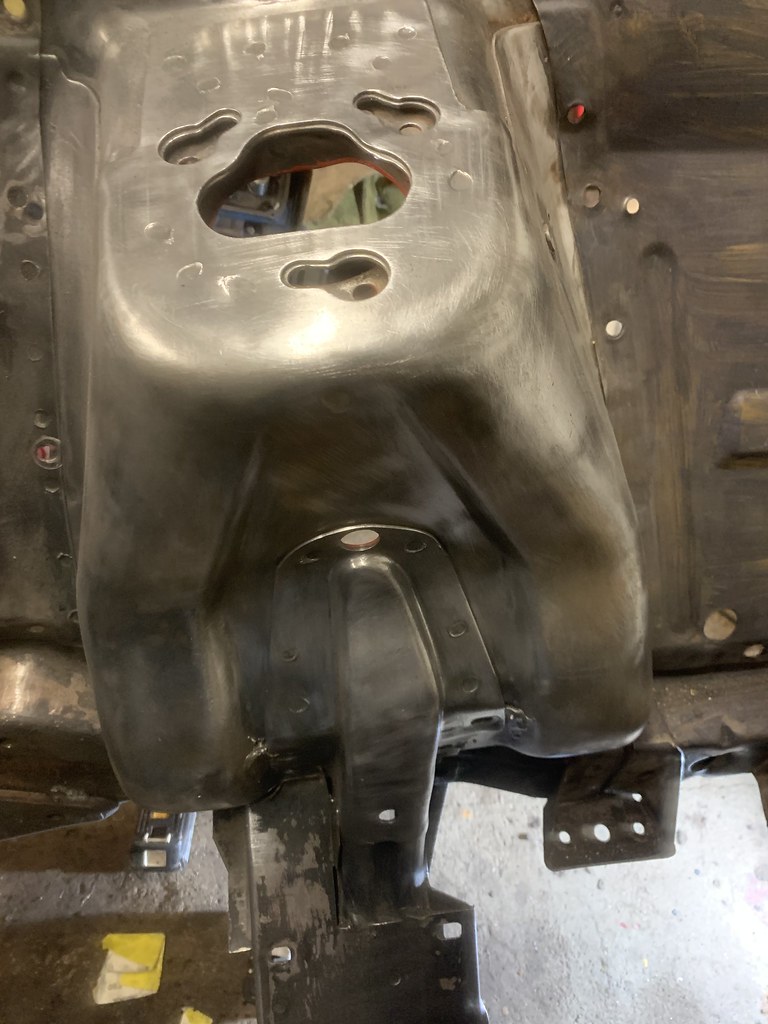
yes I got the battery support panel. Just waiting on another panel before I fit everything together and weld it back in. I'm going to do all the alignment when car goes to paint shop in the summer. I won't have the engine in but suspension, wheels, tank and diff will be back on to give some weight on all 4 corners. Hopefully will give a sense of the misalignment. To be honest I've parked the alignment issues it for a little while so I can get on with other stuff but it will need to get addressed at some point.Did you get the reinforcement to go under the inner fender? I ordered one couple weeks ago and got quick. He is not selling on ebay just direct from his home in Wisconsin. If you need contact info I can get.
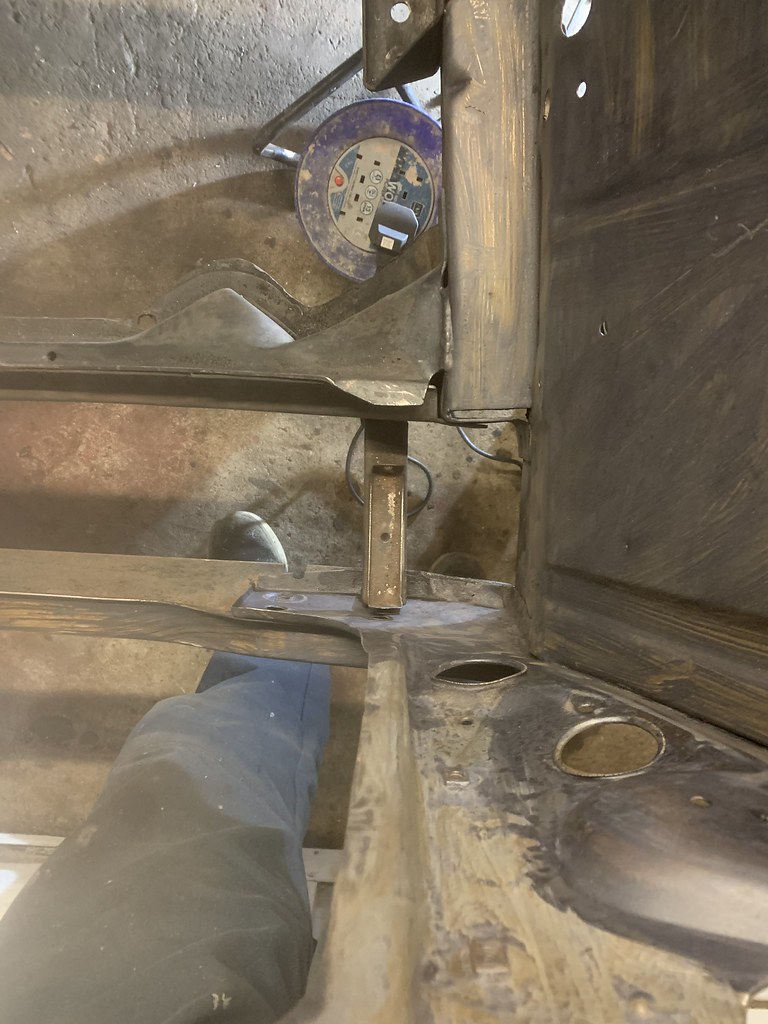
Yes you need to get the car on floor on wheels to do some checking. It is better before you ever start to head to frame shop and have the chassis set to zero before you ever start. They bend so easily even jacking can bend.

embarassing or what hey. and to think I was one a Project Manager. let's call it scope creepYou really need to change the title of this thread...it's now close to 2.5 years since you started a restoration that was to be finished by the summer.
But you really didn't say what year the summer was...*G*
I now plan to have it completed by summer... (drum roll...) 2022, in time for the car's fiftieth anniversary. Talking of which, it's the 50th anniversary of the 1971-73 Mustang this year. anything planned ?Enter your email address to join: