71 Vert Project

7173Mustangs.com

Help Support 7173Mustangs.com:

This site may earn a commission from merchant affiliate links, including eBay, Amazon, and others.
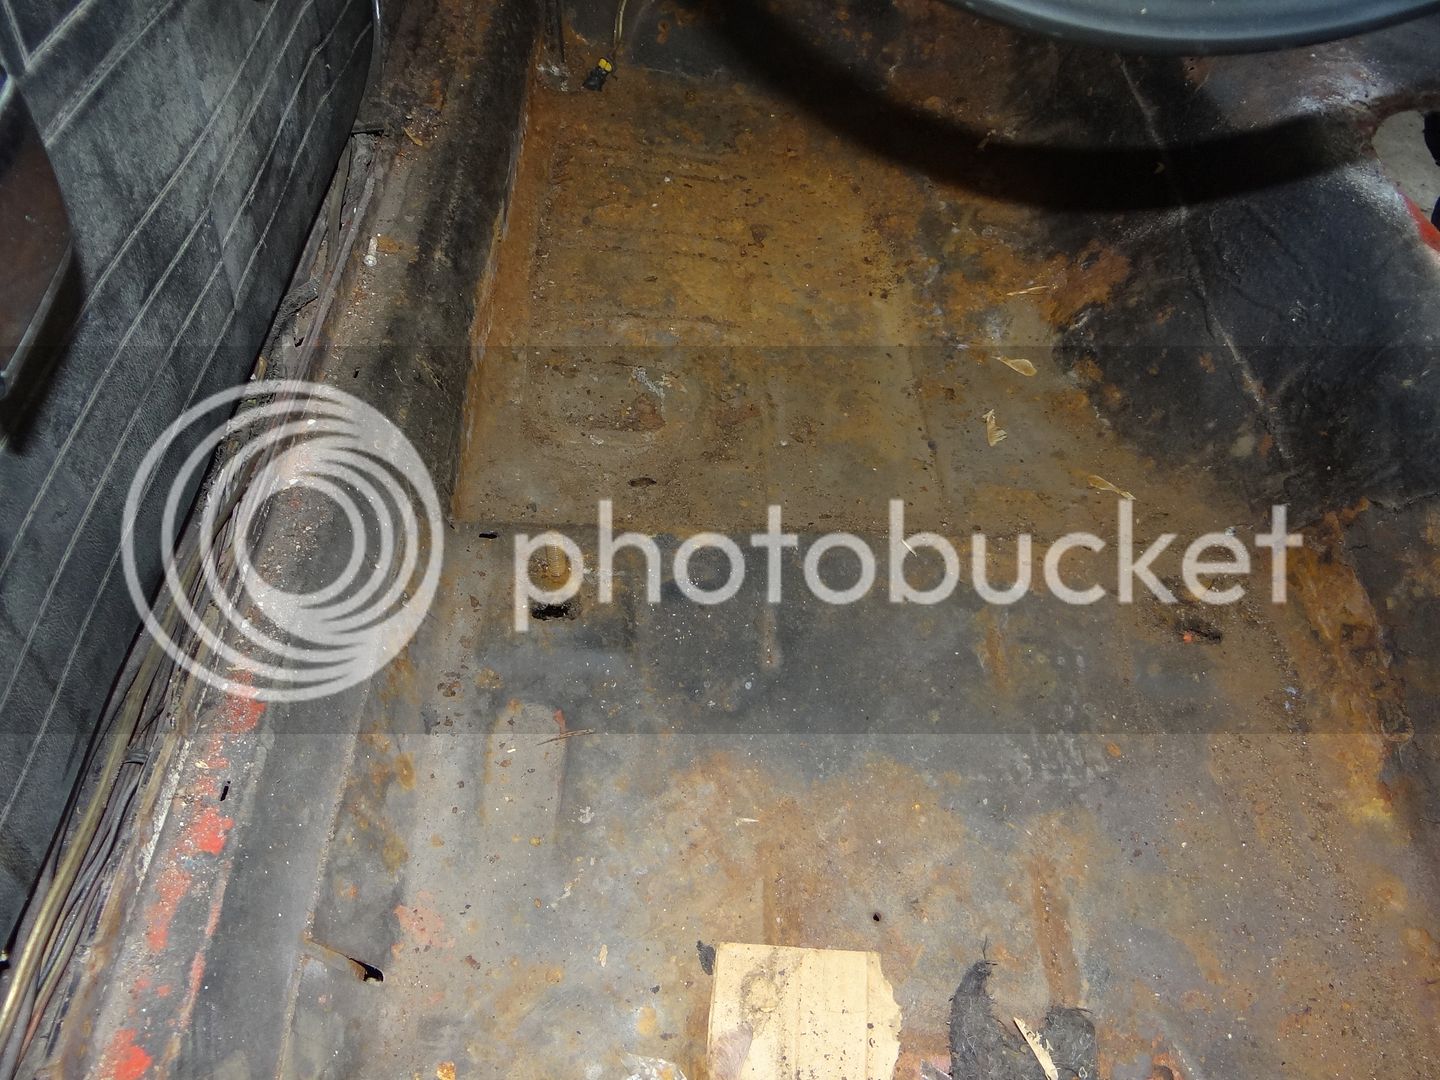
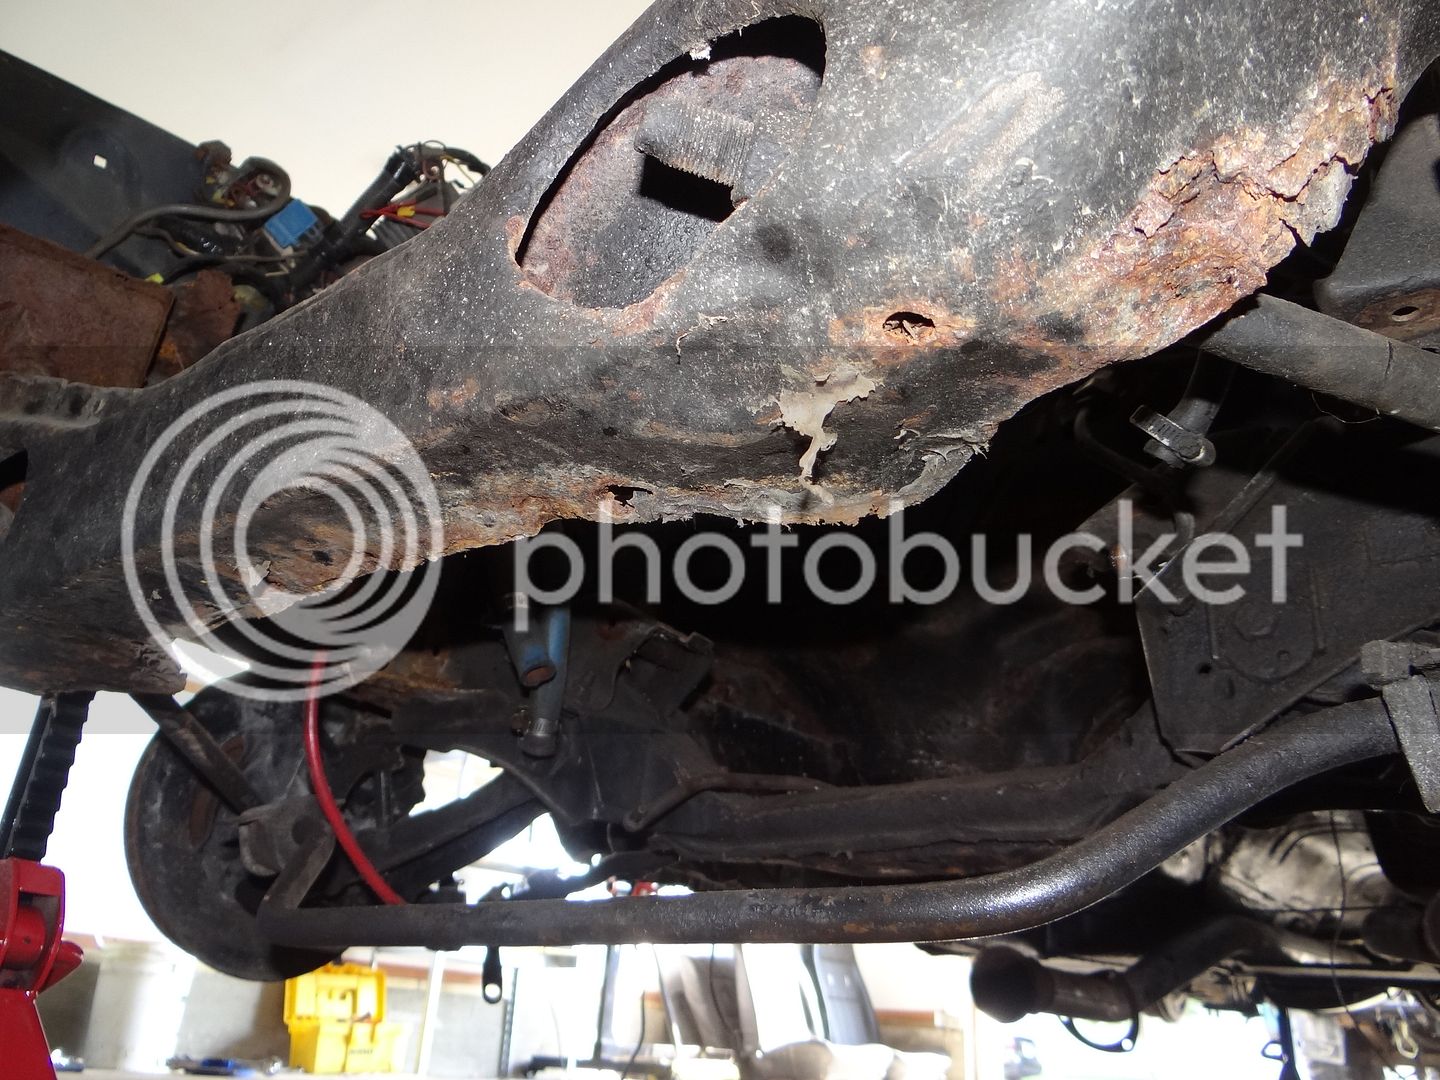
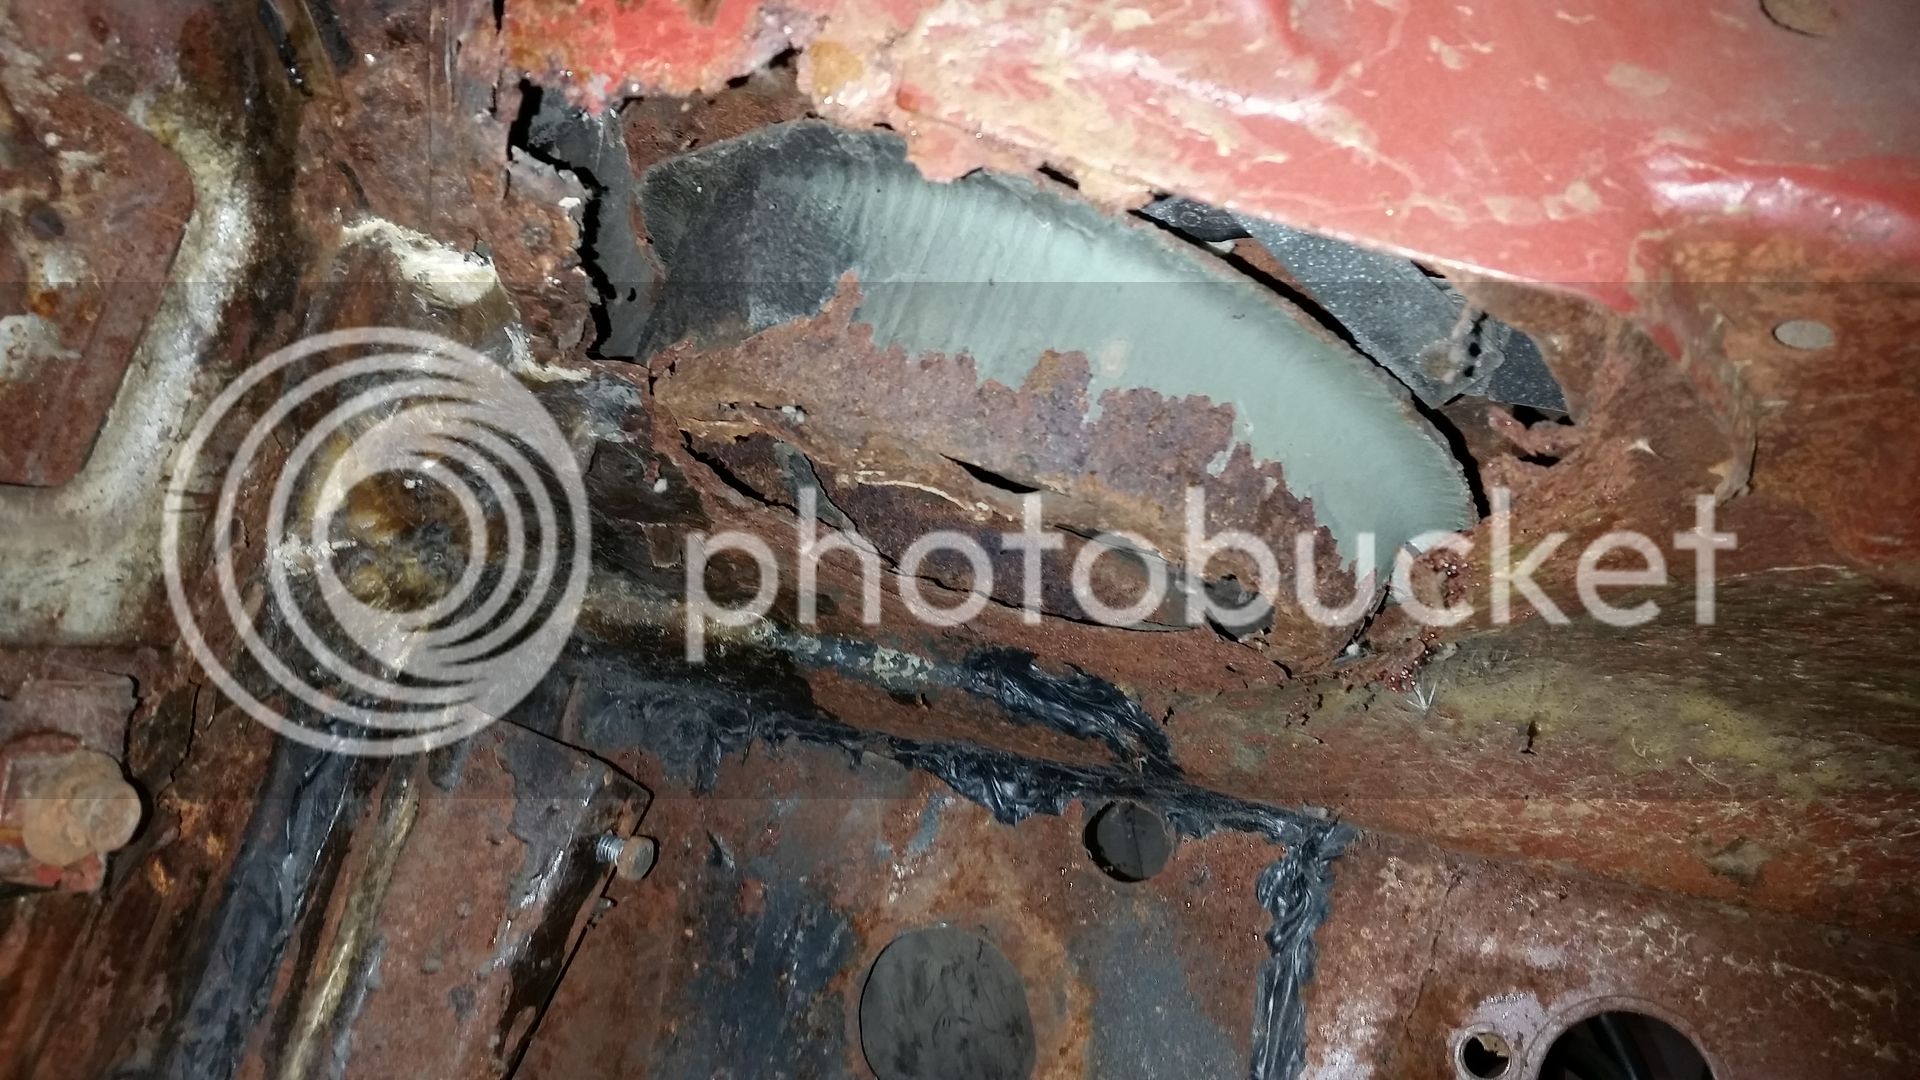
Yes the hole is from rust. My original plan was to just weld it up with 1/8" steel or something. I did this on my old dodge pickup and it held up fine.. and I beat the hell out of that thing!

However, from talking to people on other car forums I just got the sense that it wasn't worth it to try to salvage the car nor would it be safe. It wasn't an option for me to just scrap the car as I didn't have funds for a new one and this one held some sentimental value. It is very nice to find people who care for the 71-73s!

I then went looking for a repop full frame rail but all i could find were the front half patches. Then I found the dynacorn full apron/rail for $700~ and that was my plan until I found this full front clip for a fraction of the price.

Anyway, I highlighted the areas rusted in this picture.


hopefully that gives a better idea of what I am talking about. Keep in mind this is what I could see with the engine still in the car but I studied it pretty good (while very frustrated!)

 
If I remember correctly, the mounting holes for the drag link are sleeved all the way through the frame - so patching the sheet metal will not make the car "unsafe" after doing so. That big ol' hole in my frame was between the steering gearbox mounting holes, that we sleeved as well... and the steering gear was hanging on there just as tight and solid as could be.

I'm not sure if they have repop panels for the inner frame rail at the drag link mounting points, but it's flat stock and should be easy enough to patch. I had to stitch that area back together on my 'new' front clip because the 'yard dawgs had changed their minds about where to cut it away from the car, and it's plenty solid.

One quick tip: when you have the area opened up for repair, get as much rust inhibitor/converter/whatever inside the frame rails, and also as much sealer as possible after the rust is killed. You should never have to open up that area again.

 
I dont have any updates on the car, but i did manage to find a garage to rent. Now that i have a space to work on the car i am very excited! I get back from the lodge at the end of August and i am hoping to have the motor and tranny out and the front end stripped by the first week of September. Once the frame rail is repaired i will likely replace the floor pans while everything is apart.

I am also thinking have buying something like this suspension kit http://www.cjponyparts.com/supreme-front-steering-and-suspension-kit-1971-1973/p/SUSK11/

Has anyone tried this? The car will also get frame connectors right away, does anyone recommend one brand over another? Or home made connectors?

Thinking of installing a new cam and definitely a new carb. Any recommendations? Is a stock 71 351c 2v with an aluminum Edelbrock 4v intake

 
Last edited by a moderator:
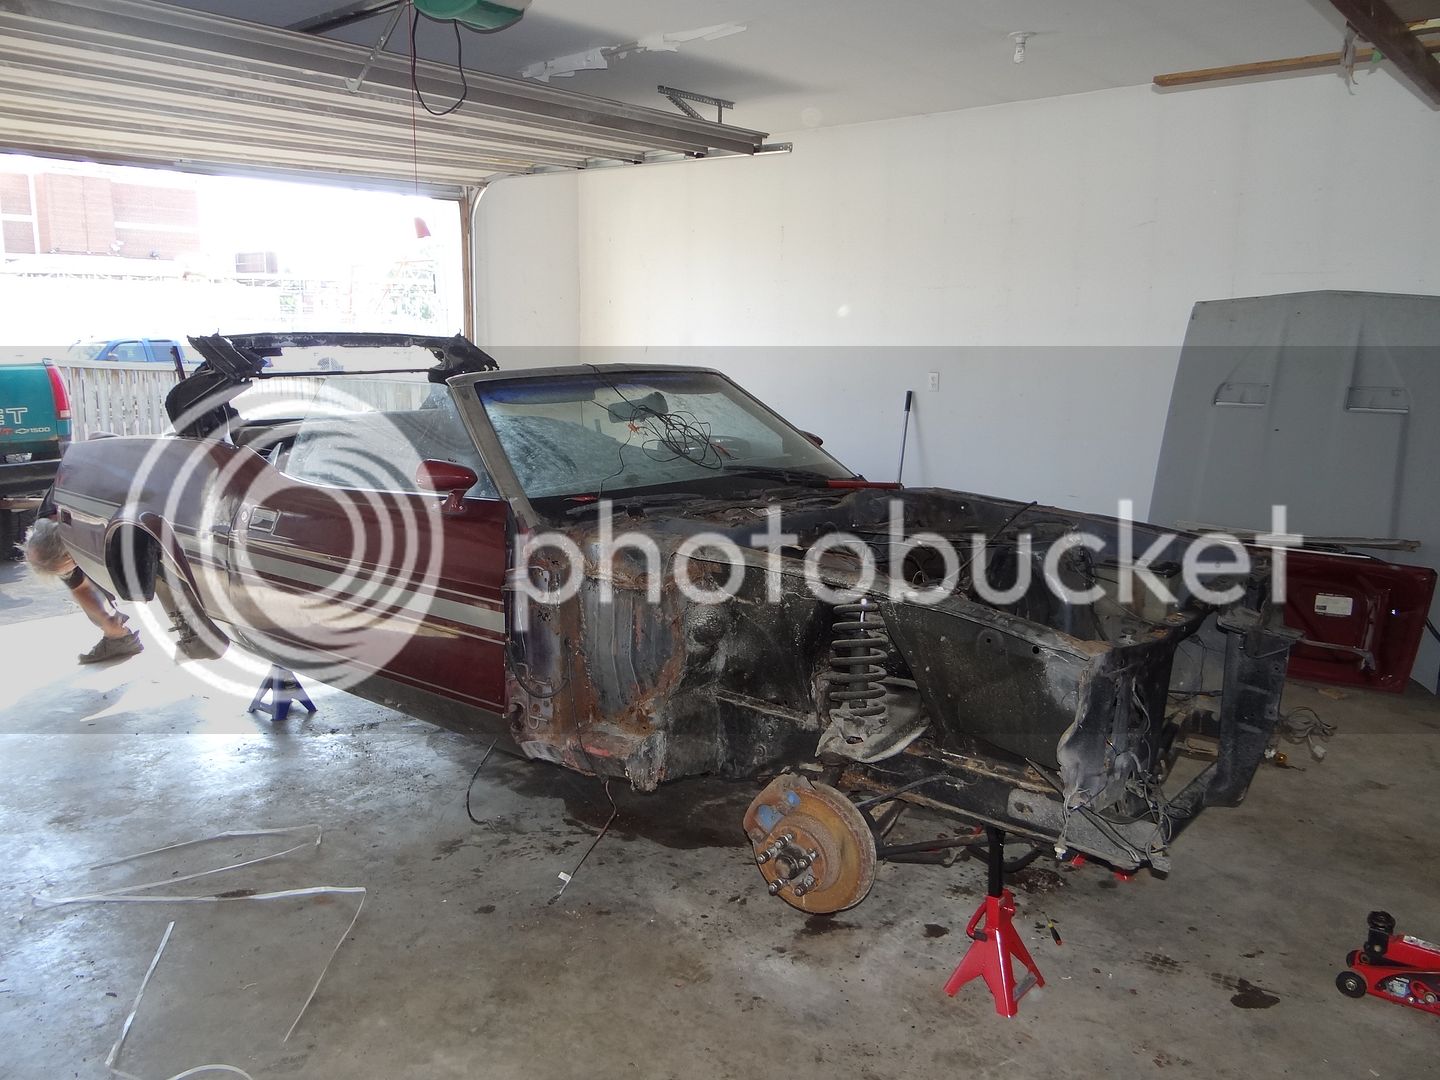
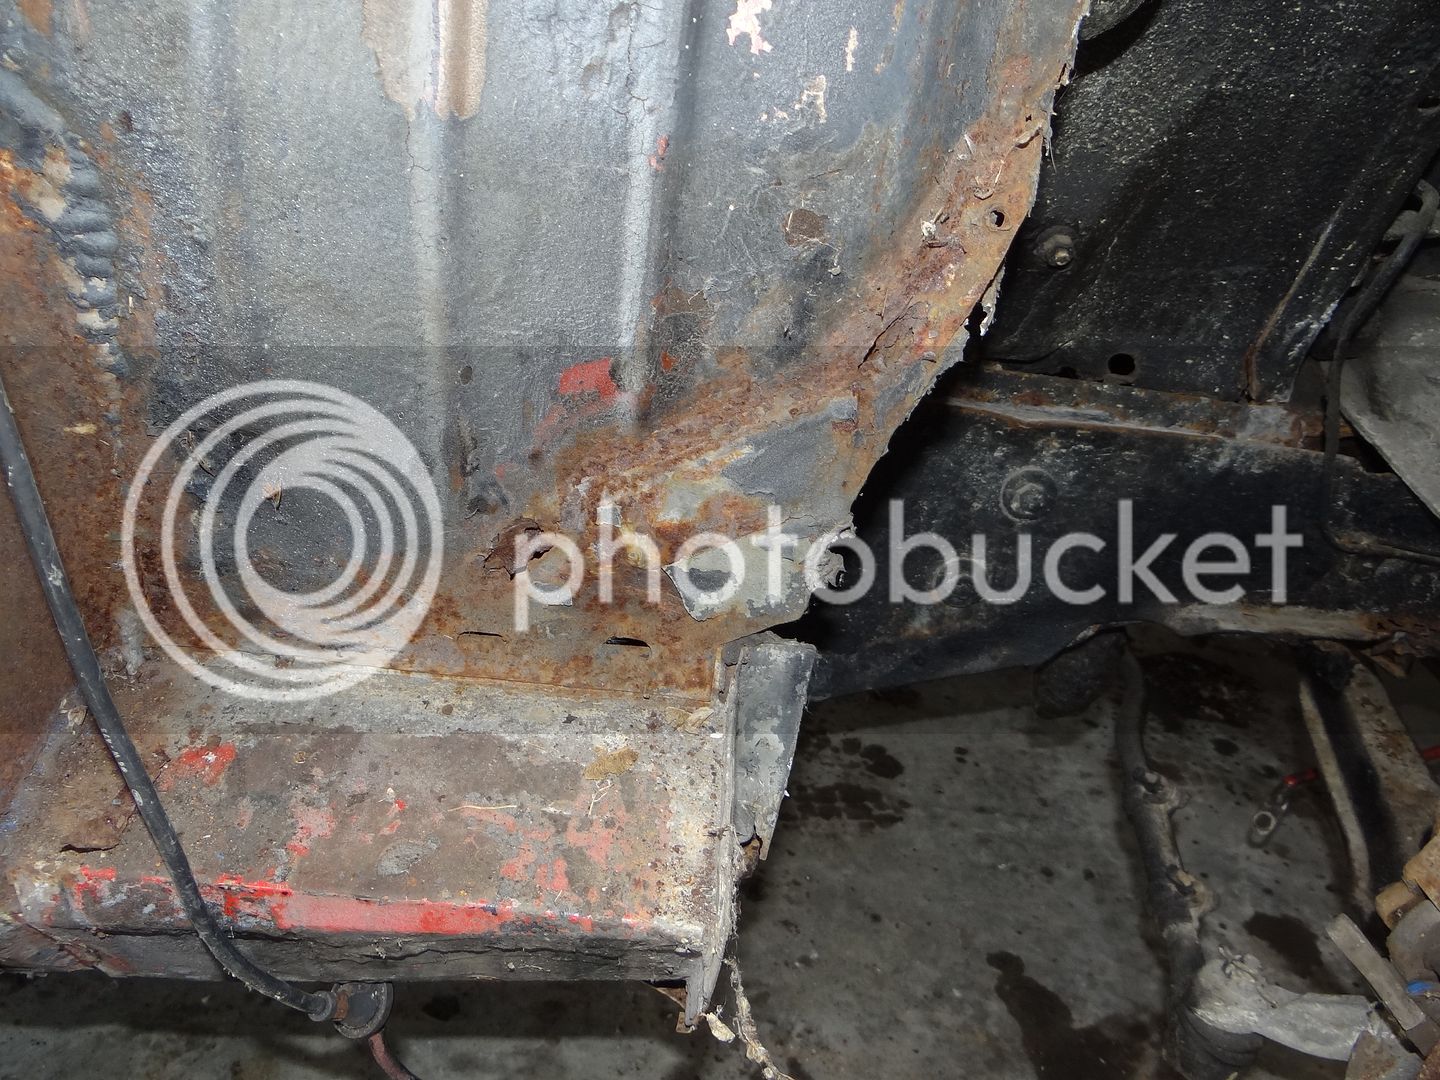
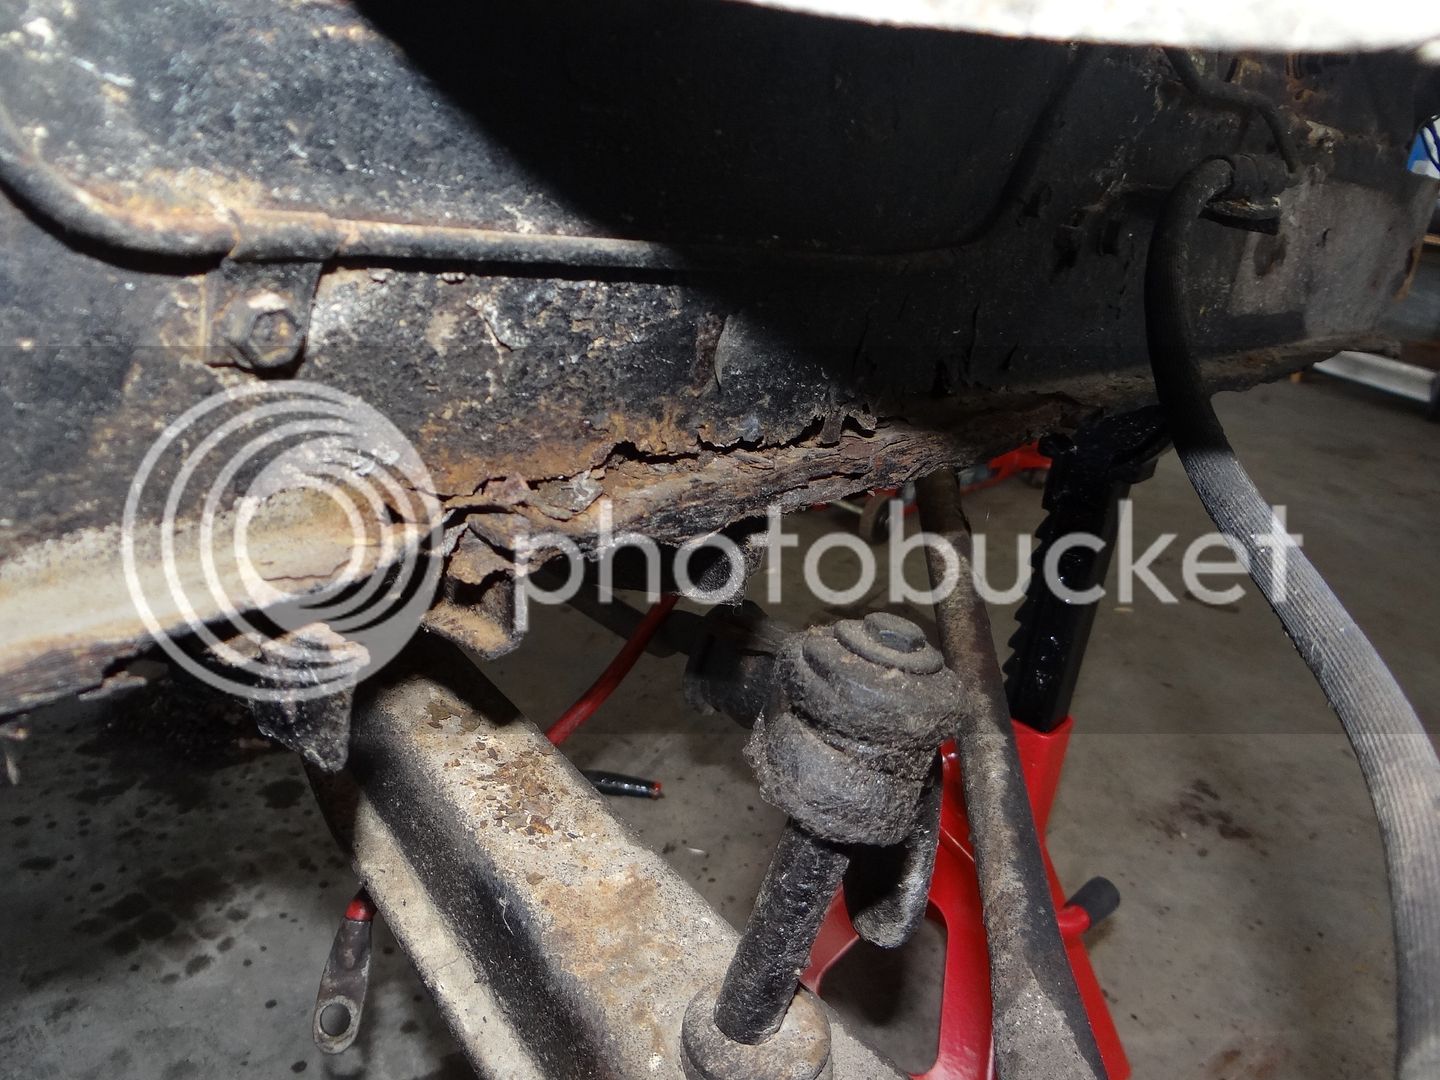
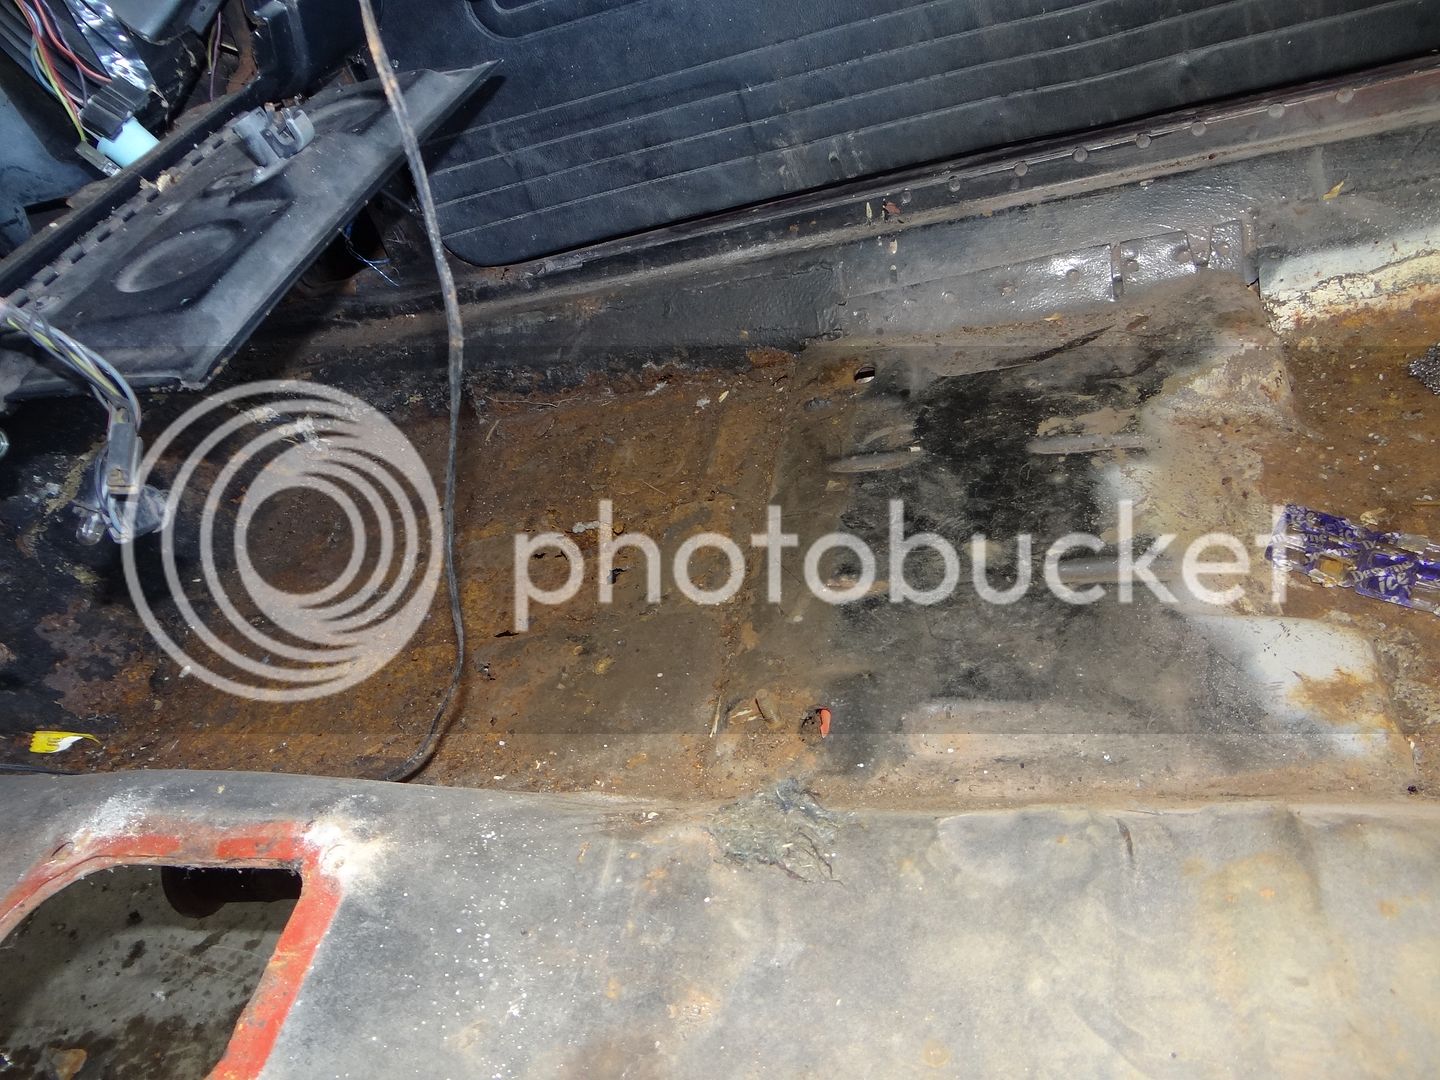
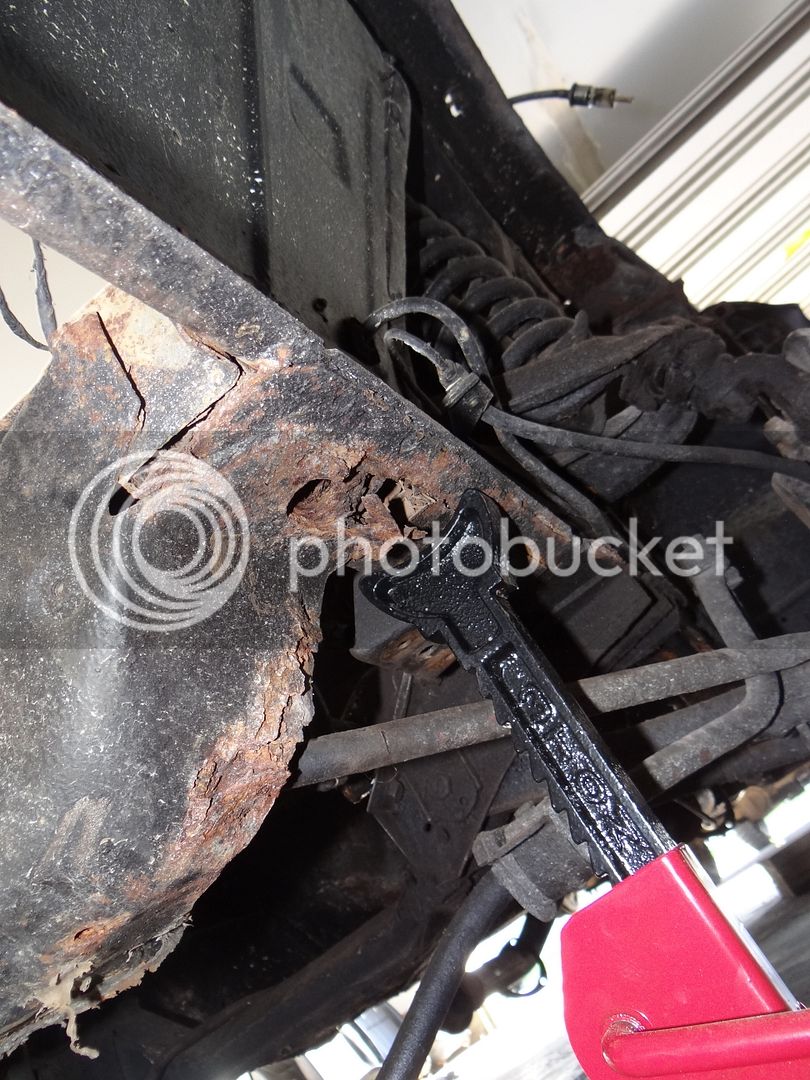
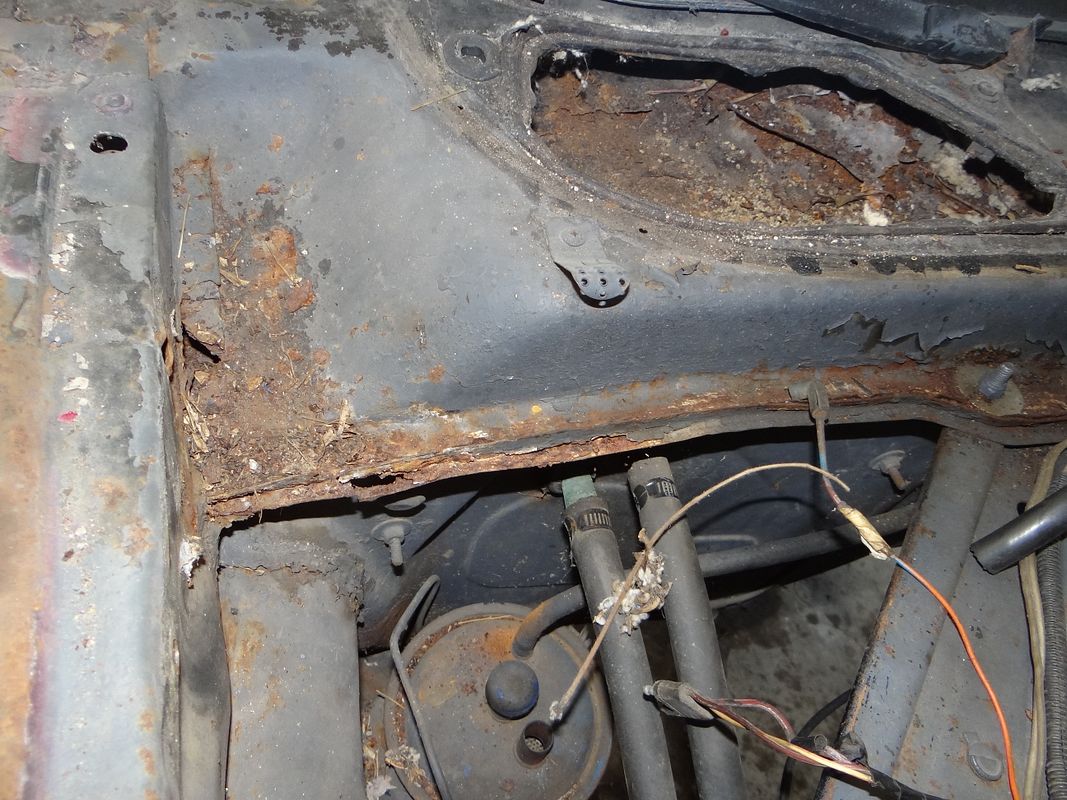
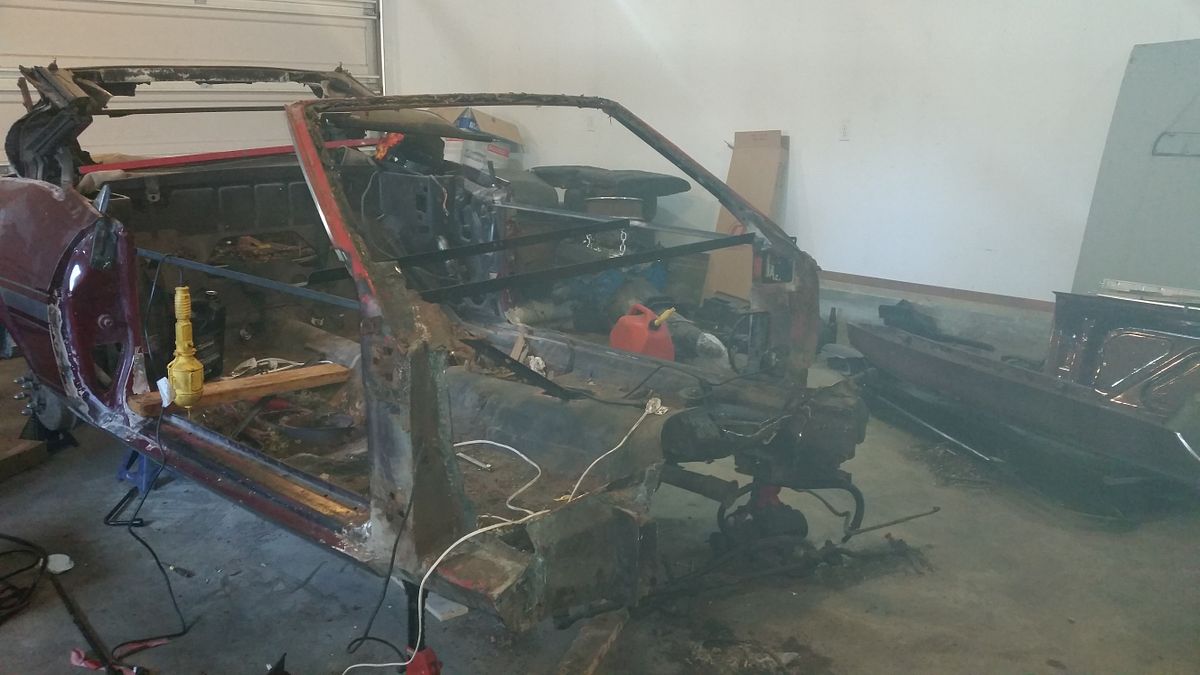
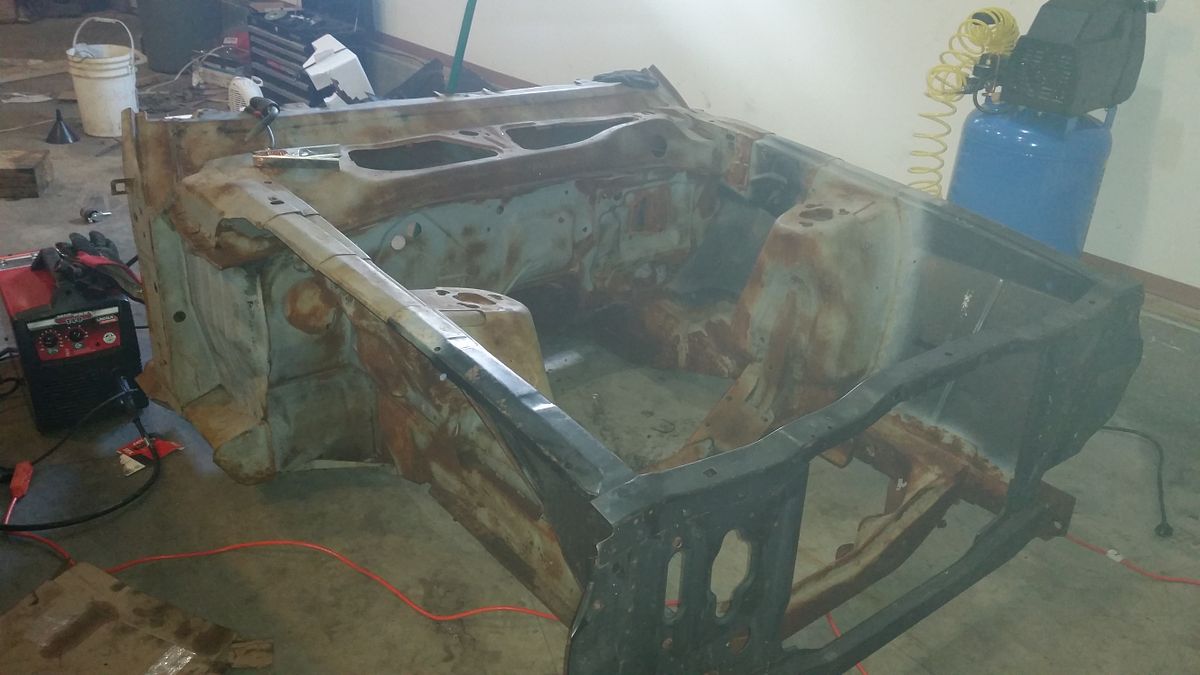
Well, I got the car into the garage I am renting and began stripping it. Here are some pictures as she sits now. unfortunately, I discovered that the drivers side frame rail is also rotted out. I am starting to lean towards removing everything from the firewall forward (aprons, shock towers, rad support, cross members, frame rails) and replacing it with the better parts on my spare front clip, and then fixing the cowl and firewall with patches as needed. Does any body have any other suggestions? the frame rails seem to be completely gone under the A-arms, it was hard to get pictures.


I have ship-able new frame rail sections

I have a used front clip

Don

 
My carb recommendation would be an edelbrock 1406 600 cfm with an electric choke. I have a comp cams 280 magnum cam on my 351 windsor and love it, it has a great idle sound plus excellent mid range and upper rpm power.. For a stockish engine the 268 magnum would probably a better choice for a daily driver.

 
Well, I've been working on the car when I can, Between school and getting ready for hunting season I don't have a ton of time. Today I got the front end rough cut off, now I can carefully remove the cowl and firewall to get ready for mounting the new front clip. My plan is to keep the A pillars and window frame on the car and replace everything forward including cowl, firewall, torque boxes, frame rails, aprons, etc.

It is quite scary cutting into my 1971 mustang! But, I am enjoying this restoration and cannot wait to progress further. My goal is to have the structural repairs done and have the car rolling by spring. I have found some surprises along the road. I found a BUNCH of bondo in the rear quarters which I will have to strip down and see whats hiding, from inside the trunk it appears to be solid steel. The wiring harness was a complete mess. I am planning to use a universal harness and probably some autometer gauges when the time comes. I think I am going to replace the rear frame rails as well. They aren't rotten, but have some sketchy looking patch work some I figure I'll do it right while everything is apart. This car has had some funny repairs in the past that's for sure!

I am picking up my front clip this weekend and bringing up to my garage. Im also working on finding a used compressor so I can strip and epoxy prime parts and panels.

Here are some pics


Here is whats left of my cowl (view from under dash) nice fibreglass on there!


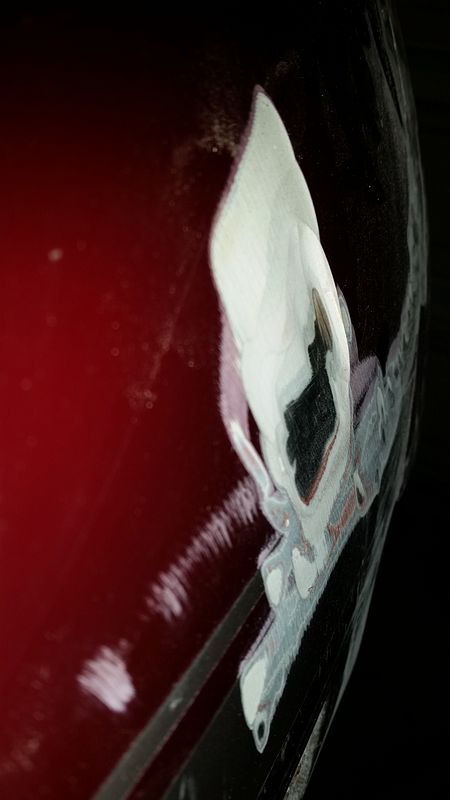
Bondo on the 1/4


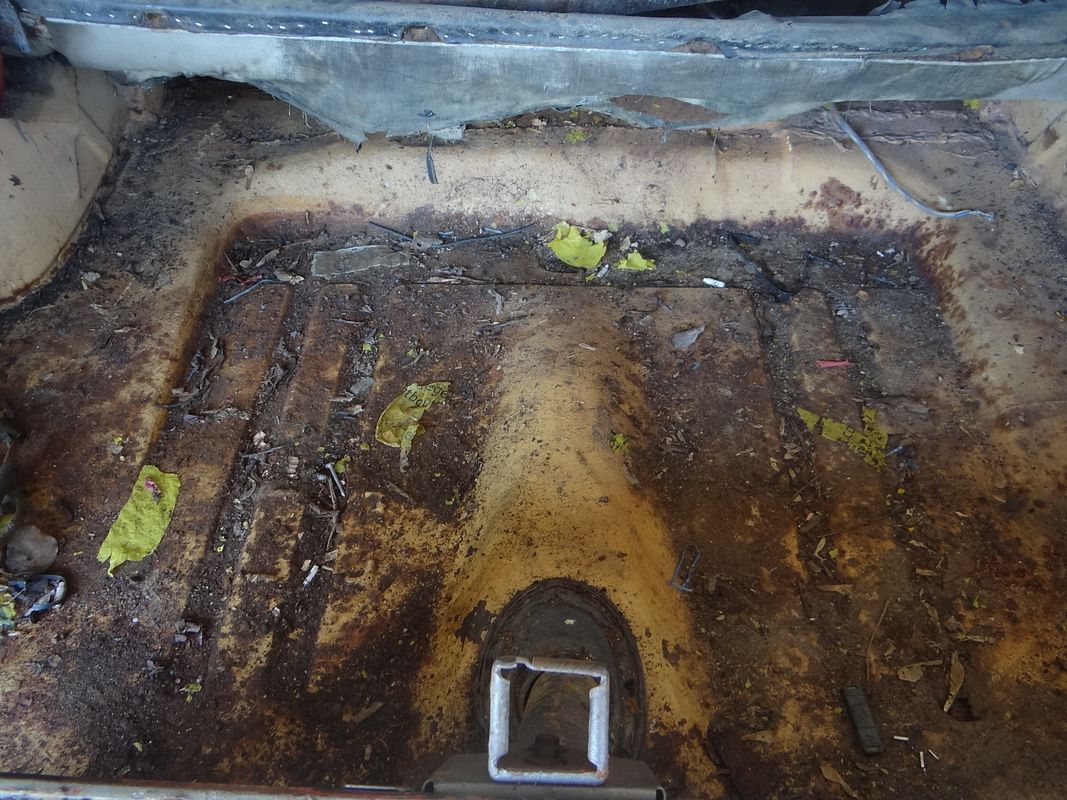
Small hole in the trunk (bottom right in pic) but the rest seems relatively solid so I will strip it down and patch the hole.


I won't have any updates for the next week. I am making a roadtrip to Nashville to see Kid Rock

 
Definitely all in! Kinda scary knowing that as it sits i maybe have $200 in scrap metal lol!

 
Aw man - sorry to hear you had to go that route. I have a chassis drawing I received from Scott (QCode351mach) several years ago when I did mine. I send it to you when I get home from work, so you have all the measurements to get it lined up and back together.

I like your plan on attaching the [new] front clip. If the A-pillar and rockers from the rockers all the way through the windshield frame are good on your car, you'll be golden. Since you're thinking about new floor pans and cowl sheet metal, before starting anything I would take out the dash and weld in some side-to-side bracing between the insides of the A-pillars (along with a couple of 'X' braces) to keep everything square. Leave the floor pans alone until you get the front clip with frame rails, cowl, and firewall back in-place. The torque boxes and rockers are key - if they're good on the car, you might just pull everything else away from the frame rails, cross members, aprons, shock towers, cowl, and firewall from the new front clip - you should be able to slide it right in once you get the bad stuff out, line up the measured marks, and weld it back into place. Then, it would be a good time to tackle the new floor pans, and look into adding some sub-frame connectors to provide additional rigidity. I don't believe they make inner rockers for the 'verts, so you might either get lucky that yours are still good (not likely, but ya don't know til you get there), but if not, the aftermarket sub-frame connectors should augment some replacement inner rockers very nicely (either score some from another car or make your own, since you'll be a welding fool by the time you get your new front clip done ;) :D ).

Remove pieces from each other by drilling out the spot welds (only drill through the top layer of sheet metal to separate the pieces), then "plug" (or "rosette") weld them back into place (using the drilled out spot weld holes as welding points - drill more holes if necessary to insure enough welded points) - the drilled-out factory spot welds won't line up between the old car and new, since actual people put the car together back in the day... not robots.

Keep us posted - I think I might just have to come up with a new award for those of us in the exclusive Front Clip Replacement Club. rofl

 
Thanks for the words of wisdom Eric, I was the one that had sent you a message on Facebook. I would appreciate that frame diagram. I have a bit of bracing welded in the car now. Basically a brace across where each door goes and the a cross brace connecting the two. I will add some more between the A pillars before I start taking the firewall out. I do plan on leaving the floors together (as much as possible) until the front clip is back on, then I will tackle the floors.

Subframe connectors are definitely on my to do list once everything is back together, I will have to wait to see what i am going to do to the rear frame rails before I tackle the subframe connectors. Also, from what I can see of the inner rockers they appear OK but I am sure, like everything else, I will uncover some rust there. If so, I may look into making some custom ones which will likely be stronger.

This is turning out to be quite the project, and yes I know in the end I will have more money into this car then it is worth, but it means a lot to me and I am enjoying the project and improving my skills!

 
Thanks for the words of wisdom Eric, I was the one that had sent you a message on Facebook. I would appreciate that frame diagram.

>

This is turning out to be quite the project, and yes I know in the end I will have more money into this car then it is worth, but it means a lot to me and I am enjoying the project and improving my skills!
Cool - I'll get that to you tonight when I get home (I got side-tracked last night).

Regarding "having invested more money than it's worth:" that's the case with mostly all restorations. I know I have almost twice as much invested as mine would be worth - and that's just parts alone - which doesn't even count what I would've paid for labor if I hadn't done it all myself (well... everything besides: engine machine work, paint & final body work, installing the windshield & backlight, and media blasting, that is). That's partly why I plan on keeping it forever.

Labor of love - because it sure isn't profitable for the DIY guys so much anymore.

 
Thanks Eric, i appreciate it. I'm sure I will be bothering you for more info in the near future ; )

Let's get this front clip award going!

 
Well, I haven't had as much time as I had hoped to work on the car, been busy with school.

I made the 16hr trip home to pick up my front end on the weekend. Today I was able to spend a couple hours working on the car. I added in some more bracing to keep everything solid and then I began to rough-cut the firewall out. Now the the fire wall is out of the way I will have some more room to start removing spot welds on the torque boxes and get the floor supports out. I would love to have the front end on by Christmas but we'll see how much time i get.

I ordered an American Autowire 22 circuit universal harness from Summit. It seems to be decent quality and I definitely needed a new harness. The wiring that was in this car was an absolute mess. Somewhere along the lines someone "restored" this car and did a HORRIBLE job. lots of shady work to be found around the car. Hopefully I can slowly fix all this so the car won't need another resto down the road.

The new front clip that I have has a mint cowl on it. I want to somehow coat the inside but I would rather not drill out all the spotwelds to remove the upper cowl. Does anyone have suggestions on rust prevention inside the cowl?

Sorry for the bad picture, my camera didn't want to work so I used my cell. it's also pretty smoking from the cutting wheel.


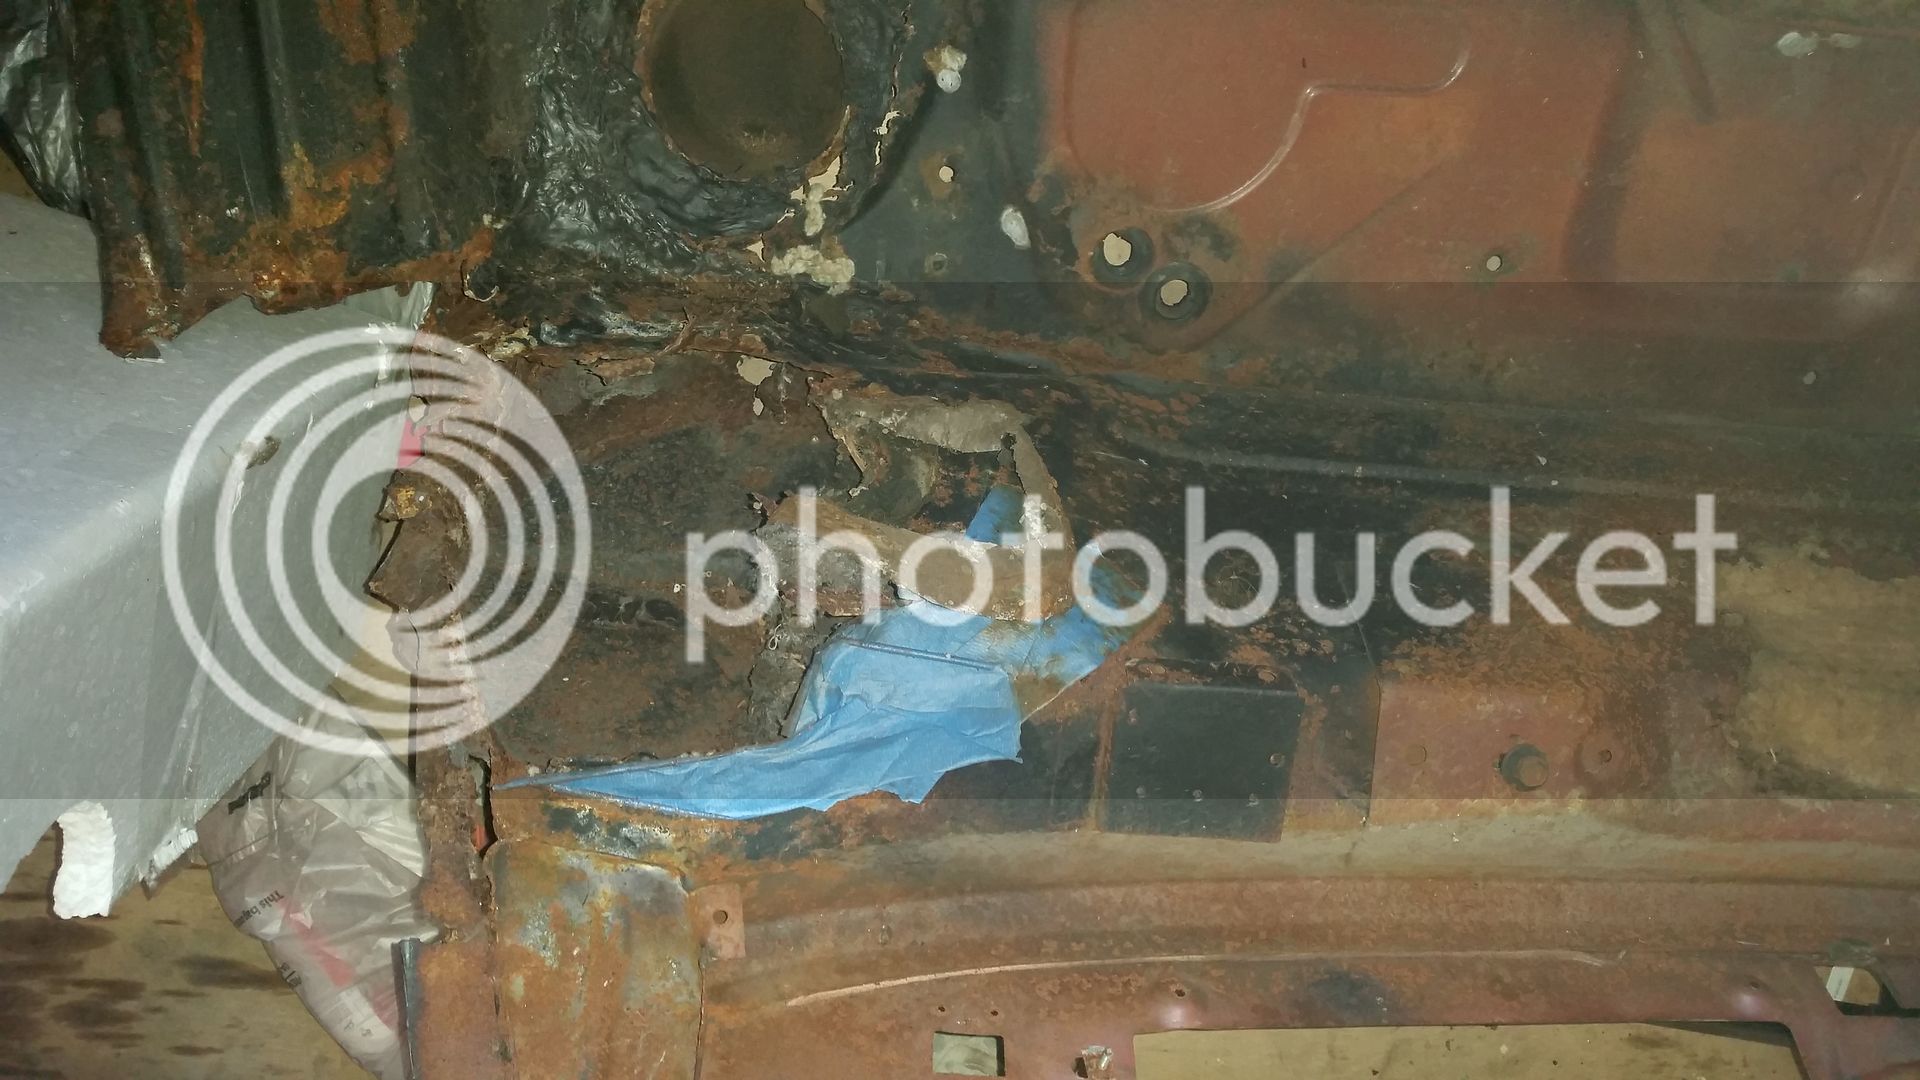
Here is the passenger cowl, the vent "hats" were totally gone on both sides. On this side someone had used masking tape to hold it together. Both sides also had fibreglass mat holding them together.


Last edited by a moderator:
Small update today, but I think this may be my first step in a forward direction which feels good!

After getting the firewall out I realized I was not happy with the condition of the "A pillars". They had some previous crappy repairs along with some rust and I figured since I have a mint pair and I am this deep in, I will change them. This will actually be quicker than just changing the firewall forward (I think/hope) as I will not have to drill nearly as many spotwelds.

So I began by swapping the window frame. This was a big area of concern for me as I didn't know how I would get it lined up and at the right angle. After lots of measuring I cut the sucker off.

First step was to prepare the "new" front clip for the "old" window frame. This was done by picking a point where the roof was cut off the "new" front clip and squaring it up. Basically I ground off a little at a time until it was 90 degrees to the point I selected. I did this to both sides.

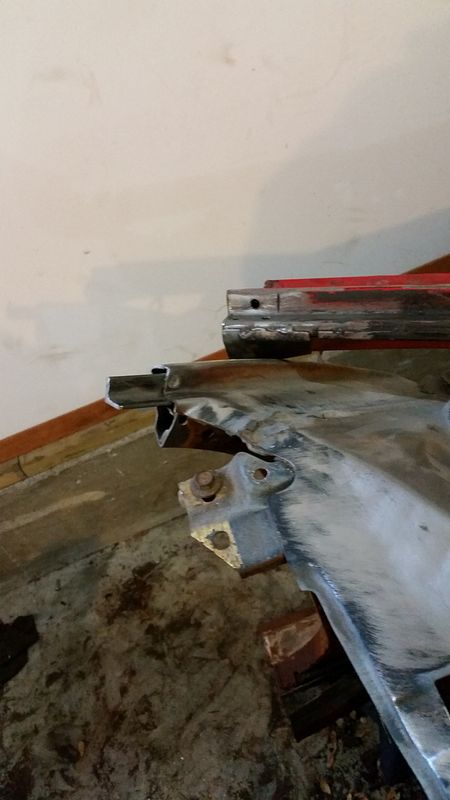
Next I used some angle iron to make a "sleeve" for the window frame.The angle iron went about 1.5" into the "A" pillar and was spotwelded to the front clip. 1.75" stuck out to go inside the window frame. Any longer would not work due to the shape of the window.


Next I had to prep the window frame. I cut it to within an inch of where it needed to be and then spent hours grinding and test fitting. I used the same method of picking a point and grinding the rest to 90 degrees. I would grind a bit and square it up and then go test fit. I was testing for a) proper angle, b) ensuring even gaps to weld, c) correct window opening size.

When I got it where I wanted I drilled 3 5/16th holes on each side to late be spotwelded to the angle iron and I tacked the window in place. Rechecked my measurements, visually analysed it to make sure it looked correct and then welded it up using small welds bouncing from side to side so it wouldn't get overly hot.

In total it was about 10hrs to do, over three days. Now I need to grind it down and do a little finish welding, but it looks awesome and feels very solid.


Thanks Beauchamp. The rotissarie will be a life save when i make it to the rear.

 
Back
Top