cudak888: 1971 M-code "Soylent Green" - 2024: Help me measure the frame!

7173Mustangs.com

Help Support 7173Mustangs.com:

This site may earn a commission from merchant affiliate links, including eBay, Amazon, and others.
Joined
Jul 21, 2012
Messages
3,280
Reaction score
46
Location
South Florida
My Car
'71 Mustang Mach 1 M-code "Soylent Green"
'68 Plymouth Satellite
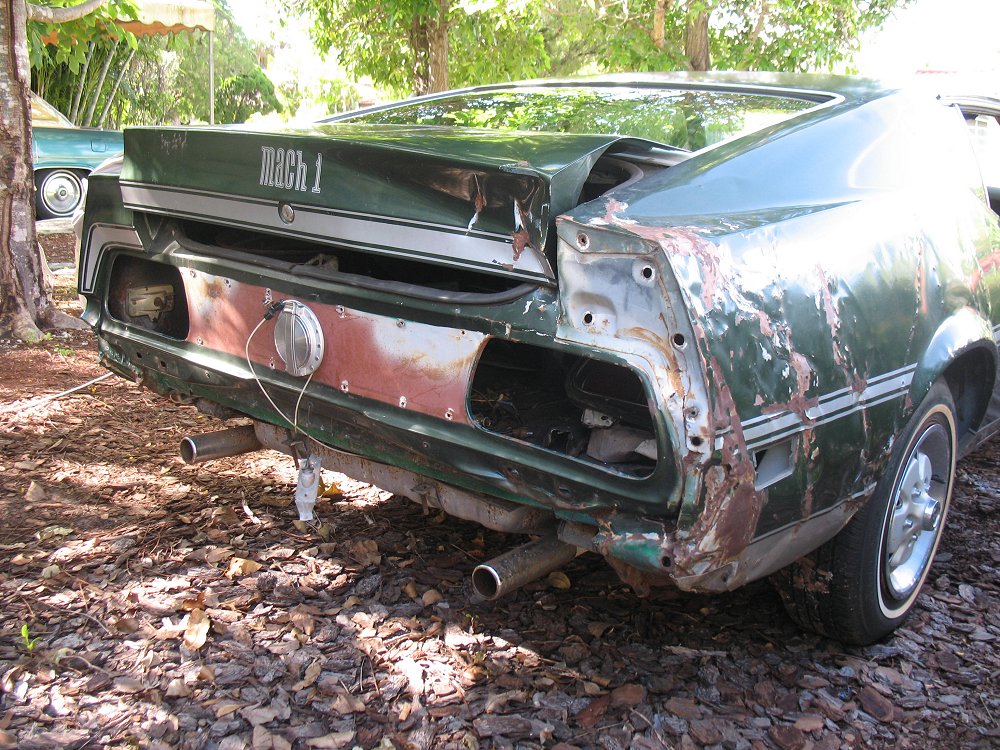
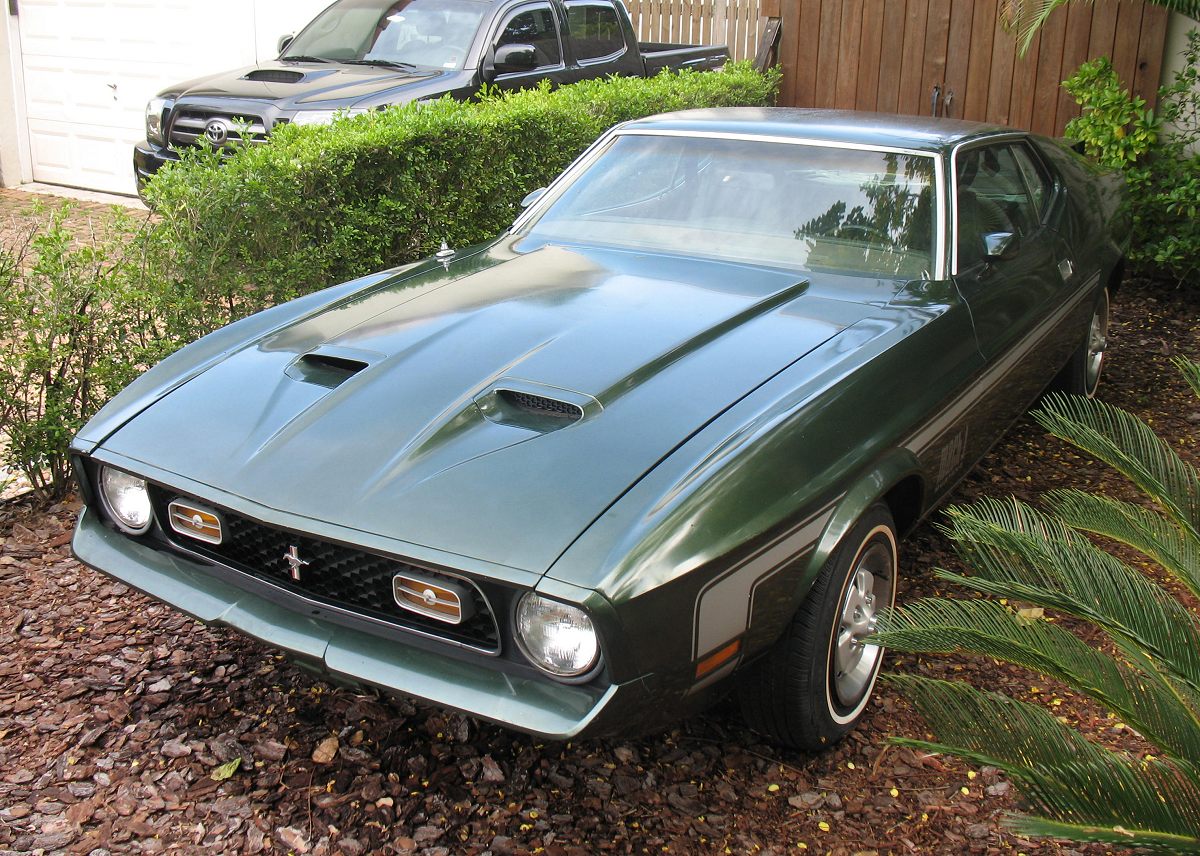
The car:

71_mustang_1.jpg


Continued from:

http://www.7173mustangs.com/threads/all-original-metuchen-m-code-71-mach-1

and

http://www.7173mustangs.com/threads/carb-swap-options-with-4300a-equipped-m-code-71-351c

The problem:

71_mustang_43.jpg


The story:

Read on. There are 26 pages. The saga begins.

-Kurt
 
Last edited:
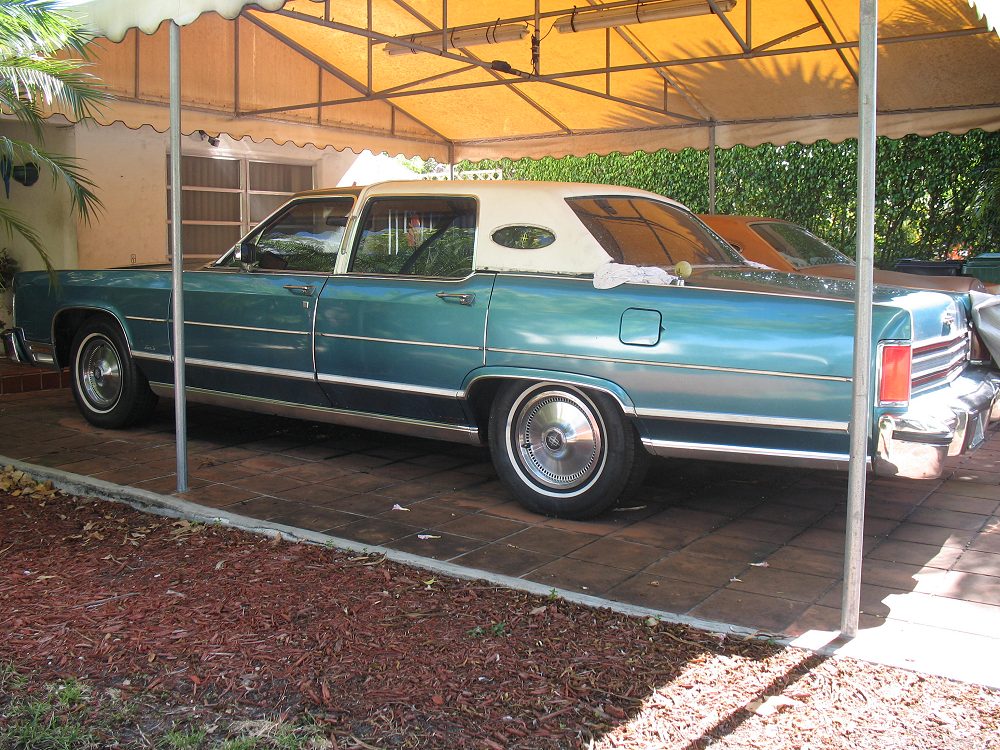
Progress is good!;). Is that the rear of the town car I see in the last pic?

I may be in Homestead later this month & would enjoy meeting and checking out your cars if your willing & my trip is a go.

 
Progress is good!;). Is that the rear of the town car I see in the last pic?
That's it:

79tc_1.jpg


I may be in Homestead later this month & would enjoy meeting and checking out your cars if your willing & my trip is a go.
Give me a PM a week in advance and let me know what day you have in mind.

-Kurt

 
Last edited by a moderator:
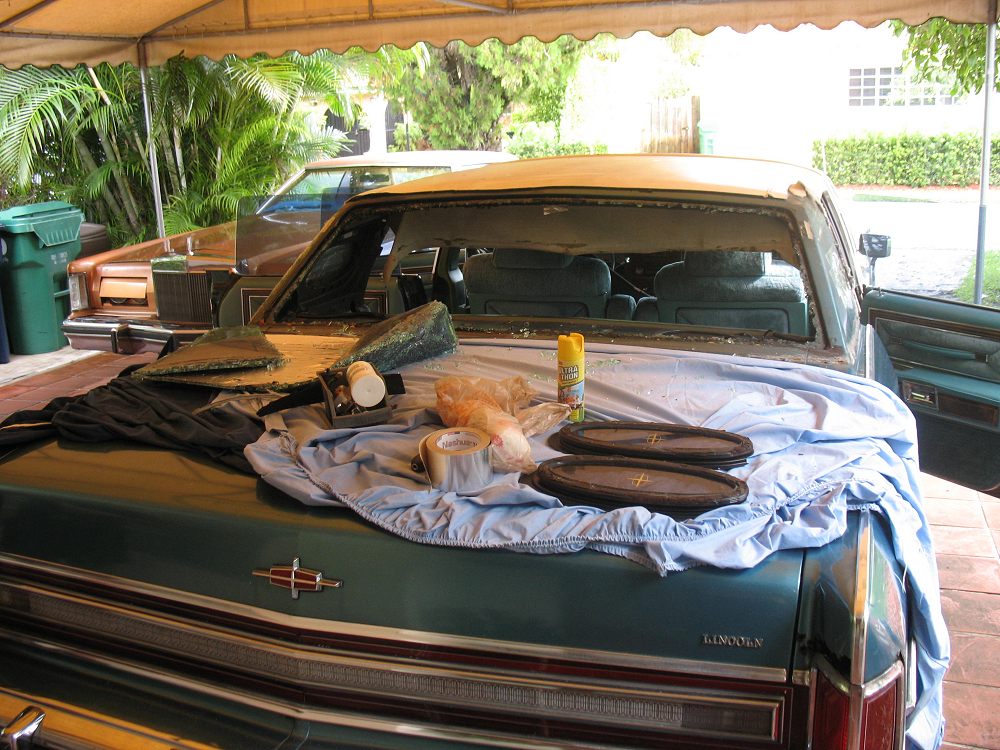
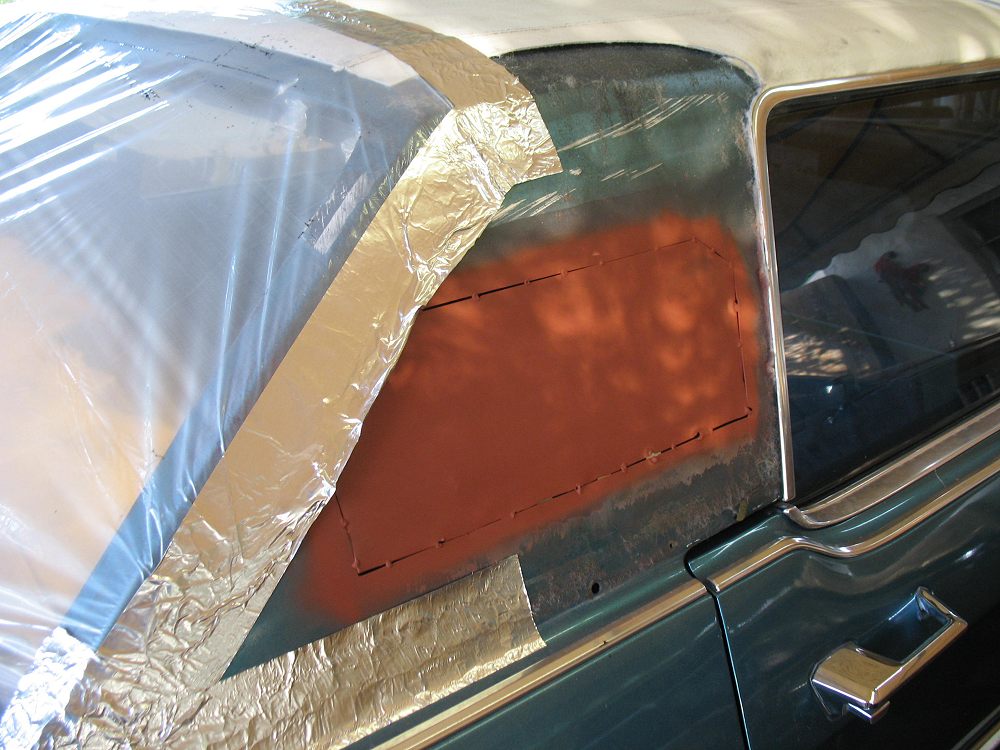
Nice! Did you get the rear opera windows repaired?
These are photos of what has been done to it since, nothing more.

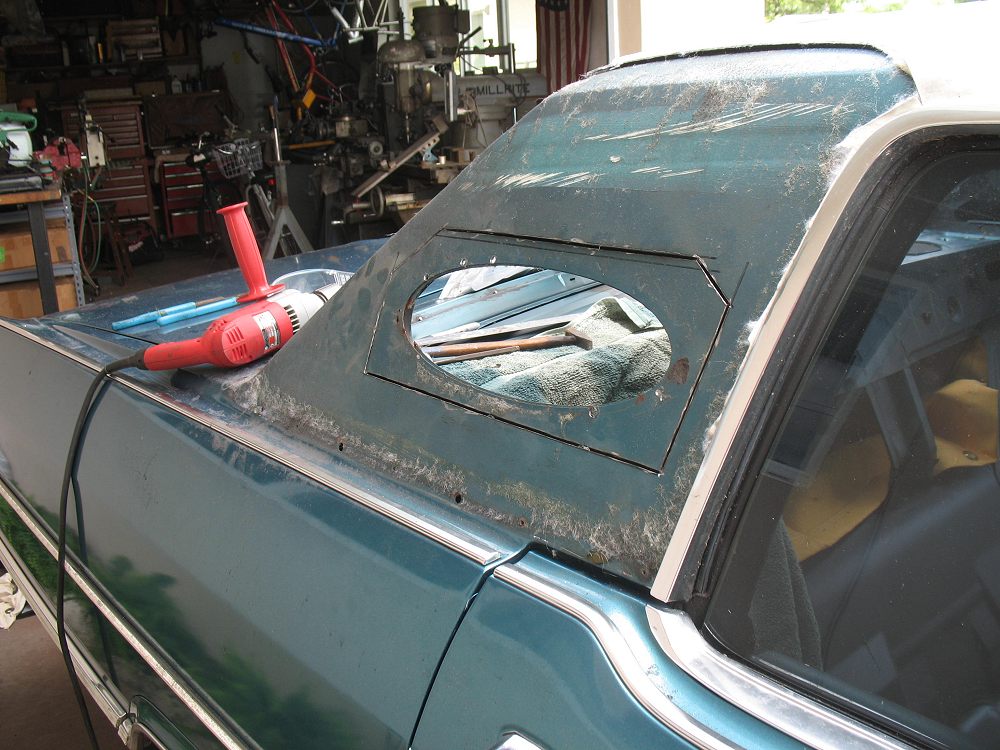
A friend of mine and I have been experimenting with TIG on it, but both of our schedules (and rainy weather) have made additional progress difficult (that, and we didn't have the right size welding rod that day - it should show):

linc_79_windowjob_21.jpg


linc_79_windowjob_29.jpg


linc_79_windowjob_33.jpg


I'm not sure if I mentioned it, but opera-window delete was an option. Given that they're nothing but water traps, I prefer them off (and it reminds me a bit more of the '60s Lincolns).

Incidentally, I don't see what everyone says about the '71-73 sportsroof being difficult to look out of. I learned how to drive on these barges, and shoving the Mustang anywhere is kids' stuff by comparison.

-Kurt

 
Last edited by a moderator:
Incidentally, I don't see what everyone says about the '71-73 sportsroof being difficult to look out of. I learned how to drive on these barges, and shoving the Mustang anywhere is kids' stuff by comparison.

-Kurt
They're not difficult to look out of if one learns how to do it. Having said that, a lot of the sports roof models have had right rear damage & repairs.

 
The determination of you guys to start with nothing and revitalize it astounds me.

 
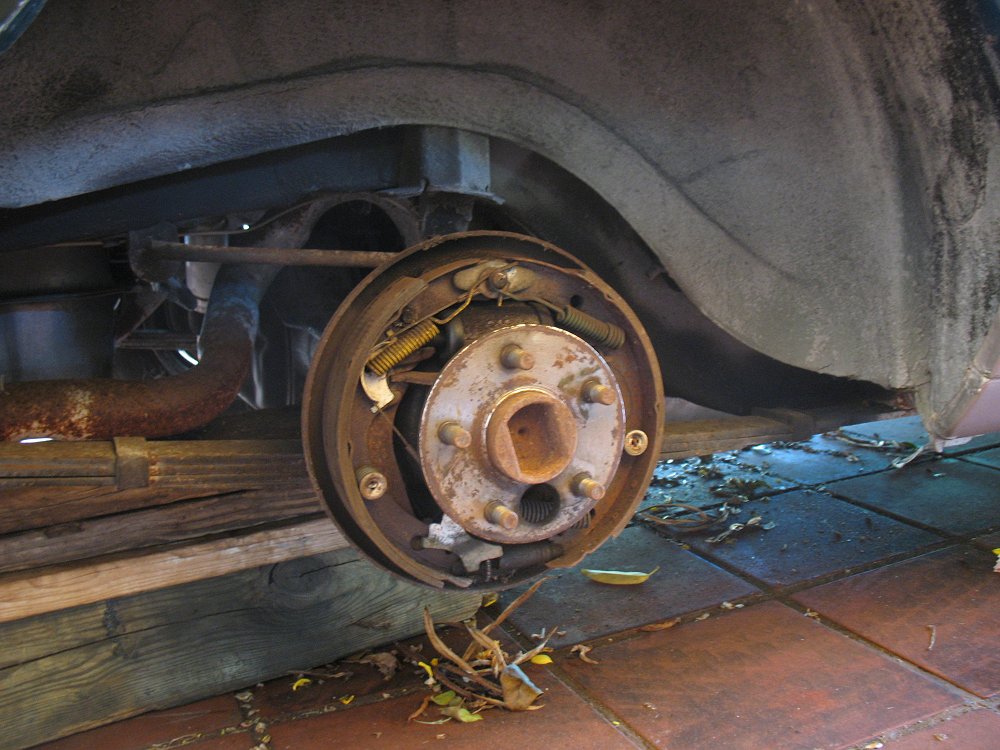
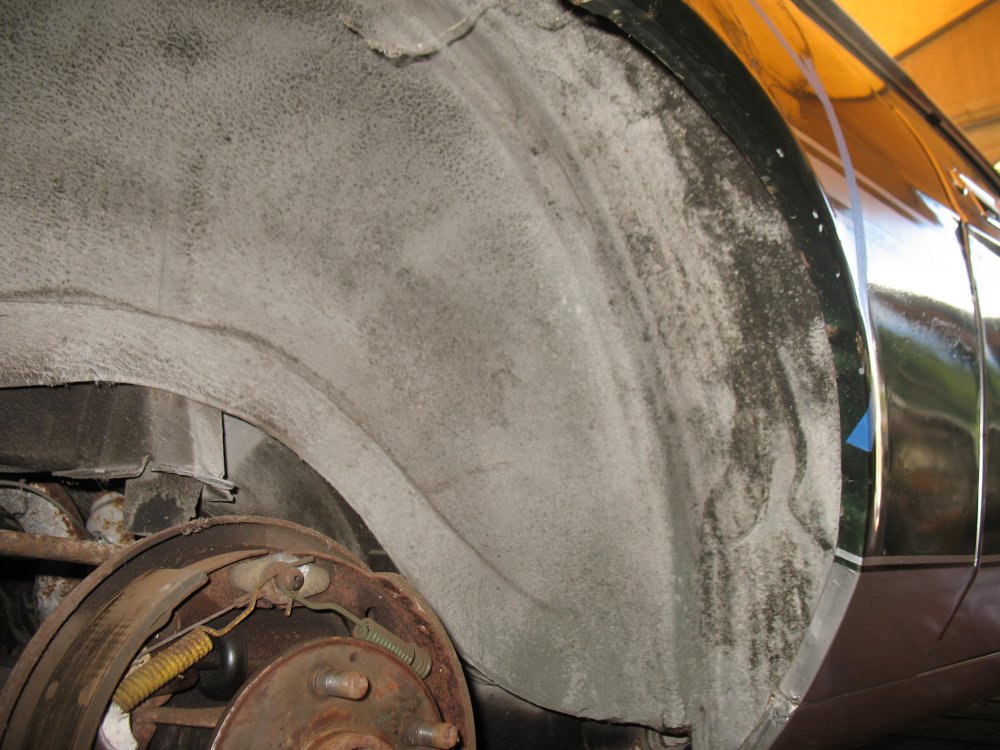
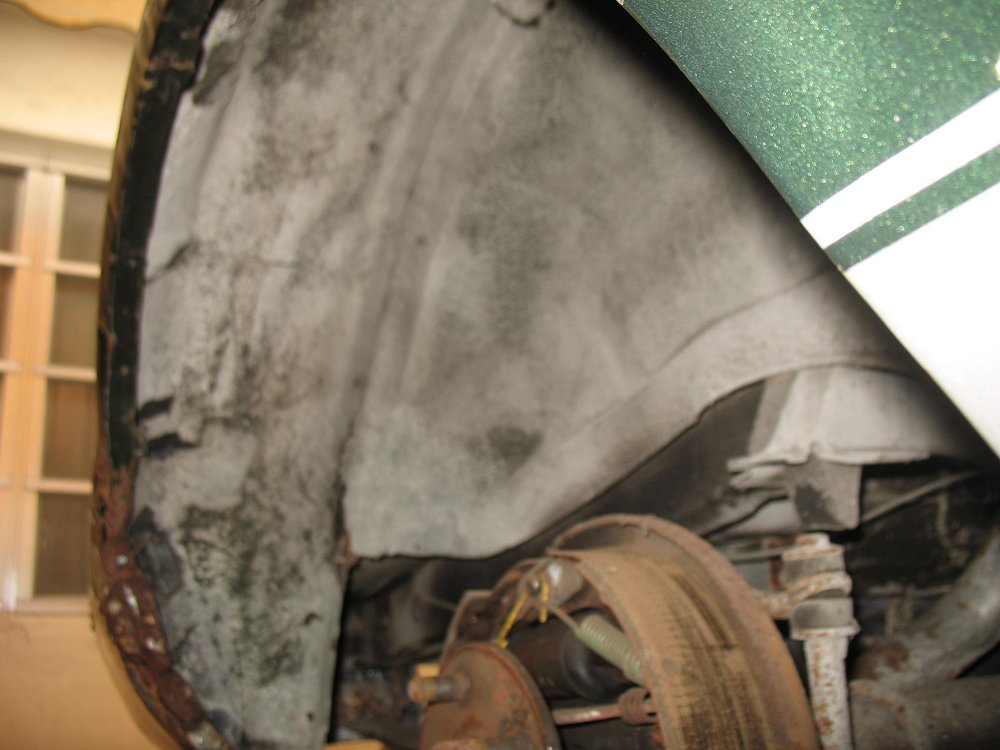
Checked the drums yesterday. Nothing wrong with them, other than cosmetic aging:

71_mustang_47.jpg


71_mustang_48.jpg


71_mustang_49.jpg


And so she'll sit until I've lined up a bodyshop and panels. (EDIT: Boy, was I wrong - read on!)

-Kurt

 
Last edited by a moderator:
Progress is good!

Btw, my trip is canceled for now. They'll be others. Homestead is a usual stop for me. Thing is though that all my usual stops aren't so usual these days. I'll keep you posted when the next one comes along.

 
Progress is good!

Btw, my trip is canceled for now. They'll be others. Homestead is a usual stop for me. Thing is though that all my usual stops aren't so usual these days. I'll keep you posted when the next one comes along.
10-4, Don.

In other news, I picked up a so-so (read: pinhole-city) '73 trunklid as a fitment guide. To my surprise, it fits very well. It also shows up some of the right hand quarter damage above the beltline:

a1plhy.jpg


sbtwls.jpg


xefqq0.jpg


ih4n4m.jpg


FYI, my hosting server has been down; soon as it is back up, the other photos in the thread should return.

-Kurt

 
Last edited by a moderator:
Just picked up a replacement rear bumper off C-list. Things are moving.

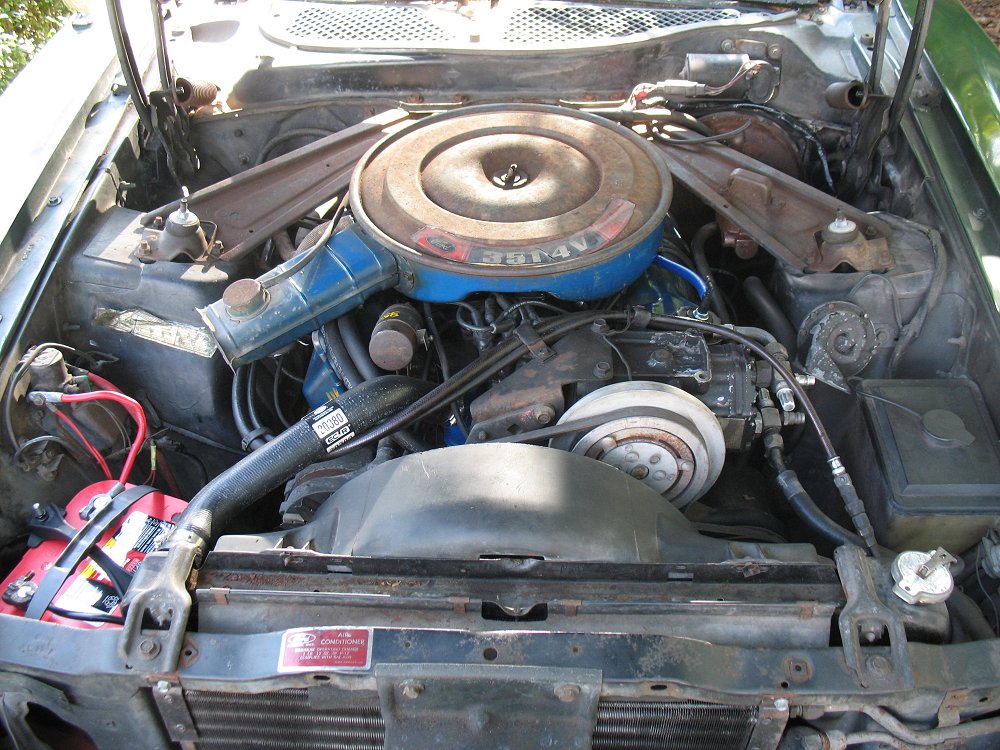
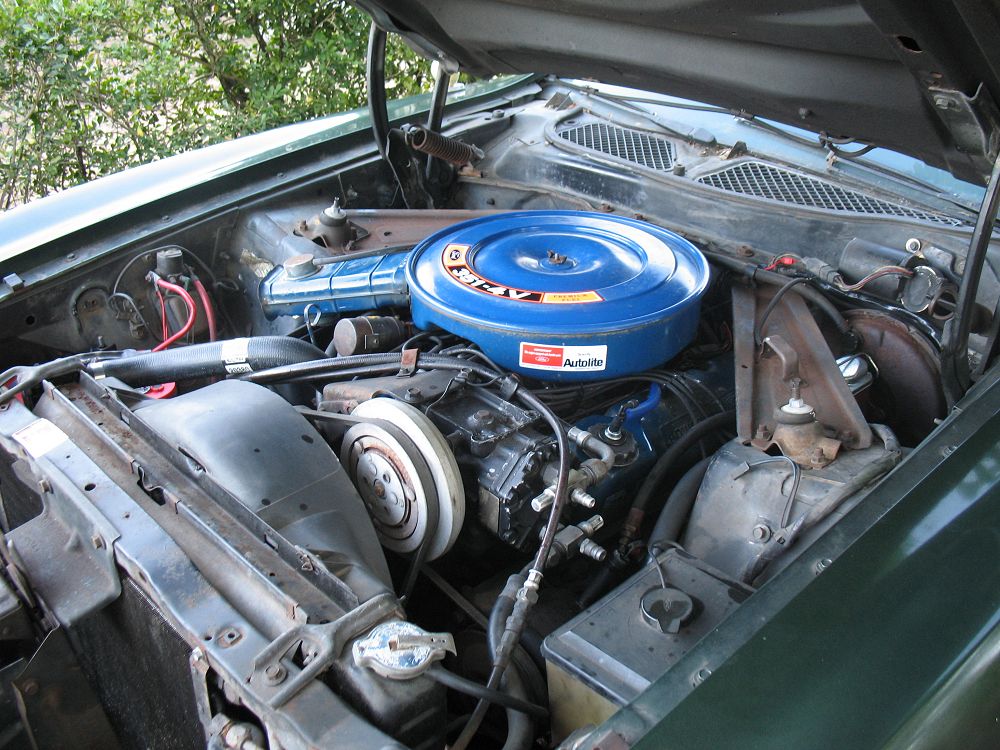
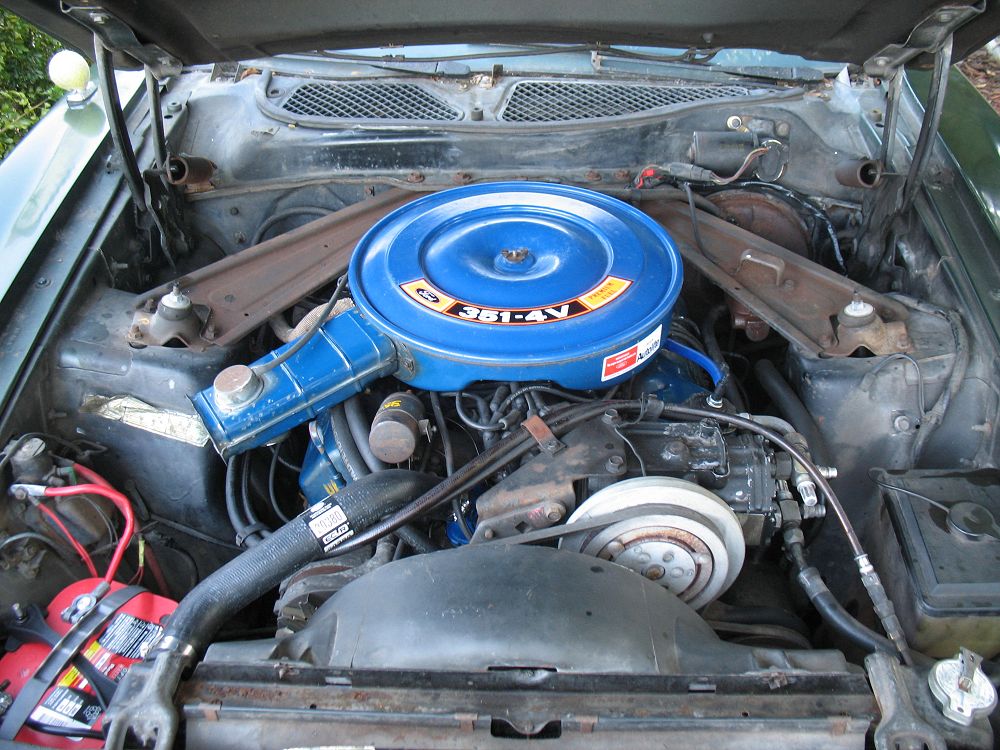
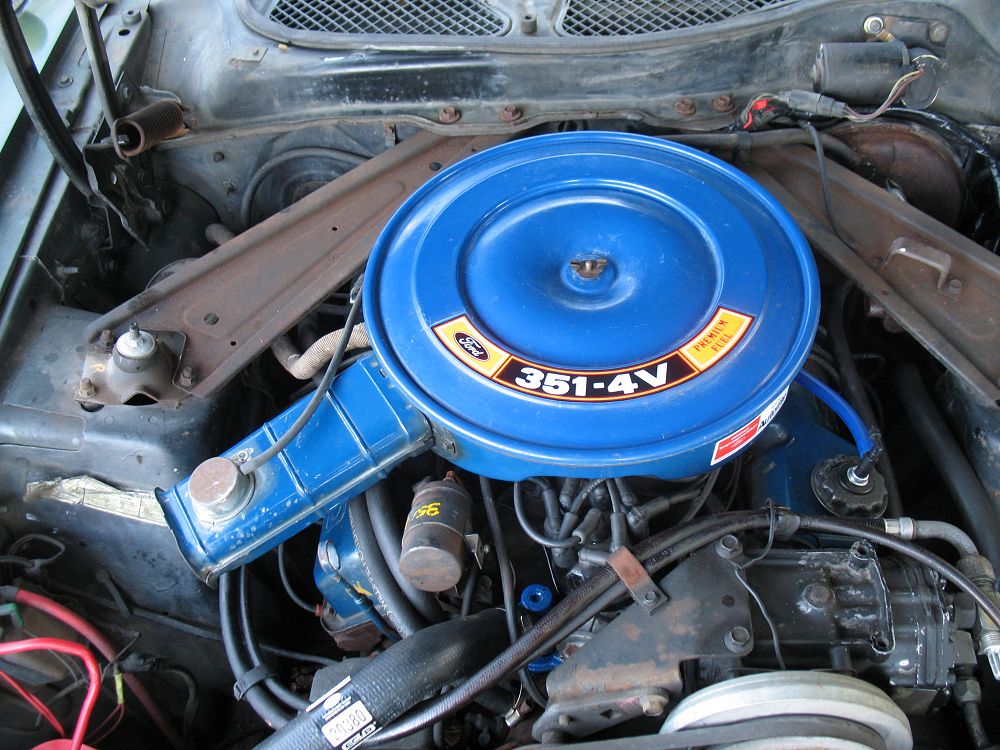
In the meantime, a current photo of how things are looking under the hood at present:

71_mustang_56.jpg


-Kurt

 
Last edited by a moderator:
Finally got around to checking timing; wasn't far off from stock. Retimed it around 8 BTDC (mainly as it was the easiest to do without having zero access to vac advance), ~25 BTDC total.

Turned out vac advance had been very poorly adjusted. The results were so immediate that I nearly needed my brown pants when I first tested it - wasn't ready at all for the improvement.

-Kurt

 
Just noticed the hose braket on the brace but no hoses ran through them.

 
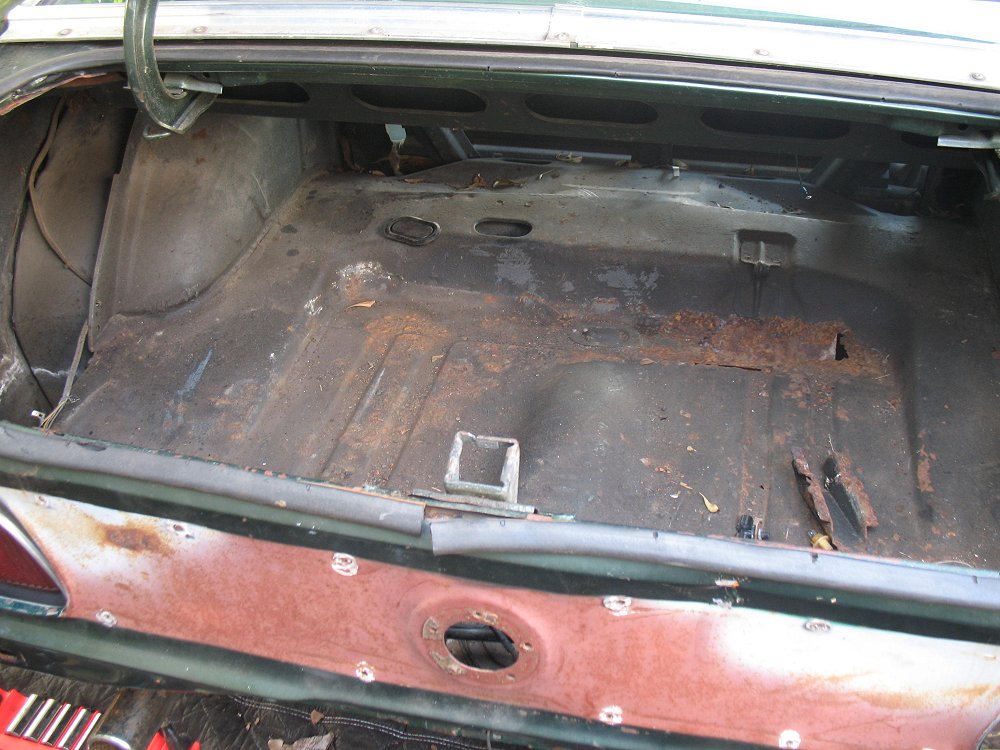
Unibody alignment got a clean bill of health, so out comes the trunk floor.

71_mustang_63.jpg


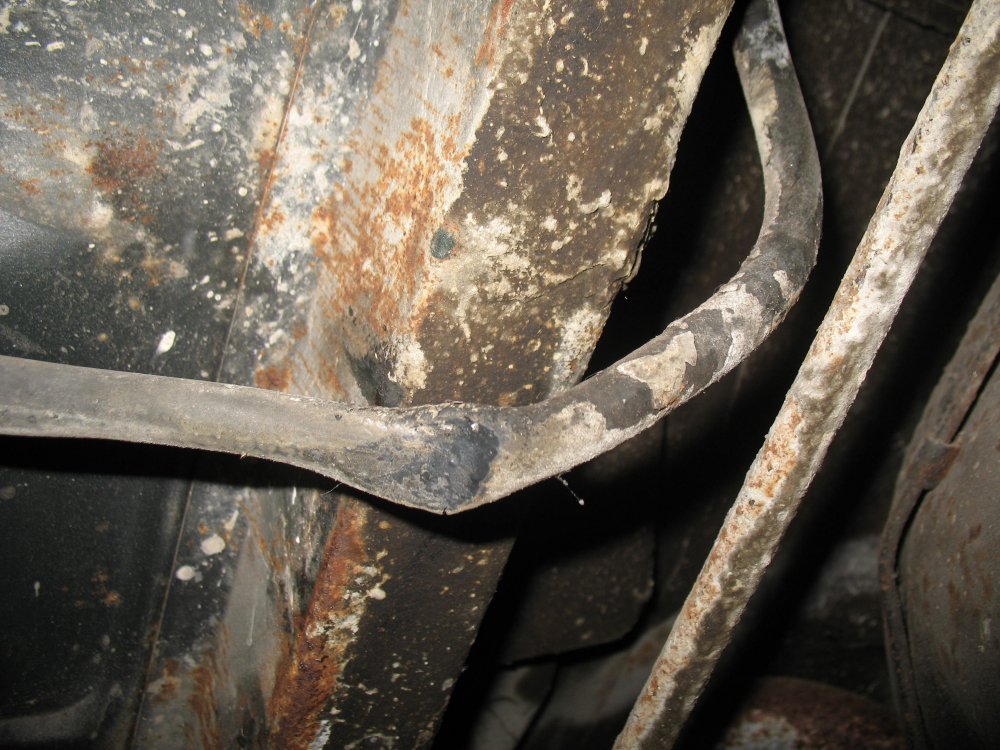
The gas tank strap mount is still in one piece, but I'm going to replace it along with the floor. Less work. That, and I don't know if it is out of alignment, as the tank was resting directly on it - the vacuum release for the charcoal canister was pinched tight enough to render it's usefulness moot.

71_mustang_64.jpg


71_mustang_66.jpg


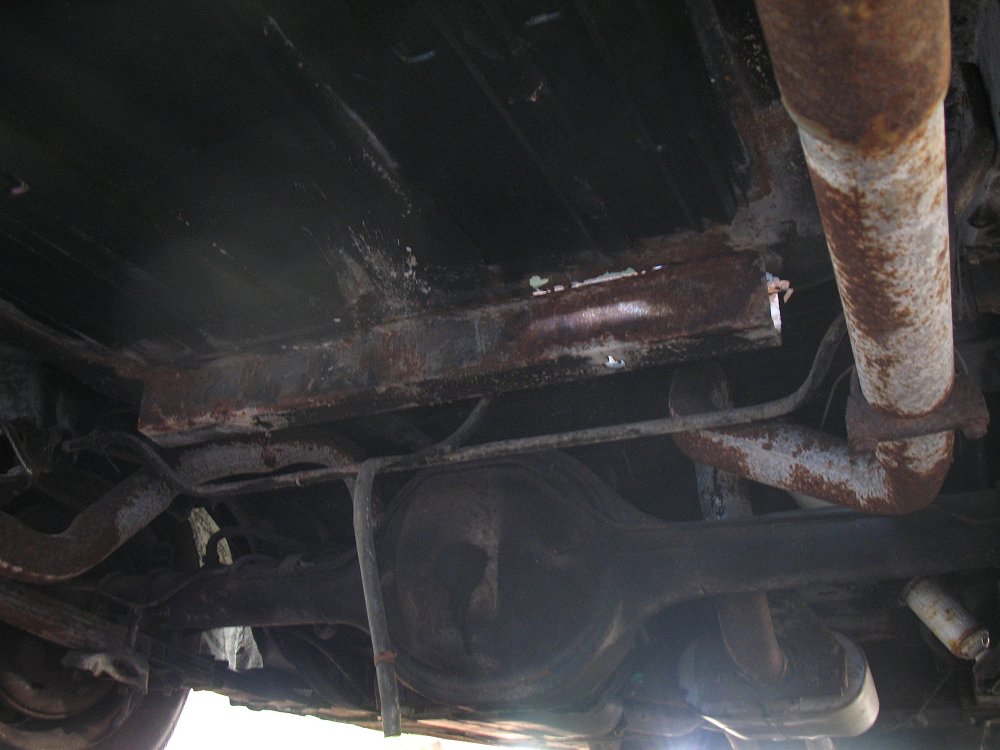
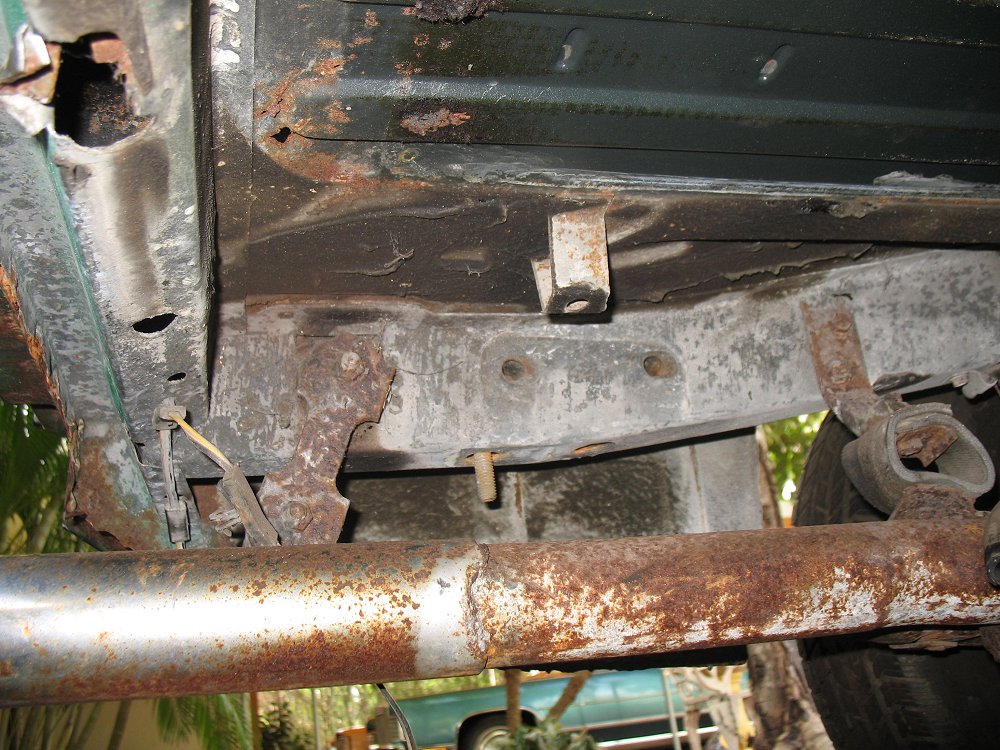
Though the Marti doesn't reflect it, it looks as if the previous owner once mounted a trailer hitch on it - there are two bolts that fit through the trunk that suggest the same. Given that I need to replace the rear floor crossmember, I wish I still had it - it'd save me from having to weld a temporary brace between the frame rails.

Granted, the factory crossmember is such a flimsy piece (when trying to extract the jammed gas tank straps and mounting bolts, I wound up punching a hole through it with nothing more than a cheap vise grip), I dare say the only thing that probably kept this car square during it's mishap was the trailer hitch.

Should be amusing pulling the trunk floor out with the taillight panel and crossmember all at once like a big drawer. I'd take them apart individually, if it wasn't for the fact that the taillight panel-to-crossmember joint has some strange, messy welds on it. Perhaps the taillight panel has been replaced before?

71_mustang_65.jpg


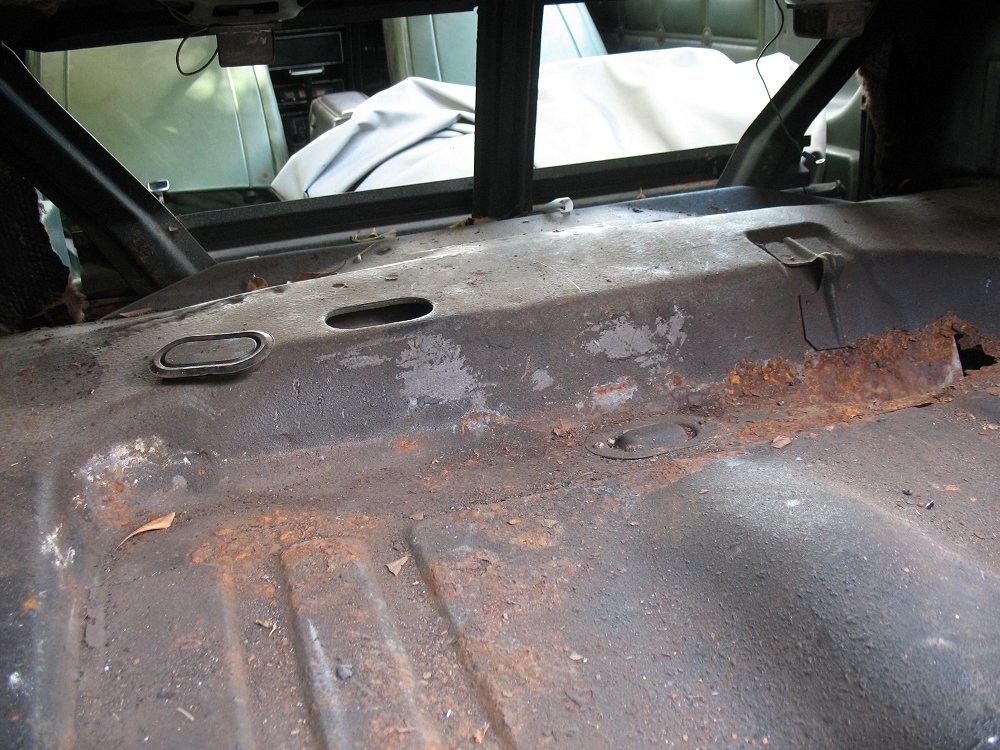
I still can't figure out the huge rust hole that developed on the right side of the floor, unless whatever water that got in the trunk pooled in that area.

Anyone know which of the reproduction trunk floors has the proper hole punched out for the staggered shocks - or will I have to cut out and re-use the original?

71_mustang_67.jpg


Staggered shock upper mounting box. Haven't found a reproduction of it yet. This one looks good enough to use though. It takes a bit of a fool in the engineering department not to reinforce this to the frame somehow...

71_mustang_68.jpg


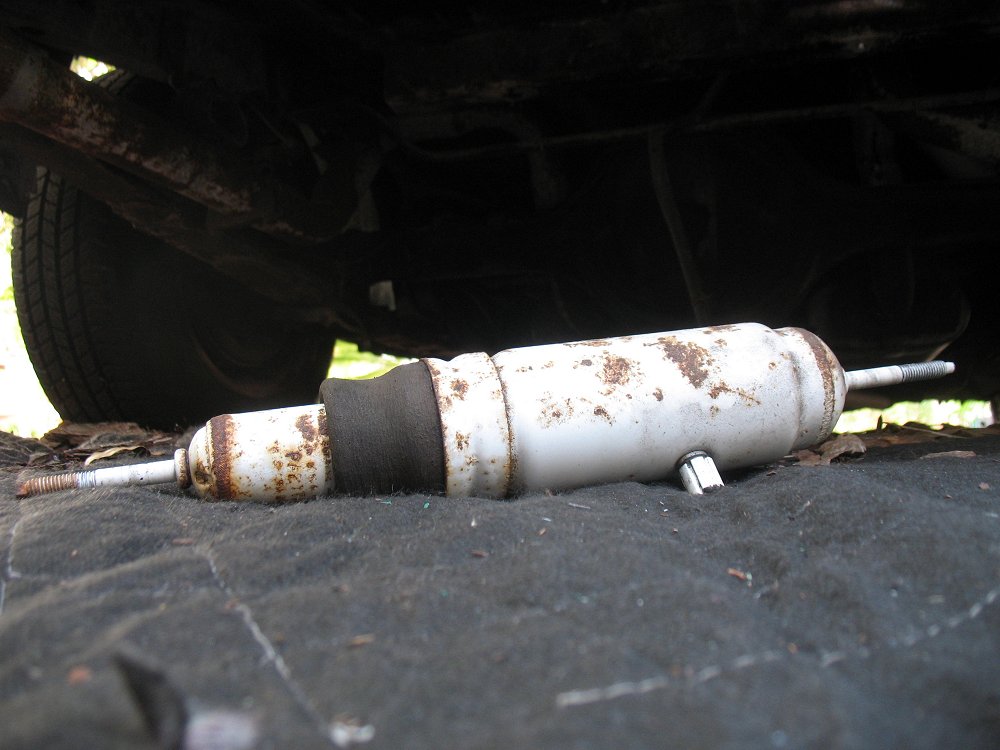
The shock itself - one of those adjustable deals. Came out without undue effort.

71_mustang_69.jpg


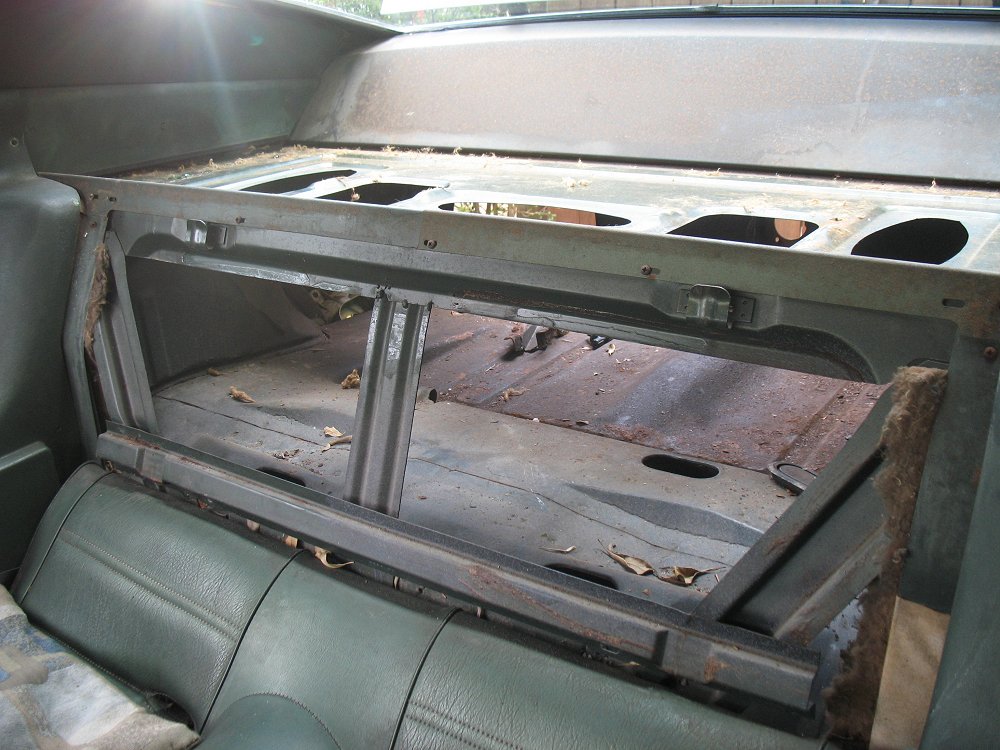
From the interior. Frankly, I don't know how I'm going to get the drill in the gap to get those spot welds out.

71_mustang_70.jpg


Speaking of spot welds, I was experimenting with my new spot weld cutter (sorry, I put the camera away, so I don't have photos of this - yet), which surprised me at the speed at which it eats through the trunk sheet metal - to the point where I inadvertently went a bit too far on one spot.

However, this brought up a rather important question in my mind: Since I'm MIG welding the new trunk floor on - not spot-welding it - should I:

A. Drill holes in the trunk floor and MIG the floor to the frame from the top

or

B. Continue drilling out the original spotwelds through the framerails, and MIG from the bottom?

"A" sounds a bit messy, but easier for welding; "B" would seem to be the ideal route for a nice job, but I'm not sure how much of a pain it will be to MIG upside-down the car - and I'd be a bit concerned about the fuel line, which is right below the left frame rail (would blowing it out with a bottle of compressed CO2 eliminate the risk?).

-Kurt
 
Last edited by a moderator:
Back
Top