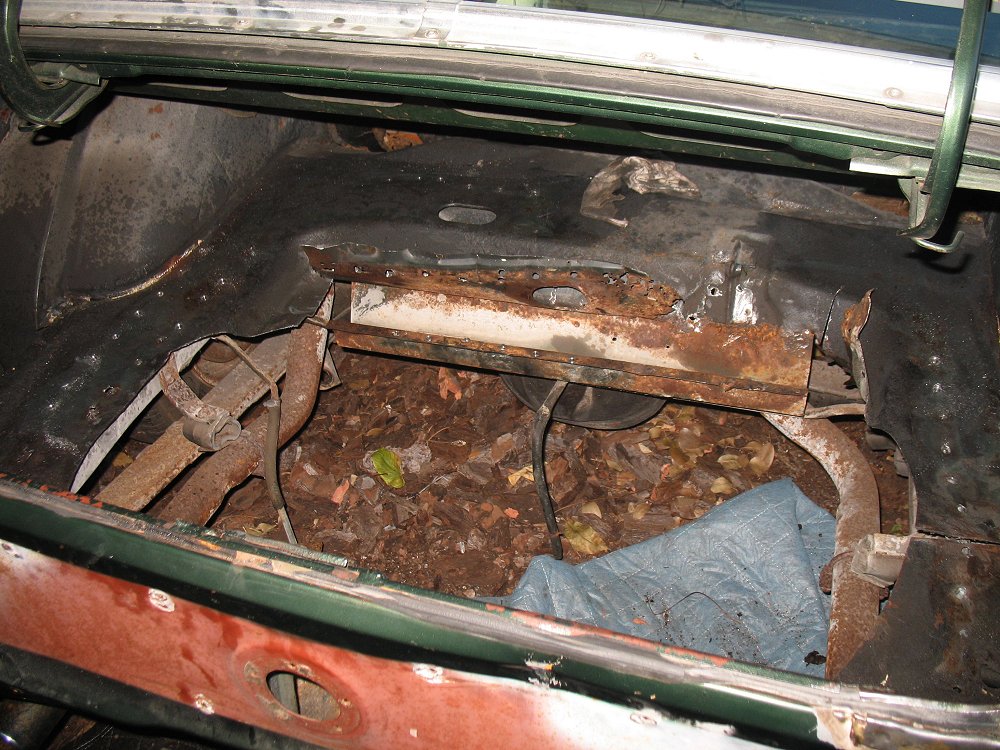
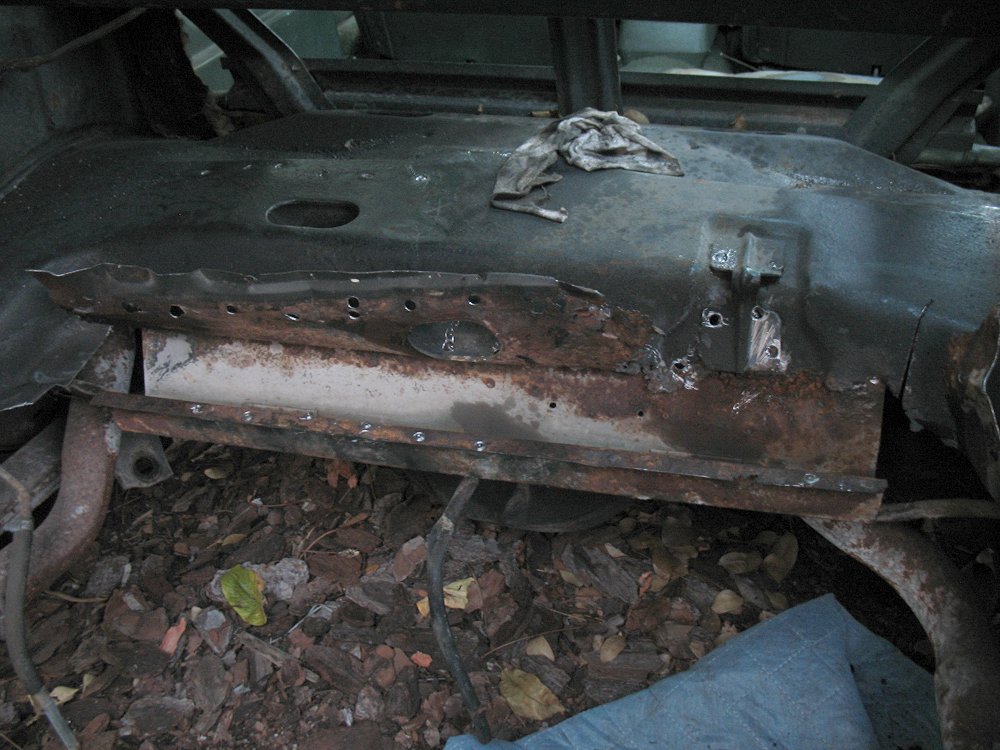
cudak888: 1971 M-code "Soylent Green" - 2024: Help me measure the frame!

7173Mustangs.com

Help Support 7173Mustangs.com:

This site may earn a commission from merchant affiliate links, including eBay, Amazon, and others.
A. Drill holes in the trunk floor and MIG the floor to the frame from the top

or

B. Continue drilling out the original spotwelds through the framerails, and MIG from the bottom?

"A" sounds a bit messy, but easier for welding; "B" would seem to be the ideal route for a nice job, but I'm not sure how much of a pain it will be to MIG upside-down the car - and I'd be a bit concerned about the fuel line, which is right below the left frame rail (would blowing it out with a bottle of compressed CO2 eliminate the risk?).

-Kurt
A is the answer..you should be drilling the spot welds from the trunk floor not the frame rails..Just take some 80 grit on a palm sander run over the floor where you think the welds are & they will appear ...You can use a 90 degree drill attachment to get into the hard spots..or get a mini air powered belt sander & sand the weld thin..Using the mig just plug weld the new floor in..You will need to mark the new holes on the new floor ..drill while out of the car..The install..then fill the drilled hole over the frame rail..PS YOU SHOULD NOT CUT OUT THE OLD FLOOR TILL THE NEW ONE IS IN YOUR HANDS..

 
Last edited by a moderator:
A is the answer..you should be drilling the spot welds from the trunk floor not the frame rails..Just take some 80 grit on a palm sander run over the floor where you think the welds are & they will appear ...You can use a 90 degree drill attachment to get into the hard spots..or get a mini air powered belt sander & sand the weld thin..Using the mig just plug weld the new floor in..You will need to mark the new holes on the new floor ..drill while out of the car..The install..then fill the drilled hole over the frame rail..
Got it. Since I don't plan on reusing the old floor, I'll use my angle grinder with a wirebrush attachment to find the markings.

I might have to find out if a 90 degree attachment is available for the Milwaukee Holeshooter - I can't get it in the gap underneath the package tray, though it isn't a problem anywhere else (yet).

Should be no problem drilling the new trunk out of the car then - I'll do it before I weld the gas tank strap and shock mount.

-Kurt

P.S.: Thanks for providing the advice - particularly after I was a bit sensitive about the unibody alignment. No hard feelings, I hope. :cool:
No sweat..here's what u need

http://www.homedepot.com/webapp/wcs/stores/servlet/ProductDisplay?productId=202241668&storeId=10051&langId=-1&catalogId=10053&ci_sku=202241668&ci_kw={keyword}&kwd={keyword}&cm_mmc=shopping-_-googleads-_-pla-_-202241668&ci_gpa=pla#.UN-f-tXhfro or this

http://www.homedepot.com/buy/milescraft-drill90-right-angle-drill-attachment-1390.html#.UN-gwNXhfro

You can see my trunk being done get an idea


Last edited by a moderator:
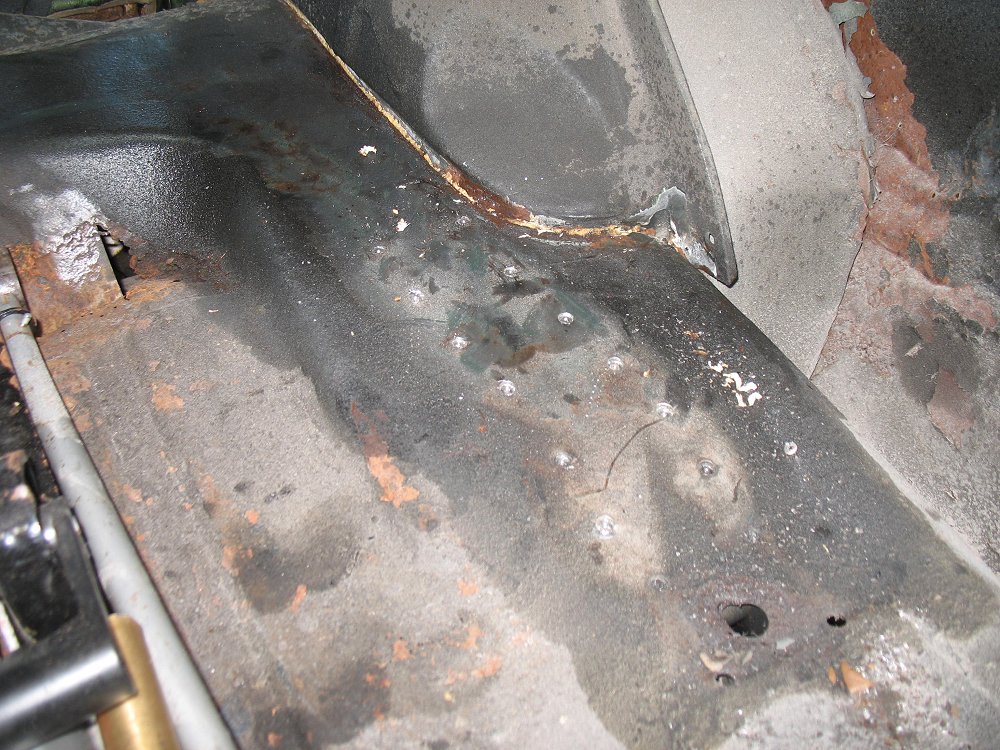
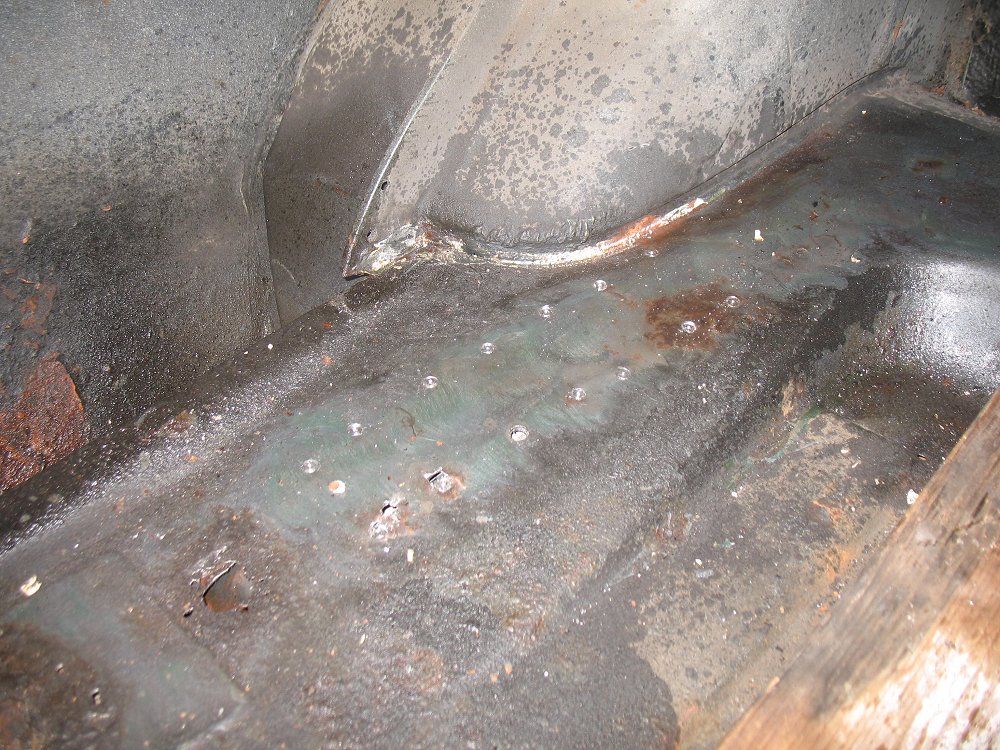
Some progress today - part of which convinces me that the spot weld cutter bits that I have aren't going to cut it. Going to order some Blair bits as recommended by Q.

71_mustang_73.jpg


71_mustang_74.jpg


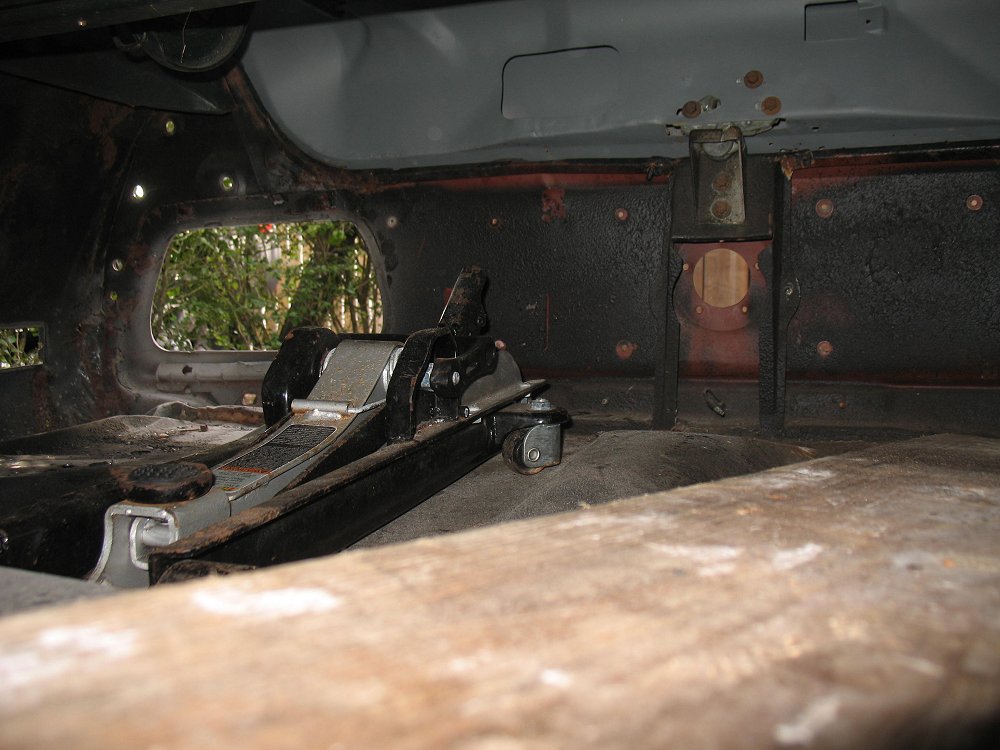
Had to put a bit of pressure under the trunk floor (jack w/brass rod) to help break most of the welds. However, I don't like stressing the frame rails by doing so, so I'm going to Sawzall the center of the trunk floor and work on seperating the spotwelds from there. It'll also give me an opportunity to weld a bar across the frame rails (once the frame rails are clear) to keep everything together when the rear subframe connector comes out.

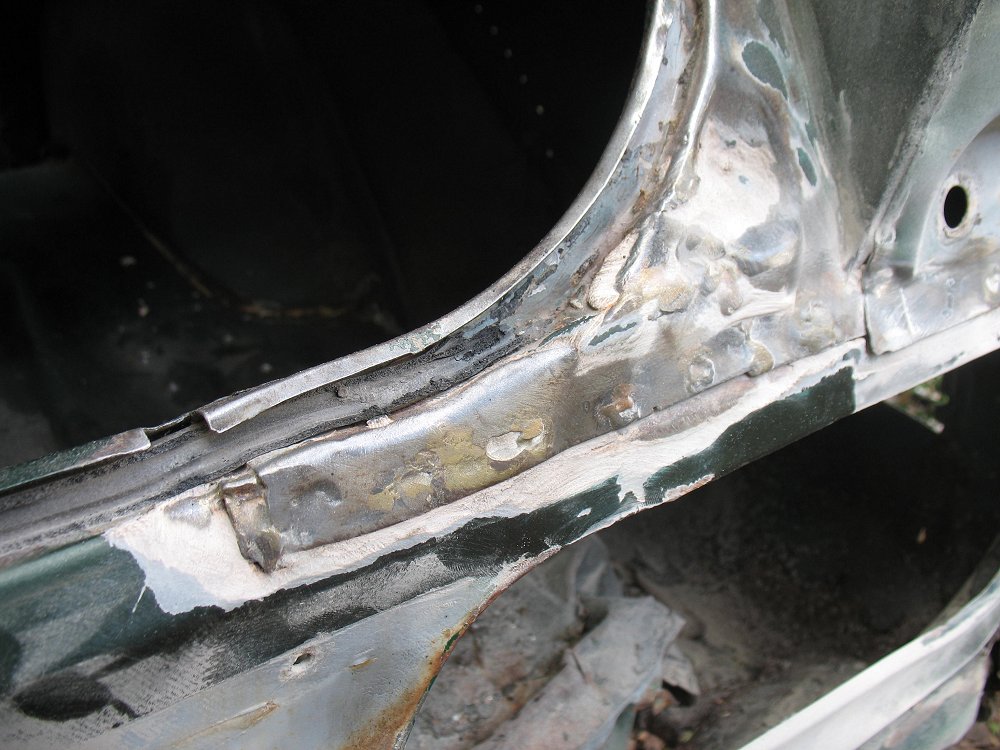
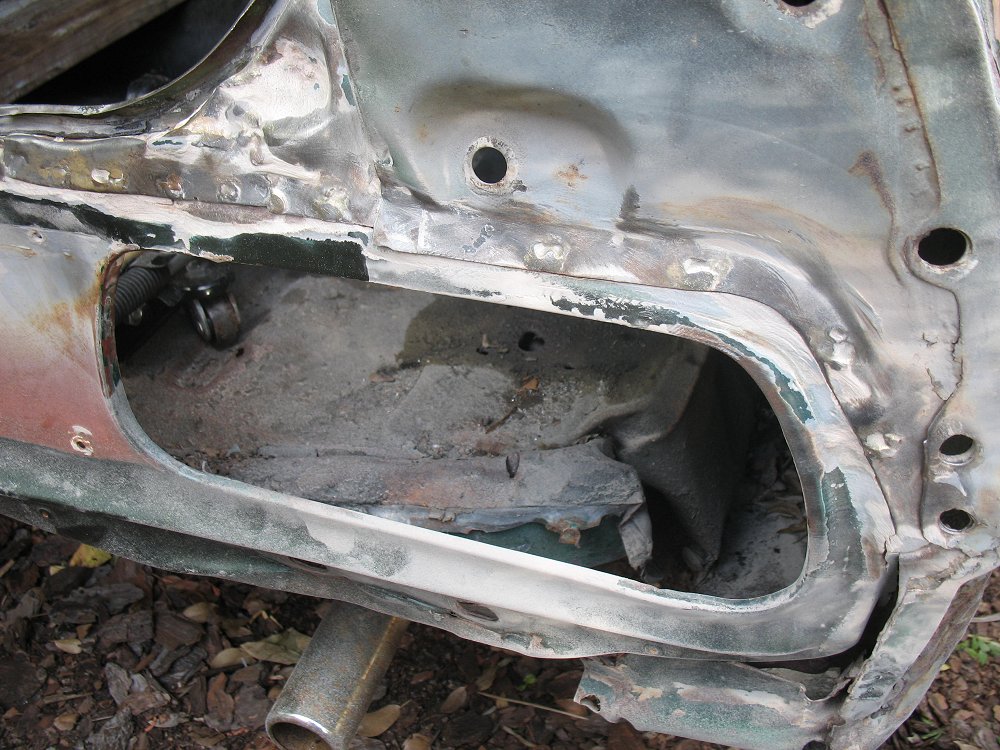
I'll say one thing - these Metuchen, NJ cars seem to be a hell of a lot sloppier on the taillight panel than anything I've seen online. There sure is a lot of that white plastic Ford bodyfiller hiding some lousy brazing around here:

71_mustang_75.jpg


71_mustang_76.jpg


71_mustang_77.jpg


-Kurt

 
Last edited by a moderator:
The white filler and brazing rod is NOT factory

That had parts changed already

 
It looks like you're making great progress Kurt. How do you plan to use the car once it's done? Show car, weekend driver, daily driver, etc.?

 
The white filler and brazing rod is NOT factory

That had parts changed already
Absolutely sure about that, even for NJ cars? It explains why the entire taillight panel doesn't seem right.

Come to think of it, the hood curve doesn't match up with the fenders all that well. Short of Ford original panels available until 1989, how long ago did the repop market start making hoods and rear taillight panels for these things?

It looks like you're making great progress Kurt. How do you plan to use the car once it's done? Show car, weekend driver, daily driver, etc.?
Daily driver. Won't even repaint anything other than the roof and rear quarters until later. A nice little overindulgent toy for everyday use. :D

-Kurt

 
Last edited by a moderator:
The white filler and brazing rod is NOT factory

That had parts changed already
Absolutely sure about that, even for NJ cars? It explains why the entire taillight panel doesn't seem right.

Come to think of it, the hood curve doesn't match up with the fenders all that well. Short of Ford original panels available until 1989, how long ago did the repop market start making hoods and rear taillight panels for these things?

-Kurt
100% sure

When the trunk corner was spot welded to the taillight panel no filler was used it was a visable seam, when trunk lid was open.

Taillight panel was probably replaced -

hood curve not matching fender curve - normal

Fenders propably needed more shimming form the factory but these were production cars.

OR

Hood is tweaked over the years

 
Thanks for the info, Don - I'll keep that in mind when I'm putting the replacement panel on it.

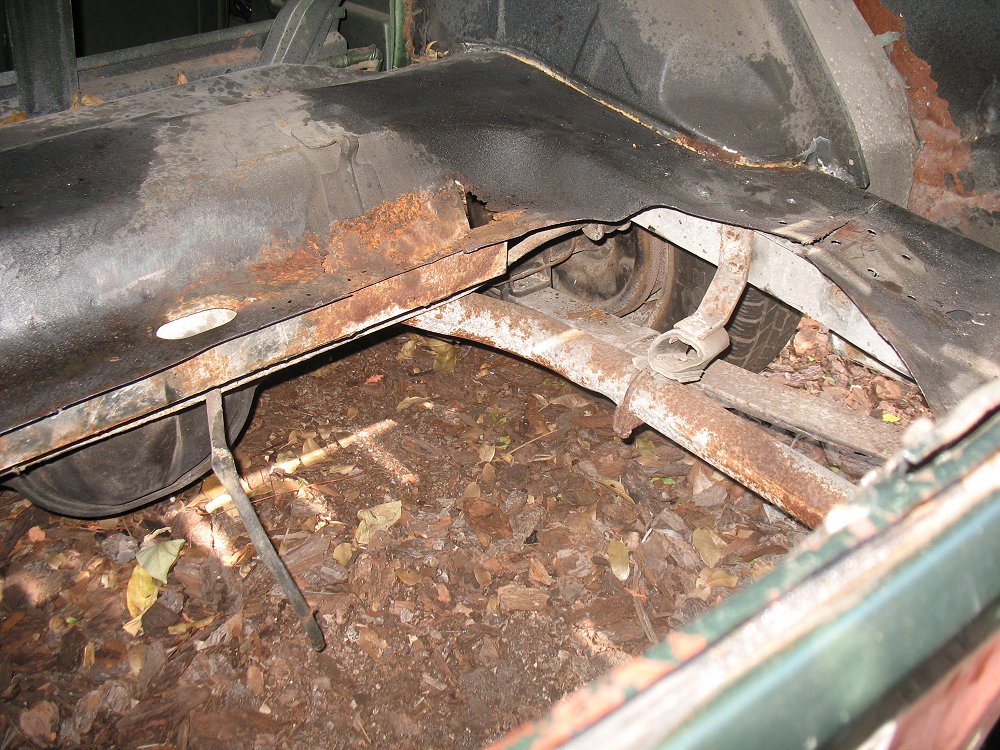
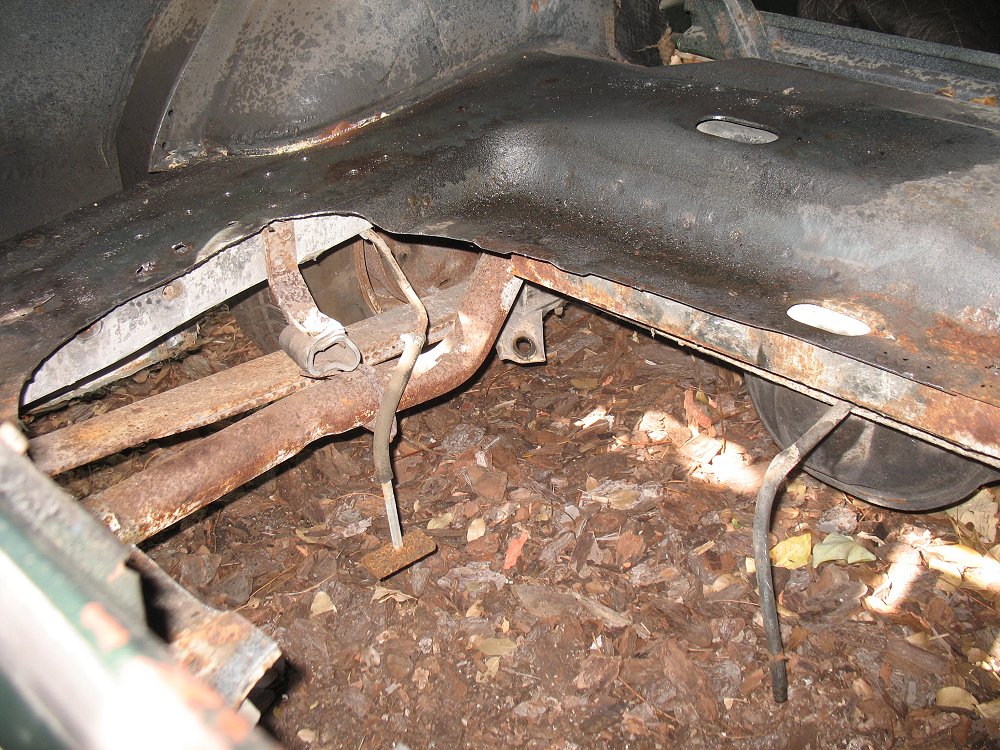
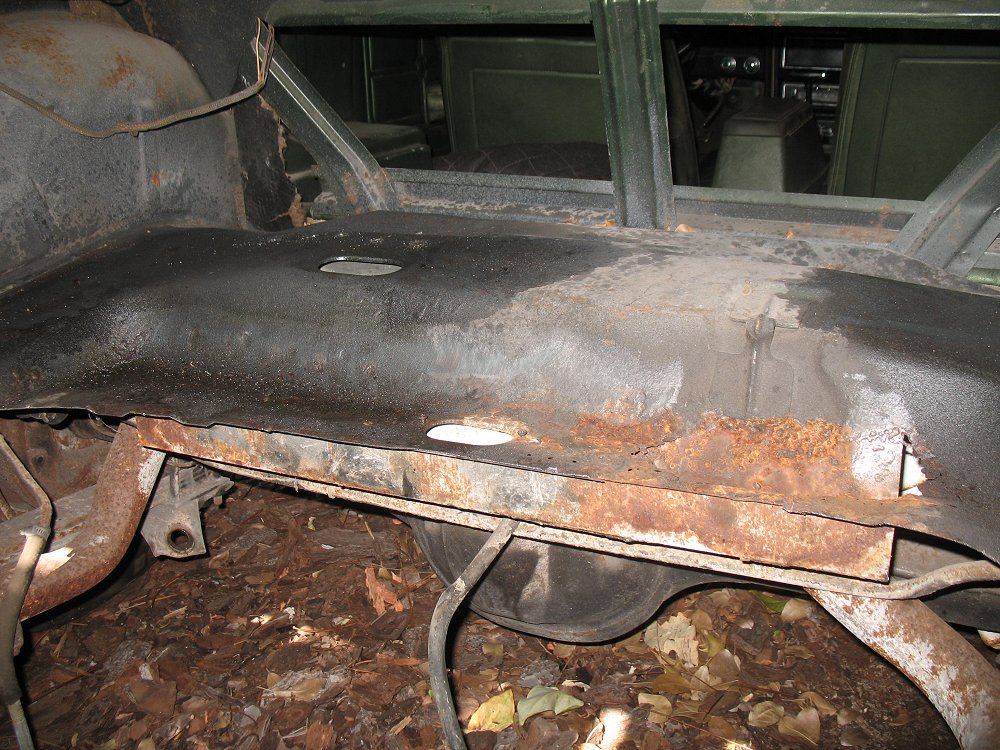
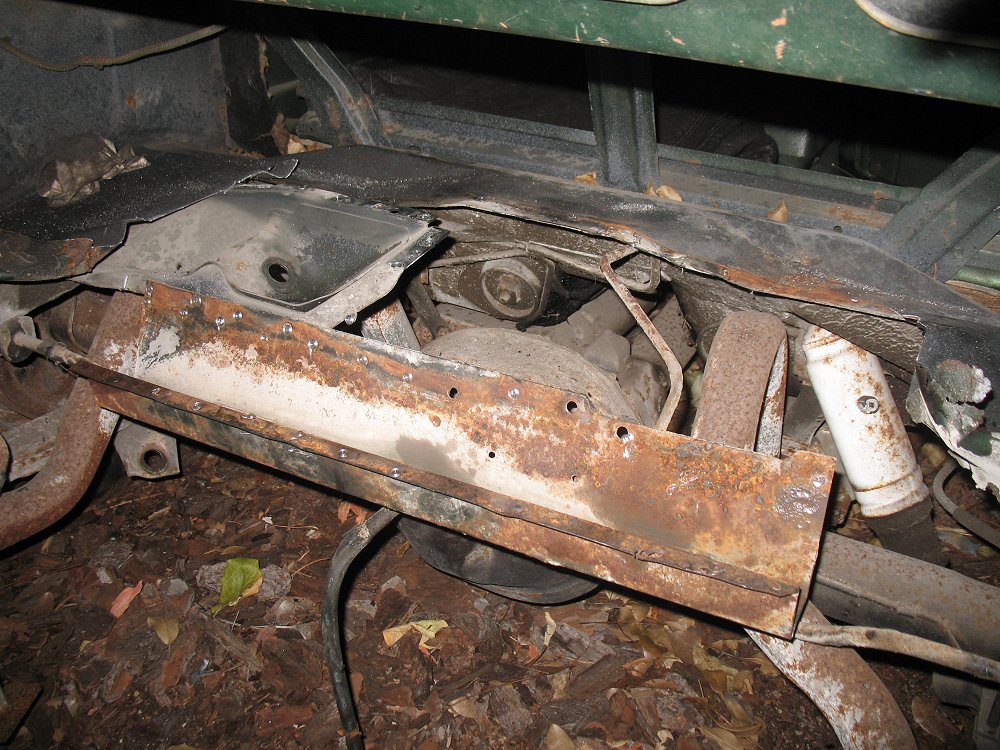
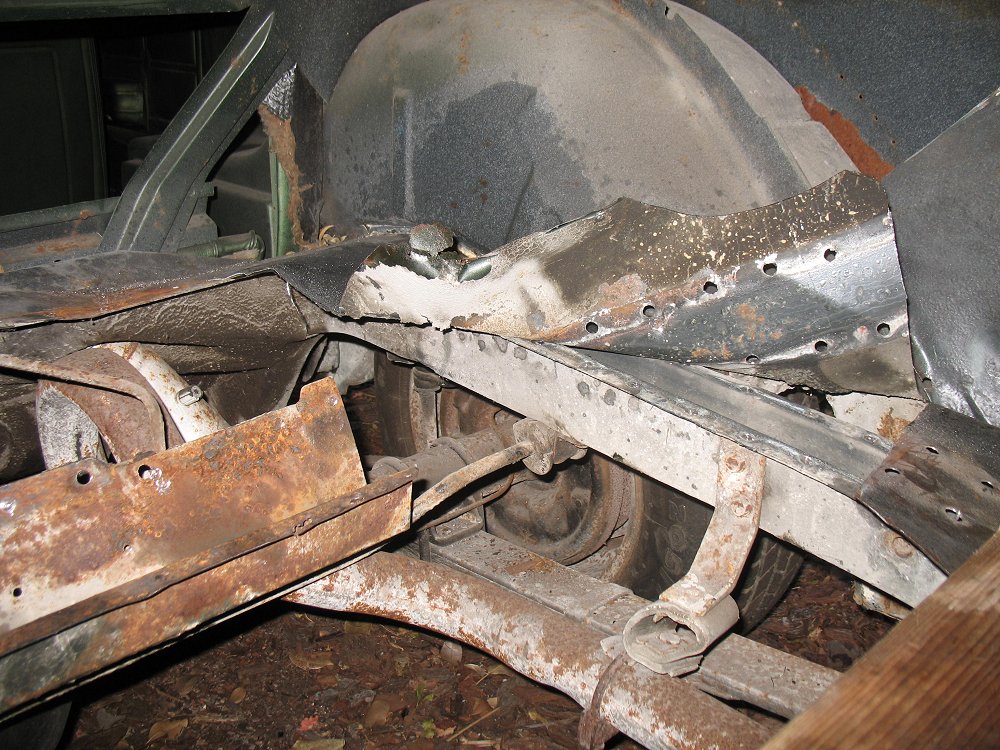
I took the Sawzall to the center of the trunk floor and the right dropoff today. Should give me a bit more wiggle room when popping the spot welds free.

It'll also give me an opportunity to put a brace between the frame rails when I replace the subframe connector, a-la Eric's re-use of the infamous Redneck Gas Tank Hammock.

71_mustang_78.jpg


71_mustang_79.jpg


71_mustang_80.jpg


-Kurt

 
Last edited by a moderator:
Nice! You're on your way - can't wait to see it all come back together!

BTW - Thanks for the mention - ya never know what comments are going to be read and remembered. I think the 'RGTH' is going to be one of those that lingers for awhile. I've also decided I'm going to 'clear coat' it (to preserve its 'essence') and hang it on the wall in the garage as a souvenir. ;)

Speaking of gas tank hanger, yours doesn't look all that bad (from your pictures, anyway). You might consider removing it from the old trunk pan, clean it up, and re-use it. I don't think they're making repops yet (mine was too far gone, and Don hooked me up with a much better specimen). He might still have a few he's harvested from parts cars though, if you decide to go that route.

 
Last edited by a moderator:
Nice! You're on your way - can't wait to see it all come back together!

BTW - Thanks for the mention - ya never know what comments are going to be read and remembered. I think the 'RGTH' is going to be one of those that lingers for awhile. I've also decided I'm going to 'clear coat' it (to preserve its 'essence') and hang it on the wall in the garage as a souvenir. ;)
Right now, I'll just be glad to see it come apart without any disasters ;)

Speaking of gas tank hanger, yours doesn't look all that bad (from your pictures, anyway). You might consider removing it from the old trunk pan, clean it up, and re-use it. I don't think they're making repops yet (mine was too far gone, and Don hooked me up with a much better specimen). He might still have a few he's harvested from parts cars though, if you decide to go that route.
It has crossed my mind, mainly as it hangs off the staggered shock box - removing it will make my work more difficult than it is already. However, it's quite corroded on the right hand side, and NPD has repops in stock.

It's a toss up, but I'm probably going to go for the new one, just so I don't have problems with the bracket contaminating the new trunk floor later on. No sense in chopping it in half and welding a portion of the new one to the old either.

-Kurt
Really?! Crap - They must be new then, because I completely missed 'em when I was putting mine back together last spring. Awesome!

 
Awesome! Lookin' good - you're on your way!
More than that - I reached the lap weld at the rear floorboards today (working my way around that tricky shock absorber box, no less).

71_mustang_83.jpg


71_mustang_84.jpg


I'm quite pleased, I must say. I'm leaving the fuel tank hanger in place until I have the replacement in hand, just in case the repop isn't identical in shape or fit. Without it, I have no absolute measurement of how low the strap hanger sits from the bottom of the trunk floor.

-Kurt

 
Last edited by a moderator:
Nice! You're on your way - can't wait to see it all come back together!

BTW - Thanks for the mention - ya never know what comments are going to be read and remembered. I think the 'RGTH' is going to be one of those that lingers for awhile. I've also decided I'm going to 'clear coat' it (to preserve its 'essence') and hang it on the wall in the garage as a souvenir. ;)
Right now, I'll just be glad to see it come apart without any disasters ;)

Speaking of gas tank hanger, yours doesn't look all that bad (from your pictures, anyway). You might consider removing it from the old trunk pan, clean it up, and re-use it. I don't think they're making repops yet (mine was too far gone, and Don hooked me up with a much better specimen). He might still have a few he's harvested from parts cars though, if you decide to go that route.
It has crossed my mind, mainly as it hangs off the staggered shock box - removing it will make my work more difficult than it is already. However, it's quite corroded on the right hand side, and NPD has repops in stock.

It's a toss up, but I'm probably going to go for the new one, just so I don't have problems with the bracket contaminating the new trunk floor later on. No sense in chopping it in half and welding a portion of the new one to the old either.

-Kurt
I know NPD has the rear bracket that makes up the rear frame, but you may want to verify they have the front bracket. To my knowledge they are not repopped.


I found another use for the engine puller that makes that staggered shock removal pretty easy. :D

DSCN2396.JPGDSCN2395.JPGDSCN2394.JPG

 
Last edited by a moderator:
Back
Top