- Joined
- Jun 29, 2016
- Messages
- 124
- Reaction score
- 108
- Location
- Phoenix AZ
- My Car
- Arizona car, 1973 Mach-1, Original 351 Cleveland engine and original C-6 trans, All original body panels, Interior is restored.
For every DIY-er who has an infuriatingly difficult-to-find problem in acceleration, I have found what the problem COULD be. I’ve had everything from my engine just flat-out die when I feathered the gas pedal to running fine with a little stagger that I just COULD NOT get rid of.
Timing was perfect. Gas line and filter were sterling clean. Cleaned and gapped plugs. Replaced plug wires. I replaced two pertronix units (and was ready to go back to points). Checked spark advance springs. Replaced advance dashpot (twice). All vacuum was good. Did all of this over a two-year period.
Then a friend says, “Did you adjust the advance dashpot?” WHAT!!
I didn’t know they HAD an adjustment!
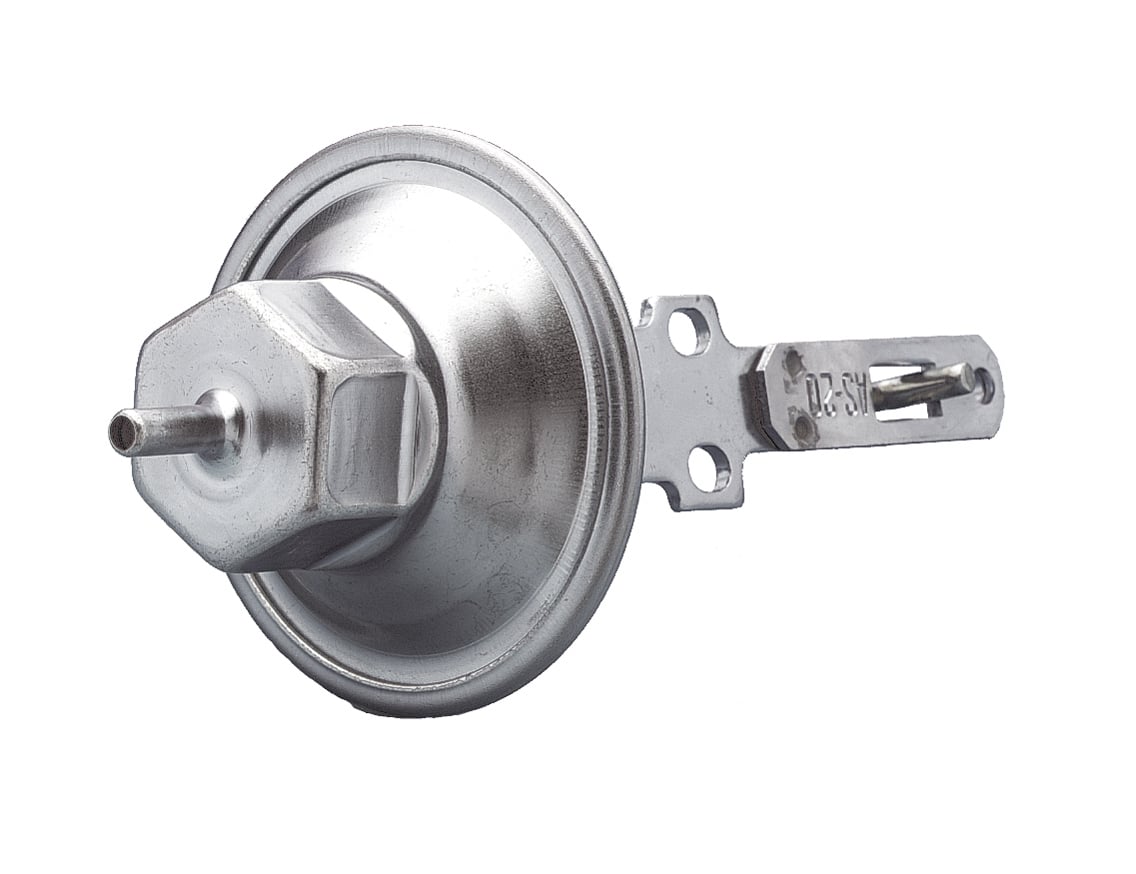
Sure enough, I looked in the Autolite box, and there was a sheet where you look up your year and model and it tells you how many turns from “closed” to turn the 3/32nd Allen wrench you’ve stuck into the dashpot intake to make the proper adjustment for your car!
Now, some of the cheap ones aren’t adjustable, but the correct ones for our cars surely are, and now my car purrs and growls perfectly!
Timing was perfect. Gas line and filter were sterling clean. Cleaned and gapped plugs. Replaced plug wires. I replaced two pertronix units (and was ready to go back to points). Checked spark advance springs. Replaced advance dashpot (twice). All vacuum was good. Did all of this over a two-year period.
Then a friend says, “Did you adjust the advance dashpot?” WHAT!!
I didn’t know they HAD an adjustment!
Sure enough, I looked in the Autolite box, and there was a sheet where you look up your year and model and it tells you how many turns from “closed” to turn the 3/32nd Allen wrench you’ve stuck into the dashpot intake to make the proper adjustment for your car!
Now, some of the cheap ones aren’t adjustable, but the correct ones for our cars surely are, and now my car purrs and growls perfectly!