Center Dash Gauges and Radio Bezel refurb

7173Mustangs.com

Help Support 7173Mustangs.com:

This site may earn a commission from merchant affiliate links, including eBay, Amazon, and others.
Joined
Nov 15, 2016
Messages
652
Reaction score
15
Location
Australia
My Car
1972 Mustang Coupe 302 Auto RHD
After seeing many others install center gauges I decided why not try it so received a new center bezel from Don @OMS and bought some VDO gauges from fleabay for about $180. Next step was to see how I was going to fit them seeing as OEM bezel has oval holes I would need to modify the new bezel to get them to fit. One problem I considered is since my vehicle is RHD if I recessed the gauges like the factory set up I would have trouble reading them so the best option was to install them on the outside of the bezel plus I'm not trying to make it look original just tidy and readable.

First step was to fire up the Dremel with a sanding bit and grind away the left/right edges a bit at a time until the gauge started to fit. Was surprised at how easy it was and the gauge fits easily with a plastic nut to hold it on the back.

P1030041.jpg

P1030043.jpg

All three gauges are mounted with the plastic nuts

P1030045.jpg

Front view doesn't look to bad for a 15 minute job

P1030051.jpg

Next I decided to refurbish the radio bezel as the old paint was flaking off so first step was to remove it with paint stripper

P1030056.jpg

Paint all gone just shiny chrome now so will have to sand/scuff areas to be repainted and mask it up using a razor blade for the fine bits

P1030057.jpg

P1030058.jpg

First gave it a few light coats of black etch primer then a few coats of matt black then once I removed the masking tape realized I had taped over the section above the radio so not wanting to mask it all again I had a rare brainstorm and took the mustang badge off the old center bezel cut the horse off and glued it into place, doesn't look too bad

P1030059.jpg

Below is both items done and although not entirely factory looking it will do the job

P1030063.jpg

 
Thanks for the feedback

Now just got to start putting the dash together and once I get my new classic radio will have to make some brackets as mine missing altogether

Also no map lamp or delete plate so as they are hard to come by will try to make my own delete plate

 
I like what you decided to do. Being right H/D, would change things from what I did. No doubt you saw my thread on upgrading a set of factory gauges.

If I were to do it again, some of your ideas actually make more sense. I issue I found was that, mounting the gauges from behind and still keeping the bezel rings on, caused a gap that is not really seen, but still there. I could have sacrificed the original pod and mounted the gauges in that rather than making my own bracket, but I wanted to keep that intact. My result is satisfactory, but in hind sight, I could have done it a little different. Mounting the gauges through the holes might have been a far better solution, but again I wanted to keep the center console intact as it was an original, which I doubt will ever be put back as it was.

I guess it's called R&D for a reason!!

Well done,

Geoff.

 
Thanks for the feedback

Now just got to start putting the dash together and once I get my new classic radio will have to make some brackets as mine missing altogether

Also no map lamp or delete plate so as they are hard to come by will try to make my own delete plate
Hey that turned out excellent - nice job

I don't have any map lights at this time but do have a couple of block off plates

 
Looks great those details make a car pop.

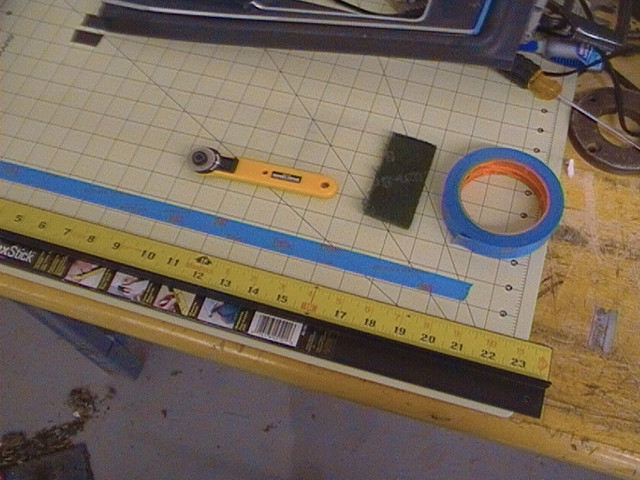
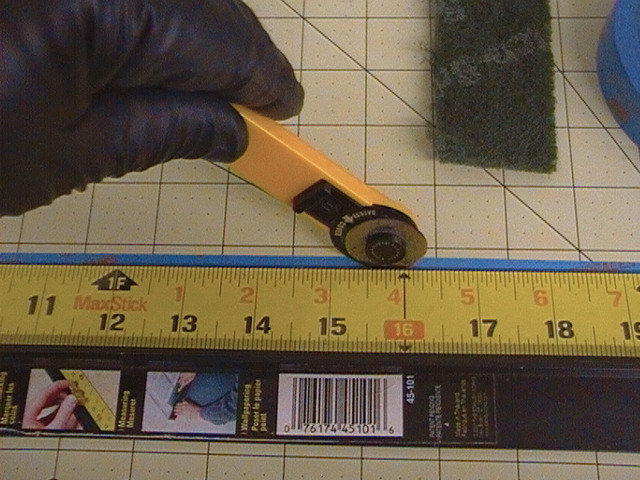
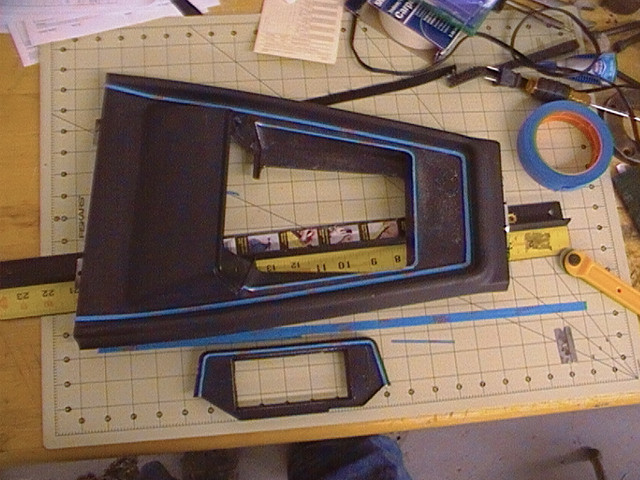
Too late to help you but I have a tip on making the thin strips of masking tape for the chrome areas. I rework consoles and dash pieces. I use a rotary scissor like they use to cut cloth. I also have one of the cutting boards made to use the scissors on. You can make tape any width you need and not worry about buying a roll of pin stripe tape or having to cut with a razor blade.


I like what you decided to do. Being right H/D, would change things from what I did. No doubt you saw my thread on upgrading a set of factory gauges.

If I were to do it again, some of your ideas actually make more sense. I issue I found was that, mounting the gauges from behind and still keeping the bezel rings on, caused a gap that is not really seen, but still there. I could have sacrificed the original pod and mounted the gauges in that rather than making my own bracket, but I wanted to keep that intact. My result is satisfactory, but in hind sight, I could have done it a little different. Mounting the gauges through the holes might have been a far better solution, but again I wanted to keep the center console intact as it was an original, which I doubt will ever be put back as it was.

I guess it's called R&D for a reason!!

Well done,

Geoff.
Thanks Geoff

Yes I reckon I have seen all the threads on this subject but once I got the bezel plus gauges without having a pod it was going to be difficult to fit them llike the originals plus I noticed the bezel is angled towards a LHD vision. Not being an original bezel didn't bother me to modify it. Don't know how it would work with other brands of gauges as some of them have a larger surround on them so might look a bit out of place.

Cheers Mick

 
Thanks for the feedback

Now just got to start putting the dash together and once I get my new classic radio will have to make some brackets as mine missing altogether

Also no map lamp or delete plate so as they are hard to come by will try to make my own delete plate
Hey that turned out excellent - nice job

I don't have any map lights at this time but do have a couple of block off plates
Thanks Don and will no doubt be wanting more parts as I find them missing. Add the plate to the list and will email you in a week or so.

 
Looks great those details make a car pop.

Too late to help you but I have a tip on making the thin strips of masking tape for the chrome areas. I rework consoles and dash pieces. I use a rotary scissor like they use to cut cloth. I also have one of the cutting boards made to use the scissors on. You can make tape any width you need and not worry about buying a roll of pin stripe tape or having to cut with a razor blade.


Thanks David and I did see your post a while ago but had forgotten about it. Perhaps will give it a go for future projects as it would be more accurate than my shaky razor.

 
I like what you decided to do. Being right H/D, would change things from what I did. No doubt you saw my thread on upgrading a set of factory gauges.

If I were to do it again, some of your ideas actually make more sense.The issue I found was that, mounting the gauges from behind and still keeping the bezel rings on, caused a gap that is not really seen, but still there. I could have sacrificed the original pod and mounted the gauges in that rather than making my own bracket, but I wanted to keep that intact. My result is satisfactory, but in hind sight, I could have done it a little different. Mounting the gauges through the holes might have been a far better solution, but again I wanted to keep the center console intact as it was an original, which I doubt will ever be put back as it was.

I guess it's called R&D for a reason!!

Well done,

Geoff.
Thanks Geoff

Yes I reckon I have seen all the threads on this subject but once I got the bezel plus gauges without having a pod it was going to be difficult to fit them llike the originals plus I noticed the bezel is angled towards a LHD vision. Not being an original bezel didn't bother me to modify it. Don't know how it would work with other brands of gauges as some of them have a larger surround on them so might look a bit out of place.

Cheers Mick
 You're most welcome. At the end of the day, it's your car and what you've come up with is an inspiration to others I'm sure. Swapping to RHD is no mean feat so cudo's to you for working that mess out! Well done all around.

Geoff.

 
Hello,

Nice job, which model are your guages and how did you connect them to the engine ? are they mechanical or electric ? Trying to figure out how to install the sending units and keep the idiot lights working . Thanks for any advice.

steve

 
Back
Top