Thank you, gentlemen!
Anyway, thought I'd give a quick update: To make things easier, I put the car up on jackstands and pulled the rear end out. I figured this would be a good opportunity to replace the leaky pinion seal in the process, along with the rest of the rear end seals.


It also turned out nobody had been there for years, as there's an inch and a half of tar in the bottom of the housing.
But on the topic of the much-more-interesting bodywork:
I leveled the car - so I could work on a reasonably flat plane - carefully shimming out a number of jackstands under it, using a laser level front and back (I'm checking points at the rear framerail, but it's fairly obvious here that it's lower on the right side than the left here):

More importantly - at least for the rear, for now, is the comparison between framerail lengths. This is how I checked it - a measuring tape pulled to the edge of the front leaf mount eyelet, with a magnet on it to keep it in place.
The fact that I'm not taking a center-to-center measurement is of less concern to me than the overall
difference between the measurements left-to-right; just so long as the two points are the same on each side of the car.

I chose to measure up to the edge of the shackle housing.

This photo doesn't really show the measurement correctly due to perspective, but...
...these two do. There's a 3mm difference on the left side of the car:


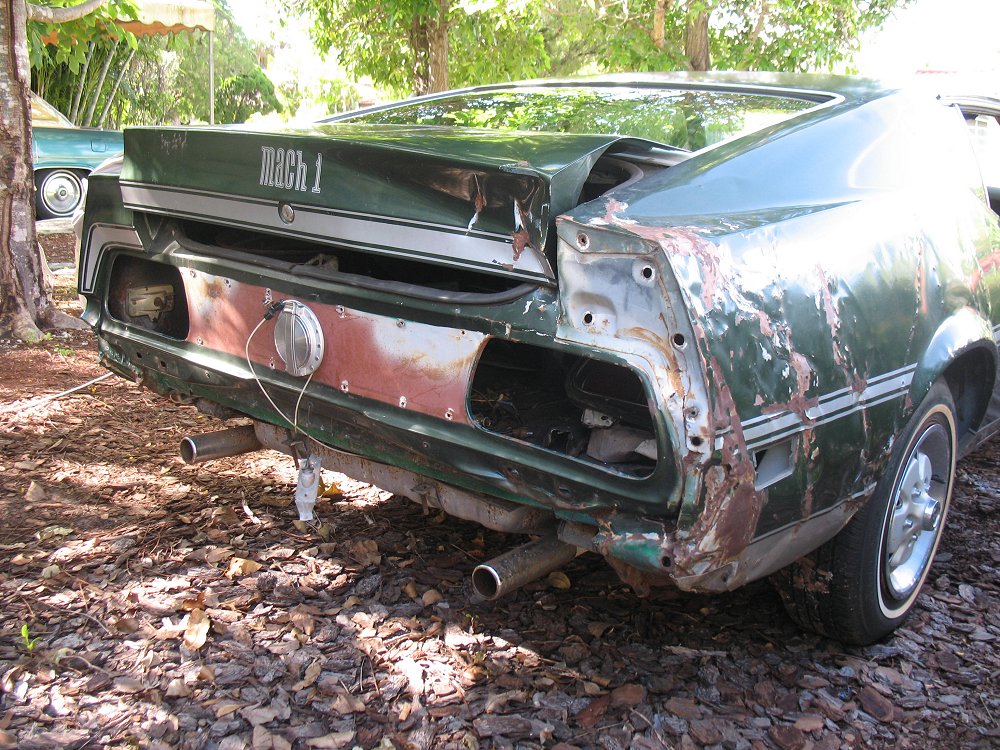
Now, I know some might say that the tolerances on these cars were sloppy enough that it's a very real possibility that it was this bad from the factory, but we know the car was hit pretty hard on this corner, and the wrinkle is there. Moreover, the difference made itself very known at the rear crossmember. The taillight panel would have sit sucked in at the bottom right if I didn't address this.
So started the embarrassing and tedious process of undoing all the plug welds I put into the trunk floor 10 years ago. In hindsight, now that I've tried Spraymax iso-free 2K primer in a can, I'm glad that I never did button this up. Cleaning up all the failed 1K primer junk would have been miserable with the taillight panel installed. There's a test spray of 2K in the center.

Yell at me now if you want. This is what I played with to try to straighten it, figuring I'd re-box the framerail later. It didn't work and ultimately tore enough that I came to the realization that I would need to slice in another framerail piece (or the whole thing; depends on what
@ib4stangs can cut out for me).

I can hear
everyone yelling "why didn't you use heat?!?" - and I couldn't answer you. I don't know why I didn't think of it. Perhaps I've done so much cold-setting on bicycle frames that confirmation bias fixated the idea of cold setting. That, and I've seen one video on YouTube of a Mustang framerail cold-set as well.
Whatever the case, the framerail is now in two pieces, and that's where the project stands - but it
did allow me to re-jig the rail against the taillight panel
exactly where it should be, and that also sorted out the taillight panel fit. So, if there's any silver lining, measurements and general seat-of-the-pants fitment suggest I'm going down the right path.
Soon as I have some metal from
@ib4stangs, I'll fire up the welder, sleeve the rail, and I should have some progress to report.
Oh, and for those of you looking at all the surface rust on that trunk floor, keep this in mind: Friends don't let friends use 1K primer

-Kurt


