72 Grande Coupe project, starting Fall 2017!

7173Mustangs.com

Help Support 7173Mustangs.com:

This site may earn a commission from merchant affiliate links, including eBay, Amazon, and others.
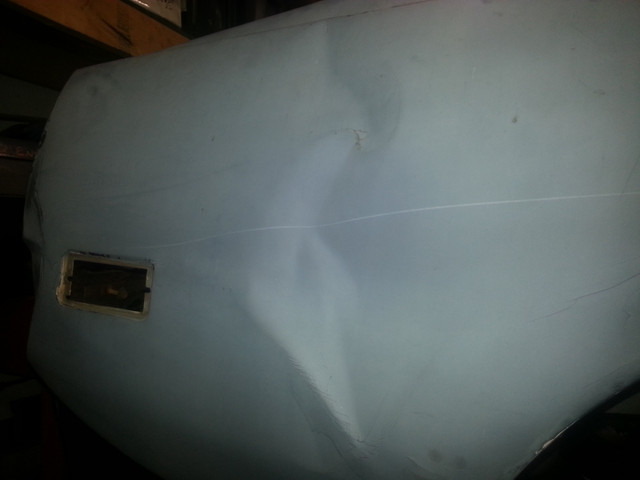
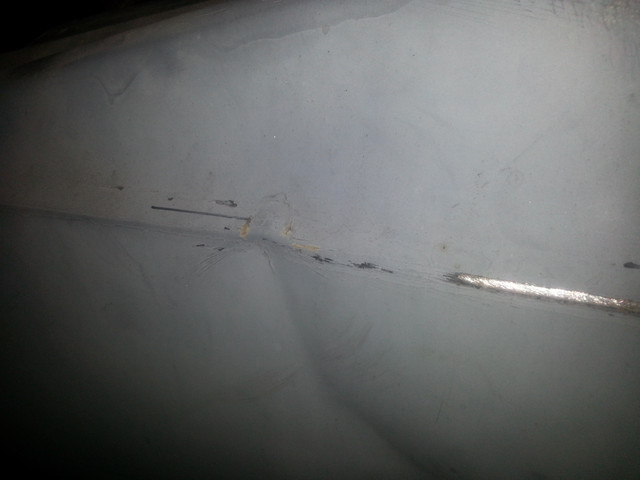
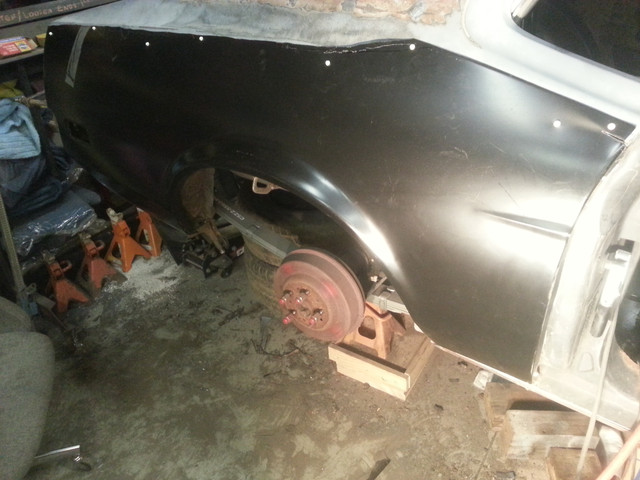
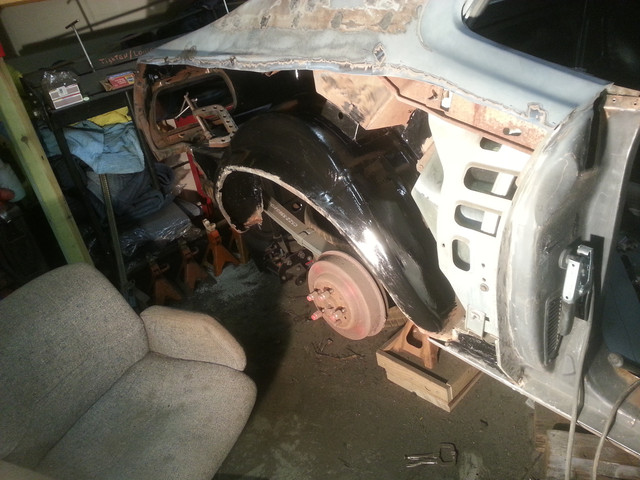
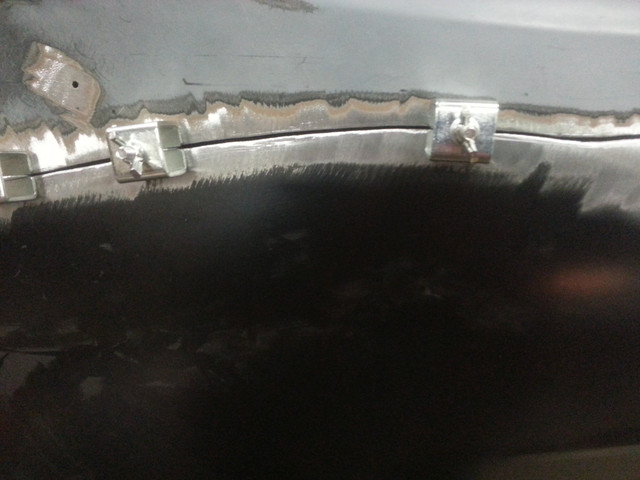
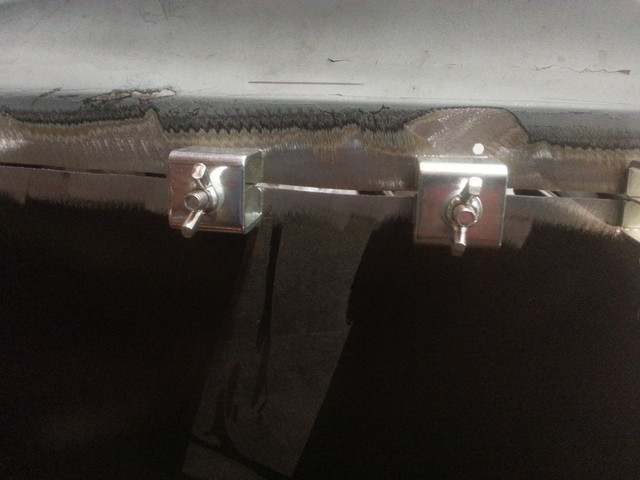
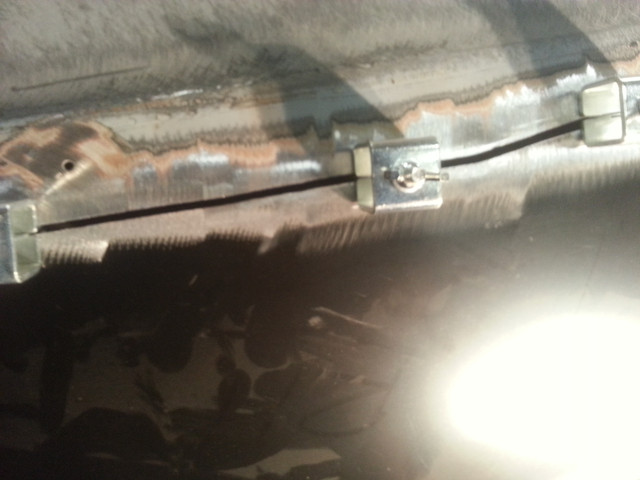
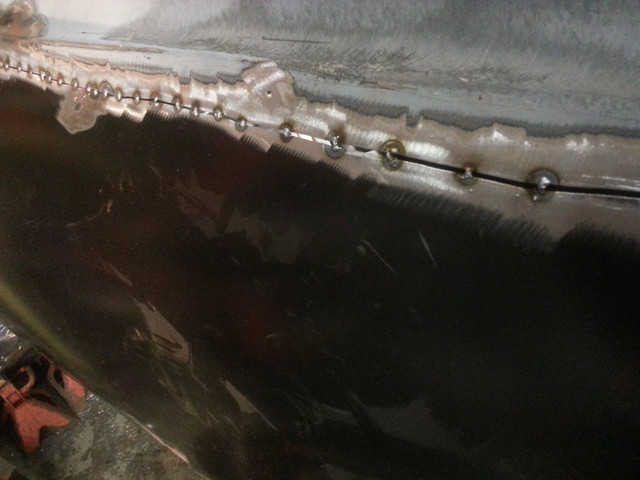
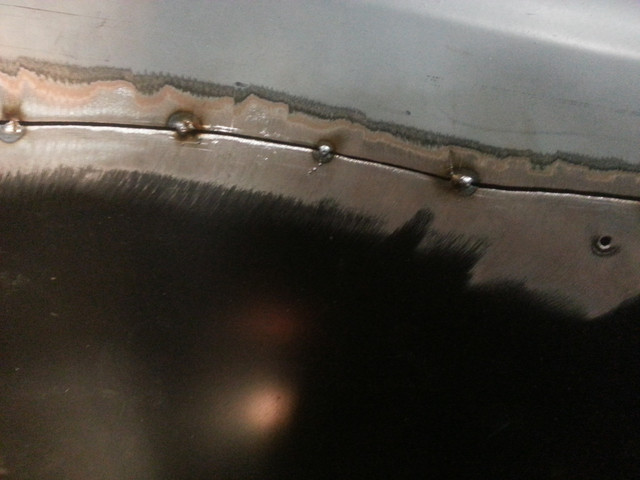
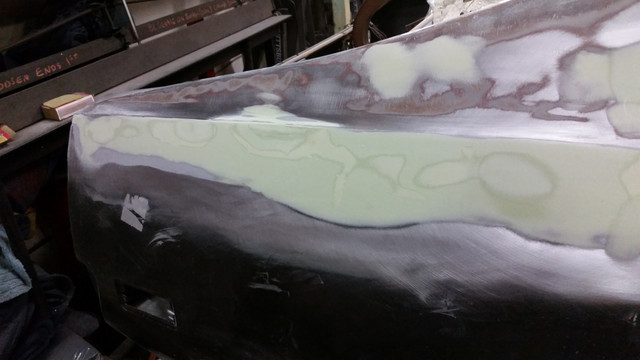
I decided to replace the panel. Using advice I had been reading, I attached the new quarter to the old, and cut thru both layers just below the top edge of the new one. That made for a good fit. I used these little clamps to hold the new piece to the body, which left a nice little crack to weld them together. this took a LONG time to weld, as I only did tack welds, spaced out, to keep from warping things best I could. I was lucky the inner wheelhouse was in good shape. I used some chassis paint on it before the new quarter went on. 

 
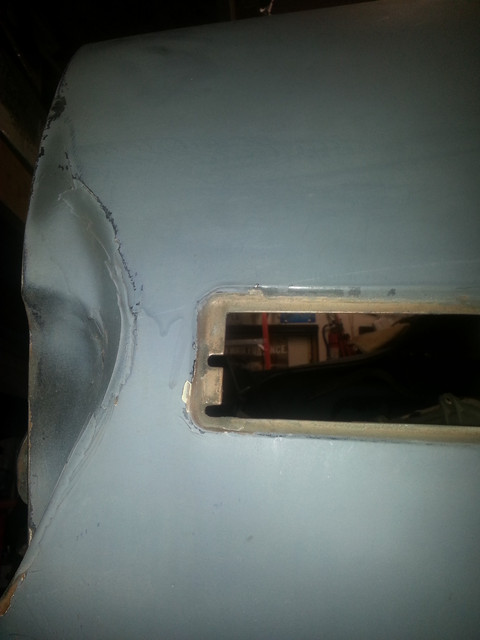
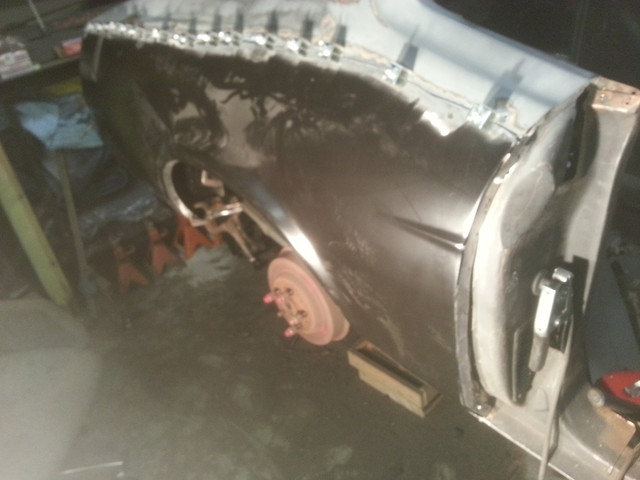
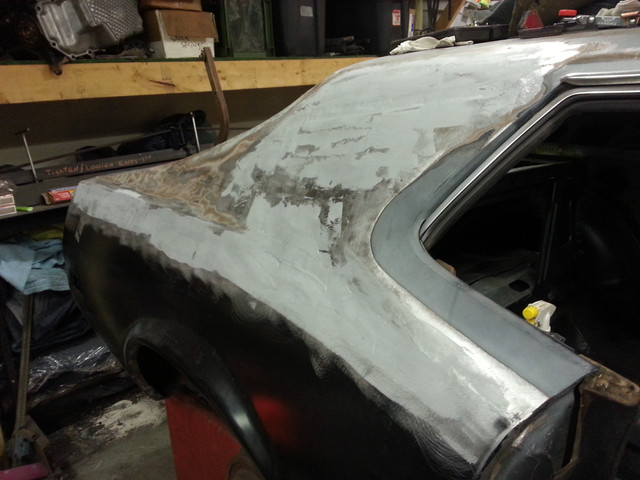
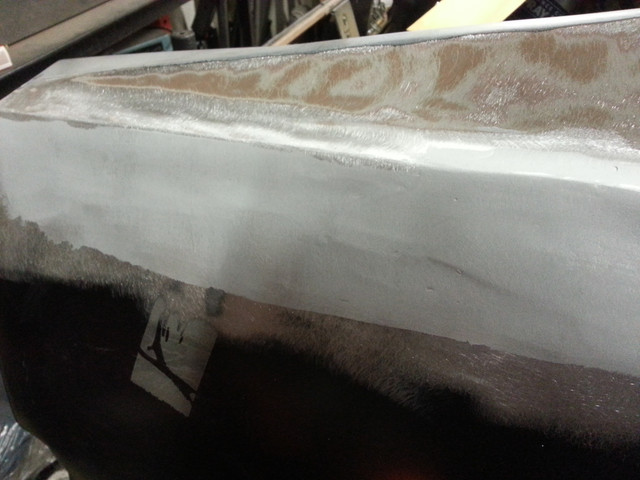
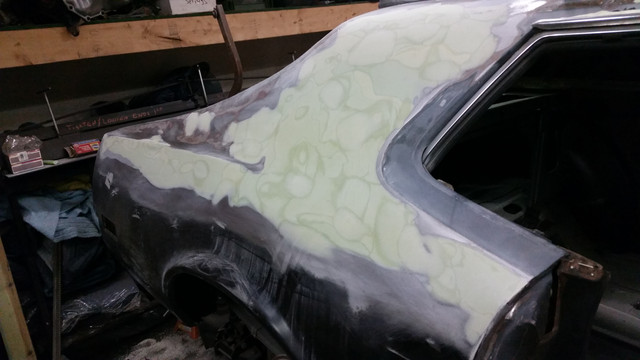
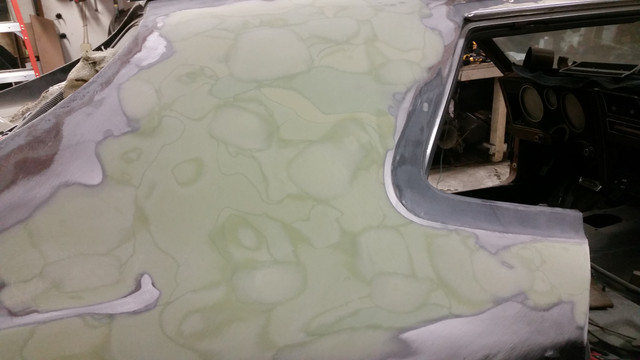
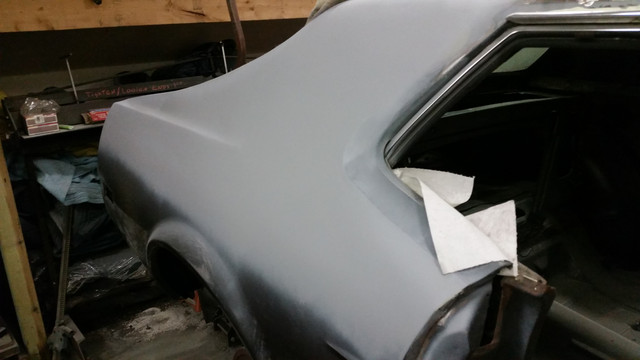
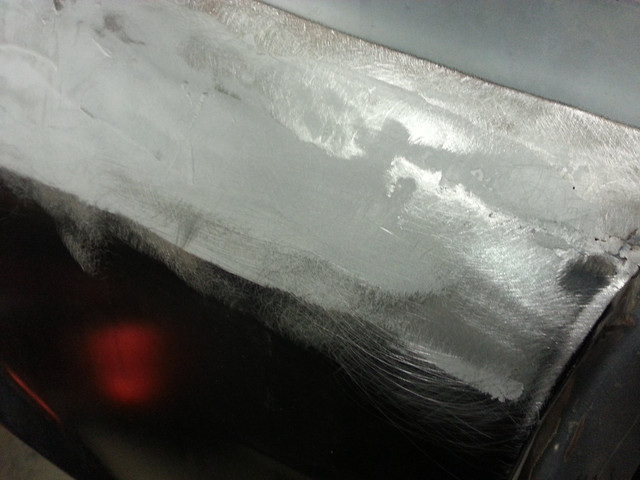
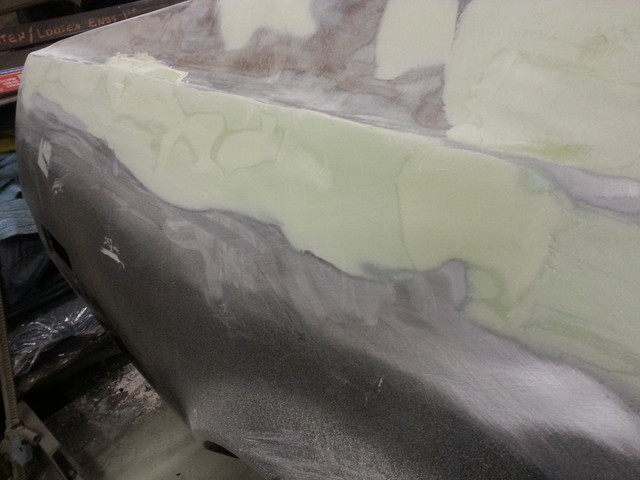
After grinding, I got a skim coat of filler over it, and over the patch higher up towards the roof. This also took a bit of time to get looking good. The pics make it look like more filler than is really there. After I got it looking pretty good I got some primer on it. I have just a little shaping to do on a body line when I get back on it, but am pleased it looks decent. Also, not pictured, I sealed the inside of the panel from the trunk. I also used seam sealer where the wheel lip meets the inner housing, and it is all painted with the chassis saver paint like the floor was.
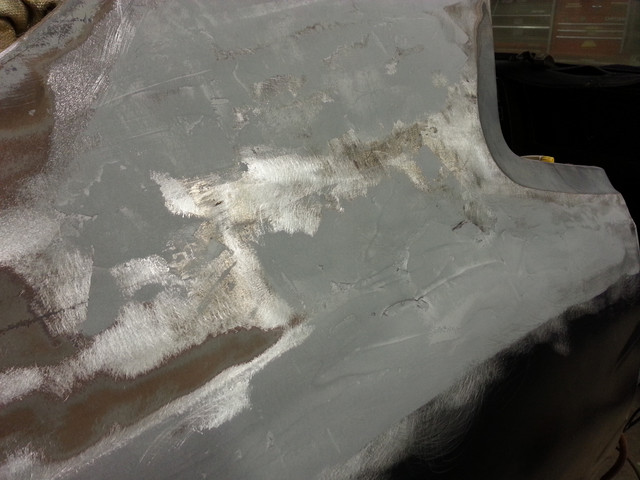
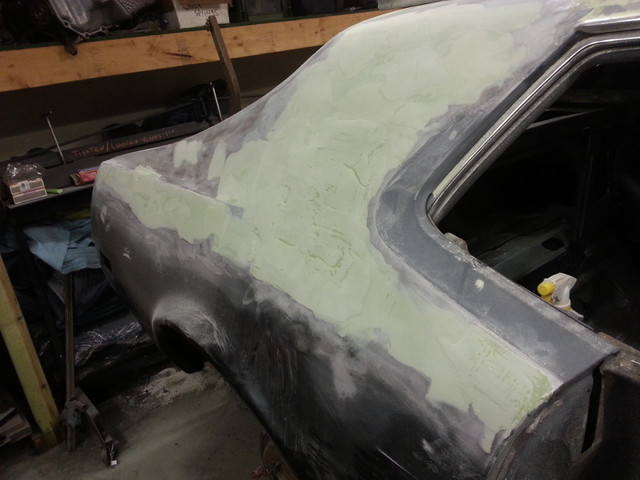
 
This is about how it sits right now in storage.  I will be working on getting the motor while finishing a couple of projects, then the car comes back. As of now, I want to get the motor and trans in, and hook everything up. I want to get it ready to run and move. I have headers for it, once everything is hooked up and headers on, I will trailer it to the exhaust shop for pipes. Once I have it running, doors, fenders, ect can go back on. I need to seal any bare metal to prevent rust, but other than that there prob won't be any more bodywork done for now unless all the rest of the winter race projects go well.. HA HA!! 

I'll get the interior together enough to use, but not too worried about that yet. Like I said, my goal for now is to get it so I can drive it in the spring, and upgrade from there. I'll try to keep taking pics, and updating when I have some progress to show. Thanks again for all the comments, they help to keep me motivated to update this thread. Hopefully it helps someone out there, to see what I am doing, and they can learn either how to do something, or how NOT to do it! I am excited to get back on this, and hope you are enjoying following along

 
Excellent work!

May I ask what you use to cut the two panels in one go?

Also, as I need do same on my 71 at some point, how is the lower part (underneath) between wheel and door welded? There is ton of crap on mine so its hard to see, or is it ment to be welded from the inside?

 
Good to see you are back on your project. I know how life pushes them back. My Mach 1 sat for 37 years until this year and I got it out and going again.

I know it is late now but the reason the passenger side floor rusted is usually due to a cowl vent leak. Be sure and check that from the inside. If you are not doing concourse you can repair with some epoxy and fiberglass mat and not cut the cowl out. Once the car is back together I always say to never wash these cars with running water, car wash or pressure washer. You just feed the rust inside the doors, quarters, cowl. No need to use running water unless you been playing in the mud. 

Another note to help others. You should have had the door on when doing the quarter. The body lines usually do not match up on the repo panels. When you get your door back on might not align with the top of the quarter and the body line. 

If it is your driver it will be good for that I am sure. 

One thing I find is that if you do the worst job first and get that out of the way it will pick up speed toward the end. 

Great to see you doing your own work only way you learn is to do it.

 
Excellent work!

May I ask what you use to cut the two panels in one go?

Also, as I need do same on my 71 at some point, how is the lower part (underneath) between wheel and door welded? There is ton of crap on mine so its hard to see, or is it ment to be welded from the inside?
I just used a body saw, like a jigsaw almost. By overlapping and cutting, I wasn't worried about cutting straight since it was all being welded. 

I believe where you are talking about the lower piece, I used an air punch to make holes in the skin, to plug weld thru to the old metal. Everything was actually pretty solid, just with those dents I thought this was easier to replace than fix.

 
Good to see you are back on your project. I know how life pushes them back. My Mach 1 sat for 37 years until this year and I got it out and going again.

I know it is late now but the reason the passenger side floor rusted is usually due to a cowl vent leak. Be sure and check that from the inside. If you are not doing concourse you can repair with some epoxy and fiberglass mat and not cut the cowl out. Once the car is back together I always say to never wash these cars with running water, car wash or pressure washer. You just feed the rust inside the doors, quarters, cowl. No need to use running water unless you been playing in the mud. 

Another note to help others. You should have had the door on when doing the quarter. The body lines usually do not match up on the repo panels. When you get your door back on might not align with the top of the quarter and the body line. 

If it is your driver it will be good for that I am sure. 

One thing I find is that if you do the worst job first and get that out of the way it will pick up speed toward the end. 

Great to see you doing your own work only way you learn is to do it.
I didn't see any cowl rust, but will look again closer when I get back on it. That is a good idea on having the door on. I thought about putting it back on, but with the fenders off too I wasn't sure how to get the door in the right position without putting the whole front back together.  This is just a daily, so I figure I should be able to get everything close enough to make myself happy. And if all goes well, I won't ever be looking to sell, just want to enjoy it.

What I did , was before I cut the old quarter off, I marked where the bodyline was on the door jamb, and used that to put the new quarter bodyline on where it should be. At least that's the idea, lol. We'll see how it works at re-assembly.  Next time, if there ever is, I would have the door on though like suggested. 

Thanks everyone for the positive comments! It helps the motivation for sure. Still waiting on a timeline for the engine, so I am pushing ahead on the race projects right now. Figure they need to be done also before summer, so might as well knock those out while I'm waiting on bringing the car back. Gonna have my hands full, but seems like every winter I do, lol.  At least I have some solid goals to work toward, and they all seem doable, barring anything unexpected....

 
Well, time to revive this build! Can't believe its been 5 years... Holy cow! I'm not going to bore you with reasons, other than Covid just about took me out, and life happens!

I am going to update stuff that I have done, and will hopefully keep updating as the car is in the garage, and barring something happening, I am going to get it going before next year. I somehow lost some pics, but I do have some, and will include in the next posting updates.

Engine should be here in a month or so. Wrong parts, unavaiable parts due to covid, on and on, but everything is ready for assembly at builders, and he has promised me it is being done soon.

I came across a deal on a new Quick Performance rear end, and swapped it in. I ordered a new 3.55 limited slip center for it. Looks really nice on the car!

Taillight panel needed a little repair, not bad enough to replace, just needed some attention.
 

Attachments

  • 2021-12-09 17.42.50.jpg
    2021-12-09 17.42.50.jpg
    4.2 MB
  • 2021-12-09 17.42.57.jpg
    2021-12-09 17.42.57.jpg
    3.2 MB
Got the decklid measured and drilled for spoiler. I messed with trying to get the lid aligned but kept having problems with 1 side being higher than the other. I finally ordered a pair of Couger springs, and will be putting them on. Haven't done that yet, will document it when I do.
 

Attachments

  • 2021-12-27 14.29.44.jpg
    2021-12-27 14.29.44.jpg
    1.9 MB
  • 2021-12-27 14.30.06.jpg
    2021-12-27 14.30.06.jpg
    2.7 MB
  • 2021-12-27 14.29.39.jpg
    2021-12-27 14.29.39.jpg
    2.1 MB
Doors were not as good as I thought. Both had the lock cylinders pried out and messed up the door. The ends at the latches were also cracked and bad. So I bought aftermarket shells. I rebuilt the hinges, and got the doors adjusted decent on the car. Not perfect, but decent enough for a driver. I forgot what a pain doors are to adjust! I'll switch guts over after paint.

Fenders were decent, needed some work, but I saved them instead of getting new.
 

Attachments

  • 2021-12-19 15.44.55.jpg
    2021-12-19 15.44.55.jpg
    3.9 MB
  • 2021-12-19 15.44.59.jpg
    2021-12-19 15.44.59.jpg
    3.9 MB
  • 2021-12-30 11.13.32.jpg
    2021-12-30 11.13.32.jpg
    4.6 MB
  • 2021-12-30 11.13.49.jpg
    2021-12-30 11.13.49.jpg
    5 MB
I mocked up the front end. Got the bits and pieces all painted, got he fenders and hood all on, and grill, ect. Looked good, then took it all off, so easier to do the motor.
 

Attachments

  • 2021-12-19 13.59.09.jpg
    2021-12-19 13.59.09.jpg
    3.8 MB
  • 2022-03-19 14.17.52.jpg
    2022-03-19 14.17.52.jpg
    3.7 MB
  • 2021-12-28 15.42.29.jpg
    2021-12-28 15.42.29.jpg
    4.5 MB
  • 2022-03-19 14.17.39.jpg
    2022-03-19 14.17.39.jpg
    4.1 MB
  • 2022-04-09 19.38.11.jpg
    2022-04-09 19.38.11.jpg
    1.8 MB
No pics, but I ordered new front fender extension chrome, and they didn't fit well at all. I ended up getting used OEM ones, much better!

I ordered an American Autowire complete harness, as the wiring is crusty, 50 year old wiring! So I pulled the dash, heater box, ect. The heater box had some pieces broken, so I patched it with aluminum. I changed the heater core while it is all out. I debated about deleting the heater all together, but decided to keep it
 

Attachments

  • 2024-09-15 14.21.46.jpg
    2024-09-15 14.21.46.jpg
    4.5 MB
  • 2024-09-15 14.21.59.jpg
    2024-09-15 14.21.59.jpg
    4.9 MB
  • 2024-09-15 14.56.36.jpg
    2024-09-15 14.56.36.jpg
    4.5 MB
  • 2024-09-15 15.07.33.jpg
    2024-09-15 15.07.33.jpg
    4.8 MB
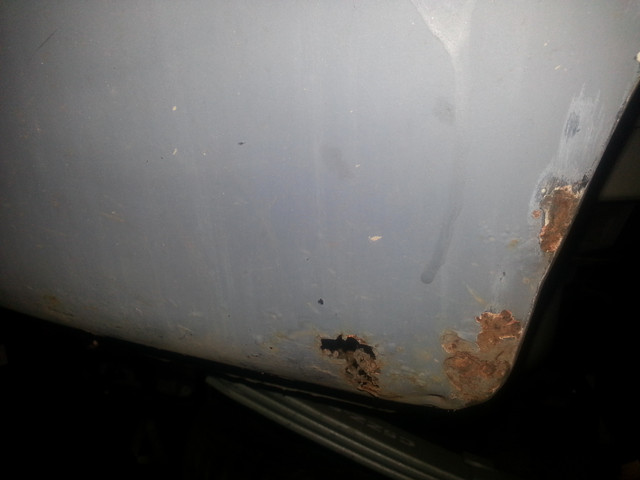
Of course, the cowl on the passenger side is rotted out. Driver side is good. So that will need to be fixed. I am planning on doing it from underneth while dash is out. I'll take pics when I do it
 

Attachments

  • 2021-11-24 14.36.07.jpg
    2021-11-24 14.36.07.jpg
    4.2 MB
  • 2021-11-24 14.37.22.jpg
    2021-11-24 14.37.22.jpg
    4.4 MB
Today, I replaced the tie rods, drag link, ect. The idler arm top mounting hole had to be elongated (Per NPD's website when I ordered it) as the bolt holes are slightly different on the replacement part.

I also fixed the broken bolt in the front spindle that holds the clip for the brake pads. Drilled it out, put some heat to it, easy out, and good as new. I had been putting it off, as I know how things like that usually go, lol
 

Attachments

  • 2024-09-21 15.39.53.jpg
    2024-09-21 15.39.53.jpg
    4.1 MB
After grinding, I got a skim coat of filler over it, and over the patch higher up towards the roof. This also took a bit of time to get looking good. The pics make it look like more filler than is really there. After I got it looking pretty good I got some primer on it. I have just a little shaping to do on a body line when I get back on it, but am pleased it looks decent. Also, not pictured, I sealed the inside of the panel from the trunk. I also used seam sealer where the wheel lip meets the inner housing, and it is all painted with the chassis saver paint like the floor was.
Keep up the Great Work
 

Latest posts

Back
Top