- Joined
- Jan 7, 2015
- Messages
- 8,032
- Reaction score
- 536
- Location
- Western North Carolina
- My Car
- Multiple Mustangs!
Steve,
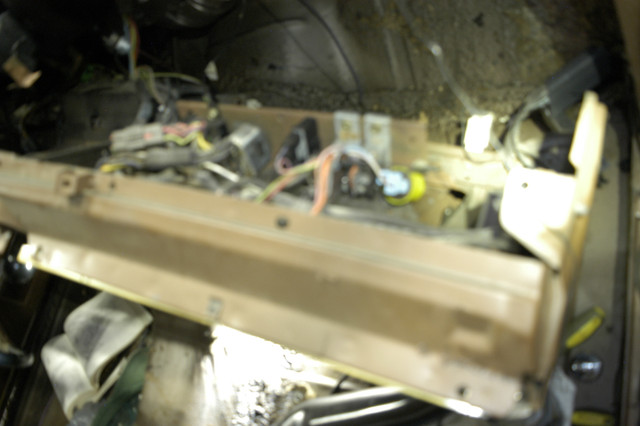
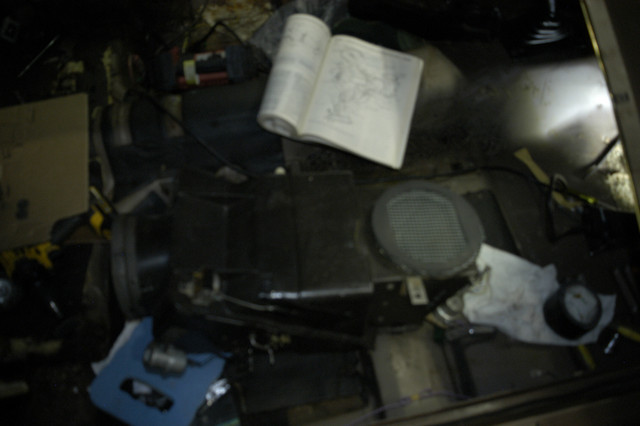
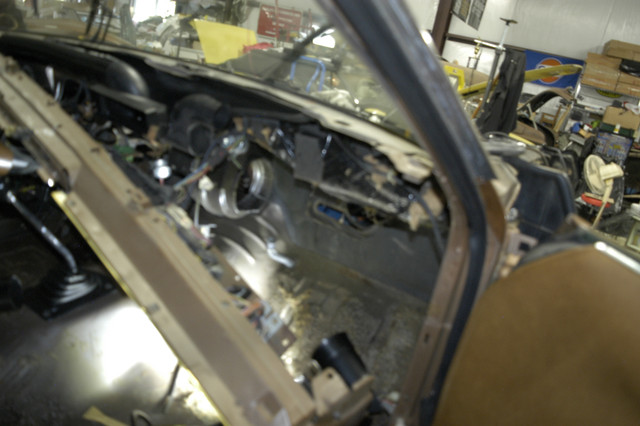
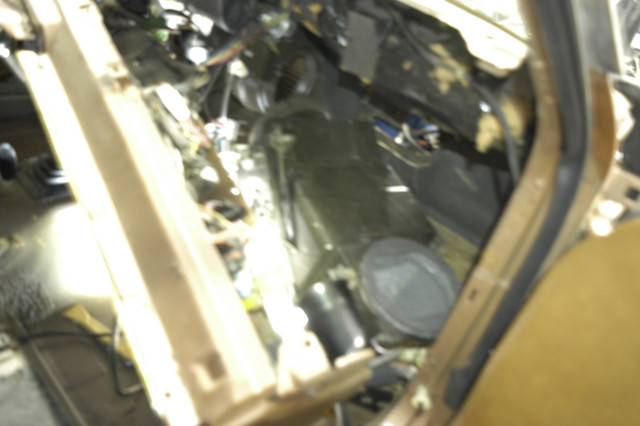
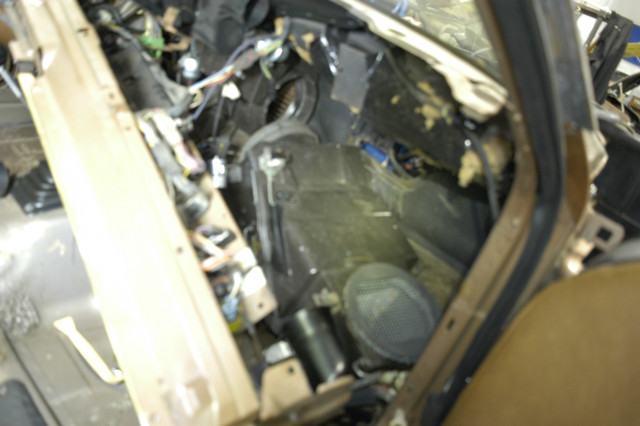
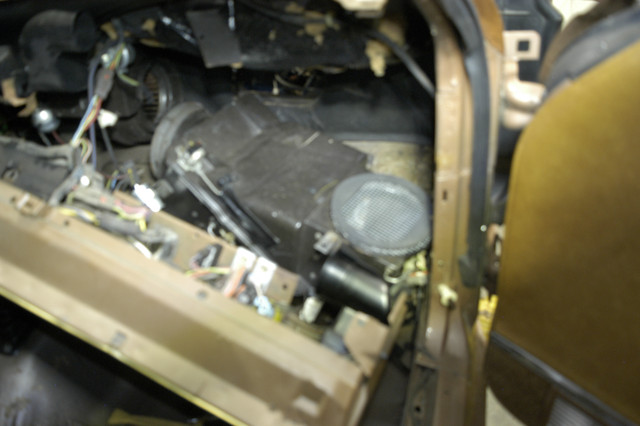
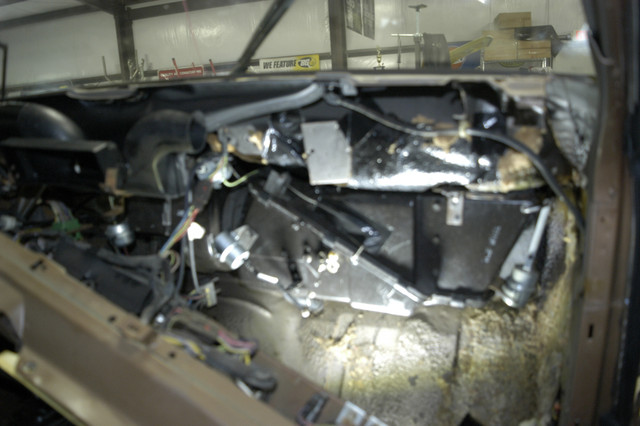
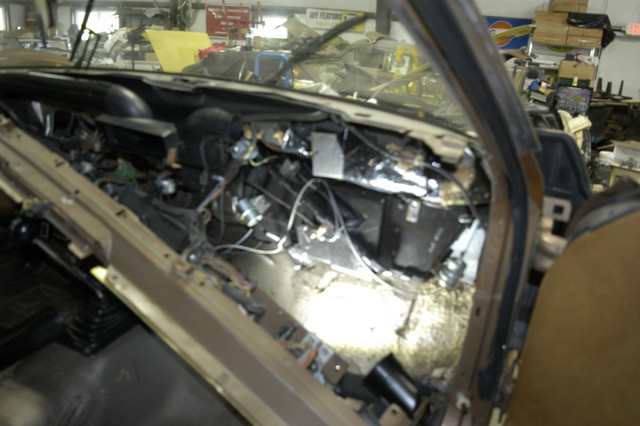
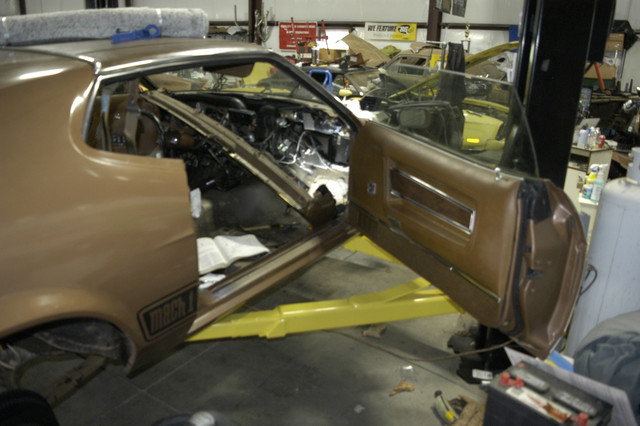
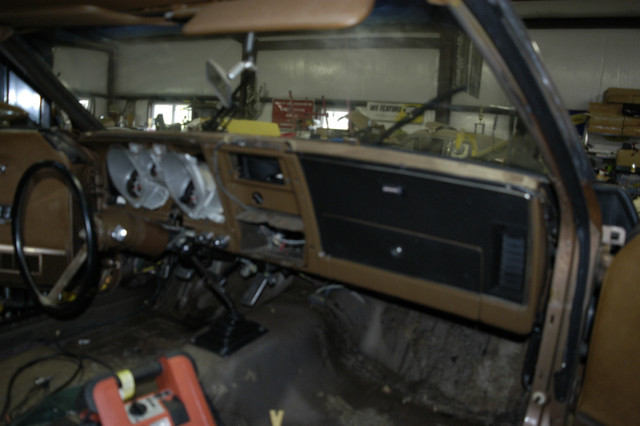
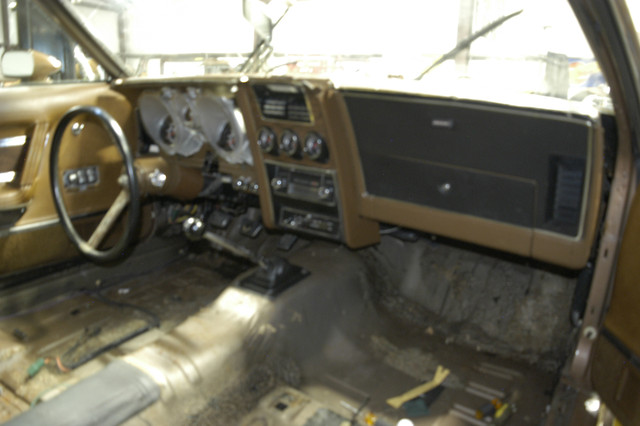
It would be tough because I did not remove the dash. Can't see anything with the dash there. Motor City Mustang is doing an install right now and has great pics with the dash out of the way.
If I had help I would have taken the dash out but no help just me.
Also you can order the Ford assembly guides from Osborne that show all the details. But some of them are wrong, lol. I noticed the other day they say to torque the gas pedal to I think 97 Ft. Lbs.. I think they are 1/4" or 5/16" bolts. They also show a decal on the ram air cleaner lid that was never there.
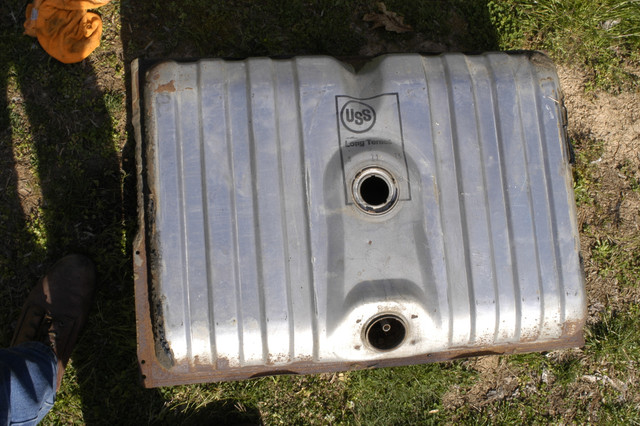
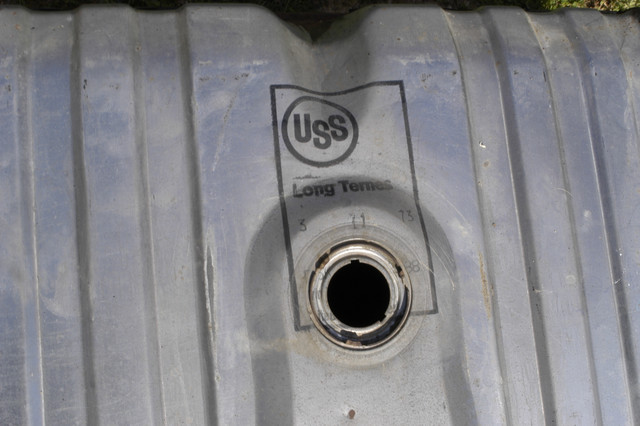
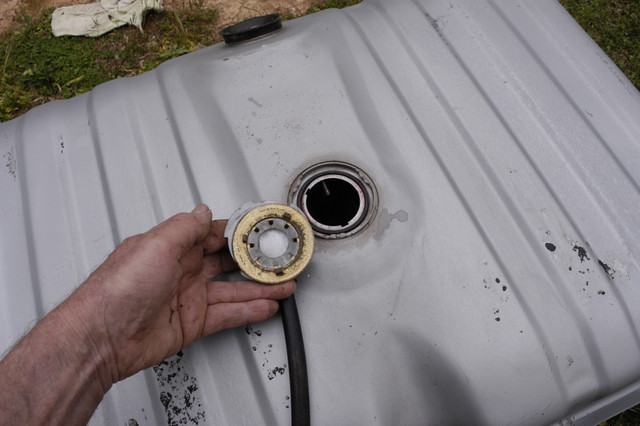
Here are some pictures of the fuel tank. Looking at the top of it you would have thought it would have been perfect. Did not have Stabil back then but did put Marvel Mystery oil in the tank and filled it but did not help. Inside was horribly rusty. Took to radiator shop and it cost more to clean than a new one costs, lol. $100 to just hot tank it and they have to cut two holes in the tank to get it to sink in the vat.
So I just ordered new sending unit that comes today and the Q vert had new tank on it so I pulled it off and it is one the Mach 1 now. Note how rusty the sending unit was.
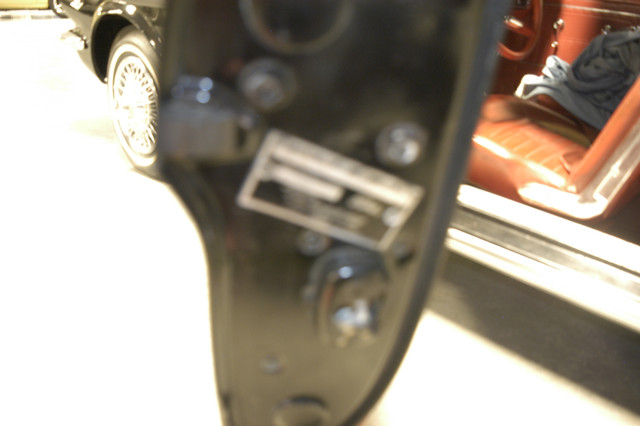
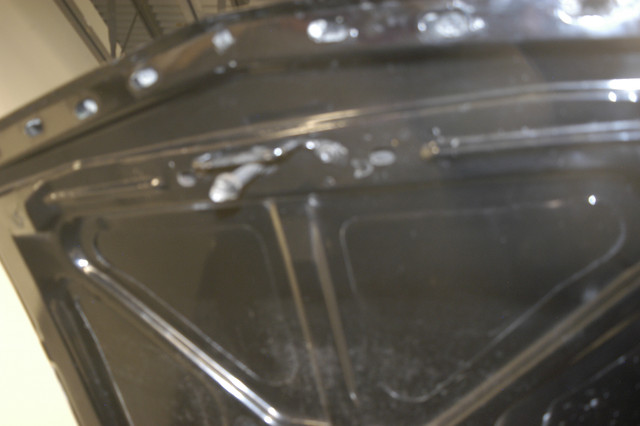
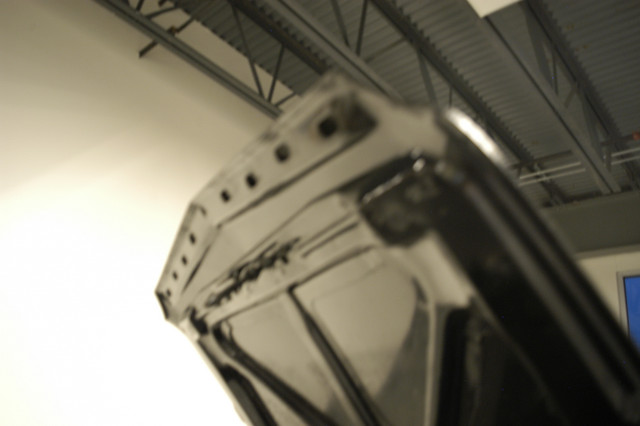
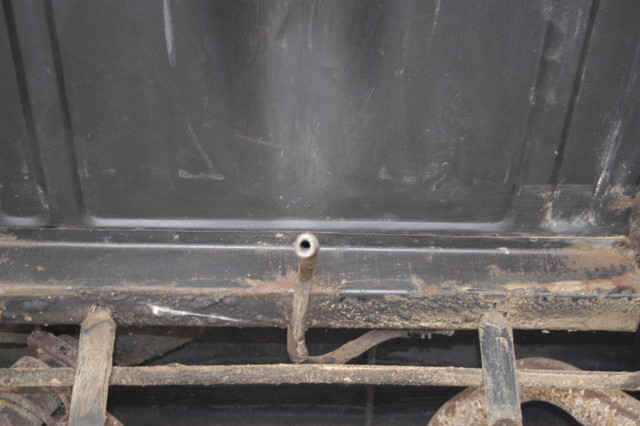
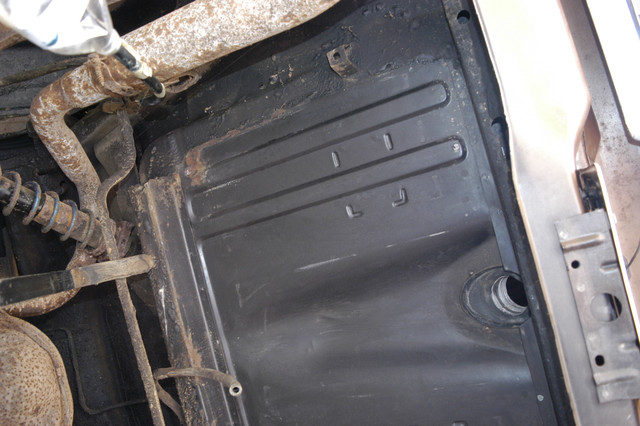
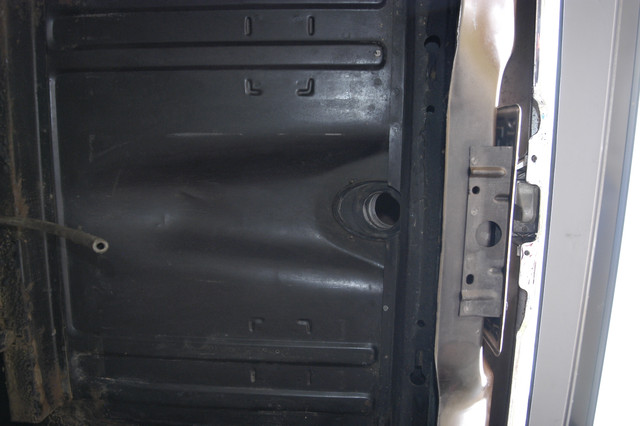
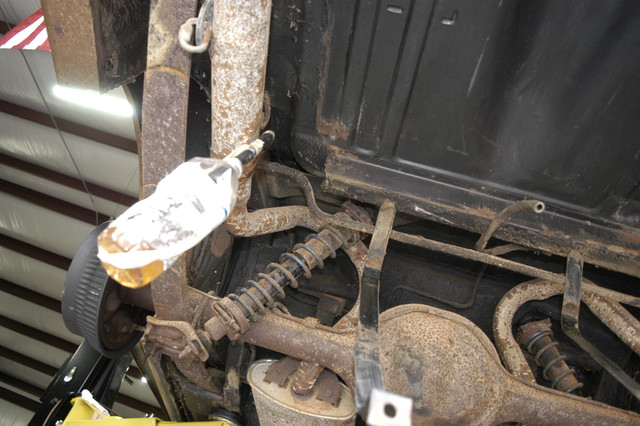
Couple pics under the car also, no rust under the tank you can see the color of primer they used at Dearborn.
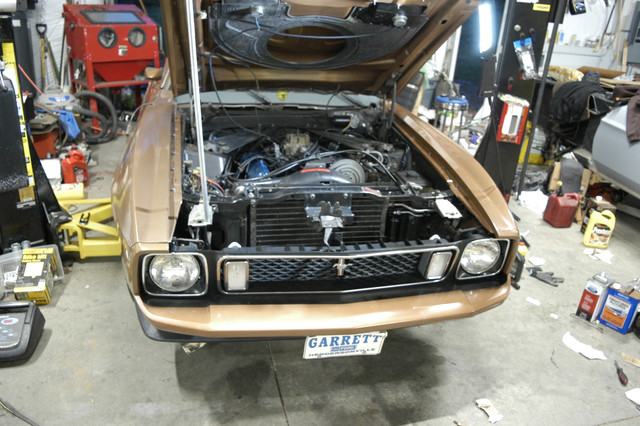
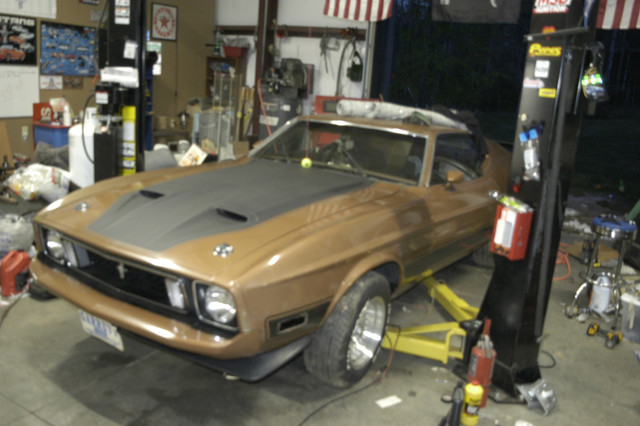
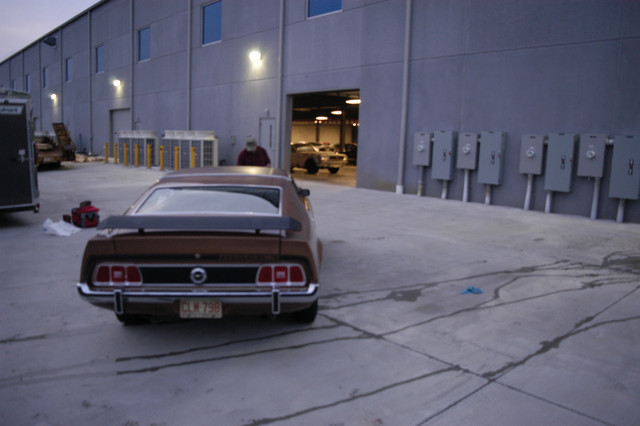
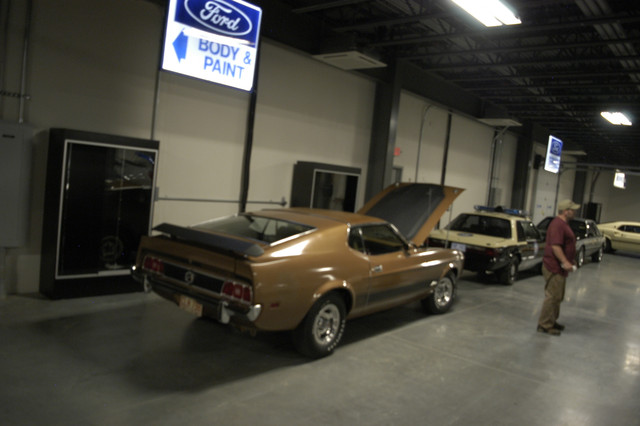
If the car will not run right we will push into the museum. This is not a competition or show just a museum showing Mustang history. There will be a barn find car with the barn brought in with the car not cleaned at all.
I stuffed the tank vent with the material from a PCV filter like clips into the air cleaner. The one in the new tank had nothing to stop the liquid.
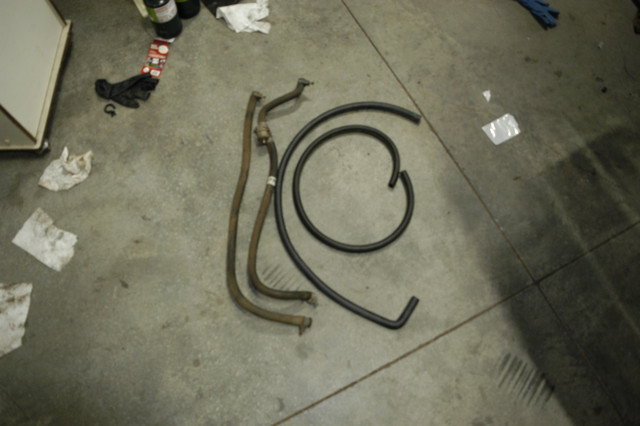
the heater hoses were from NPD but had the Marti tags. Are said to be Concourse. They look nothing like the originals laying beside them. I cleaned the original clamps and will put on the new hose. Pay a fortune for the parts and never right. Radiator hoses same way nothing like the originals.
Well off to get started long day ahead for sure. Could not sleep my head filled with what has to be done to finish.
BTW I flushed the gas line out several times with denatured alcohol. That dissolves the deposits inside the line the best of anything I have found. I have done repeatedly and catch the liquid in bottle so I can see when the rust and crap stops. I did replace all rubber lines with methanol resistant. I am going to use non methanol 91 octane. They want max of 1/4 tank in the car for insurance reasons and fire marshal.
Note the date code on the tank. 3-11-73. I ordered in March built in April.


It would be tough because I did not remove the dash. Can't see anything with the dash there. Motor City Mustang is doing an install right now and has great pics with the dash out of the way.
If I had help I would have taken the dash out but no help just me.
Also you can order the Ford assembly guides from Osborne that show all the details. But some of them are wrong, lol. I noticed the other day they say to torque the gas pedal to I think 97 Ft. Lbs.. I think they are 1/4" or 5/16" bolts. They also show a decal on the ram air cleaner lid that was never there.
Here are some pictures of the fuel tank. Looking at the top of it you would have thought it would have been perfect. Did not have Stabil back then but did put Marvel Mystery oil in the tank and filled it but did not help. Inside was horribly rusty. Took to radiator shop and it cost more to clean than a new one costs, lol. $100 to just hot tank it and they have to cut two holes in the tank to get it to sink in the vat.
So I just ordered new sending unit that comes today and the Q vert had new tank on it so I pulled it off and it is one the Mach 1 now. Note how rusty the sending unit was.
Couple pics under the car also, no rust under the tank you can see the color of primer they used at Dearborn.
If the car will not run right we will push into the museum. This is not a competition or show just a museum showing Mustang history. There will be a barn find car with the barn brought in with the car not cleaned at all.
I stuffed the tank vent with the material from a PCV filter like clips into the air cleaner. The one in the new tank had nothing to stop the liquid.
the heater hoses were from NPD but had the Marti tags. Are said to be Concourse. They look nothing like the originals laying beside them. I cleaned the original clamps and will put on the new hose. Pay a fortune for the parts and never right. Radiator hoses same way nothing like the originals.
Well off to get started long day ahead for sure. Could not sleep my head filled with what has to be done to finish.
BTW I flushed the gas line out several times with denatured alcohol. That dissolves the deposits inside the line the best of anything I have found. I have done repeatedly and catch the liquid in bottle so I can see when the rust and crap stops. I did replace all rubber lines with methanol resistant. I am going to use non methanol 91 octane. They want max of 1/4 tank in the car for insurance reasons and fire marshal.
Note the date code on the tank. 3-11-73. I ordered in March built in April.