@BowDawg
[i plan on using the stock steel hardline as my low-pressure return line now and running the supplied high pressure rubber line to the sniper EFI.]
Unless u are really sure its a new one. Really do not reuse any of the old line. The flow going other way, the rust inside the line (much more than you think), flushed at low carb pressure on one direction will get back into the tank. Guaranteed!
[i tried to start my install over the weekend and instantly hit a roadblock with the return line.]
hahah yes, on the promo videos its all done in 2 hours
")
[Did you come up with a good way to mount the sniper efi return bung? looks like there is enough clearance to the trunk floor to mount it nearby the vent, but no idea how to get tools into the tank to tighten it...]
In my install, i've replaced the vent by a sending unit. On this point, I can tell you, while its a good idea that fits our tanks. If you don't have an old sending unit but have a welding machine. Use the old vent for ref. Cut a plate of metal that fits, drill a hole in it and bent a tube, and weld it to it. Thats all you need really.
I did the way I did, because I had no idea. And just like every first time, you learn from it.
[Also where have you hooked up the 12v switched power? ]
In this thread, I've detailed the tank vent part that I did and that electrical part too.
You will see more installs and variations of the install, different solutions/roads taken by the owners.
https://www.7173mustangs.com/thread-holley-sniper-efi-and-robbmc-surge-tank-351c-and-fmx?pid=305177#pid305177
Thanks Fabrice!
I might have missed it, but since your return line is going in the top vent location, how are you venting the tank now?
And for the pink wire to the ignition green/red - is that green/red wire under the steering column/dash or in the engine bay?
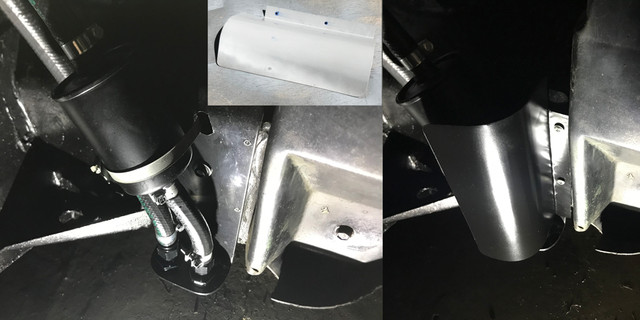
Your 90deg fuel line brackets look awesome! Might want to think about a cover like a piece of plastic in the wheel well for the odd chance something sharp gets kicked up off of the front tire you don't want it puncturing a 58 psi fuel hose.