jowens1126
Jim
- Joined
- Jan 25, 2017
- Messages
- 733
- Reaction score
- 24
- Location
- Tavares, fl
- My Car
- 71 Mustang Mach 1
302-2v
C4
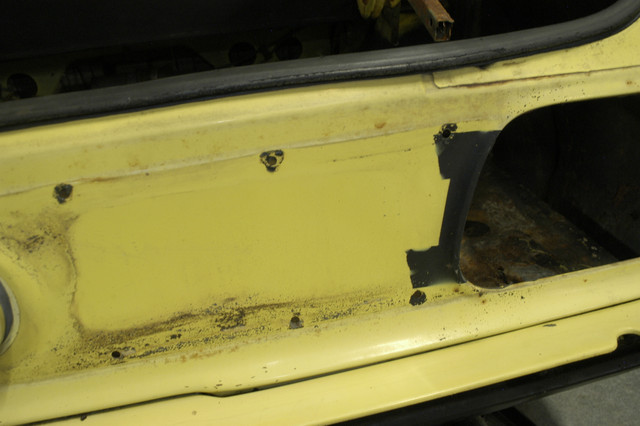
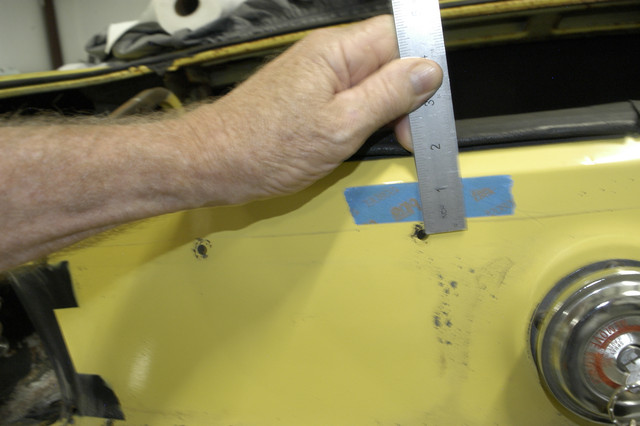
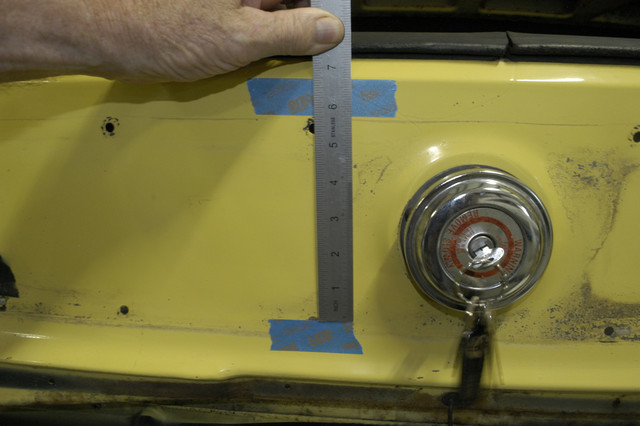
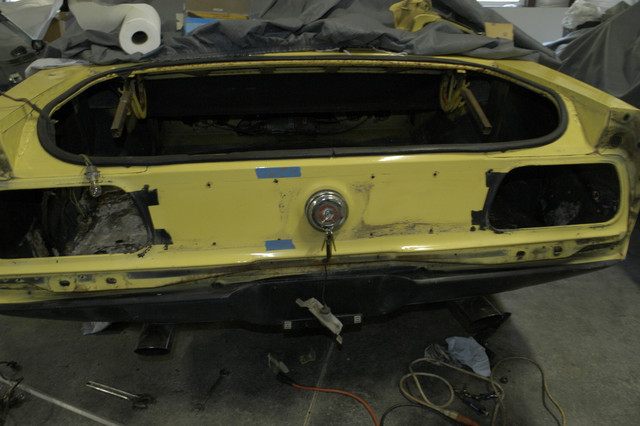
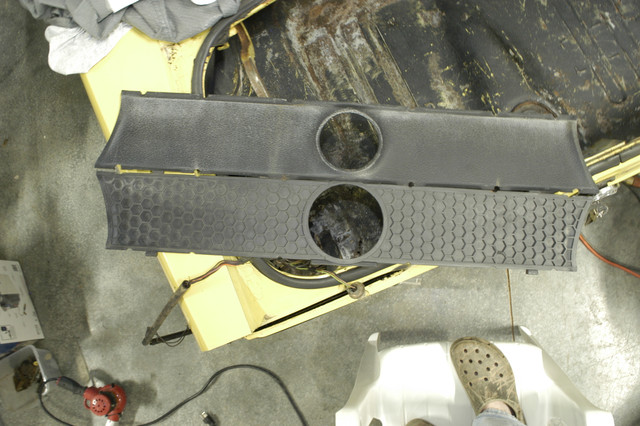
My car didnt come with one of these, but I recently got the kit from NPD for it with the AMK Hardware. I was wondering if someone could take some measurements for me on the location of the holes for the fasteners. I have to drill all the holes to mount it, and I would prefer to drill them at least close to the stock location. So If anyone could take some accurate measurements or point me to a template that would be great. I dont want to just drill some random holes to mount it.
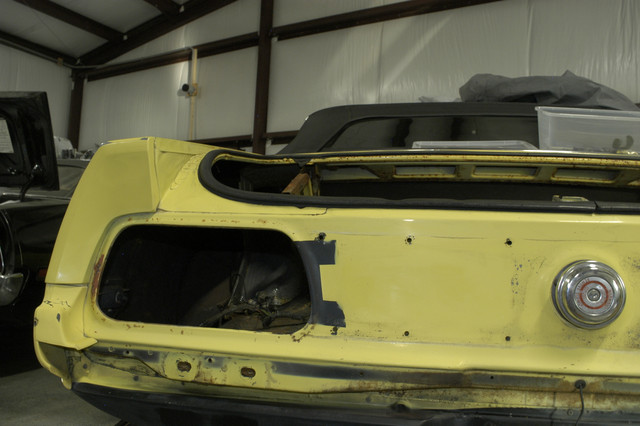
I just threw it up there to test fit it last night to see what it will look like and it looks great.
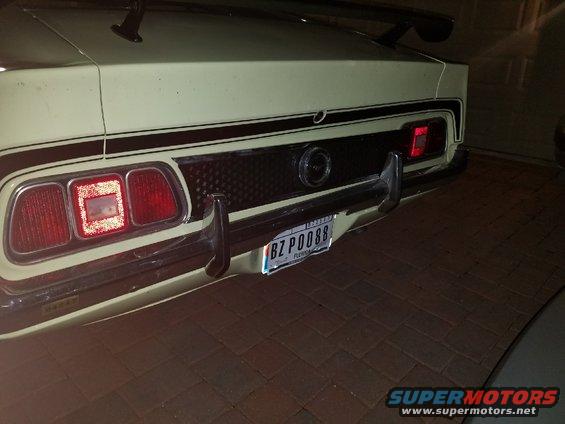
I just threw it up there to test fit it last night to see what it will look like and it looks great.
Last edited by a moderator: