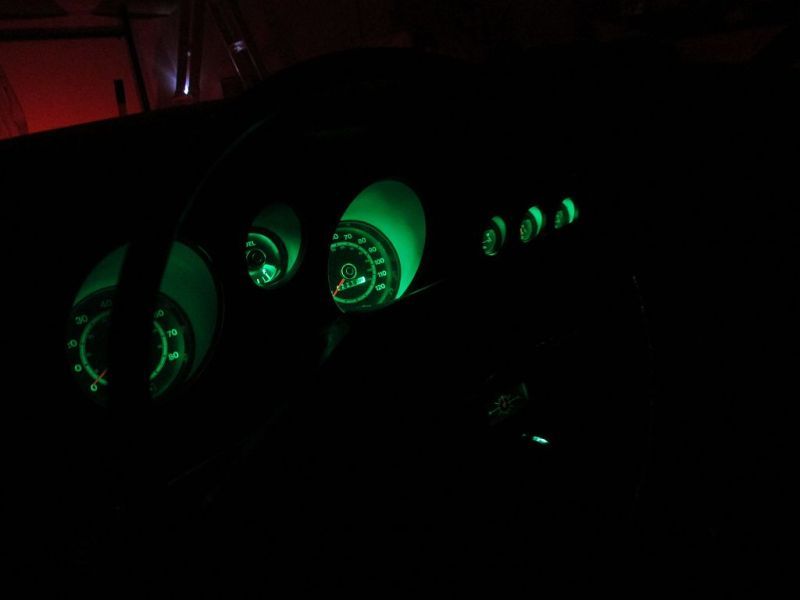
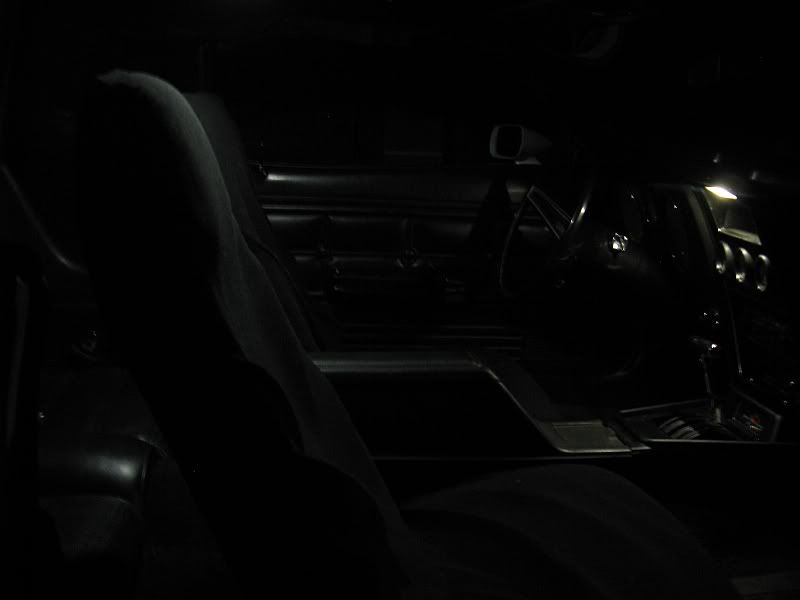
installed LED dash lights and "Rocketman's" converted AMP gauge today.

7173Mustangs.com

Help Support 7173Mustangs.com:

This site may earn a commission from merchant affiliate links, including eBay, Amazon, and others.
Whatever you spend on your own vices, bad habits and other questionable endeavors, just spend the same amount on the wife...she'll be ok.

My wife has one hell of a lot of shoes, purses and jackets and she looks damn good in them. We both win.

My dear old Pop used to tell me "Son, no matter how much or how little money you make in your life, spend 90% of it on hot cars, hot women, nice watches and expensive booze...and feel free to just waste the rest on whatever."


Mike, I have never been someone who likes to speed a lot when driving. I have had accidents and such ( so many...), but none caused by speeding.

I stick to 5 over on surface streets, no more than 9 over on the freeway. The few times I ever street raced, I never got caught. In normal traffic, others are typically always going faster than me, so I never get lit up.

 
Last edited:
I am going to go ahead and say it: Anyone who does not do this LED conversion is seriously missing the boat.

Most of us have gotten used to the barely-visible dash lighting over the years, and i guarantee you that you just don't realize how much enjoyment you are missing if you don't do this conversion.

As far as i know, there is not a single drawback to doing this other than cost and time to instrall them.

As you can see, they throw a beautiful greenish glow onto the gauges...just about exactly what the stockers looked like 40+ years ago.

Very legible, easy on the eyes...no eye strain at all.

No more checking your speed or gas with a little flashlight while driving at night!

The best part I think is the one thing that is completely invisible: NO HEAT from the bulbs! It doesn't seem like it but those little 194s can throw off some long-term heat and it affects everything in the dash area. The inside of the clusters turn brown, the plastic dries out and becomes brittle and the wiring gets nice and crispy.

The backside of the 3-gauge cluster on mine was so crumbly from the heat over the years that the holes for the bulb sockets were gone...just big jagged holes. No matter becuase the bulb sockets themselves were melted and distorted anyway so they would have never fit. I had to resort to a little backyard ingenuity to get it to work again.

The first picture is of the dash with the lights on in the closed garage. The green glow looks great in the picture...even more fantastic in person!

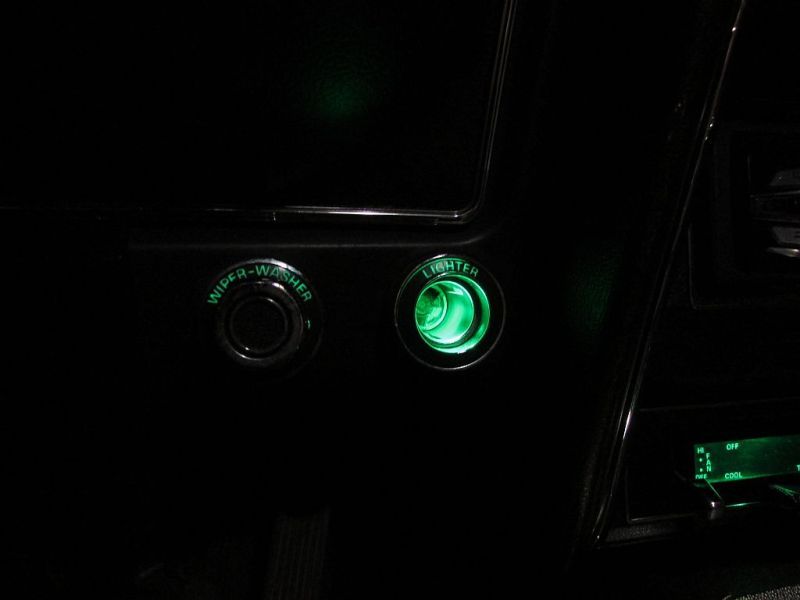
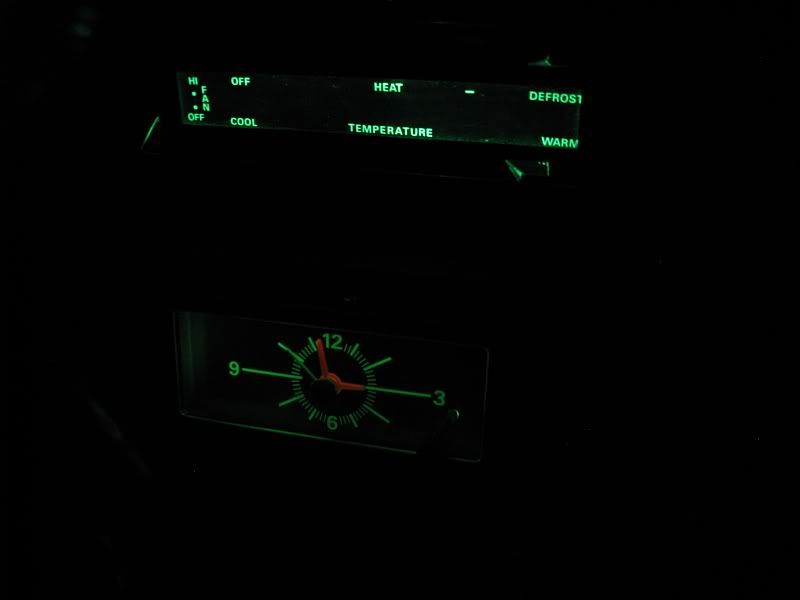
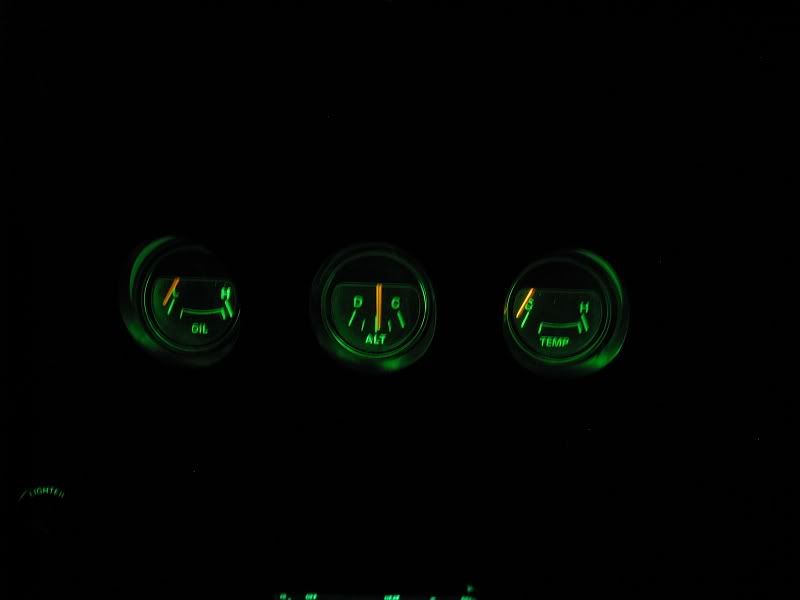
Next 3 pics are of the AMP (to VIOLT conversion) gauge from "Rocketman" and ow it functions.

#1 shows the gauge when the engine is off, key out of ignition.

#2 shows engine on, lights off. It shows a big state of charge upon initial start, and then settles down to about half of that after a couple minutes.

#3 shows the gauge at idle with the lights on. At anything over 1000 rpm, the gauge shows a positive charge with the lights on.

The needle flickers a bit when the turn signals are on.

I'm loving the fact that I have a functioning AMP (really VOLTS) gauge after 25+ years of staring at that dead soldier while I'm driving.

The three center gauges have the same awesome green glow.

I heartily endorse "Rocketman's" work. We need more guys like him in the hobby.

zpfile002.jpg

zpfile003.jpg

zpfile004.jpg

zpfile005.jpg

 
Last edited:
My LED lights. I didn't go green. I wasn't too concerned about the glow, I just wanted to see them and I am happy as I can be! So this is white LED with original diffuser in place.


The pictures are not the best, it's low light after all. But I agree with Kit. This is a 'must do' upgrade. I used to keep a little pocket flash light with me so I could look at the temp/oil gauge at night. Now I can see all of them with no problems. It is awesome.

 
Best thing I've done to the interior.

IMG_0104.jpg


OK, so to beat a dead horse so to speak... What do you have to do to get to the back of the clusters? I assume you have to remove the dash? Start with Dash pad, which is simple. Do you then need to remove the steering wheel then the dash? Do you need to reaxch up underneath the dash and unplug everything? I really want to do this, but I'm afraid I don't have the time to dig into an all-day or multi-day project.

Assume I have good clean lenses, and all I need to do is replace the bulbs... What am I looking at?

I'm a complete noob when it comes to things like this.
No need to remove steering wheel. You should remove the lens though so you don't scratch it removing the cluster. It helps to undo the two bolts holding the steering column to drop it down but I have successfully removed the cluster without doing this. You kind of have to roll it around the steering wheel to get it out. When you have the cluster on the bench the bulb sockets come out with a half twist.

 
OK, so to beat a dead horse so to speak... What do you have to do to get to the back of the clusters? I assume you have to remove the dash? Start with Dash pad, which is simple. Do you then need to remove the steering wheel then the dash? Do you need to reaxch up underneath the dash and unplug everything? I really want to do this, but I'm afraid I don't have the time to dig into an all-day or multi-day project.

Assume I have good clean lenses, and all I need to do is replace the bulbs... What am I looking at?

I'm a complete noob when it comes to things like this.
Remove Dash Pad

Loosen Steering Wheel Bolts (The 4 that mount it) to gain clearance

Remove Dash Trim around Gauges (Three screws I think, been a while)

Remove 4 Mounting bolts for gauge cluster

Pull cluster forward

Unplug wiring harness, Speedometer cable, and if equipped Tach cable

Maneuver cluster clear of car (I like to take it out towards the center of the car)

With the cluster out, I'd take the time to clean the lenses inside and out, throw a little contact cleaner on the flex circuit, and just inspect if for age.

If you want to retain the blue caps, but have VERY fogged ones (like myself) you can try to polish them. But I found with mine that if I tried to get them lose I destroyed the little tabs the held them in.

You can order these:

http://www2.cougarpartscatalog.com/67bldefusers.html

which are the right color, and mount with screws (as they did in the cougars) which would let you keep them but not have to deal with the same cloudy issue.

To me, this is a weekend project, I would take two days to do it so I could take my time and be methodical about it. You really want good clean contacts where possible!

 
Thanks, guys!

I've been wanting to replace my steering wheel anyway. So maybe I'll do that, these LEds, and finally install a cigarette lighter all over the same weekend. Maybe put in a newer center speaker while I have everything apart.

What about the center gagees? I have the tripple gages. Do the LEDs go behind them too?
You can do LEDs in them as well, but they're a different bulb I believe from the 194s that are in the dash. I know that they're different sockets (they're not reproduced so be gentle!) Maybe Kit can chime in here?

 
The bulbs in the 3 center gauges are also 194 style. There are two of them. The bulb holders are actually part of the wiring harness, so there is no printed circuit on the back of the gauge cluster.

 
It is easier if you remove the top dssh pad also, and then unsnap and remove the section of HVAC ducting running on top of the dash cluster. This gives you free, easy and unfettered access to the back of the cluster from the top. Far easier to unhook or hook up the wiring harness, the speedo cable and the tach cable that way.

And yes, the dimmer function works like normal.

 
All the bulbs in the dash cluster and the center-stack gauges were replaced by LEDs. No original bulbs left.

The only remaining original bulbs are;

HVAC controller, console clock, shift indicator, foot well bulbs, dome light, map light and switch bulbs. I dont think the switches use the same type of bulb.

 
Thanks for a great write up. I have one question though-does the dimming function work with the bulbs you are using?

Again-thanks for a great write up.
LEDs are a constant current device, meaning they want a certain current t light, and the voltage really wouldn't matter as long as it exceeds the forward voltage drop of the LED. The brightness is determined by the supply current flowing through the LED. Since our cars use a rheostat to control the level of brightness of the dash lights (A rheostat is just a potentiometer used in a 2-wire setup instead of a 3-wire) (And I'm pretty sure it's being used as a 2-wire, not really relevant for this) it functions as the current limiting resistor in the circuit. So really no matter what LEDs you go with you should be able to retain the dimming, the only real factor being what the forward "ignite" voltage of the LED is will determine what the drop off point is to when the LEDs just aren't getting enough juice to light.

A very long way to say, yes any LED upgrade should be able to retain the dimming function, you just may not get as much "dimmability" before they shut off completely

Sent from my iPhone using Tapatalk

 
That video displays one of my biggest pet peeves about people who work on thier own vehicles: using the car itself as a workbench.

And this guy didn't even put a towel or anything down on the paint to protect it from scratches! AHHHHHH!

My wife has learned the hard way not to ever put ANYTHING...a soda can, her purse, a bag of groceries, a box...nothing...on the cars for any reason.

Sometimes people don't realize how easily paint can be scratched.

Guys leaning on thier car's fenders...especially if they are wearing jeans...always makes me cringe. Jeans are tough fabric. You may as well be wearing sandpaper pants.

I am a little reluctant to admit this, but I have had to be very strict with my wife and kids ( 4 girls, a boy and the wife) about how to open the door of thier cars ( and mine) without scratching up the inside of the fingercups with thier fingernails.

I realize it is real picayune stuff, but I pay for them and I want them taken care of.

 
Last edited:
Back
Top