- Joined
- Sep 8, 2018
- Messages
- 2,046
- Reaction score
- 1,150
- Location
- Ross, Ohio
- My Car
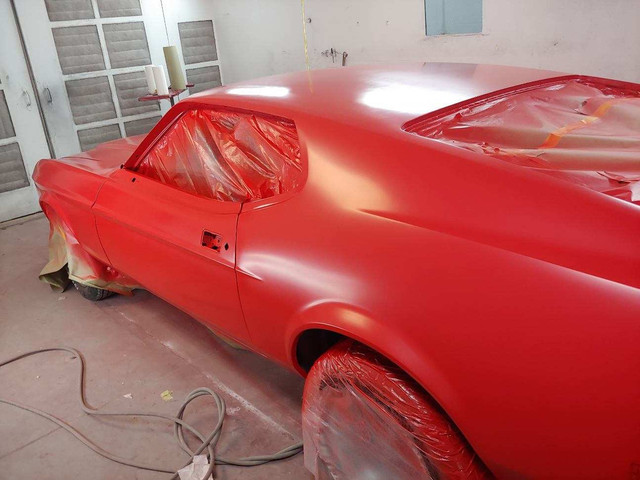
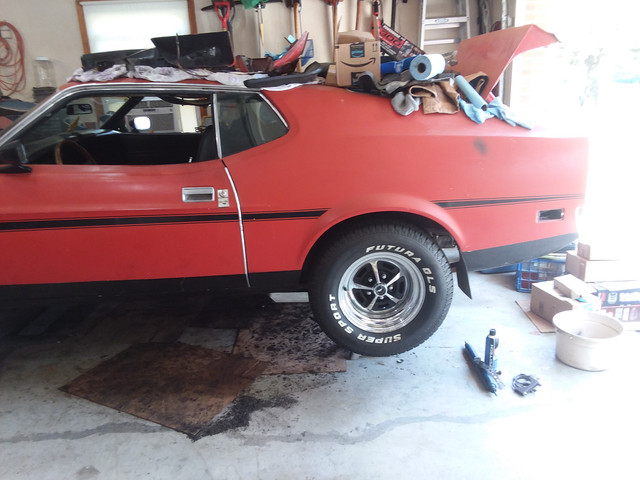
- 71 Sportsroof Bright Red.
Thanks for the input Dave. I agree with what you say but there is still that "attention getter" when you hear Mach1. It is the perception that Ford led people to believe that it was special. My brother would emphasize "Mach1" as if it was a great honor and privilege to own one. lol. Right now as it sits about the only thing missing from the mach1 package is the hood locks as far as I can know. Everything I have ordered for the interior was the deluxe for the mach 1. The car already had the honey comb tail panel and the front bumper was also changed out. Might be missing a few things yet but as I come across them I will convert over. Hopefully when I'm done the only way you will be able to tell it's not a mach1 will be by the vin.It is tough for sure when you loose a family member. You will always have his memory for sure.
The car not being a Mach 1 is not a big thing. People think the Mach 1 package was a big performance thing, NOT. It was a appearance package or smoke and mirrors Ford thing.
The only think the Mach 1 package got you that you could not get on another model was the name Mach 1, The plastic runner in the front carpet, the rear honey comb tail light panel and the Mach 1 sports interior option if it was ordered with it.
The base Mach 1 was nothing in the way of performance. You had to add options to go faster that could be added to any model. You even got the Mach 1 grill if you got the Decor Group.
99.9% of the people that see the car will not know the difference for sure. It is your car do it like you want for sure.
Last edited by a moderator:


")