You are using an out of date browser. It may not display this or other websites correctly.
You should upgrade or use an alternative browser.
You should upgrade or use an alternative browser.
Summer deadline - 72 Mach 1 Build thread
- Thread starter baz70
- Start date

Help Support 7173Mustangs.com:
This site may earn a commission from merchant affiliate
links, including eBay, Amazon, and others.
baz70
Well-known member
baz70
Well-known member
baz70
Well-known member
Keep up the good work!
- Joined
- Jan 7, 2015
- Messages
- 8,032
- Reaction score
- 534
- Location
- Western North Carolina
- My Car
- Multiple Mustangs!
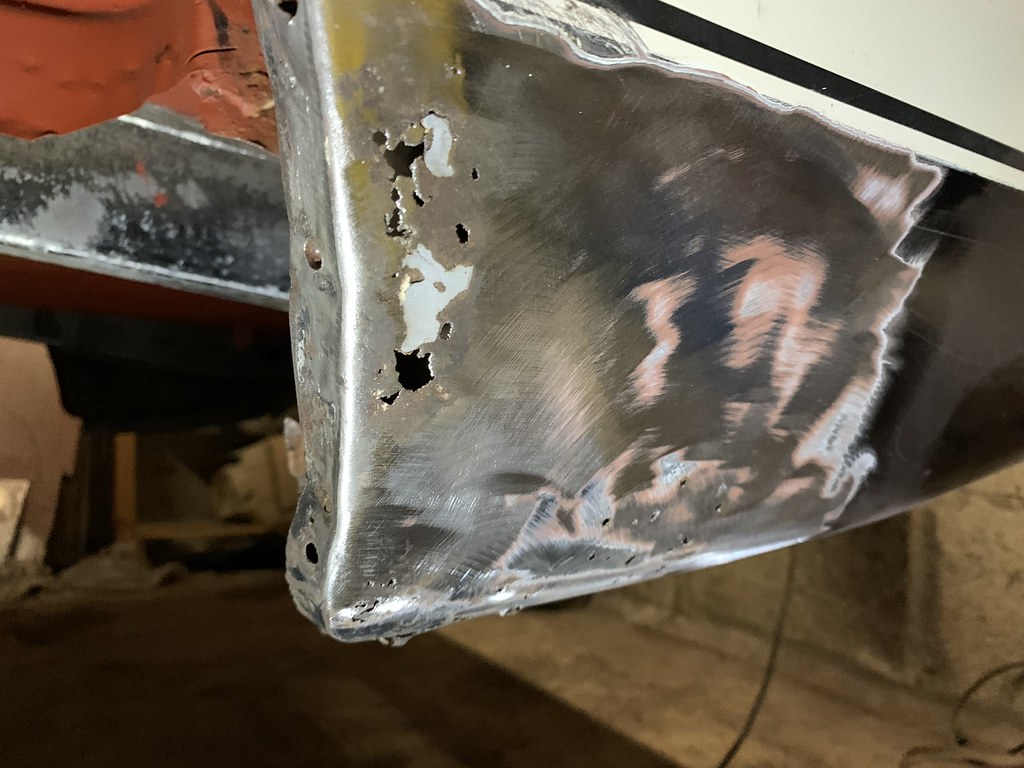
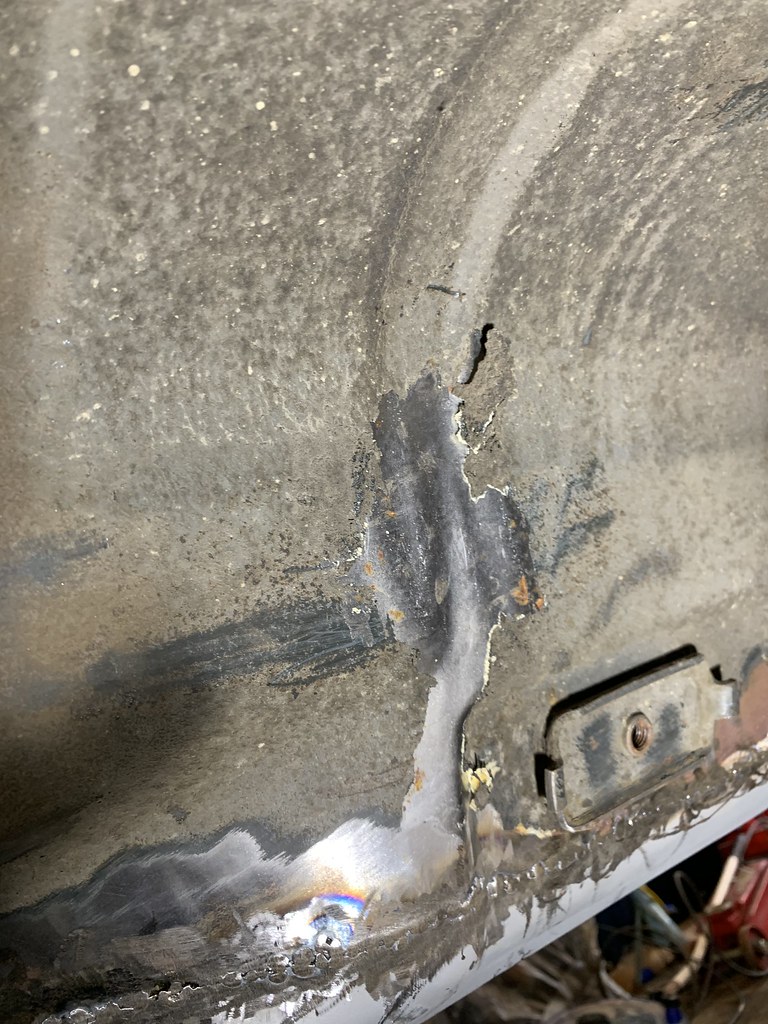
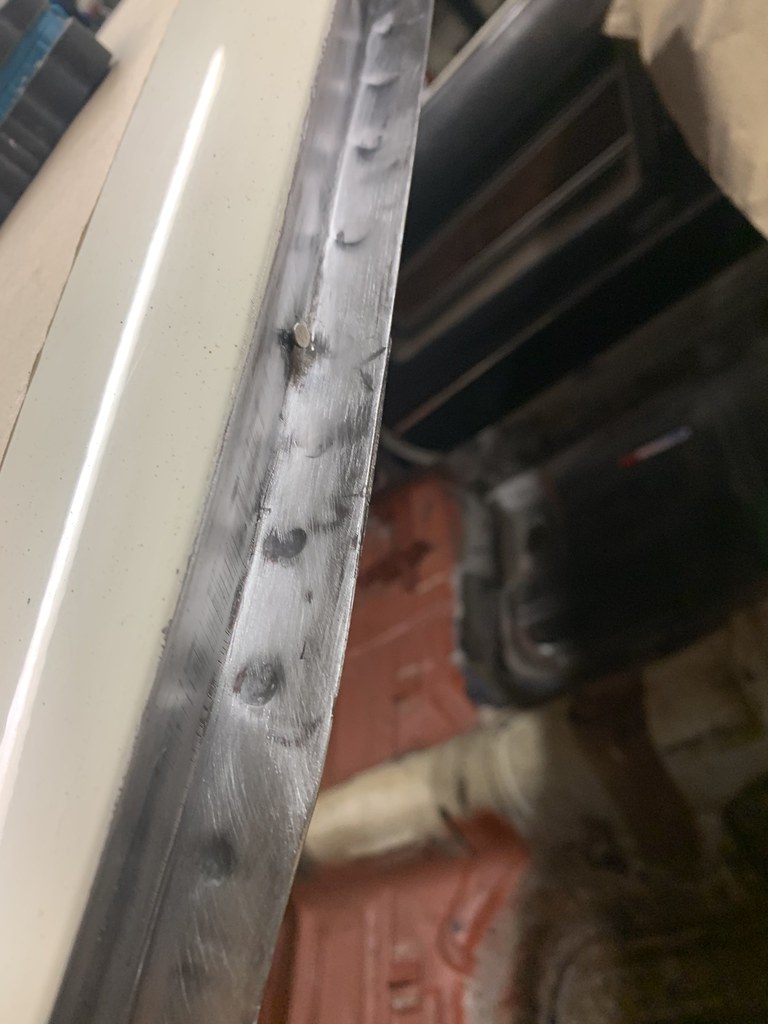
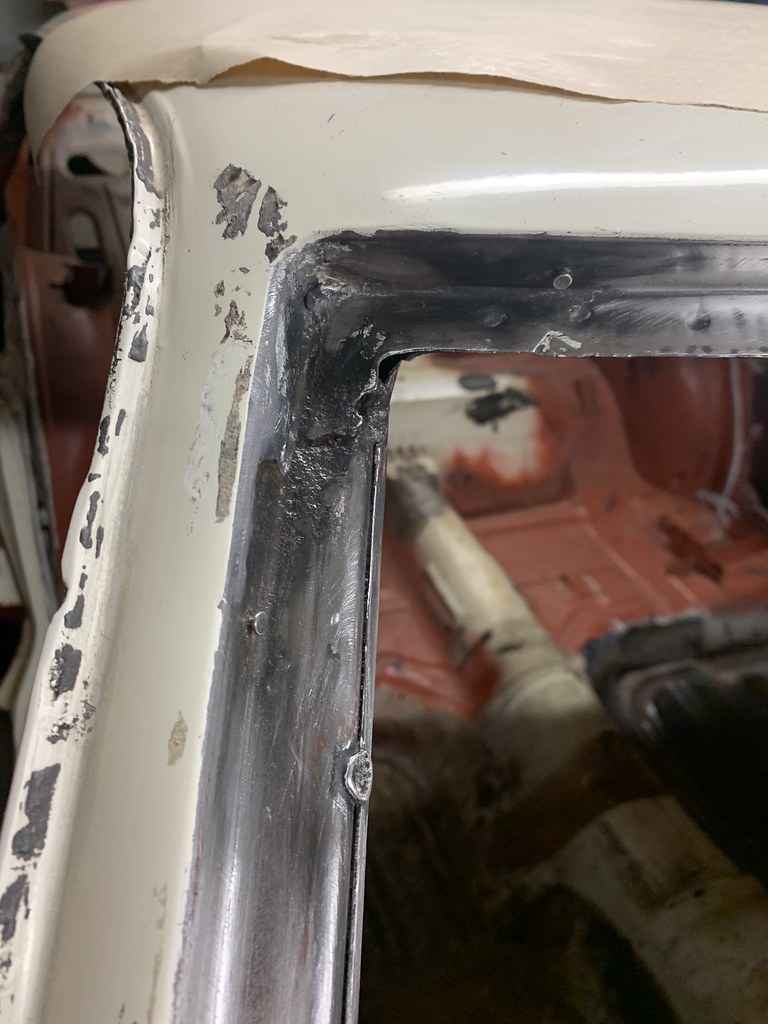
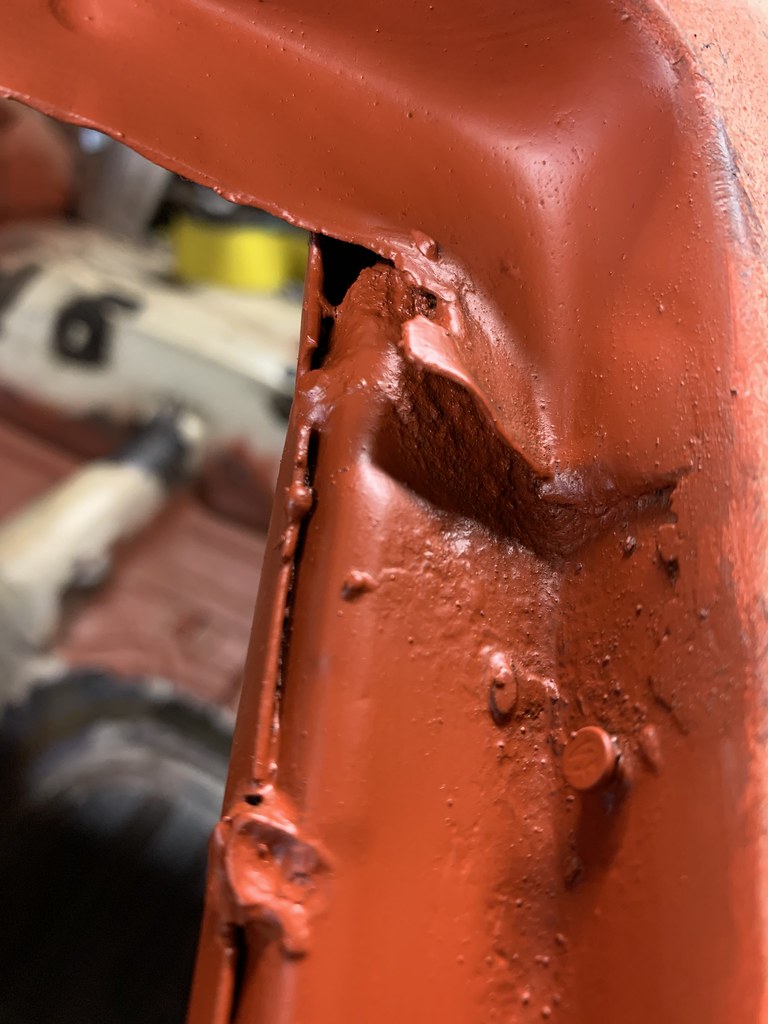
If you are trying to improve the joining I would braze it. Hammer and dolly as flat as possible and then fill in the low paces with brazing which will not come loose like bondo would. You can fill in rust pits with brazing also then prime and good to go.

$24.95
Ford Mustang Pony Racing Stripe 5.0 Muscle Shelby Long Sleeve T-Shirt Front Back Print-Black-Large
Giftware Shop Usa

$64.98
JH DESIGN GROUP Men's Ford Mustang Collage Black Zip Up Hoodie Sweatshirt (Large, CLG2-black)
Affordable Family Clothing

$9.00
2016 Hot Wheels Vintage American Muscle 1970 FORD MUSTANG MACH 1 die-cast 4/10
Cards and Bobbles

$18.99
$19.89
Checkered Flag Men's Ford Mustang Cap Tri-Bar Pony Logo Adjustable Black Hat
BS STORE LLC

$37.69
$55.00
The Complete Book of Ford Mustang: Every Model Since 1964-1/2 (Complete Book Series)
Amazon.com

$29.70
Ford Mustang, Mach 1, GT, Shelby, & Boss V-8 (64-73) Haynes Repair Manual
Haynes Repair Manuals

$13.75
$16.39
Ford Mustang: Trivia & Fun Facts Every Fan Should Know About The Great American Icon!
Amazon.com

$39.99
Lucky Ride Ford Hoodie Legend Lives Mustang Pony (Pocket) Full Zip Sweatshirt, Red, Medium
Giftware Shop Usa

$59.98
JH DESIGN GROUP Men's Mustang Logo Hoodie Full Zip Up Black Hooded Sweatshirt (X-Large, Black)
Affordable Family Clothing

$99.99
Polished Rocker Panel Sill Plate Molding Kit with Clips Compatible with 1964-1966 Ford Mustang - Authentic Restoration for Classic Car Enthusiasts
Classic 2 Current Fabrication
baz70
Well-known member
thanks!Keep up the good work!
thanks, noted and will do. Might leave the brazing to body shop when they prep for paint as tail panel will probably also need some brazing. either that or another skill to learn !If you are trying to improve the joining I would braze it. Hammer and dolly as flat as possible and then fill in the low paces with brazing which will not come loose like bondo would. You can fill in rust pits with brazing also then prime and good to go.
baz70
Well-known member
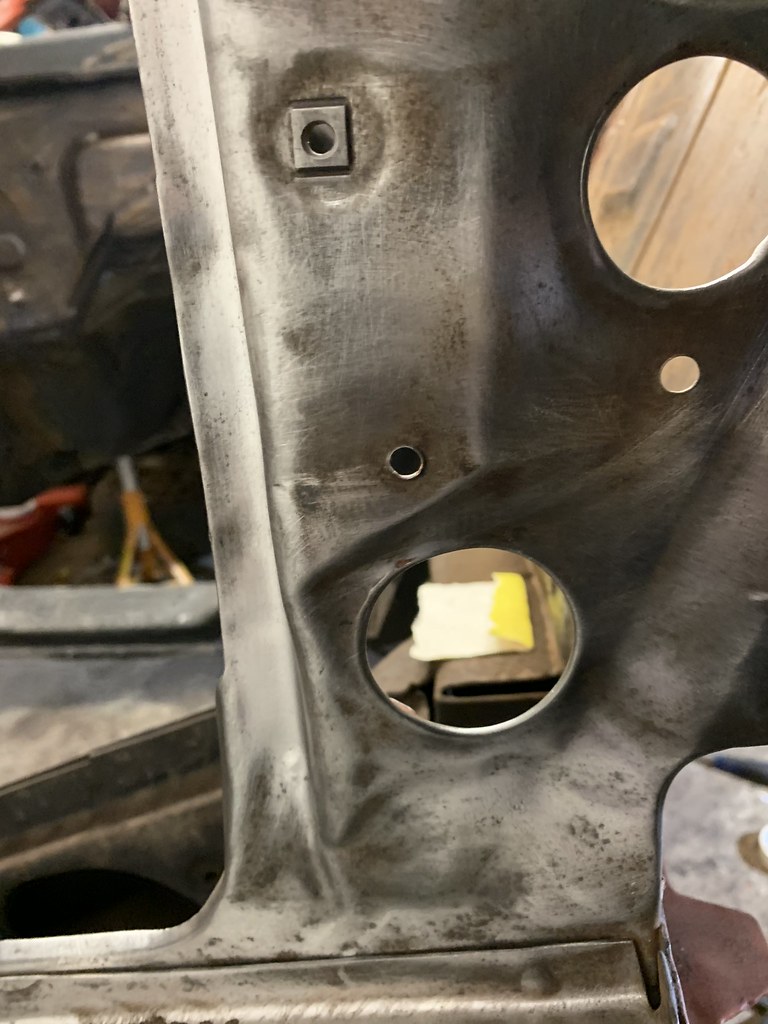
this past week I've been snatching a couple of hours per evening to hand sand down engine bay and then cover in Hydrate 80, before I red oxide prime it all and then paint black using eastwood underhood black. looking for any suggestions for painting engine bay, should I go with rattle cans or use compressor and paint gun ? any other points for consideration ? will then move onto cowl area and underside plan to use raptor bed liner.
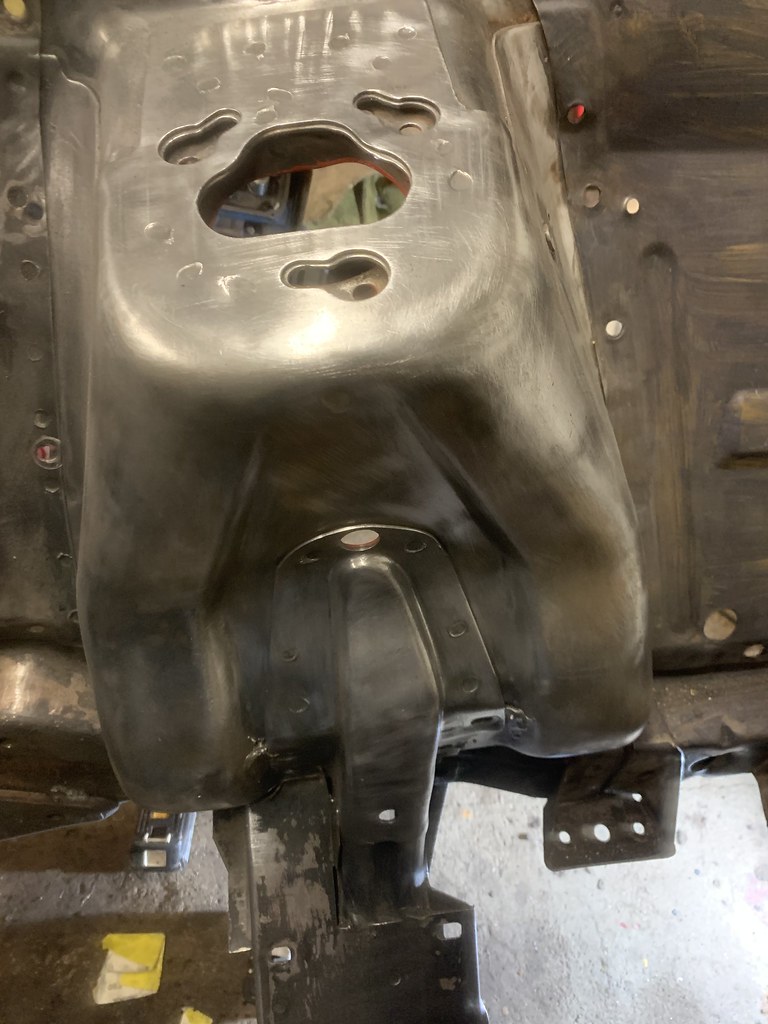
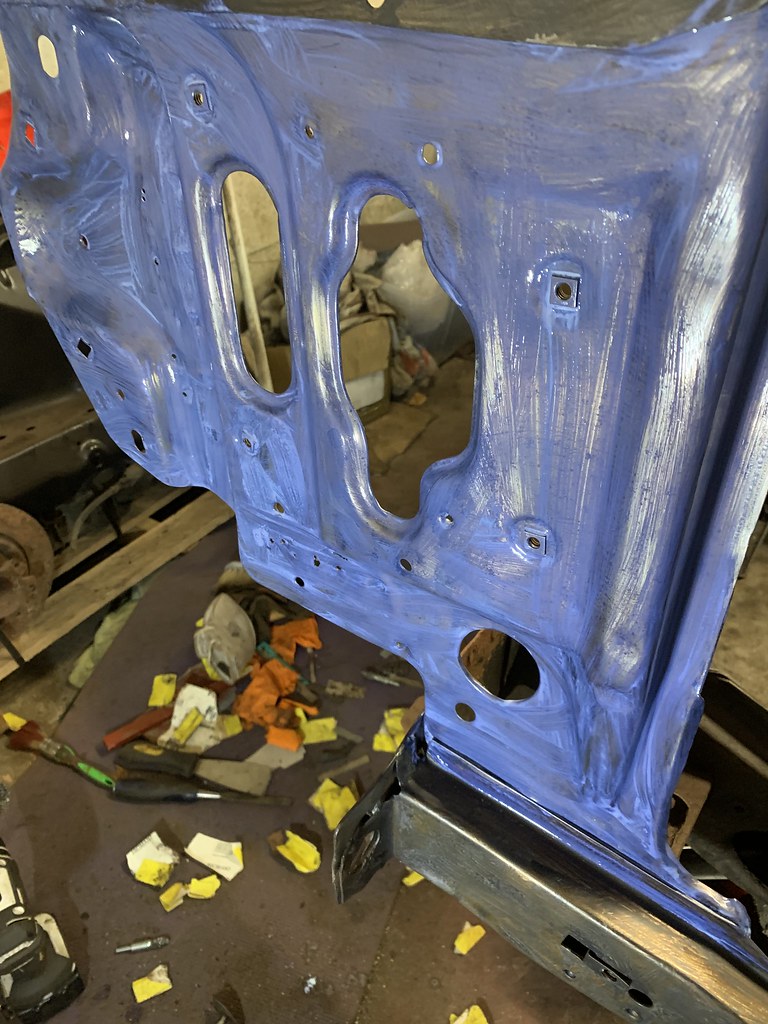
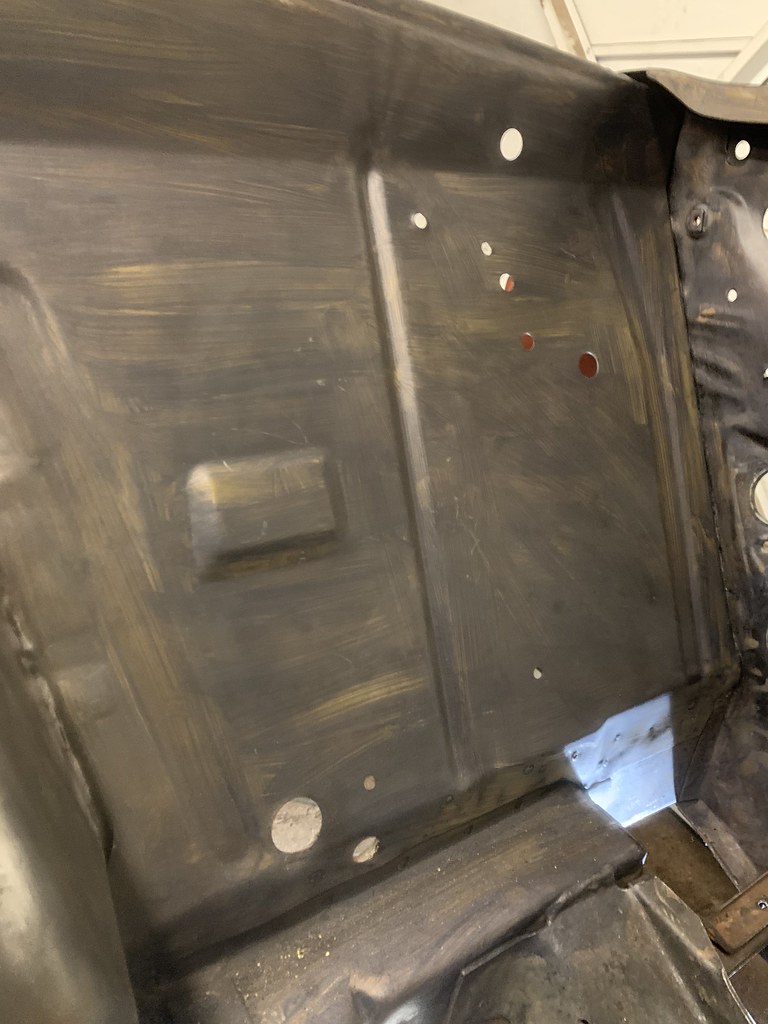


- Joined
- Mar 30, 2017
- Messages
- 2,400
- Reaction score
- 892
- Location
- The Netherlands
- My Car
- 73 Grande 351C
71 Mach 1 429CJ
biatchy dirty work is it? Busy welding and getting the engine bay bare metal as well atm... Not the most fun work to do.
I'd remove the radiator mounts while at it, rust is everywhere on these things. zinc plated mine last year. And also would inject whatever you can inside the frame as it's where the condense stays before spray.
I use cans for small details or plastics sometimes, but with a gun all gets much nicer and more durable imo. Cheaper too.
I know mine will get epoxy, filler primer, wet on wet primer after fine sanding the first primer, then black base and semi gloss coat. No oxygen will go easy thru that!
- Joined
- Jul 3, 2010
- Messages
- 726
- Reaction score
- 172
- Location
- The OC (California)
- My Car
- 31 Model A Station Wagon “Woody”
69 Mach 1 - 351C
30 Model A Cabriolet
96 Cobra Convertible
After all the prep work you have done on that engine bay, don’t skip on paint. Do a proper paint job with catalyzed products. Spray can looks ok, but it isn’t very durable. Salt air goes right through if you live by an ocean as I found out. Also it is not very chemical resistant, fuel can wash it off in most situations.this past week I've been snatching a couple of hours per evening to hand sand down engine bay and then cover in Hydrate 80, before I red oxide prime it all and then paint black using eastwood underhood black. looking for any suggestions for painting engine bay, should I go with rattle cans or use compressor and paint gun ? any other points for consideration ?
baz70
Well-known member
loads more work!! but you're right. Should do it propa! more to come....After all the prep work you have done on that engine bay, don’t skip on paint. Do a proper paint job with catalyzed products. Spray can looks ok, but it isn’t very durable. Salt air goes right through if you live by an ocean as I found out. Also it is not very chemical resistant, fuel can wash it off in most situations.
Fabrice! da main man.... it's all biachy and dirty my friendbiatchy dirty work is it? Busy welding and getting the engine bay bare metal as well atm... Not the most fun work to do.
I'd remove the radiator mounts while at it, rust is everywhere on these things. zinc plated mine last year. And also would inject whatever you can inside the frame as it's where the condense stays before spray.
I use cans for small details or plastics sometimes, but with a gun all gets much nicer and more durable imo. Cheaper too.
I know mine will get epoxy, filler primer, wet on wet primer after fine sanding the first primer, then black base and semi gloss coat. No oxygen will go easy thru that!
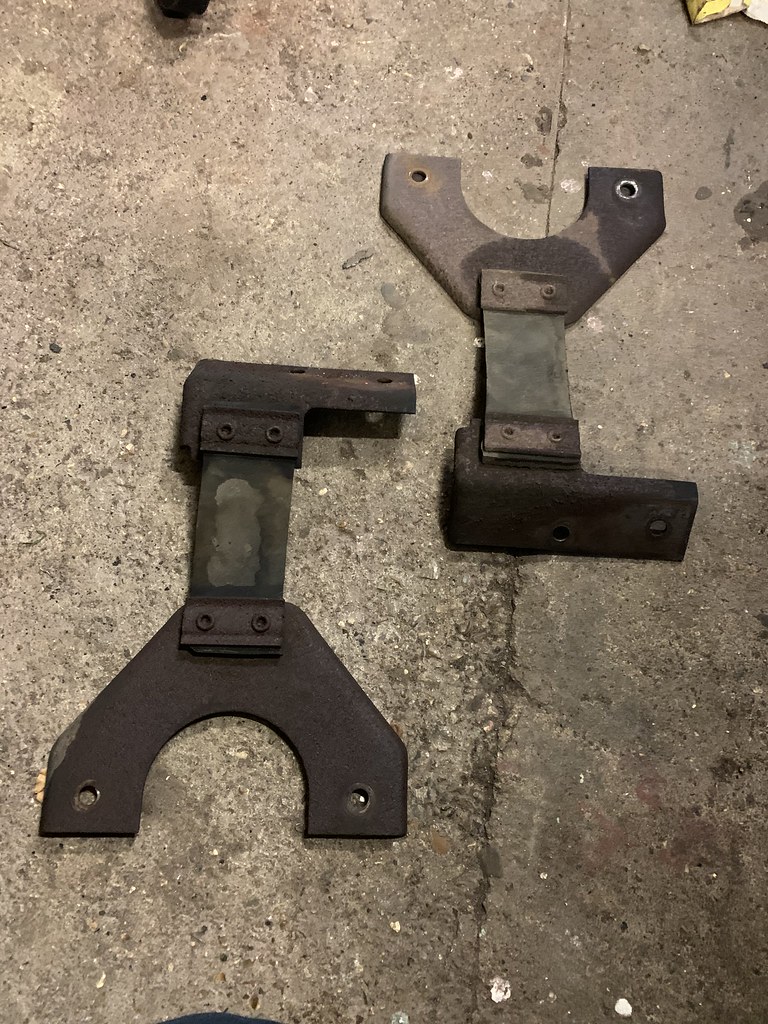
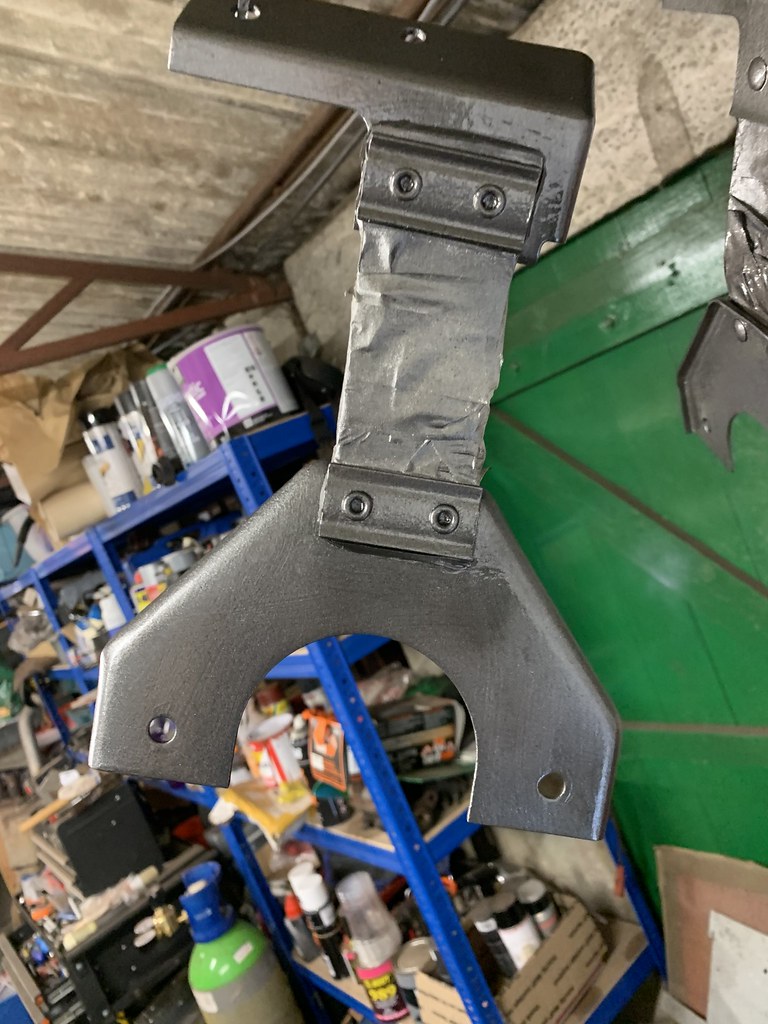
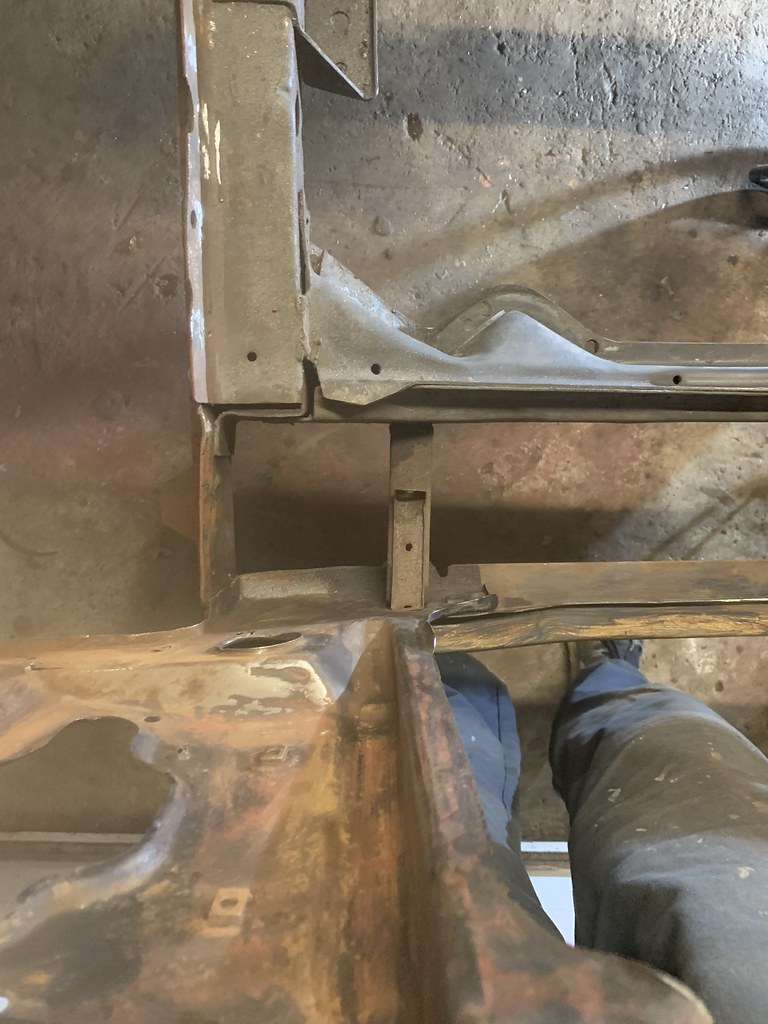
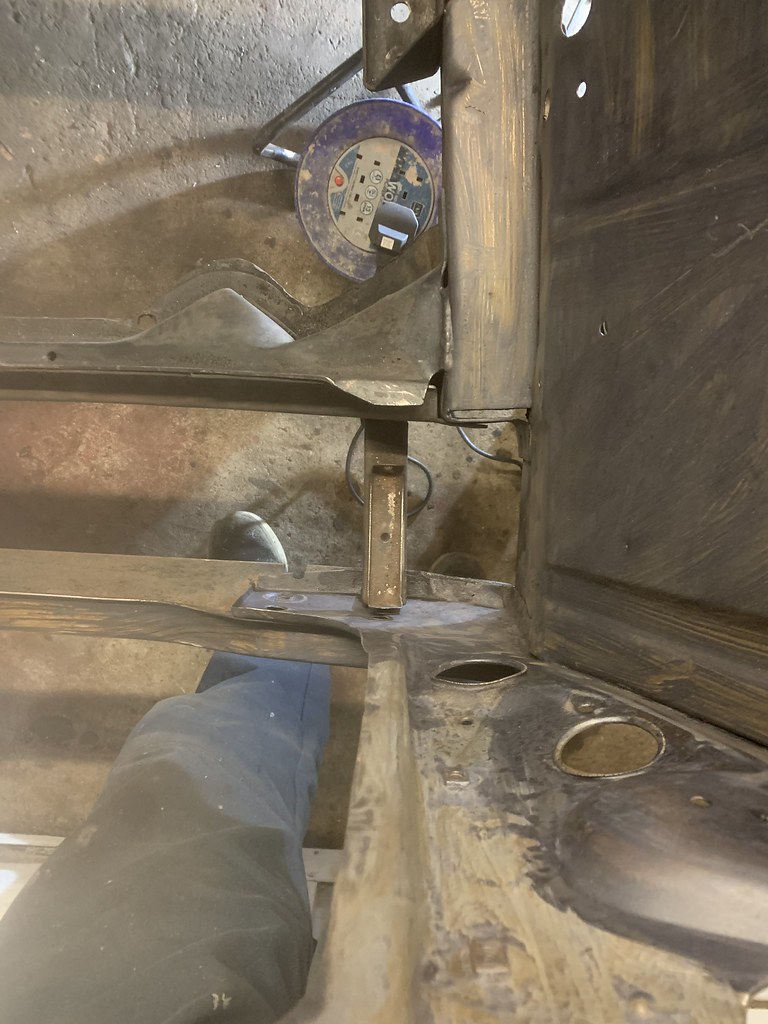
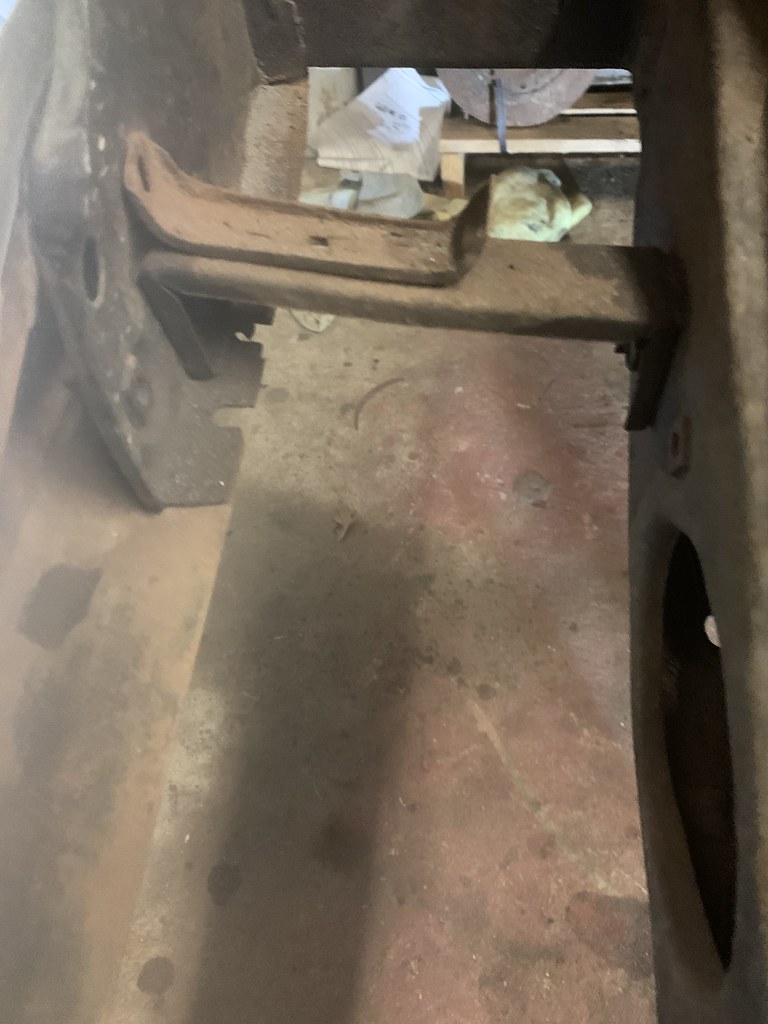
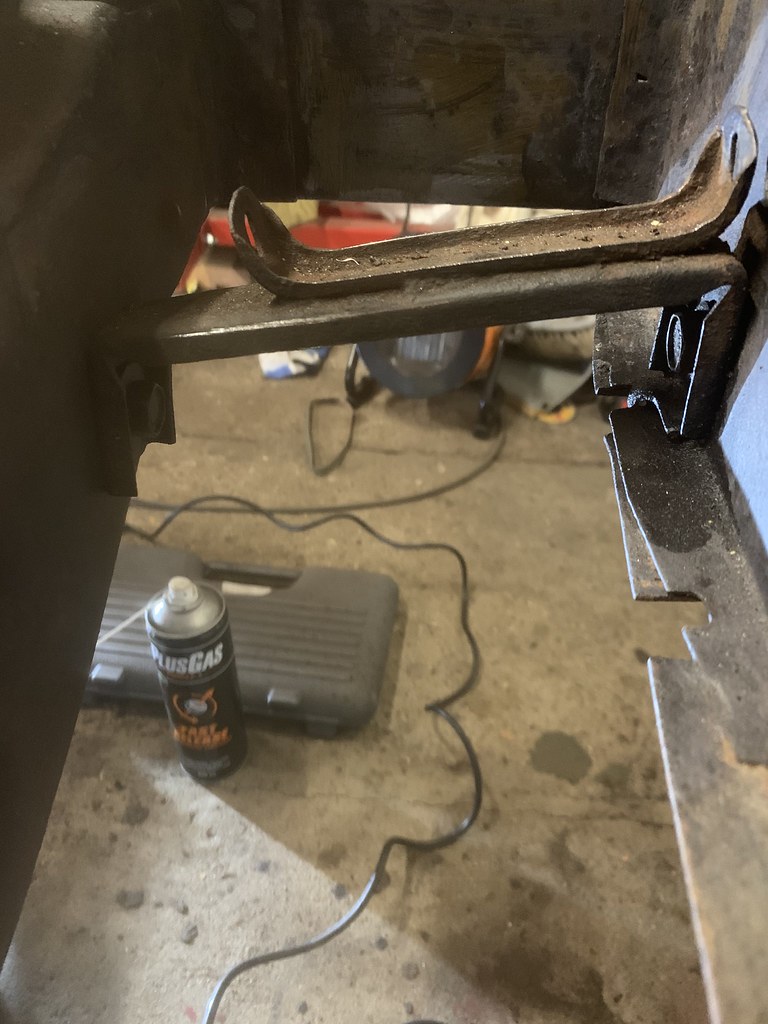
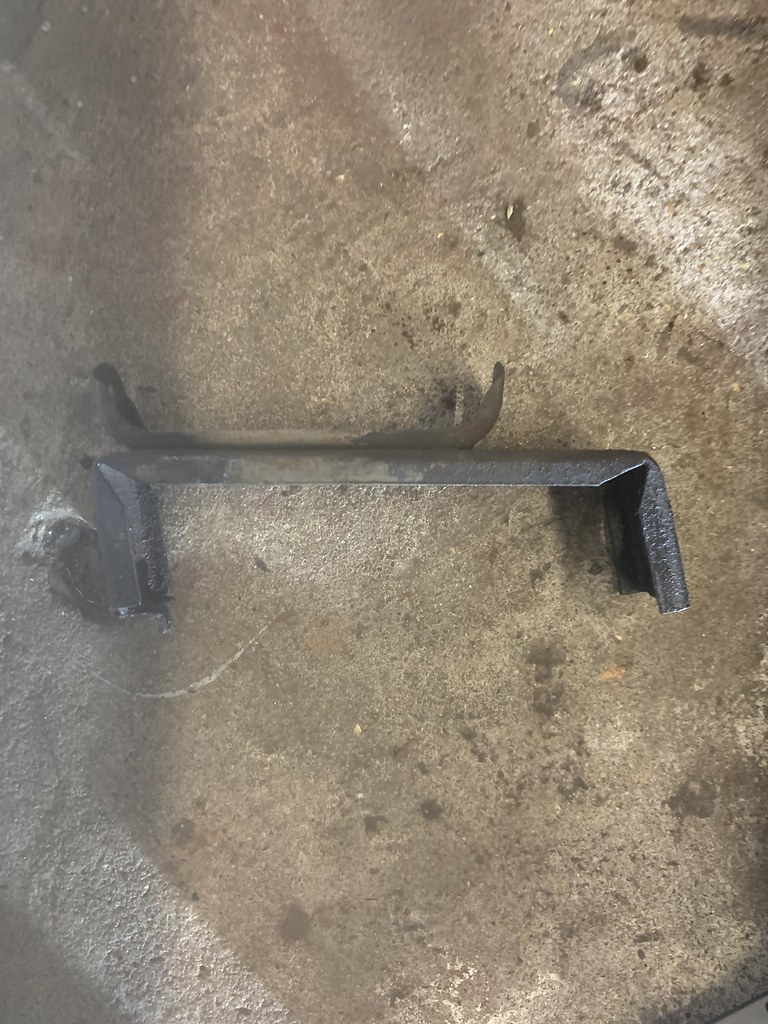
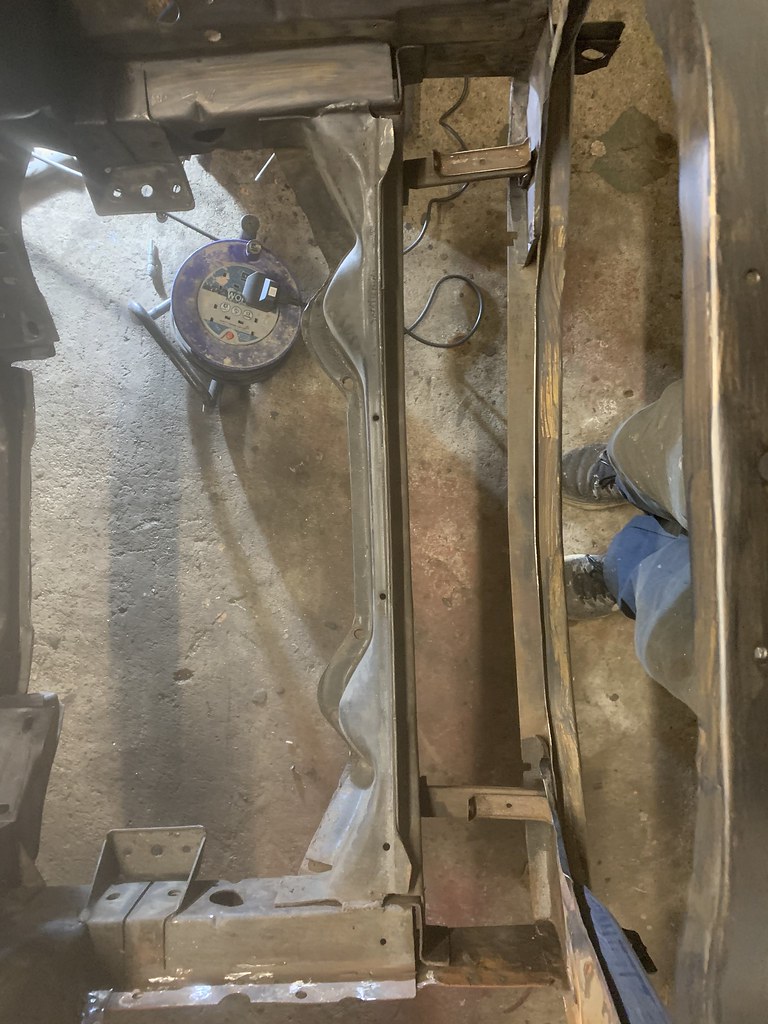
funny you should mention the radiator mounts. they looked odd and I was putting off their removal, but as I was in the vicinity and it would take a couple of minutes, i photographed them and removed them. Something looks odd with their positioning and function, i would welcome some input on what you all think has happened here. Also the front end alignment looks off, I need measurements. i have the pdf and will check that over weekend....
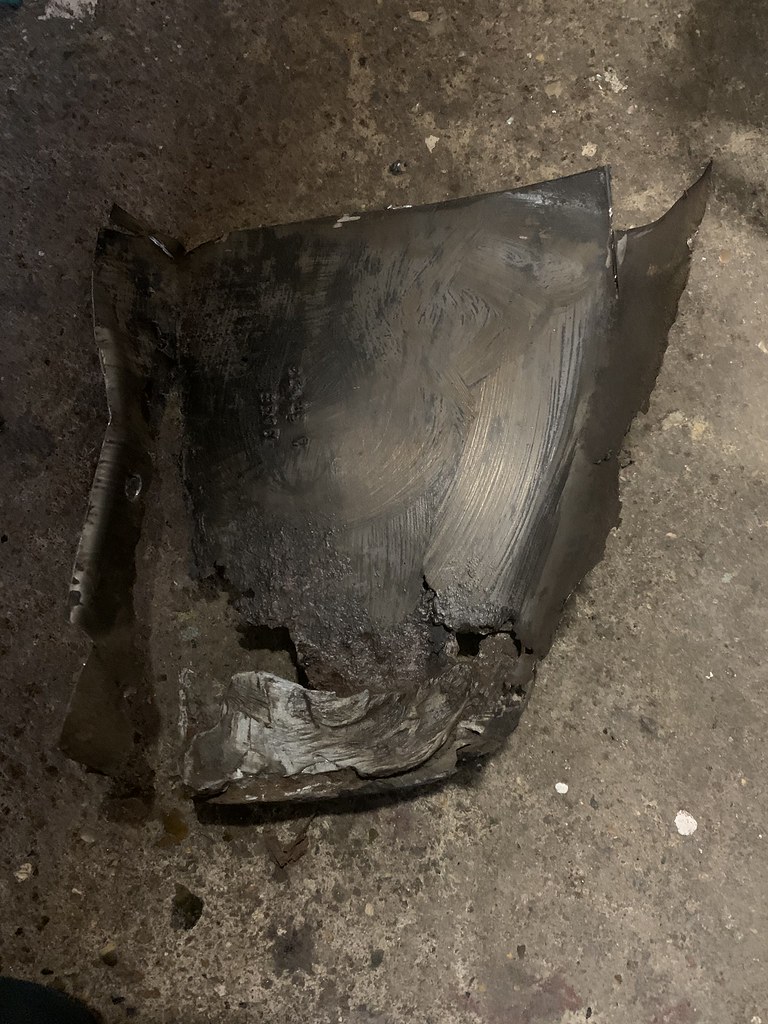
Bit of history - the car has had some front end damage, the PO called it a fender bender (I took that to be a quaint US expression meaning a gentle bang at the side wing). I've noticed the driver fender was replaced (as it happens from a likely coupe and not Mach 1 as the pinholes for side trim were welded shut and inner fender colour was green) and inner drivers side fender panel was after market. From radiator support panel and rest look original, even the radiator supports look original.
Here's the evidence. ideas on a postcard please....
baz70
Well-known member
PS if you have pics of equivalent sections and any factory measurements you would swear by I would welcome them with open arms....
- Joined
- Mar 30, 2017
- Messages
- 2,400
- Reaction score
- 892
- Location
- The Netherlands
- My Car
- 73 Grande 351C
71 Mach 1 429CJ
The lens of the camera and angle at which you took the picts gives the impression of bad alignments, seriously off
Even without measures, I'd go get that old school triangle to check 90 angle at frame/front to be sure.
The mounts should not be bended like this, but may be the PO massaged them for some reason, like to allow a tall radiator.
If there were bended during some impact, as they show a +-1 inch diff, you should see that diff translated on both front aprons where you would likely see some waves on their surface where they would normally be flat (unless someone replaced them)
baz70
Well-known member
thanks, I've taken some preliminary measurements, and observed 2 cm difference between the centre cross member panels, left side looks about 2cm shorter which corresponds with side view pic which shows a deformation in the panel. what to do ? I'm thinking to finish the engine painting and get car back on wheels before arranging some kind of jig work to straighten as it will be level on the ground then. thoughts?
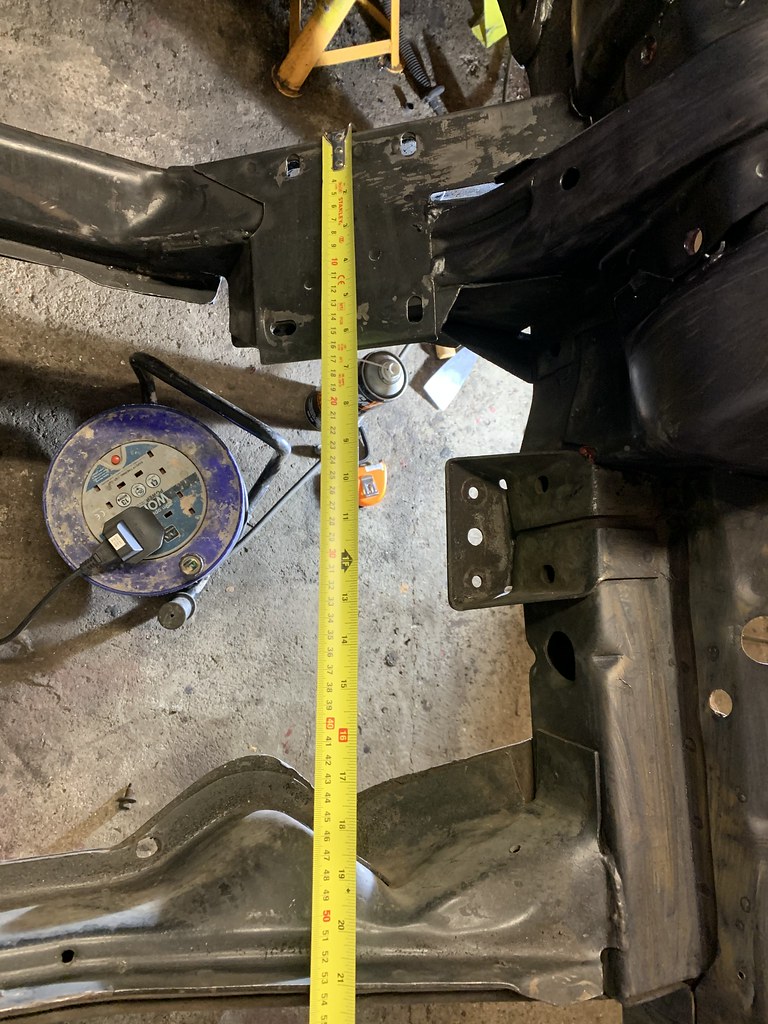
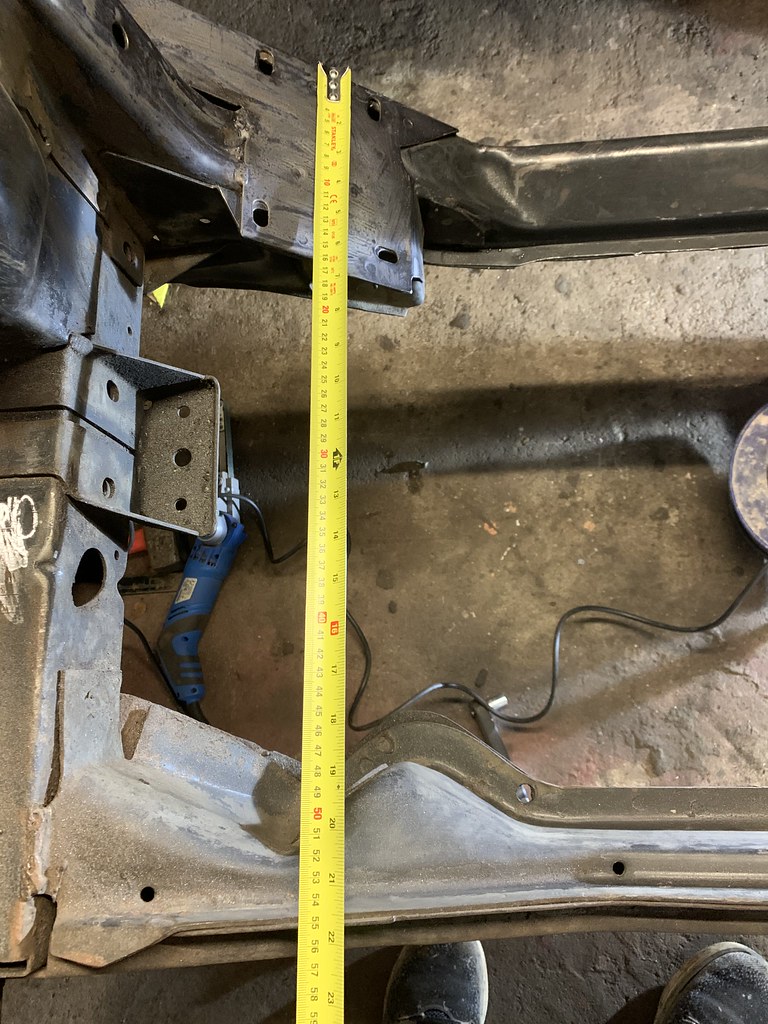
See bottom left of next pic, you can see alignment issues.
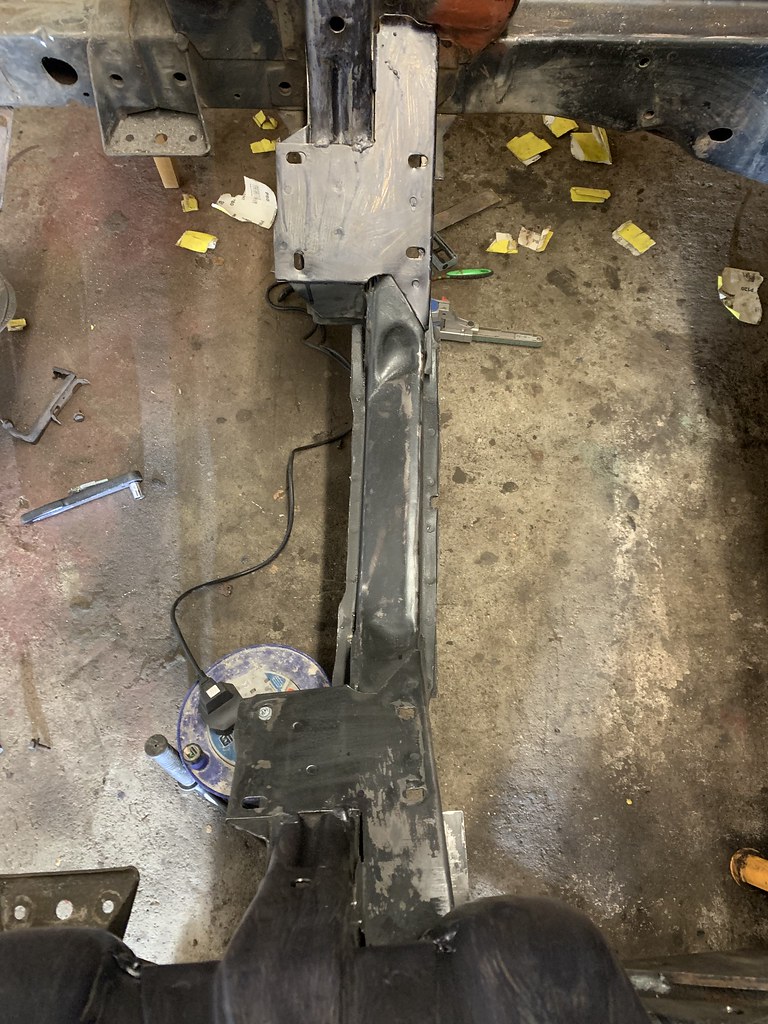
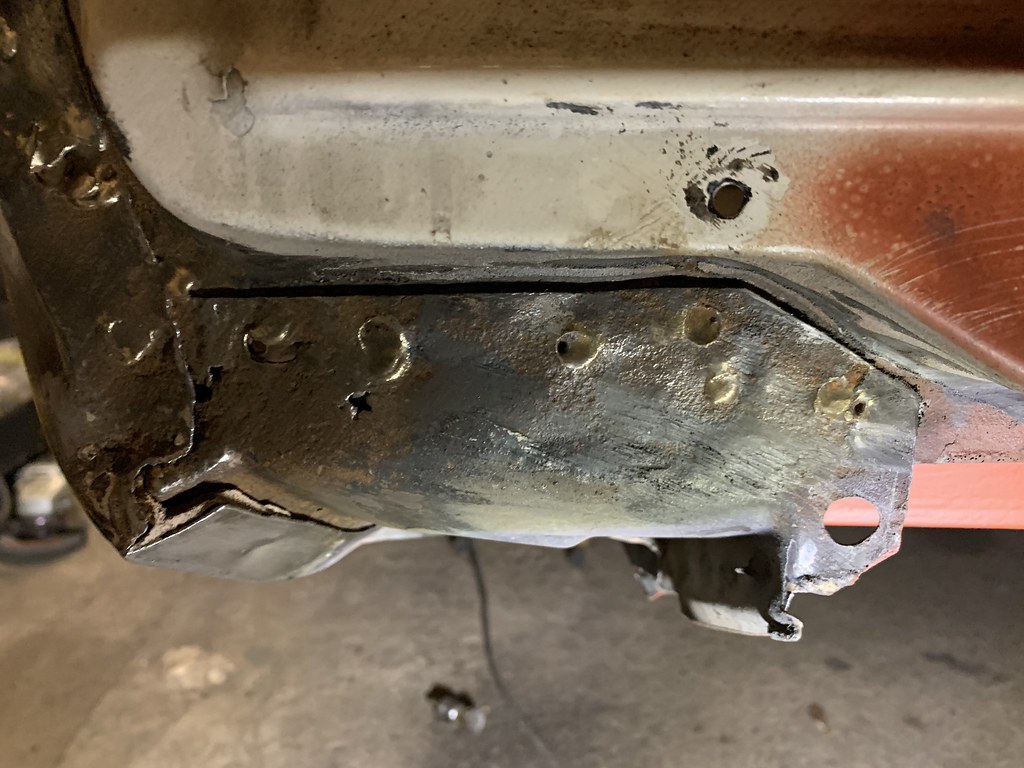
Whilst procrastinating on the alignment issues, i prepped the battery apron surround and trial fitted it.
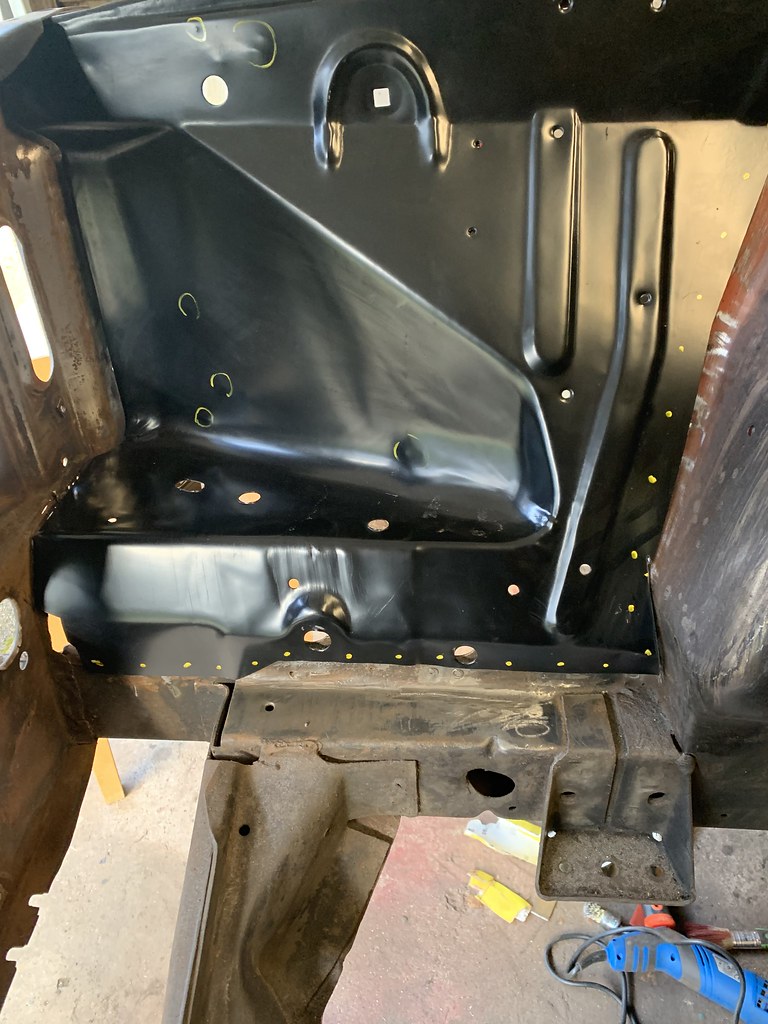
some fettling to do. can anyone share a plan view of the apron so i can check the alignment of the under support panel with battery support panel. I can't find my original panel pics
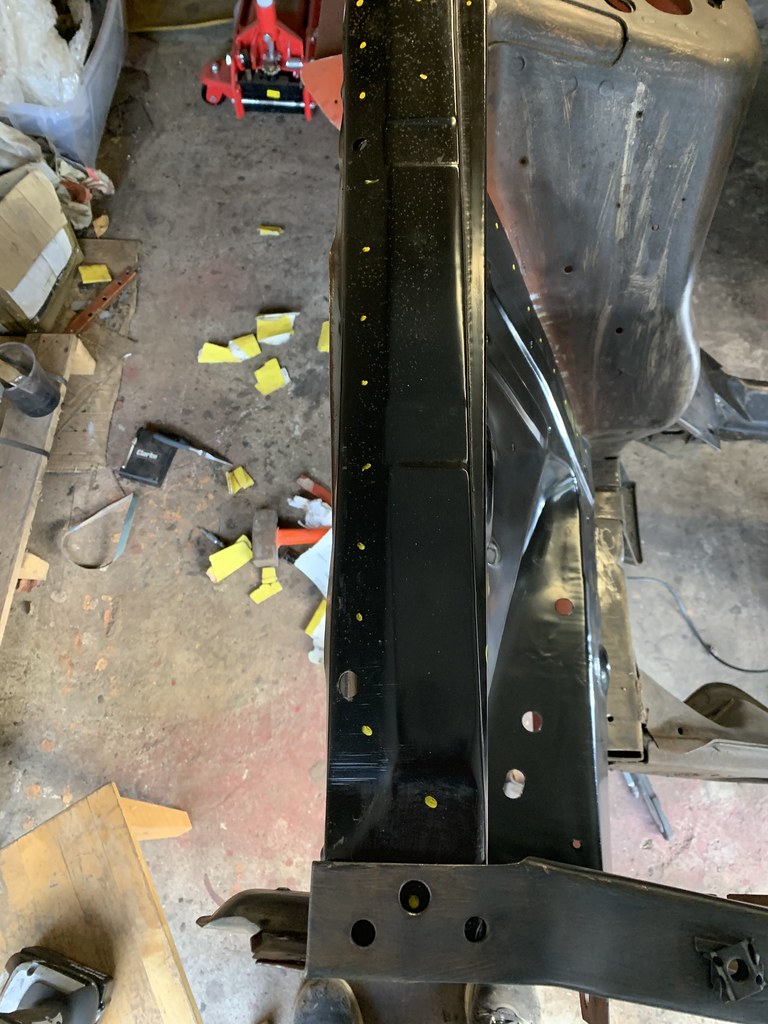


See bottom left of next pic, you can see alignment issues.

Whilst procrastinating on the alignment issues, i prepped the battery apron surround and trial fitted it.

some fettling to do. can anyone share a plan view of the apron so i can check the alignment of the under support panel with battery support panel. I can't find my original panel pics

Last edited by a moderator:
baz70
Well-known member
it's getting a little cold in the garage these days and progress has been slow....
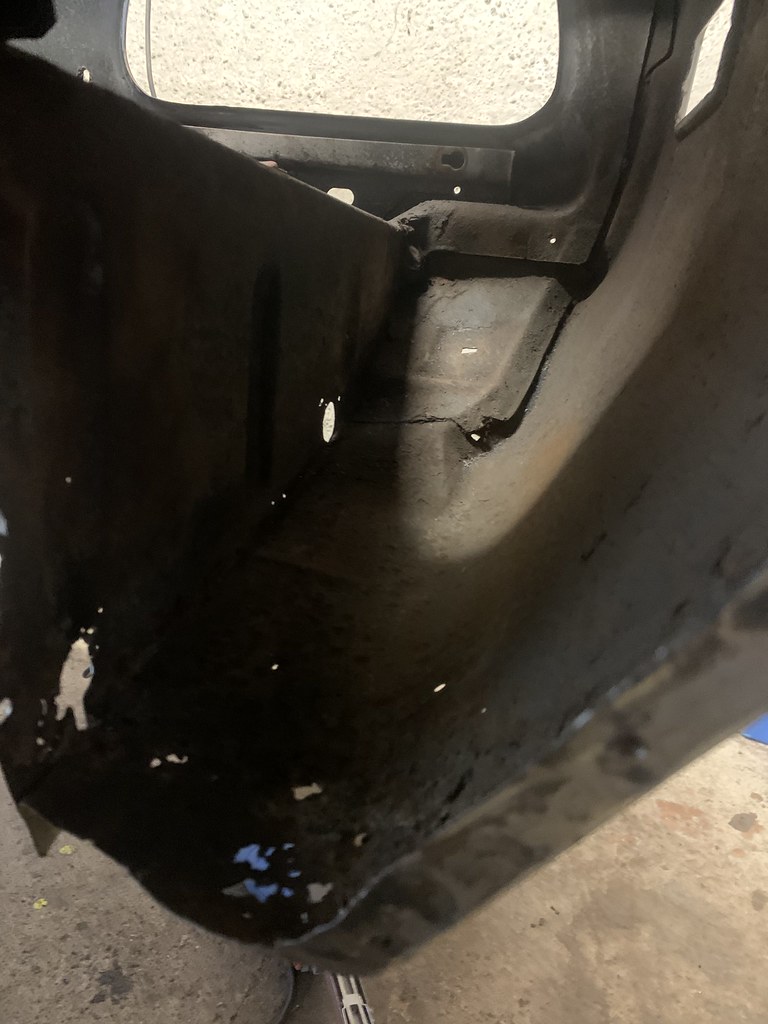
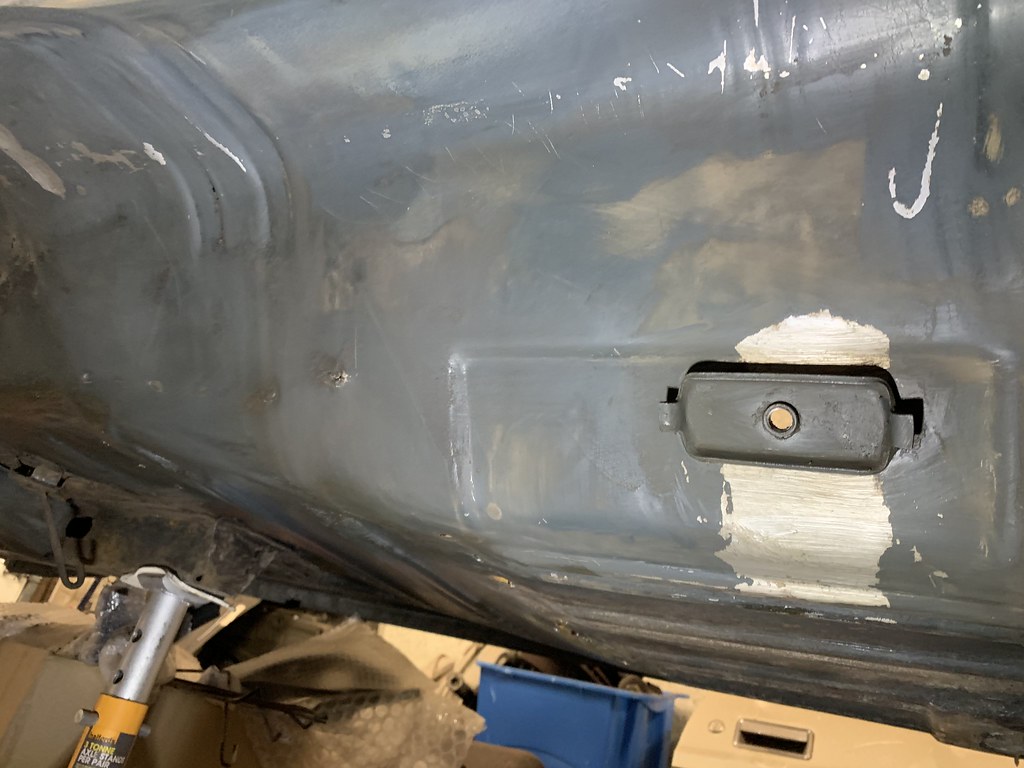
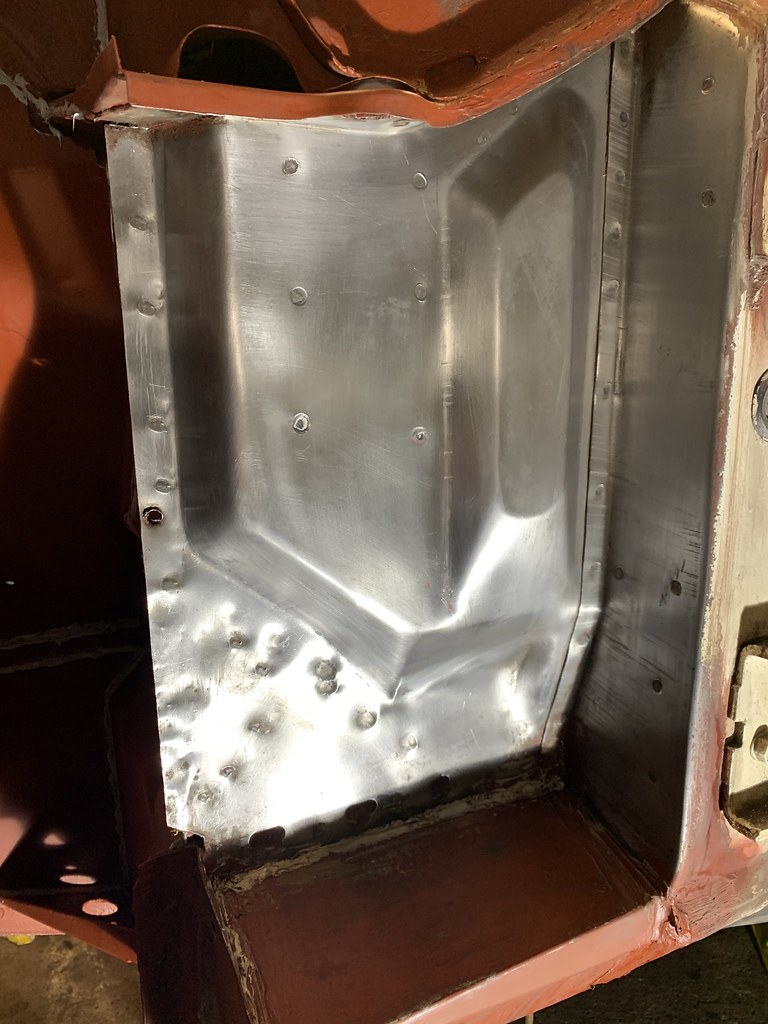
prepped the inner wing rear section, removed all the horrible rust-hiding rubberised underseal, used heat gun followed by rubbing down with white spirit coated contour sanding pads to get back to shiny metal. took a while but got there.... you can see where the fender damage hit the lower section and was straigtened out. I'm leaving that section as is as it isn't visible and is a battle scar so deserves to live.....
painted with red oxide primer. the runs dried out and aren't visible. should keep rust as bay till paint job later in the year.
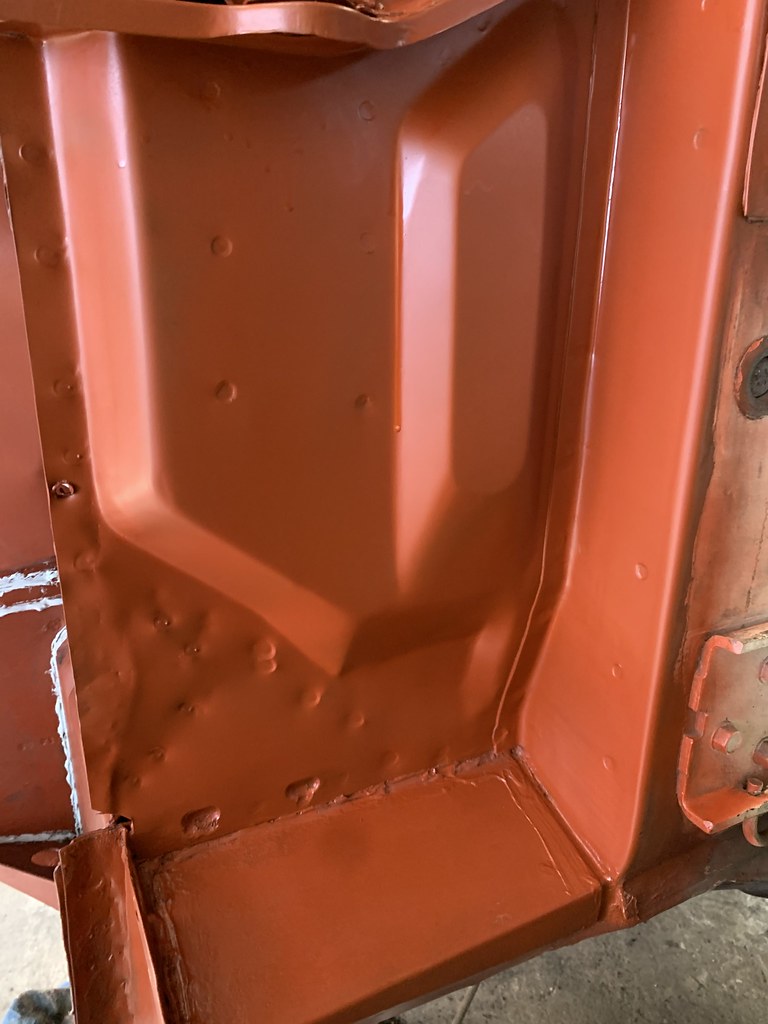
You may also have spotted the lashings of seam sealant I've been using on the seams on the inner wings. I'm starting to rethink my strategy on applying this. Seeing all the rust hidden behind the factory sealant I've now joined the school of thought that it is a harbinger of rust and not the protector it claims to be. Will be more selective where I seam seal in future.... the toil continues....
other stuff I did but not photo'd. removed steering column. Want to take out dash and wiring loom next so firewall is clear for all sanding down and rust proofing then back to measuring frames to figure out the misalignment in engine bay. lots of fun...
prepped the inner wing rear section, removed all the horrible rust-hiding rubberised underseal, used heat gun followed by rubbing down with white spirit coated contour sanding pads to get back to shiny metal. took a while but got there.... you can see where the fender damage hit the lower section and was straigtened out. I'm leaving that section as is as it isn't visible and is a battle scar so deserves to live.....

painted with red oxide primer. the runs dried out and aren't visible. should keep rust as bay till paint job later in the year.

You may also have spotted the lashings of seam sealant I've been using on the seams on the inner wings. I'm starting to rethink my strategy on applying this. Seeing all the rust hidden behind the factory sealant I've now joined the school of thought that it is a harbinger of rust and not the protector it claims to be. Will be more selective where I seam seal in future.... the toil continues....
other stuff I did but not photo'd. removed steering column. Want to take out dash and wiring loom next so firewall is clear for all sanding down and rust proofing then back to measuring frames to figure out the misalignment in engine bay. lots of fun...
- Joined
- Jan 7, 2015
- Messages
- 8,032
- Reaction score
- 534
- Location
- Western North Carolina
- My Car
- Multiple Mustangs!
Did you get the reinforcement to go under the inner fender? I ordered one couple weeks ago and got quick. He is not selling on ebay just direct from his home in Wisconsin. If you need contact info I can get.
Yes you need to get the car on floor on wheels to do some checking. It is better before you ever start to head to frame shop and have the chassis set to zero before you ever start. They bend so easily even jacking can bend.
Yes you need to get the car on floor on wheels to do some checking. It is better before you ever start to head to frame shop and have the chassis set to zero before you ever start. They bend so easily even jacking can bend.
baz70
Well-known member
yes I got the battery support panel. Just waiting on another panel before I fit everything together and weld it back in. I'm going to do all the alignment when car goes to paint shop in the summer. I won't have the engine in but suspension, wheels, tank and diff will be back on to give some weight on all 4 corners. Hopefully will give a sense of the misalignment. To be honest I've parked the alignment issues it for a little while so I can get on with other stuff but it will need to get addressed at some point.Did you get the reinforcement to go under the inner fender? I ordered one couple weeks ago and got quick. He is not selling on ebay just direct from his home in Wisconsin. If you need contact info I can get.
Yes you need to get the car on floor on wheels to do some checking. It is better before you ever start to head to frame shop and have the chassis set to zero before you ever start. They bend so easily even jacking can bend.
baz70
Well-known member
today, my goal was to completely remove the dash and every component connected to the inner and outer firewall so I could rust treat and prime and get easier access for passenger floorpan replacement. Also to remove the wiring loom through firewall grommet needed to remove green connector to fuse box junction. followed instructions kindly provided on this forum.
First up was to disconnect the dash mounting bolts leaving a few cables and wires that I had to individually disconnect. Took a ton of pics. Had a bit of help from the brother in law, these jobs. can be tricky if you don't have a third hand. thankfully didn't manage to break anything.
Here are some pics for your delectation.
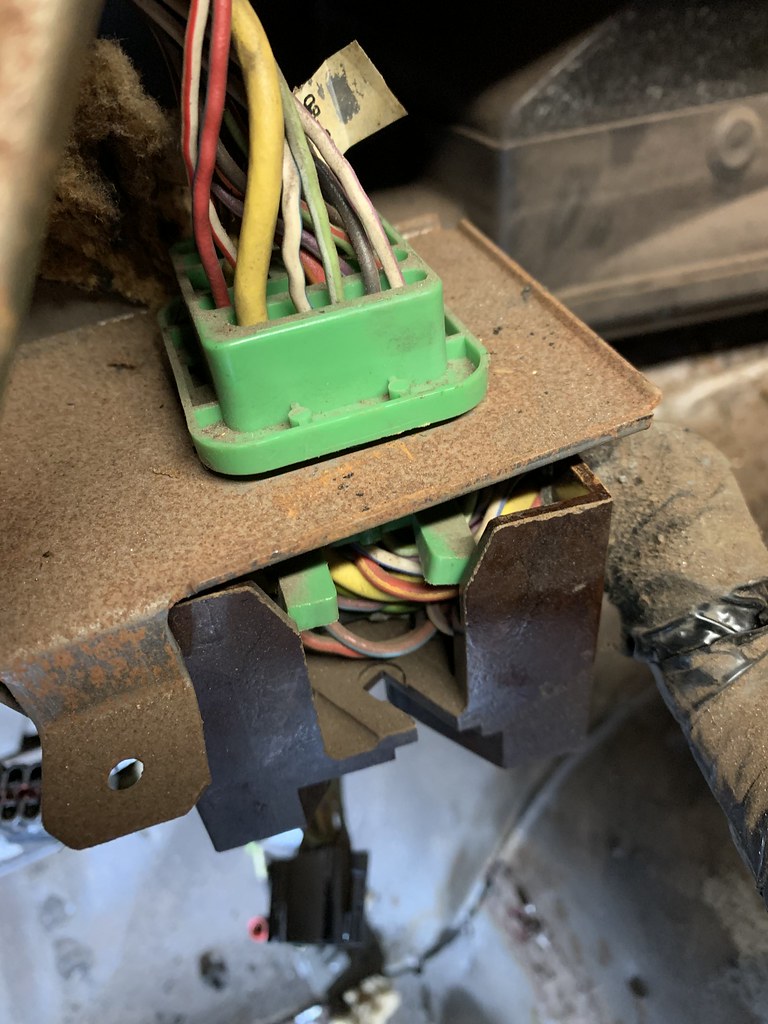
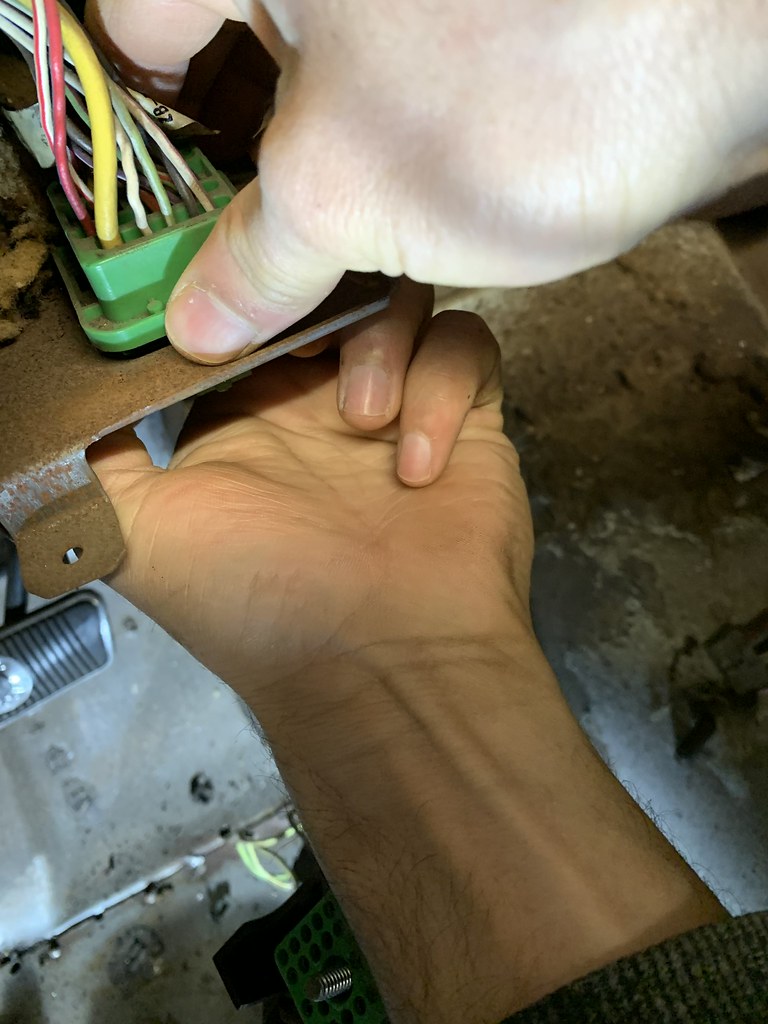
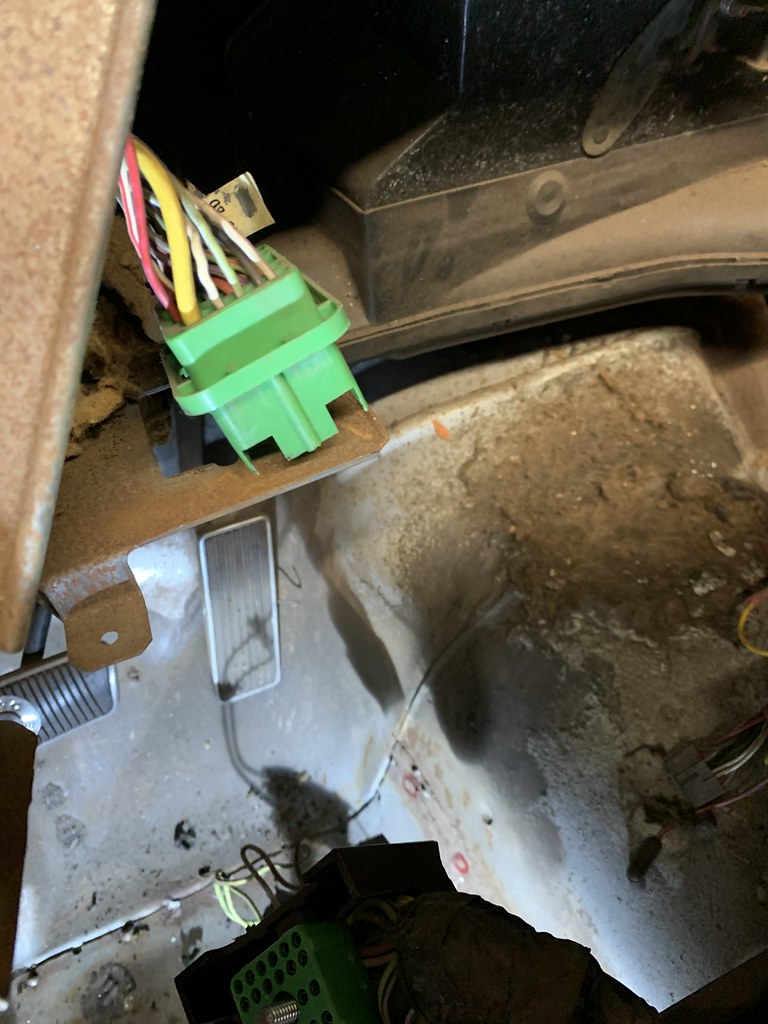
Had to remove driver side vent housing to feed wiring loom through firewall.
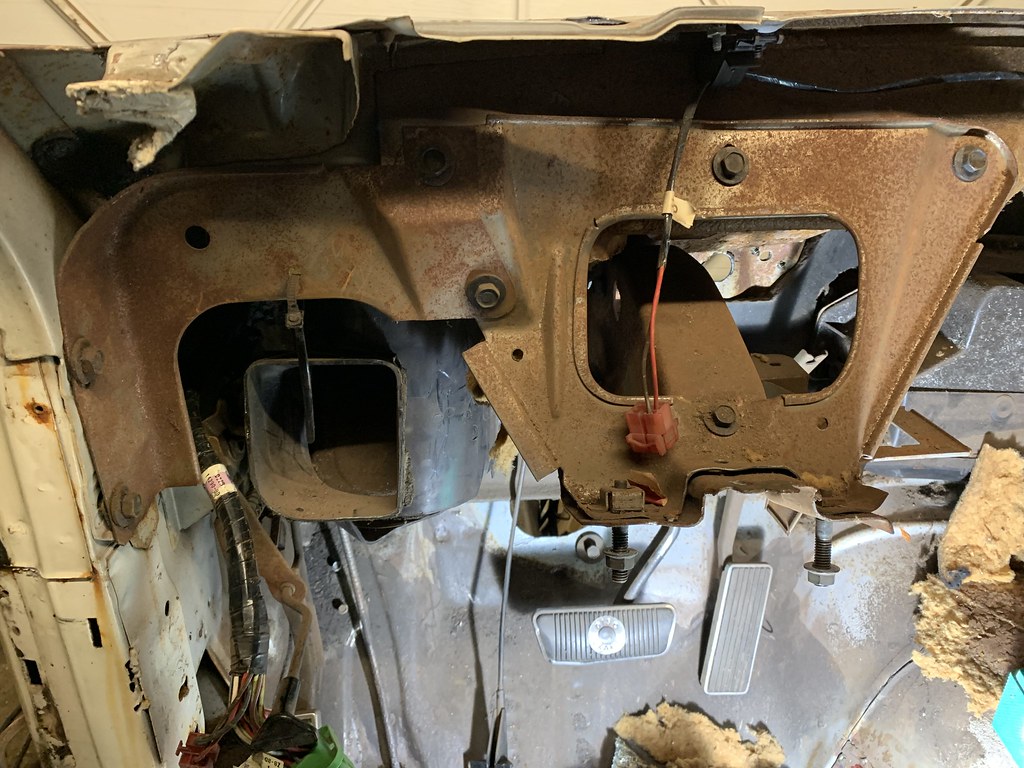
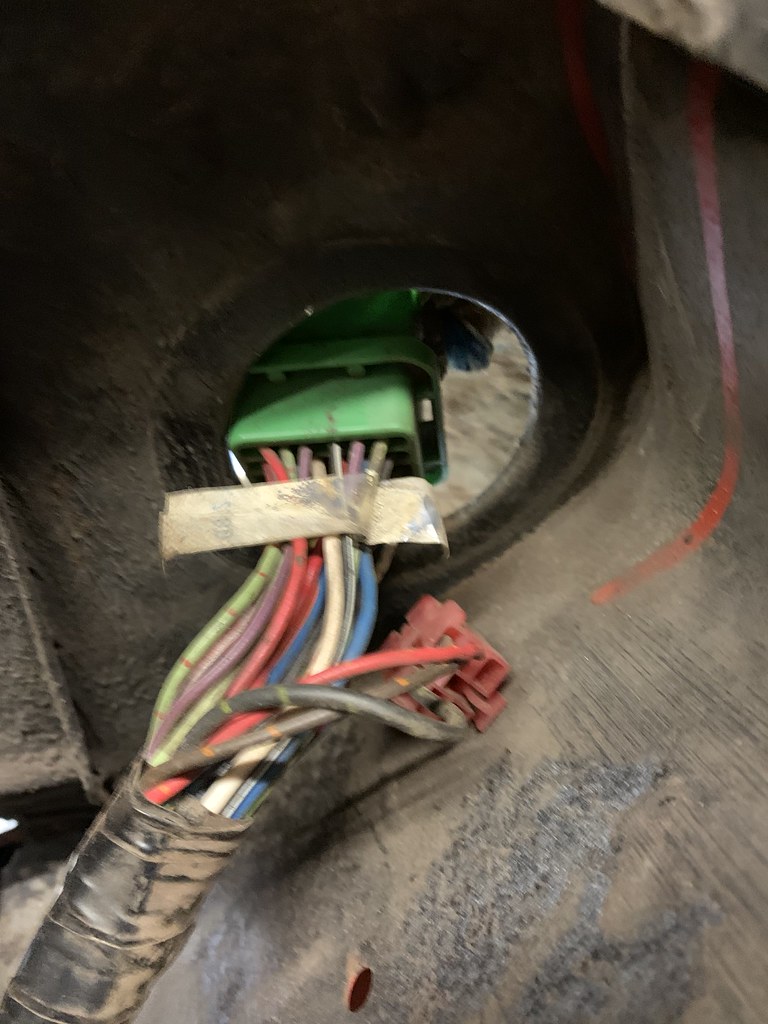
Continued to remove every component, ancillary, back to the firewall.
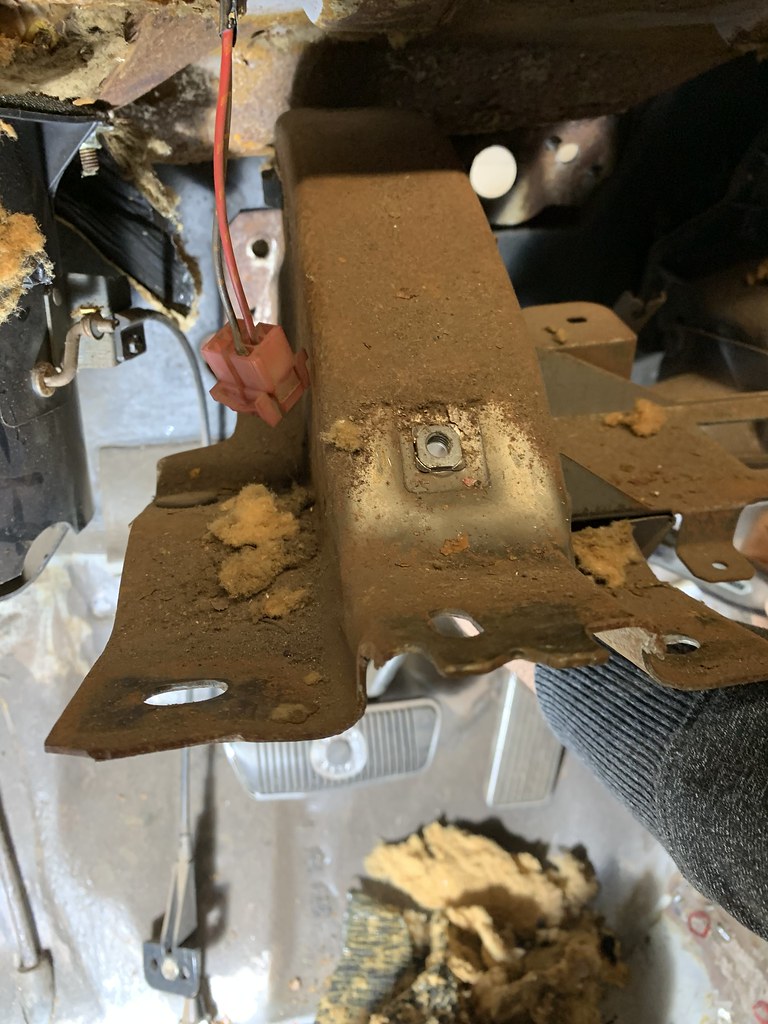
(Will need to remove a ton of surface rust and then decide on plating or painting options)
Phew.... the cowl survived. loads of surface rust. lots of work over the next week. the cowl foam/sponge sealing edge is salvagable but will replace. anyone know where I can get this....
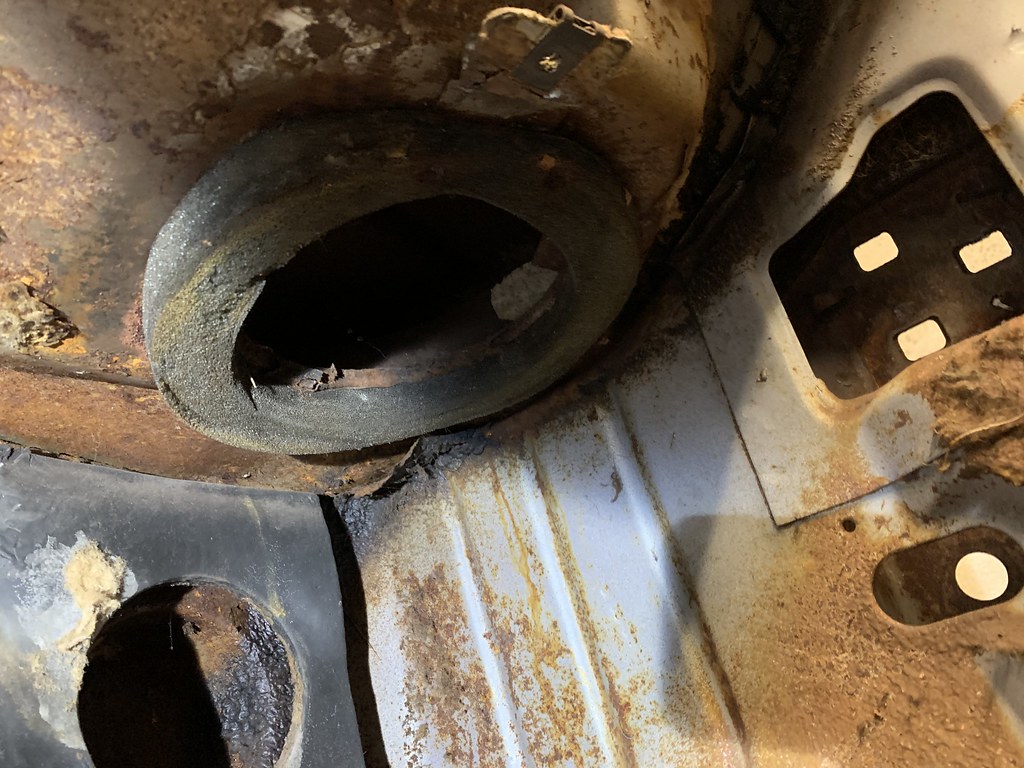
Factory sealant everywhere.....
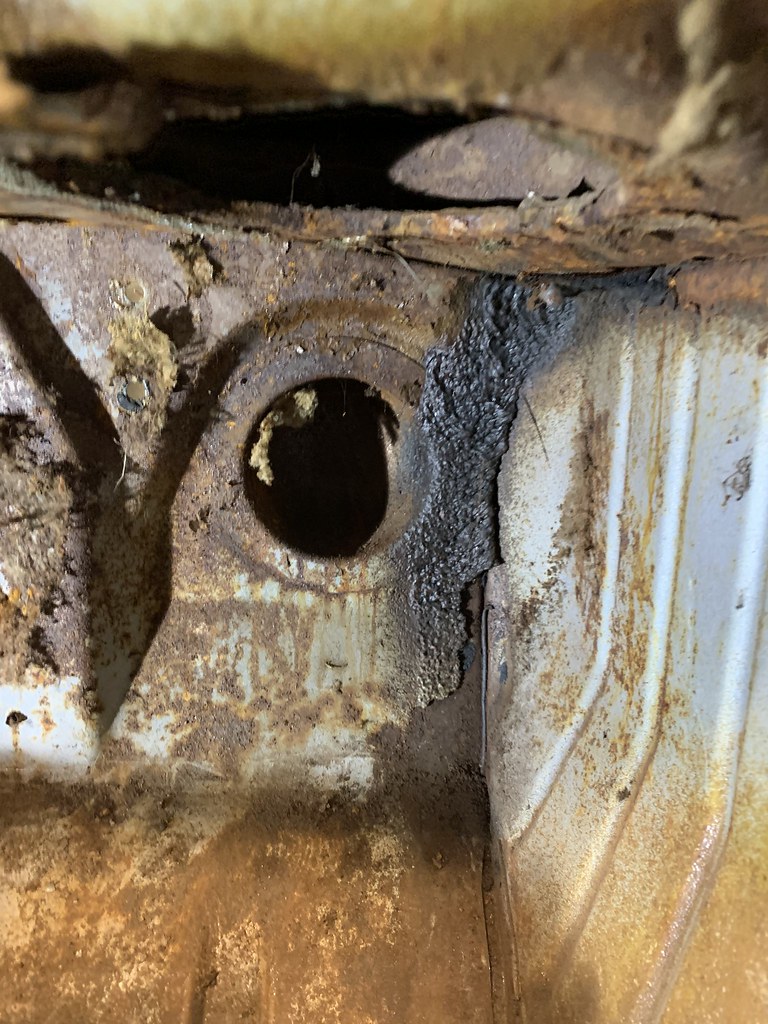
Well here it is..... all ready for rust treatment and primer. (You know, with hindsight, this should have been one of my first tasks, would have made a lot of other work easier to do. hey ho you live and learn)
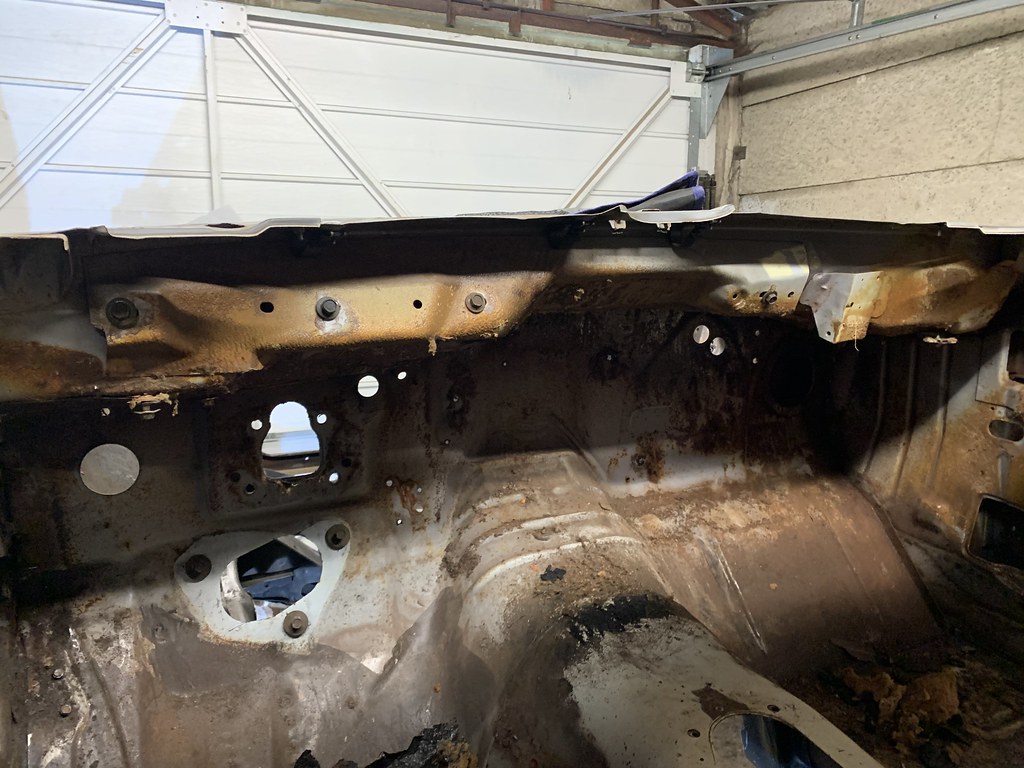
It looks bad, but it really is surface rust. and leftover sealer and that firewall sound deadener/insulation left over fluff.....
First up was to disconnect the dash mounting bolts leaving a few cables and wires that I had to individually disconnect. Took a ton of pics. Had a bit of help from the brother in law, these jobs. can be tricky if you don't have a third hand. thankfully didn't manage to break anything.
Here are some pics for your delectation.


Had to remove driver side vent housing to feed wiring loom through firewall.


Continued to remove every component, ancillary, back to the firewall.

(Will need to remove a ton of surface rust and then decide on plating or painting options)
Phew.... the cowl survived. loads of surface rust. lots of work over the next week. the cowl foam/sponge sealing edge is salvagable but will replace. anyone know where I can get this....

Factory sealant everywhere.....

Well here it is..... all ready for rust treatment and primer. (You know, with hindsight, this should have been one of my first tasks, would have made a lot of other work easier to do. hey ho you live and learn)

It looks bad, but it really is surface rust. and leftover sealer and that firewall sound deadener/insulation left over fluff.....
Last edited by a moderator:
- Joined
- Jan 24, 2012
- Messages
- 4,610
- Reaction score
- 1,484
- Location
- Tucson, AZ
- My Car
- No Mustangs at the moment.
You really need to change the title of this thread...it's now close to 2.5 years since you started a restoration that was to be finished by the summer.
But you really didn't say what year the summer was...*G*
But you really didn't say what year the summer was...*G*
baz70
Well-known member
embarassing or what hey. and to think I was one a Project Manager. let's call it scope creepYou really need to change the title of this thread...it's now close to 2.5 years since you started a restoration that was to be finished by the summer.
But you really didn't say what year the summer was...*G*
Last edited by a moderator:
Similar threads
- Replies
- 32
- Views
- 2K
- Replies
- 22
- Views
- 765
- Replies
- 16
- Views
- 765
- Replies
- 11
- Views
- 617
Latest posts
-
-
1973 Convertible Project: Coupe Parts Swap Begins
- Latest: Steve McMahan
-
-
Anyone ever find a drag coefficient for our cars?
- Latest: Hemikiller
-
-


