Another source for information on 1971 mustang engine detailing is the 429 registry site...
http://429mustangcougarinfo.50megs.com/engine_compartment_detailing.htm
Here is some of the text from the link above. They have plenty of pictures of the sticker placement as well.
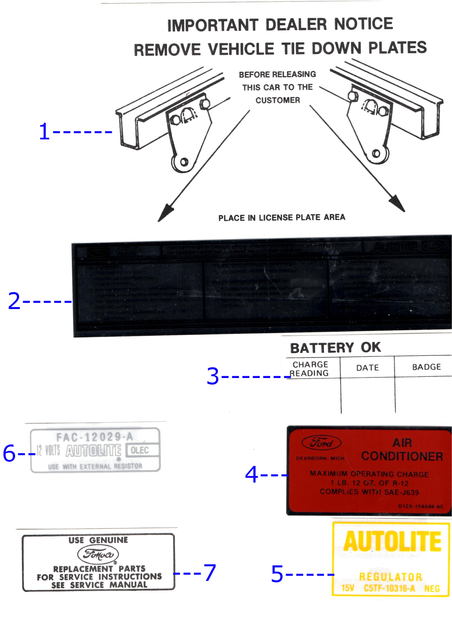
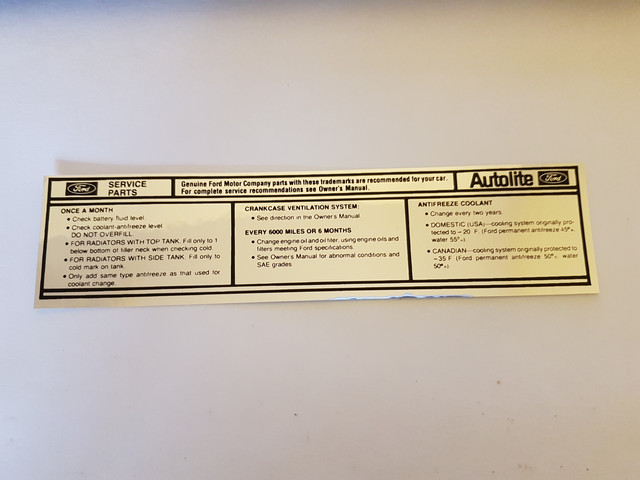
Service Spec Decal
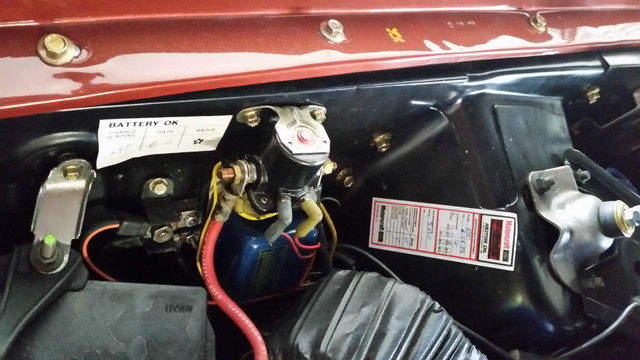
There were two different Service Spec Decals used on 71 Mustangs depending on when the car was built. The 1971 Mustangs built in the Fall of 1970 used the 1970 Service Spec sticker (as shown above). The 70 sticker was placed on the passenger side shock tower unless the car had a rev limiter - then it was placed above windshield washer tank. Sometime between* the last few days of September and the 3rd week of October. 1970, the Service Spec sticker was changed to the 1971 version (shown in next section below) and placed on the radiator support.
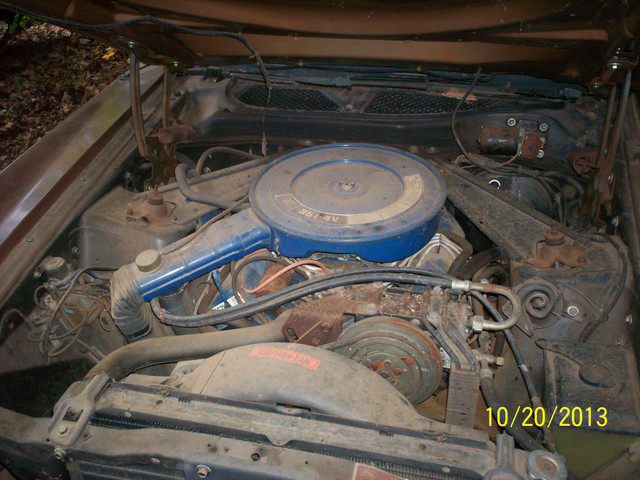
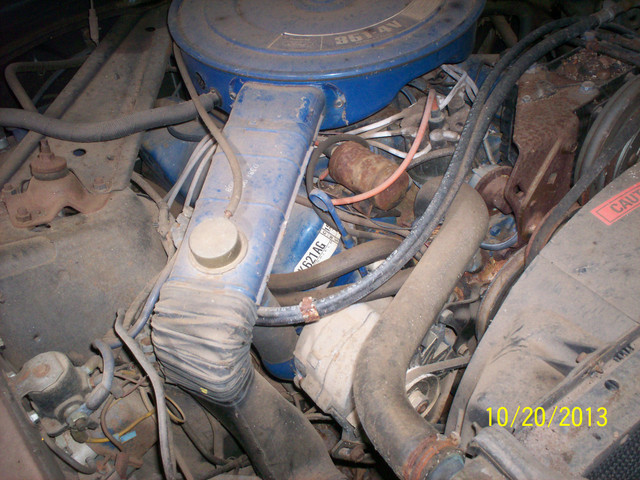
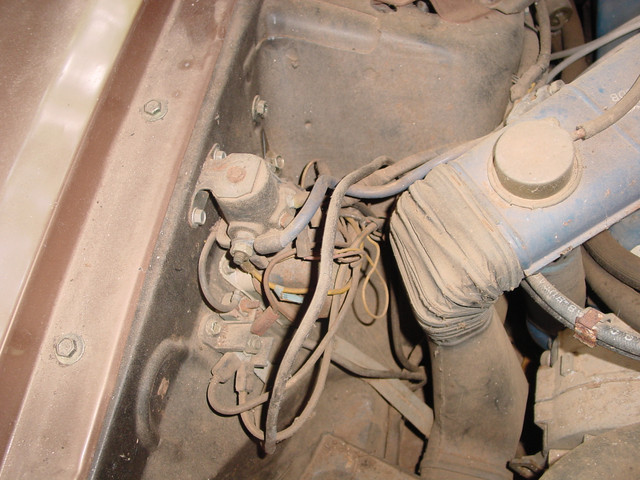
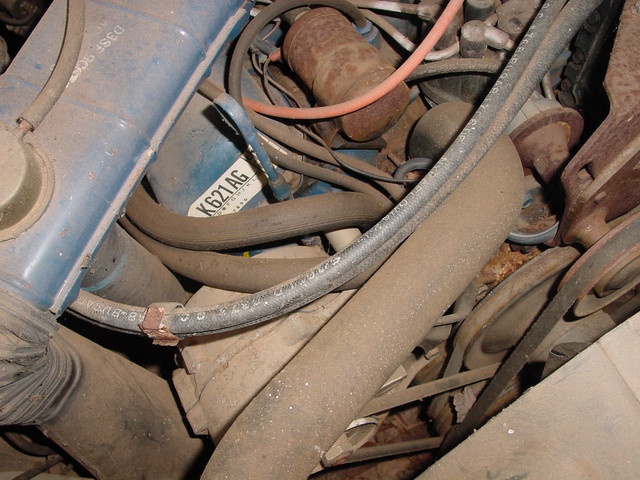
*Group member Mitch Lewis was able to help us narrow down the changeover time with his September 30th built vehicle (lower left) and his October 20th 1970 built vehicle (lower right) showing the change occurred in this timeframe.
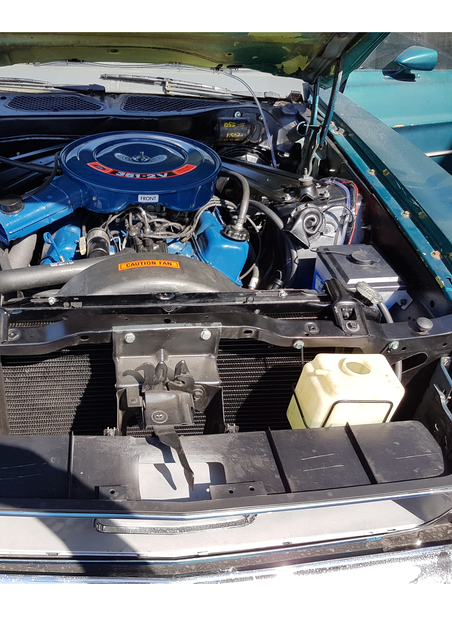
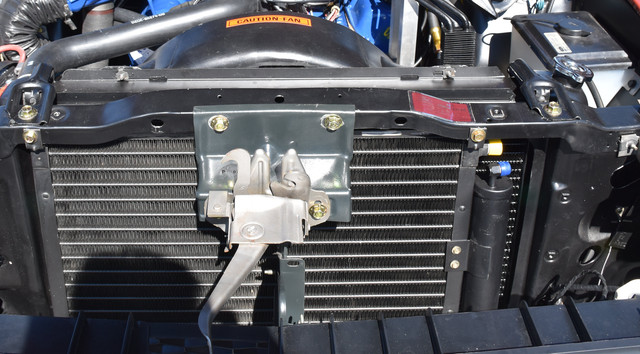
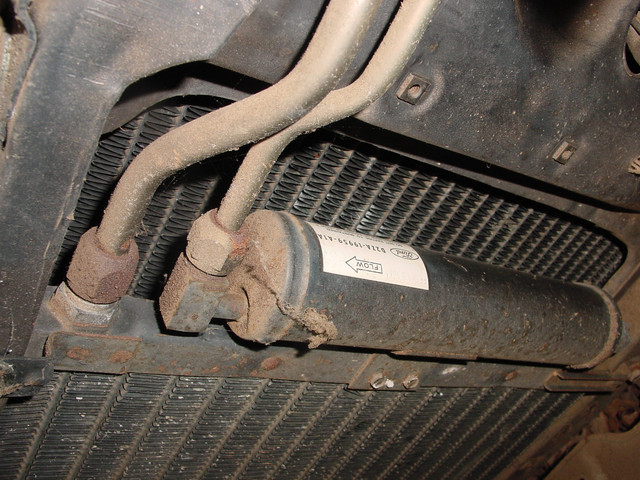
'71 Service Spec Decal and correct location on the radiator support. Note how the hood latch support bracket goes on top of the decal on an original car.
Build Sheet Tape Mark
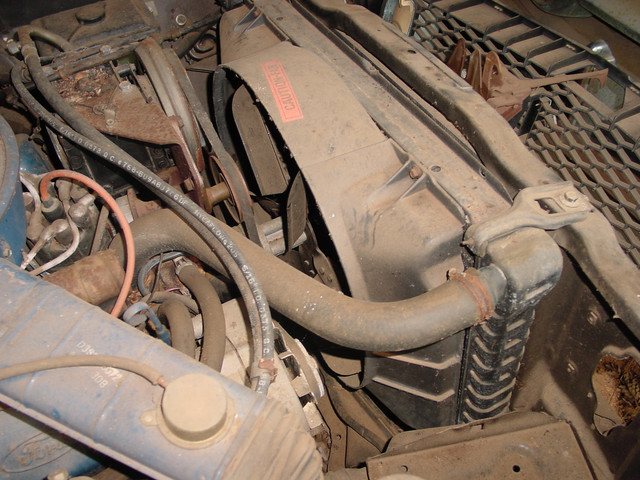
In the two photos of original cars above you can see the remnants of a piece of masking tape at the center of the top of the radiator support. On original cars, the tape is usually still left there or the paint was removed when it was peeled off. It is believed that this piece of tape was used to affix one of the build sheets as the car went down the assembly line.
Inspection Decals
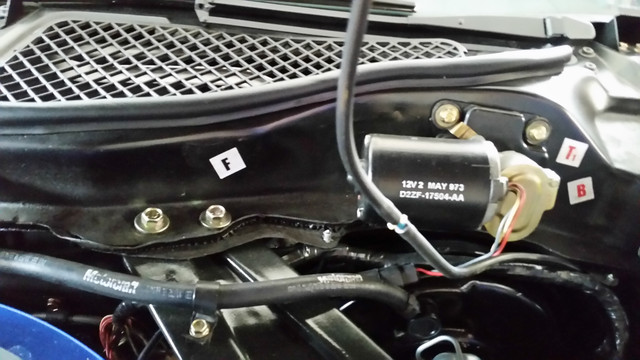
Four Inspection Decals were used in the 71 Mustang engine compartment - P, B, T and F. It is likely that the P stood for Paint, the B for Body, the T for Trim and the F for Final as these are the names of the major areas in an auto assembly plant. The T and B letter decals are red while the P and F are black. The following is our recommended placement* for these decals;
B and T Location
B and T went the right of the wiper motor
F Location
F decal went to the left of wiper motor
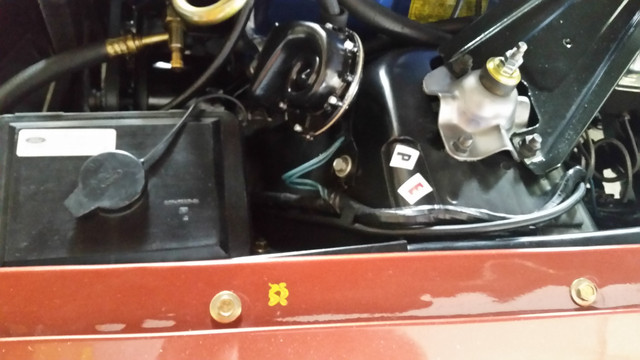
P Location
P decal was placed in the top horn and the upper shock mount area.
* Note that it is certainly possible that these decals were placed in other locations in the engine compartment as well (different assembly plants (Dearborn/Metuchen), different assembly line workers, etc.). However, we are presenting the locations we have observed most often for them on multiple original and correctly restored MCA concours gold 71 Mustangs.

Make Your Own Inspection Decals
Inspection Decal Template
Most of the reproduction Inspection Decals sold at Mustang supply-houses are incorrect for the 71 Mustang (wrong size, font, color, rounded instead of square edges), so we have made the template below to be as close as possible to the originals based on careful examination of original '71 Mustang decals. To make your own decals;
1) Click on the template below, which will open a Microsoft Word file which you then save to your computer.
2) From Microsoft Word, open file InspectionTemplate2.doc. It is already sized to print out each letter to the correct 14 mm height. Load your printer with white sheet adhesive label paper (example - Avery #6573) and print out.
3) Trim each of your 4 Inspection Decals to be 20 mm by 20 mm as shown in the diagram below. You may wish to cover them first with clear plastic adhesive tape (I used shipping tape because it's wide enough) to provide a water proof seal. Once done, add them to your engine compartment as shown above!