cudak888: 1971 M-code "Soylent Green" - 8/30/14: Shrinking disc time

7173Mustangs.com

Help Support 7173Mustangs.com:

This site may earn a commission from merchant affiliate links, including eBay, Amazon, and others.
Hey Kurt,

Looks GREAT !! Guess I steered you in the right direction !
Thanks Q! I have a rule: "If Q says it, you do it."

Will pick up one of those contour gauges. Hope Home Depot has one; not many Loews around here.

-Kurt

 
P.S.: Since it's a long time since I've snapped some wide shots...

23kolub.jpg


1zoc594.jpg


548upk.jpg


-Kurt

 
Thanks, gentlemen.

That said, I've concluded that the far end of the panel - the one spot that still has very noticeable damage - won't necessarily take to the hammer and dolly that well, seeing as there isn't much to stiffen it.

I'm planning on welding in the patch below it first, then go back to smoothing it out. I figure it'll help stiffen the metal from the bottom.

-Kurt

 
Welded in the left lower quarter end to stiffen up the end for hammer/dolly work.

The patch came from the a cheap Spectra partial quarter repop, which didn't want to fit well:

14ad46q.jpg


Went overboard on welds - and the pitted metal in spots didn't help - but the bad stuff mostly burnt off (didn't mind stacking welds around here; nobody will see it, nor will it look bad if someone does look at the end product), and the panel sits well:

2m2wdwn.jpg


Unfortunately, I wound up making the cut at the back far too short; the panel worked its way forward through the fitting. So be it; easy fix.

29xywxv.jpg


Since I was at it, I finished the missing trunk corner patch. Needs a bit more dressing to look right:

2e5mo9x.jpg


2zptbax.jpg


Not a good photo, but the results of the efforts. Rear valance fits great:

25hhgll.jpg


-Kurt

 
Last edited by a moderator:
The car:

71_mustang_1.jpg


Continued from:

http://www.7173mustangs.com/thread-all-original-metuchen-m-code-71-mach-1

and

http://www.7173mustangs.com/thread-carb-swap-options-with-4300a-equipped-m-code-71-351c

The problem:

71_mustang_43.jpg


Where we are now:

14no4tk.jpg


The story:

Read on. There are 26 pages. The saga begins.

-Kurt
To see the 26 pages, where do I go? as well when you say shrinking dis time, do you mean time of braking, a test I will be taking, hopefully, as soon as I get the car back, with my Summit computer to check on braking speed as well 0-60 and 1/4 mile times.

 
With the Valiant all squared away and the long week off, I figured now was a good a time as any to get down to business again. Left quarter remained full of holes and a few other issues, so off to work it was:

fumivk.jpg


The results aren't spectacular - I kept blowing through thin spots of dirty metal. The inside tells the story:

I have more than a few heat affected zones to take care of. First glance doesn't look too bad:

1627f3o.jpg


Best part of the day was taking care of this little hole. Been looking at it for ages and am thrilled to see it gone. Again, some hammer/dolly work is necessary before it'll be perfect:

e0sz1u.jpg


15gy2h5.jpg


Still have this gap to contend with:

2jczm0z.jpg


-Kurt

 
Last edited by a moderator:
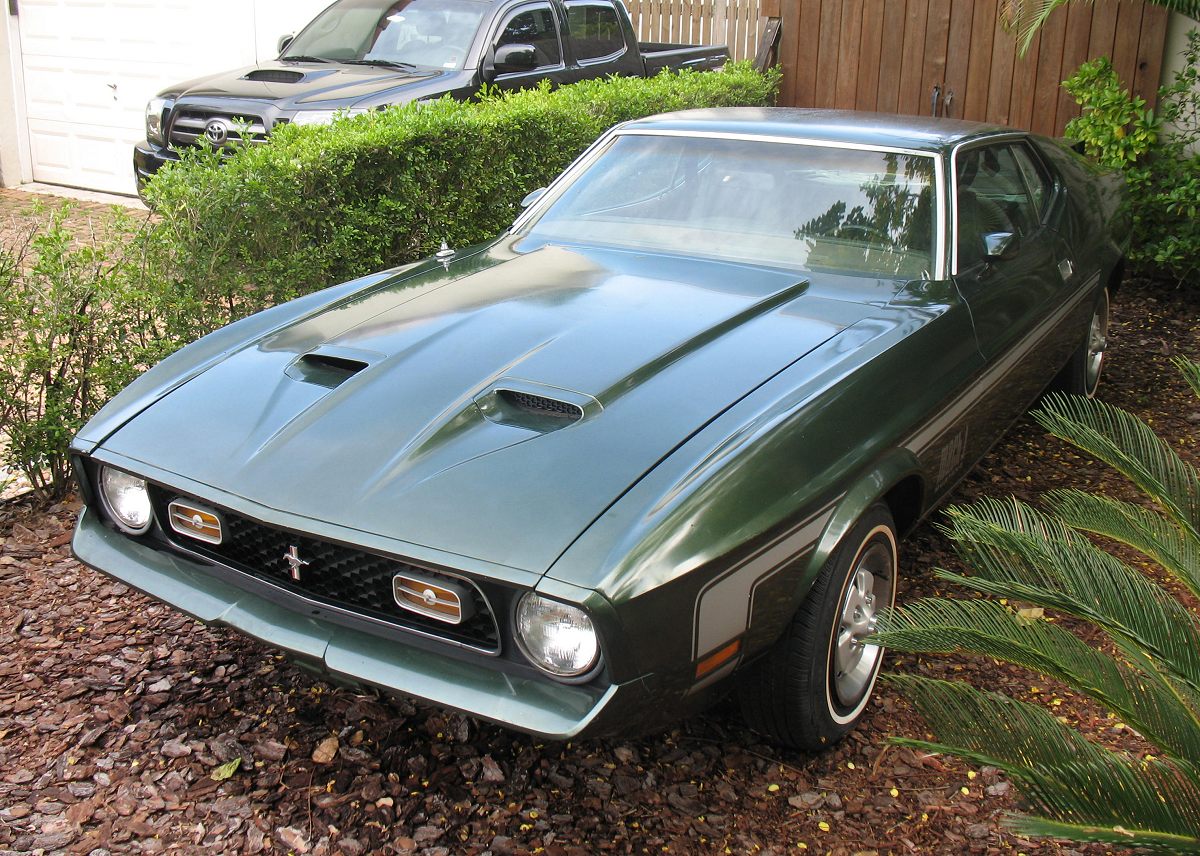
Surprise, I actually did some work on the green beast this morning. Thanks to the '69 Valiant's upper control arm bushings, I had little time to mention any of it until now.

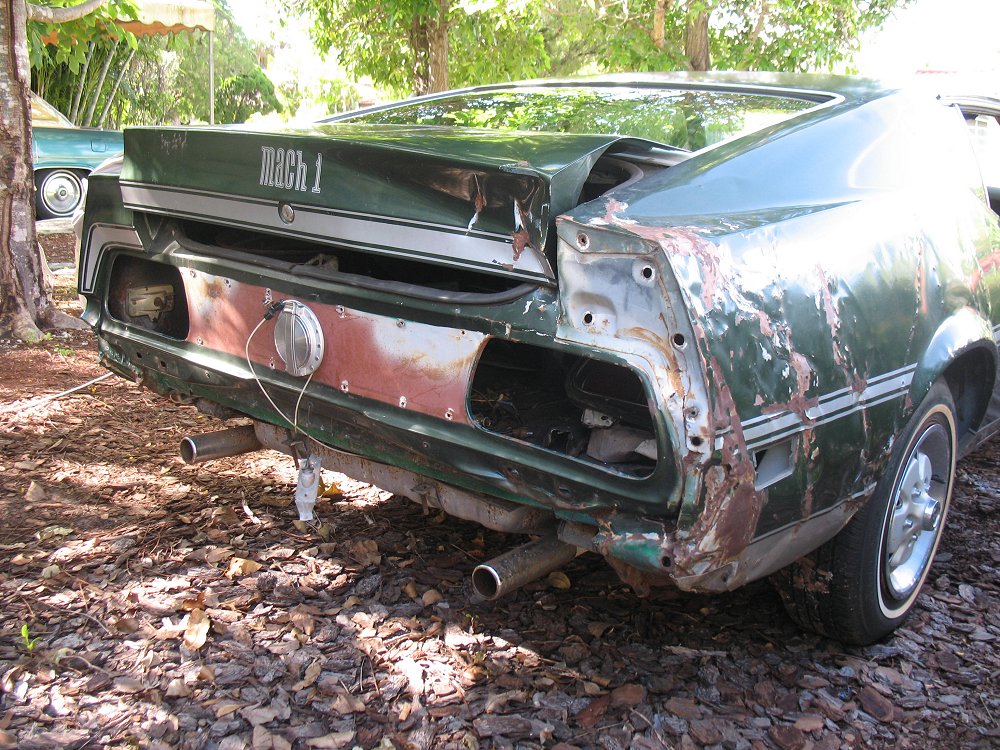
Granted, it's not much - the trunk dropoff is now welded down its length:

o7lxlz.jpg


Not much when you look at it, but it took the better half of the morning. Can I tell you how much I hate welding pinholes? It's as if every pinhole has some sort of phantom paint contamination somewhere on it - even though it doesn't - that results in the wire blowing through every time I get down to "that last little fix." Those little fixes resulted in two hours worth of extra work trying to fix up the fixes.

Next time I do a trunk floor, I'm not butt welding the trunk floor to the dropoffs, no matter how nice it seams. Lap it, weld it, seam up the edge with panel glue, and forget it. I'm going to stich-weld my weekends away if I do that with Rustbucket Eleanor (look out for great news in 36 days from now).

Still have to join that bit at the bottom of the quarter, tidy up a few welds on the other side of the trunk floor, and possibly cut and patch the left quarter again, in the area where my last run-in with pinhole fixing turning into a quarter-sized lump of weld (visible in picture #2)

-Kurt

 
Last edited by a moderator:
Back
Top