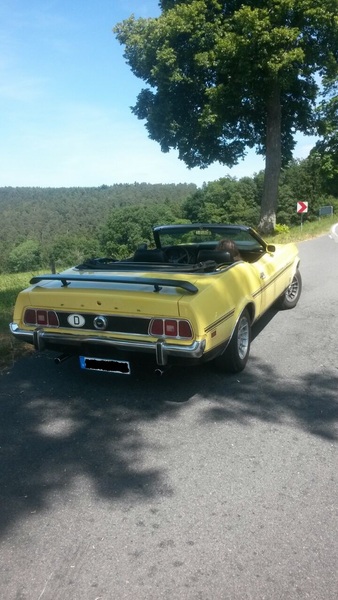
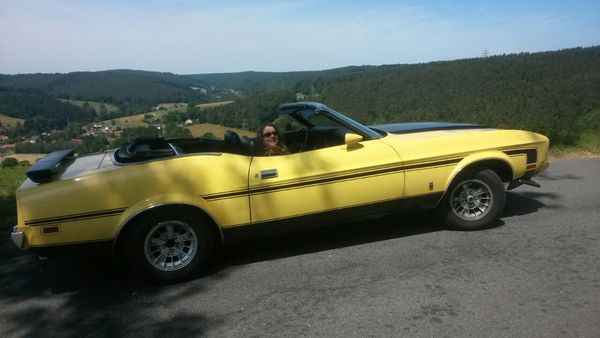
Tim's 1973 Mach 1 rebuild thread - it's done in 2023 on it's 50th birthday!

7173Mustangs.com

Help Support 7173Mustangs.com:

This site may earn a commission from merchant affiliate links, including eBay, Amazon, and others.
Tim that is a really cool car and I must say it is in very good hands. You are doing a fabulous job of giving it a great renewed life and it sounds like it's paying you back with lots of enjoyment. I can only imagine how awesome it would be to drive such a beast on those beautiful roads in your stunning country. It must also be a treat for everyone to see and hear an old muscle car in Europe. I do feel bad for your fuel costs over there but I guess it's worth it. Happy to see there are plenty of Mustang lovers out there. Great job on the build and I'm hoping to see more shots of your car at events.

Angelo
Angelo,

thank you for your great words and compliments!

Yes, you are right - it is my greatest pleasure to give it back it's old shine. For me it is priceless to drive on a sunny day through the country and have every time a travel into the past. I love everything about it - the feel, the sound, the smell and more. It is like driving a big bad dinosaur back to the 70s. The 71-73 Mustangs are not often seen here so it is something very special. So I am happy to see everybody who has fun of seeing me drive by - and there are a lot. That is quite cool and let me forget about the high fuel costs - that's woth it!

Hope to see some progress on your build soon, too, my friend!

Tim


Yup, ain't nothing like scaring the crap outta small Euro trash cars on the Autobahn. :D
Hehehe, that's right. Never forget the moment when I drove a little race with my buddy and his 1969 Mach 1 on the german autobahn last year at about 120 mph as a modern Mercedes convertible driver reached out both his thumbs when we made a little slower and he could pass us again and again... :D


Had a little paint job over these days... ;)


Last edited by a moderator:
Now that I am ill with a bad flu at home it is now time to update here ;)

Unfortunately I am very busy in other things at the same time so I do not make progress as I want at the moment. But enough weeping - here are the results from the last weeks since my last post.

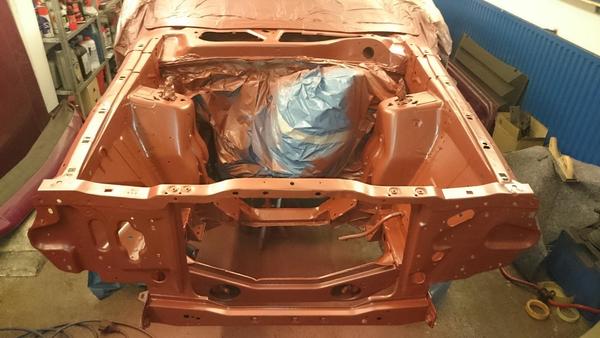
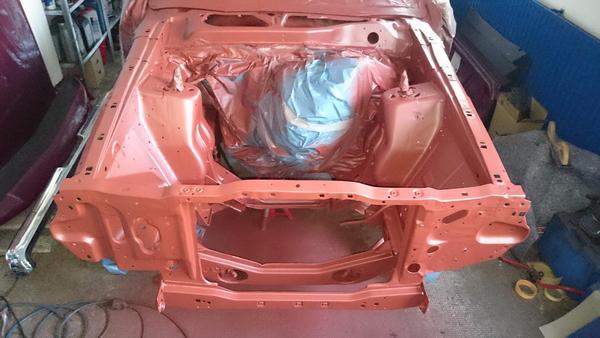
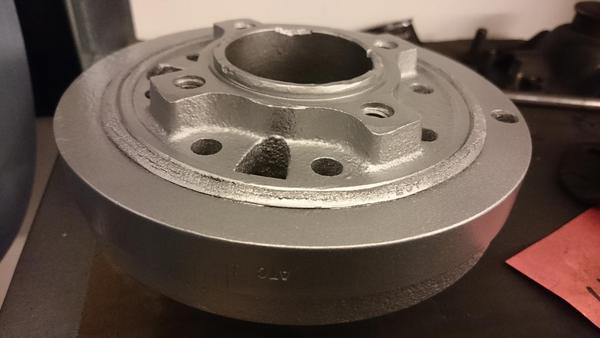
First I have finished grinding and making all the transitions to pull 2 coats of anti-rust primer with a spray gun over it. First picture freshly painted, the second after a few days.


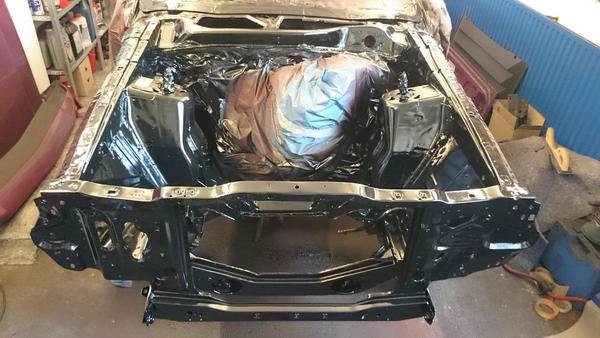
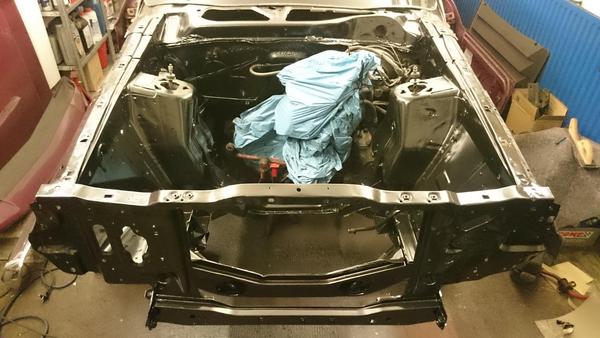
After through drying the whole thing a few days I grab the spray gun once more to lay 2 coats of semi-gloss black over it. I am satisfied with it - a good preparatory work is always worth while! First picture freshly painted, the second after a few days.


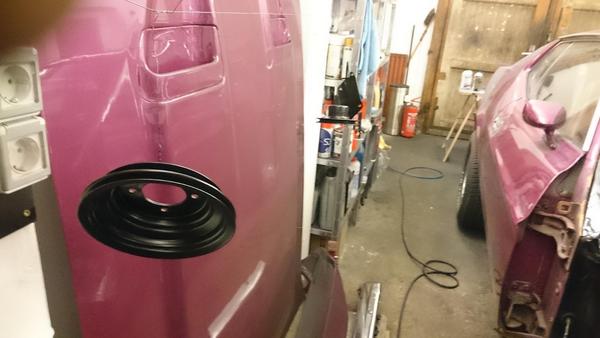
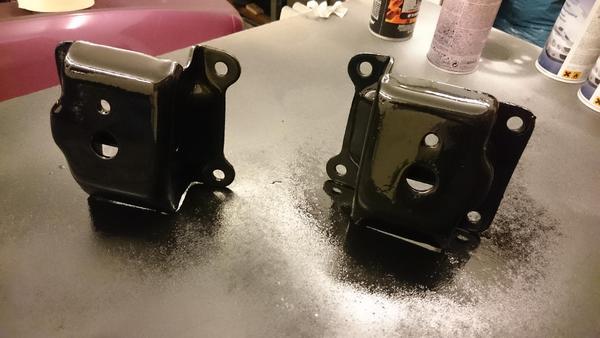
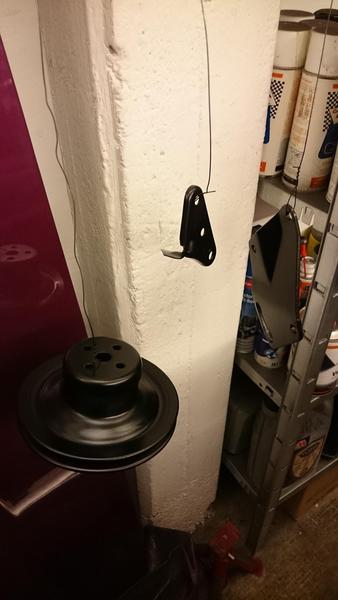
Now for the tiny things in life ;)

All parts were grinded with different brushes to bare metal before being coated with semi-gloss laquer!


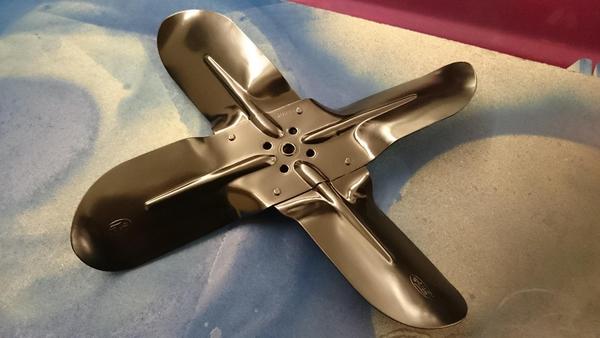
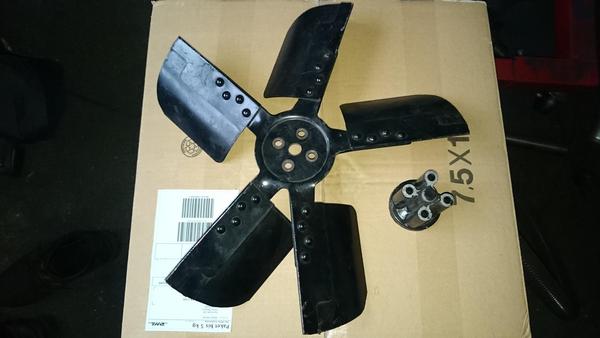
After that I took a great shot on an ebay auction - an original 5-blade fan. A little overhauled it will gets it's place on the Clevo instead the original 4-blade - more is more :D


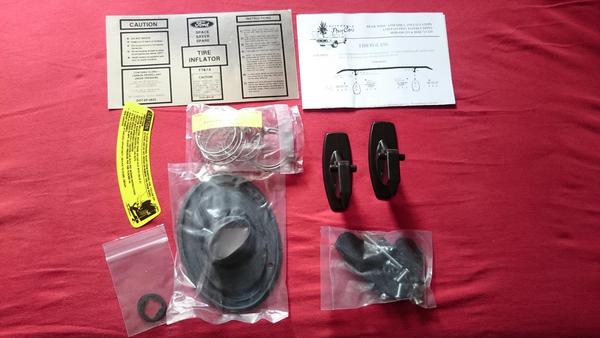
And Don sends me constantly new packages - I don't know why... :D


The next steps will be putting back the engine and put the periphery all together. This will include the rebuild of the power steering pump and the alternator and the exchange of some electrics in the front with new parts. After reassembling this all I will start with the upper bodywork what means: GRINDING - till the fingers will bleed... Oh yeah!

Tim

 
Wow Tim, excellent rebuild and information, only one thing confuses me is the fitting of a lambda sensor, can you explain how this helps and how it is hooked up, I'm sure they would not have been on the original cars.

I'm glad you talked about Ohio Mustangs, I've never ordered from them but am reassured by your post of such great service. Thanks :)

John

 
Nice progress Tim, it's going to look really good when you're done
Thank you, Jbojo, very appreciated!


John,

thank you :)

Ok, let's go - that thing with the lambda sensor is not original to our cars, that's right.

With this I am able to overwatch my exhaust gases and so the settings of my carb, the response and the fuel consumption of my car in the end. It is a quick possibility to fine-tuning your settings on the street after doing a good base setting after a rebuilt or other important steps on your engine which changes it's performance.

I have bought this set

http://www.ebay.de/itm/INNOVATE-DB-LED-WIDEBAND-BLAU-AFR-breitband-lambda-KIT-LC-1-O2-SENSOR-3795-/300977249388?hash=item4613a45c6c

and the fitting for the headers was included in that kit too.

And with Don from Ohio Mustang:

I can absolutely recommend his parts and his service! He is very quick, his packages are bombproof and the parts are normally in 1-2 weeks at your door in Europe! He responds always fast and comprehensive to your questions. The parts he sells are from the best available reproductions. But he has also a huge bunch of used parts - always have a quick-check with him is not a mistake if you need something new or used ;)

Hope that helped,

Tim

Wow Tim, excellent rebuild and information, only one thing confuses me is the fitting of a lambda sensor, can you explain how this helps and how it is hooked up, I'm sure they would not have been on the original cars.

I'm glad you talked about Ohio Mustangs, I've never ordered from them but am reassured by your post of such great service. Thanks :)

John
 
Last edited by a moderator:
I very much enjoy reading your build thread. I know English is a second language but you do very well. The minimal differences in word choice along with the telling of the story as you go, plus the detailed "how to" makes this among the best build threads on the site.

Good job, good work, and good writing. Keep the posts coming.

 
While waiting for a lots of parts from the States I care for the little things in life ;)

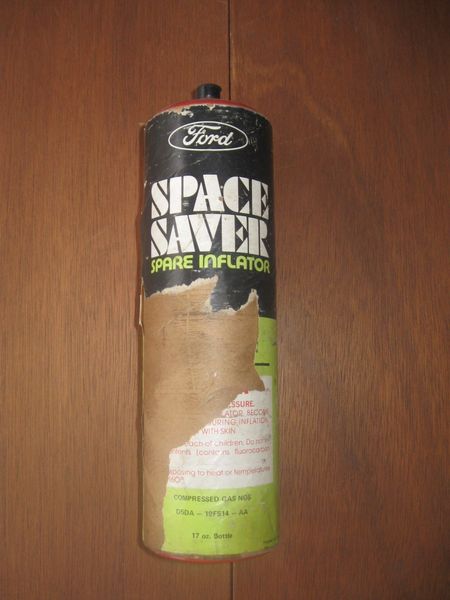
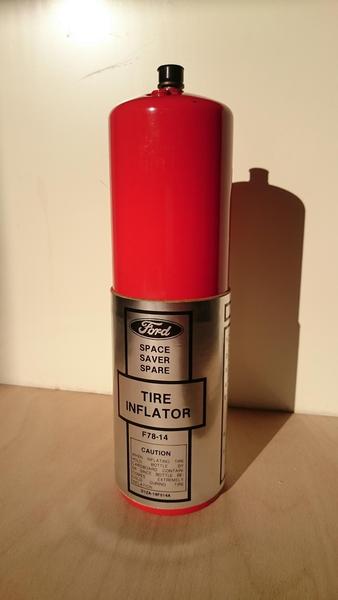
Had restored my space saver tire inflator I got from Epay and wrote a little tutorial about it for all of you:

http://www.7173mustangs.com/thread-space-saver-tire-inflator-how-to-restore-tutorial

Before:


After:


Looks nice, right ;) ?!?


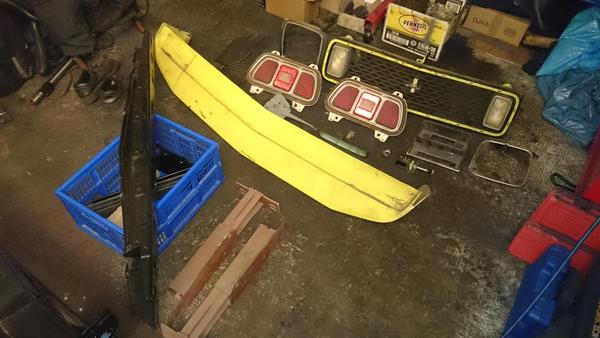
This weekend I had a great road-trip to Mike in Luxembourg and I did not come back with empty hands. From a friend of Mike I got some fine treasures I put on my RAM...


That bumper is WAY better than my original one... ::thumb::

As I came home from my long trip - I love driving through the night - I found some parts which has arrived in the meantime - yippieeeeh :D

The work will go on!

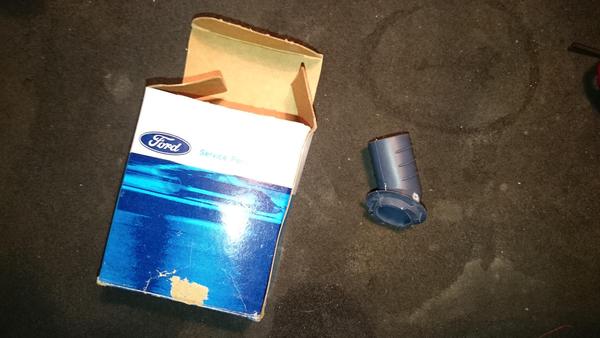
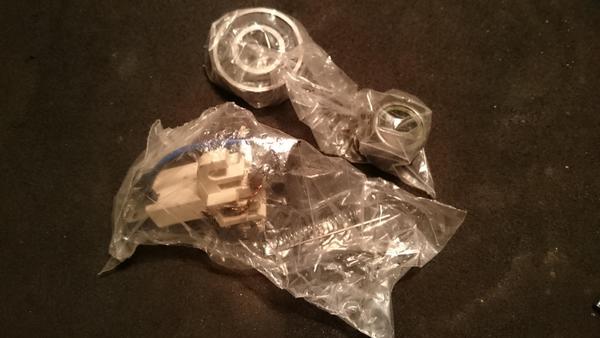
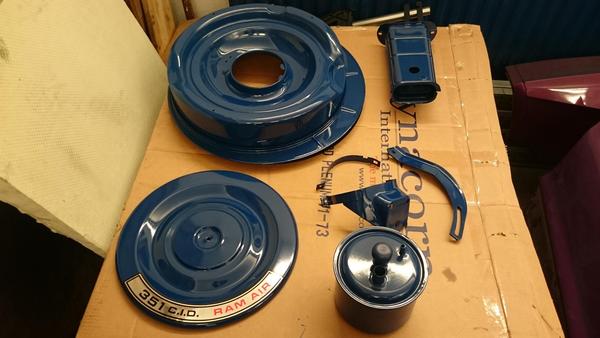
Rare connector for charcoal canister to ram air filter


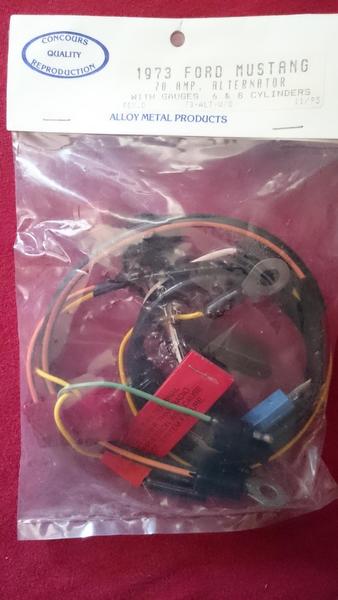
New qualitiy harness for the alternator


Kit for my original Motorcraft 70 AMP alternator


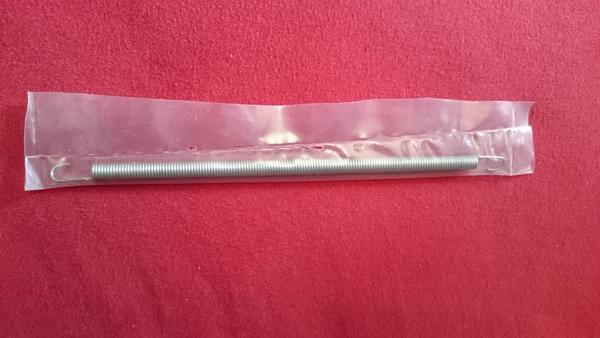
Spring for my space saver bottle


Last edited by a moderator:
Wow Tim wish you were here. I have the dash on my 73 vert torn to pieces. Took all the bad wiring out the pervious owner had added and am scratching my head on some things. I wish you were here with your knowledge of just doing it. Had to buy a tilt turn signal like you did off ebay yesterday to fix my broken one. Great work and keep us informed on your ongoing build.

David

 
David,

thank you. Yes, I would be glad to meet you and help you out. I went through mine last year and experienced a lot. It wasn't that bad - the previous owner added a bunch of cables which were wired horrifying but he did not touch the original connectors and plugs so I could restore it all to original specs with some new wire in between...

 
Hi guys,

unfortunately my job pays his tribute and I have not that much of time I want to have the last weeks...

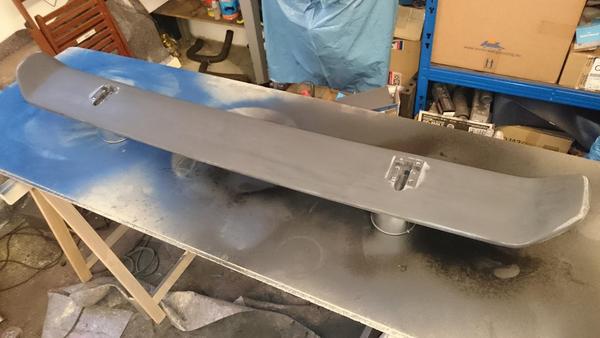
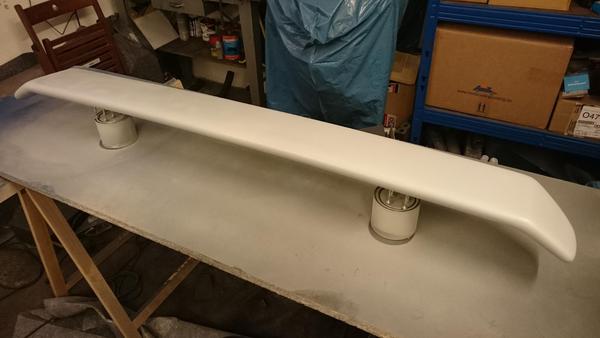
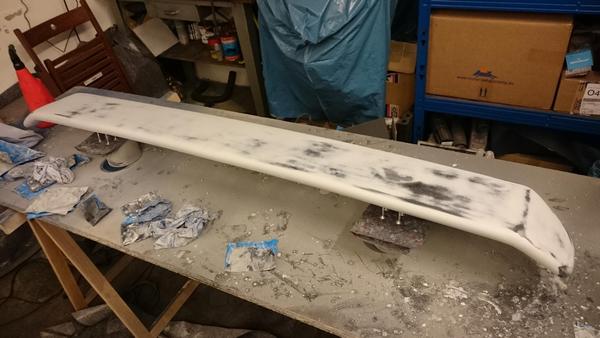
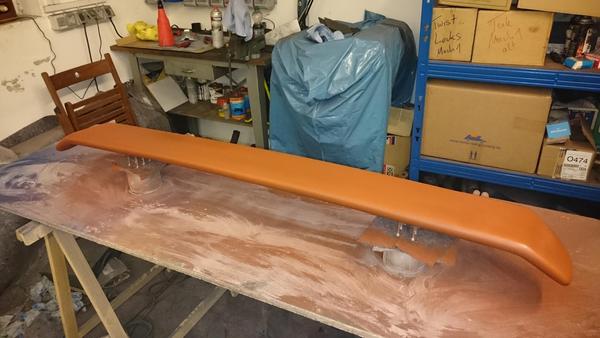
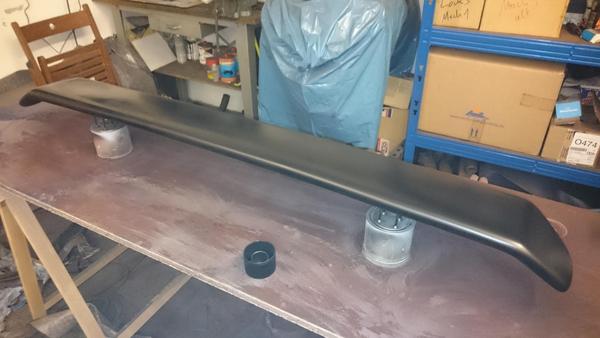
So in the little time I had I went over the power steering pump, the original 3-row-radiator and the original fan shroud. In parallel I restored a spoiler for my father's vert I came across luckily and finished our motorhome for my wife and me.

By restoring the radiator and wanting to get it back in the engine bay I discovered I need some new lower radiator support brackets (they are too bad), have to rewire a new spring for the lower radiator hose (it came out into many pieces) and have to buy some new concourse correct hoses because I have only a mixture of original ones and newer not correct ones. So I did a sweeping blow and bought another bunch of new parts on your continent waiting for getting home to daddy and his little mustang...

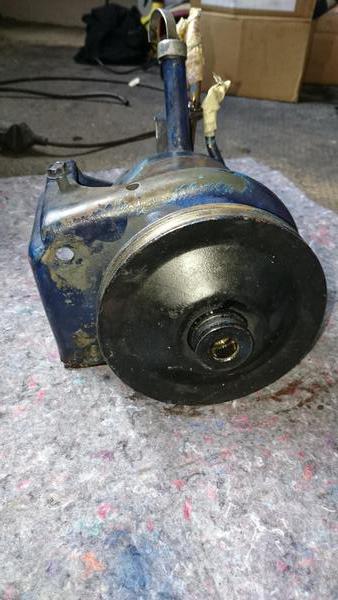
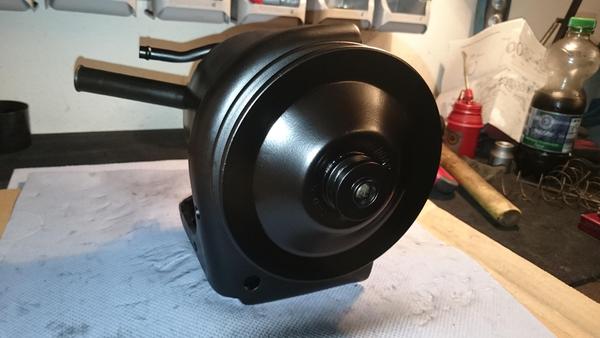
For the power steering pump: for all you interested people I created a tutorial in which you have a detailed step by step how-to for rebuilding you pump to original specs:

http://www.7173mustangs.com/thread-power-steering-pump-how-to-restore-tutorial

Have fun and success ::thumb::

Before:


After:


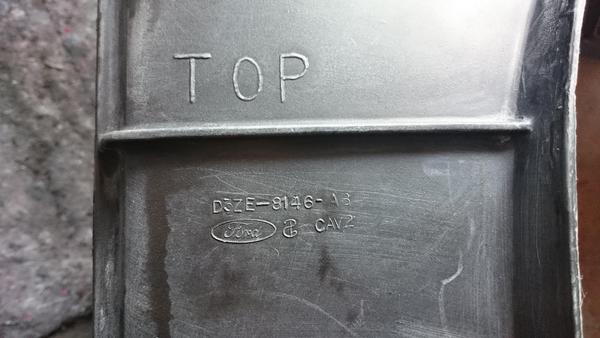
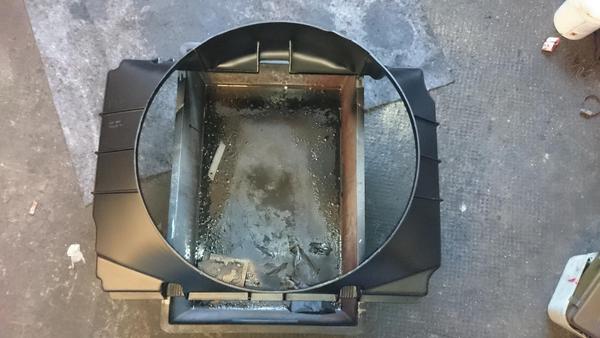
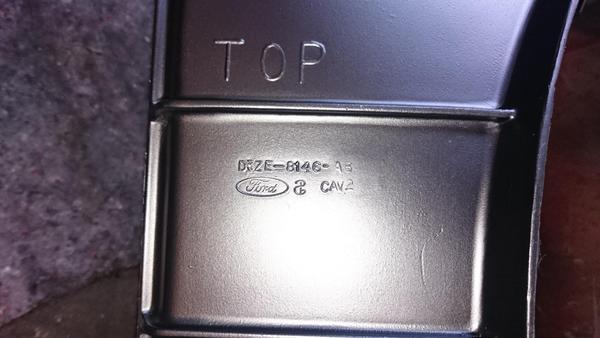
Fan shroud before:


After:


I stripped it with paint stripper because it was painted with some horrible brushed lacquer. After stripping I painted it with some heat resistant satin black lacquer. The same with the radiator - now it looks like new!

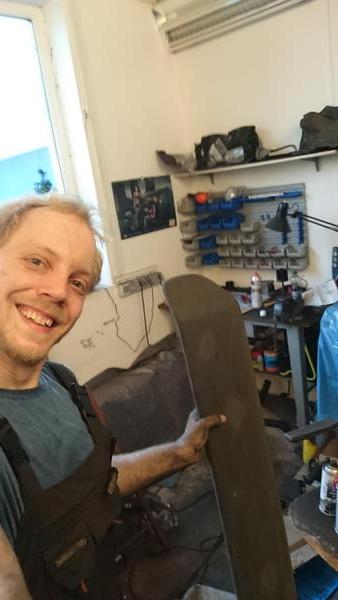
That's me by sanding the spoiler for daddy's vert - there I am still laughing...


Installing the repopped stands on the spoiler was a PITA! They had to be fitted for the deck lid and it's concave top curve - 3 hours of hammering, bending, filing and painting... But the happiness of my dad was worth it!

And this is lucky dad (shot the photo) with lucky mom after re-installed spoiler - the vert had one installed long time ago so he is happy to have one back there!


Looking good or am I wrong... ;) !?!

 
Last edited by a moderator:
Back
Top