Time goes by in big steps - especially if you have to restore a car...
In the meanwhile I was not twiddling my thumbs but there were holidays with my wife and much work with my daily business so it went slower than thought but that's always the same thing as you all know, too...
Here are my updates on the built:
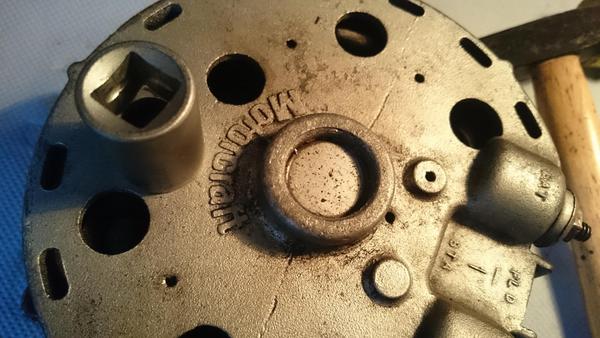
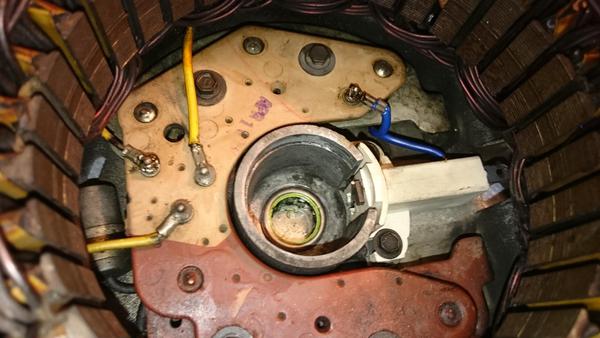
After rebuilding my power steering pump I did the original 70 amp generator. It was automatically built in when you orderend the rear window defroster. And the rear window defroster was a part of the T5-package, when you ordered a car for Germany - it is very cold, wet and dark in the black forest
")
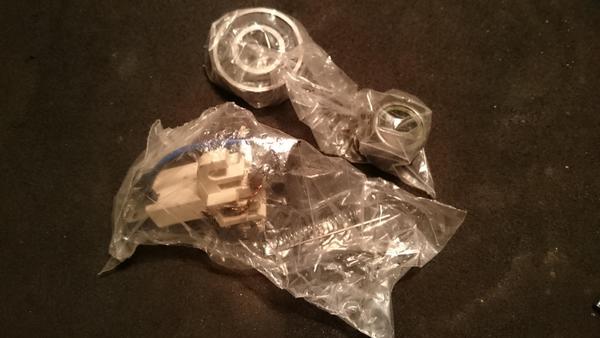
Parts
First I cleaned the housing
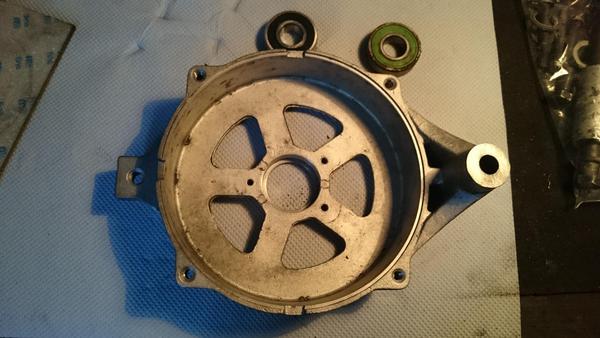
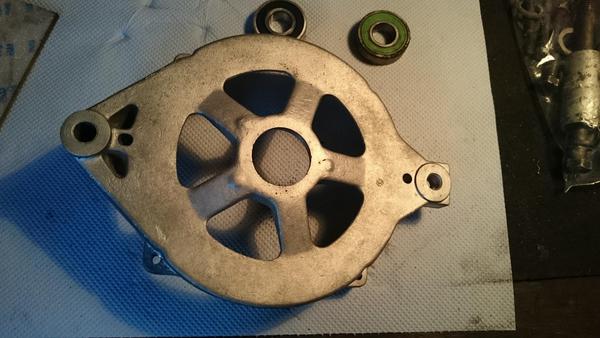
Fit in the new bearing

Cleaning the coil
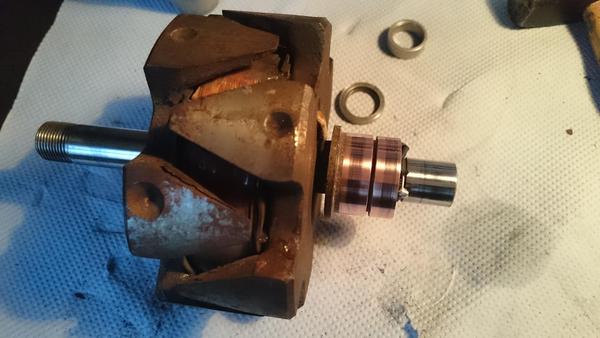
Drive out the back bearing
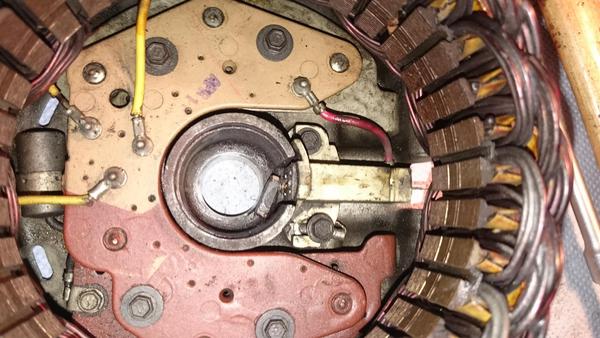
Fit in the new one
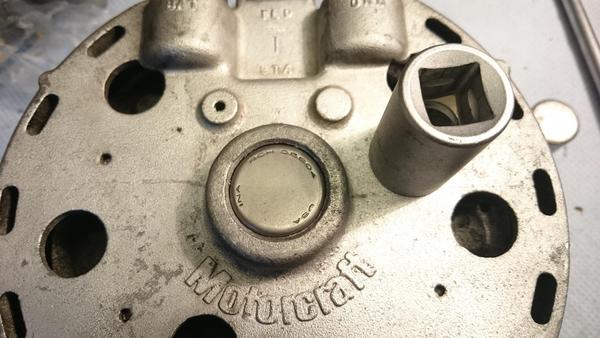
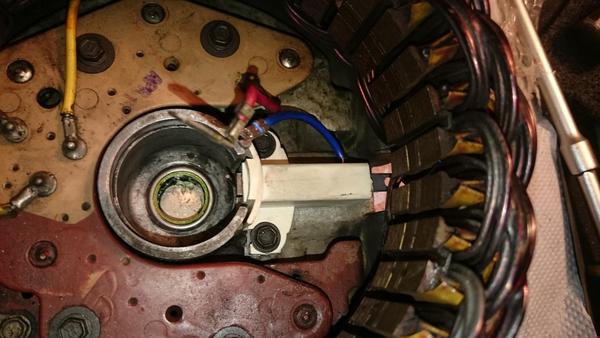
Changing the brushes and the messed up connector
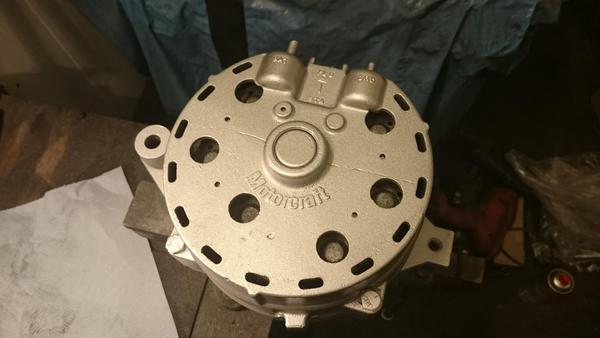
Assembled and painted with a light coat VHT engine enamel
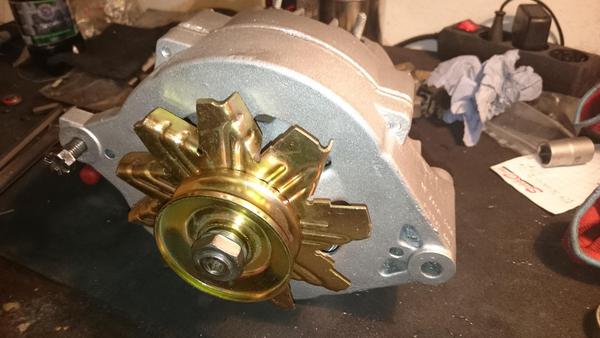
With new pulley and fan
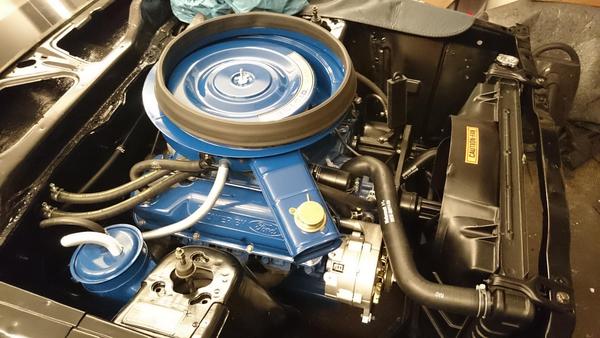
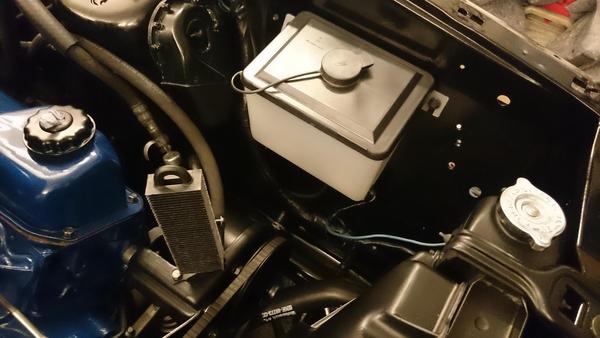
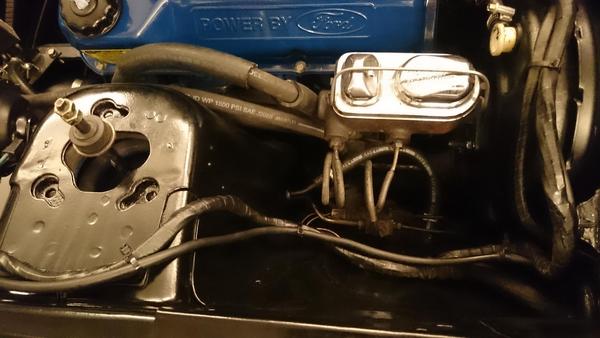
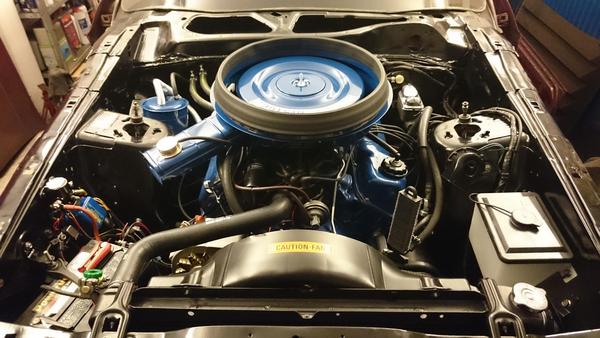
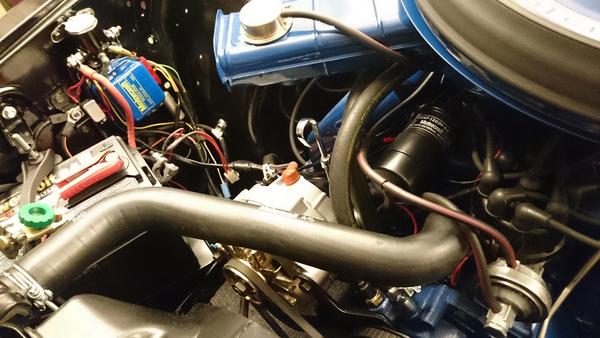
Then it was time to reassemble the whole engine compartment - first the cooling package
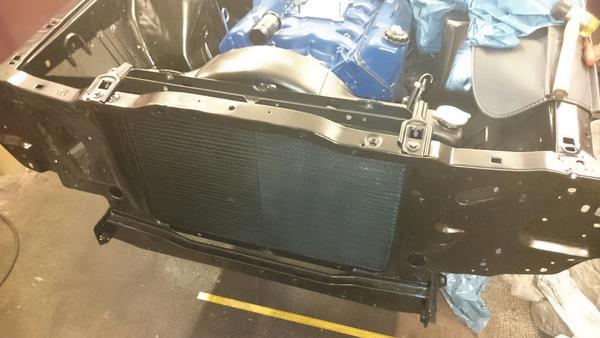

Power steering pump - even restored the original cooler on top of it - every gill!
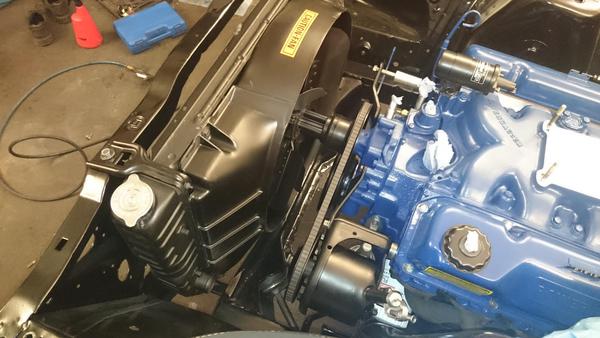
Here completed with the alternator
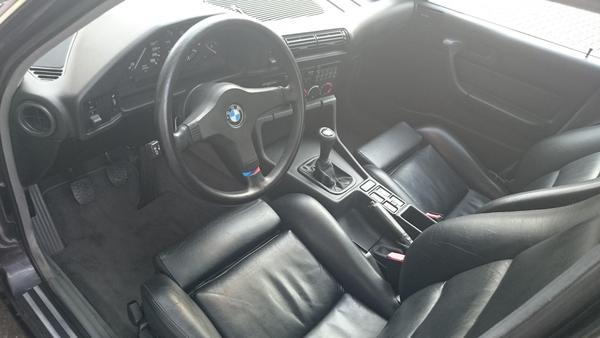
One day I could not resist my old passion for BMW - a very good offer resulted in a buy of a very well kept BMW 335i from 1988 with 5-speed manual and some factory M-package-supplies - a real eye candy and coming collectors piece!
Here some pics:

But back to the Mustang
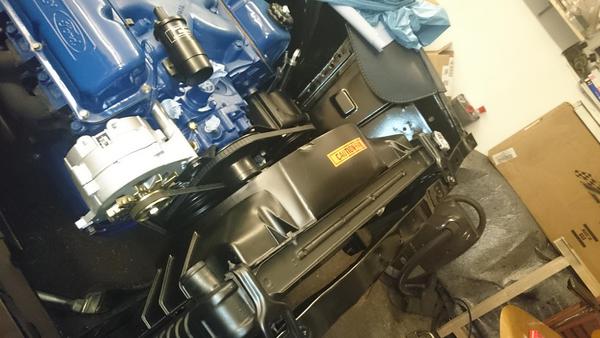
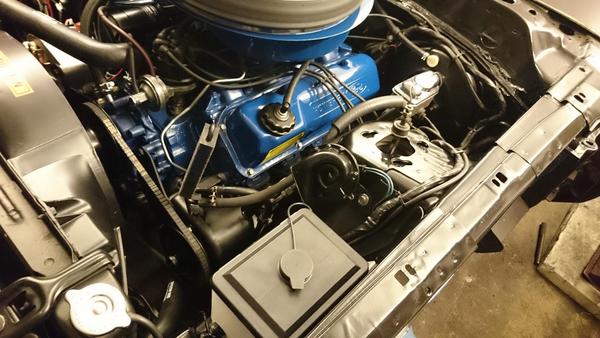
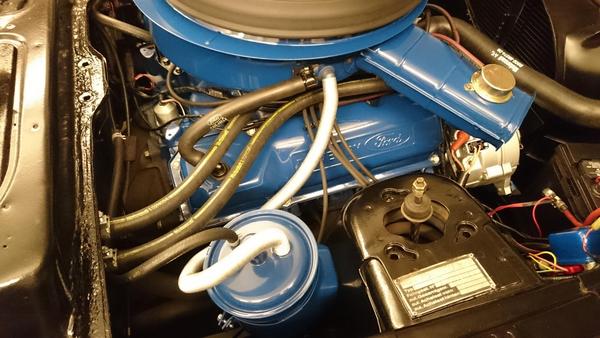
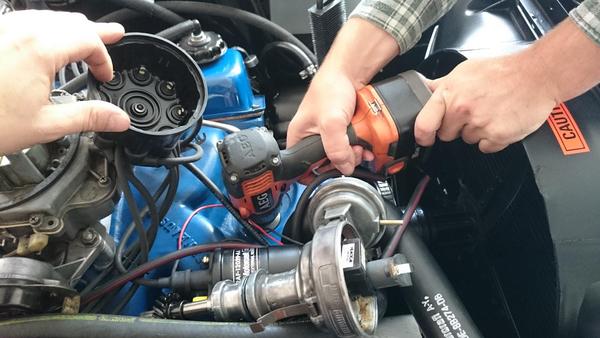
I fitted the ram air setup and began to rewire all the wiring harness in the engine bay - they didn't look as good as the engine bay now so it was a no-brainer...
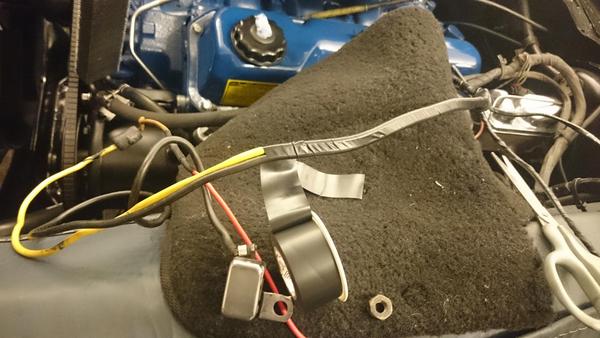
I used normal electric isolation tape from Tesa - looks perfect!

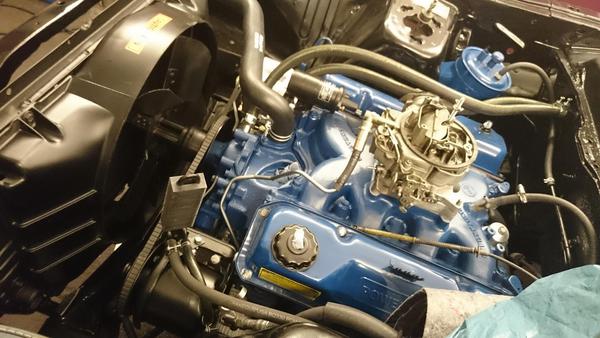
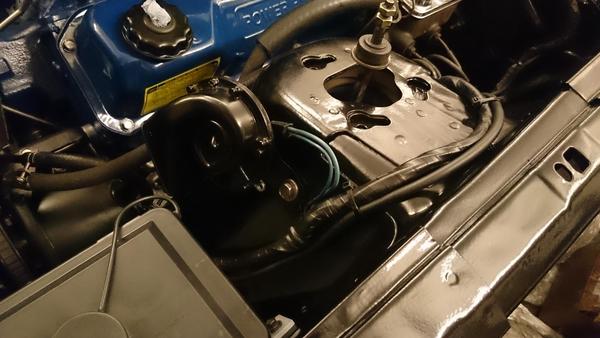
Then I reassembled the whole alternator harness

Finished generally speaking
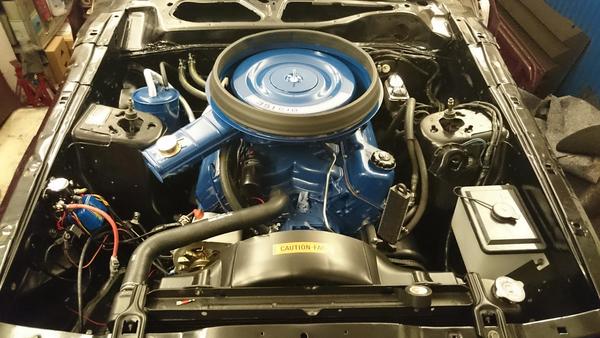
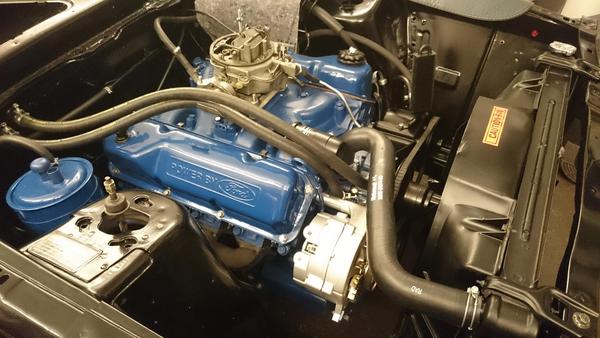
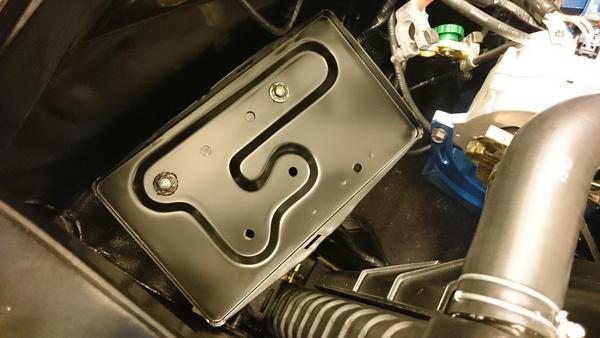
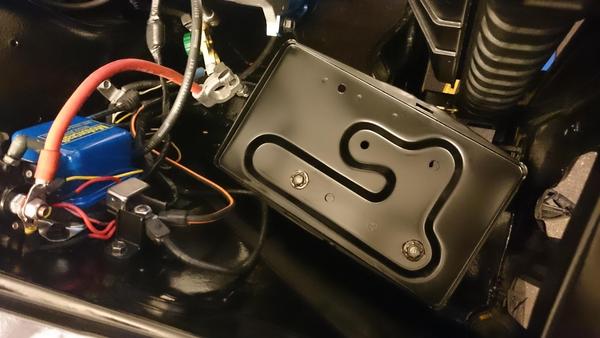
The original battery tray was too bad underrusted so I decided to buy and paint a new repro one - not a bad idea, very good quality!
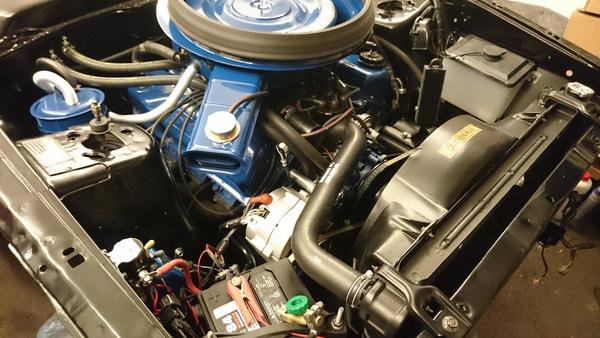
More progress with more tubes
It was now ready to get off, the little rascal - but! I reminded some really important for me and searched for a little box with some NOS parts - I had in mind that there was at least one broken valve rocker arm oil baffle and I bought some NOS - tadaaaaaaaaaa ::thumb::
In the end I checked all and there where two broken - each on one leg
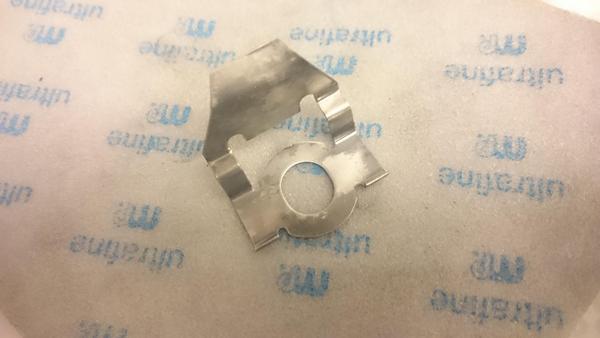
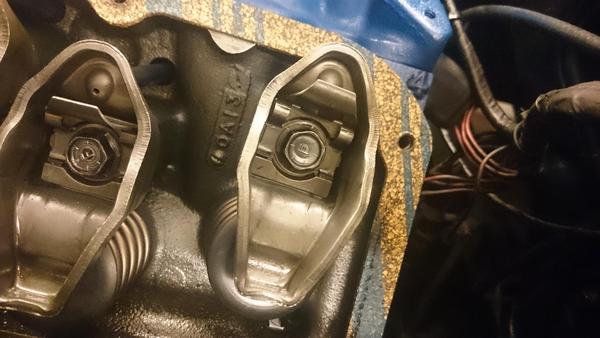
Check ::thumb::
Now it was time to get ready for rumble and let the whole thing fired up :whistling:
This was friday two weeks before from now - I slept bad and was very nervous. Would all have been right I tightened togehter the last half year - would there have been no leaks? Oh man... :shootself:
First my best friend Oli and I pumped some oil in this big Clevo
Then turned the key, the engine turned too and... nothing! Ok, it was a long way for the gas to go to the carb and the last half year it had enough chance to dry out like the Kalahari desert... I had all triple-checked before so this engine must run!
We put some gas directly in the carb AND...
F I R E :banana:
Runs and sounds good - first stage done ::thumb::


![$_57[2] (2).jpg](https://cdn.imagearchive.com/7173mustangs/data/attachments/27/27105-481370b209a80c55a4d4ceb6e38397cb.jpg "$_57[2] (2).jpg")


