Tim's 1973 Mach 1 rebuild thread - it's done in 2023 on it's 50th birthday!

7173Mustangs.com

Help Support 7173Mustangs.com:

This site may earn a commission from merchant affiliate links, including eBay, Amazon, and others.
Driver's door - this is the last part which will need a little TLC... :-/ 

Measuring for sheet metal - updates over the next weeks...


It is doable - with that in mind, that here in Europe there are not any better doors and a new one will cost me 1.500 Dollars it is doable :D

2-3 days and some sheet metal, that's it - it's all depending on time and effort...

 
Repair of the '73 front bumper

It is not my original bumper because this is too rusty under the urethane and to much layers of paint and bondo on it. I bought a good used one with very very minor rust, some chips and only 3 layers of paint from Luxembourg, a few hundred miles from my home, for 350 Dollars two years ago. With all the metal parts and the bumper mounts included, already restorerd. It was a well invested drive and buy! And I met "Luxstang" and other nice people - but that's another story...
wink.gif


It needed a few days but it was doable and no rocket science. I used a good 2 components polyurethane glue in black to fill all the scars. I needed two glues and 8 mixing tubes for all the steps and some sanding paper for hand/block sanding and the excenter sanding machine. With the dremel I cutted every crack and tear to a "V", then filled them with the glue. After let it sit for one night I sanded it down and repeated the step until I was satisfied. Now it is ready for the paint shop to have it primed, filled and painted in Gold Glow
thumb.gif


The trick of the whole thing is to find a good and easy restorable base for a reasonable price. This was the only restorable bumper in Europe I found for the last years - and I got it only by speaking with friends from our forum here. If I had nothing more to do one day I will restore my original bumper - but this will be a task for lots of weeks and many glue...

I used this glue:

https://www.ebay.de/itm/2K-Kleberset-Spoilerkleber-GFK-Carbon-Karosseriekleber-Industriekleber-Klebstoff/130767133201?hash=item1e72541a11:g:hMgAAOSwXPNaS4wV


Finished - looking and feeling good - hope the paint guy will see it the same ... ;)

Btw (edit):

the bumper had 3 layers of paint: first a light green metallic, then silver and finally yellow...

 
Last edited by a moderator:
Wow, nice progress Tim!

Thinking I need do same on my 71... pfff

[with (soon) 3 children]

bye bye free time :)
Thank you!

You forgot the new house... rofl 

It is always some time - but you have to lay focus on some things from time to time... ;) 

And you must have an understanding wife :whistling:

 
Last edited by a moderator:
Bought new metal


I do know that the cut out rear valance is not period correct for my late '73 Mach 1 because the had probably all turn down pipes from the factory but I like my straight slanted pipes as the Mach 1 from 71/72, so I went that route - my Resto-Mod-Concourse-style :D


Rear bumper distance piece


[You forgot the new house...]

I got a taste of this too..

Got two kids and an 100+ years old house that has been extended...

Not to mention I started own business.

The hobby suffered a small delay of "just" 2 decades. :)

Hope you can have have back together soon!

 
[You forgot the new house...]

I got a taste of this too..

Got two kids and an 100+ years old house that has been extended...

Not to mention I started own business.

The hobby suffered a small delay of "just" 2 decades. :)

Hope you can have have back together soon!
Not bad, not bad... ::thumb:: 

Thank you - I hope that, too. And I will - I have to show my children why daddy is always in the workshop in his few free minutes finally  :D

 
Hi Tim,

it all looks very good, thumbs up ::thumb::

Juergen

 
Hi Juergen,

thank you very much ::thumb::

Yesterday I prepared the new front valance. Besides a small dent which I hammered and dollied and filled with little aluminum bondo it was in a good shape. Compared to the original one it is quite good fabricated and very similar ::thumb:: 


It is not a Carpenter one, it is a Goodmark one as is the rear Valance. I am surprised about the quality...

Btw: does anybody know for which application the five holes/notches on the underside are for? The front spoiler is mounted in front of them so that's not their purpose...

 
Looking good Tim!!! Cant wait to see the car in gold glow! That's one of my favorite colors.

Just a heads up on the front and rear valance. Make sure you fit them to the car before painting. The mach 1 I restored last year need new rear valance. It took a couple hours to get it to fit to my liking. Also the spots welds on the small brackets on the backside are really shitty. The one I had even had 1 bracket fall off. So check and double check the brackets and fitment. But the car looks GREAT!! Keep up the good work.

 
Kevin,

thank you for your words - yes, I can't wait anymore to see the first parts in Gold Glow, too!

Thanks for your advice - I will do that and test fit every new piece before painting finished. Only want to do the most dust-work before fine-tuning... ;)

Thank you very much for your kind words - that does support me very much - especially in those moments you think, why ever I started to do this... ;)

 
Hi guys,

for now it is time for an update, end of 2018 is near. It was a year full of hard work and many happenings but most were good ::thumb:: 

Between fixing up a house and a piece of land, daily job and my lovely wife and three children I found gladly some time now and then to go into the right direction of the Mustang project.

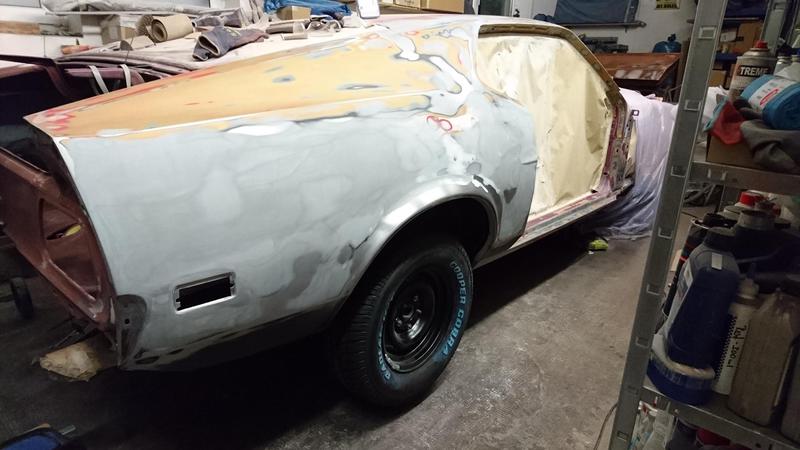
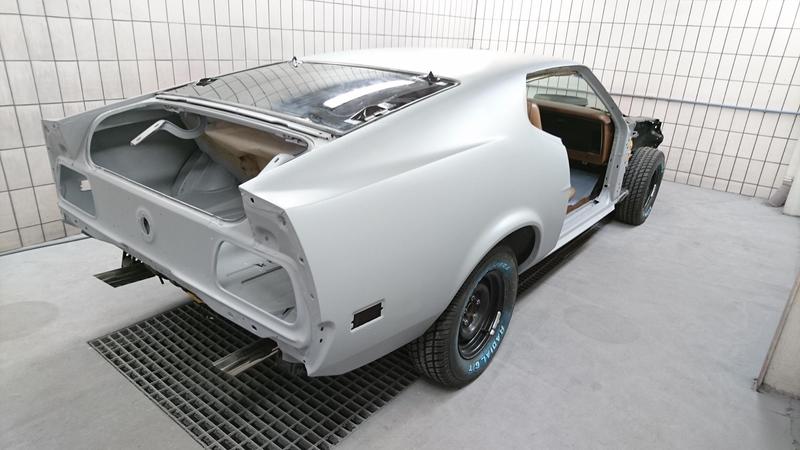
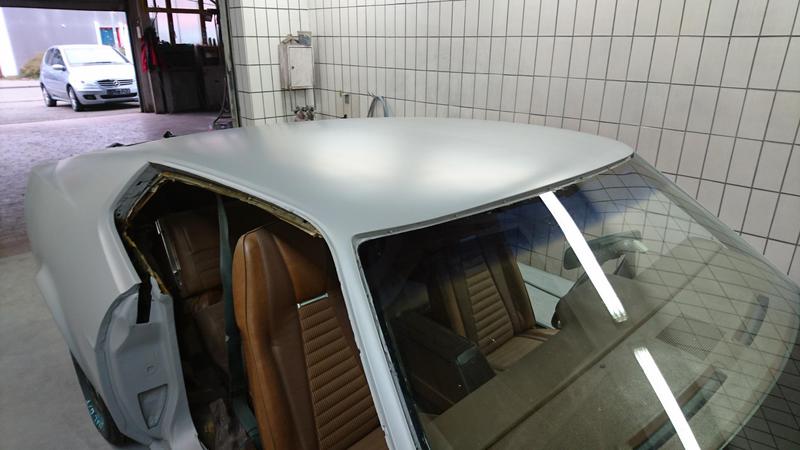
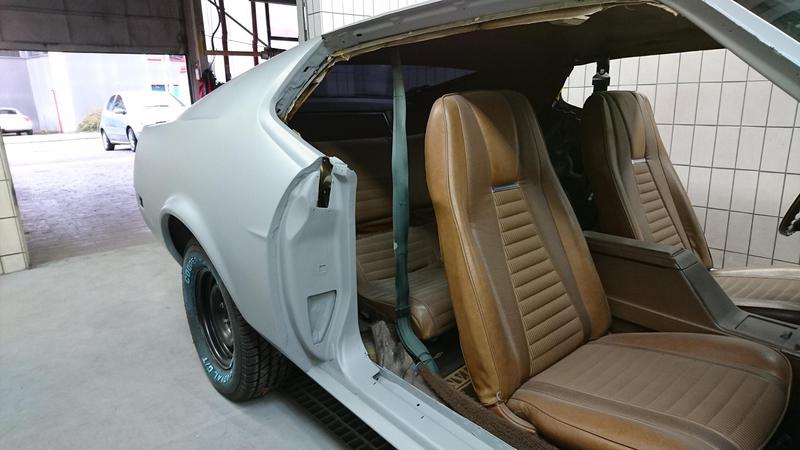
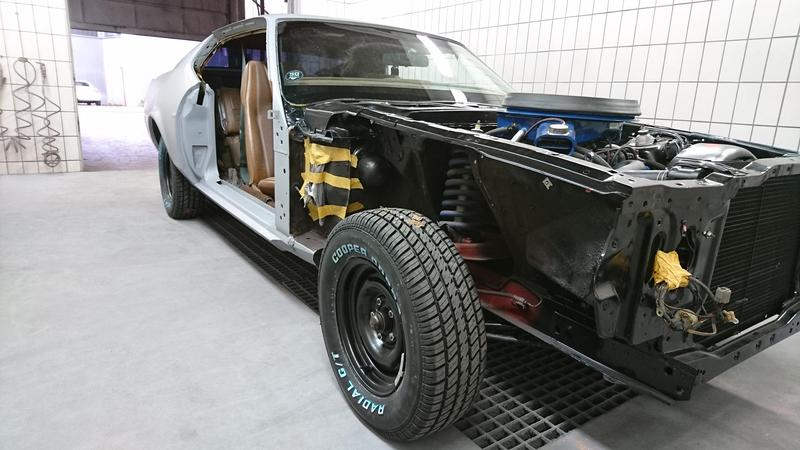
For now I have fullfilled my aim for this year to get the car body covered with paint, at least with primer and filler. And what shoud I say... The long and hard work on the body was worth it. My paint master said my work is better than that from his body guys in his shop! What a compliment from a paint master who works with that since 30 years and does normally the newest and expensivest Mercedes-Benz-Cars...

All wide surfaces are top even like the quarters and the roof, couldn't have done that better, he said. All transitions in different shapes are clean. Wow - I was feared of everything and now such a result!  I am proud now :D

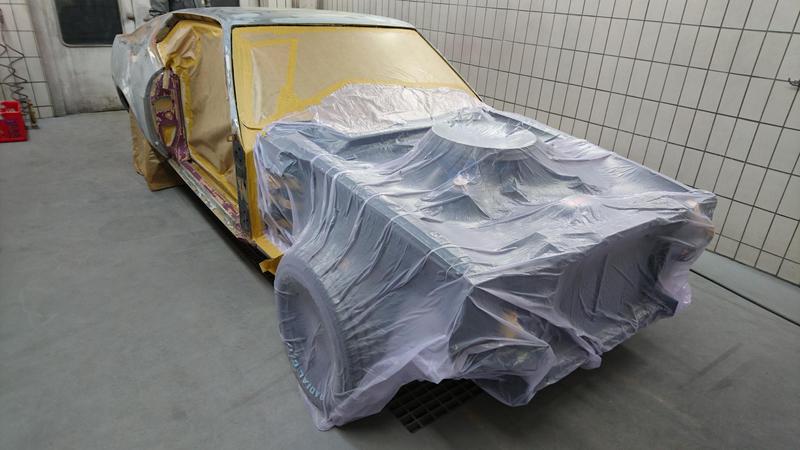
So there is only minimal to no work the surface, my long preparatory work has paid for itself. Now I have to do the last sanding on the body with some 400 and 500 grit before base coat in "Kurkuma Yellow" (a metallic gold color from VW, a modern substitute for 1973 Gold Glow) and the clear coat. I think in January I will have the final paint booth visit with the car body and then it could come to the new garage. The other parts as doors, hood and so on will be finished by the paint master by himself in the next weeks so that will be very comfortable for me ;) 

But now for the pictures and in chronology:

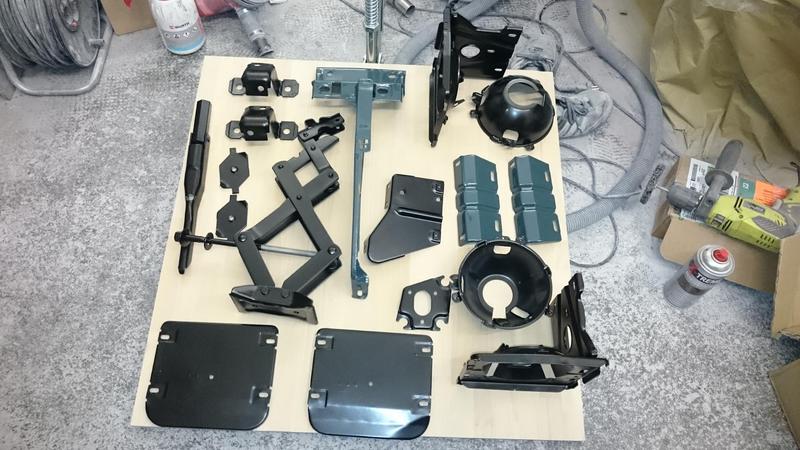
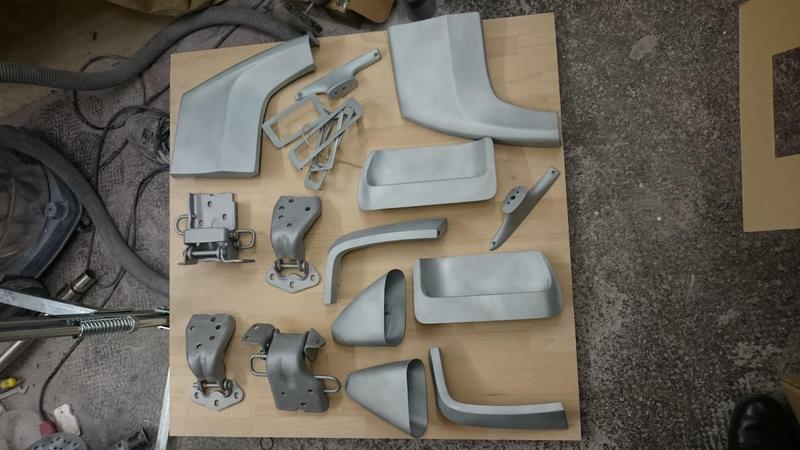
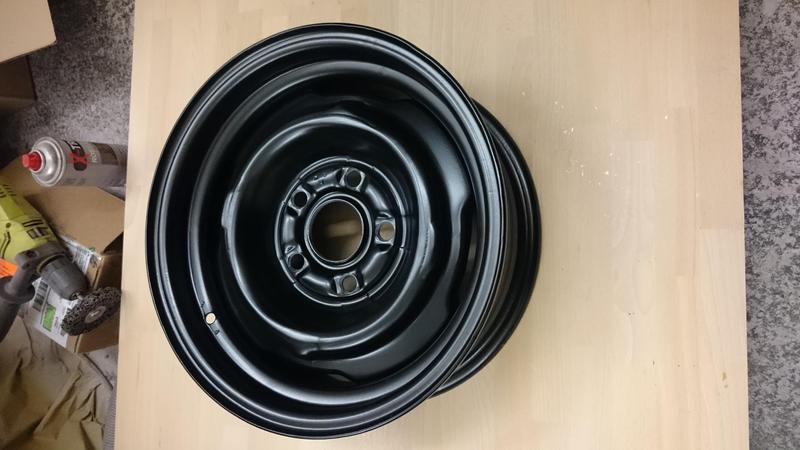
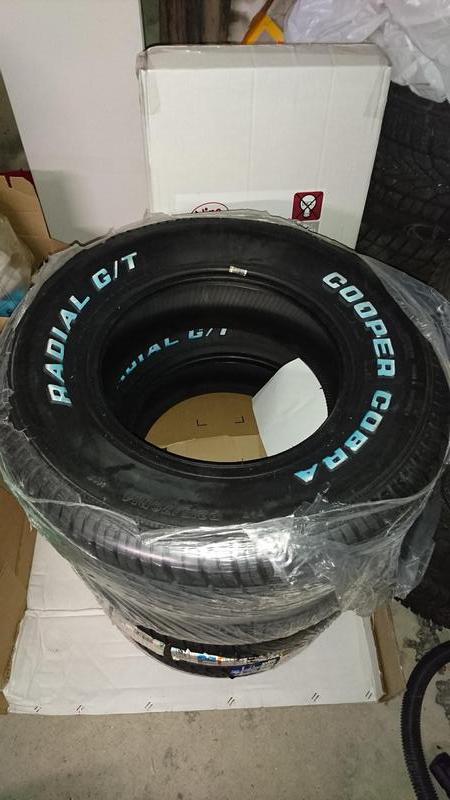
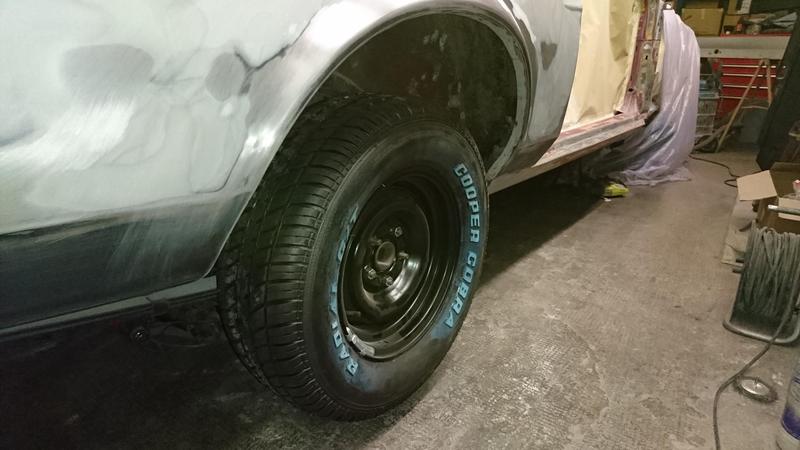
First in this year I let some parts be cleaned and powdercoated in semi-black or slop grey. The hood hinges will get some natural finish/clear coat, the door hinges some gold. The rims are the original ones and are already on the car with 215/70/14 Cooper Cobras... They will get the original FoMoCo Dog Dishes without the chrome rings for that police interceptor look ;) 


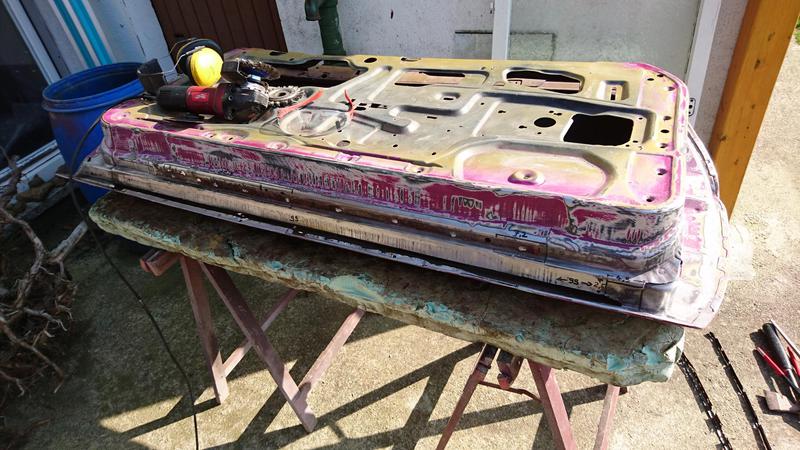
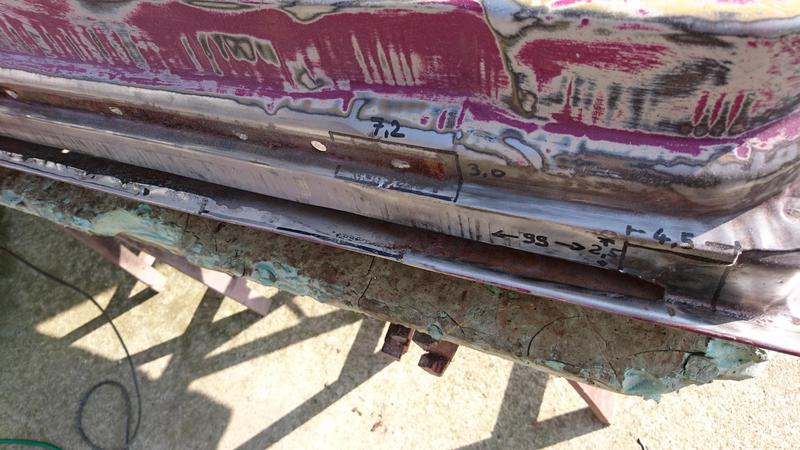
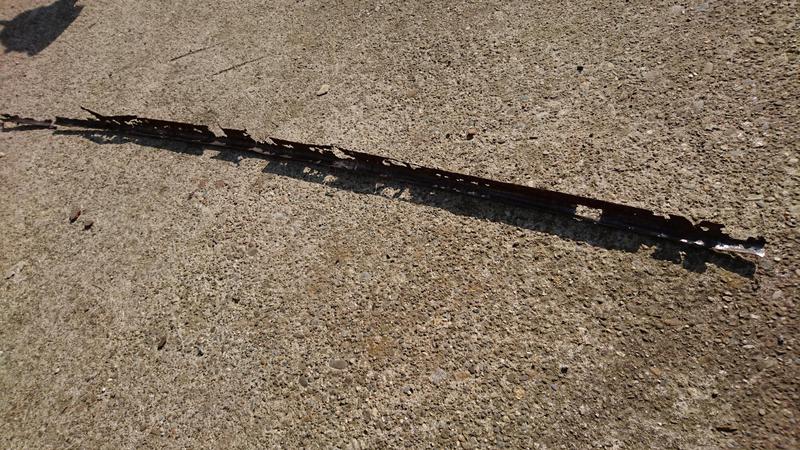
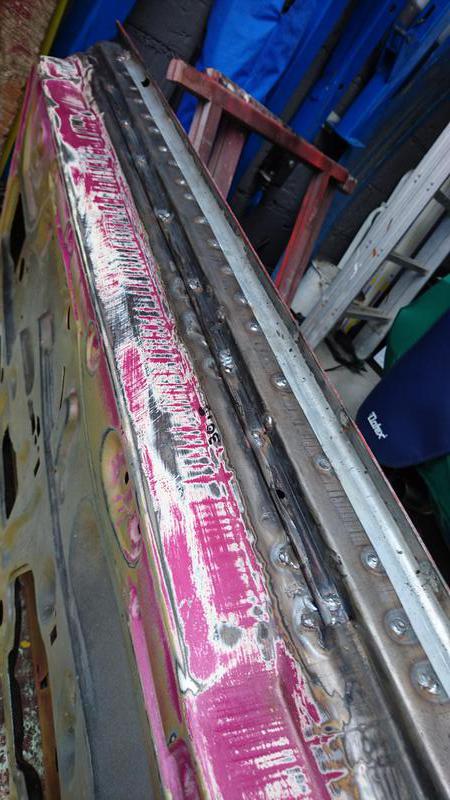
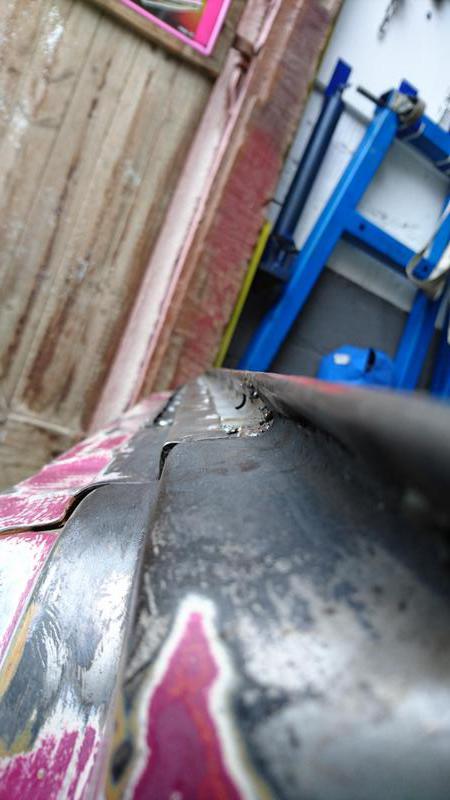
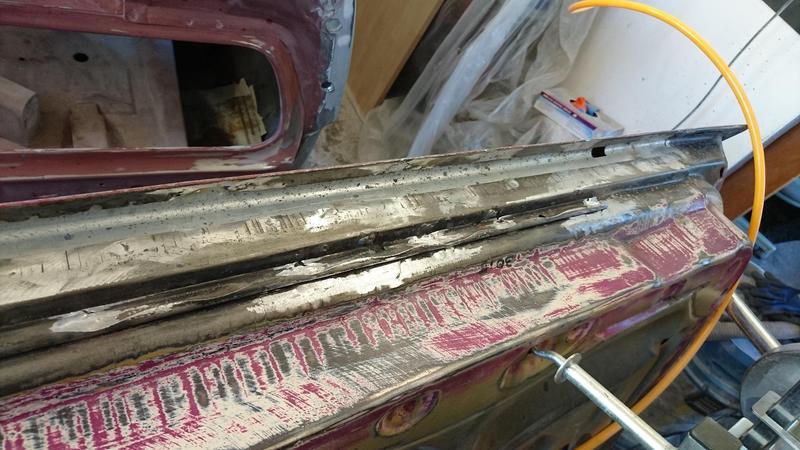
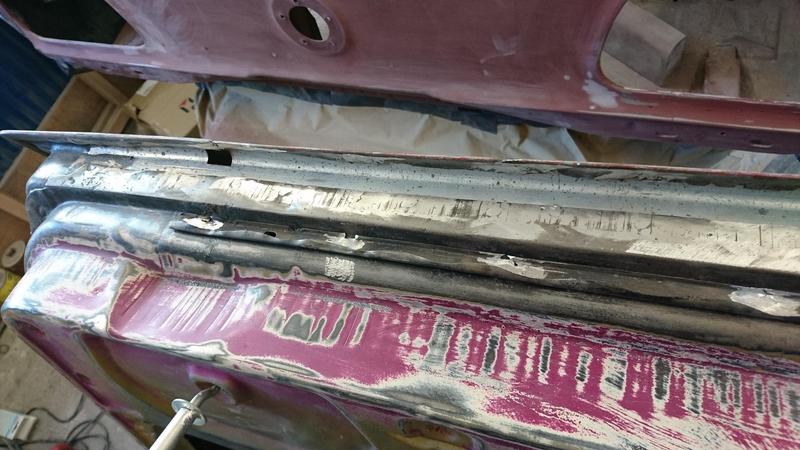
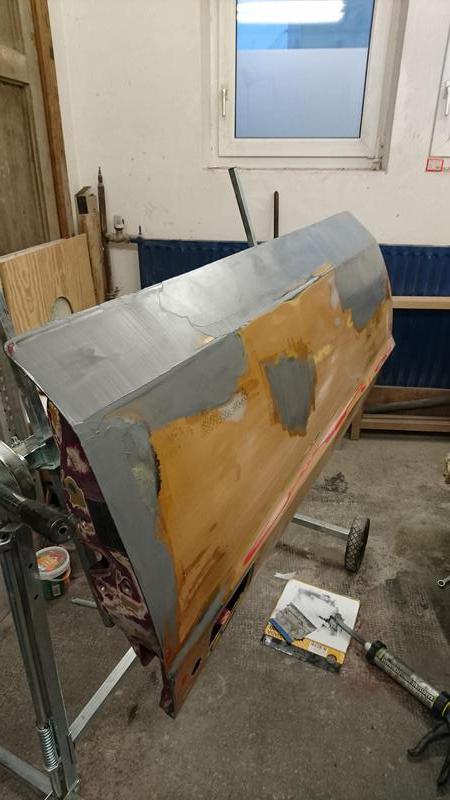
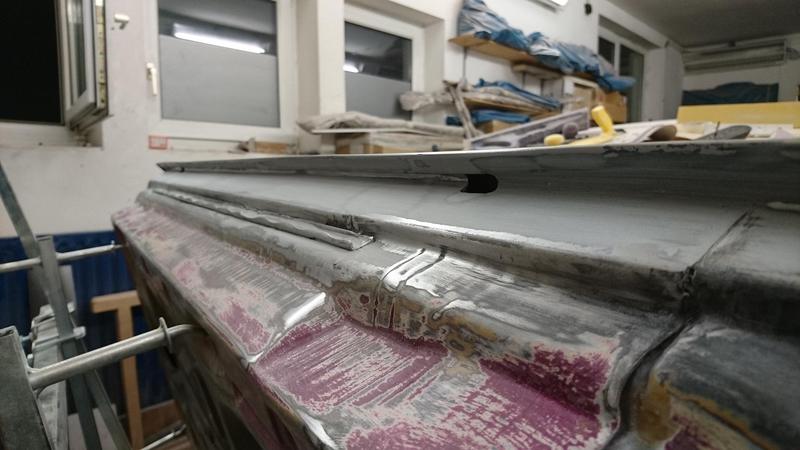
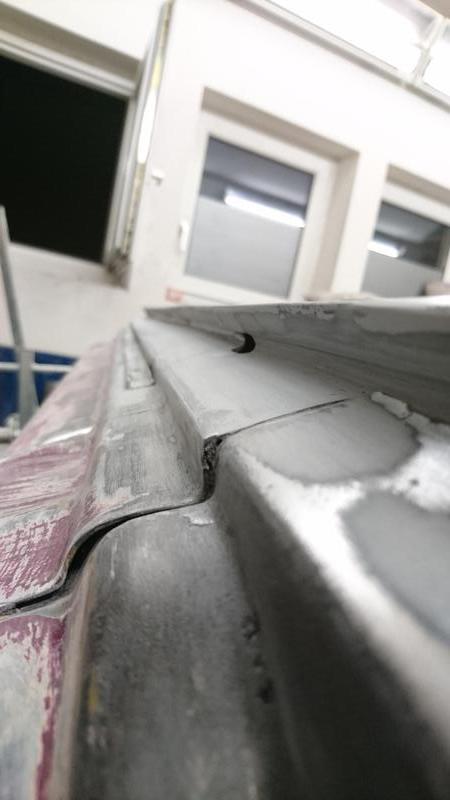
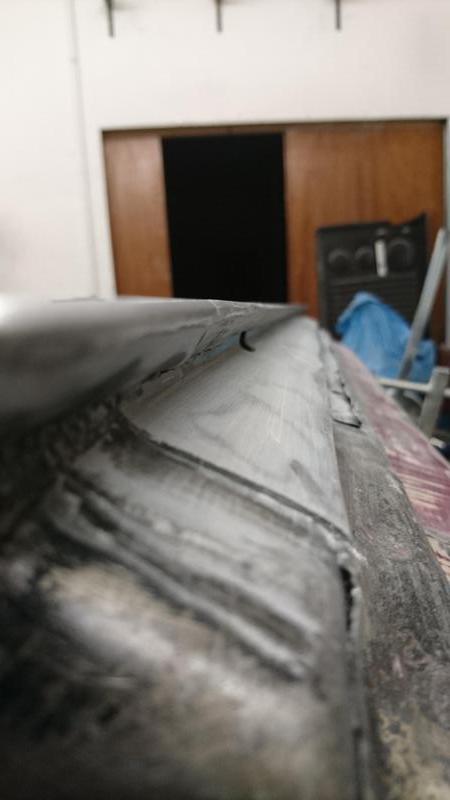
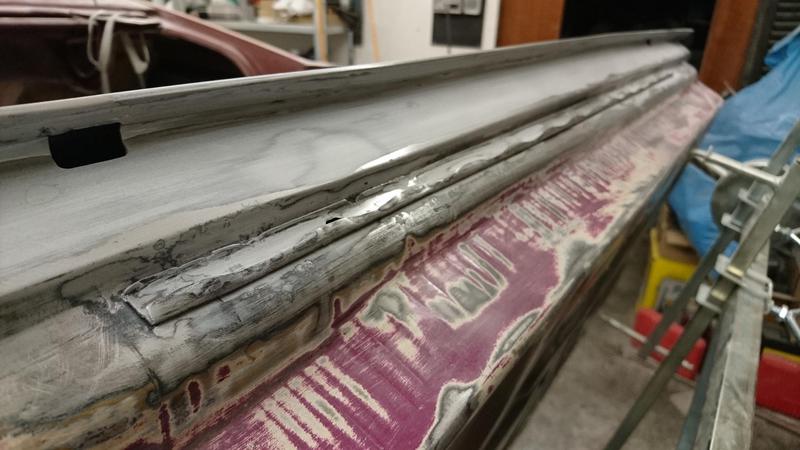
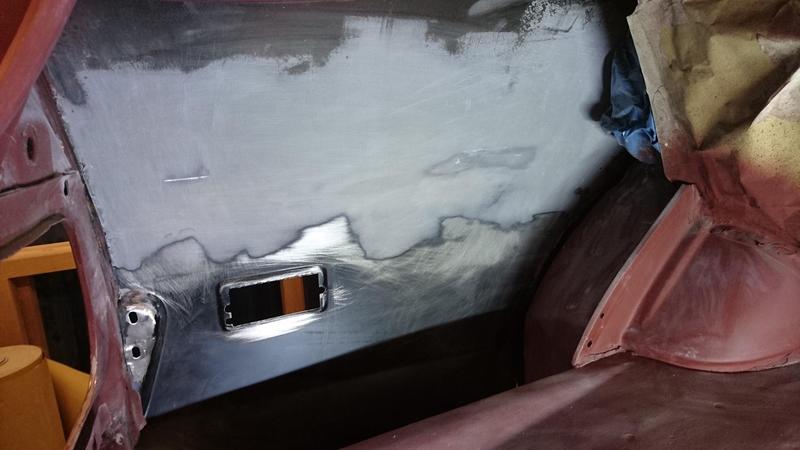
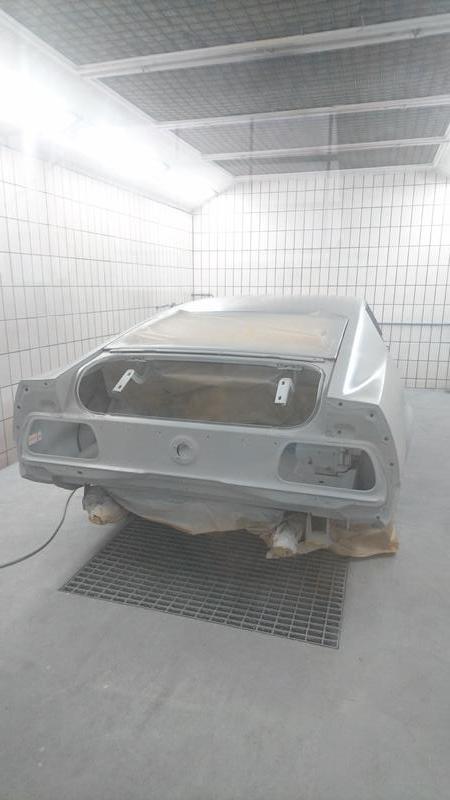
The drivers door was hard work and costed a lot of time. By the lack of good used ones in Germany and the high costs of two new ones I had to repair this one which had already some traces of old repairs... But look and see. The result is surprisingly good!


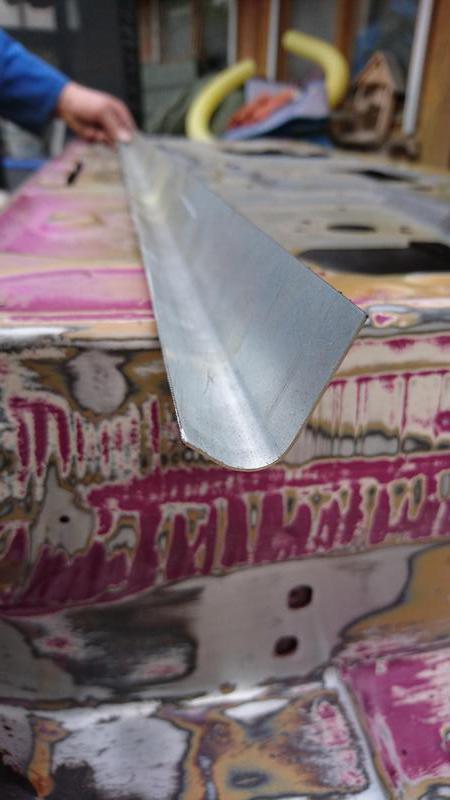
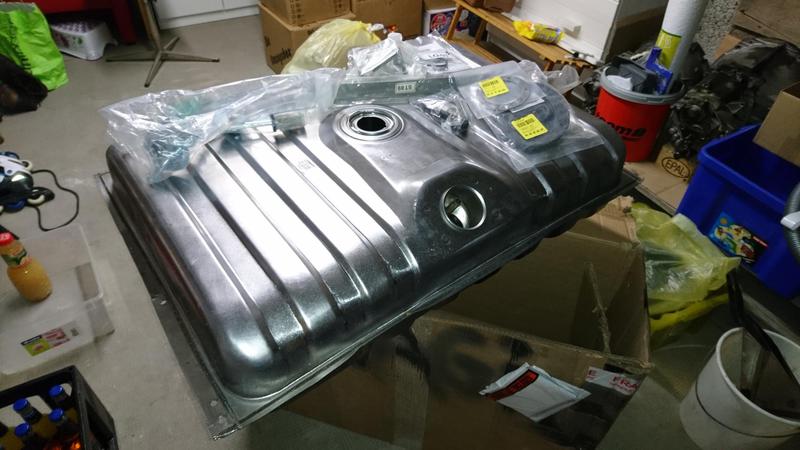
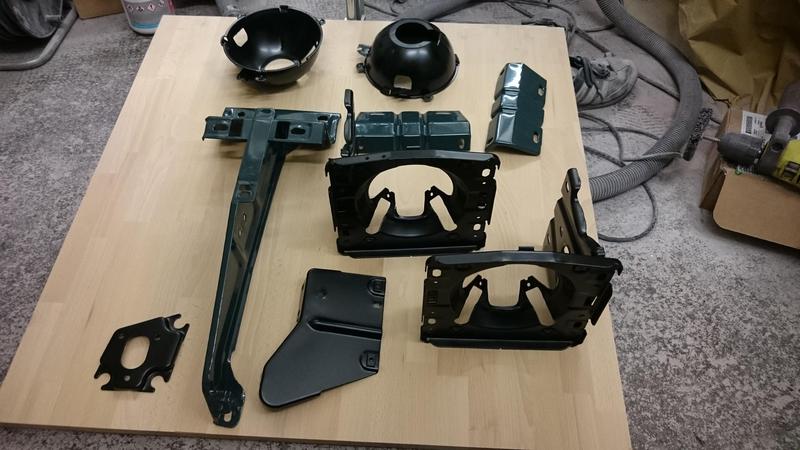
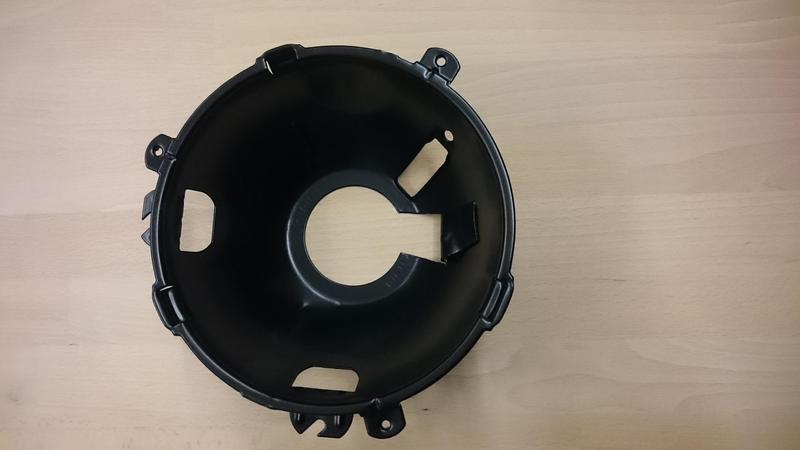
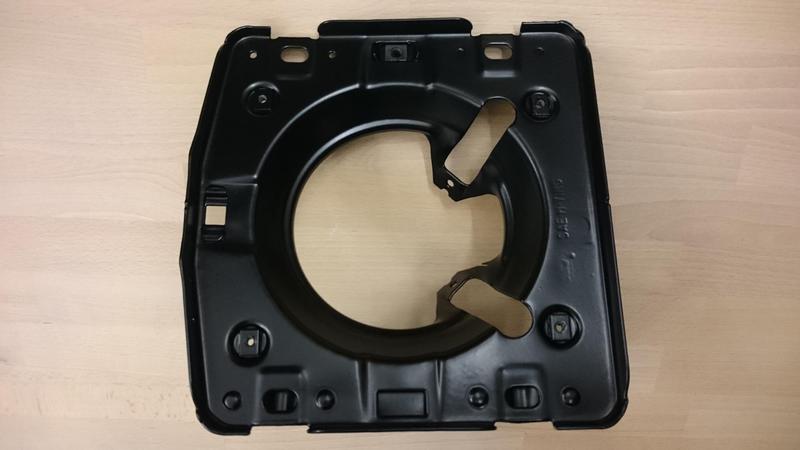
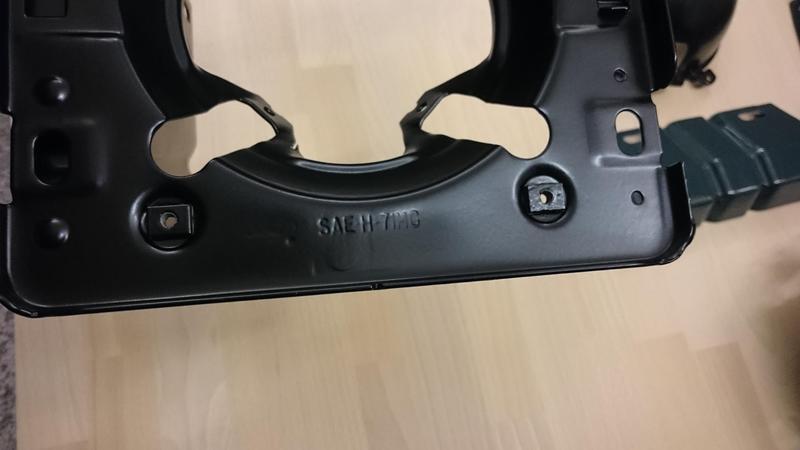
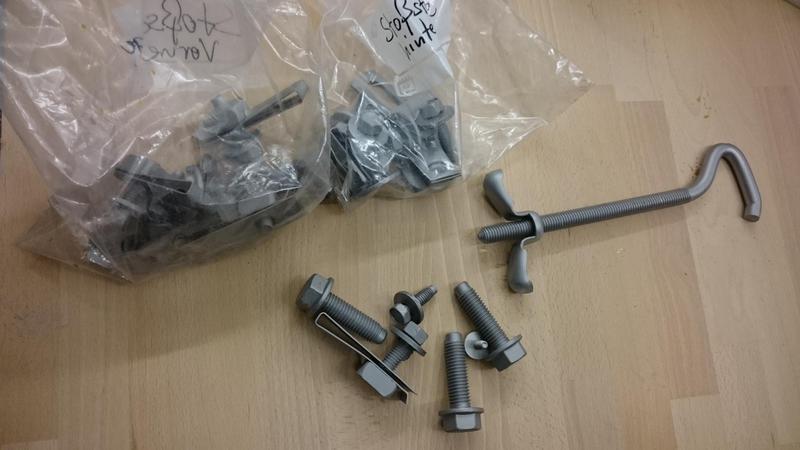
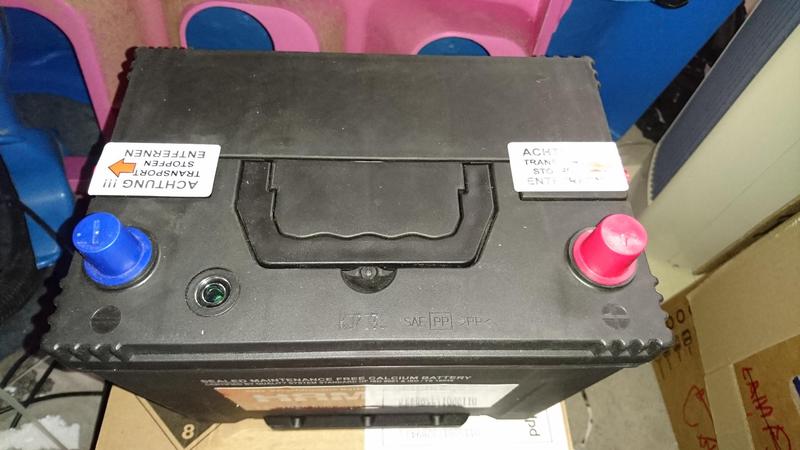
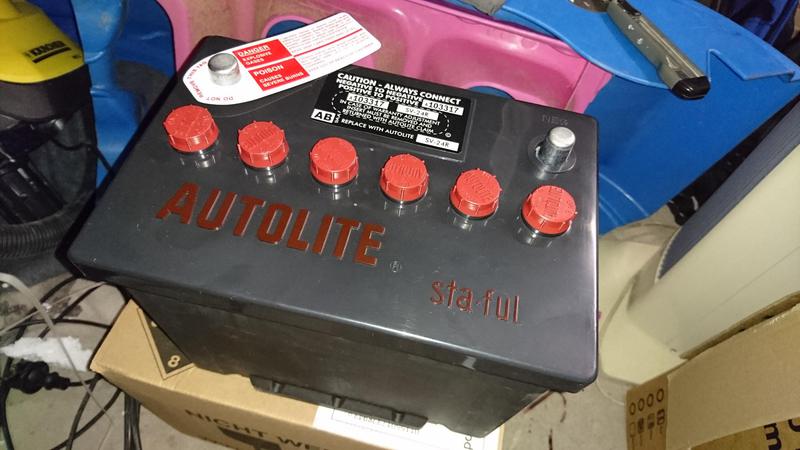
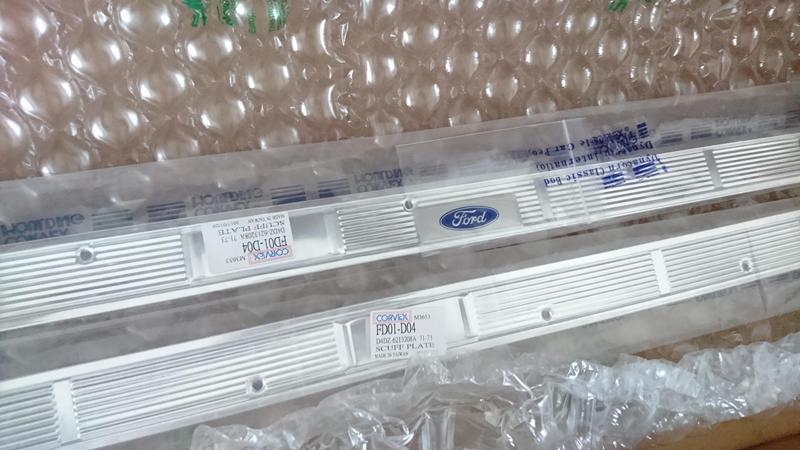
In the meantime I got some new parts :D 


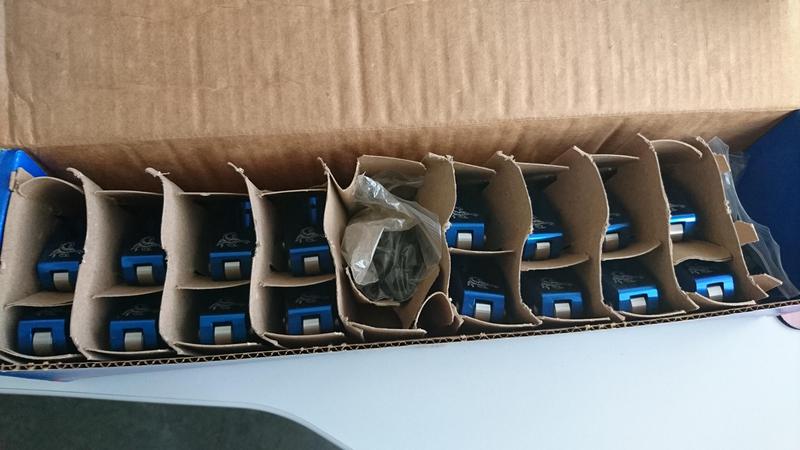
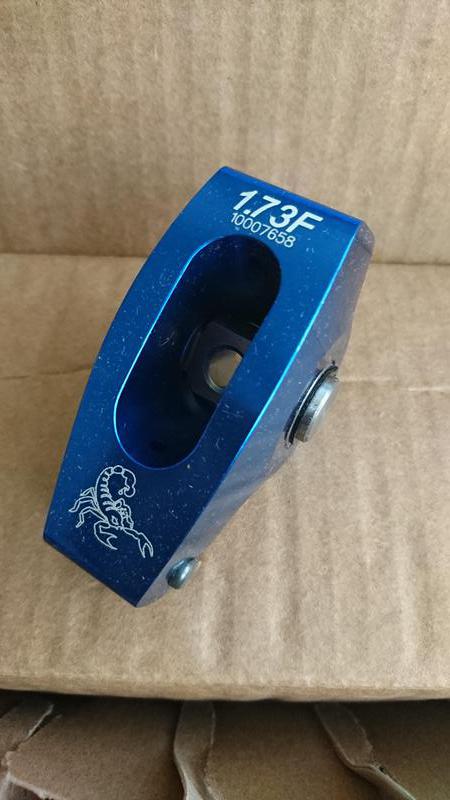
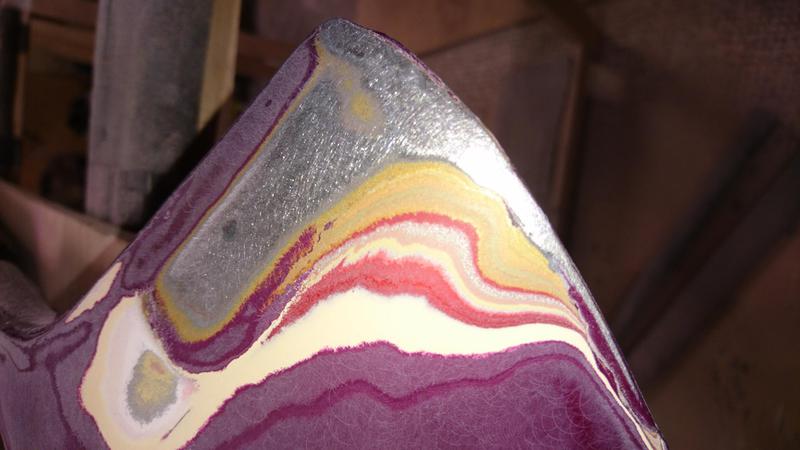
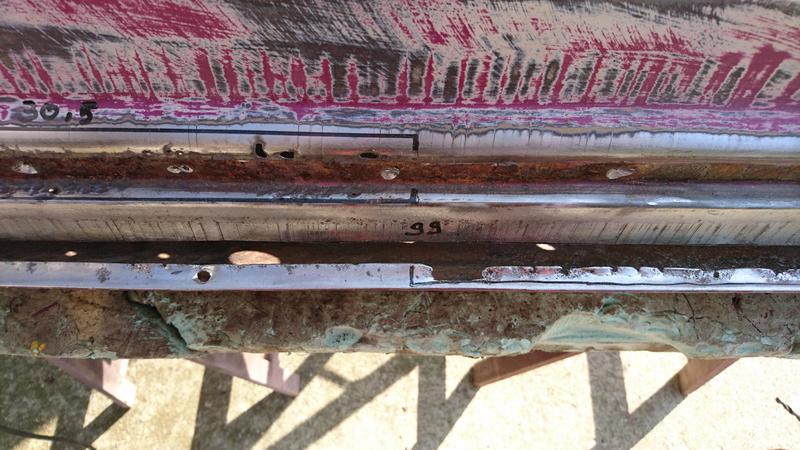
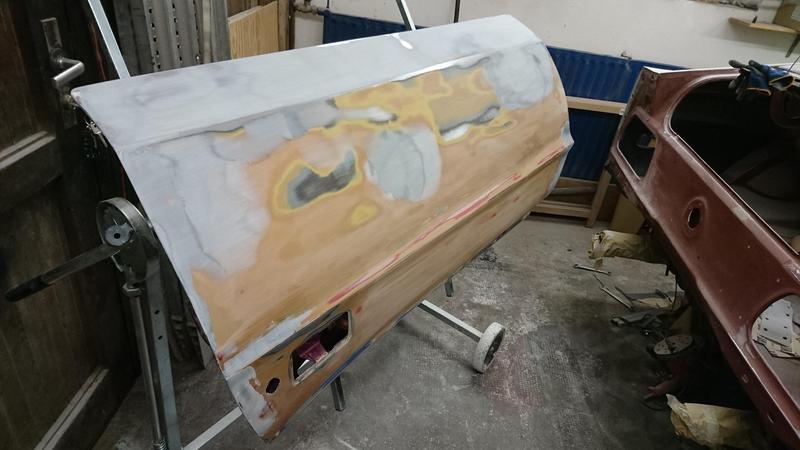
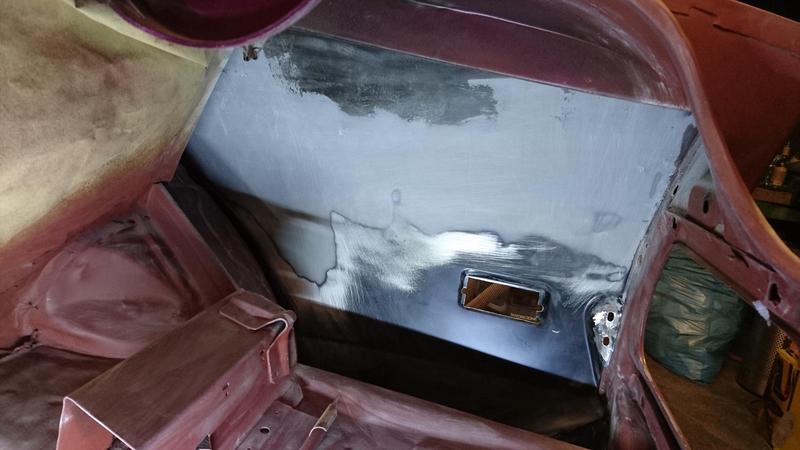
Looking nice and even...
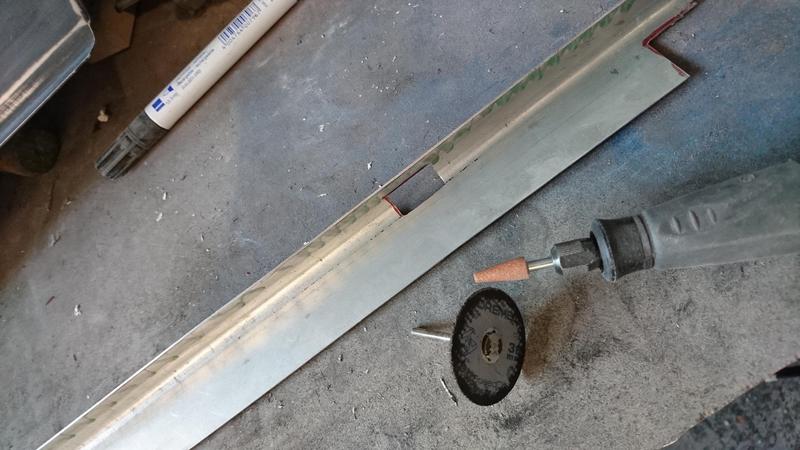


Some finishing:


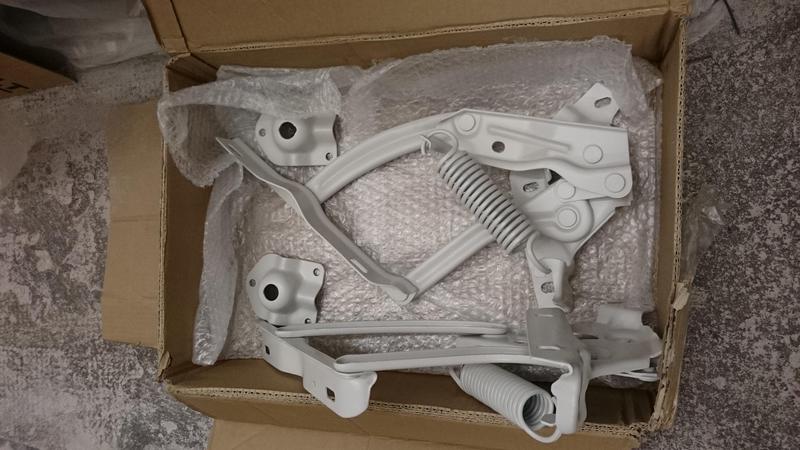
From a forum member, thank you ;)


Some test-fit ;) 


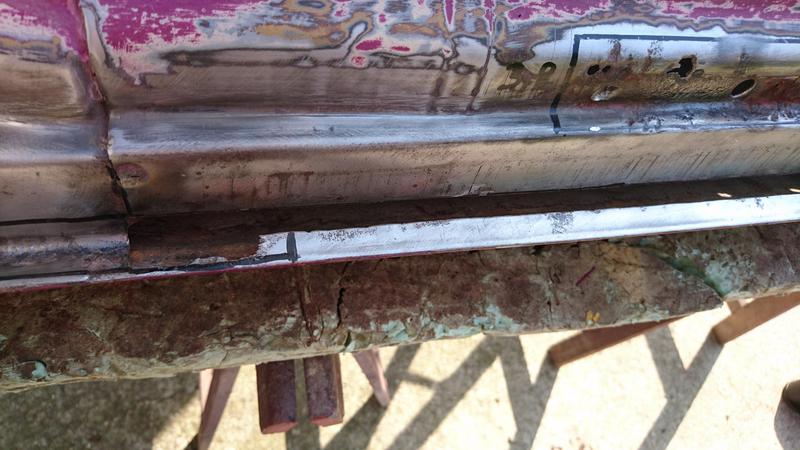
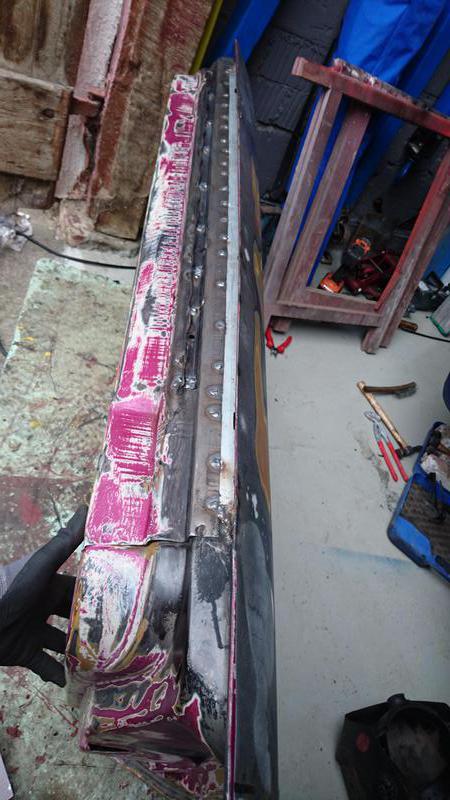
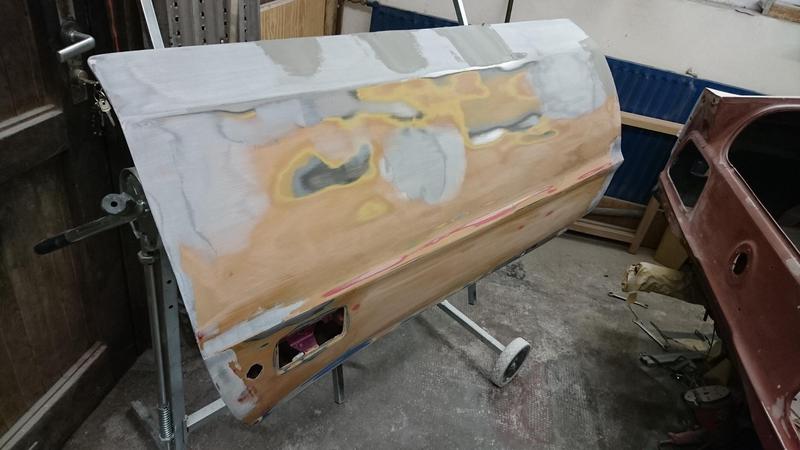
Passengers door finished - that was fast :D


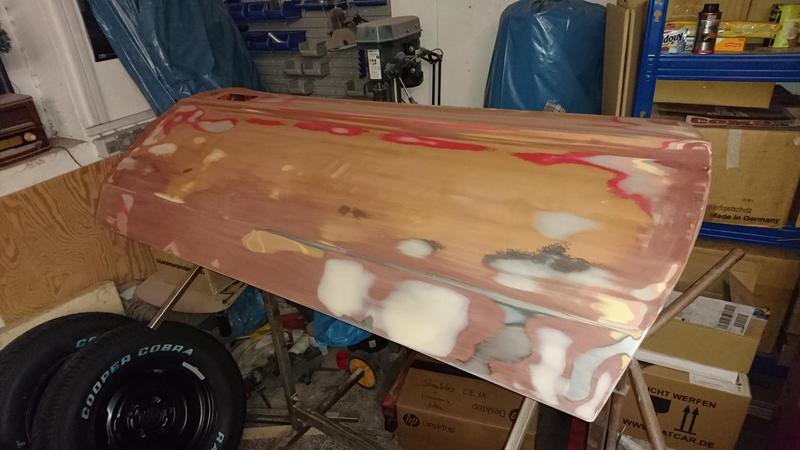
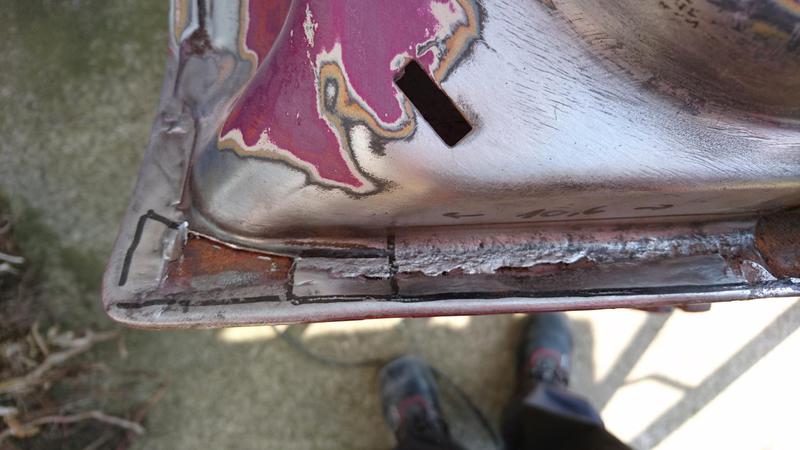
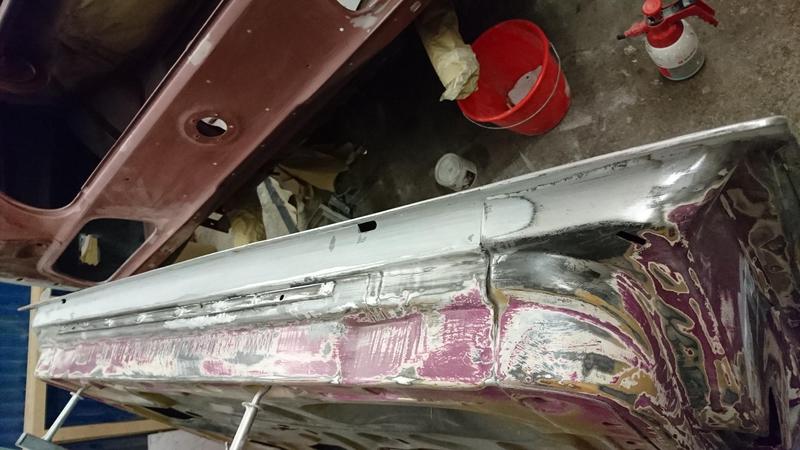
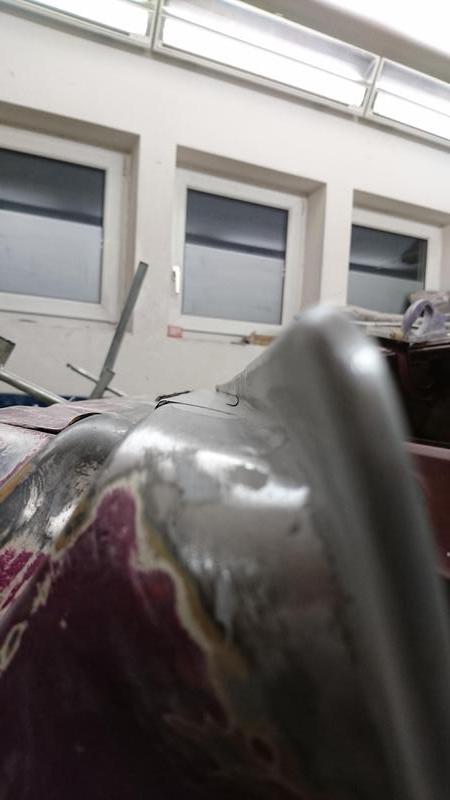
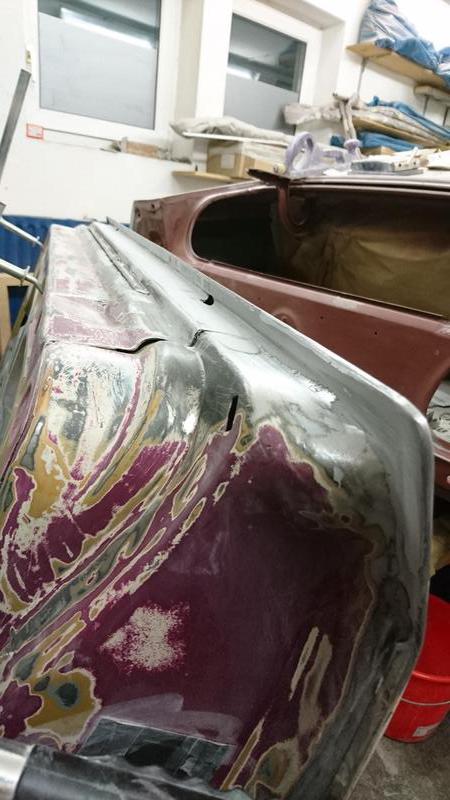
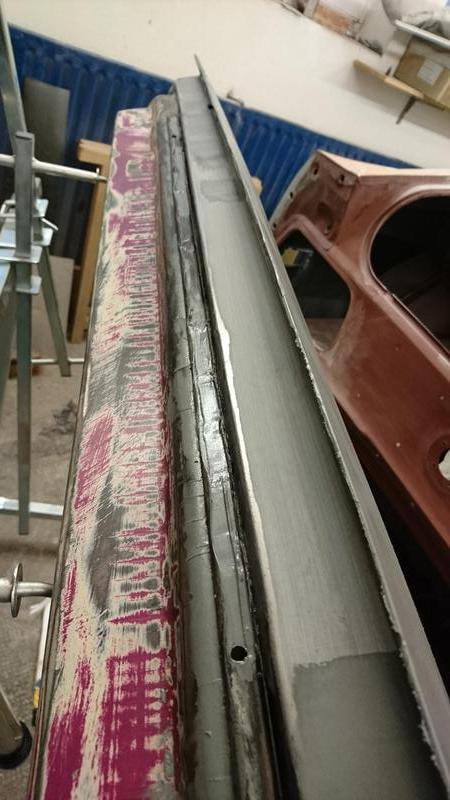
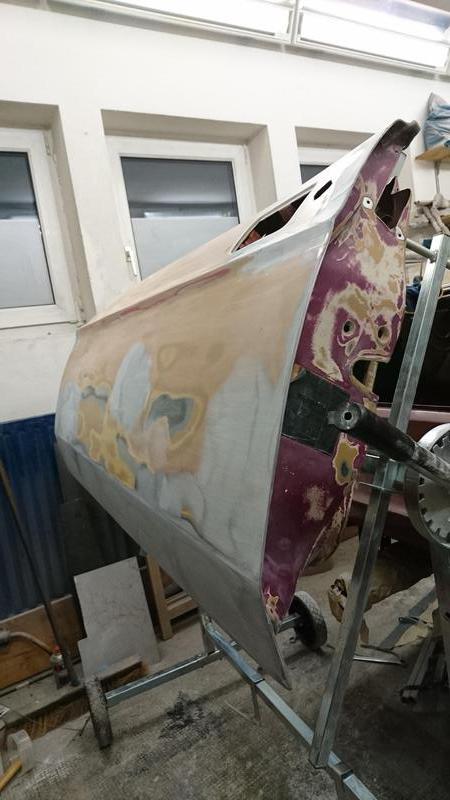
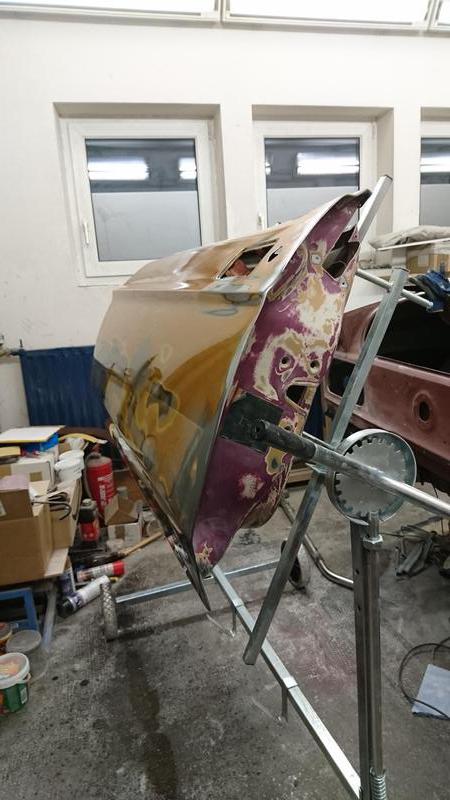
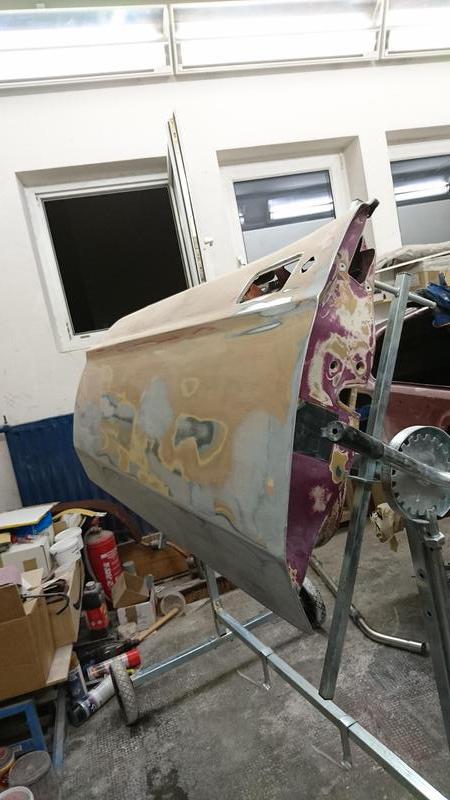
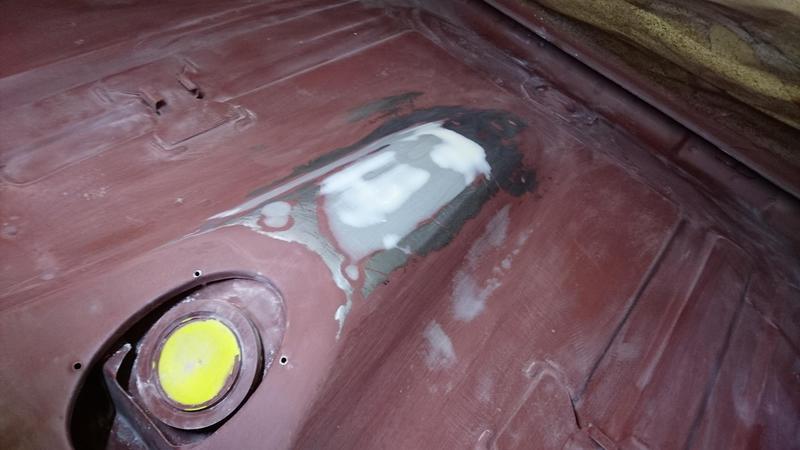
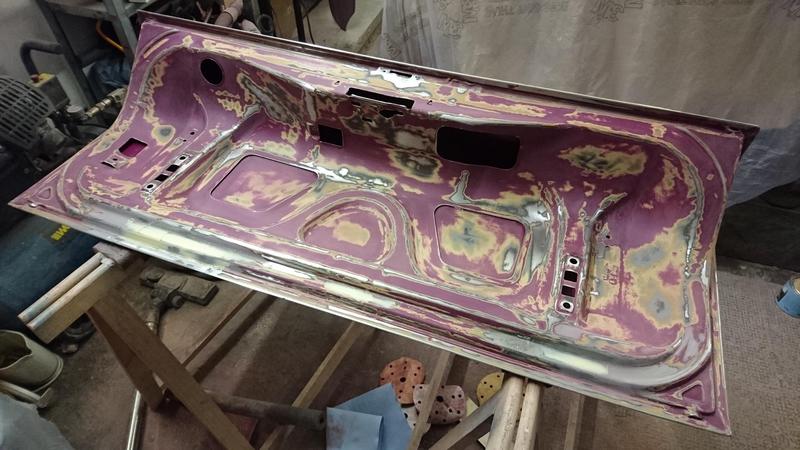
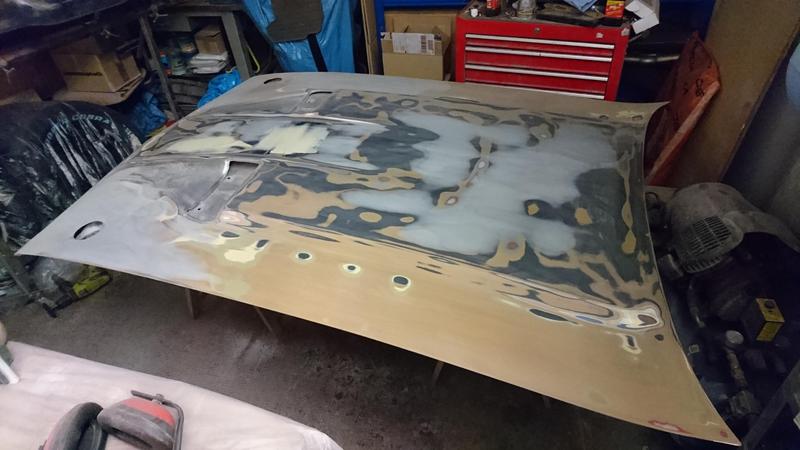
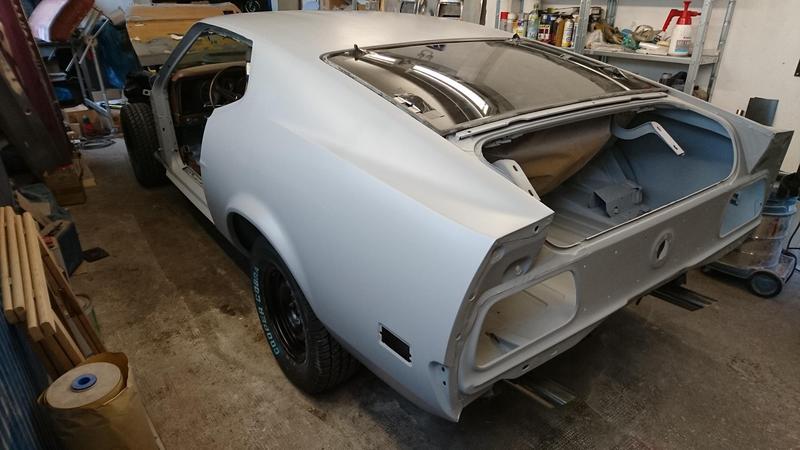
Deck lid and hood had also been finished and prepared for paint (pictures before the last re-work)
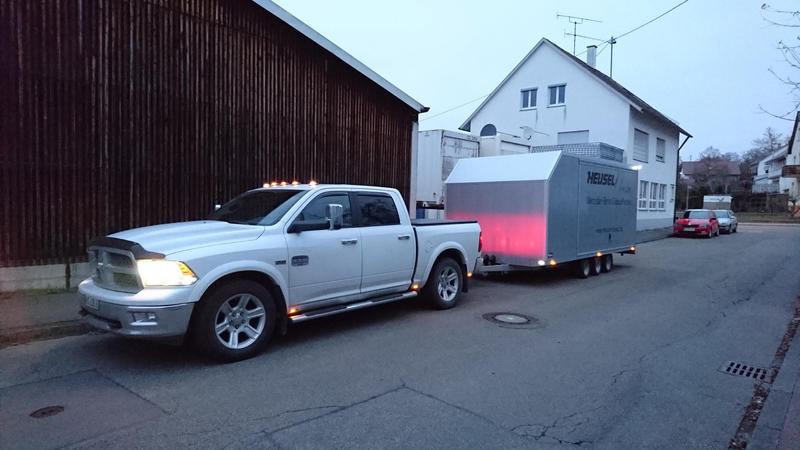
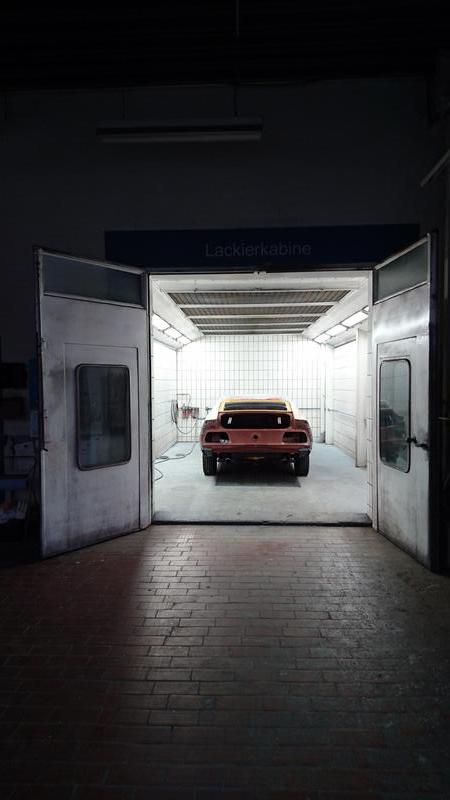


My shrine :D 


My best staff ;) 


Now there is the Great Day ::thumb:: 
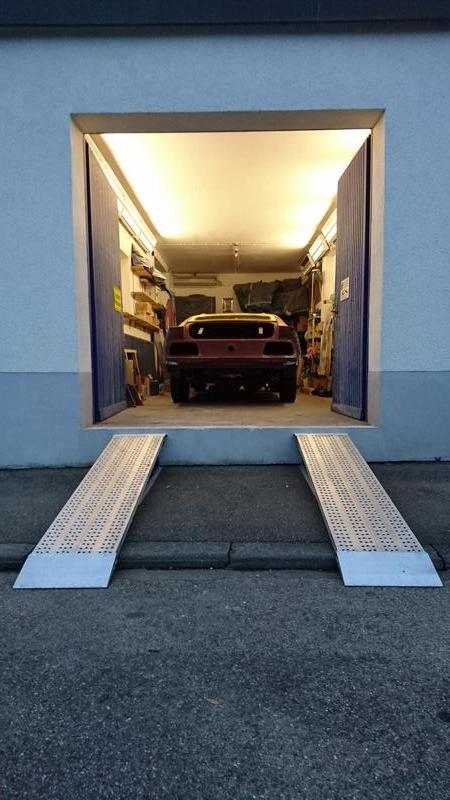
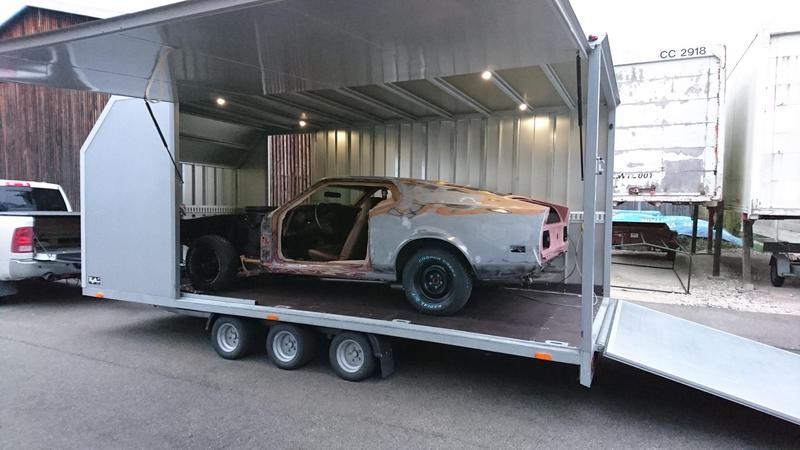
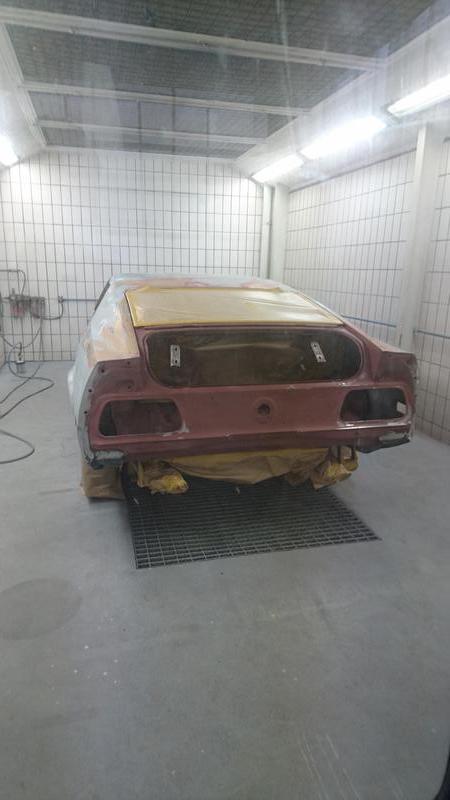
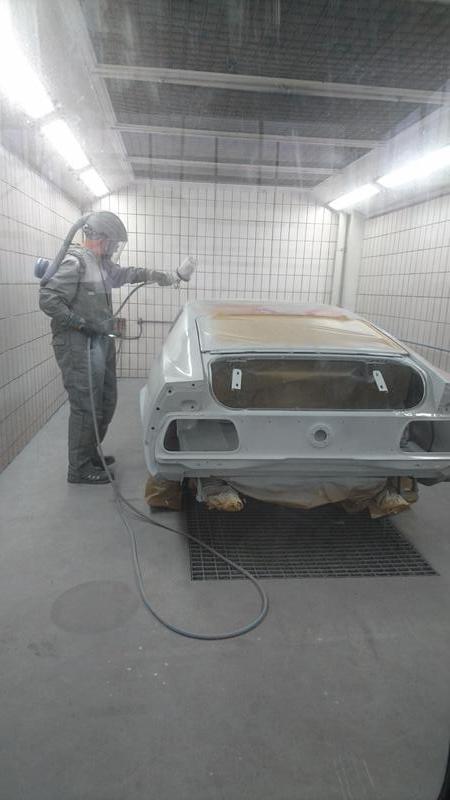


Result:


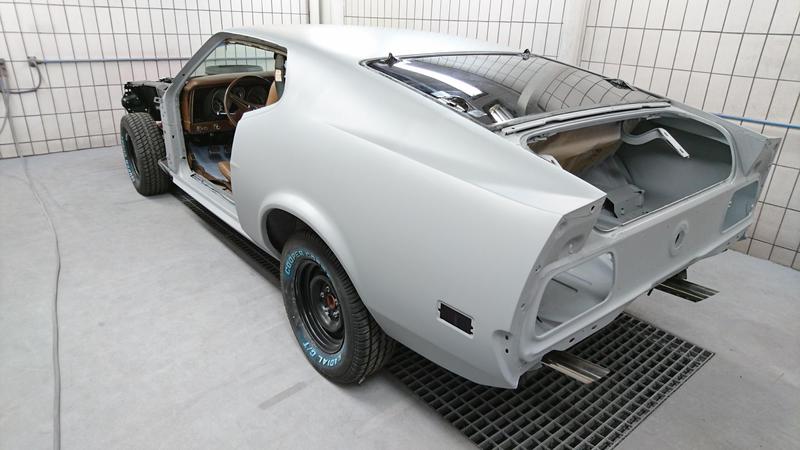
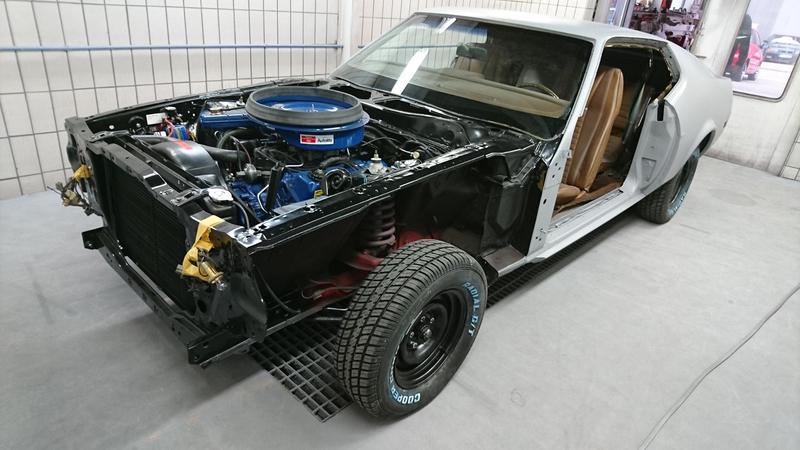
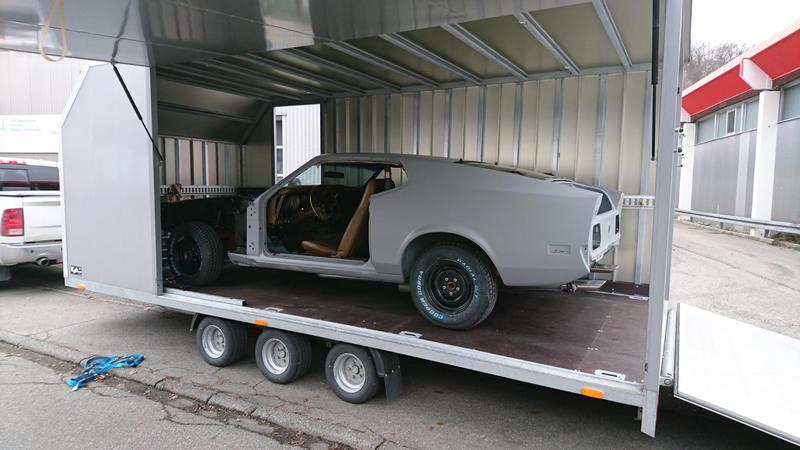
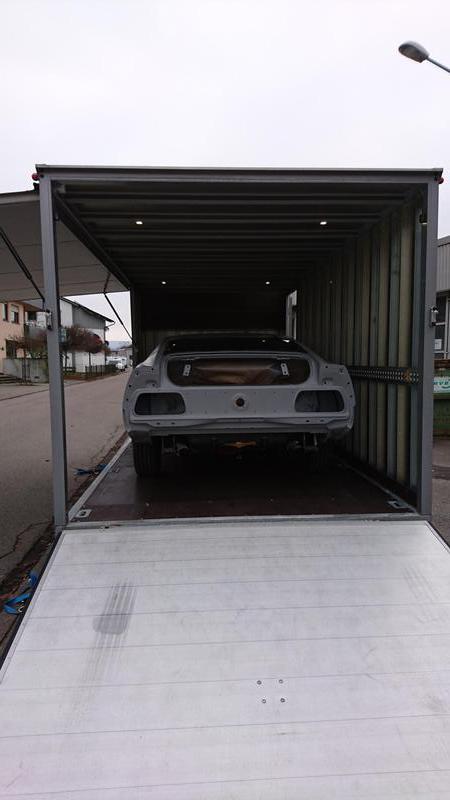
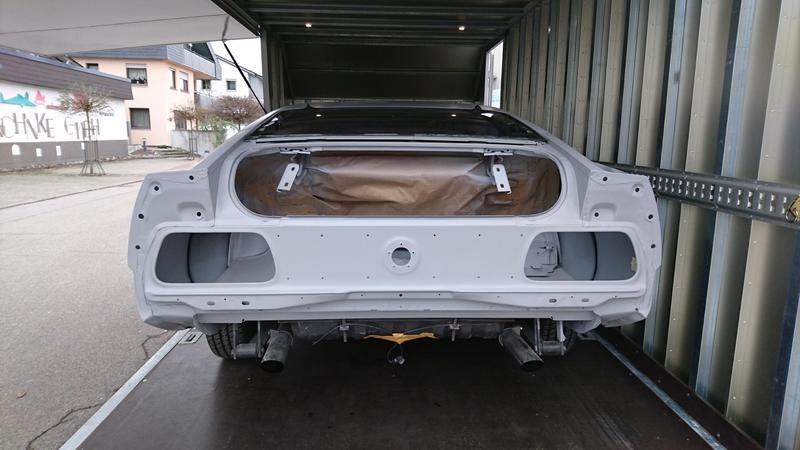
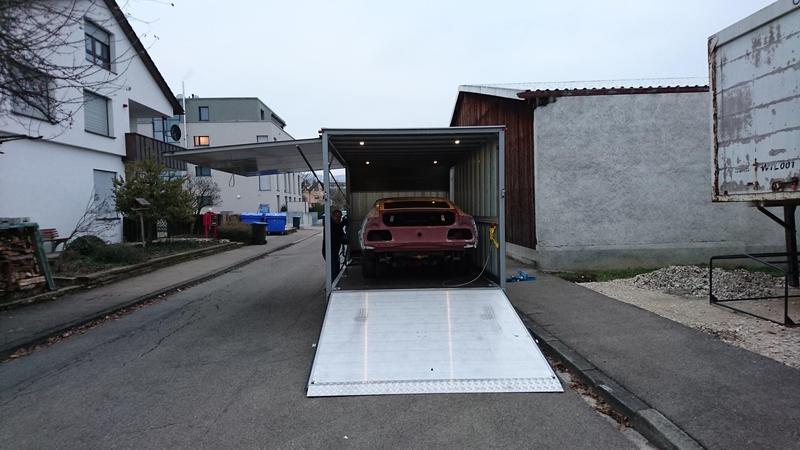
Back "home" for the finish work ::thumb:: 


To be continued as soon as possible...

Wish all of my friends there over the world - you - Merry Chrismas and a Happy New Year!

Enjoy that time and take care!

 
Back
Top