It’s been a long time since the last instalment in the ever lengthening drama that is the “Man Magnet”. After weeks Melody got her Mach 1 back from its extended stay at the automotive “Spa”. Although it was gone for a while a lot new equipment was installed and nagging old problems where finally rectified.
First off the mechanic, being was fed up with tinkering with the Edelbrock 650 carburetor trying to get it to work properly, tore it apart to find out what was causing the hard starts when warm and bogging when the secondaries kick-in. It turns out that one of the floats was improperly set, with the float adjusted all the problems disappeared. The Man Magnet now starts instantly whether the engine is hot or cold and when you push hard on the loud pedal she leaps with no hesitation. Despite the improvement in performance the wife still wants to eventually get an injection system.
The second issue deals with the venerable C6 tranny. After last years rebuild and the addition of a mild shift kit the C6 worked much better than before but seemed a little schizophrenic (it had a hard time deciding what gear to be in) and seemed to lack “Snap”. So after the removal of some old emission related plumbing (don’t ask, I have no idea what it could be) a test drive was conducted and when the transmission down shifts the “Snap” is there.
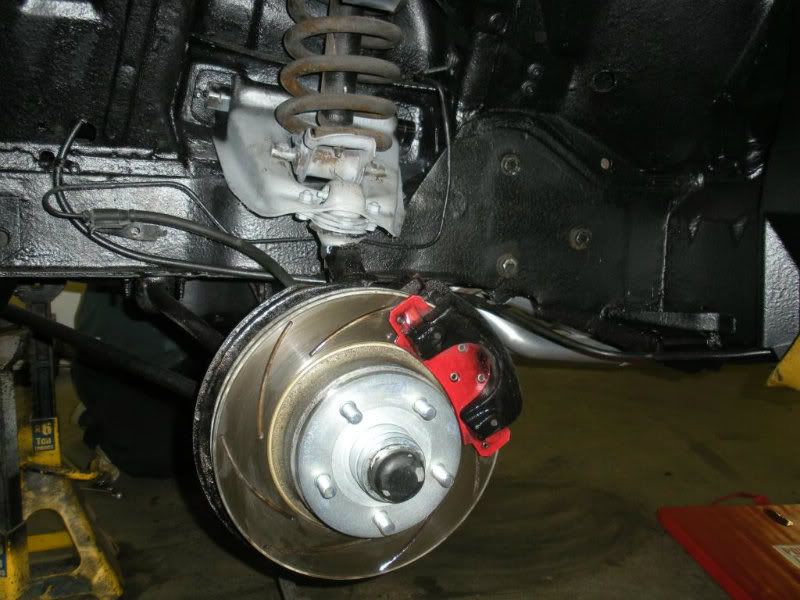
During the test drive a more serious problem arose, if you’ve read the previous write up you’ll know that the brake system had been updated with larger front discs and a rear disc conversion installed. The brakes worked great, at first, but slowly almost imperceptibly as time went by they got mushier and mushier, so that by the time of C6 test drive there was a definite problem. After many hours of trouble shooting the problem was localized to the front driver side calliper, after further testing the culprit was found to be a defective hose. A quick hose replacement solved the spongy brake issue. I’m still trying to con her into modern 12” four piston front and two piston rear brakes, I’ve got to much invested in both of them.
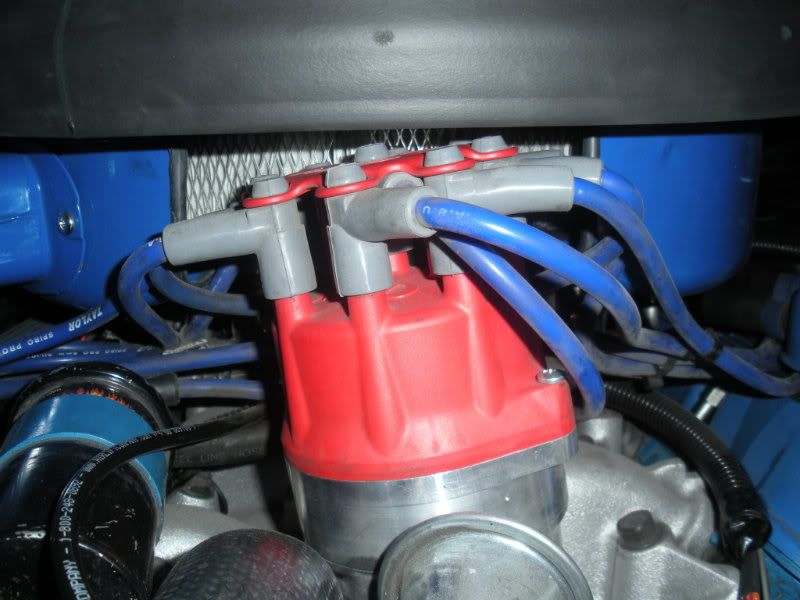
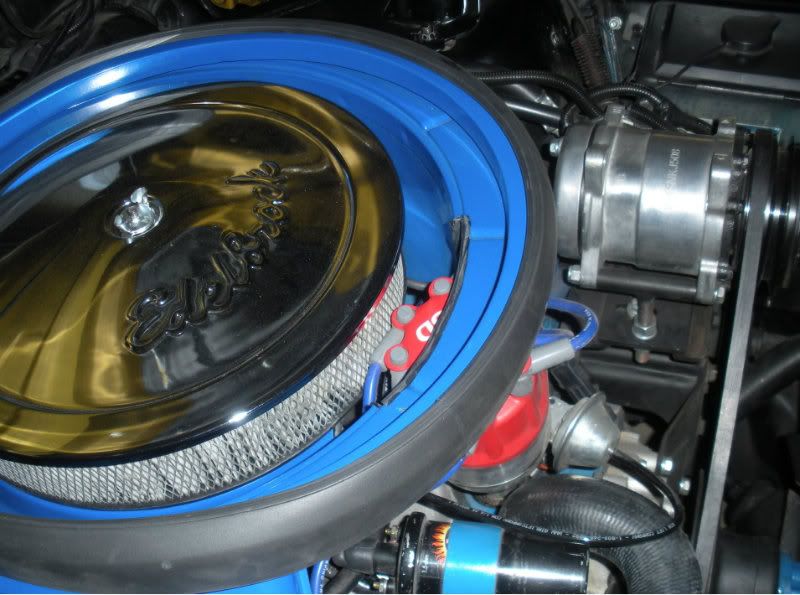
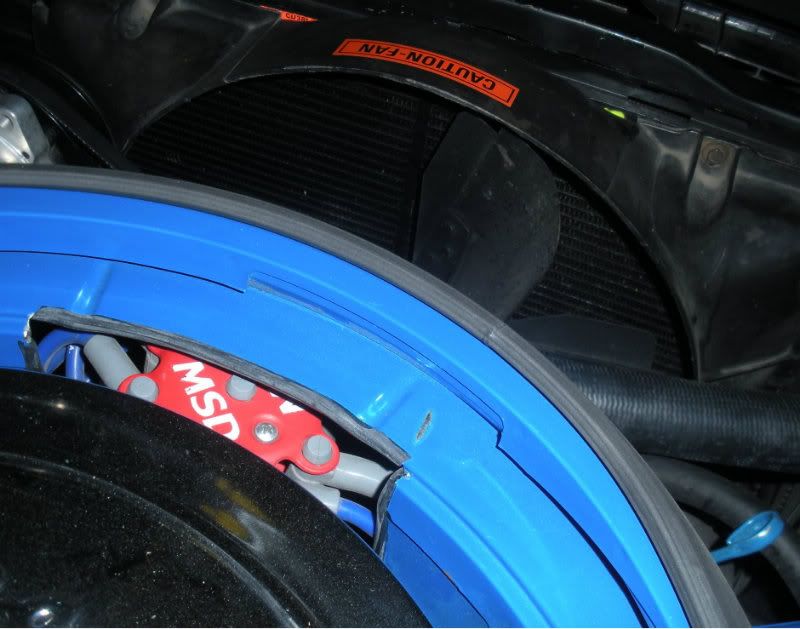
And finally, the last previous issue tackled was the oversized MSD electronic distributor that prevented the wife from fitting the Ram Air airbox to the carb. After many hours of research, test and trials and the unwillingness of my wife revert to a shorter OEM stock distributor, it was decided to retain the MSD unit and modify the airbox instead to allow its use. Although I am personally not fond of the idea, it’s not my car so I’ll be quiet about it.
This completes old business, now let’s move on to new business.
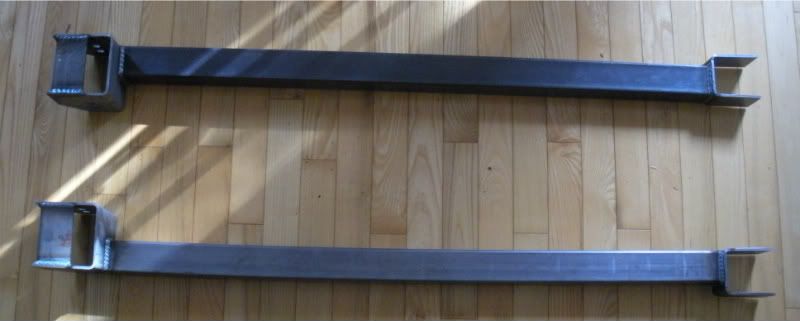
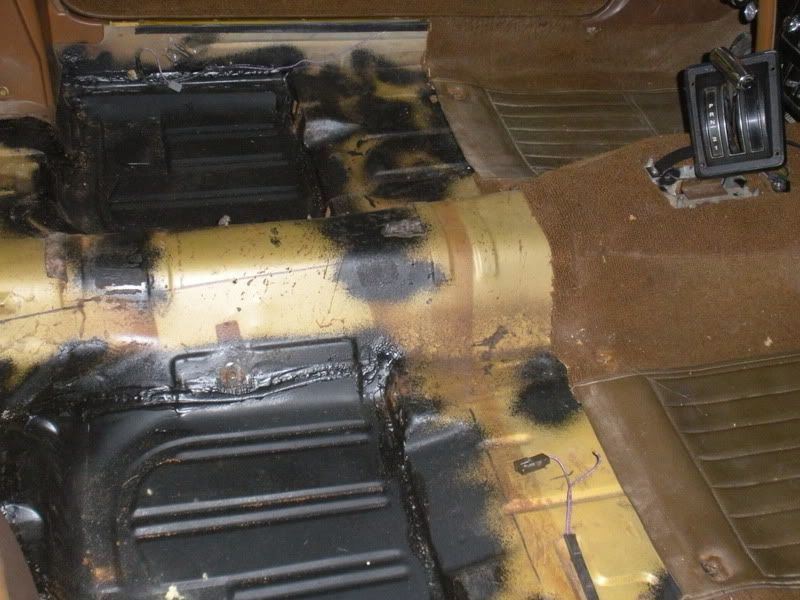
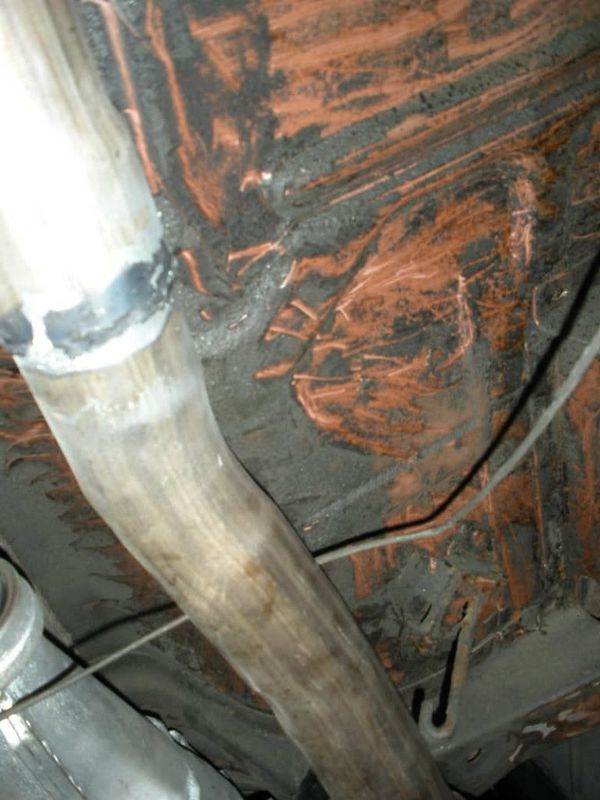
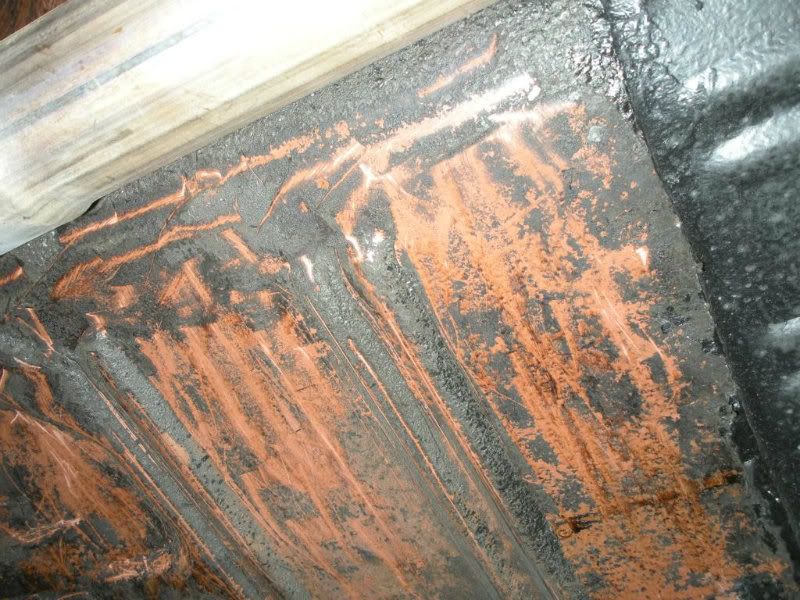
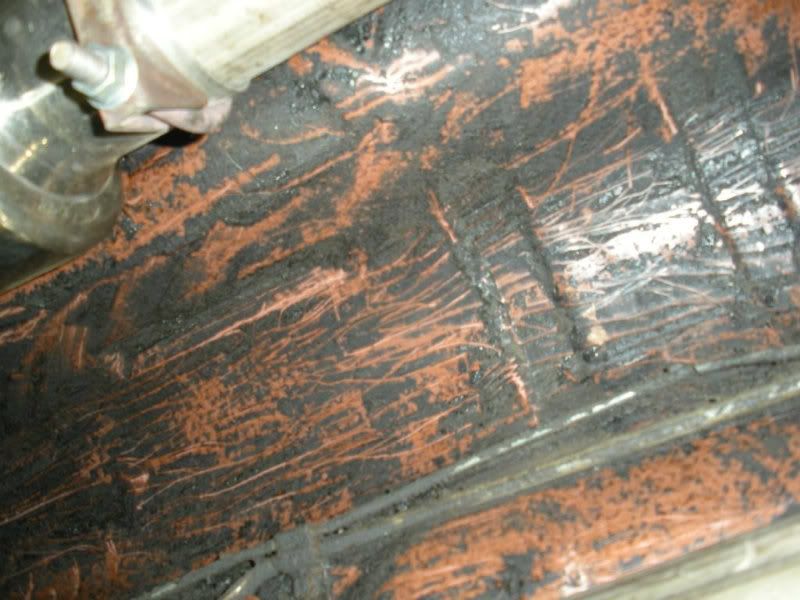
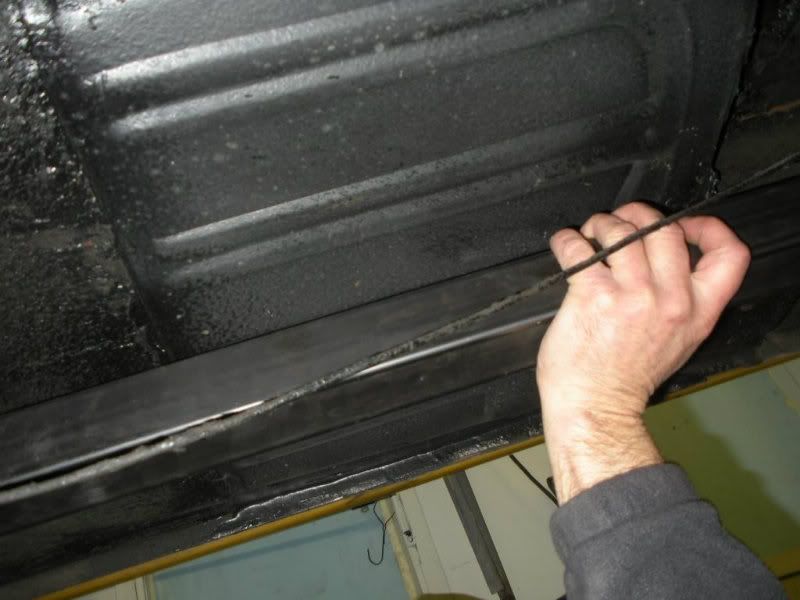
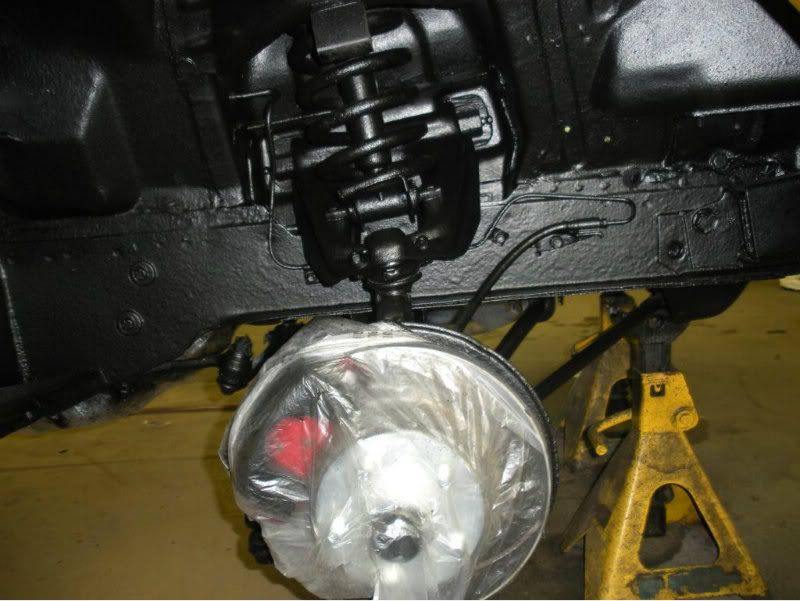
The big-ticket item for this year was the addition of sub-frame connectors. These were going to be welded in, but first the entire bottom of the car was stripped of the old rust proofing material. The majority of the work was done by Melody who spent many hours under the car scrapping the crap off. Next the sub-frame connectors welded in (more on that later). The underside and the front wheel wells were then wire wheeled right down to bare metal. All the raw steel then received two coats of Rock Guard followed by five coats of black paint. The inside floorpan of the Mach 1 also got treated to a layer of a rubberized type of sound deadening material as well.
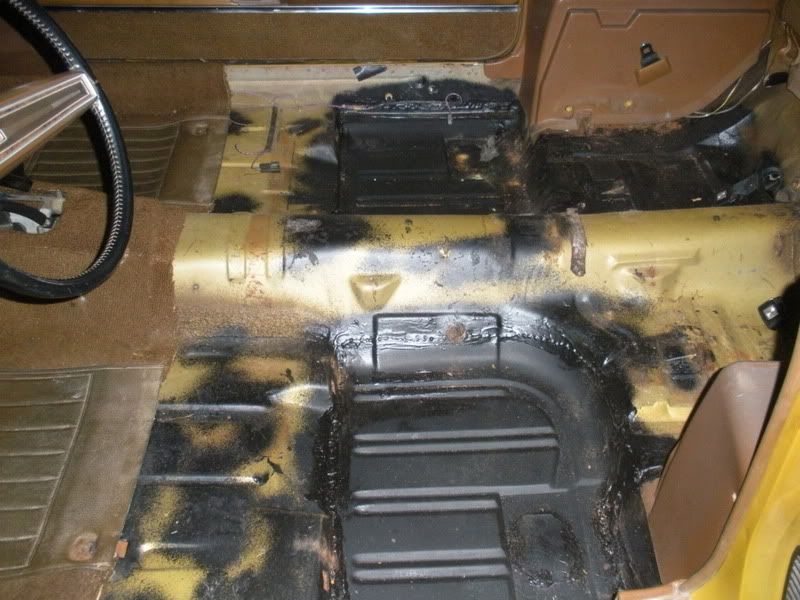
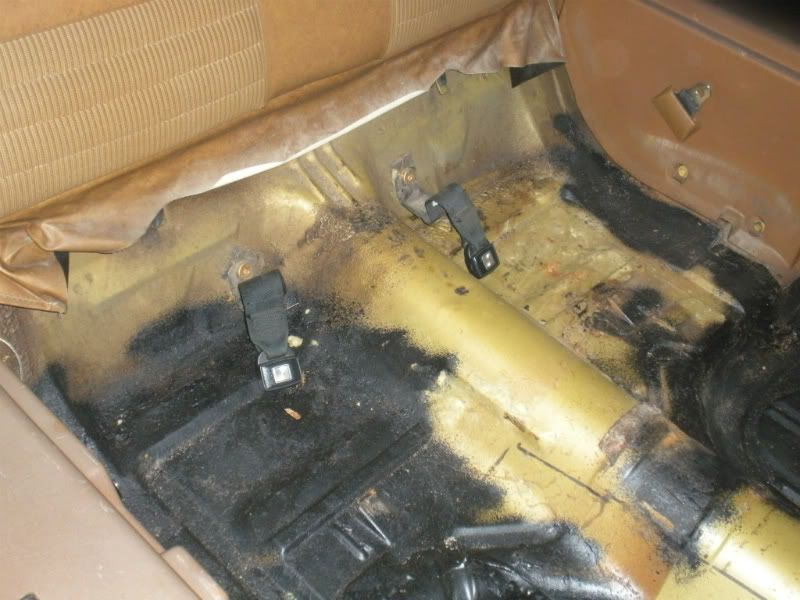
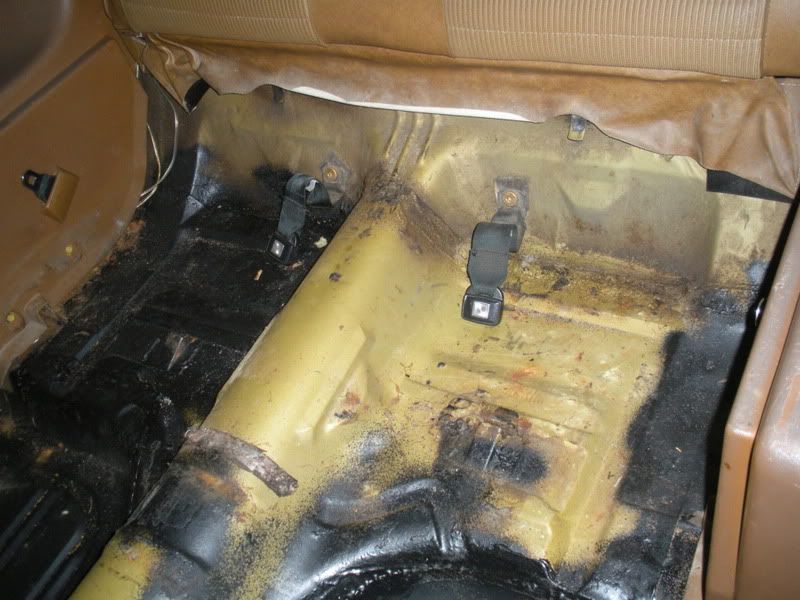
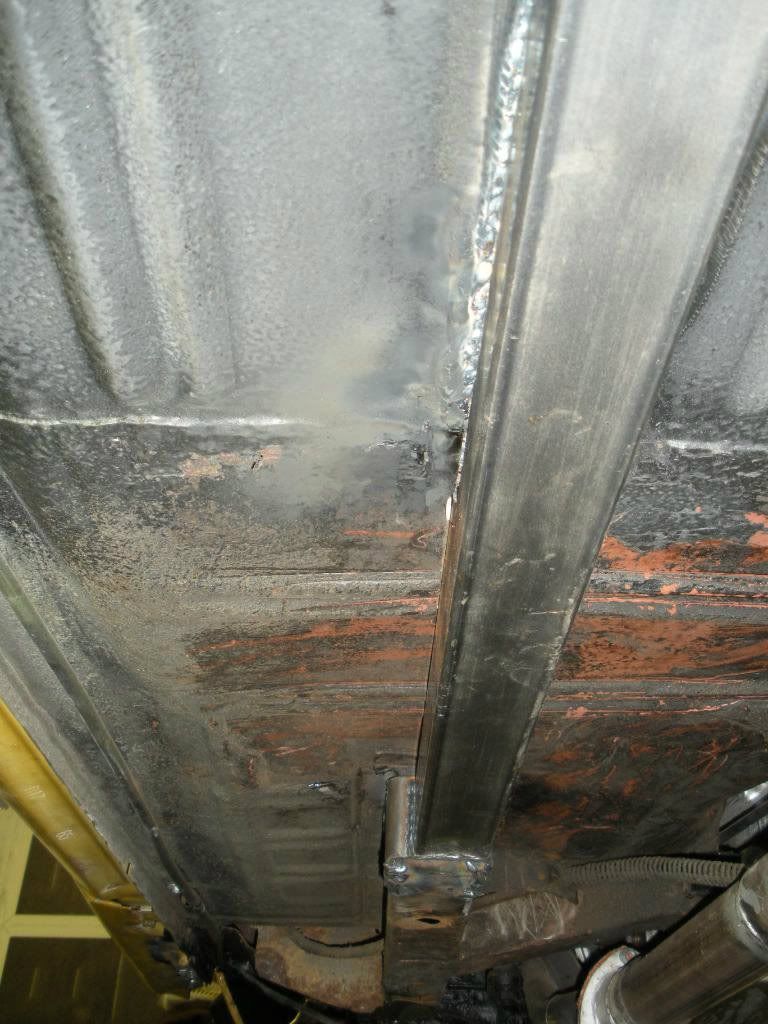
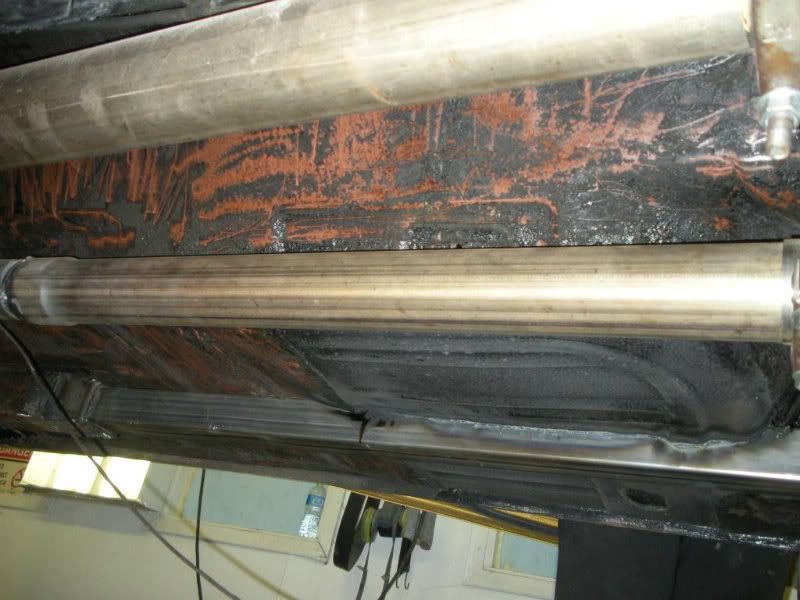
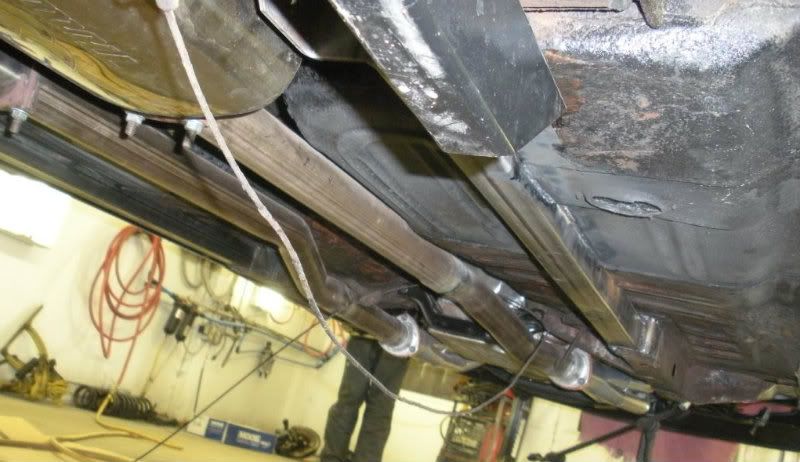
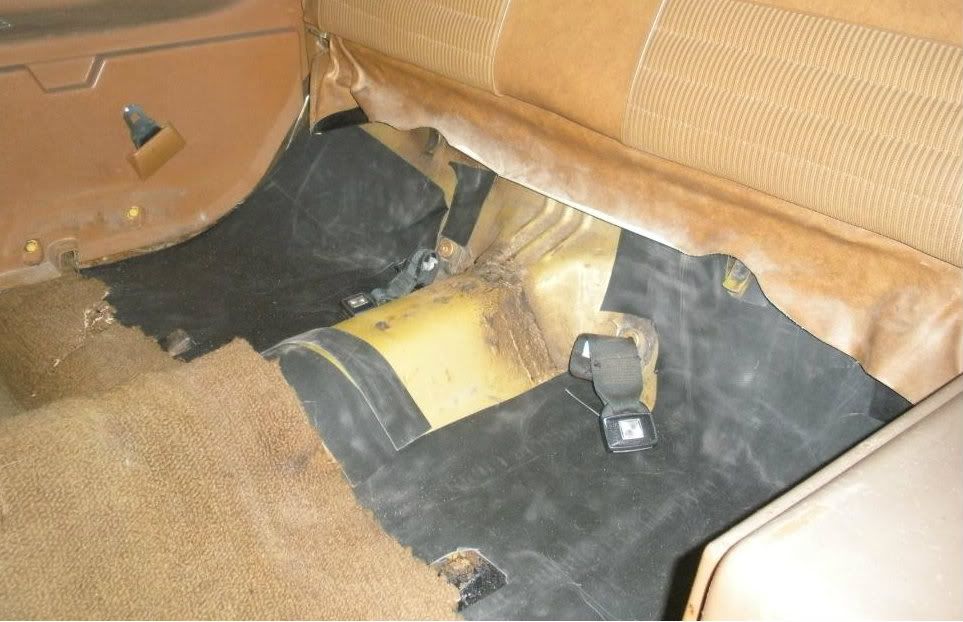
The method used to install the connecters was not something I had seen before, but that’s not surprising seeing as I’m a novice to the modification world. The floorpan on these cars are not flat, they have dips and valley. I thought that the connectors, being 2” square tube, would bolt on the front, rear leaf spring, with the front part welded to the front sub-frame and the tubing would be welded wherever it made contact with the floor pan. This is not what was done. A 2” wide section of the floor starting from about the middle of the front seat on both sides of the car going back to inside part of the front of the rear spring was cut up out. In this opening the connector slid part way into forming 2 slight humps in the rear passenger floor. The connectors where then fully welded right to the floorpan (you’ll understand when I post the pictures) and to both the rear and front sub-frames. My wife noticed a marked improvement in the rigidity of the structure and claims that the body panels line up better.
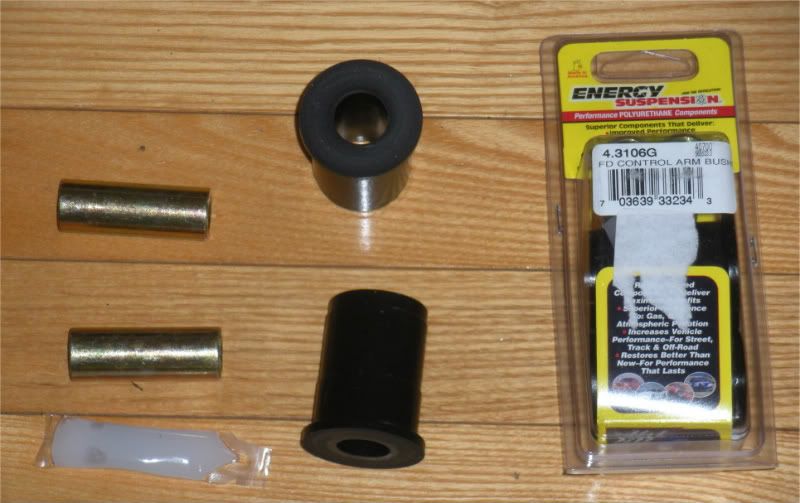
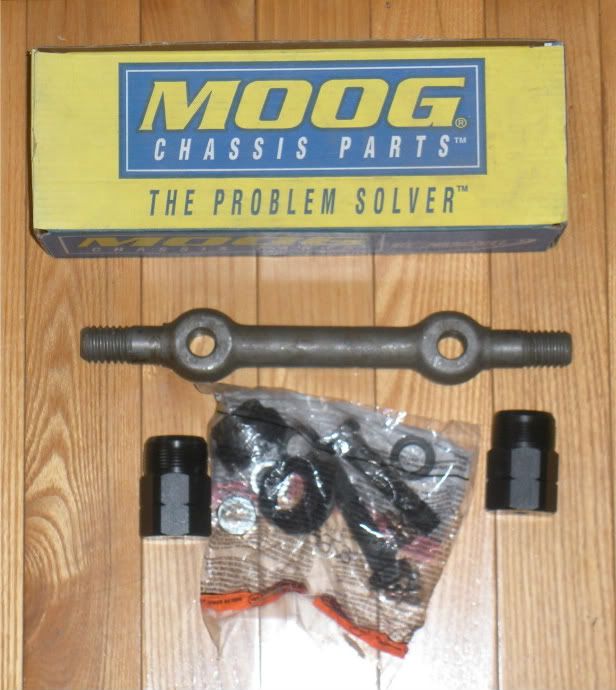
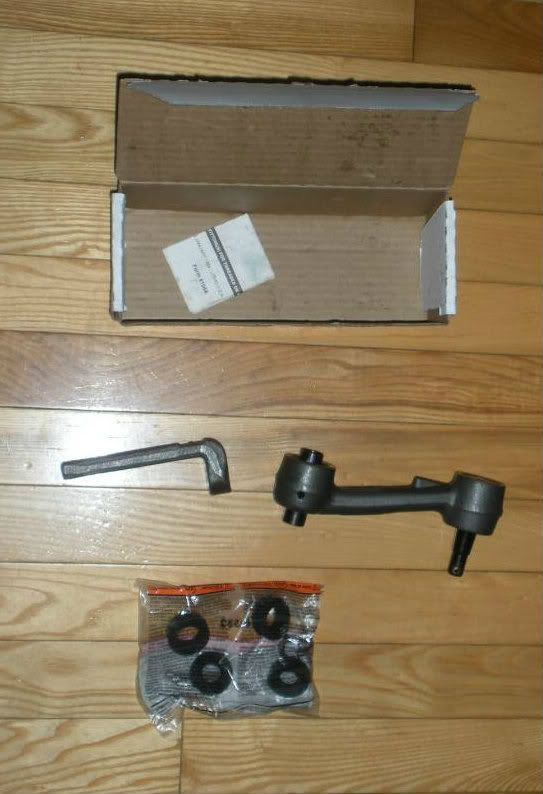
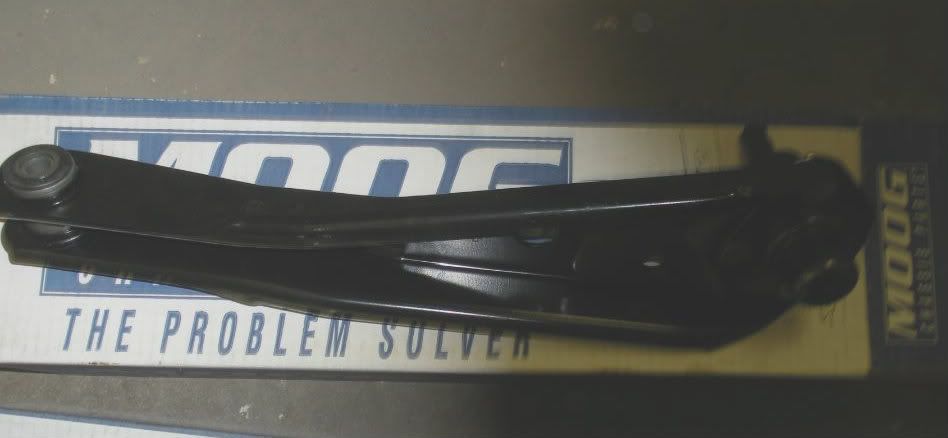
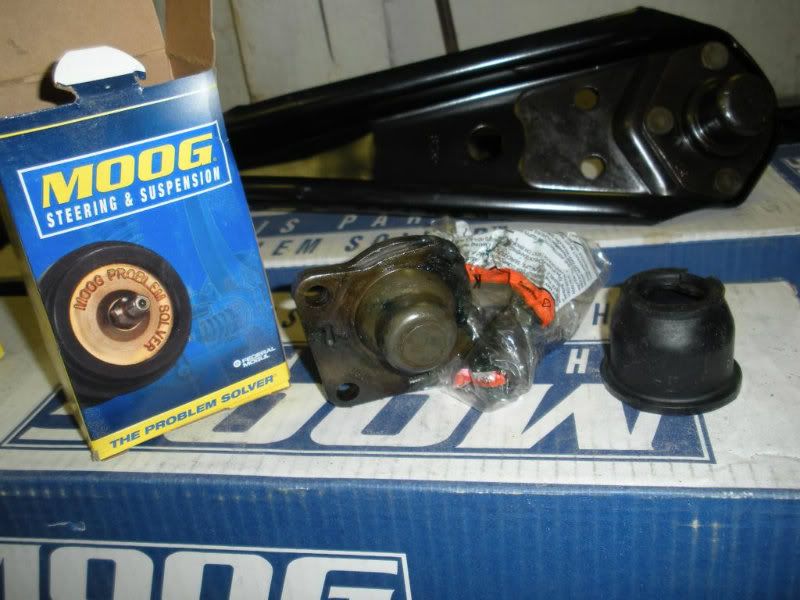
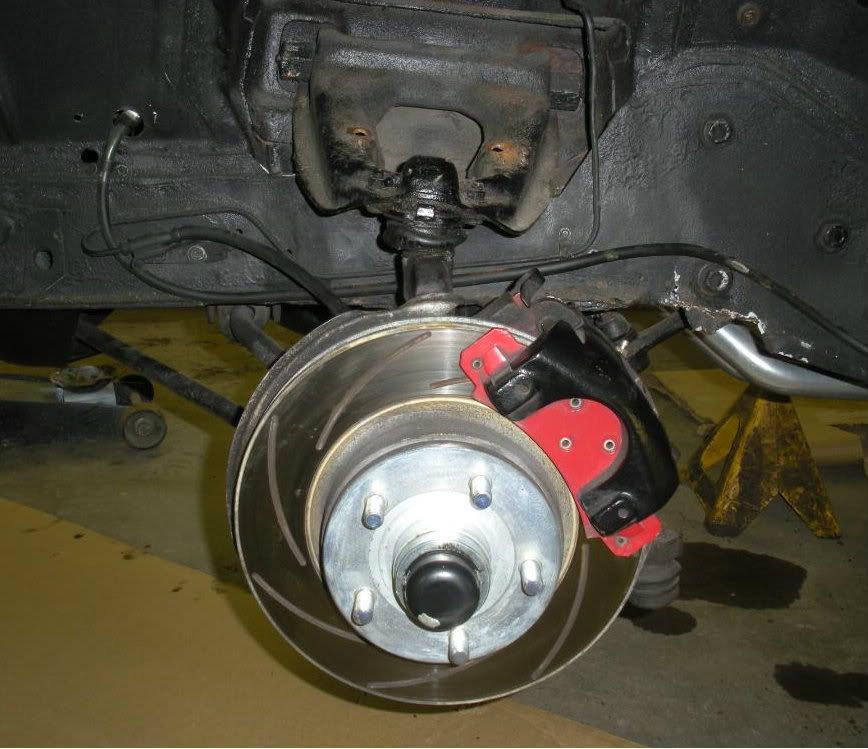
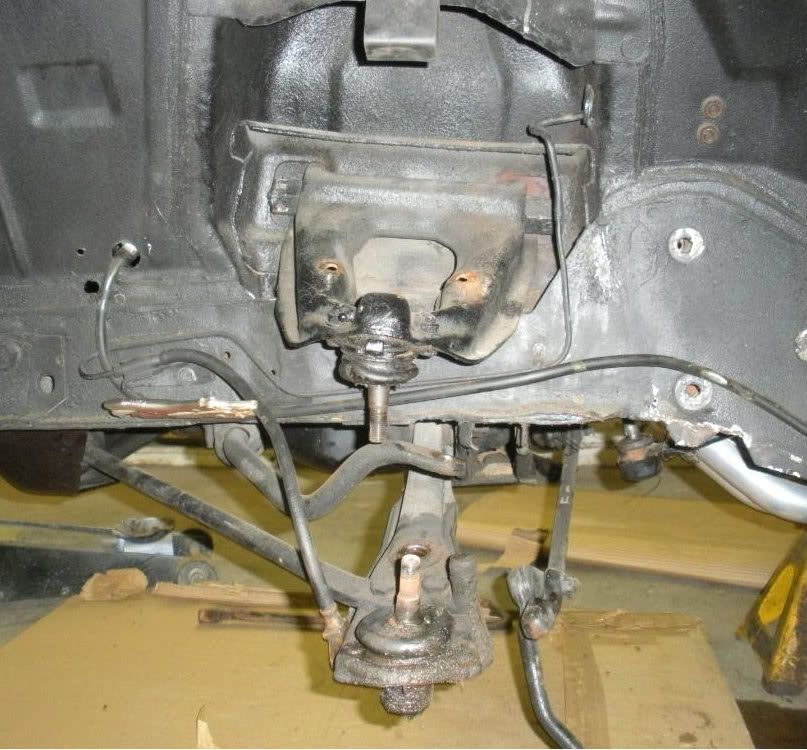
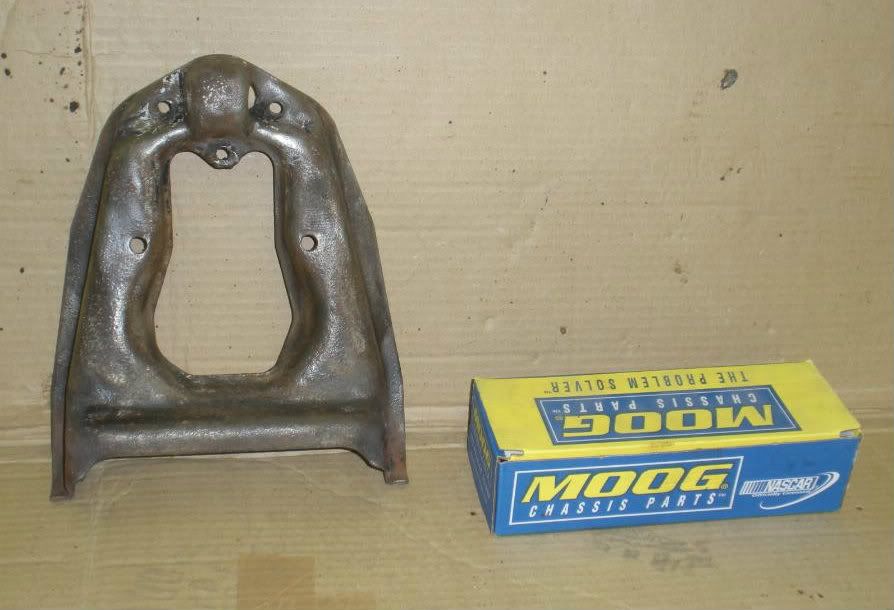
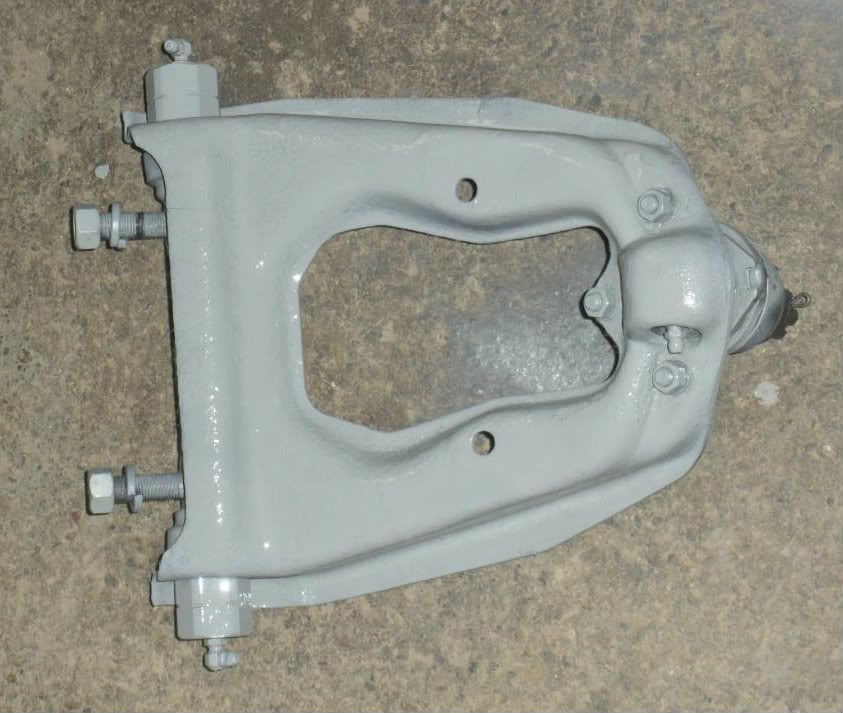
The next item on the list was the front suspension. The car had a tendency to want to “wander” all over the road and it took constant steering wheel corrections to keep her between the lines. So, every nut, bolt, bushing, ball joint and steering component was removed, inspected, replaced if needed, painted, lubricated and re-assembled. All the rubber bushings were replaced with polyurethane, if available. The parts that needed to be replaced includes; both lower control arms and ball joints, idler arm, and both front upper control arm assemblies as well as all the rubber. After it was all said and done the Man Magnet received a front end alignment and the steering wheel was centred. The result is a wonderful improvement in control and feel, while still not up to modern standards, it is a vast improvement and is very safe.
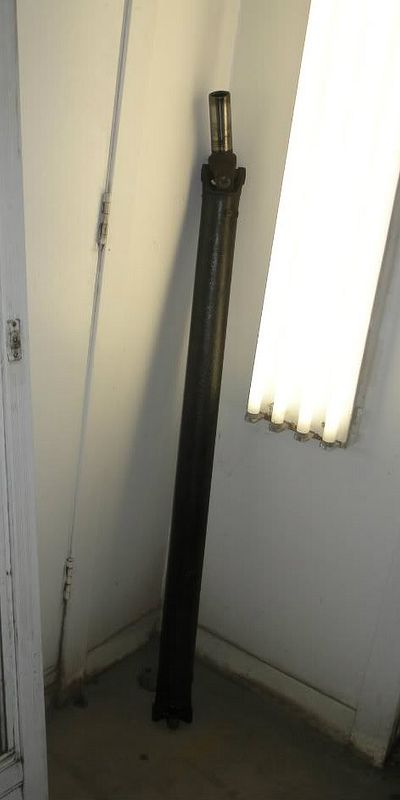
The last addition was the replacement of the original steel drive shaft with a lighter aluminium one.
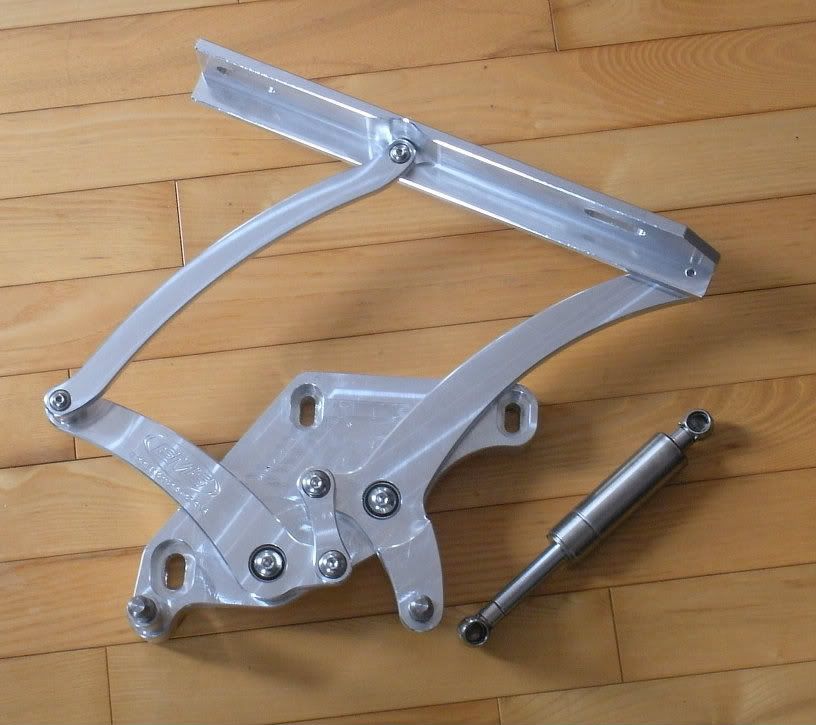
Finally every year there is something that happens that really annoyed Melody last year it was the headers, this year it was the beautifully machined billet aluminium EMS hood hinges and hydraulic ram. These hinges were one of the most expensive parts that she has yet purchased for her Mach1. She specifically ordered a set designed for a1973 Mustang with the heavier Ram Air hood, the invoice reflected that fact, however when she tried to have them installed the mechanics could not adjust them to allow hood to close properly, there was huge gap at the back of the hood Another problem when trying to open or close the hood the hinges would bind and wabble. After close inspection of the hinges and checking out the EMS website it became apparent that they had sent my wife the wrong hinges. At this point my wife was very upset and didn’t want to deal with trying to get the proper ones, so she returned them, had her original hinges re-installed and will continue to use a curtain to keep her hood open at car shows.
And now, a photo montage of this years improvements.
Modified airbox.
Scrape, scrape, scrape.
Mocking up for cutting and welding.
Sub-frame connector welded in place. You can see where they intrude into the passenger compartment.
Sound proofing in the rear is nearly completed.
New steering and suspension parts.
Old suspension pieces coming off.
Old parts cleaned up, assembled and primed for paint.
Old, heavy drive shaft.
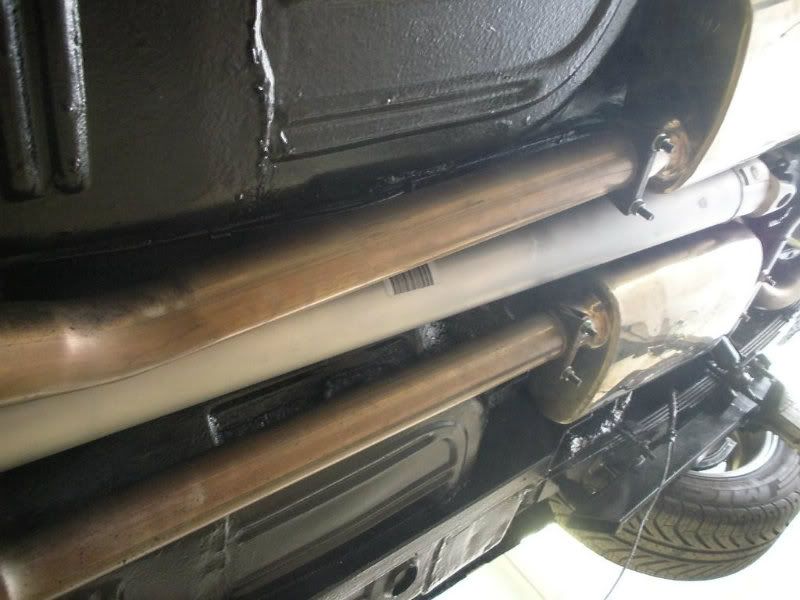
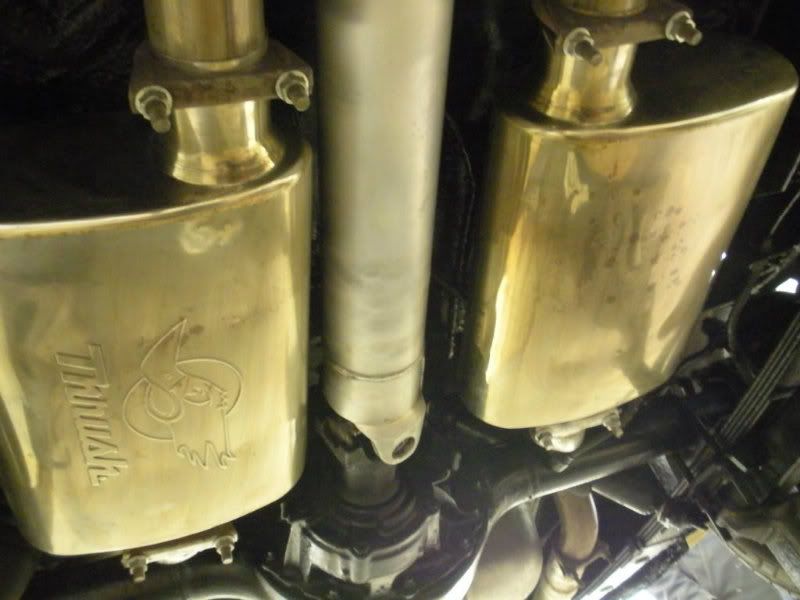
New, lighter drive shaft and painted bottom.
The offending hood hinge. Looks nice, but doesn’t work.
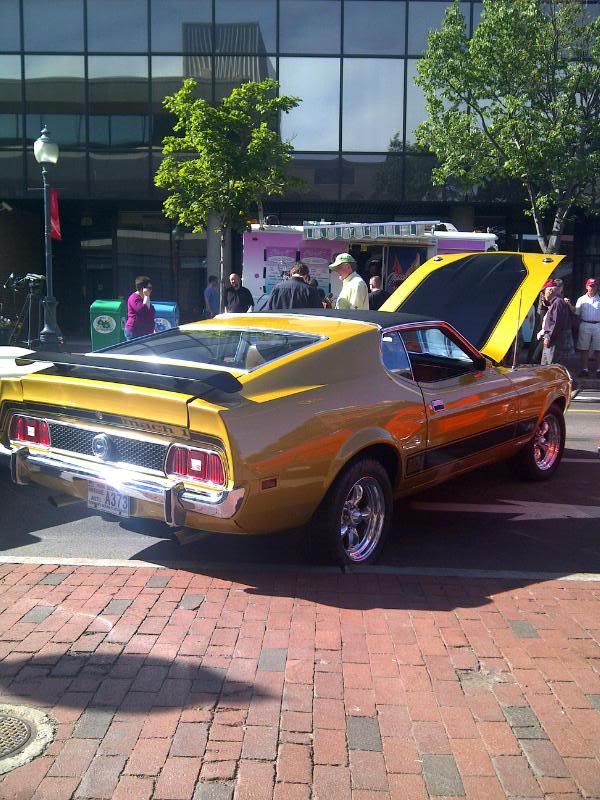
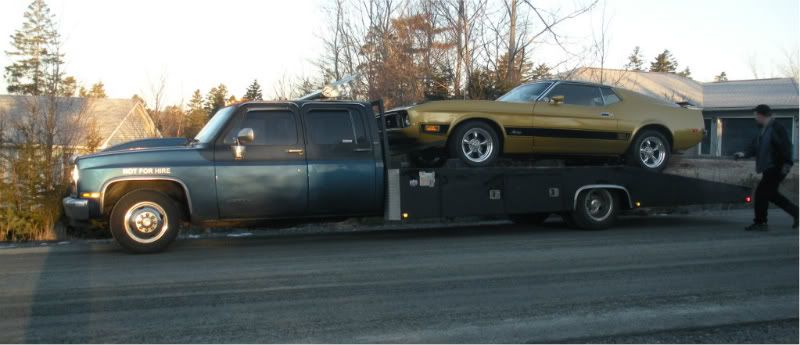
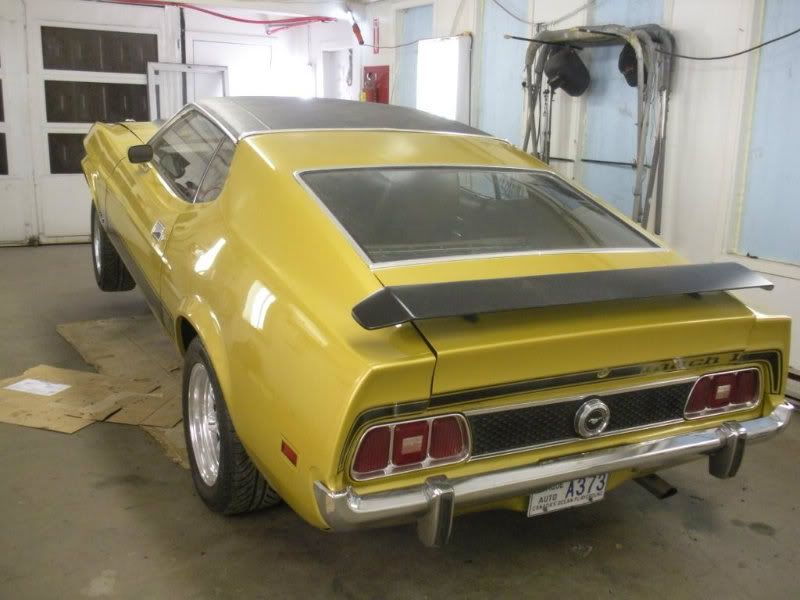
And finally, ready for flight.
.
I’ll keep posting up-dates as they occur.



but they are still selling them. I have a thread or its in "what did you do " about the whole mess