Part 15. Epilogue (Originally posted 31 May 2011)
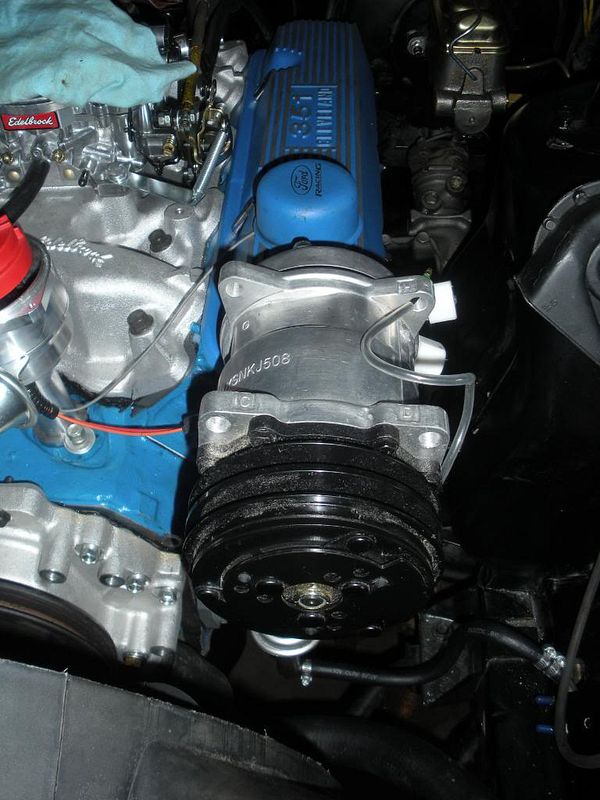
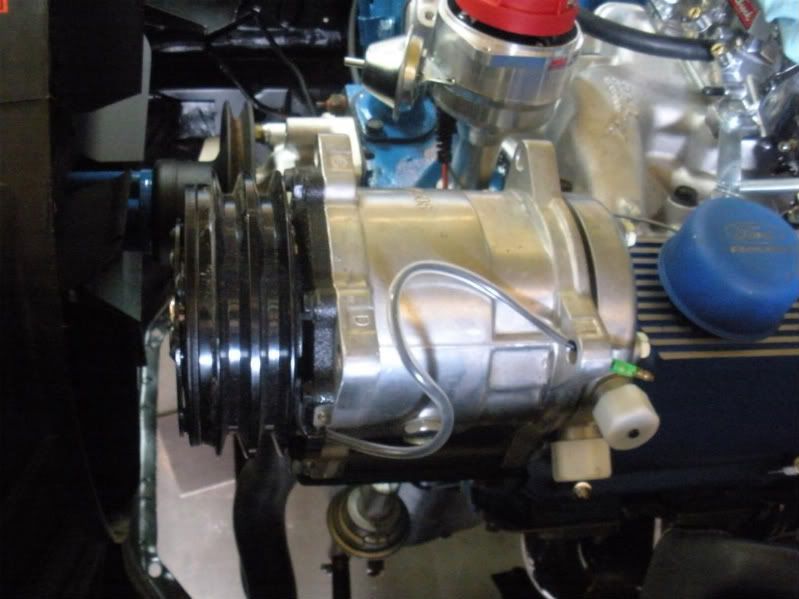
Well, aside from posting a few more photos as they become available, this will be my last instalment of the Travails of The Trailer Queen for the remainder of this calendar year. It’s been over three weeks since the last report, the delay was due mostly to poor weather conditions and the long weekend celebrations. However my wife was able to get a few good runs in the last few weeks, and other than the few items mentioned in part 14 the Mach 1 ran flawlessly. Of the outstanding issue, the AC system is schedule to be charged with Freon tomorrow and the compressor belt installed. The driveline vibration will be addressed by replacing the 38-year-old OEM driveshaft with an aluminium unit (the wife wouldn’t spring the cash for Carbon Fibre). If the vibration persists then the problem is likely with the pumpkin, if this is the case my wife will upgrade to a new traction lock instead of the stock open differential.
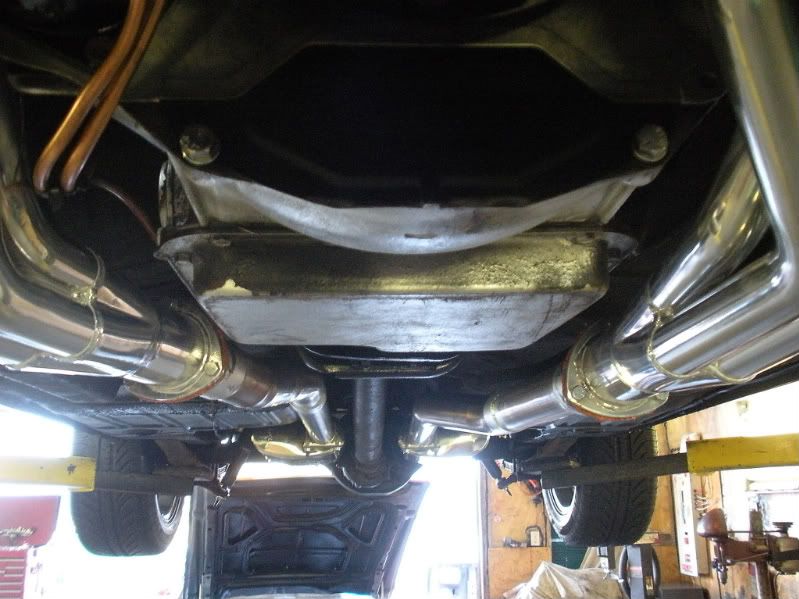
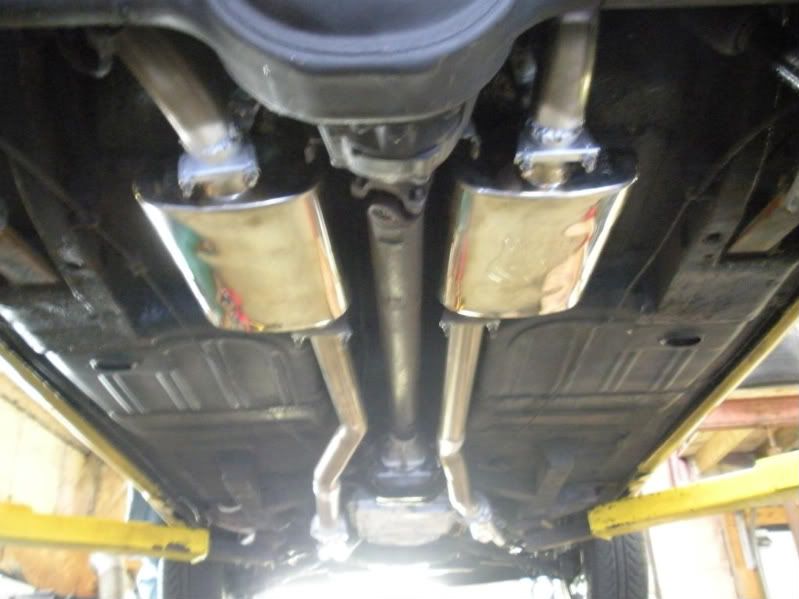
Since the rebuild the cars gas mileage has been improving as time goes on, even though the car puts out about 100 more ponies than new (depending on who you talk to) and probably 150 – 200 more than before the car was re-built. The exhaust sounds awesome, it definitely sounds old school. Some members of our club have inducted her into the “Loud Mustang” section of the club.
After owning the car for two years the wife finally allowed me to drive the “Trailer Queen”, I almost forgot how these cars drive and handle, the sudden jolt when the secondaries kick in or when the C6 downshifts (I haven’t owned a automatic car since about 1985), the mushy brakes (although the rears are now discs the front still uses OEM type single piston callipers), going around curves is also an interesting evolution what with leaf springs and the rear end being moderately jacked up by air shocks. All in all it was an entertaining and nostalgic drive for me. But what really surprised me was the attention, the looks of appreciation, the thumbs up and the positive comments from my fellow motorists and pedestrians. I own an ‘08 Grabber Orange GT500 Convertible and it doesn’t get near the attention the “Trailer Queen” gets…Hhhmmm… maybe I should ask the wife if she wants to trade cars.
My wife has now been bitten by the mod bug, she’s already planning for future improvements/changes, aside from the ones already mentioned she plans on gutting and restoring the interior (i.e.) re-building the seats, new headliner, seat covers, carpets, door panels, handles, hush matting the floor and re-chroming the interior metal parts. She’s also toying with the idea of replacing the recently installed Edelbrock 650 cfm carburetor with a new Holley 4 injector TBI Electronic Fuel Injection system. I’m trying to convince her to upgrade to 4-piston front and 2 piston rear brake callipers to improve the cars stopping power.
Here are a few lessons learned that some of you may find useful if you should decide to embark on a re-build of your own rides, this is in no way a comprehensive list, just observations from a novice.
1. It WILL cost more than you think.
My wife’s rebuild of her car came in just slightly over budget, it was just a few hundred over. She managed this by going to each vendor/shop and giving them an unvarnished description of the condition of the car, with photos if appropriate (at this time the car was dead in our garage) and a list of what she wanted done. She then asked for an estimate for the worst case scenario, then she added another 50% to the total. In the long run it all worked out, some items came way over budget, some on budget, and some way under budget.
2. Make sure you know EXACTLY what you want BEFORE you start.
By and large my wife kept to her plan and made no major changes to her initial vision of what she wanted. Engine, complete rebuild with new/modern components, between 300 – 400 horsepower using only mild carburator, intake and cam modifications (she wanted a cruiser not a bruiser). Transmission, rebuilt with a mild shift kit. Brakes, four wheel disc with larger than OEM fronts and new master cylinder and brake lines etc…and AC. Making changes mid way through a rebuild can be costly both in time wasted and money spent.
Make sure you know what you want, but decide if it’s the smart choice (i.e.) if you want a numbers matching perfect restoration bringing the car back to showroom originality, by all means put on those scary four wheel drum brakes with skinny tires and standard steering. Tune up or replace that rare and expensive fiddly carburetor that gets crappy gas mileage. Keep tweaking and cleaning those points or adjusting those lifters but don’t expect to be doing much trouble free driving. If on the other hand your not going for a concourse level restoration it might be wise to get a modern induction/ignition system or better brakes etc… and have a reliable, safe car that you can drive trouble and worry free. The last thing you want to do is spend tons of money on a car you don’t enjoy or are afraid to drive. In the case of my wife I tried to get her to go with multi piston brake calipers but she decided against it.
3. Research, research, research.
Even more important than knowing what you want is knowing if it can be done and what it would cost (parts and labour). This is especially important if you have a rare or short run vehicle, case is point is the Cleveland engine which had a limited run (about 5 years) with multiple variations making it more difficult to source parts as compared to a Windsor engine. She also wanted the stock cast heads replaced with aluminium units but could not find the correct 4V units at a reasonable cost so she had the stockers refreshed, re-built and machined to accept larger valves. When my wife decided she wanted larger front brake she had to go with larger wheels, which meant larger tires while making sure that there wouldn’t be any clearance issues. Researching beforehand gives you a good handle on what is available so you can avoid delays.
4. After market parts may not fit as advertised.
Despite what some part suppliers may say, even big name brands, that their parts are “bolt on”; it’s not always true. In the case of the “Trailer Queen” the headers, AC unit and rear brake kit were a constant source of consternation and the Edelbrock carb needed some minor throttle linkage mods to work properly. Important factors when choosing an aftermarket vendor are reputation, customer service and a lenient return policy. This is particularly true if the parts do not fit, are missing or no longer required. We found the Mustang Shop based in Calgary to be the best vendor we have dealt with and highly recommend them.
5. The shops that starts the work on your car may not be the ones that finishes it, be prepared and have a back up shop/plan.
Of the five shops/mechanics originally contracted to work on the Mach 1. 1 completed the work perfectly and on time (transmission). 1 completed the work on time but we had to have another shop take of errors (body). 1 shop (assembly disassembly, general mechanical) was so far over his head with other projects that he couldn’t give us a start time let alone a completion time even though he had the car for several weeks, so we cancelled the contract. 1 shop was unable to complete work (engine) due to financial, legal, business problems (of the shop owner) not related to this rebuild. The last mechanic (engine), who was a business partner of the engine shop owner contracted to do the work on the Cleveland, stepped forward and not only finished the engine, he also completed the remaining work and rectified the errors in the body.
6. Specialty shop for specialty components.
Notwithstanding point #5 it is important not to depend on one shop to do all the work. I don’t think there are very many shops that can handle complete rebuilds, most of them are probably going to outsource some work to specialized shops (i.e.) engine, machining, transmissions and gears etc... When this happens you probably won’t know who they are or what kind of quality your going to get. Despite the problems we had, my wife made it a point to know WHO is doing WHAT so she knew exactly who to talk to if things go sideways, I think that is the best way to do things
7. Big name shop may not necessarily be the best shop.
Of the people/businesses mentioned in point #5 it seems that the best service and quality was an inverse function of name recognition/reputation of the shop. The bottom was the shop (assembly, disassembly) a big name in the area, that took on more than he could handle. The second shop (engine) a shop with a good reputation, left us hanging due to his business, legal problems. The third shop (body) an expensive shop with and excellent reputation, although did excellent work on the body and paint work messed up on the replacement of structural metal. The top two shops/technicians were the retired Ford Master Technician who worked on the transmission did excellent work and completed it well under budget and on time. And the engine shop business partner who stepped up to the plate when the other big name shops either couldn’t get’er done or messed up. We have since become good friends with the family of this person.
8. Expect delays and the unexpected.
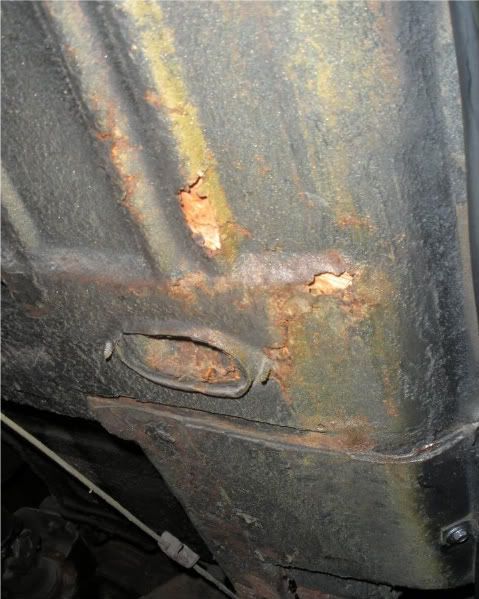
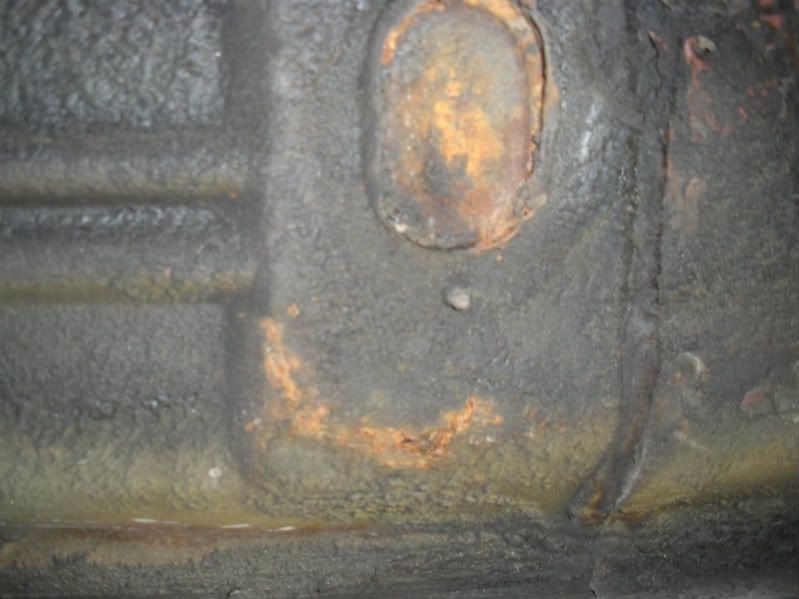
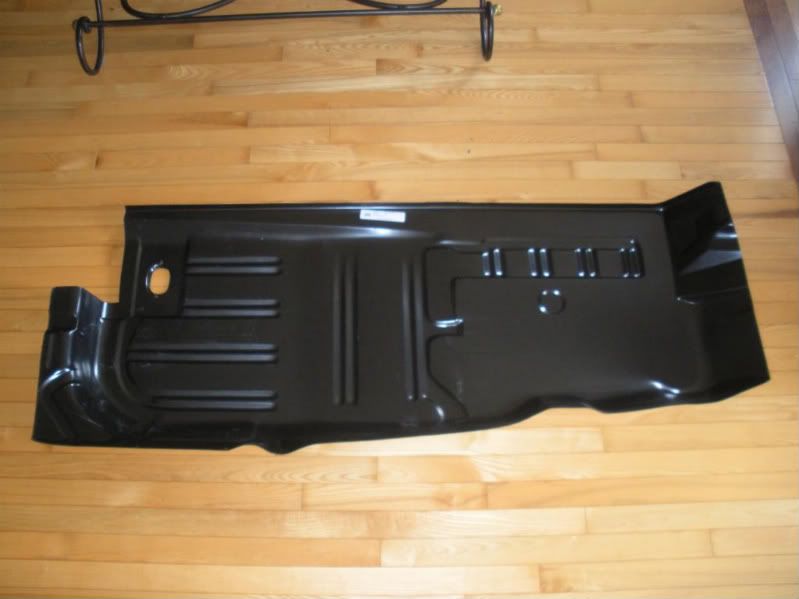
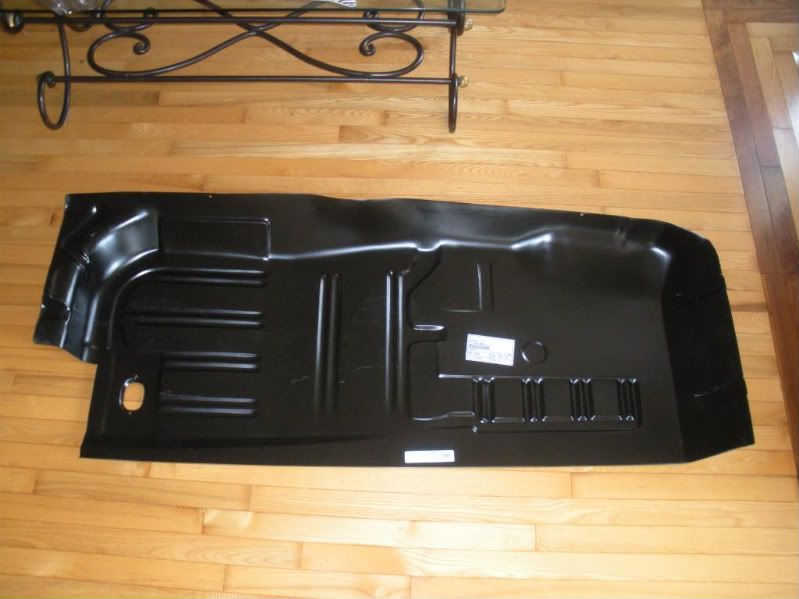
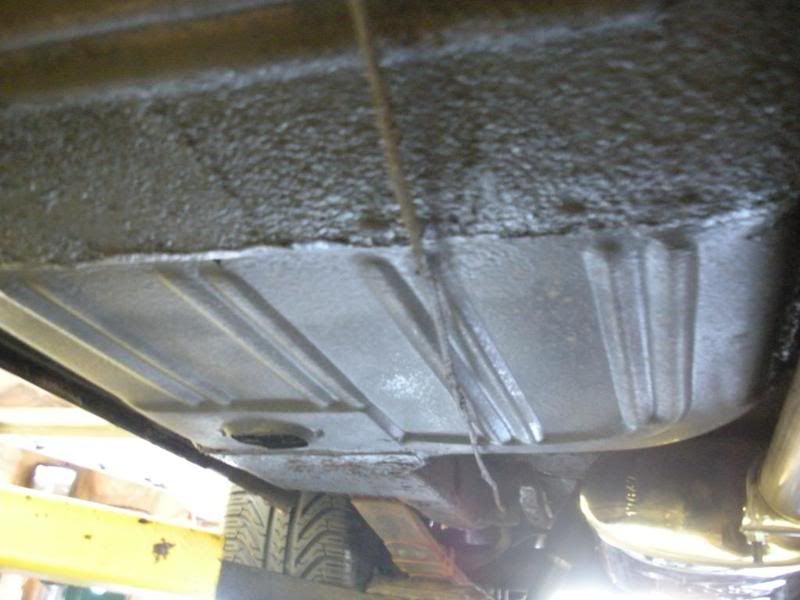
If you strictly adhere to observation #2 and #3 and the vendors have a lenient return policy, order all your parts as soon as possible to avoid weather, strike, parts availability, shipping etc… delays. This does not apply to parts required to rebuild engines, transmissions, differentials or any other components being done by a specialty shops. In the case of my wife, she ordered the AC, brake system, master engine fastener kit structural metal and body panels as well as many other miscellaneous parts. Even so there will always be some king of delay, it just seems to be the nature of the beast. As for the unexpected, we were very surprised by the state of the rear floor plan, as stated in a previous instalment, we, as well as other mechanics, have been under that car several times but nobody saw the rust. This alone caused a good two week delay. Another unexpected issue deals with points #4 bolt on parts that don’t.
9. Stay in communication with the shops
Keep constant communication with the shops doing the work. My wife would at least every three or four days politely speak to one or more of the shops. She would also visit the shops about once a week, often taking pictures, again, always with a upbeat and friendly attitude. Although this may see a little extreme it has the advantage of letting the shop owner know that she’s keeping an eye on them and on the progress of her car, while allowing her to ask questions if she sees something she doesn’t like. The visits also allows the shop owner to point out any problems and if required ask for direction. Could you have imagined where the Mach 1 would currently be in it’s rebuild if my wife had dropped the car off at the shop (assembler/disassembler) in early January and showed up end of April to pick up her car without contacting the shop in the interum. Oh Boy, fireworks would have definitely ensued.
If anyone has any other points or advice please feel free to post them.
Here are a few new photographs for your enjoyment.
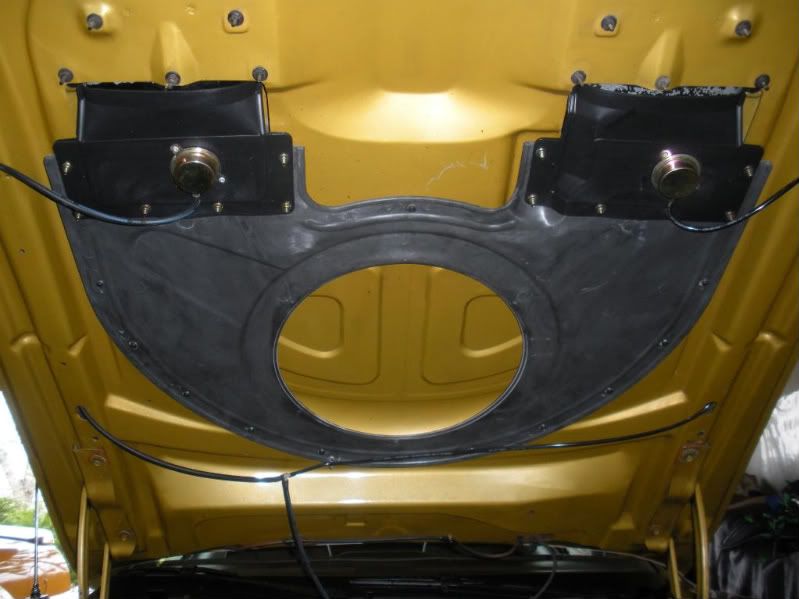
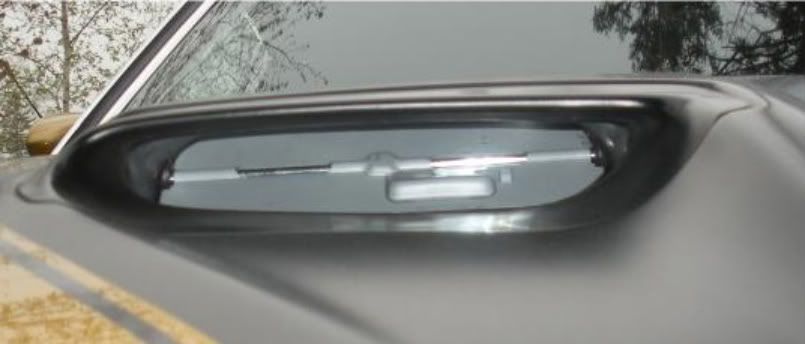
Ram air plenum mounted to the hood.
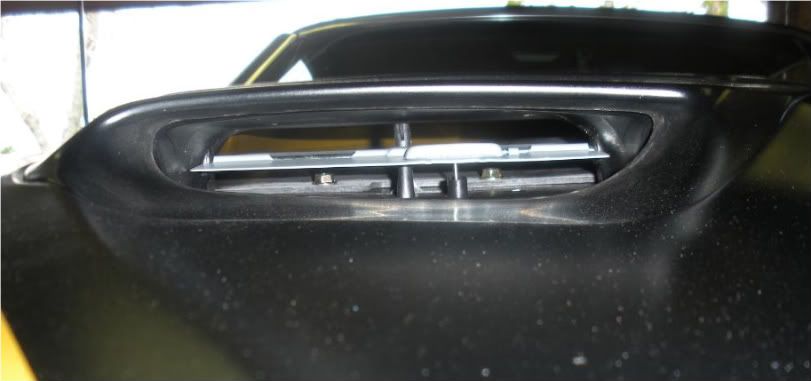
Ram air hood nostrils.
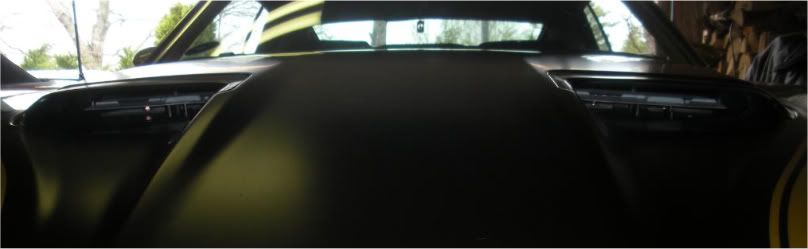
Ram air intake when intake is in vacuum (engine running).
Ram air intake when intake is not in vacuum (engine off or at wide open throttle).
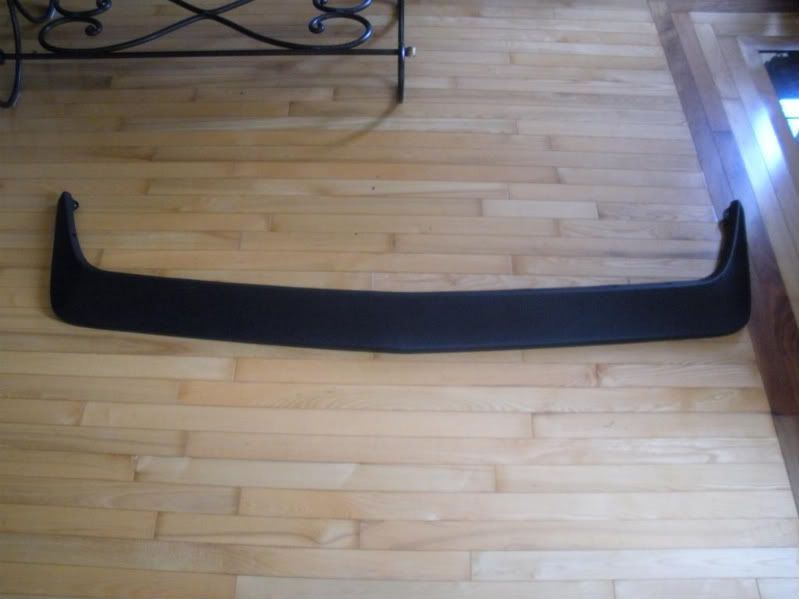
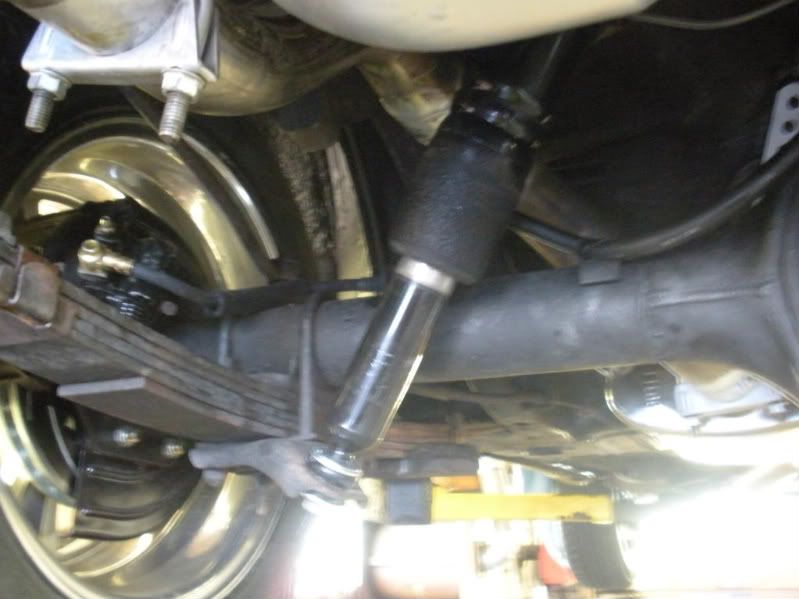
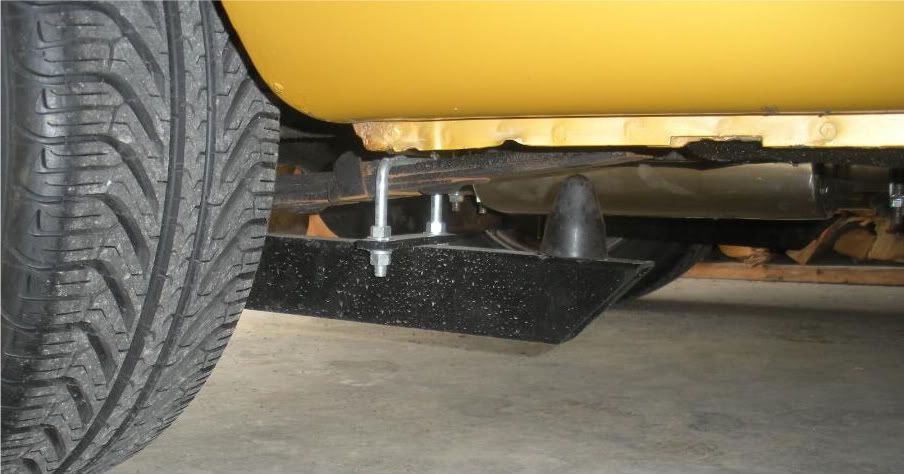
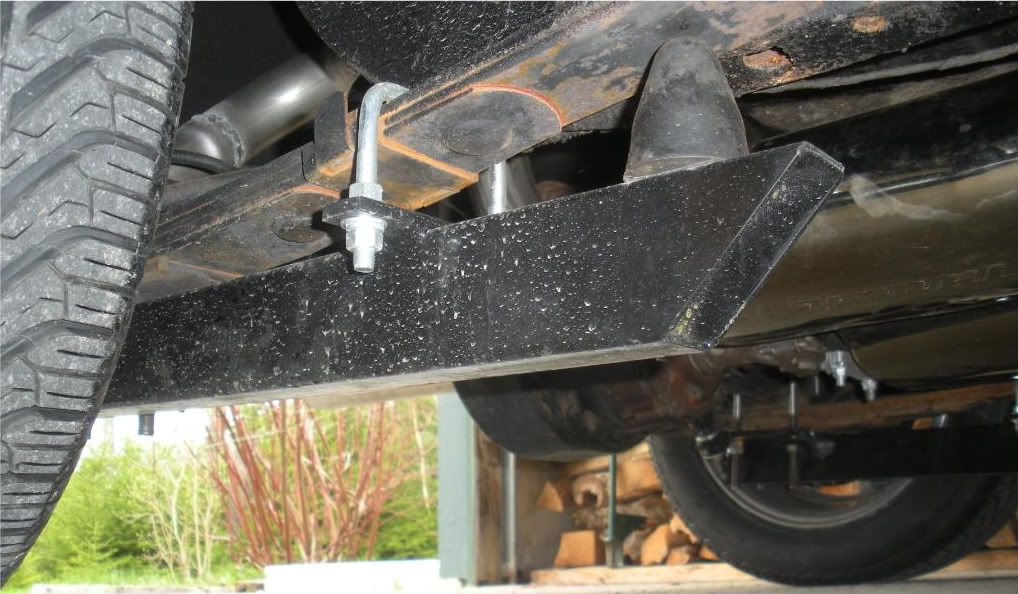
Traction bars installed.
And know in keeping with this forums title I have taken a selection of previously posted photos and turned them into a before and after montage.
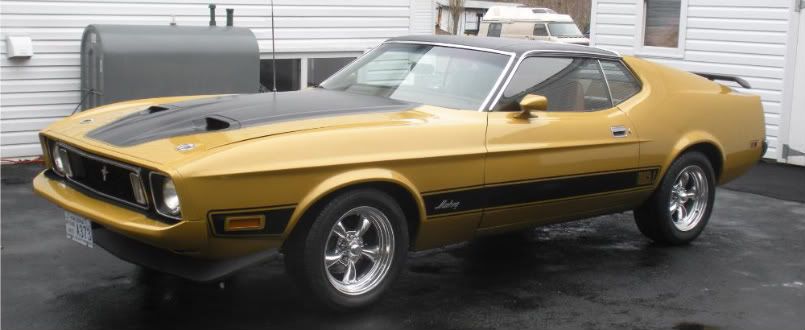
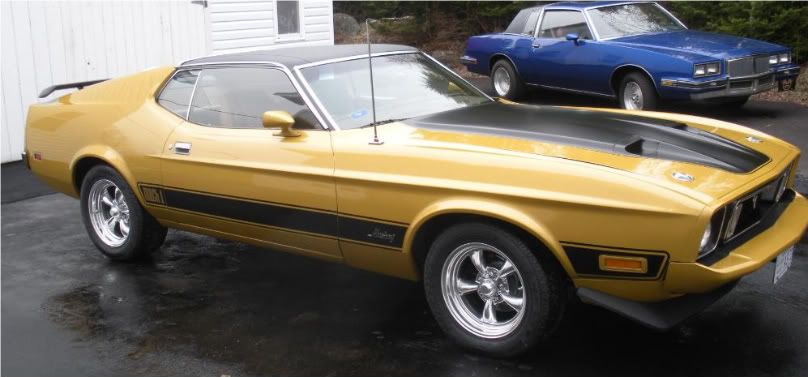
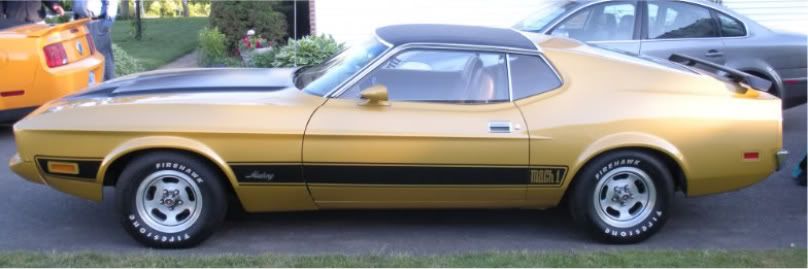
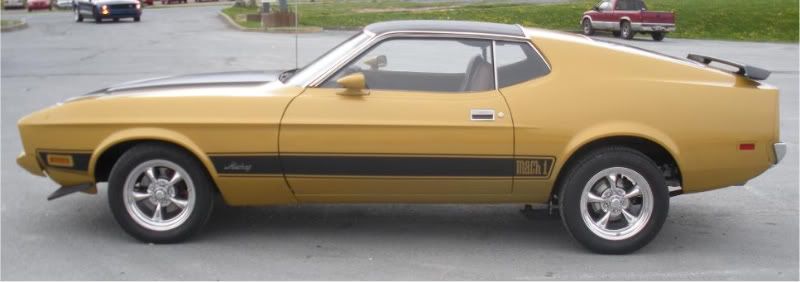
Car profile. Before.
After.
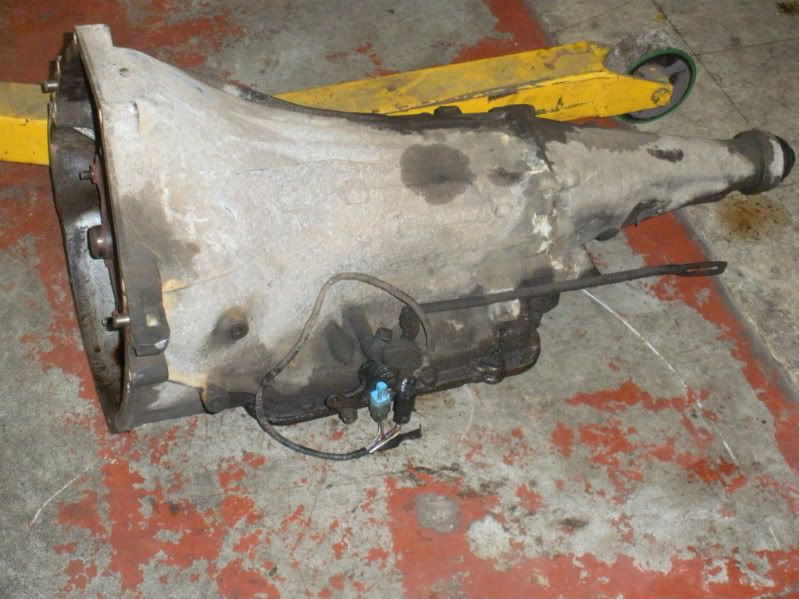
Transmission. Before.
After.
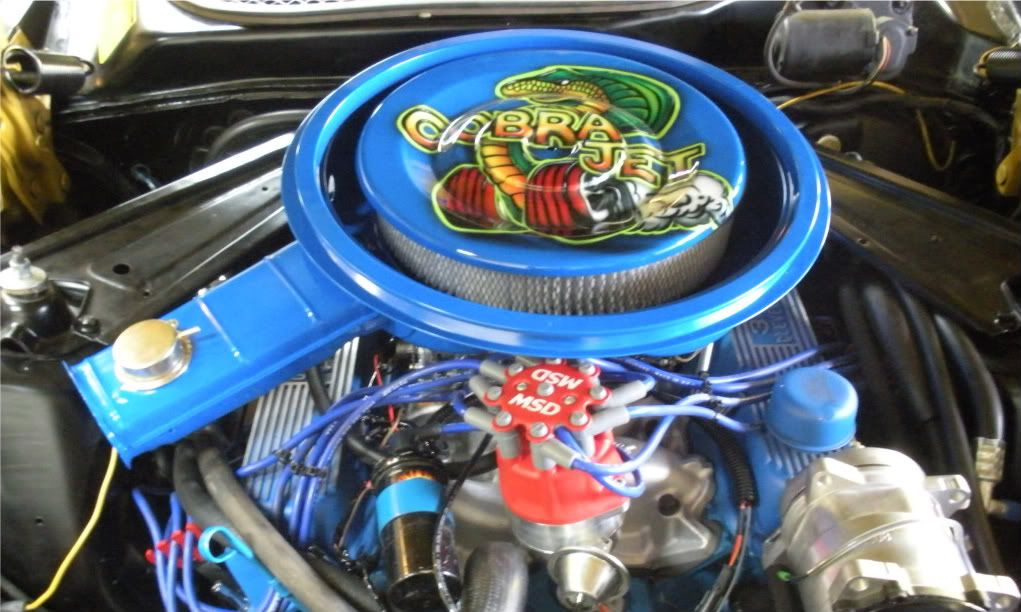
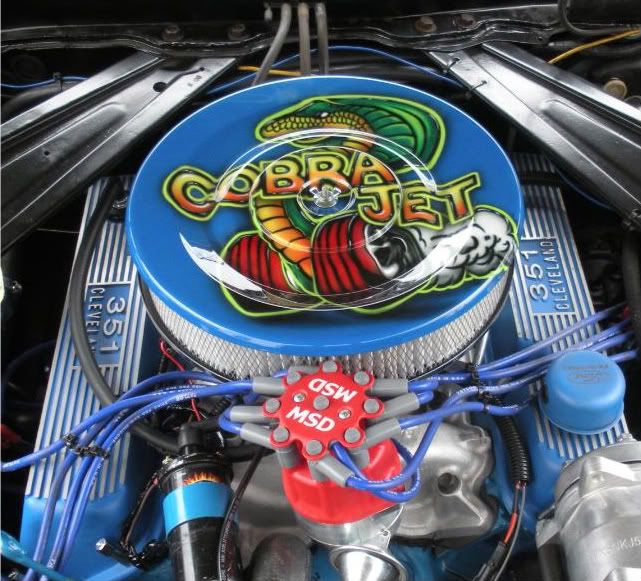
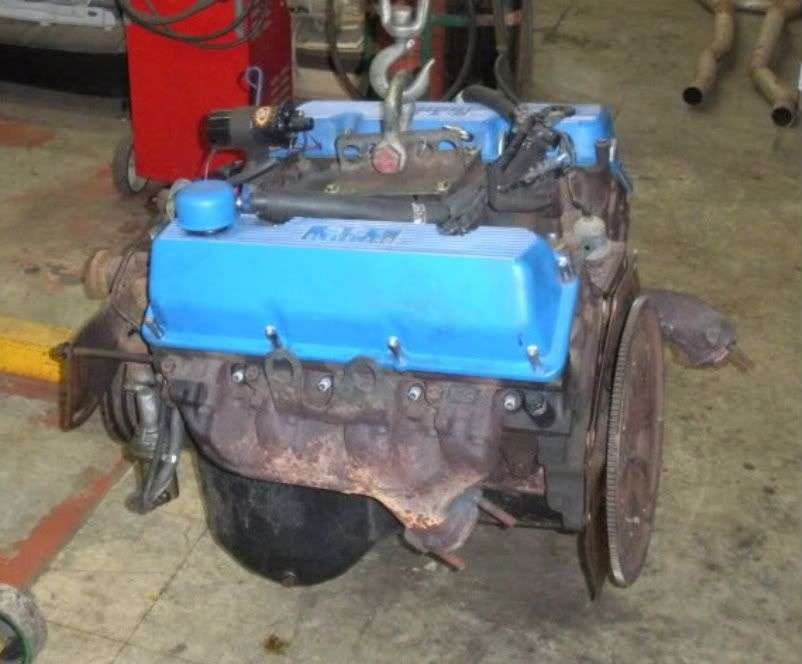
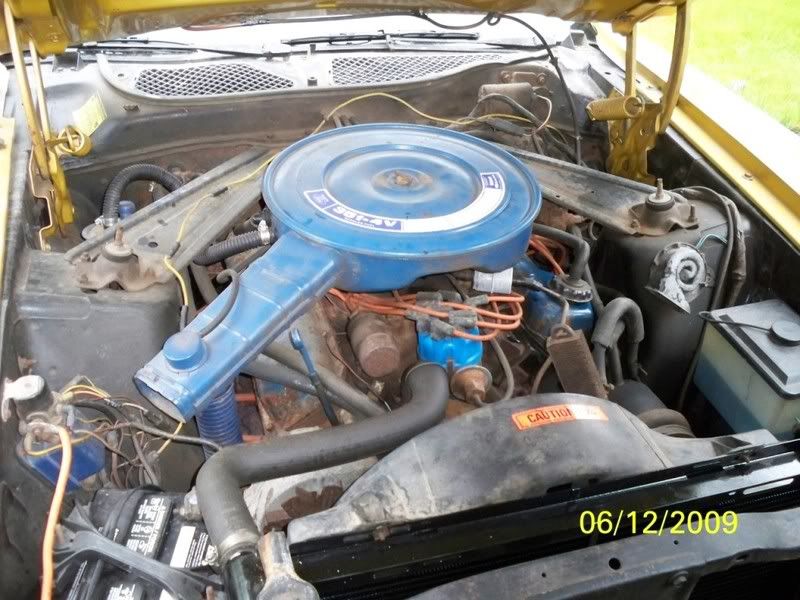
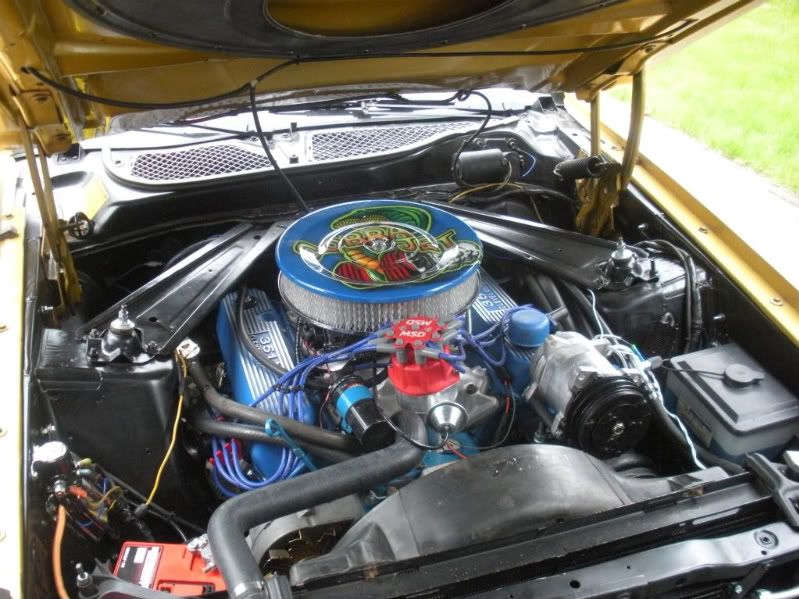
Engine. Before.
After.
Engine bay. Before.
After.
I’ll continue posting new photographs and possibly some videos.
Till next year, have fun and enjoy your rides whatever they may be.
Today, 19 Feb 2012. Sometime in the next week or so I'll write a post, with pictures, detailing the events of 2011 and the current status of the "Trailer Queen".


")