When a 1968 Plymouth Satellite 4-door enters your life...

7173Mustangs.com

Help Support 7173Mustangs.com:

This site may earn a commission from merchant affiliate links, including eBay, Amazon, and others.
Back in the day, JC Whitney used to sell rolls of universal window channel, seals, and other such parts.
The internet seems to offer the same, but the lack of documentation makes finding out which one works for the A/B Bodies the difficult part.

Thanks to ralphie361 on For B Bodies Only though, we might have figured out a workaround for the vent window pillar run - using rubber intended for a '71-97 Dodge B1500 van:

http://www.ebay.com/itm/Vent-Window-Run-Channel-Pillar-Post-Weatherstrip-Seal-for-70-97-Dodge-Van-/310900530220?fits=Make%3ADodge%7CModel%3AB1500&hash=item48631d9c2c:g:ZdoAAOSwA4dWKztx&vxp=mtr

That's a lousy stock photo in the eBay ad, but Steele Rubber Products' version shows that the van's pillar run flocked rubber appears identical to the B-Body in pattern. So long as the length is the same or longer, it should be workable.

-Kurt

 
No weatherstripping updates today, but I couldn't resist snagging this unsilenced 1968-69 style 340 air cleaner a little bit ahead of schedule. Yes, I know it's a 360 with Magnum heads, but it looks the part.

Regardless, there wasn't such a thing as a '68 4-door B-body offered with a 340, much less a small block police motor (the only reason a small block would be painted Hemi Orange in 1968).

To a Chrysler aficionado, this engine/car combo is a major case of "WTF!"

1zfpvsy.jpg


35a5gjs.jpg


2m6uc7c.jpg


2m6lnbn.jpg


And, of course, the best part of all of this is that I didn't even have to rip out the rivets in the carb to make that pesky, boy-racer Edelbrock logo disappear, once and for all:

2z9i711.jpg


-Kurt

 
Last edited by a moderator:
Just reflecting on progress to date...

May, 2015:

2vlo3h1.jpg


April, 2016:

1b629.jpg


FYI: Found one of the LH bolts missing on the left rear drum (reverse threads, I can understand one getting lost), and one missing on the RH front because of damaged threads - right along with a rounded-out bolt and a third loose (that, I can't understand nor will accept). Reaffirms my belief that the previous owner was feeding me various different loads of baloney when I bought it.

The tie rod ends and joints are all pretty horrible up front, so it doesn't really matter. Just sitting around, waiting for enough play money to:

  1. Replace the tie rod ends and idler arm, order ball joints + master cylinder
  2. Get Viper RT/10 badged calipers
  3. Swap big bolt A-body drum spindles onto car
  4. Install Viper caliper kit
  5. Replace master cylinder
  6. Plumb proportioning valve into rear line - probably will require fabbing my own line too, as I know better than to try double-flaring a steel brake line with cheap tools.


-Kurt

 
FYI, this is what Mopar people think of people trying to find a deal, which is one of the reasons it has taken so damn long to get this car to a drivable state:

http://www.forabodiesonly.com/mopar/threads/11-75-slider-brake-caliper-brackets.350377/

I'd say the responses and the attitude is a pretty good inclination of how the elitists (or in the case of some of these guys, wannabee elitists) view the average hobbyist. Pissants.

Funny how they clammed up quick after I received confirmation that those repop brake sliders are made in Taiwan. Not far off from those cracking reproduction Right Stuff spindles. Hey, the vendor may be a stand-up guy, but showing up for my funeral after the fact doesn't count. Nobody has given the manufacturer the third degree.

Plus, the fellow who responded initially to shill his brackets really loves to protect his interests. Besides using his forum privileges to mega-bump his overpriced parts in the For Sale threads, he repeatedly tried to deny the compatibility of D/W-series truck and B-van brake calipers with C-bodies when that came up in another thread. Yes, the original C-body calipers LOOK different, but if concourse isn't a concern, all of them will directly interchange (further verified by Rock Auto's database).

I like my Mopars, but the majority of the community can shove it up their inverted M logo.

-Kurt

 
Last edited by a moderator:
Just checking in with a few updates, starting with "It's amazing what a simple wet sanding can do."

2qm3q88.jpg


Nice, eh? Well, this is what I started with - enough orange peel to embarrass half a dozen Macco shops:

fnz4ts.jpg


I used a process of 1200 grit -> 1500 grit -> 2000 grit -> 3M fine compound to get to this point, followed by an application of good ol' Meguiars #7 and a wax. Pretty good, I dare say.

ioeoud.jpg


And on another unrelated note, about three studs on the driver's side brake drum (left hand threads) are ready to snap - they don't tighten smoothly. One gave way entirely:

2n8scck.jpg


This doesn't matter for the Satellite, but it does matter for the Valiant, as the spindle and drums will make their way onto my Valiant sooner or later (anyone in Miami have a large bolt pattern Mopar A-body 7-1/4" or 8-1/4" rear axle for sale?).

Problem is, before I do any of that, the Satellite is going to need new rotors (I have the disc spindles), 11.75" caliper brackets, and lower control arms with sway bar mounts (and preferably new bushings installed - not keen on that job).

Ah, what expensive fun we weave :chin:

-Kurt

 
Really cool Kurt. Trust me - the real and true Mopar car guys really enjoy and appreciate you sharing what works and doesn't (or shouldn't). Just like we have and do.

The rest of them can - well you already explained... :whistling:

Thanks for posting all the pics.

Ray

 
Few things to report. Finally got most of my factory disc brake conversion bits (F/M/J-body disc brake spindles, 11.75" Cordoba/police Diplomat-sized slider caliper brackets, slider calipers, upper control arms - though I would like to get some tubular arms with built-in caster improvement - and rebuilt lower arms with sway bar mounts.

Like an *****, I haven't photographed any of that, or the $400 order from RockAuto for the rest of the consumable steering parts and rotors - but that's another story.

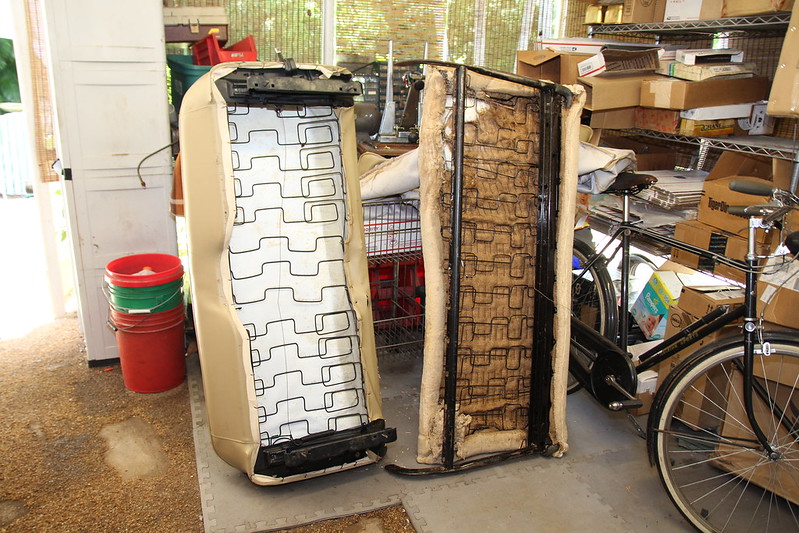
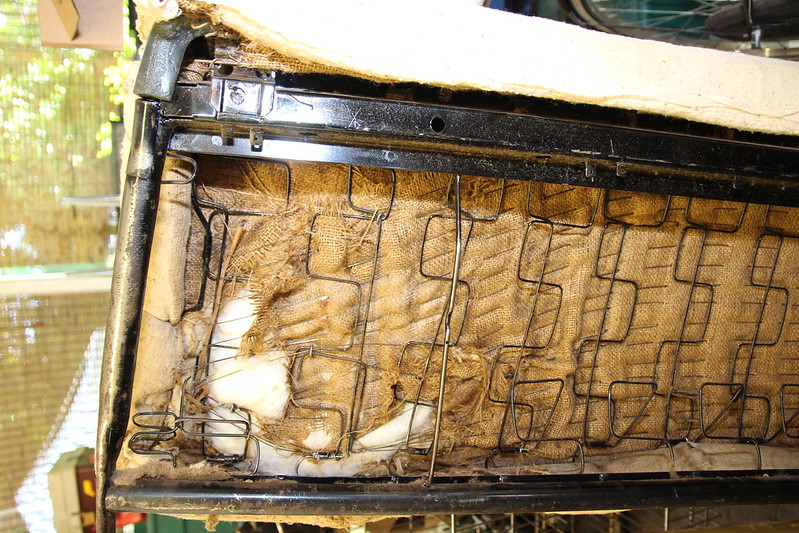
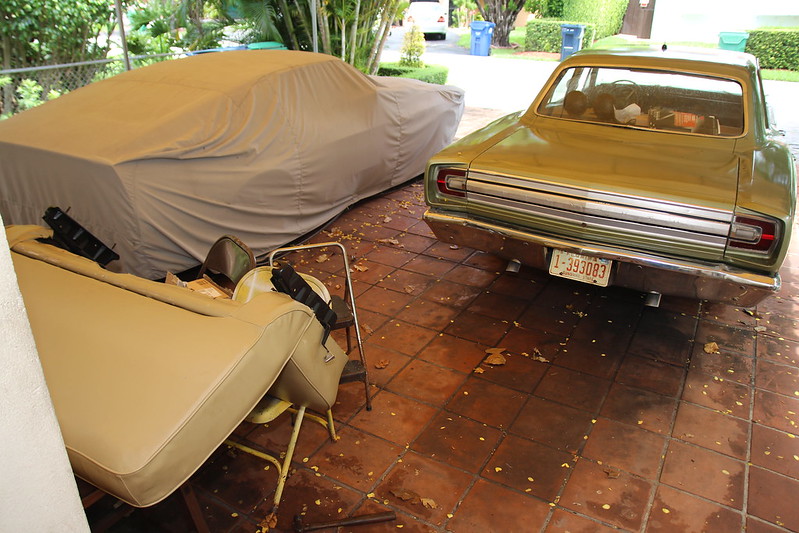
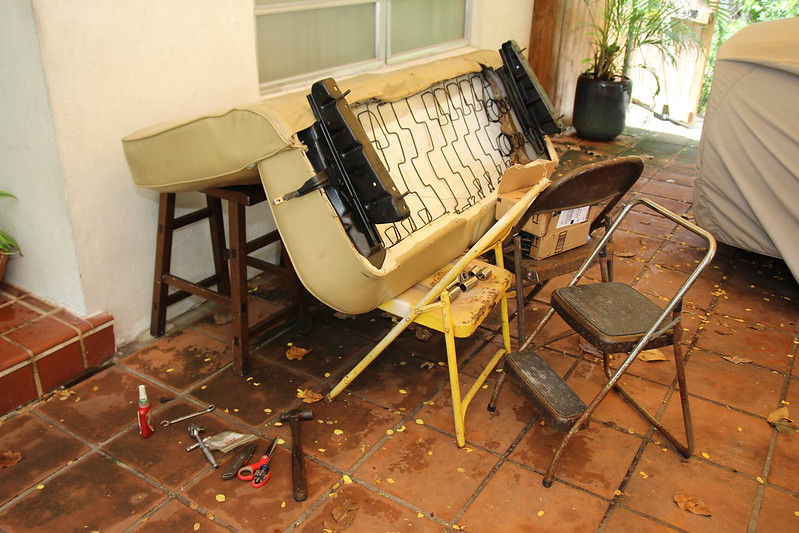
While waiting for that to arrive, I figured I'd pull the seat and remove the fabric, as one of the springs appeared to be poking the fabric at top. I wound up finding about 4 or 5 broken springs, a missing bolt for the back, and one loose. Gotta check the mounting threads to make sure they're not boogered up.

1968 Plymouth Satellite bench seat removed by cudak888, on Flickr

1968 Plymouth Satellite bench seat removed by cudak888, on Flickr

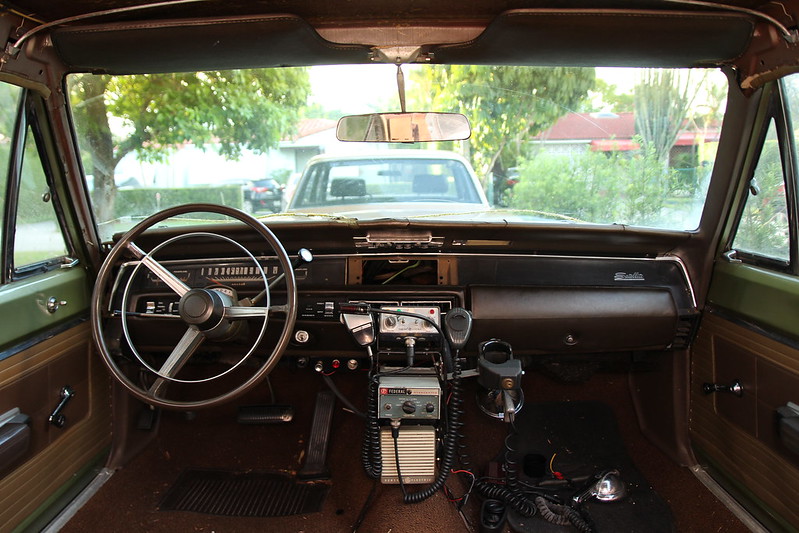
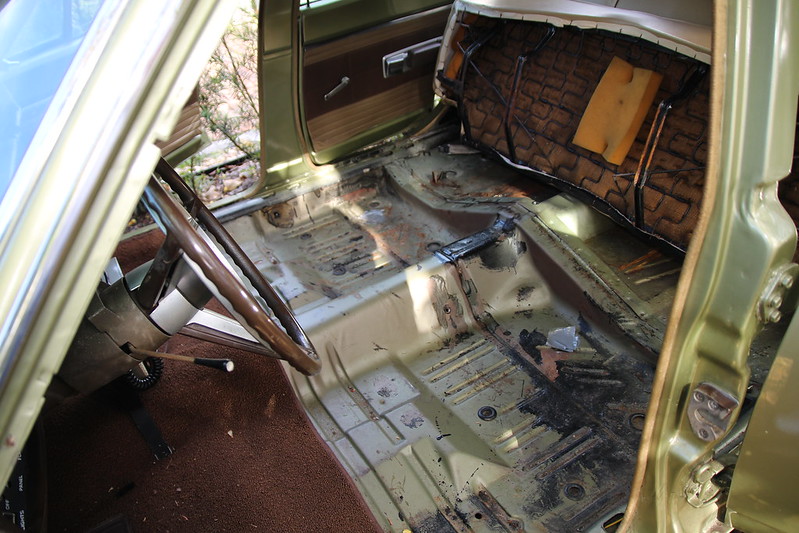
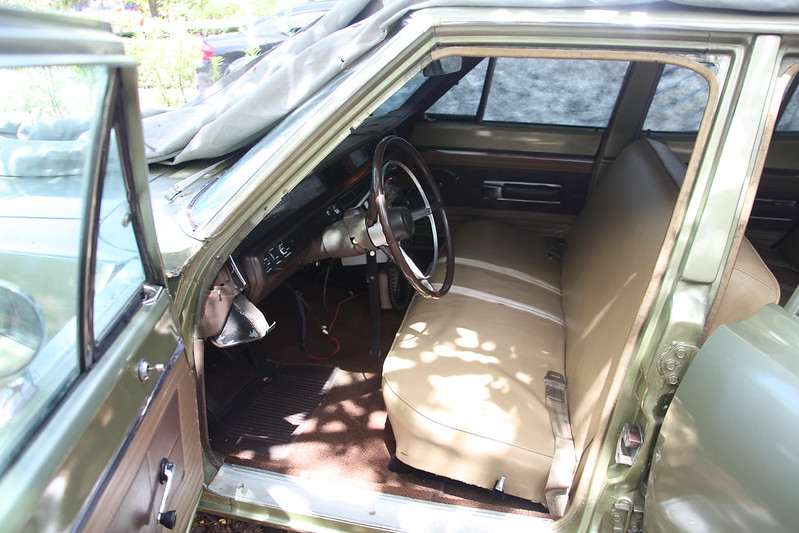
Also grabbed a nice shot of the interior while at it. Looks like it's the perfect time to put some sound deadener in (nothing like working with rot-free floorpans from the get-go) and also sort out the PO's Roadkill-worthy wiring for the lights and Federal Interceptor (which will have to be removed to be road legal).

1968 Plymouth Satellite (Belvedere) - Seats Removed by cudak888, on Flickr

Also posted some under-dash pictures for reference. Might help some B-body owners in a jam: https://www.flickr.com/photos/43240189@N03/

-Kurt

 
Last edited by a moderator:
Few things to report. Finally got most of my factory disc brake conversion bits (F/M/J-body disc brake spindles, 11.75" Cordoba/police Diplomat-sized slider caliper brackets, slider calipers, upper control arms - though I would like to get some tubular arms with built-in caster improvement - and rebuilt lower arms with sway bar mounts.

Like an *****, I haven't photographed any of that, or the $400 order from RockAuto for the rest of the consumable steering parts and rotors - but that's another story.

While waiting for that to arrive, I figured I'd pull the seat and remove the fabric, as one of the springs appeared to be poking the fabric at top. I wound up finding about 4 or 5 broken springs, a missing bolt for the back, and one loose. Gotta check the mounting threads to make sure they're not boogered up.

1968 Plymouth Satellite bench seat removed by cudak888, on Flickr

1968 Plymouth Satellite bench seat removed by cudak888, on Flickr

Also grabbed a nice shot of the interior while at it. Looks like it's the perfect time to put some sound deadener in (nothing like working with rot-free floorpans from the get-go) and also sort out the PO's Roadkill-worthy wiring for the lights and Federal Interceptor (which will have to be removed to be road legal).

1968 Plymouth Satellite (Belvedere) - Seats Removed by cudak888, on Flickr

Also posted some under-dash pictures for reference. Might help some B-body owners in a jam: https://www.flickr.com/photos/43240189@N03/

-Kurt

Very cool. That radio is spot-on correct for the period. I forgot - was in in there or did you find and install?

Ray

 
Very cool. That radio is spot-on correct for the period. I forgot - was in in there or did you find and install?
Ray
Hey there, Ray -

Pretty sure the PA20 2B in the car (installed by PO, by the way) is a few years newer according to this article: https://www.professionalcar.org/federalsirens-447

-Kurt
Not by much!! I remember we had a PA-20A in a 1975 Chevy Ambulance we parted out years ago. Hellacious front sway bar for a 1-ton cab & chassis with amb box! It handles like a Trans Am! I was playing around driving it back from Dallas (where we bought it) and I got the overheads turned on by accident (ON A MAJOR HIGHWAY). I finally got them to go off but after about a minute of fumbling around with all the controls! Funny now. Not so much then.

Ray

 
Not by much!! I remember we had a PA-20A in a 1975 Chevy Ambulance we parted out years ago. Hellacious front sway bar for a 1-ton cab & chassis with amb box! It handles like a Trans Am! I was playing around driving it back from Dallas (where we bought it) and I got the overheads turned on by accident (ON A MAJOR HIGHWAY). I finally got them to go off but after about a minute of fumbling around with all the controls! Funny now. Not so much then.
Ray
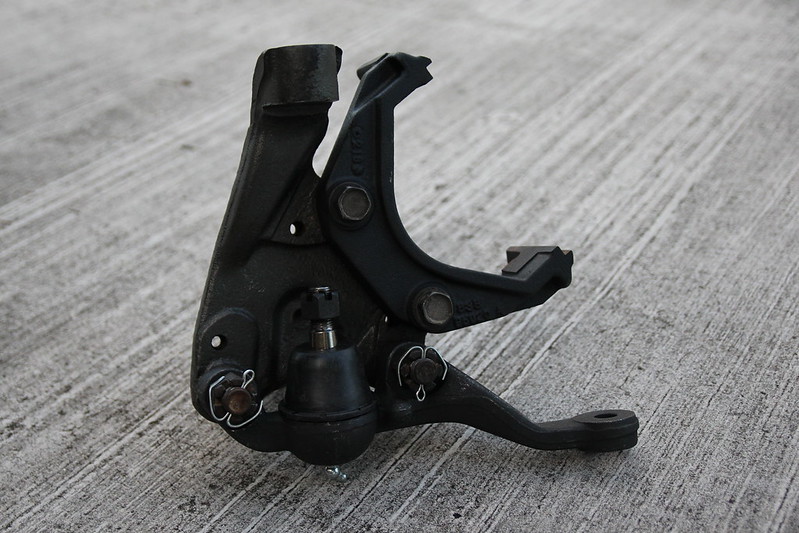
Now you're getting me all excited over the sway bar, which is the first thing to happen once the disc brake conversion is all sorted. Already have the spindles all built up and ready to go, complete with the 11.75" caliper brackets found on Cordobas and police Diplomat/Gran Fury models:

F/M/J spindle set up for B-body disc swap by cudak888, on Flickr

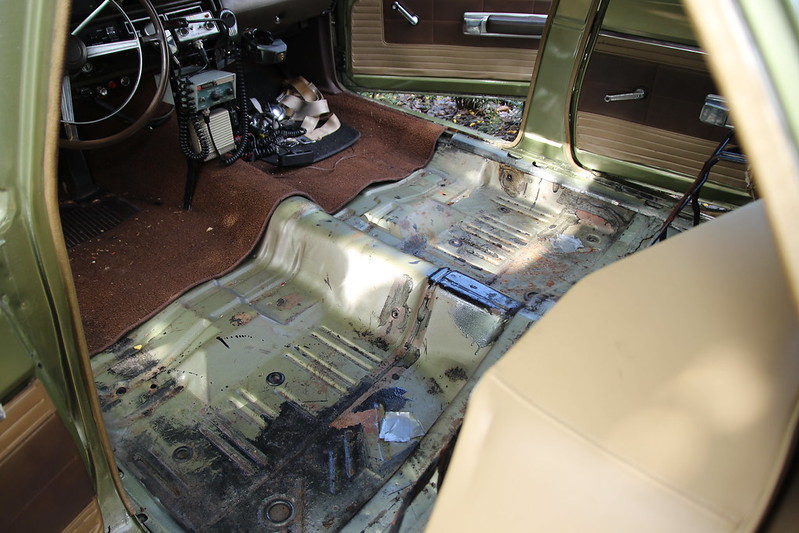
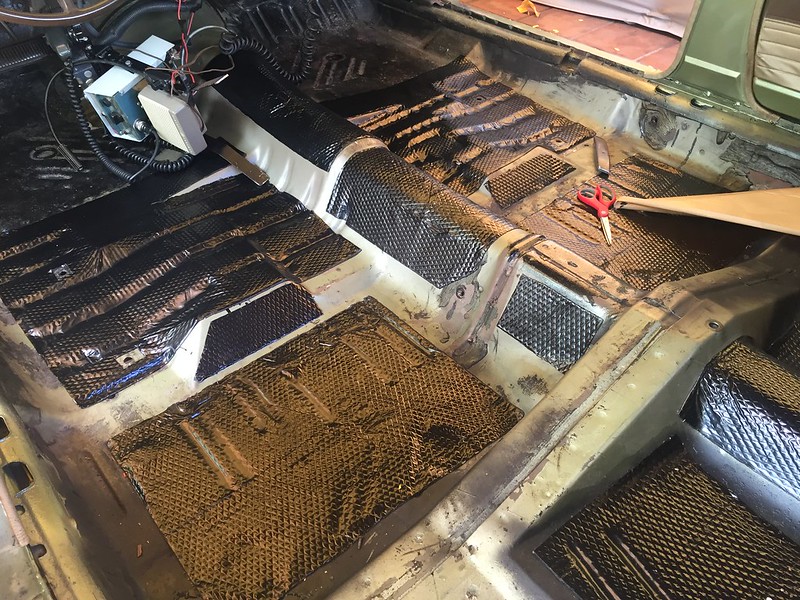
In other news, I pulled up the carpet (a new replacement, from the looks of it) to inspect the sound deadening. I knew the pans were in good shape, and they didn't disappoint:

Gaze upon these perfect floorpans by cudak888, on Flickr

Gaze upon these perfect floorpans by cudak888, on Flickr

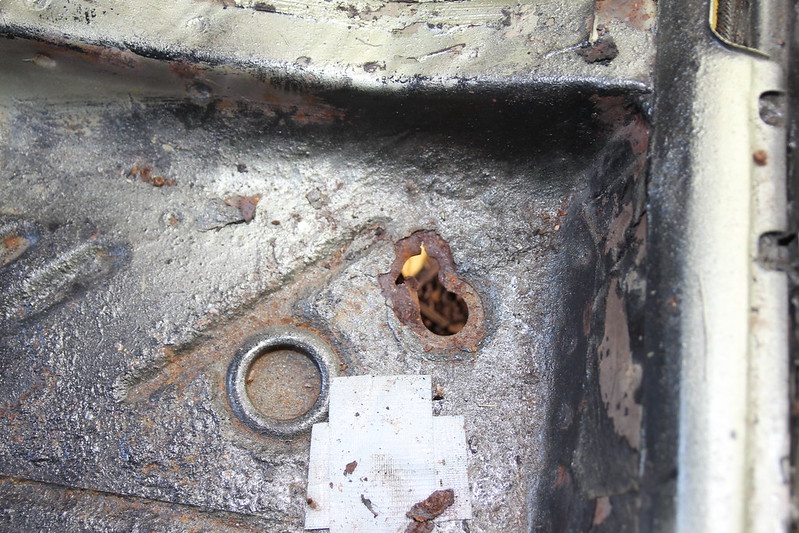
Of course, someone had to tear one of the plugs enough that I feel obligated to pound it back into shape and MIG a patch:

Makes you wonder... by cudak888, on Flickr

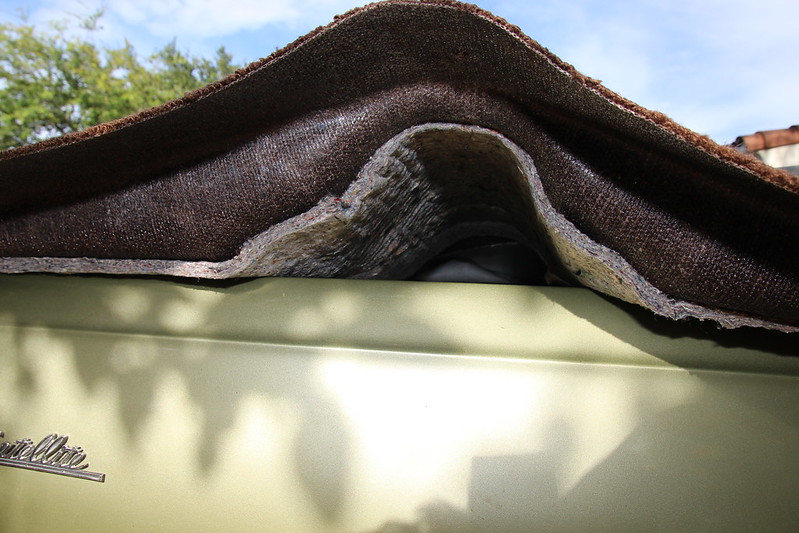
Got the carpet out to see what it had - just jute padding under the carpet, nothing else:

B-body molded carpet (rear) by cudak888, on Flickr

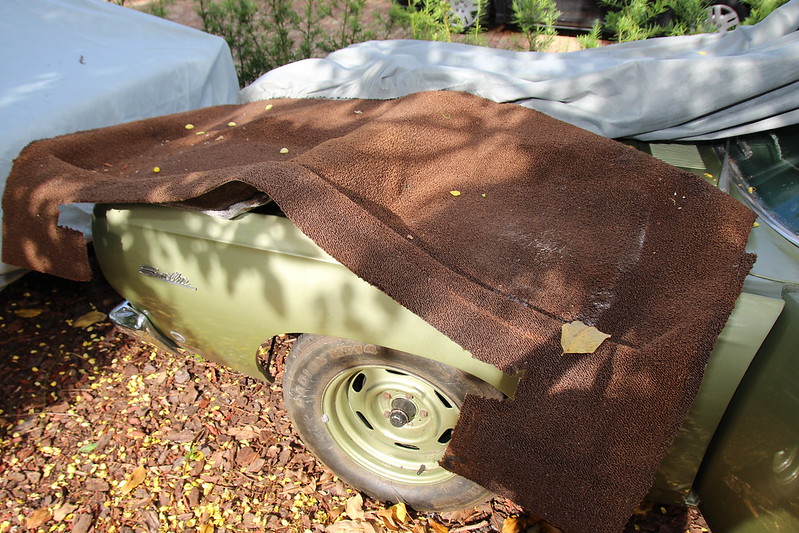
May the carpet force be with you:

Obi Wan's Mopar carpet by cudak888, on Flickr

So now, the big question: Now that I've blown more than I should on the suspension and the seat springs, what am I'm going to do about penny-pinching the sound insulation? Probably going cheap and putting Noico sound deadener on the areas that resonate, followed by their heat insulation pad on top to further quiet the beast. Anything to get the carpet taken care of in short order so the seat can get reinstalled, pronto.

-Kurt

 
Put in some Noico sound deadener this weekend, followed by foam heat insulation pad, also Noico. Here's the deadener being cut to fit. Didn't get anything but video footage of the foam:

Sound deadener by cudak888, on Flickr

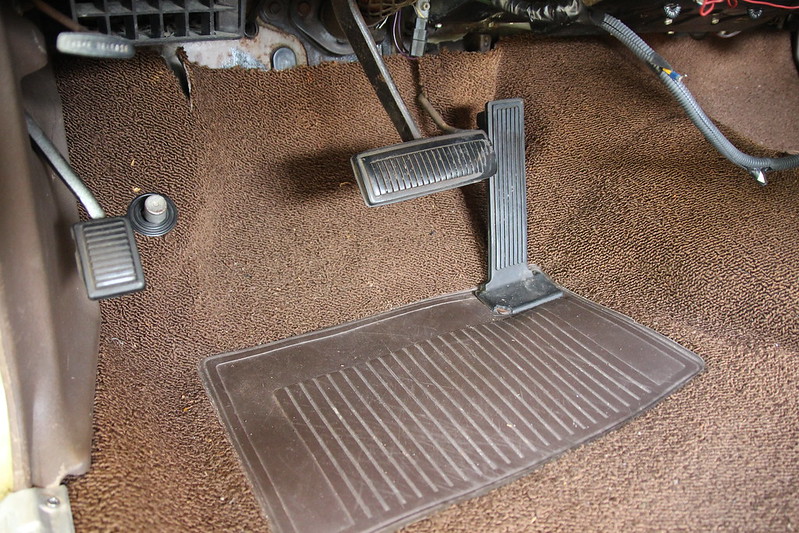
The carpet had never been cut properly to allow the pedal to recess through it. Look at the earlier photos of the car - the pedal looks crooked (though it's the carpet below it that gives it that appearance). I finally took care of that. Carpet still fits like hell around the high beam switch, and I can't do anything about it (unless there's a panel that's supposed to fit over that):

Better accelerator pedal fit by cudak888, on Flickr

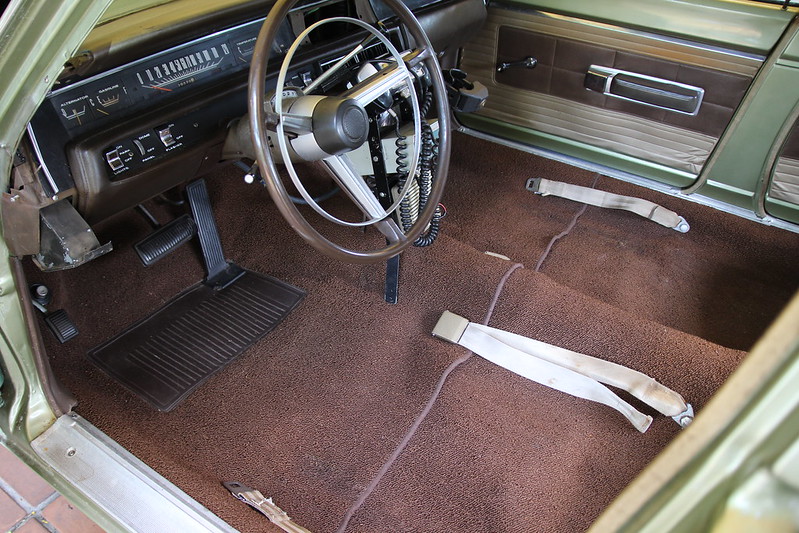
The results of a number of hours of hard work. Believe it or not, I realized that the reason the PO had never bolted in the belts is because the front seat was recovered with the seat back fabric glued to the lower bench. As a result, you couldn't slip the buckles through (!):

Reinstalled the carpet by cudak888, on Flickr

-Kurt

 
Last edited by a moderator:
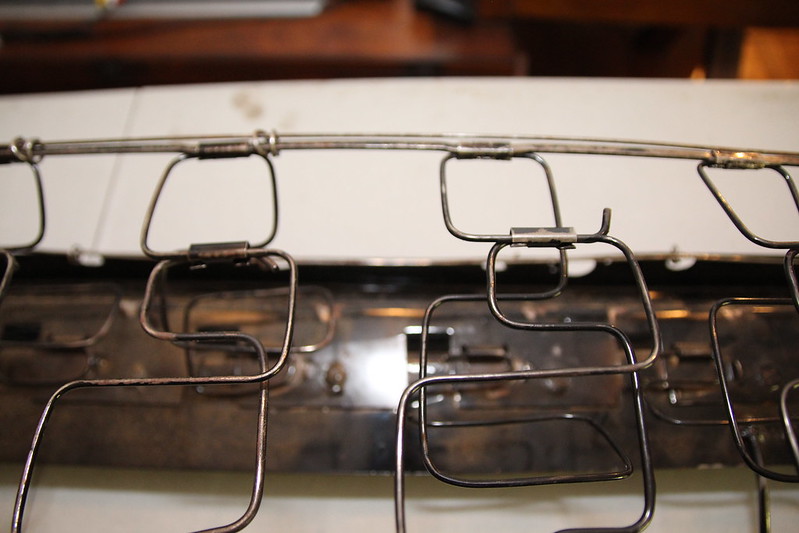
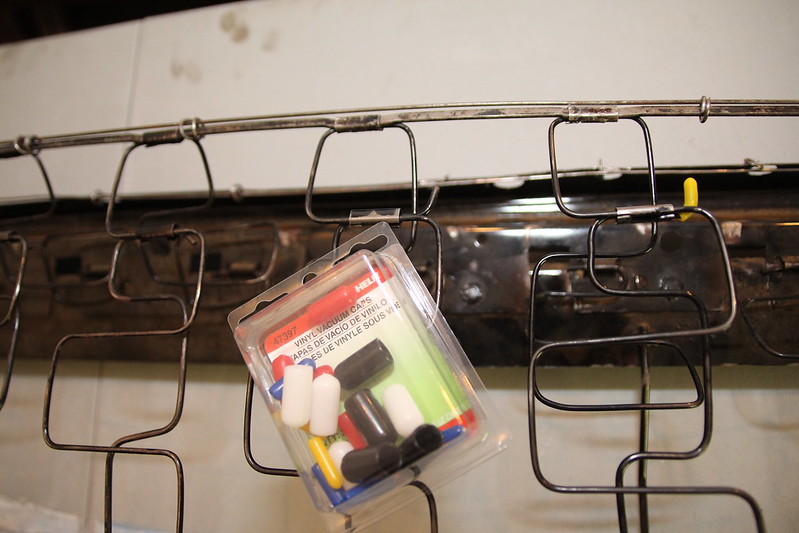
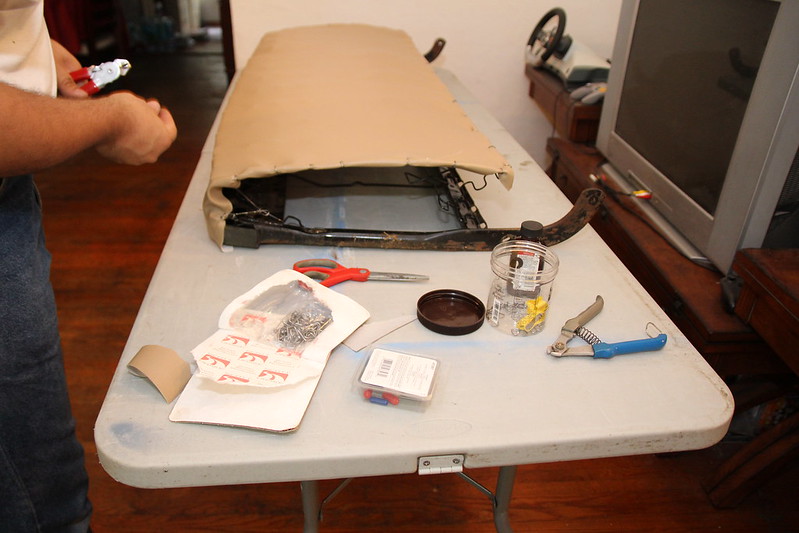
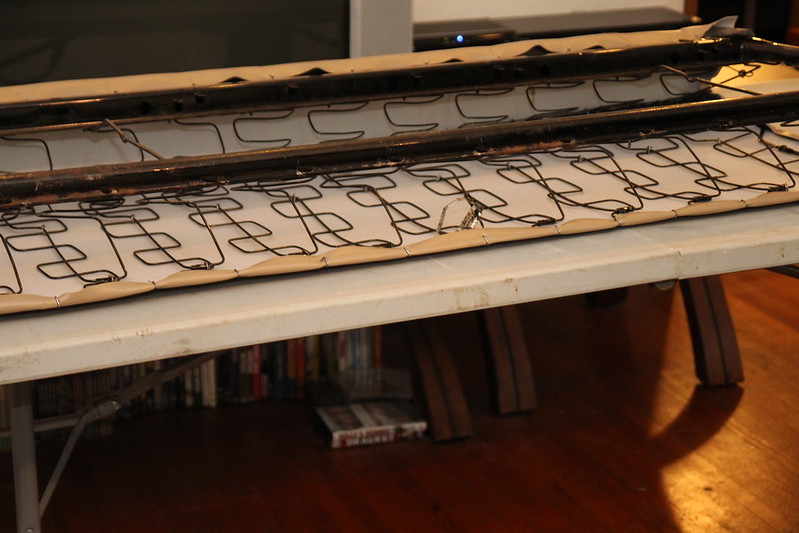
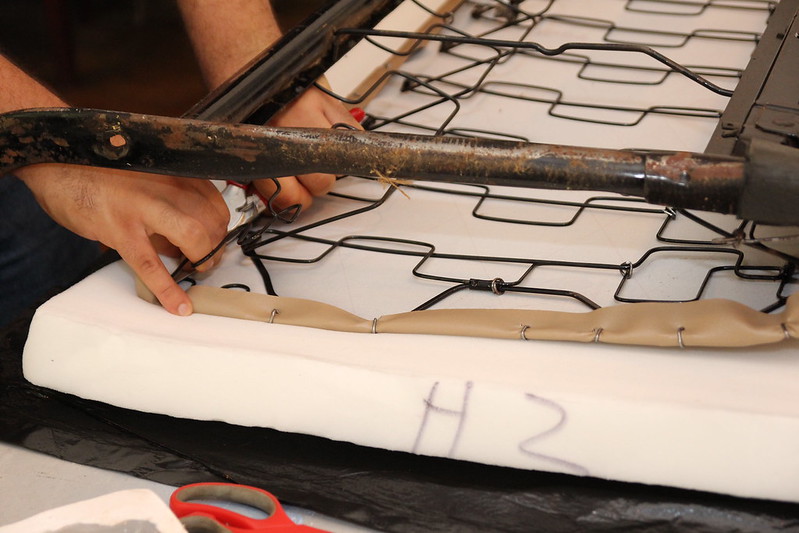
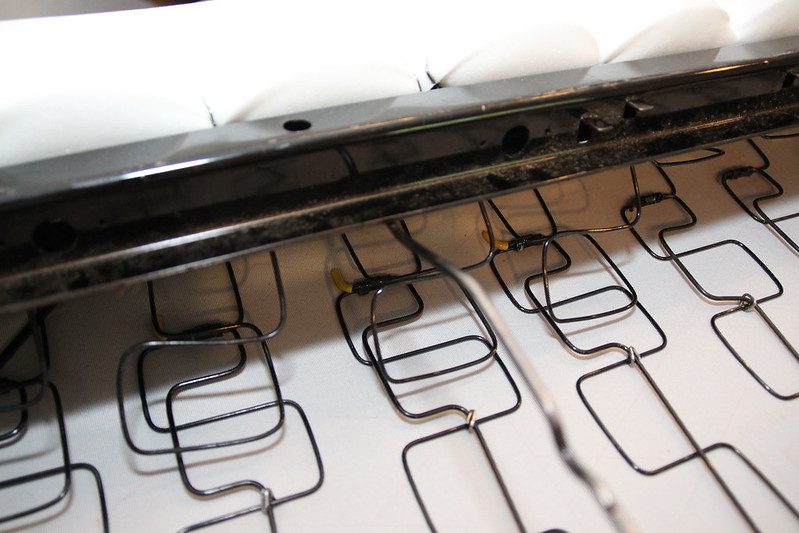
Tackled repadding the front seat back today. First off, I bought some vinyl vacuum plugs to cap off the potentially problematic manner in which the replacement '66 Belvedere springs are bent, vs the '68 springs.

'68 on left, '66 on right. Note the rear upper section of the spring is different as well:

1968 vs 1966 B-body upper seat springs by cudak888, on Flickr

1968 vs 1966 B-body upper seat springs by cudak888, on Flickr

Taking a cue from Teeth & Tires' "Biohazard" Barracuda build at FABO (http://www.forabodiesonly.com/mopar/threads/biohazard.233674/page-57), I chucked out the burlap and batting for heavy marine vinyl. Bought it in the same color as the main seats, just in case I ever need spares for the exterior vinyl. Almost a perfect match too:

1968 Satellite - front seat back repair by cudak888, on Flickr

Lots of hog rings, soon to become many more:

1968 Satellite - front seat back repair by cudak888, on Flickr

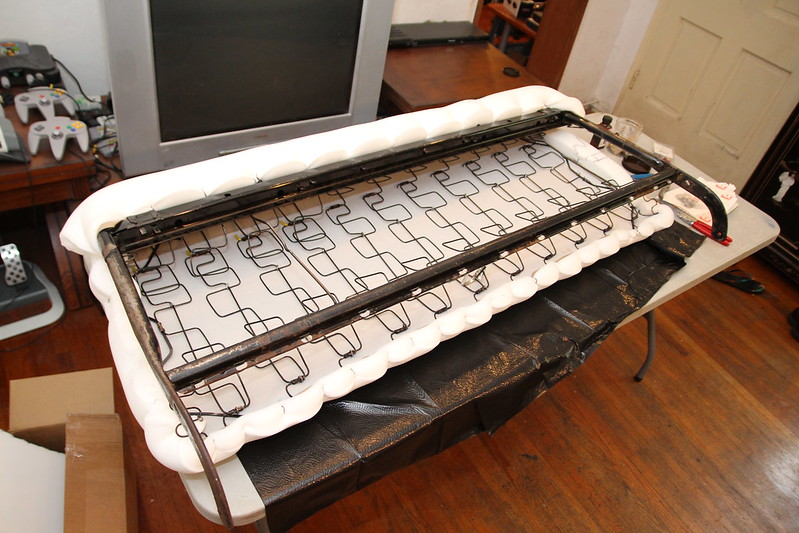
Also, I dumped the cotton padding for high-density foam:

'68 Satellite - front seat back repair by cudak888, on Flickr

Vinyl plugs looking good here:

'68 Satellite - front seat back repair by cudak888, on Flickr

Foam clamped down:

'68 Satellite - front seat back repair by cudak888, on Flickr

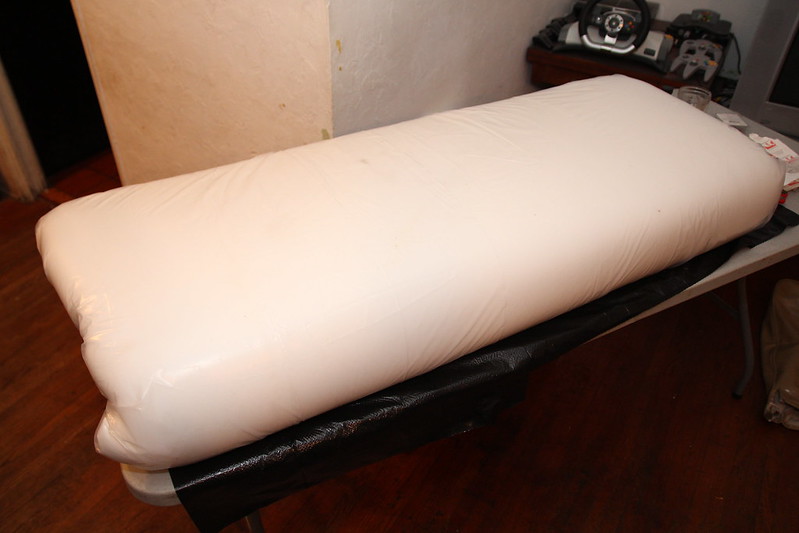
To make it easy to slide the vinyl cover over the foam, I put a layer of clear plastic over the foam. The corners were cut and clamped down tighter than what you see here for a better fit:

1968 Satellite - front seat back repair by cudak888, on Flickr

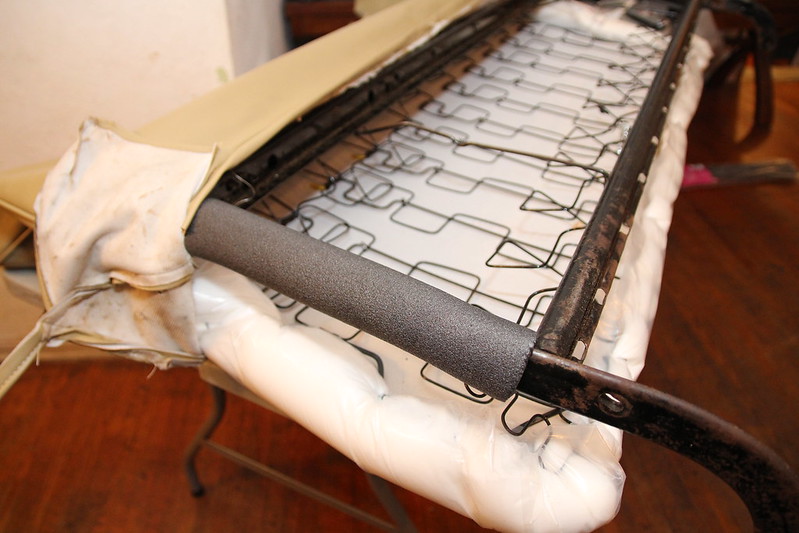
I glued (with contact cement) a pair of these foam heater pipe covers onto each side to protect the vinyl and give it a bit better shape. Sits bit better on the left than the right, but keeps the back and sides much more taut than it was before:

1968 Satellite - front seat back repair by cudak888, on Flickr

Roger Moore approved:

'68 Satellite - front seat back repair by cudak888, on Flickr

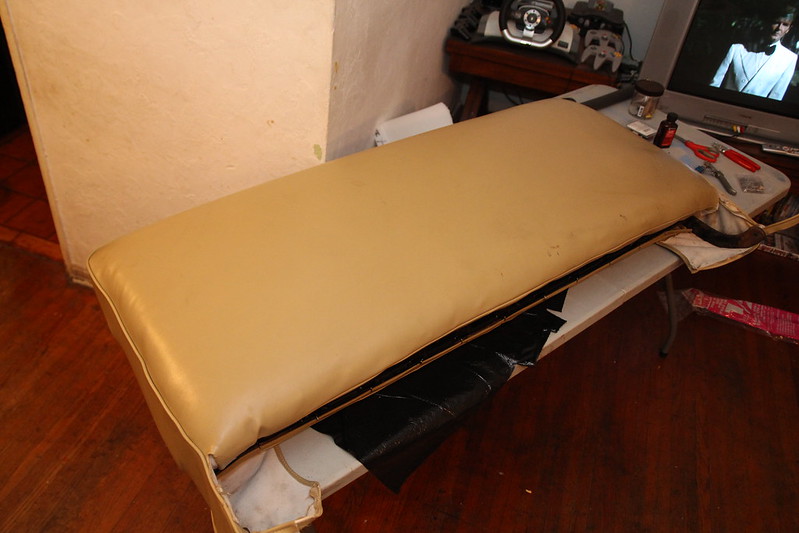
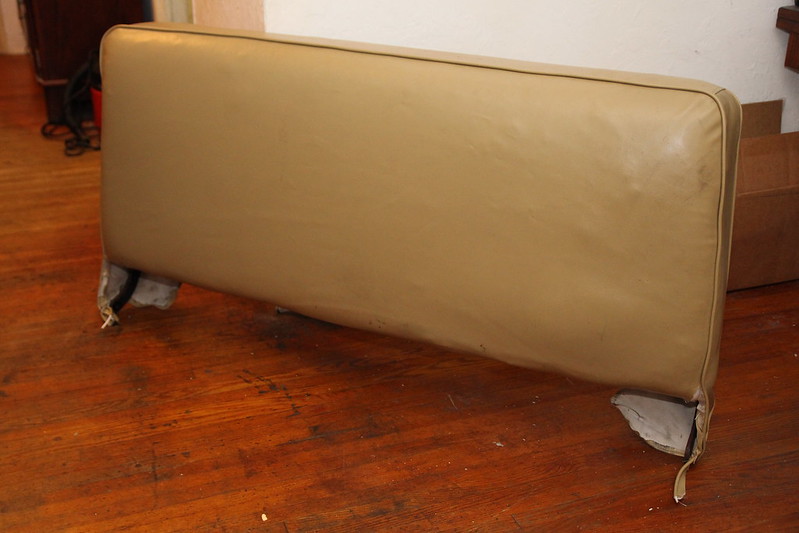
And done. Almost a shame to cover it with that dirty vinyl from the PO, but I'll give it a cleaning before reinstallation:

'68 Satellite - front seat back repair by cudak888, on Flickr

With the bottom half which still remains cotton/burlap (and will stay that way, barring any unforseen complications). Anyone have a trick for tightening up the seat release wire? It's extremely slack, but it seems to run lower than the transmission hump.

'68 Satellite - front seat back repair by cudak888, on Flickr

That's all for today.

-Kurt

 
Last edited by a moderator:
'68 Satellite bench reinstalled by cudak888, on Flickr

Seat install day. Had to shorten the passenger's side adjuster return spring, as it was not pulling back enough to latch the mechanism when released. Also turned out that I completely missed that the release wire sits on a hook in front to clear the trans tunnel. Works fine.

'68 Satellite bench reinstalled by cudak888, on Flickr

Came very close to heat exhaustion today installing the completed bench, but it's back in. Looks decent enough. Better than sitting on a Costco stepstool.

'68 Satellite bench reinstalled by cudak888, on Flickr

-Kurt

 
Steering day. There are two jackstands on the framerails at the firewall. The orange one is a safety. You can read on and rest easy now.
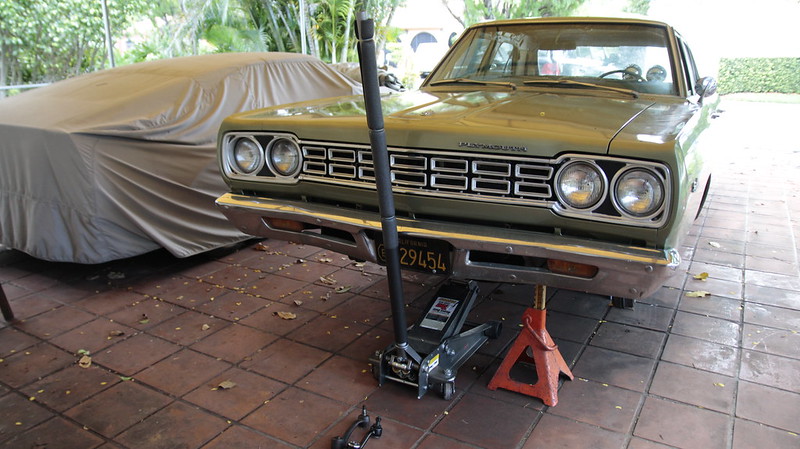
Flying Satellite by cudak888, on Flickr

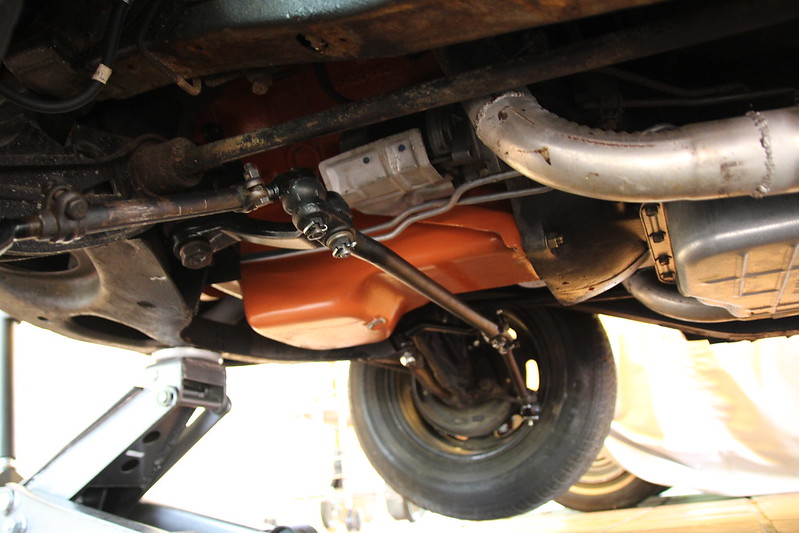
I dropped the front steering linkage to find every single tie rod end carrying an original 6-digit Mopar part number (2072434). I almost thought they were original to the car, but all four had the same number on it - which meant someone had installed inner tie rod ends on the outer ends too.
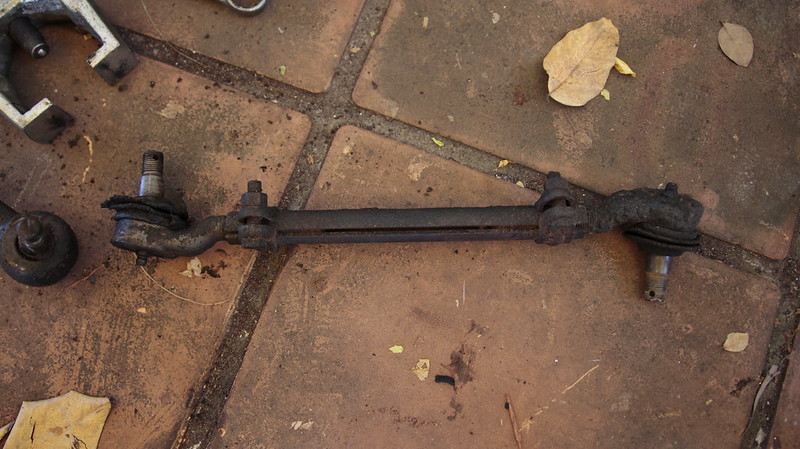
007 by cudak888, on Flickr

Like everything else done on this car before me, the screwups didn't end there - there wasn't a single cotter pin on any of the castle nuts, save for the outer tie rod ends. I was able to shock one of the ends out of the center link with a single tap without even touching the tie rod end splitter.

Serves to justify my philosophy: No matter how much money I pour into this car, it's worth it just to make sure it doesn't kill me 5 minutes into its maden voyage. And to think that I even considered trying to drive this thing home the day I got it. Must have been watching too many Roadkill episodes that week.

However, the surprises didn't end there either, because everything came to a screeching halt when I compared my new idler arm against the old one:
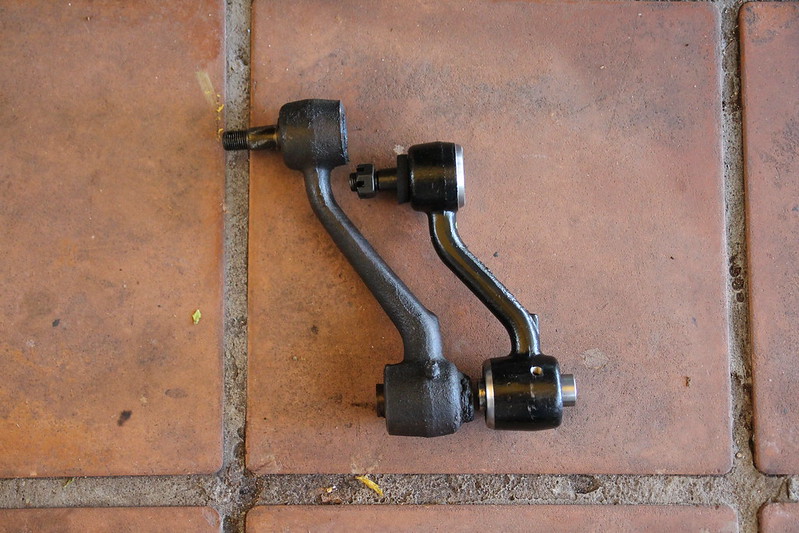
Fast ratio Mopar C-Body idler arm vs. standard B/E idler arm by cudak888, on Flickr

Someone had stuck this C-body idler on the car, also known in the repro markets today as a "fast ratio" idler arm, usually packaged with a corresponding "fast-ratio" pitman arm, which - from what I've read - has its genesis in the 1970 (and some '71) Challenger T/A with the S74 fast-ratio steering package. What's more, Mopar was so cheap about it that the S74 packages retained the shorter idler arm, despite the longer pitman. Oy.

At any rate, I immediately checked the pitman arm (which I was too stupid to order in advance), looking to see if I'd been experiencing the intrigue of a 12:1 steering ratio and didn't even know it. Nope.
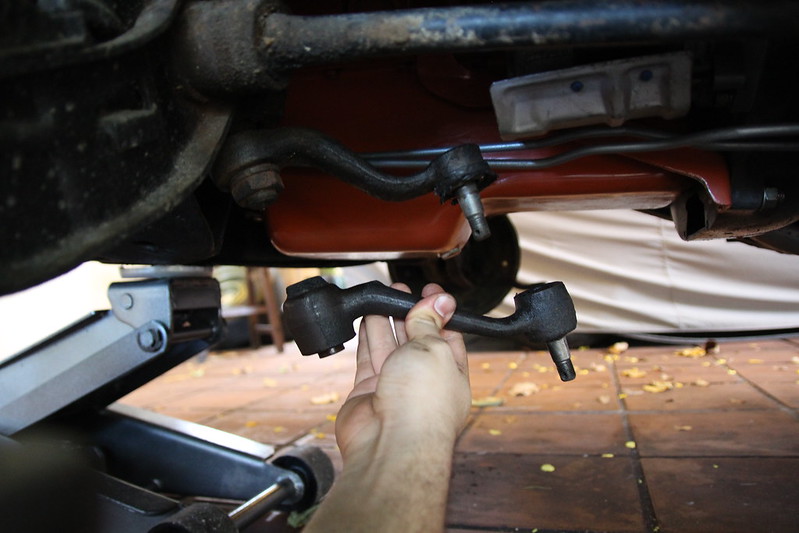
Mopar B/E-body standard-ratio pitman arm vs. fast ratio/C-body idler arm by cudak888, on Flickr

And since I now am in it for a pitman arm, I just decided to order a matched fast-ratio arm and idler from Amazon, anyway. However, I just now found out (thanks to some more Googling) that the steering box should be replaced as well due to the possibility of running a bit farther past lock if the standard box is paired with the fast-ratio arms.

Aw hell, one more excuse to get the Firm Feel box.

And in more positive news, the painted rack with its new tie rod ends looks really nice:
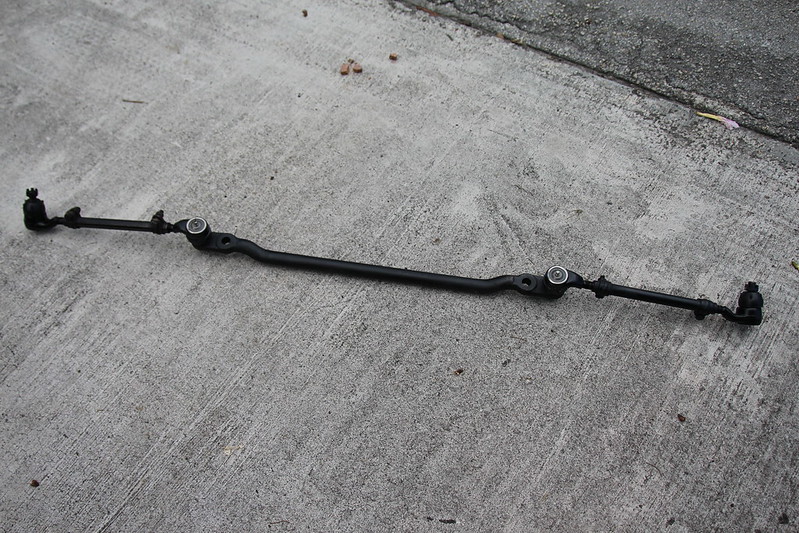
Mopar B-body steering assembly by cudak888, on Flickr

If it wasn't for the Saginaw pump and that fancy cooler sitting under the hood, I'd really consider converting this to a manual box...

-Kurt

 
Last edited by a moderator:
Lots of stuff has happened in the meantime (all docu'ed here: http://www.forbbodiesonly.com/moparforum/threads/68-satellite-4-door-light-refurb-and-big-fat-engine-swap.96118/page-8 ). Here's the short form of it in pictures:

11m9s39.jpg


2ewo41e.jpg


New fast-ratio steering arms - gives the Mach 1 variable ratio box a run for the money. Excuse the booger welds on my ****** exhaust:

29239006196_687a972a4b_c.jpg


1970 B-van weatherstripping did NOT work on the vent window pillars:

35bcok9.jpg


Ran out of gas, and got helped by neighbors in a Chevy Volt. Can anyone say "irony?"

ivby3c.jpg


And that brings us to a bit of today, where it looks as if my Evil Disc Brake Plan™ is finally coming to fruition, with a few party pieces along for the ride:

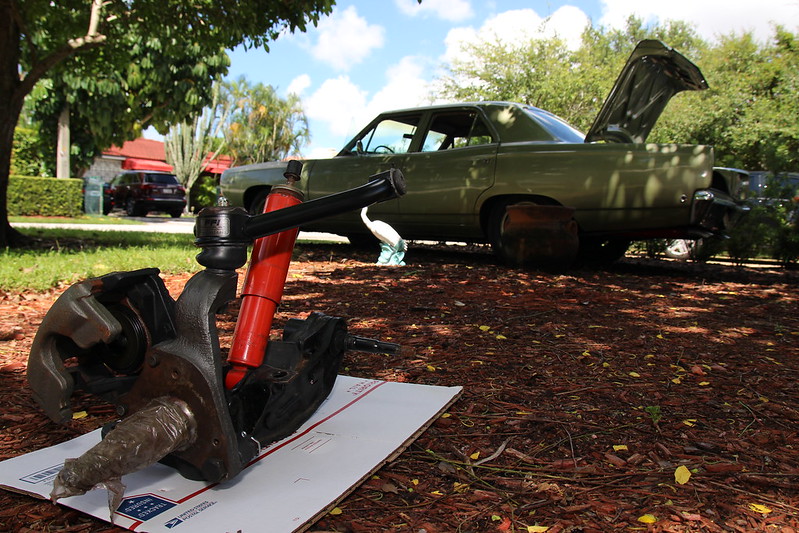
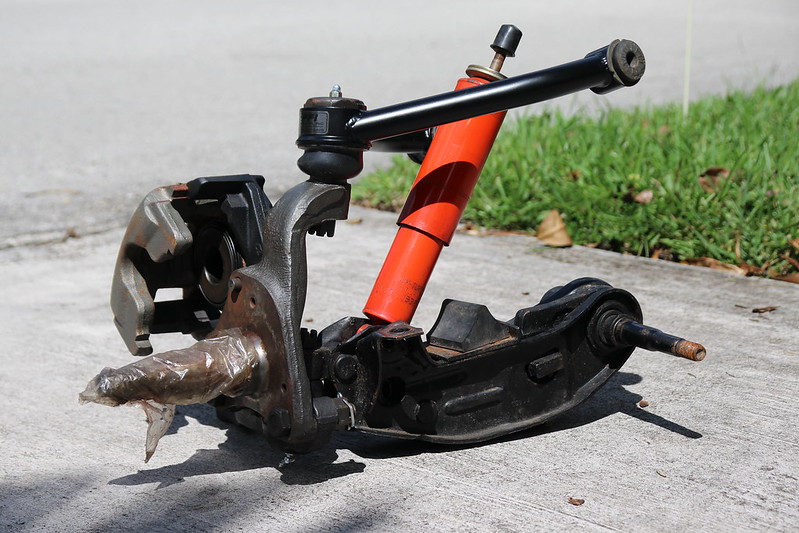
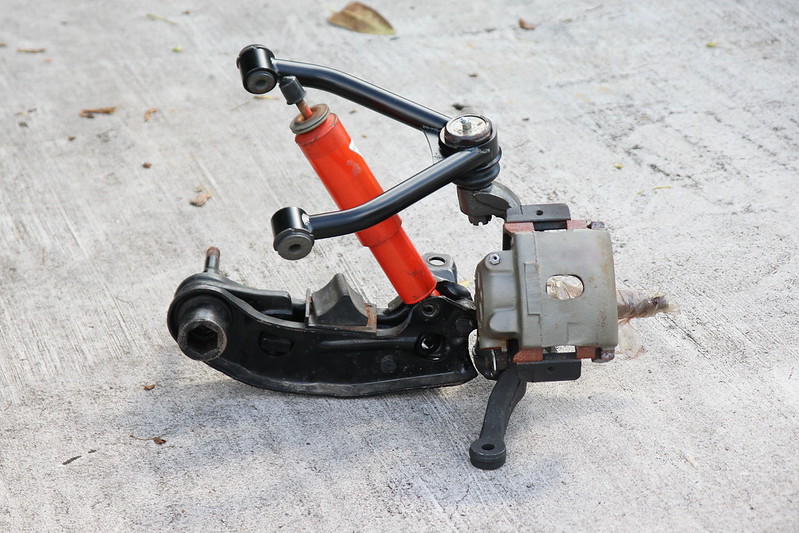
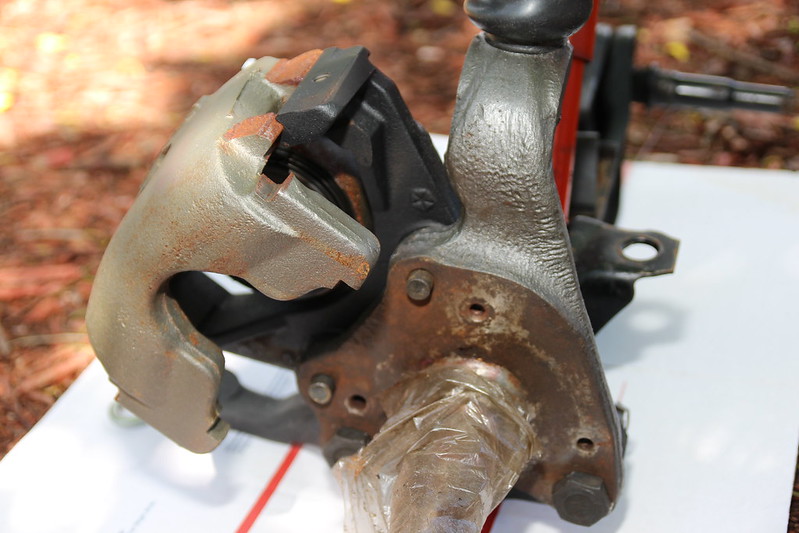
Mopar 11.75" B-Body Disc Brake Conversion (F/M/J spindle) by cudak888, on Flickr

In the pic:

  • Firm Feel tubular upper control arms (needed for proper caster)
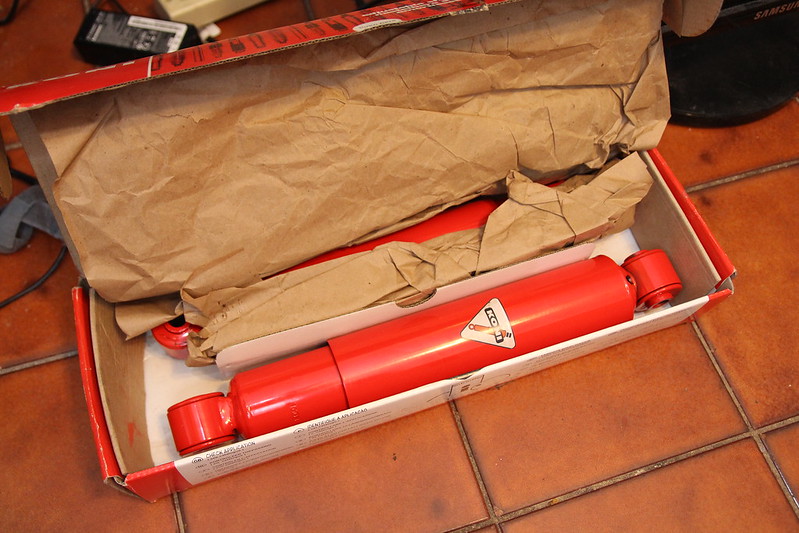
  • Koni shocks (have new ones for the rear as well)
  • Lower control arms w/sway bar tabs
  • F/M/J disc brake spindle (and yes, these are fine to use)
  • Factory 11.75" Cordoba/M-body police-spec brake caliper adapters (not repops)
  • F/M/J single piston brake calipers


Few more pictures:

Mopar 11.75" B-Body Disc Brake Conversion (F/M/J spindle) by cudak888, on Flickr

Mopar 11.75" B-Body Disc Brake Conversion (F/M/J spindle) by cudak888, on Flickr

Mopar 11.75" B-Body Disc Brake Conversion (F/M/J spindle) by cudak888, on Flickr

All I need at this point are some better B-body torsion bars, a disc/drum master cylinder, and a combination valve to replace the original distribution valve for the brakes - not to mention a nice hydraulic flaring tool so I don't wind up tearing my hair out.

-Kurt

 
Last edited by a moderator:
Lookin' good, my friend. ::thumb::

Does this mean you're getting closer to getting back into the Mustang project under the car cover? :whistling:

:poke:

(runs and hides)

 
Lookin' good, my friend. ::thumb::

Does this mean you're getting closer to getting back into the Mustang project under the car cover? :whistling:

:poke:

(runs and hides)
I hate to say it, but the cousin of a fellow Mopar owner down here is pretty much ready to stick $6,500 in my hands for it. And I'm probably going to take it.

Way I see it, I can get rid of Soylent, and dig up a half-finished project shell that's already had the PITA work done to it and is epoxy primed for $3-4k. Paint it like Eleanor, then dump in a good used 302 motor from the 5.0 EFI era, which puts me ahead with fuel injection and moly rings without having to do a rebuild. Presto, one Eleanor that I wouldn't have had because I don't have space for two '71-73s.

And if you think this idea sucks, please tell me, because I don't like the idea any more than it sounds.

-Kurt

 
Last edited by a moderator:
Back
Top