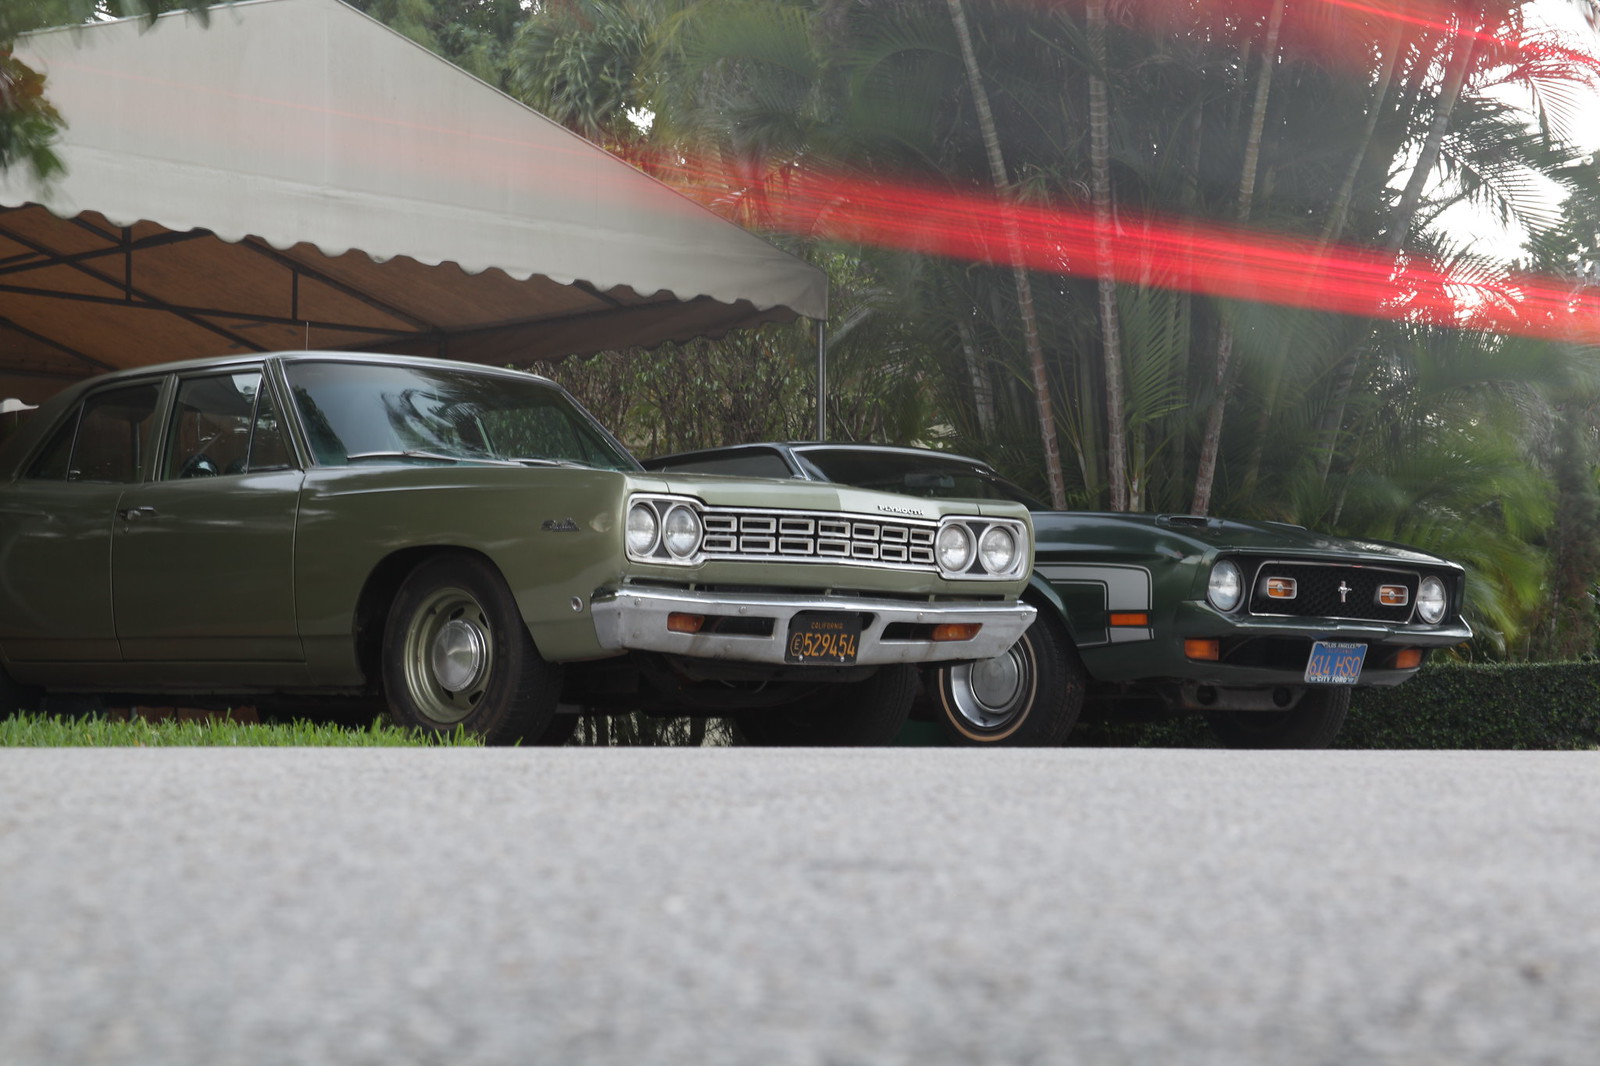
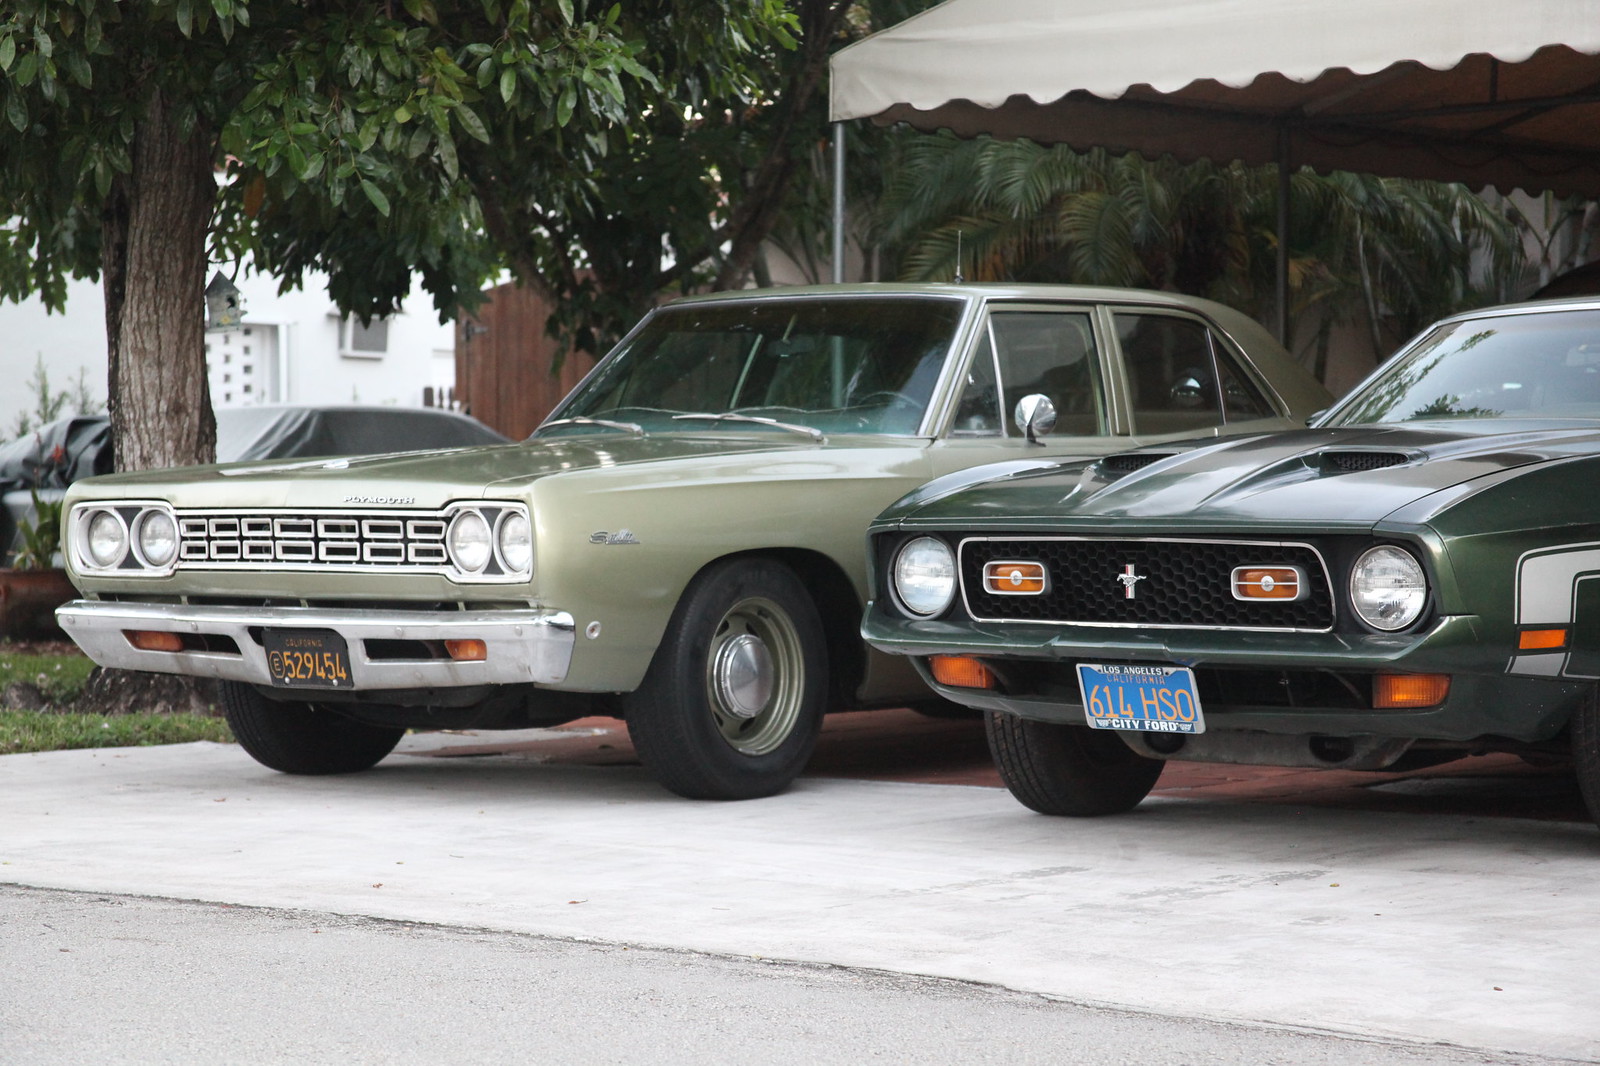
When a 1968 Plymouth Satellite 4-door enters your life...

7173Mustangs.com

Help Support 7173Mustangs.com:

This site may earn a commission from merchant affiliate links, including eBay, Amazon, and others.
I think you'd be taking a loss on Soylent, all things considered. I'd hate to see someone go through and toss on a quickie bondo & paint job after you spent all that time and energy getting the rear end and quarters reshaped the hard way. Also, if I know you, I can see you getting wrangled into helping complete the sheet metal work after the transaction is made... but you'd be doing it for someone else at that point. I think I'd rather see you finish it up for you, rather than someone else.

But ya gotta do what ya gotta do. If you're at that 'reset' point of wanting to take a big swing at your Eleanor dream, that might be what you need to do to get re-energized in that direction.

Kind of one of those rock and a hard place type deals.
It is a loss, not just in effort, but $500 overall in what I've stuffed into the thing.

Granted, the cowl still awaits me on that thing, and I'm not really looking forward to that, because now both windows will be out. Granted, the A-pillar mess needs to be tackled too, so it has to be done. At any rate, any other car I pick up will likely need the cowl job too, so the point is moot.

Come to think of it, I haven't seen a Mustang with a good cowl in town yet, though I can't recall stuffing my hand down the cowl of the Joe Brancella Diamonds are Forever car at Dezer. Speaking of which, that's probably the only car I should ever consider dumping Solyent for, and I don't expect that to happen (not unless I'm offering them in trade the title to something known as "DP216/1," and I can tell you that ain't happening, nor is it a fair trade).

Believe me, I HAVE stopped to think of any Bond cars that might have been left here in South Florida after shooting, but that list pretty much boils down to the following:

Goldfinger:

'64 Lincoln,

'64 Ranchero with busted leaf springs (there's a story behind that one),

'64 Thunderbird

License to Kill:

'59 Mulliner Park Ward Rolls-Royce Phantom V

'87 Lincoln Mark VII

Oddly enough, the Goldfinger cars actually have a slight possibility of existing down here, but the crazy bit is that one of the Mark VII's owners was accounted for at IMCDB: http://www.imcdb.org/vehicle_11229-Lincoln-Mark-VII-1987.html

And like a greedy little *******, I'd want Soylent, Eleanor, and the DAF car. Somehow, I think the three would make an unbelievable picture, even though Soylent has nothing to do with film.

Help with the sheet metal? On someone else's car? No way, Jose.

-Kurt

 
Last edited by a moderator:
Back on the beam this weekend with some last-minute fiddling before giving this thing some actual shakedown runs. Not to mention finding out why the car has a persistent rear-end whine. There's no shortage of gear oil in the 8-3/4" to start with, so it is not that. Rear axle bearing? Adjustment? Something rubbing that I haven't seen yet? Should come to light soon enough.

Anyway, a few things accomplished today:

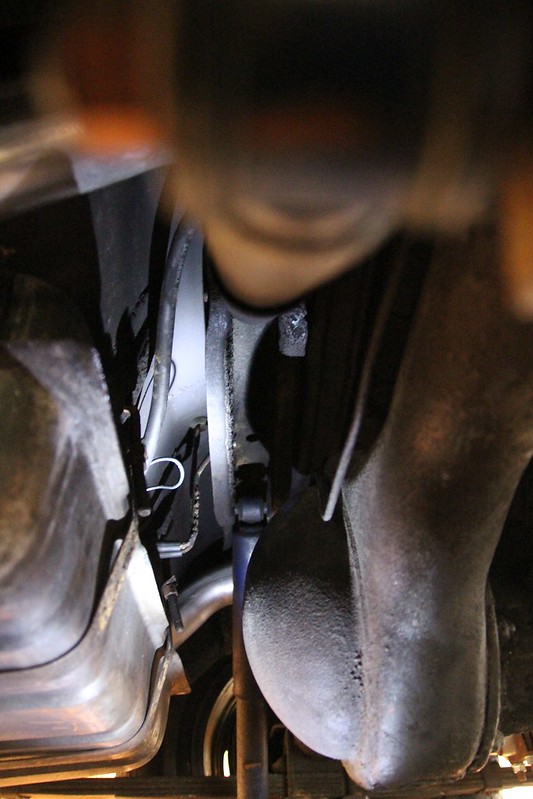
Mopar B-body (1968) fuel tank connections by cudak888, on Flickr

(Funny how all this crap looks the same from the bottom, regardless of which of the big three made it - eh? The Mopar 8-3/4" rear end looks quite a bit like a Ford 9" without the ring gear bulge).

The last bit of fuel line that I had not replaced was the tank-to-feed line at the back. Turns out someone already got to it a while ago, but I have more faith in the longevity of a fuel line with Goodyear InstaGrip hose. A bit over the top for non-pressurized line, but the stuff is really resistant to dry rotting, and I believe it's rated to 300PSI. Might be EFI-rated hose, IIRC, but not entirely sure.

It's a good thing I went under the car too, as I found the following:

  • The inverted J-tube "Candy Cane" fuel tank vent was dangling around loose. For us Ford guys unfamiliar with the '68 Mopar setup, this thing has three outlets - the sender gas outlet, and two vents - one to the trunk, the other makes an inverted J bend above the tank's height to vent to the atmosphere - this is the "candy cane." Apparently, the original clip retainer to hold this tube up had rusted a bit, but it looked as if nobody even thought to tie-wrap it back up there (advice to stupid mechanics: If there's a vent line obviously plumbed to the gas tank that is hanging LOWER than the tank itself, take this hint: FIX IT, YOU MORON). I found a spare hardware-store P-clip-with-L-bracket, modified it, and fastened it back to the shock mount with a screw and a speed nut clip.
  • Apparently, someone cut the fuel hard line short; it now terminates just above the shock mount. You'll see it in the photo. The real problem? Someone didn't put a flare on the newly cut fuel line; all they did was clamp the hose. Probably the same genius who left the J-vent dangling. Either that, or the mechanic had a real death wish for a former owner of this thing. At any rate, I was able to get one of those el-cheapo flaring tools wedged in there - and it worked (biggest surprise of the year). I dropped the shock from the lower mount for extra room; perfect access.
    Also got this really terrible - but cool - bargain-basement JegsMcWhitney '60s ripoff of a Stewart-Warner temperature gauge on eBay. Get a load of how the facing imitates an SW gauge, but the needle sweep has nothing to do with the facing. And it's made in the US, no less.


1znr4uf.jpg


At $10 shipped and a few zip ties, it'll do the job until I get the gumption to pull the instrument cluster and install that only-Mopar-could-be-so-expensive $50 voltage limiter that sits back there. The big surprise is that the thing actually works.

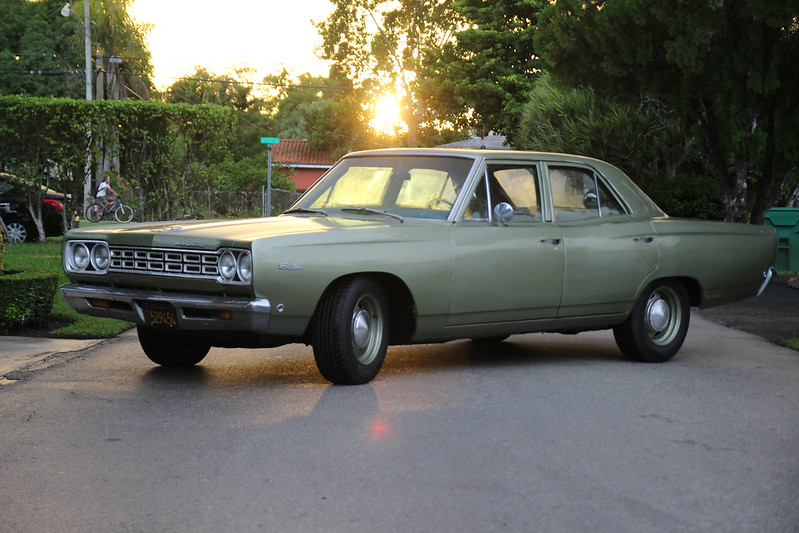
Oh, and one more gratuitous beauty shot of the Satellite. Gotta keep you guys interested somehow :p

Photo didn't come out that well, but I didn't have much time to snap the picture:

1968 Satellite by cudak888, on Flickr

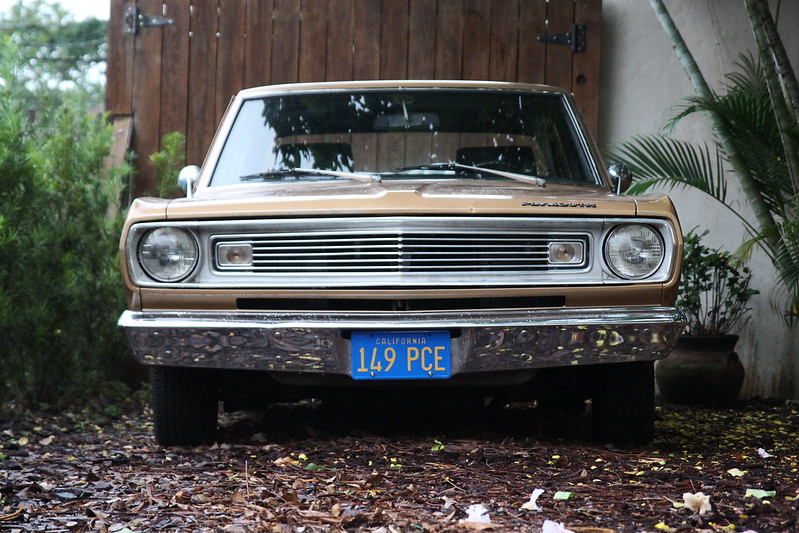
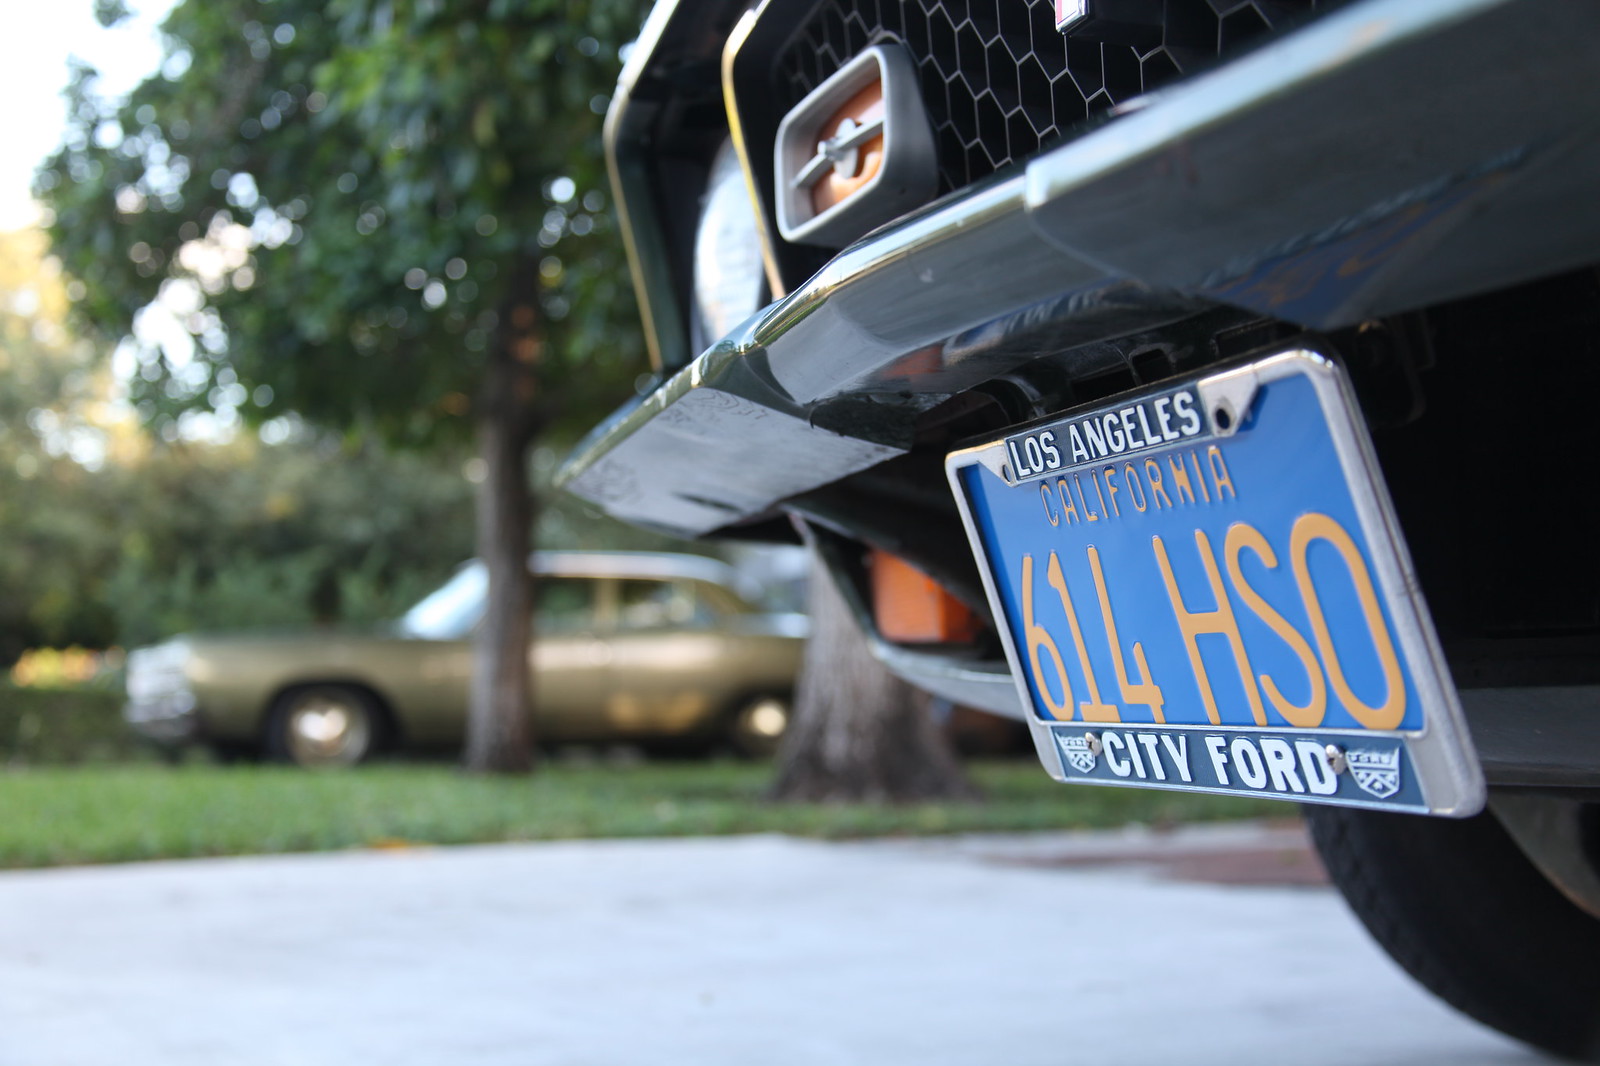
And in completely unrelated news, my Valiant has acquired a new front license plate. Car movie fanatics should get the reference immediately. Googling is cheating.

by cudak888, on Flickr

-Kurt

 
Last edited by a moderator:
So how is the magnum not magnum 360 running? Noticeable power over the 318?
Seeing as the 318 never ran right to start with, I don't really have a baseline.

That said, the Satellite had its first real runs today, but all under 15mph. Rear end was howling like hell. Pulled both axle shafts and found nothing, and the sound went away.

The Satellite had its first real runs today, but all under 15mph. Rear end was howling like hell. Pulled both axle shafts and found nothing, and the sound went away.

343m593.jpg


vdesgg.jpg


I have a suspicion that the end play was set too tight to begin with, and when I pulled and reinstalled the passenger's side axle, I allowed it to ease up. I'll have to go back in there next weekend, back off the end play, tighten the axle down again, and then set the end play properly - and cross my fingers.

Still feels like something is dragging though. I suspect the left rear brake shoes wound up tightening when I was pulling the axle. Next weekend's test may involve both setting the preload and backing down both adjusters until the pads do not touch the brakes at all, then testing it. If it passes, then I'll let the self-adjusters do their job with a few back-up runs.

-Kurt

 
Last edited by a moderator:
[video=youtube]https://www.youtube.com/watch?v=Ti-cIZMywWU

Here's the short form: Center section passed with flying colors; left brake shoes were dragging hard. Pretty sure the shoes and the drums aren't radiussed to match each other, making the problem a bit more pronounced. I reset and greased the adjusters, and also repacked the axle bearings and re-adjusted the axle endplay. Couldn't be smoother now.

Long form of the story is here: http://www.forbbodiesonly.com/moparforum/threads/8-3-4-open-diff-whining-wheels-binding-pulled-axle-shafts-problem-disappears.118314/

That said, road trials went reasonably well. Kickdown and transmission line pressure are obviously wrong, and the transmission isn't putting the power through. Finally decided to ditch the factory crap and go Lokar. Ah, well...

-Kurt

 
Last edited by a moderator:
The Lokar cable has been installed...to no real effect.

I can fiddle the crispness of the shifts a bit, but the EARLIEST 1st to 2nd will shift (with the cable very slack at idle) is at around 16MPH. Setting it by Lokar's recommendations (full travel at WOT, minimal slack at idle) bumps it up to around 20mph.

What's more, from a dead stop, it still feels (and sounds) like I'm accelerating a 6000 pound van. But if I hit the gas at 25mph and go into kickdown, prepare to launch yourself into the next county, Darwin Award JATO rocket style.

So, after Googling my life away all evening trying to figure out if the transmission has low line pressure, it struck me that I didn't even know the rear end gears off the top of my head, though I had decoded it and posted it to For A Bodies Only long ago when I was first considering purchasing the car: http://www.forabodiesonly.com/mopar/threads/advice-sought-for-a-b-body-68-satellite-unmarked-cop-clone.305071/

And there it is staring me in the face: 2.76 Rear Axle Ratio.

All I could think of was this:

[video=youtube]


Looks like I have a center section to find with some reasonable gears, not a tiny pinion and a huge ring gear made for pushing anemic little V8s around on Ike's Highways.

On a side note, tire size also went up about an inch from factory. The fender tag specifies 7.35" x 14" tires, which would have been approximately 25.96" in diameter. It's now riding on P225/70/R15s, which are about ~27.4".

-Kurt

 
Last edited by a moderator:
Back to the build - yesterday morning, I made the decision to rip out the Lokar cable and put the factory kickdown back in. I didn't like the amount of slack the Lokar system required, the way it barely cleared over one of the trans cooler lines, nor did I have any idea what ratio the 904's kickdown arm is.

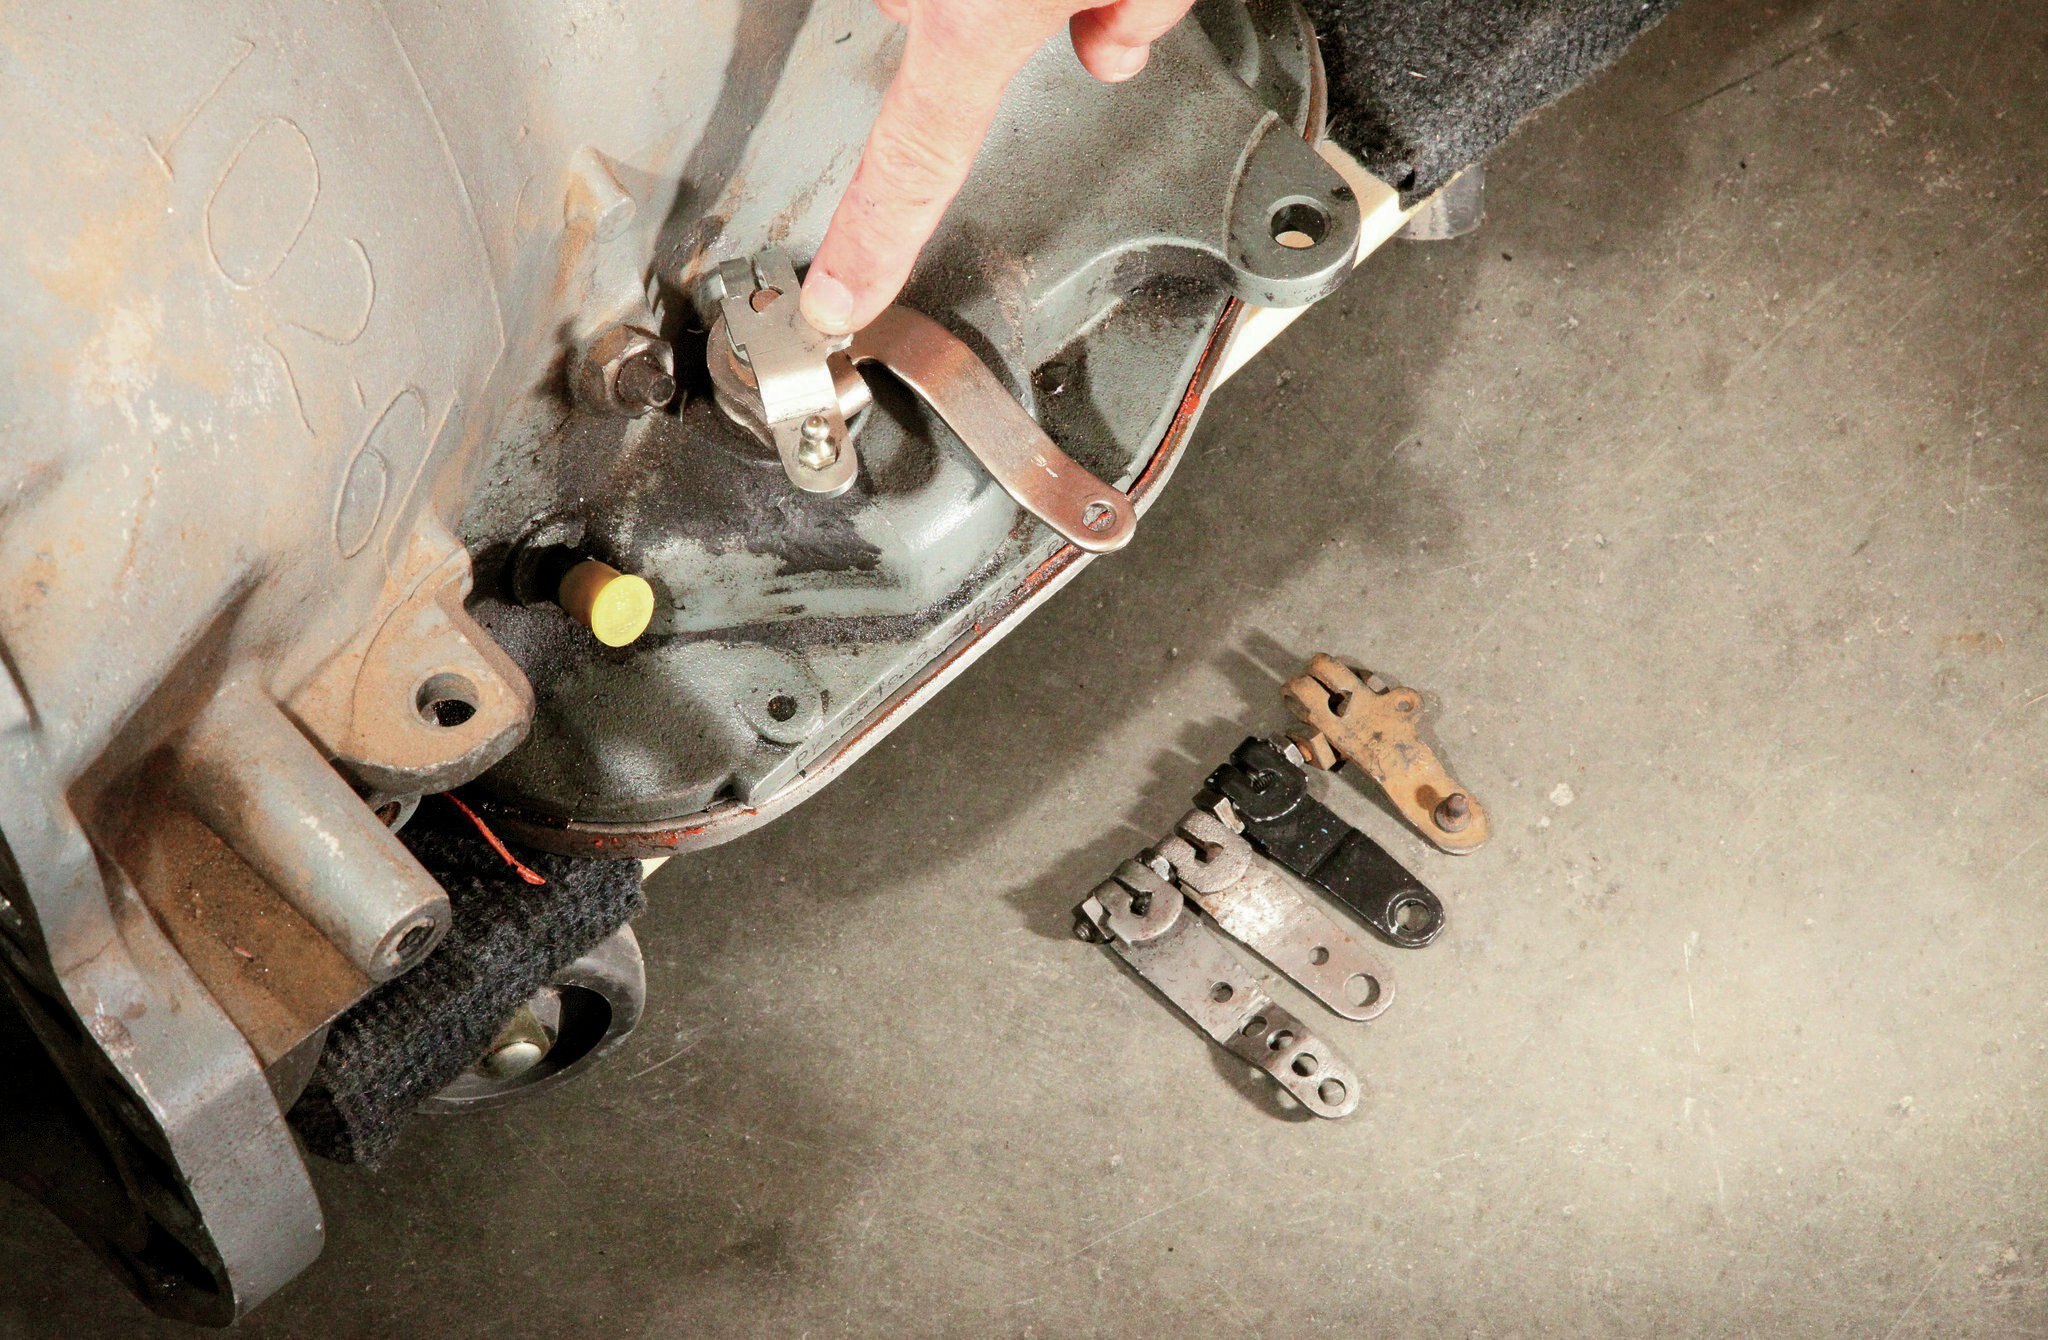
The Lokar cable pulls a 1:1 ratio, but how should I know if the lever at the transmission was doing the same? After reading enough about fellows who had to re-drill the arm to get the proper actuation (see the photo below) I decided Ma Mopar had it right with their Rube Goldberg machine.

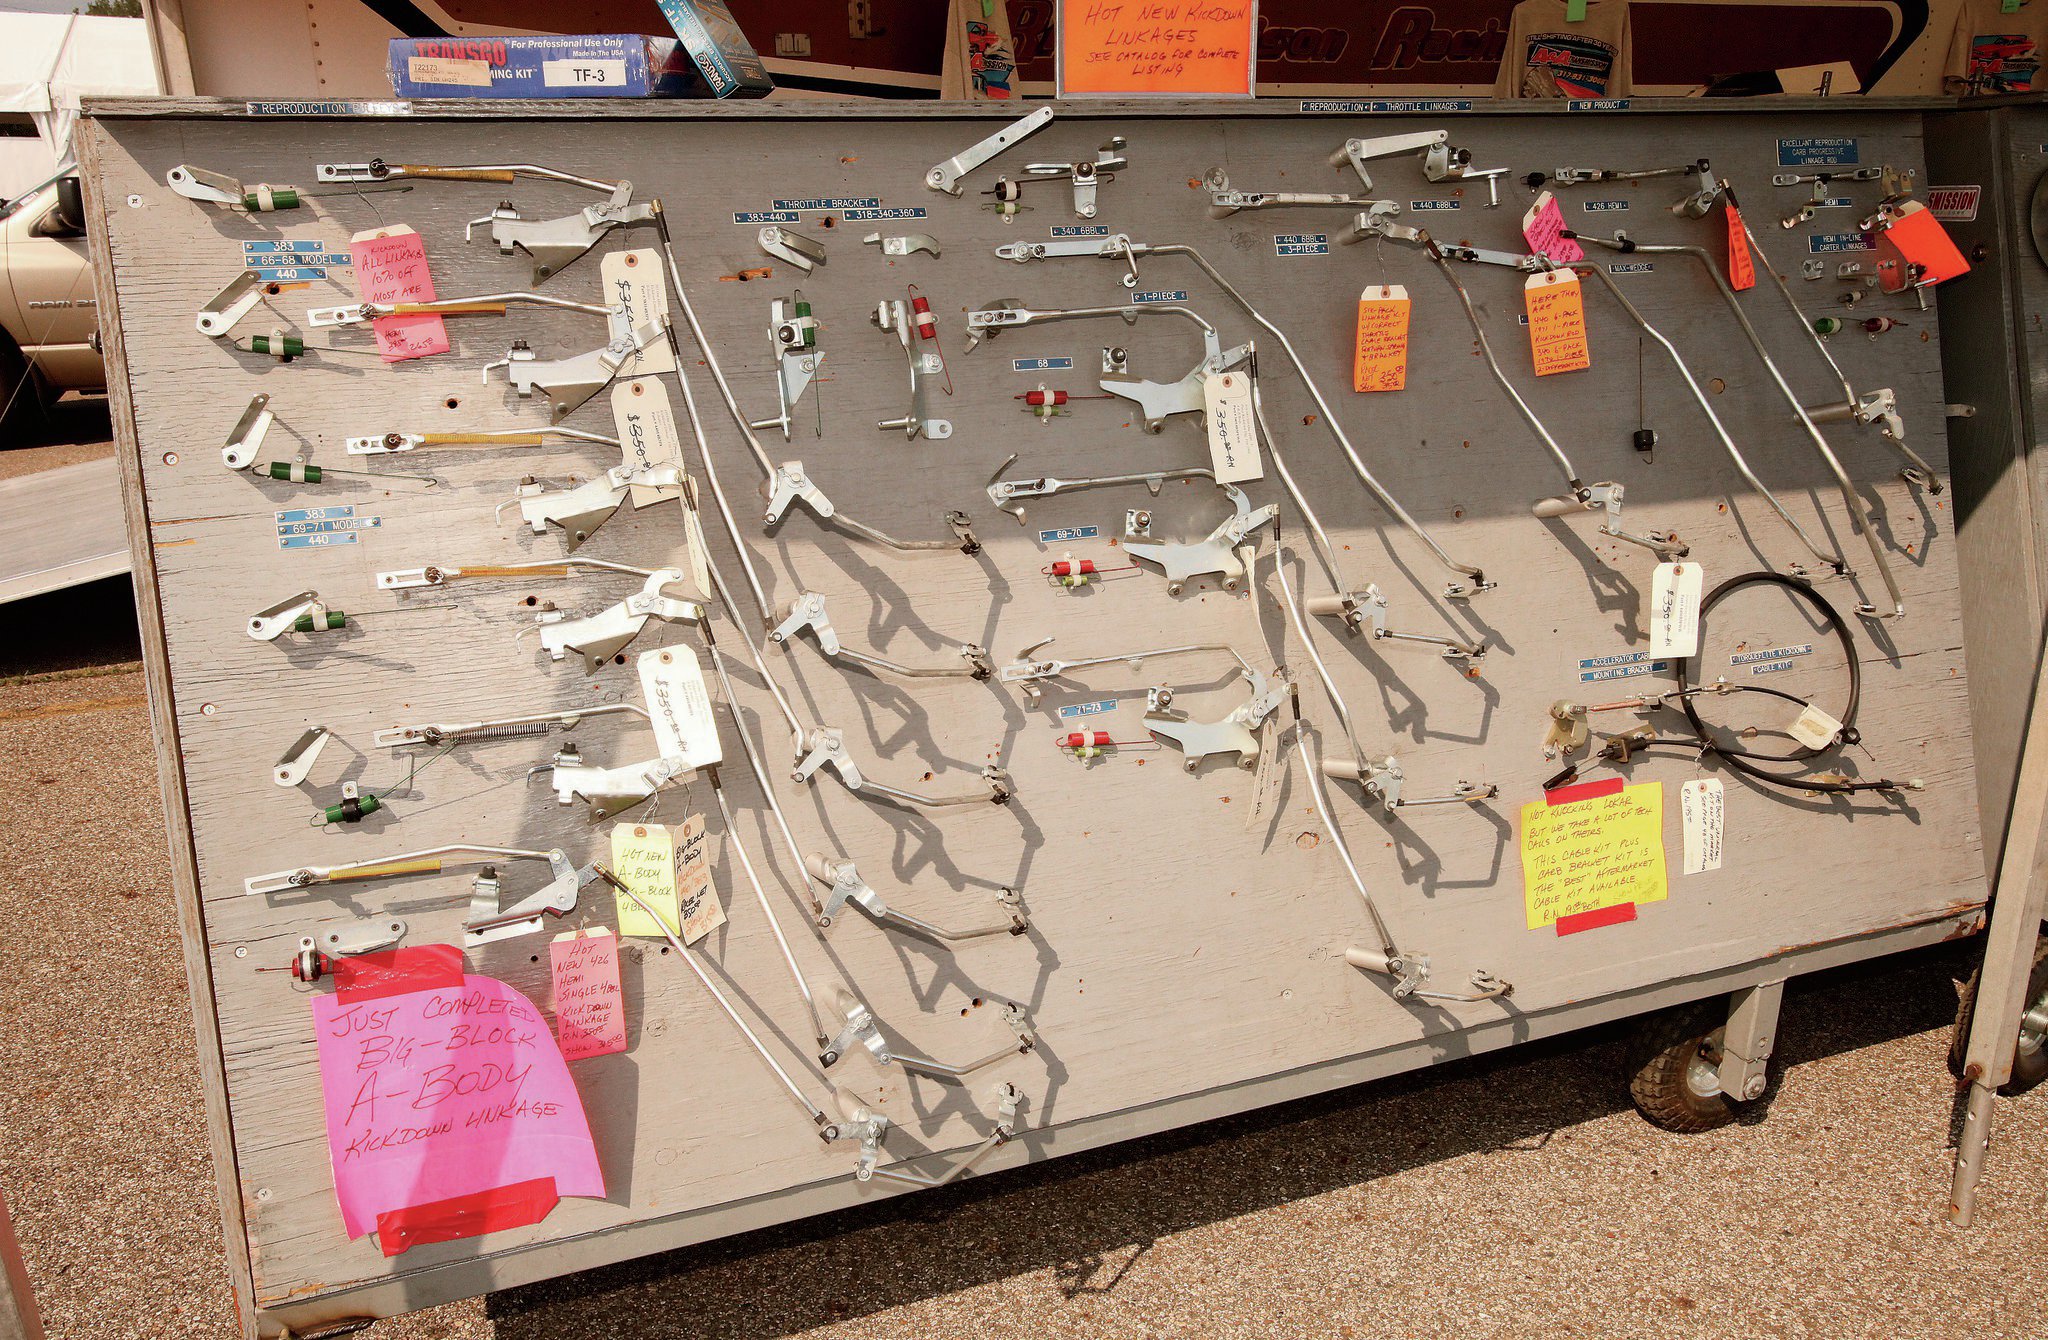
The next two photos are from the following Hot Rod Magazine article @ http://www.hotrod.com/articles/the-lowdown-on-stock-torqueflite-kick-down-linkage/

1968-plymouth-valiant-tci-a727-street-fighter-kick-down-levers.jpg


And even though I was up against five million variants of kickdowns, I'm pretty certain the 340-style kickdown is essentially identical to the 318's, with only the upper arm differing. Seems to match up with the 340 linkage in the photo below. Then again, I could be wrong. Now aren't you fellows glad you have FMX and C6 transmissions?

display-of-factory-kick-down-linkage-types.jpg


And so I refurbished the linkage over the week and installed it on Saturday. Seems to work good, though the rear arm adjustment is really maxing out. But now that I look at the photo of all the linkages above, I think I cut and threaded the upper arm too short. This thing started life with a fixed slot for a Thermoquad, not a Carter, so it had a fixed slot. For better or worse, I cut it, threaded it, and put the slotted adjuster on it from the 318 linkage.

I might have made the mistake of matching up the overall length based on the position of the 318's 2-barrel arm on the bellcrank. In the worst of cases, I can always cut this one and the 318 linkage and weld them together to lengthen them. I won't do that until someone can get me the overall length of an original, unmodified 340 linkage arm though:

2lmw0av.jpg


And in a massive victory of nothing that special to begin with, I took it that night to the local car show in Doral. This is the first time I've made a fully successful A-to-B trip with the car. The one run to Advance Auto when it was running like poop doesn't count in my book.

That said, the show was half rained-out to begin with when I got there. Only the Corvettes were left. And within 15 minutes, we were greeted with more rain and wind than we received with Hurricane Matthew. Did I mention that I still haven't shelled out for the $450 in door weatherstripping that this car still needs?

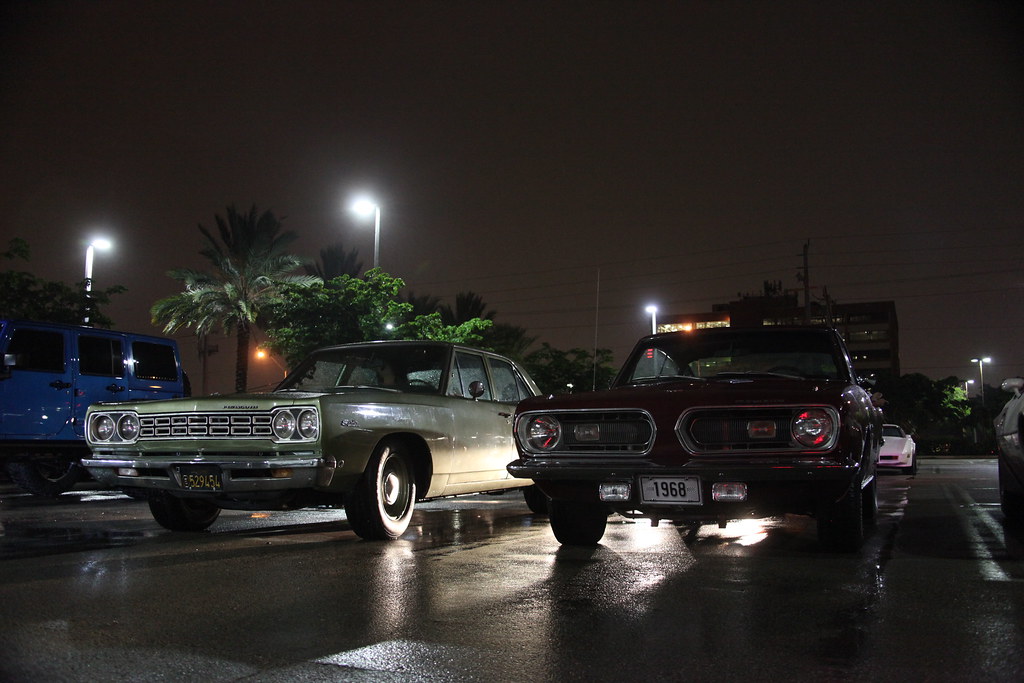
1968 Satellite, 1968 Barracuda by cudak888, on Flickr

Believe it or not, the weatherstripping wasn't really an issue. I know the bottom edge of the rear window must leak, given the way water pools in the trunklid pivot supports in the trunk, but I returned to the car to find the top center of the window leaking onto the rear seat. And after a brief moment of surprise, I realized this confirmed what I believed all along: The rear window was resealed at one time, and they botched it up by omitting the rubber spacers at the bottom. The window slid down in its recess when the adhesive was curing, and the rest is history.

Perhaps that's why I wound up with this particular car - it was screaming for someone who would actually fix it correctly for a change.

Oh, and on one last note - I tried re-installing the starter splash shield (the steel one at the left rear of the K-frame, not the plastic ones up front) when I was buttoning up the kickdown. It will not fit anymore due to the longer idler arm, but the slot can be enlarged to suit. I'm not sure if a E-body/Challenger T/A splash shield would bolt in.

-Kurt

 
Last edited by a moderator:
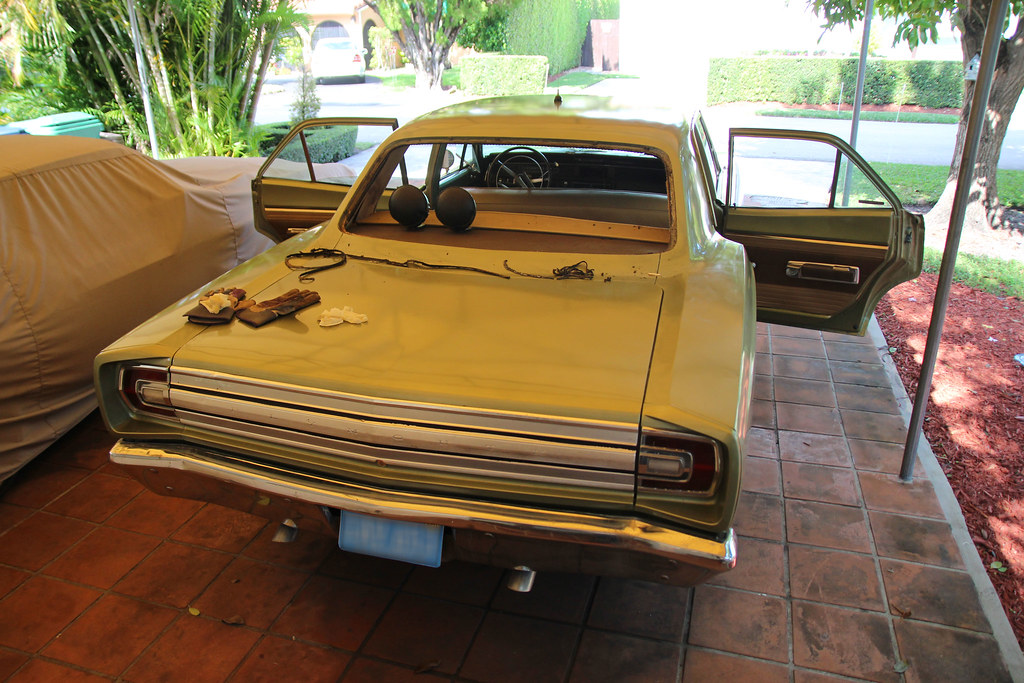
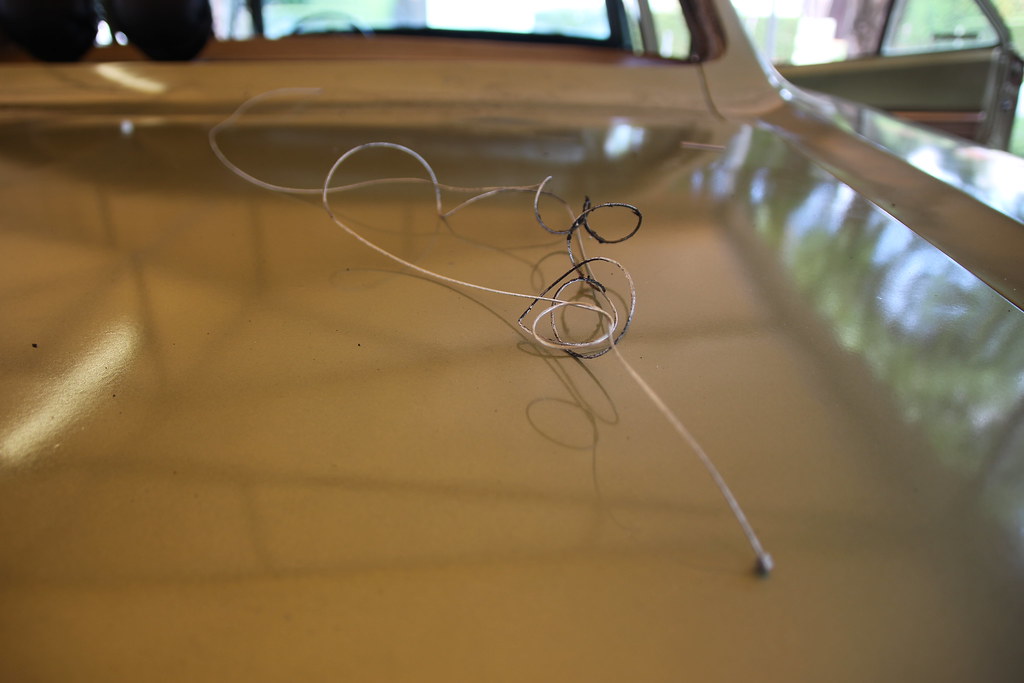
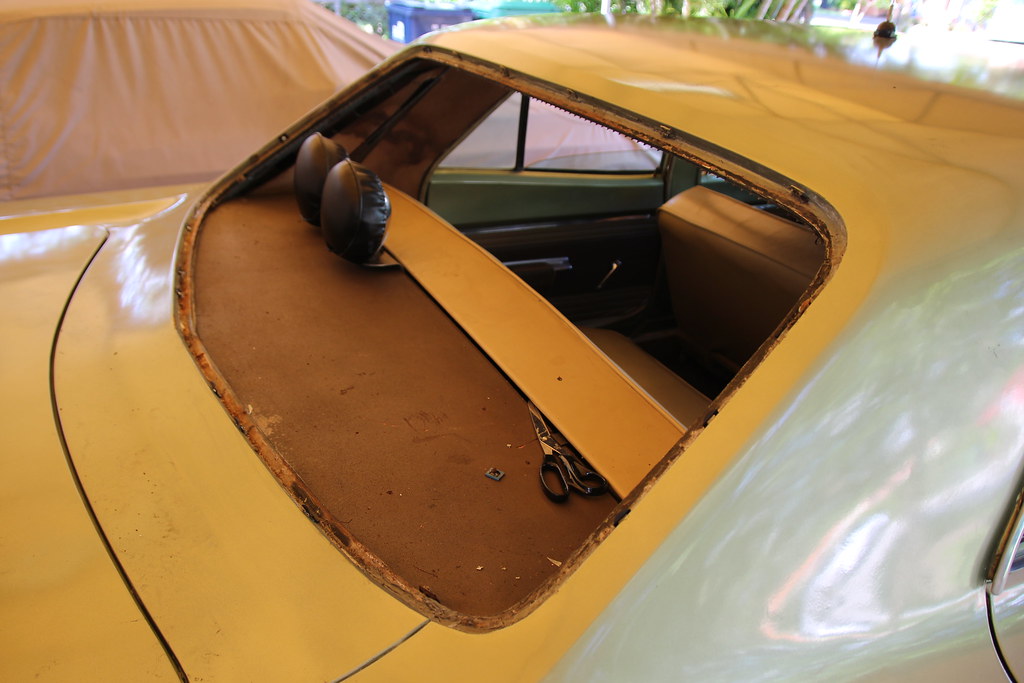
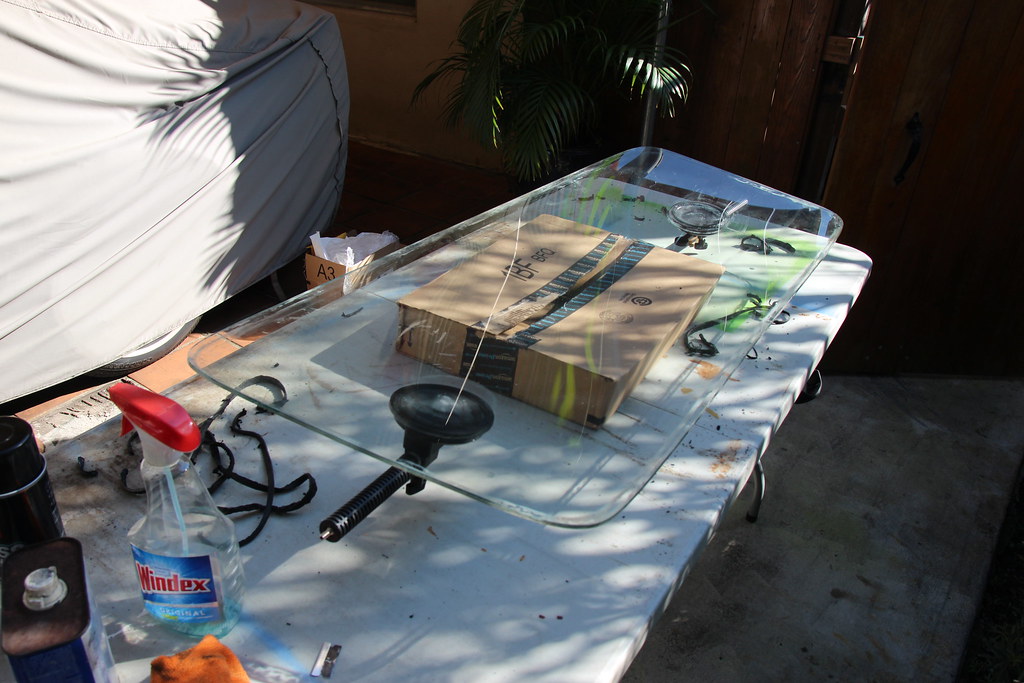
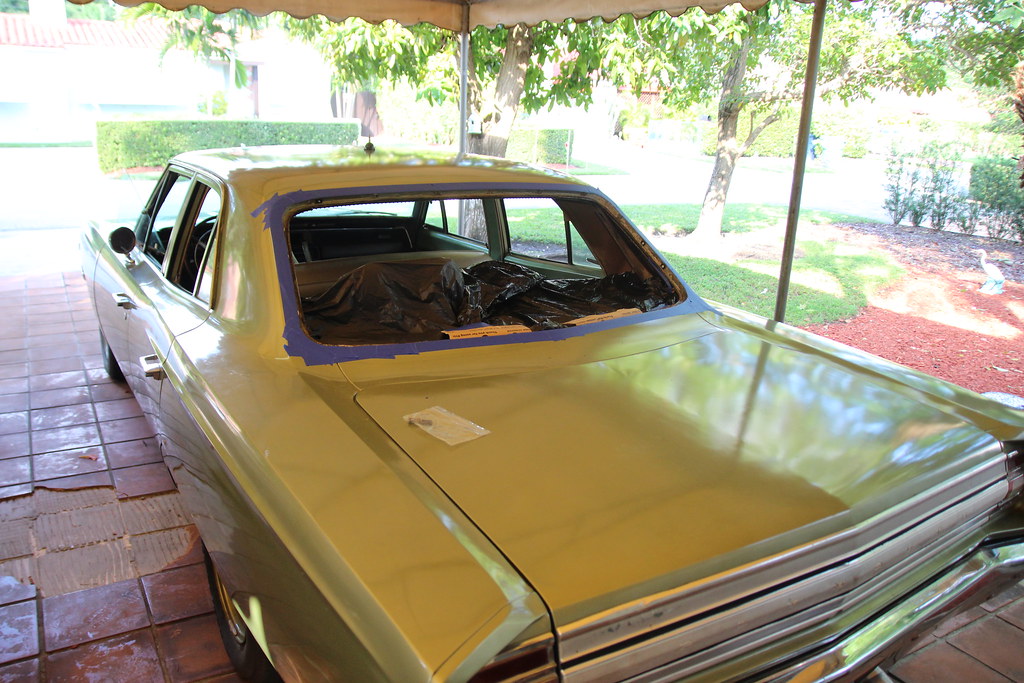
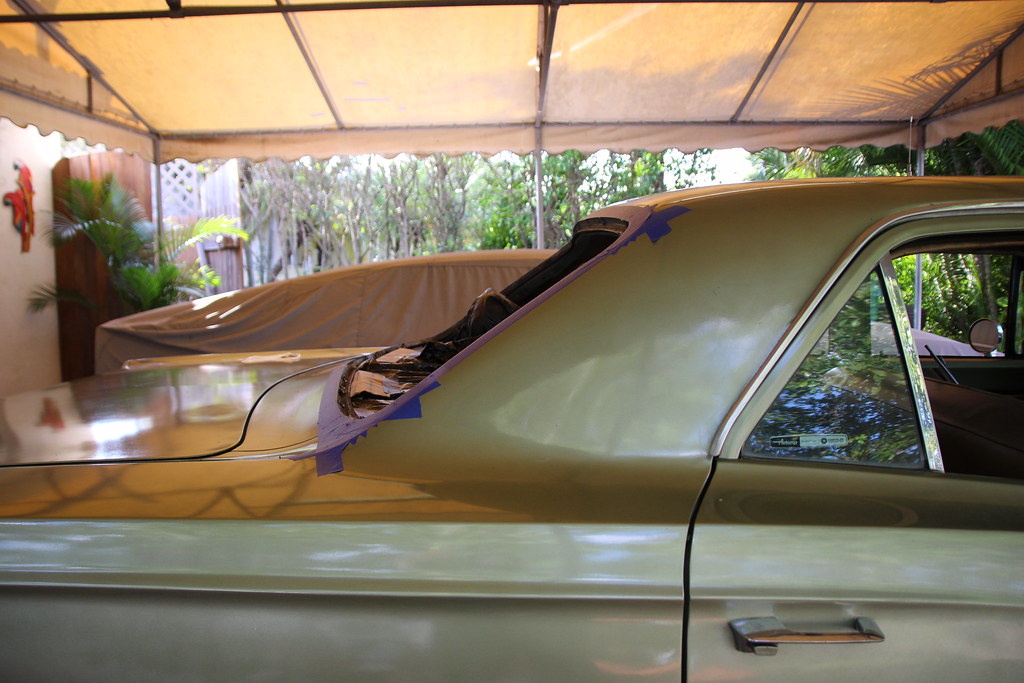
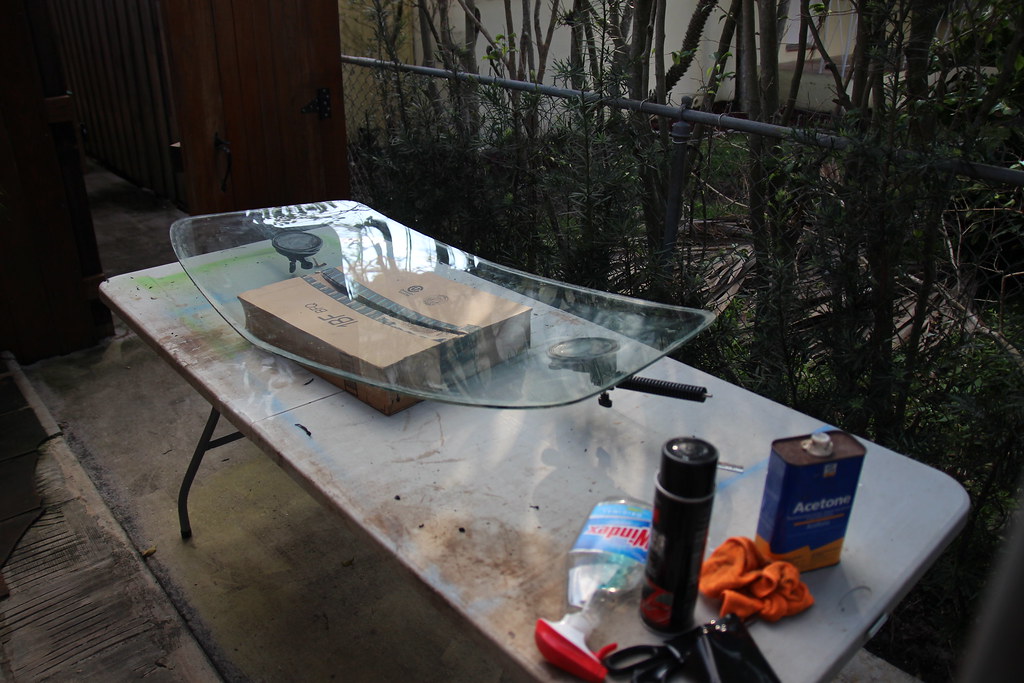
Spent the day yanking out the leaky rear window today and resealing it. Popped it out without much fuss using a bicycle shifter cable:

Plymouth Satellite rear window resealing by cudak888, on Flickr

Plymouth Satellite rear window resealing by cudak888, on Flickr

Cable got it out with little fuss, and single-handedly too (barely long enough, but was able to pull from the opposite side of the car).

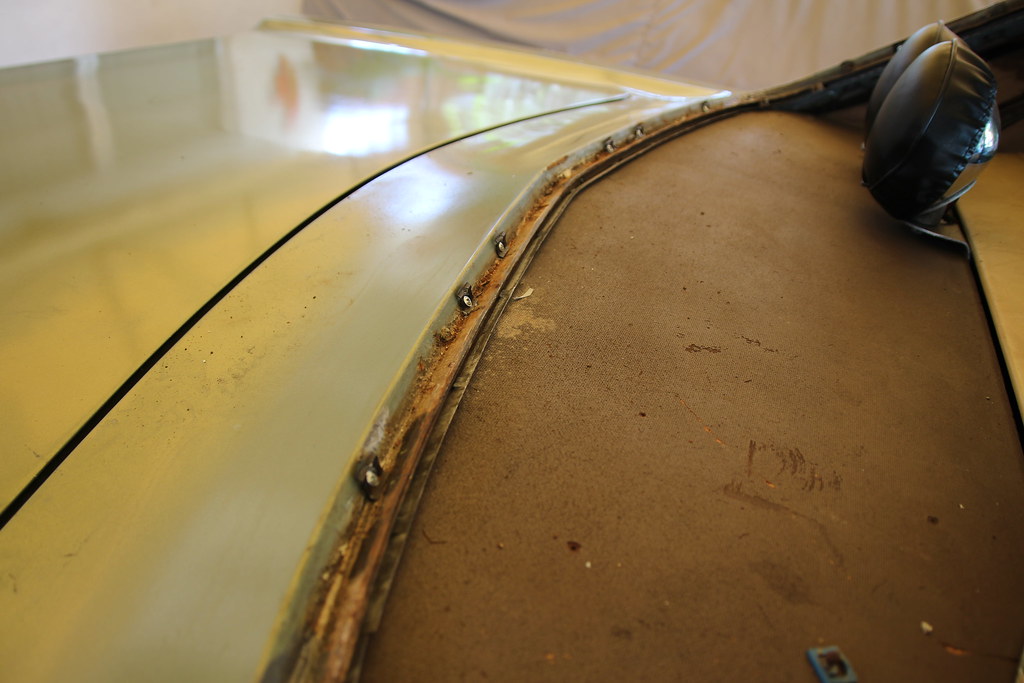
Flange is pretty darn good overall, but I found a crapload of filler in the corners, which explains why I was getting water in the trunk. Stinkin' Bondo magnet!

Since it's painted and I don't want this thing to become The Eternal Project Car (I've got a '71 Mustang awaiting proper metalworking skills after I'm done with this thing), I poked out whatever rust was left, filled up all the leaking pinholes with JB Weld, and called it a day:

Plymouth Satellite rear window resealing by cudak888, on Flickr

Had to put in some trim clips too. I put JB Weld behind each of them to prevent further leaks:

Plymouth Satellite rear window resealing by cudak888, on Flickr

Window flange cleaned up really nicely with Goof Off:

Plymouth Satellite rear window resealing by cudak888, on Flickr

Getting ready to go back down - with a set of factory window spacers at the bottom to make sure the thing would sit right this time:

Plymouth Satellite rear window resealing by cudak888, on Flickr

Plymouth Satellite rear window resealing by cudak888, on Flickr

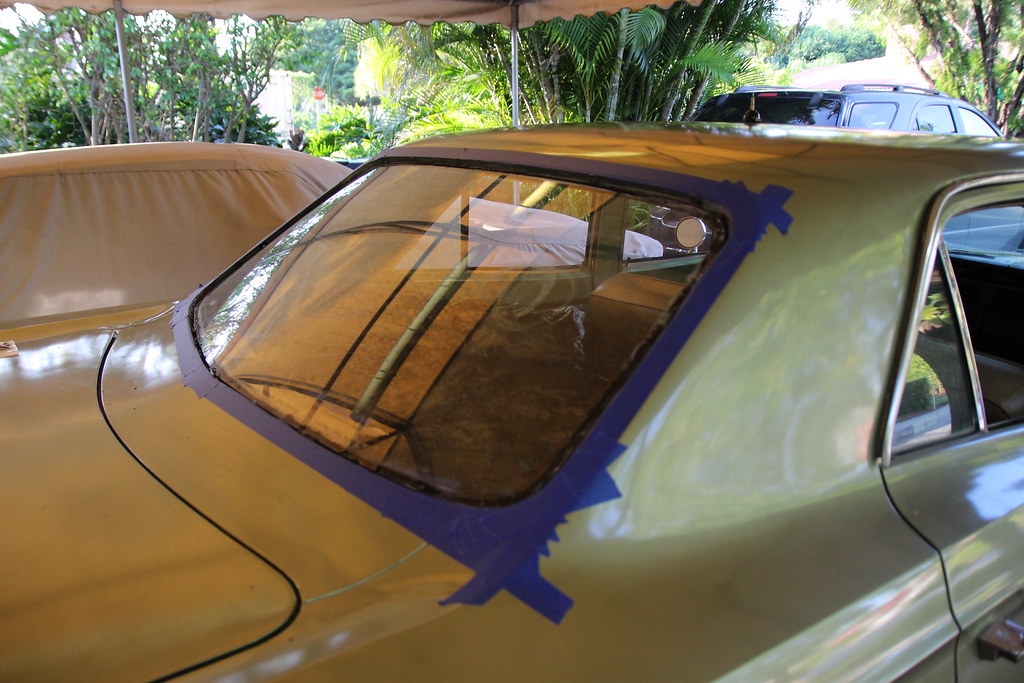
Window ready to go in. Used 3M Single Step Primer on the window and the pinchweld and 3M urethane Windo-Weld as an adhesive. No butyl:

Plymouth Satellite rear window resealing by cudak888, on Flickr

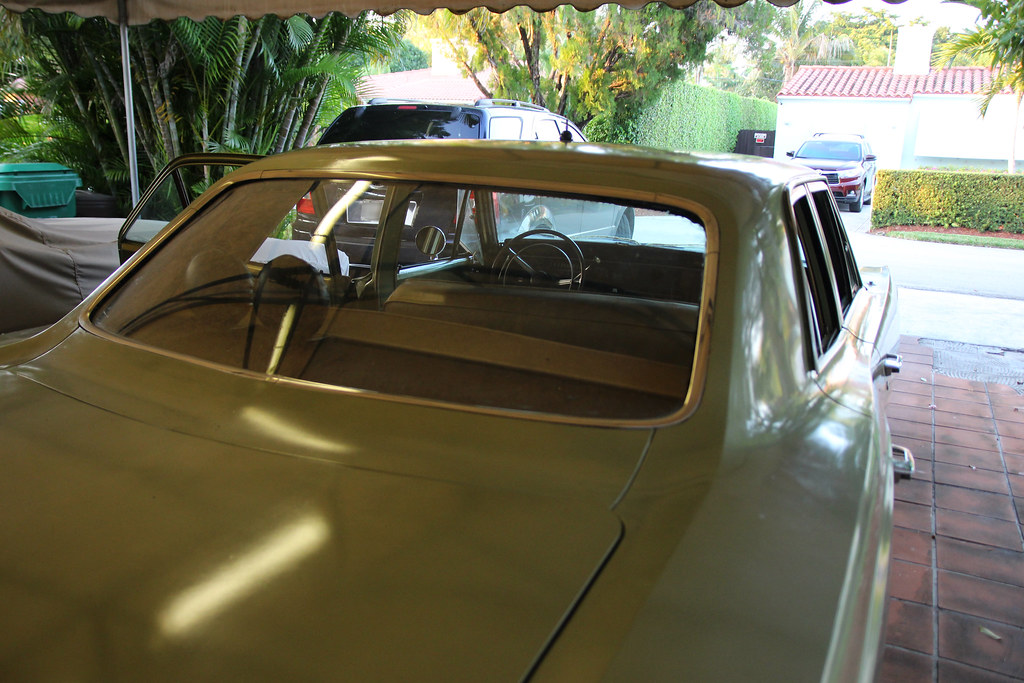
Bam - perfect install:

Plymouth Satellite rear window resealing by cudak888, on Flickr

I also replaced the rough trim that came with the car; this is a beautiful replacement set from a '70 Coronet:

Plymouth Satellite rear window resealing by cudak888, on Flickr

-Kurt

 
The whole '68 Satellite engine swap is finally getting it's video (the one I promised for ages now) in a double-feature with my Valiant. Goes up on the stroke of midnight tonight on my YouTube channel (https://www.youtube.com/user/cudak888).

In the meantime, here's the trailer:


-Kurt

 
Kurt what ended up with your M code? I was enjoying that thread.

 
Kurt what ended up with your M code? I was enjoying that thread.
Just sitting around here with the back end still not taken care of, nor the left quarter panel damage fixed to my liking - mainly the crease in the lower bodyside.

The metal has been badly worked over so much that I'm really considering replacing the lower rear quarter, but I refuse to use the Spectra patch - and I'm not really in the mood to spend $300 for a full panel.

Also, I've been re-thinking that framerail, and I now have my doubts about it. Everything seems to suggest that the rail might have been knocked forward about 1/4" and up about a half inch. I'm not touching a thing in the back until it has been measured by a competent shop, and put on a frame straightener, if necessary.

-Kurt

 
Last edited by a moderator:
s1lvs1.jpg


Guess what I did today?

34fclxg.jpg


nx6lmq.jpg


2927aqo.jpg


The 2.76:1's got ousted for 3.23:1's.

Unfortunately, I screwed up setting the axle endplay a tad too tight, so I've got to go back in there and re-adjust it again tomorrow...and I'll probably be aching all over worse than I am now.

At any rate, a quick spin around the block is much improved :)

-Kurt

 
Last edited by a moderator:
I really can't believe I shared these photos on the Mopar forums and forgot to do so here. Looks like I have something to chase the Mustang with now  ;)

29763875983_ac7c850c76_h.jpg


30279059402_9663d2be71_h.jpg


29763941723_b8d5a4ffe5_h.jpg


But those photos were taken ages ago - and ages have gone by as the Satellite is barely the same - suspension and brake-wise - as it was when these photos were taken a few months ago:

11" Budd brakes in the rear replaced the original 10" drums:

313lr7s.jpg


And the front disc brake conversion began. This may have been the single most "one step forward, three steps back" job I have EVER done on any car. Some genius engineer set the B-body Mopars of this era up so the master cylinder is mounted with knurled studs that face inboard (unlike the Chrysler A-Body of the same period!) - and to get it out requires some serious contortion work under the dash. But then try to get the master cylinder BACKING PLATE out. Four hours later, the dash looked like this (and it still does - gotta do the ammeter to voltmeter conversion).

30mlb45.jpg


Thankfully, the master and repainted backing plate now look like this. Yes, one bolt of the four is missing, that's how it was when I found it. And knowing where one has to go to tighten it under the dash, can say with all honesty that I am VERY GLAD THIS SUCKER IS MISSING.

116n8qp.jpg


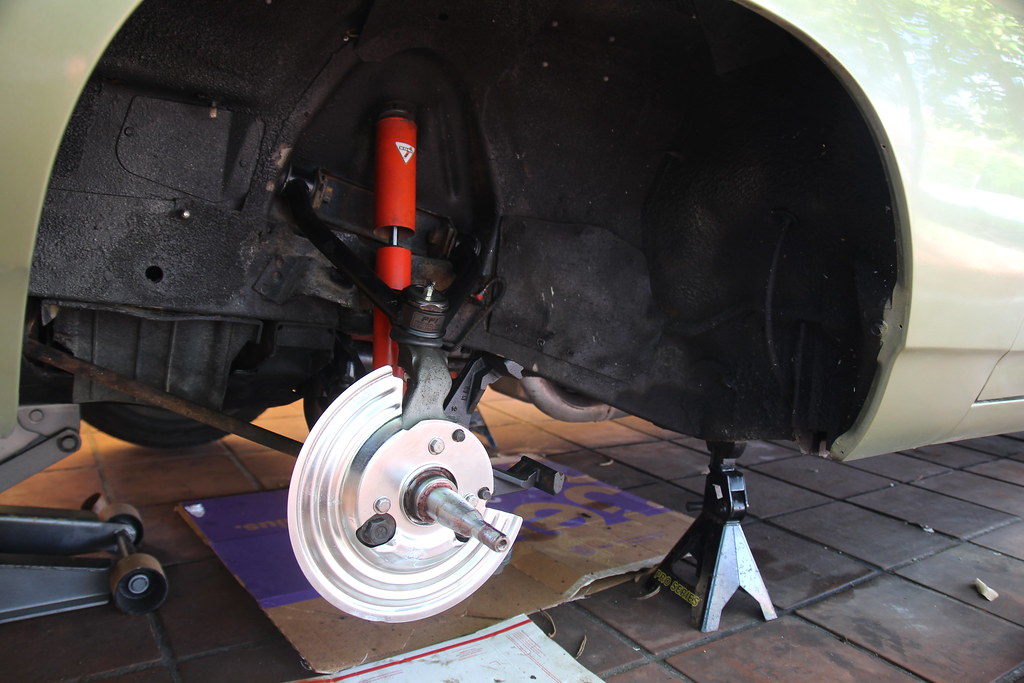
But I finally got around to installing the rebuilt LCAs, disc brake spindles, and tubular UCAs...all of one side, because everything - and I mean EVERYTHING possible either went wrong or took too long to do.

32293124354_b32bbe9b60_b.jpg


And to add insult to injury, I came back to it the next morning to find the rotor stuck to the wheel (or vise-versa, if you prefer):

32322945383_9579725a69_b.jpg


BendixPRT1132-rotor-sm.jpg


The short version is that the rotor hub pilots had been machined to 71.8mm when they were supposed to be 71.2mm. Wound up tightening it to the drum late at night when buttoning up the left side for the night, and didn't realize what had happened.

Thankfully, Bendix stepped up to the plate and took them in return - and exchanged them for a set that was properly machined.

But in the meantime, I had the tire shop throw on a junk P235/75/R15 (the only thing they had) on my spare rim just to hold the car up, and that's when brilliance happened:

32437430073_e478af4dd8_b.jpg


33210612336_67ab3d7893_b.jpg


33095984402_5324380e29_b.jpg


Not only does the black 1980's Dodge B-series 15x7" van rim look GREAT (I need four more - if anyone has some around, PM me), the bigger tire REALLY suits the car. Reminds me of the Belvedere taxi in The Killer Elite.

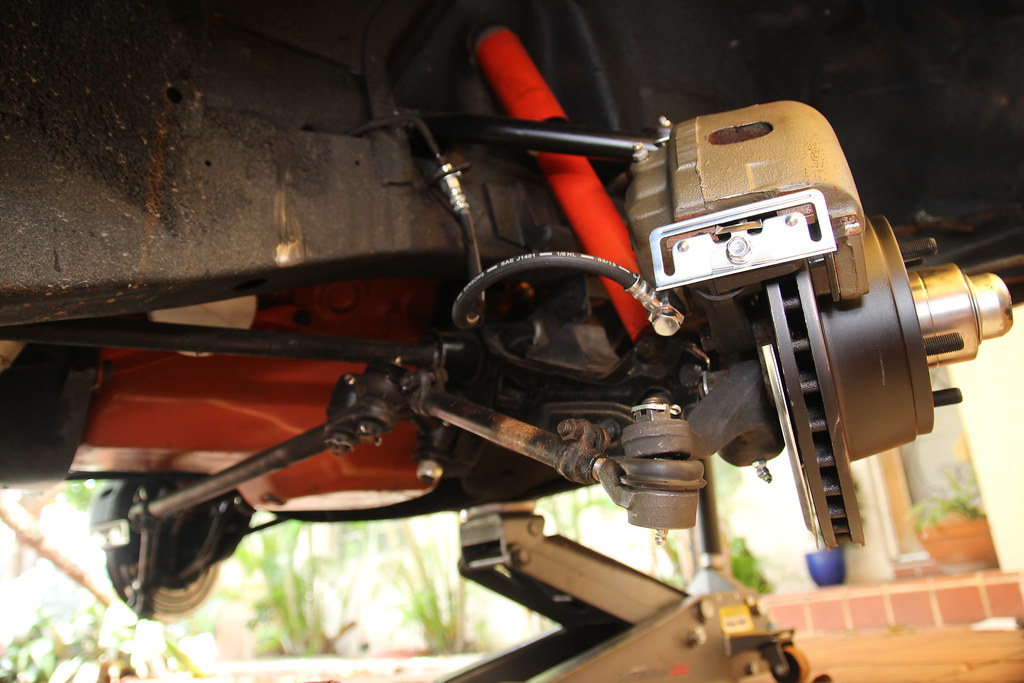
Last weekend, I was able to get the other side swapped (much easier job!) and this Saturday, I installed the new Bendix replacement rotors (I also painted the rough areas on front and back that would otherwise rust, and took them to the local shop to be machined smooth) and - for once - mounted the F/M/J-body brake calipers to it:

33609644216_856e49e146_h.jpg


I also found out that the ideal brake line for a rear-facing caliper conversion on a '68-70 B-body is a '69-72 Camaro/Nova brake line. Who would have known?

(Left, M-body front brake line, didn't work | Center, B-body drum front brake line | Right, '69 Camaro brake line) 

33649946415_856e0b80fd_b.jpg


And here they are on the car:

33493628782_1de9cd828c_b.jpg


32807572054_6a4d43de18_b.jpg


Still waiting on some retainers for the right brake line (one went missing) and some time to drag this pile of green $h!t to the alignment shop.

-Kurt

 
Last edited by a moderator:

Latest posts

Back
Top