M Beauchamp
Well-known member
- Joined
- Aug 15, 2011
- Messages
- 392
- Reaction score
- 5
- Location
- Sarnia Ontario
- My Car
- 1973 light blue convertible
351c 2V
Well this story started with trying to buy some doors for the convertible.
Mine where really bad.

Mike (mach71351c) PM me as he had a set and sent me some pics.
He had just picked up a parts car for the doors and had the set that he was going to use on his mach.
So we got talking about the other parts i need for my project like the B Pillars and the trunk.

Mike suggested that I take the whole parts car.
So I looked into shipping the doors and some parts and shipping the whole car.
It ended up costing $975 to ship the car from California to Port Huron Michigan, not much more than just the doors.

All the time I spent waiting for the car to arrive, I was pondering on what would be better cut up the coupe or convert the coupe to a convertible.
Once I got the car home I surveyed both cars and counted up the parts I would need to change or replace either way.

The coupe is 99% rust free so that answer was pretty clear.
So I have set out to convert the 73 coupe into a 73 convertible.
I searched the web to see if any one has done this before but couldn't find any one who has done a 71-73 mustang conversion.
Lots of Fast Backs but no convertibles.
The first thing I did on the coupe was replace the 1% rust, so I replaced the tail light panel

Next I installed two new inner rocker panels.
I want these in before I cut the roof off.
I couldn't re-use the Convertible inner rockers

So I got two new ones which worked out pretty well once I tweaked them a bit.

The inner rockers where a lot of work to get in as I had to remove the seat platforms and notch the front and rear torque boxes as well as slit the floor pan.


They weld up really nice using 3/8 plug welds and seal welding around the torque boxes.


Here goes the seat platforms and the lower re-enforcing plates.

Blasted and finished the lower re-enforcing plates.
I only did the tops that will be closed off when they are welded to the floor.

Started preparing the floor where the re-enforcing plates will be welded on.
The undercoating is really tough to remove but is a bit easier when you warm it up with a torch first.

I installed the bottom cross members.
I use puddle welded every couple of inches.

I bolted the center plate on to see if it lines up properly, but I will keep it off for now.
I still have to grind up the puddle welds which is really hard lying on you back, but I going to finish that when I rotate the car over to clean up the bottom.
I couldn't find a new drivers side seat platform, so i figure out how to repair the one I had.
It took me a good morning to repair the three hacked up side of the old drivers side seat platform.

Then I fit the seat platforms in place which works out real nice.

I was going to weld the platforms in place but i decided to wait.
This way I can do the windshield and roof well first.
I believe that they will just fill up with fillings and be hard to clean out.
Next i moved into the engine bay.
The coupe had been hit high on the drivers side.
The front apron and the one side of the rad support was previously pulled back into place.
I fit up the new front apron, I was impressed how nice the dynacorn panel fit.
I had to make the square and slots for the fender clips though.


Here is a couple of pics of the convertible drivers side apron.


I would have had my hands full trying to fix that.


Got the drivers side front apron back together
I am going to keep on working on the engine bay repairs.
I am stumped on the PS front apron until i figure out what to do about the out side battery support.(find or fix)
Pulled the Wind shield out of the convertible which I needed out to get at the cowl parts I need for the coupe.

I was surprised to figure out that I will only have to swap the top piece across the windshield.
I was thinking that the parts on the side of the windshield where different on the coupe.
Fixed the drivers side cowl end on the convertible , I am going to fix it before I pull the upper cowl off the convertible.
then i will blast and paint it when it off


Here is the PS side of the convertible cowl


I will be able to touch up the inside when I pull the upper cowl panel off
Here is the Donner cowl bottom

Blasted the upper cowl, cowl extensions and seat platforms


not sure if i can fix the extensions or not!
Here is the repaired lower cowl


Used Armerlock 400 inside the cowl


This should last a long long time.
I welded the upper cowl back on.

Gave it a coat of rust inhibitor to keep the blast from bleeding out.
Fixed the PS apron extension


keep working on the apron extension
Fabricated up a new lower battery support


Installed the PS apron and battery trays


Fixed the drivers side apron extension
Installed a new drivers side rear apron
Here we are finally finished the sheet metal work on the engine bay

Next i am pulling the roof of the coupe
Here is the coupe inter panels coming off


I transferred the layout from the convertible at The top of the A pillars.

Then cut top and bottom with about 1/4 excess, which I will trim later.

Here I am laying out a reference line to the top edge of the convertible quarter panels.

I have laid out the same reference line on the coupe.

I used a piece of wire pulled tight with both end sitting in a nick at the front and rear of the quarter top edge


I have segmented the reference line every 3" then measured perpendicular from this line to the top edge of the quarter and recording the dimension.
Drilled all the spot welds
Made my cuts on the quarters +1/4" excess material.


I was hoping that I could join the quarters at the top edge, but after laying thing out the convertible quarters I realized that the convertible quarters are a couple of inches higher than the coupes
Here you have it, the roof is finally off the coupe.

Here is the cross member at the top of the windshield welded onto the coupe

Here is the top and bottom corner of the windshield section
I had to cope the coupe A pillars to accept the convertible cross member as the coupe A pillars continued up a couple inched to the roof.


It end up measuring out exactly the way the convertible was.

Here is the new wind shield section
Going to clean up the spot welds and finish preparing the coupe to accept the top section of the convertible quarters
Here is the Roof well ready to come out of the convertible


Here I have the roof well in the coupe


I plan to install all of the parts including trial. fitting of the trunk before welding anything together
Here is the first fit up.
The upper 1/4 panels are over lapping about 1"


Up at the front of the 1/4 panel i have a little more over lap under the 1/4 window area which i will trim up now that i have the height set

Here is the second fit up for the butt weld


I still have a little bit more trimming to do at the front


Here I have fit up the DS 1/4 and checked the profile ever 6"

Here i have tacked the butt joint, pushing or pulling to get the profile correct.


Here is the finished Butt weld, I will use a shrinking disk to fine tune weld area latter


Here I have installed the inner 1/4 window panels and the roof well support.


The alignment of the trunk to the 1/4 tops was very difficult to get aligned


I made a shrinking disk for the grinder and straighten out the 1/4 weld seam


Here is the 1/4 butt weld
I should be able to finish this without filler just epoxy primer and a little putty

Now that i finished striping the under coat from the entire bottom of the car on my back, i decided to build a rotisserie!


Here you can see how nice the bottom turn out after weeks of scraping.


Just a few touch up spots then i can seam seal the bottom and paint
This is a mile stone to me because i will be able to put stuff back on the car instead of ripping it off!
Finally back at it after almost a year
I took the time to seam seal every seam on the car

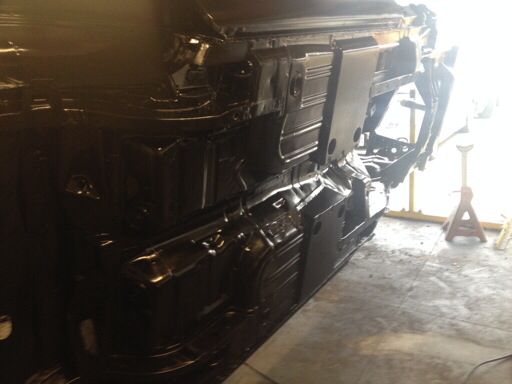
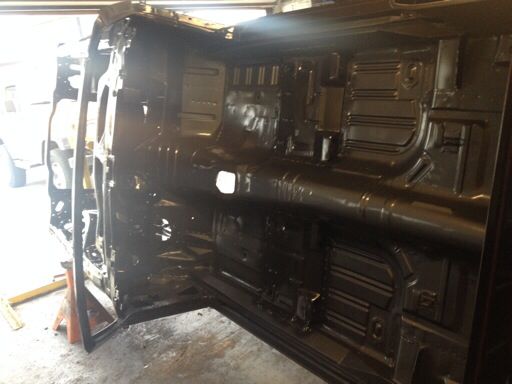
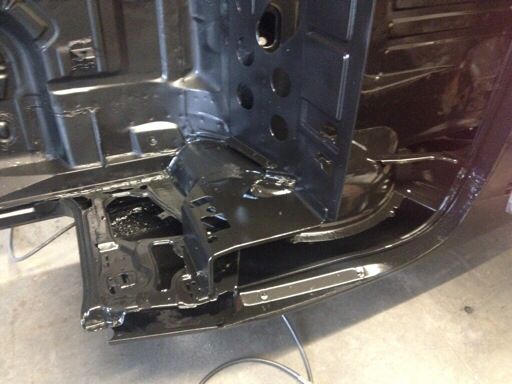
This is the under side of the trunk
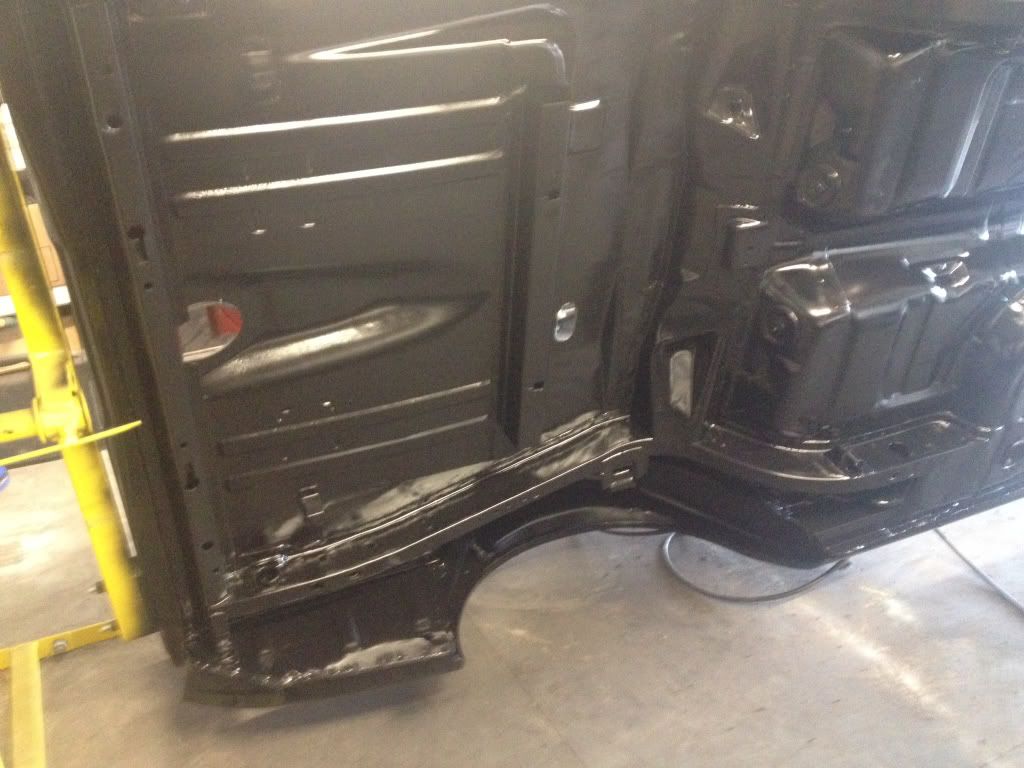
Here is the inside of the trunk
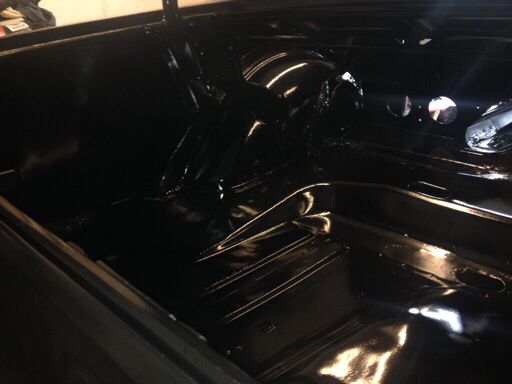
Here is the engine bay
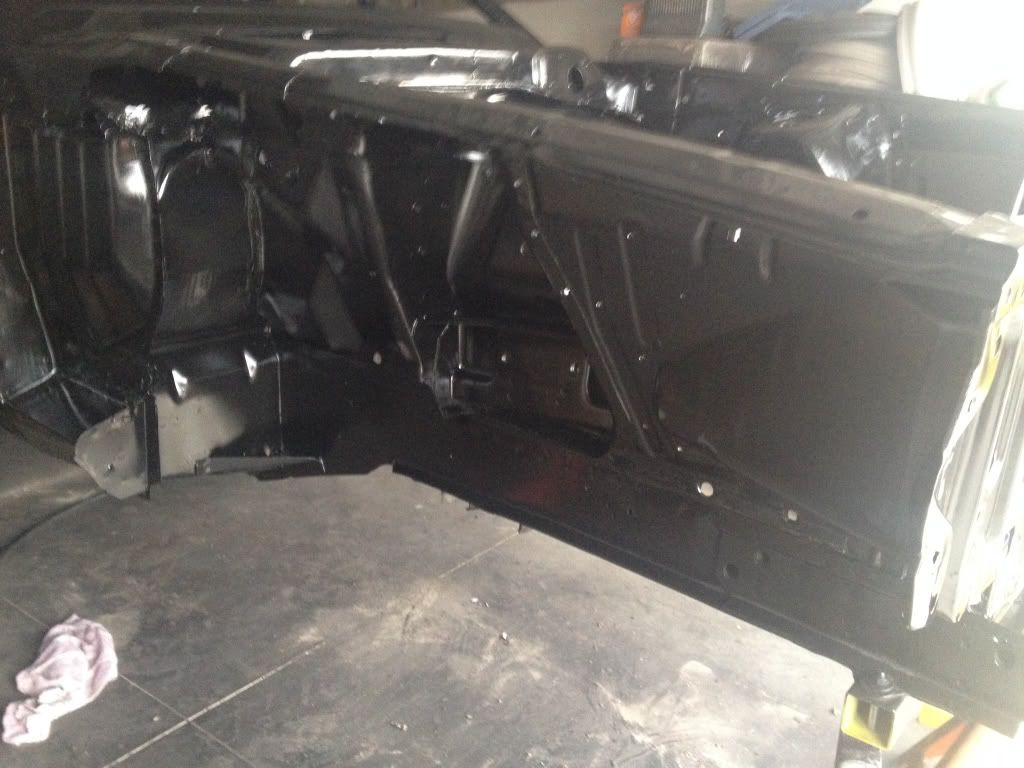
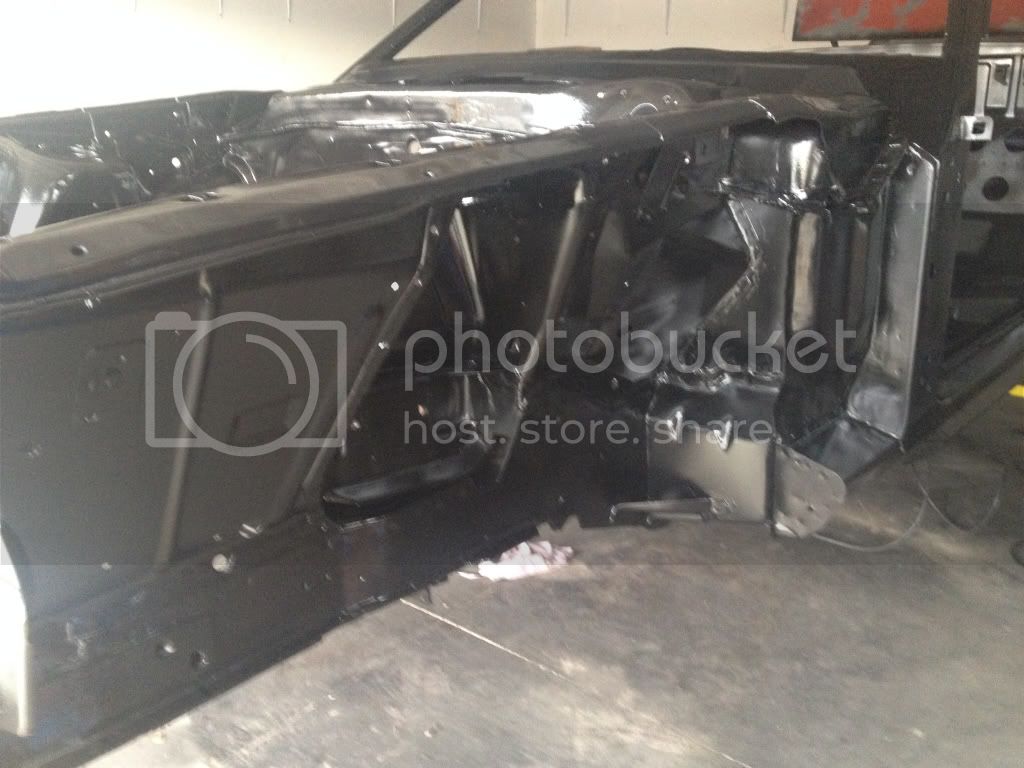
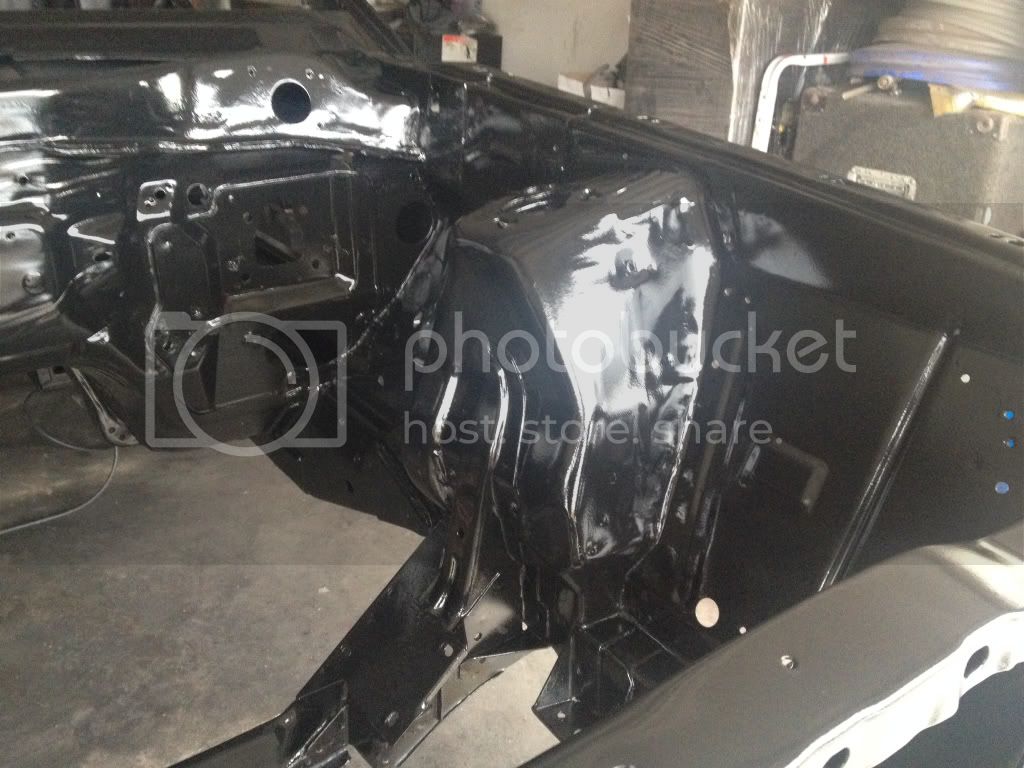
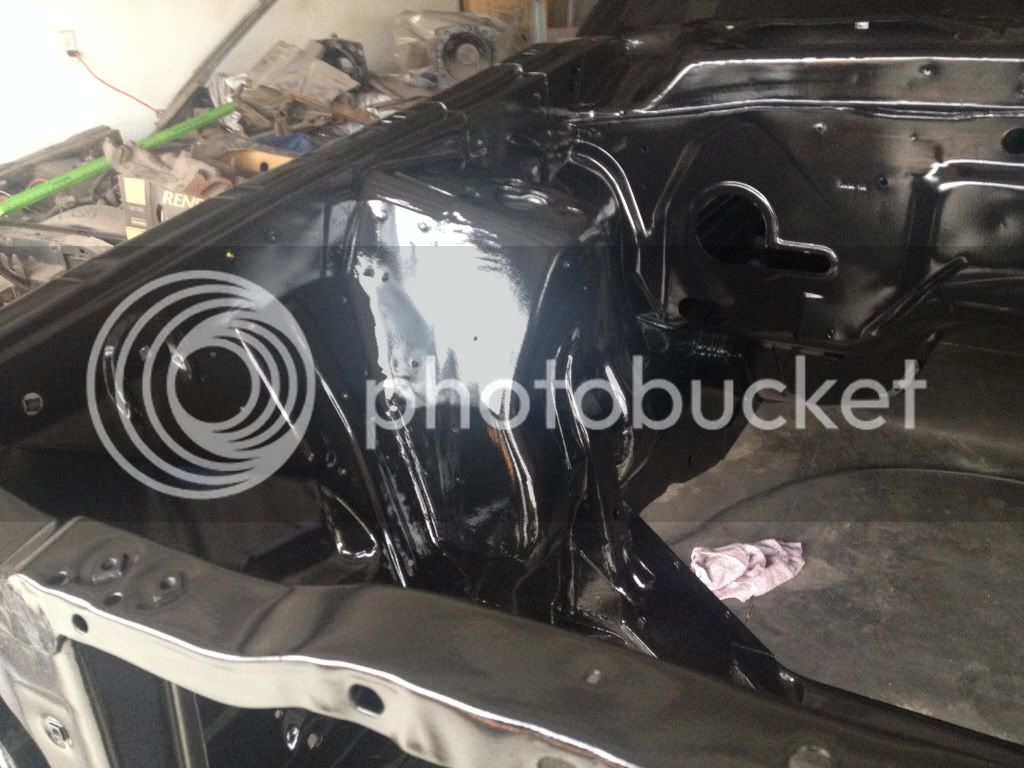
Sprayed the DS door and quarter with slick sand and blocked them out.
Installed the DS door
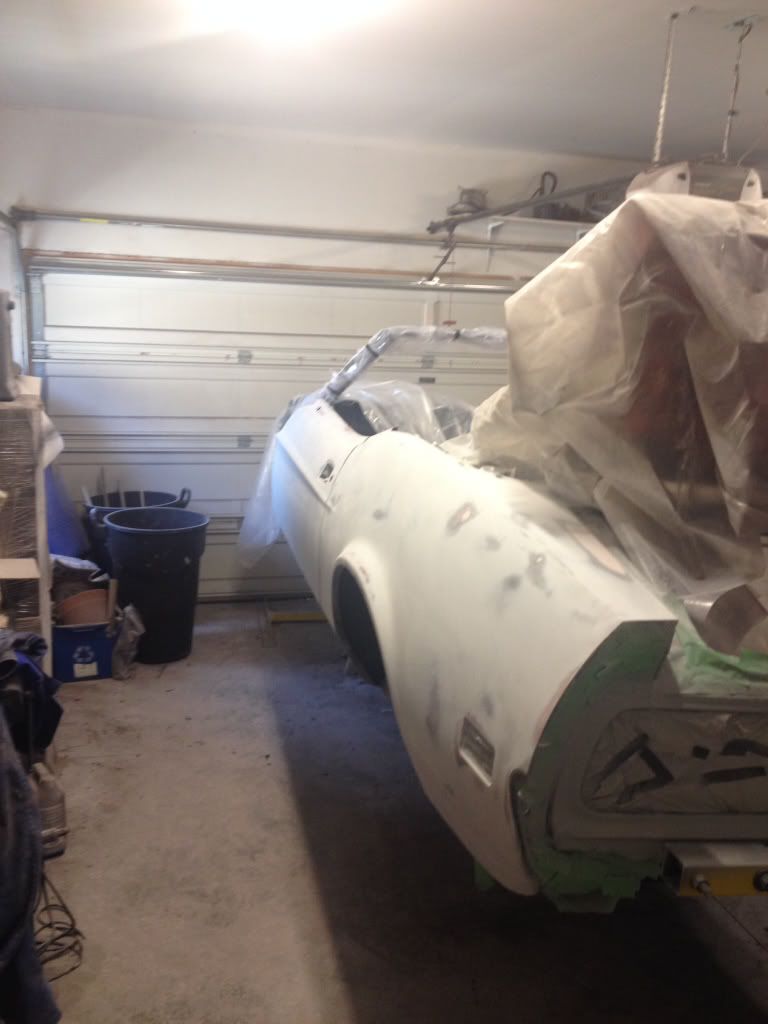
I finally finished and fit the PS door
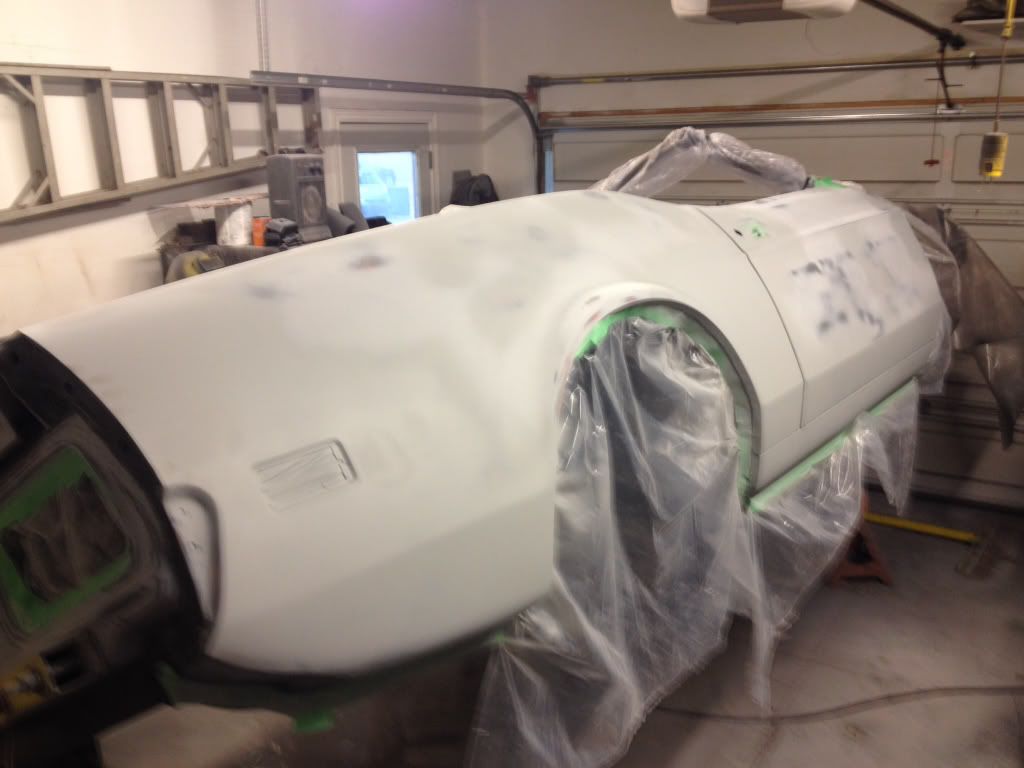
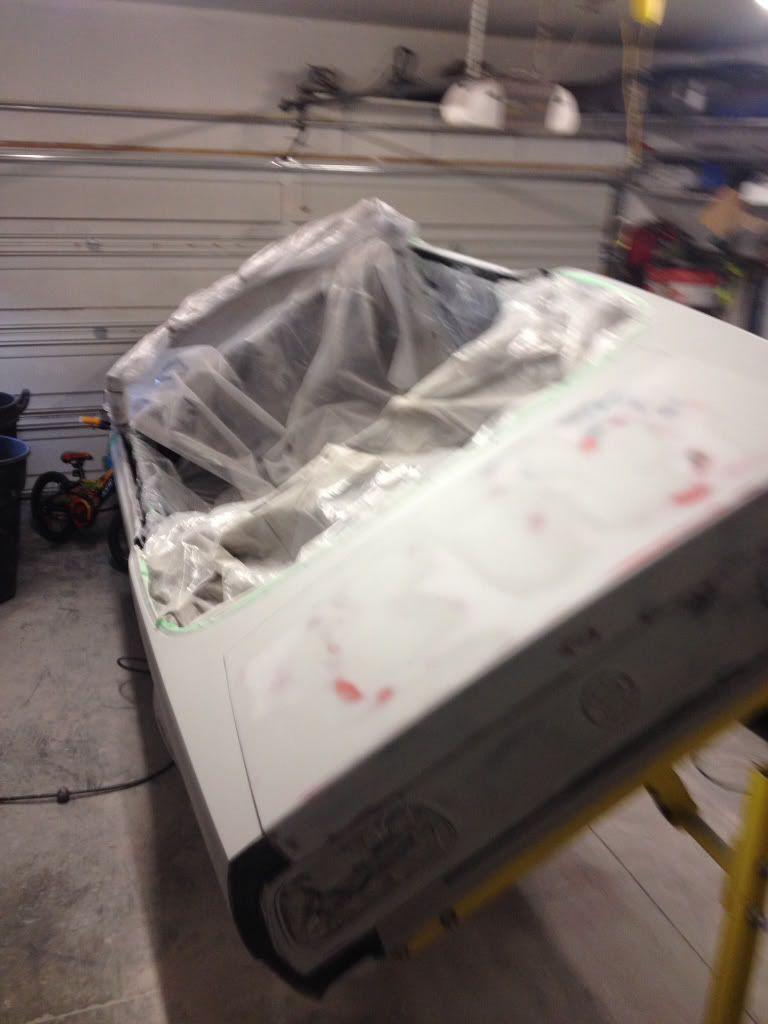
I have sprayed Slicksand and and block sanded the entire back end of the car.
I figured out that if you only mix 1/2 a pint at a time and thin it 5- 10% it sprays very nice , wet and flat with a regular size tip on the spray gun
Also remove the gun filter, but pass the primer through a filter as you pour it into your cup gun.
After the 1/2 pint is gone add a bit of thinner in the cup and clear the residual from the gun, then start over if you need more.
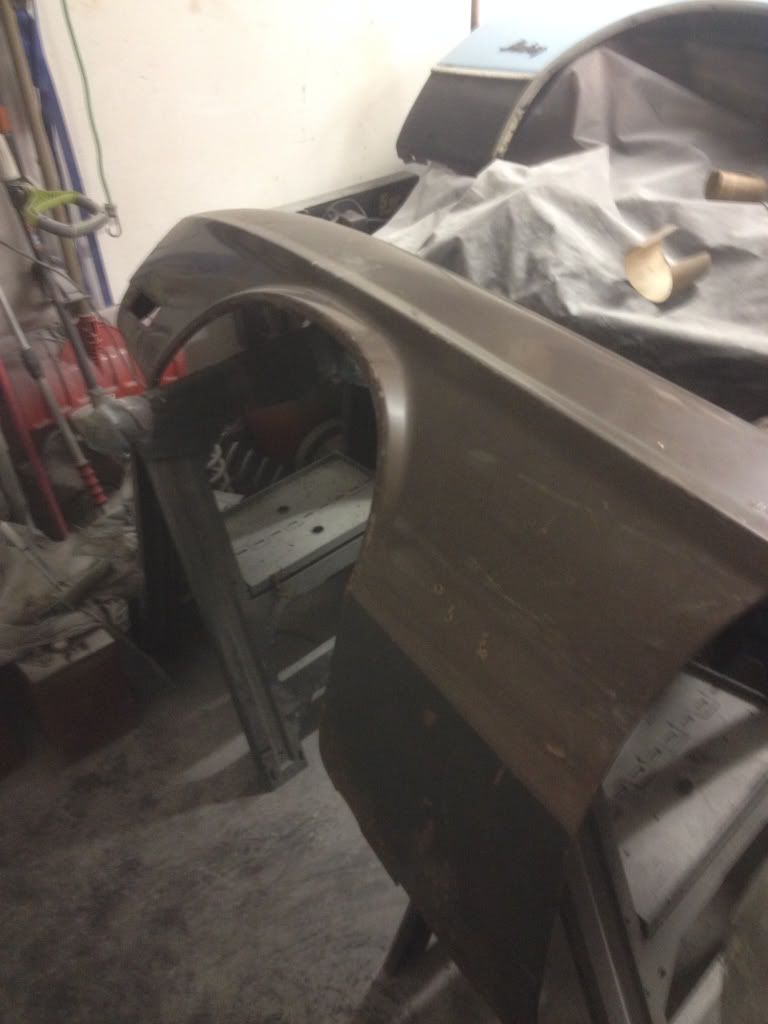
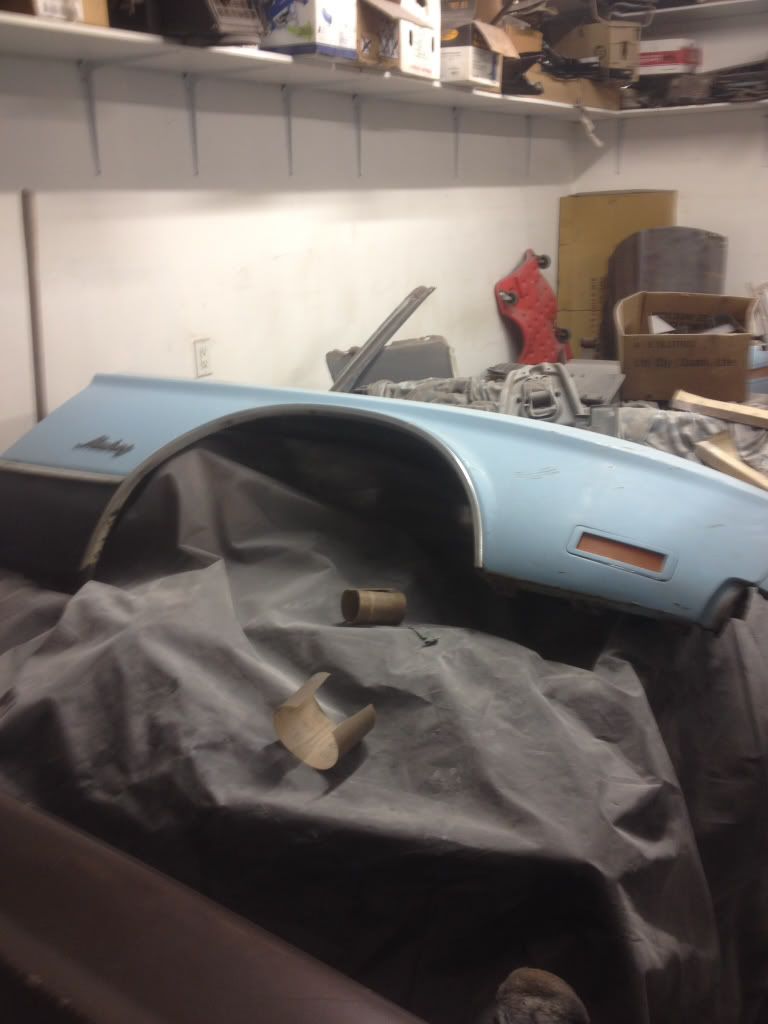
Picked up a 73 DS fender in decent shape
My old fender was junk lots of patches
Also got the PS fender down so I can fix and fit both
I will put up some more picks when I get them!


Mine where really bad.

Mike (mach71351c) PM me as he had a set and sent me some pics.
He had just picked up a parts car for the doors and had the set that he was going to use on his mach.
So we got talking about the other parts i need for my project like the B Pillars and the trunk.

Mike suggested that I take the whole parts car.
So I looked into shipping the doors and some parts and shipping the whole car.
It ended up costing $975 to ship the car from California to Port Huron Michigan, not much more than just the doors.

All the time I spent waiting for the car to arrive, I was pondering on what would be better cut up the coupe or convert the coupe to a convertible.
Once I got the car home I surveyed both cars and counted up the parts I would need to change or replace either way.

The coupe is 99% rust free so that answer was pretty clear.
So I have set out to convert the 73 coupe into a 73 convertible.
I searched the web to see if any one has done this before but couldn't find any one who has done a 71-73 mustang conversion.
Lots of Fast Backs but no convertibles.
The first thing I did on the coupe was replace the 1% rust, so I replaced the tail light panel

Next I installed two new inner rocker panels.
I want these in before I cut the roof off.
I couldn't re-use the Convertible inner rockers

So I got two new ones which worked out pretty well once I tweaked them a bit.

The inner rockers where a lot of work to get in as I had to remove the seat platforms and notch the front and rear torque boxes as well as slit the floor pan.


They weld up really nice using 3/8 plug welds and seal welding around the torque boxes.


Here goes the seat platforms and the lower re-enforcing plates.

Blasted and finished the lower re-enforcing plates.
I only did the tops that will be closed off when they are welded to the floor.

Started preparing the floor where the re-enforcing plates will be welded on.
The undercoating is really tough to remove but is a bit easier when you warm it up with a torch first.

I installed the bottom cross members.
I use puddle welded every couple of inches.

I bolted the center plate on to see if it lines up properly, but I will keep it off for now.
I still have to grind up the puddle welds which is really hard lying on you back, but I going to finish that when I rotate the car over to clean up the bottom.
I couldn't find a new drivers side seat platform, so i figure out how to repair the one I had.
It took me a good morning to repair the three hacked up side of the old drivers side seat platform.

Then I fit the seat platforms in place which works out real nice.

I was going to weld the platforms in place but i decided to wait.
This way I can do the windshield and roof well first.
I believe that they will just fill up with fillings and be hard to clean out.
Next i moved into the engine bay.
The coupe had been hit high on the drivers side.
The front apron and the one side of the rad support was previously pulled back into place.
I fit up the new front apron, I was impressed how nice the dynacorn panel fit.
I had to make the square and slots for the fender clips though.


Here is a couple of pics of the convertible drivers side apron.


I would have had my hands full trying to fix that.


Got the drivers side front apron back together
I am going to keep on working on the engine bay repairs.
I am stumped on the PS front apron until i figure out what to do about the out side battery support.(find or fix)
Pulled the Wind shield out of the convertible which I needed out to get at the cowl parts I need for the coupe.

I was surprised to figure out that I will only have to swap the top piece across the windshield.
I was thinking that the parts on the side of the windshield where different on the coupe.
Fixed the drivers side cowl end on the convertible , I am going to fix it before I pull the upper cowl off the convertible.
then i will blast and paint it when it off


Here is the PS side of the convertible cowl


I will be able to touch up the inside when I pull the upper cowl panel off
Here is the Donner cowl bottom

Blasted the upper cowl, cowl extensions and seat platforms


not sure if i can fix the extensions or not!
Here is the repaired lower cowl


Used Armerlock 400 inside the cowl


This should last a long long time.
I welded the upper cowl back on.

Gave it a coat of rust inhibitor to keep the blast from bleeding out.
Fixed the PS apron extension


keep working on the apron extension
Fabricated up a new lower battery support


Installed the PS apron and battery trays


Fixed the drivers side apron extension
Installed a new drivers side rear apron
Here we are finally finished the sheet metal work on the engine bay

Next i am pulling the roof of the coupe
Here is the coupe inter panels coming off


I transferred the layout from the convertible at The top of the A pillars.

Then cut top and bottom with about 1/4 excess, which I will trim later.

Here I am laying out a reference line to the top edge of the convertible quarter panels.

I have laid out the same reference line on the coupe.

I used a piece of wire pulled tight with both end sitting in a nick at the front and rear of the quarter top edge


I have segmented the reference line every 3" then measured perpendicular from this line to the top edge of the quarter and recording the dimension.
Drilled all the spot welds
Made my cuts on the quarters +1/4" excess material.


I was hoping that I could join the quarters at the top edge, but after laying thing out the convertible quarters I realized that the convertible quarters are a couple of inches higher than the coupes
Here you have it, the roof is finally off the coupe.

Here is the cross member at the top of the windshield welded onto the coupe

Here is the top and bottom corner of the windshield section
I had to cope the coupe A pillars to accept the convertible cross member as the coupe A pillars continued up a couple inched to the roof.


It end up measuring out exactly the way the convertible was.

Here is the new wind shield section
Going to clean up the spot welds and finish preparing the coupe to accept the top section of the convertible quarters
Here is the Roof well ready to come out of the convertible


Here I have the roof well in the coupe


I plan to install all of the parts including trial. fitting of the trunk before welding anything together
Here is the first fit up.
The upper 1/4 panels are over lapping about 1"


Up at the front of the 1/4 panel i have a little more over lap under the 1/4 window area which i will trim up now that i have the height set

Here is the second fit up for the butt weld


I still have a little bit more trimming to do at the front


Here I have fit up the DS 1/4 and checked the profile ever 6"

Here i have tacked the butt joint, pushing or pulling to get the profile correct.


Here is the finished Butt weld, I will use a shrinking disk to fine tune weld area latter


Here I have installed the inner 1/4 window panels and the roof well support.


The alignment of the trunk to the 1/4 tops was very difficult to get aligned


I made a shrinking disk for the grinder and straighten out the 1/4 weld seam


Here is the 1/4 butt weld
I should be able to finish this without filler just epoxy primer and a little putty

Now that i finished striping the under coat from the entire bottom of the car on my back, i decided to build a rotisserie!


Here you can see how nice the bottom turn out after weeks of scraping.


Just a few touch up spots then i can seam seal the bottom and paint
This is a mile stone to me because i will be able to put stuff back on the car instead of ripping it off!
Finally back at it after almost a year
I took the time to seam seal every seam on the car


This is the under side of the trunk

Here is the inside of the trunk

Here is the engine bay


Sprayed the DS door and quarter with slick sand and blocked them out.
Installed the DS door

I finally finished and fit the PS door


I have sprayed Slicksand and and block sanded the entire back end of the car.
I figured out that if you only mix 1/2 a pint at a time and thin it 5- 10% it sprays very nice , wet and flat with a regular size tip on the spray gun
Also remove the gun filter, but pass the primer through a filter as you pour it into your cup gun.
After the 1/2 pint is gone add a bit of thinner in the cup and clear the residual from the gun, then start over if you need more.
Picked up a 73 DS fender in decent shape
My old fender was junk lots of patches
Also got the PS fender down so I can fix and fit both


I will put up some more picks when I get them!


Last edited by a moderator:


