


73429mach
Well-known member
- Joined
- Feb 1, 2011
- Messages
- 667
- Reaction score
- 51
- Location
- IL
- My Car
- 1973 Mustang Mach 1
1972 Mustang Mach 1 under construction
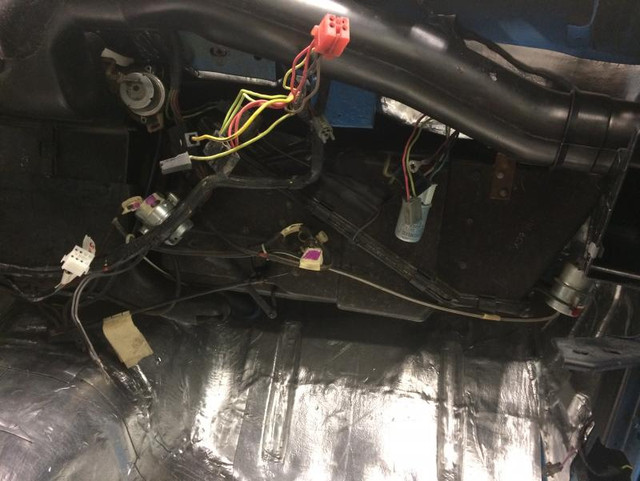
Hope this helps? RyanDo you have a similar picture of the center and drivers side wiring? SImilar to this passenger side you posted?
Im going to buy a whole new under dash harness from Midlife and replace mine when I get to your stage.
View attachment 41119
View attachment 41120
Last edited by a moderator:


