Congrats on the new paint!
You are using an out of date browser. It may not display this or other websites correctly.
You should upgrade or use an alternative browser.
You should upgrade or use an alternative browser.
73 Coupe
- Thread starter JRANGER
- Start date


Help Support 7173Mustangs.com:
This site may earn a commission from merchant affiliate
links, including eBay, Amazon, and others.
Nice, great job so far.
Tom
Tom
- Joined
- Jun 9, 2012
- Messages
- 1,323
- Reaction score
- 8
- Location
- oklahoma
- My Car
- 1973 mustang sportsroof - 351c 2v - fmx trans.
It's getting there, nice work.
- Joined
- Jul 12, 2010
- Messages
- 5,476
- Reaction score
- 3,765
- Location
- Killingworth, CT
- My Car
- 71 Mach 1
71 XR-7 hardtop
71 Country Squire
65 hardtop
72 Country Sedan
69 XL sportsroof
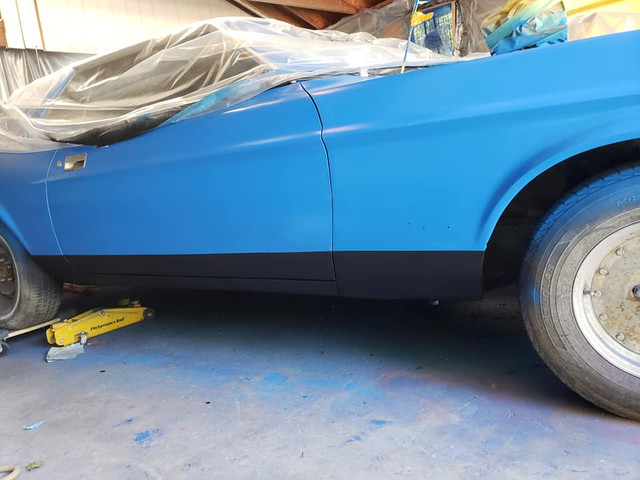
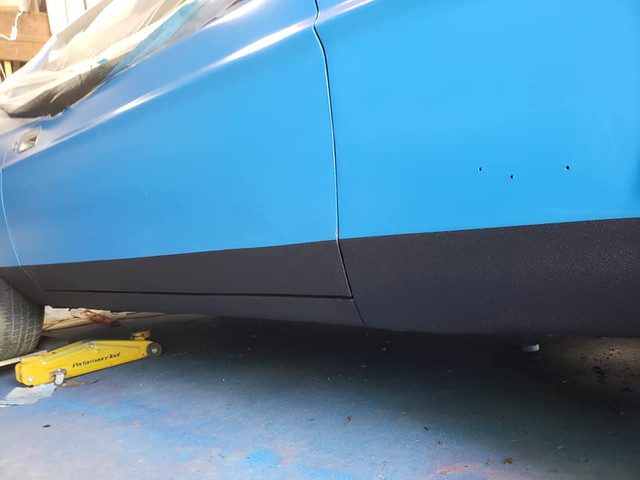
Looking good. Don't forget the 1/4" pinstrip above the blackout. It really makes a difference.


$31.52
$60.00
Shelby American 60 Years of High Performance: The Stories Behind the Cobra, Daytona, Mustang GT350 and GT500, Ford GT40 and More
WhitePaper Books


$28.52
$29.95
Ford Mustang, Mach 1, GT, Shelby, & Boss V-8 (64-73) Haynes Repair Manual
Haynes Repair Manuals


$11.99
$19.98
100 Cars That Changed the World: The Designs, Engines, and Technologies That Drive Our Imaginations
Amazon.com


$64.98
JH DESIGN GROUP Men's Ford Mustang Collage Black Zip Up Hoodie Sweatshirt (Medium, CLG2-black)
Affordable Family Clothing


$34.98
JH DESIGN GROUP Men's Ford Mustang Long Sleeve T-Shirt Front Back & Sleeve Logos (as1, Alpha, l, Regular, Regular, Charcoal)
Affordable Family Clothing

$50.27
Scott Drake Ignition/Door/Trunk Lock Set, Compatible with 1967-1969 Ford Mustang, Model C7AZ-6222050-MK
Holley Performance Product

$50.12
$55.00
The Complete Book of Ford Mustang: Every Model Since 1964-1/2 (Complete Book Series)
Amazon.com


$18.77
$24.95
Ford Mustang Pony Racing Stripe 5.0 Muscle Shelby Long Sleeve T-Shirt Front Back Print-Black-Large
Giftware Shop Usa


$13.75
$16.39
Ford Mustang: Trivia & Fun Facts Every Fan Should Know About The Great American Icon!
Amazon.com

$35.00
$49.95
Ford Mustang (2005-2014) Haynes Repair Manual (USA) (Paperback)
Haynes Repair Manuals


$99.99
Polished Rocker Panel Sill Plate Molding Kit with Clips Compatible with 1964-1966 Ford Mustang - Authentic Restoration for Classic Car Enthusiasts
Classic 2 Current Fabrication

$9.00
2016 Hot Wheels Vintage American Muscle 1970 FORD MUSTANG MACH 1 die-cast 4/10
Cards and Bobbles
JRANGER
Well-known member
- Joined
- Jun 4, 2018
- Messages
- 143
- Reaction score
- 2
- Location
- TENNESSEE
- My Car
- 73 Hardtop 302/c4
65 Fastback
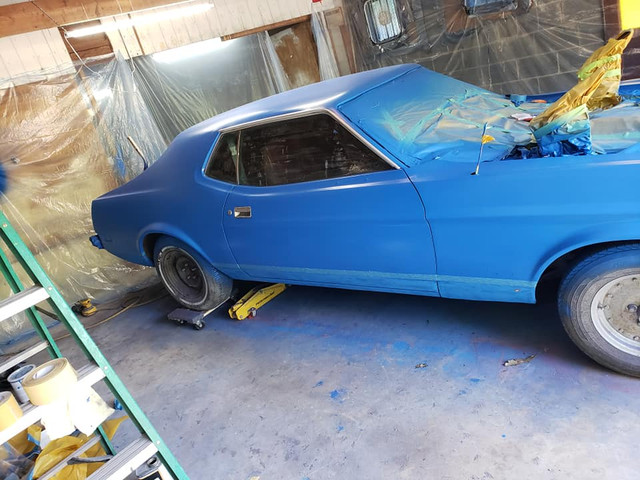
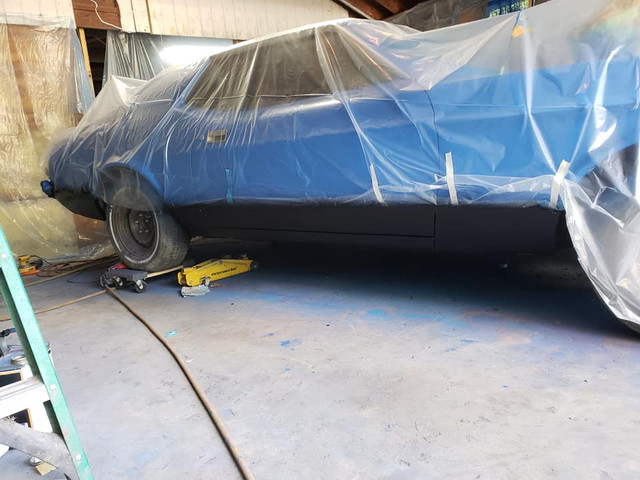
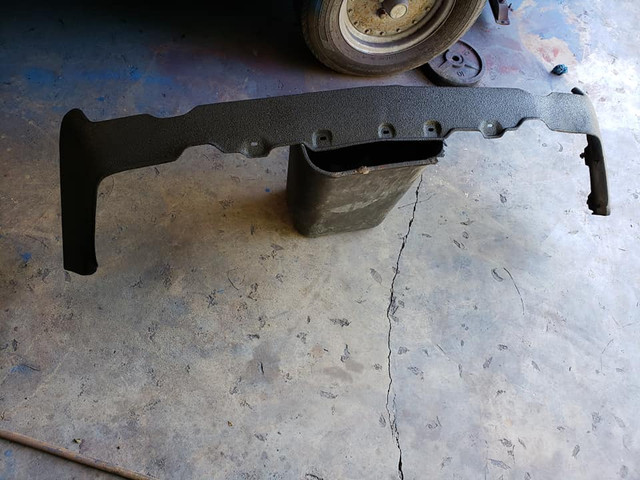
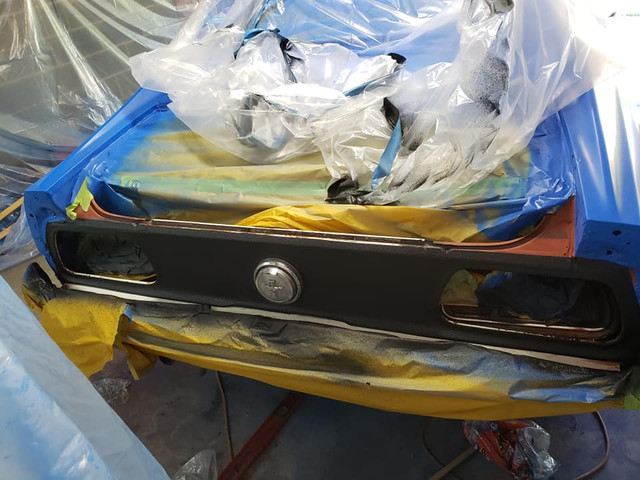
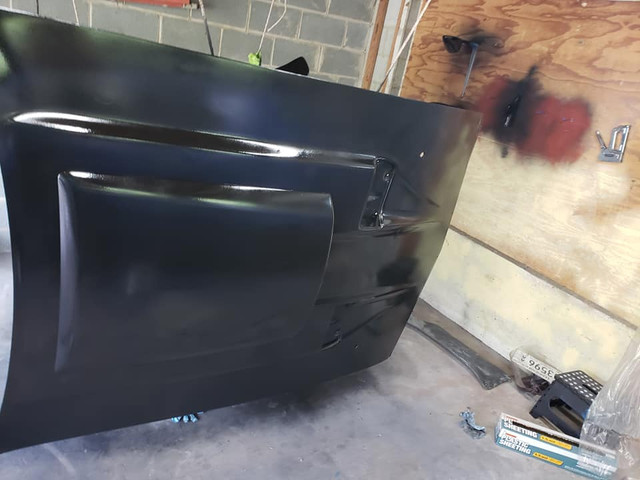
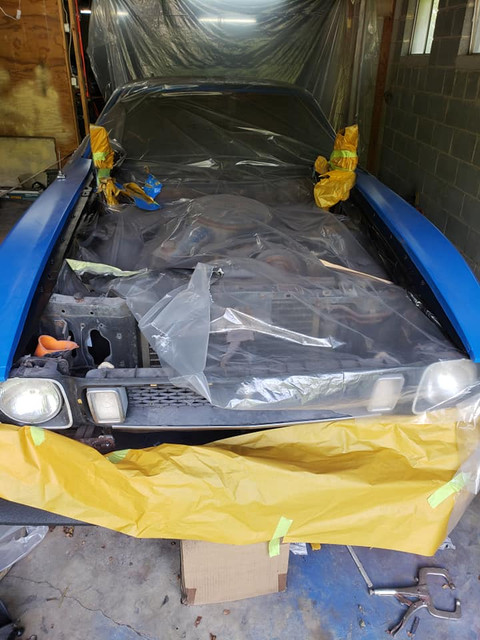
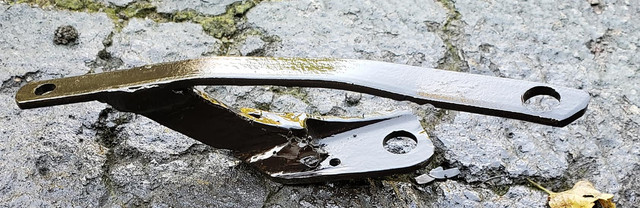
Ive been fighting this thing because im stubborn and i like things customized a bit. Ive been fitting a 71 bumper with an angle iron bracket....Really should of used the stock brackets and just cut them down but its slowly getting where it needs to be. I have to adjust my doors, get the trunk and hood painted but the paint is on the way for a Satin black on them..... Ive also ended up having to cut off the rear valance due to previous hack work but i am going to bedline the bumpers to match the lower part of the car.
Hopefully i make some progress soon
Hopefully i make some progress soon
JRANGER
Well-known member
- Joined
- Jun 4, 2018
- Messages
- 143
- Reaction score
- 2
- Location
- TENNESSEE
- My Car
- 73 Hardtop 302/c4
65 Fastback
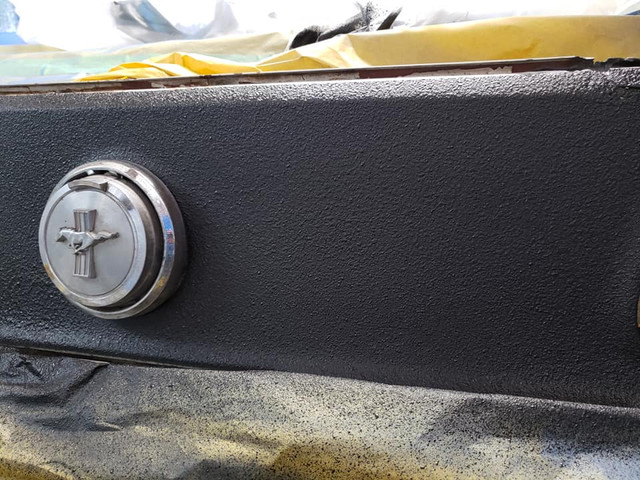
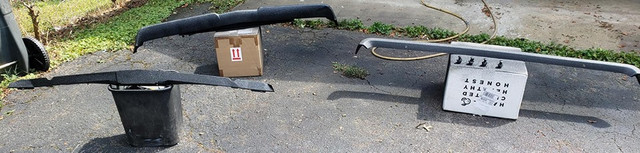
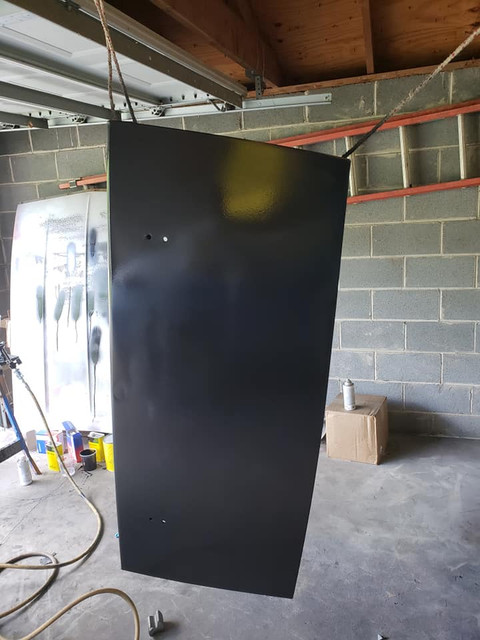
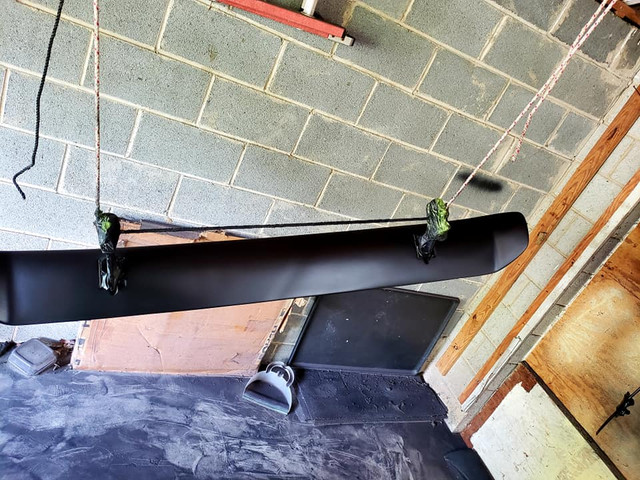
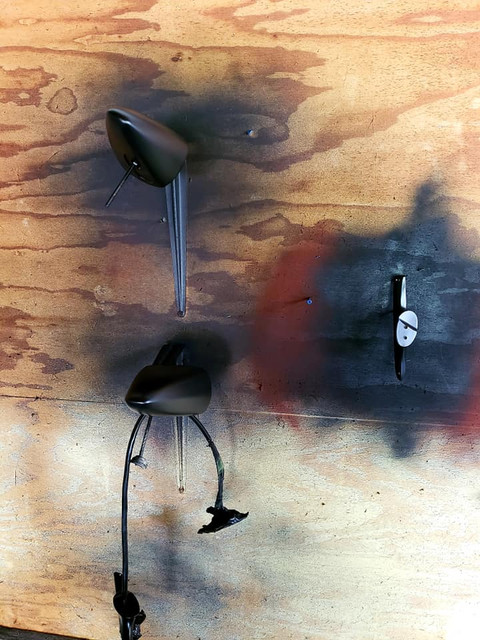
Well been busy busy. My bumpers are all painted in bed liner. Got the hood, Trunk, Rear spoilers, and accessories painted but messed up my gun settings. So i got back coverage and runs. So ill have to wet sand and respray
- Joined
- Mar 30, 2017
- Messages
- 2,399
- Reaction score
- 890
- Location
- The Netherlands
- My Car
- 73 Grande 351C
71 Mach 1 429CJ
Man you work fast!
Pitty you have to redo, may be you could try to paint with the parts flat, as on the car (looks like you have the space). With bits lower harding component if the temp is higher than 20C/68F. This not only prevents runs, but also insure the surface will stretch more as it hardens slower, giving a nicer finish. On side, you are forced to use either more air pressure and less paint possibly giving a haze to have thin layer or to spray more faster and get orange peel. Not to mention its harder to get same amount of paint on the surface looking down, which you discover only when done!
Downside is that you need first paint the under side first and have it hard enough to do the other side.
Good luck with the sanding! Got tons to do ahead of me and I hate it already!")
Pitty you have to redo, may be you could try to paint with the parts flat, as on the car (looks like you have the space). With bits lower harding component if the temp is higher than 20C/68F. This not only prevents runs, but also insure the surface will stretch more as it hardens slower, giving a nicer finish. On side, you are forced to use either more air pressure and less paint possibly giving a haze to have thin layer or to spray more faster and get orange peel. Not to mention its harder to get same amount of paint on the surface looking down, which you discover only when done!
Downside is that you need first paint the under side first and have it hard enough to do the other side.
Good luck with the sanding! Got tons to do ahead of me and I hate it already!
JRANGER
Well-known member
- Joined
- Jun 4, 2018
- Messages
- 143
- Reaction score
- 2
- Location
- TENNESSEE
- My Car
- 73 Hardtop 302/c4
65 Fastback
I took a 4 day weekend just to accomplish this.Man you work fast!
Pitty you have to redo, may be you could try to paint with the parts flat, as on the car (looks like you have the space). With bits lower harding component if the temp is higher than 20C/68F. This not only prevents runs, but also insure the surface will stretch more as it hardens slower, giving a nicer finish. On side, you are forced to use either more air pressure and less paint possibly giving a haze to have thin layer or to spray more faster and get orange peel. Not to mention its harder to get same amount of paint on the surface looking down, which you discover only when done!
Downside is that you need first paint the under side first and have it hard enough to do the other side.
Good luck with the sanding! Got tons to do ahead of me and I hate it already!
It really was just an issue with me not adjusting my gun properly. I actually put it like this for 2 reasons. 1 because on big objects i tend to get striping when i have it flat. Plus like you mentioned. I can hit both sides. Funny part is the bottom looks halfway decent. My runs are all on the top half of the hood lol
Hopefully my wet sand will go good tomorrow and i can respray all in one day. Luckily with using hardner this stuff drives quick but its 91F here today. So its HOT!!!
Last edited by a moderator:
JRANGER
Well-known member
- Joined
- Jun 4, 2018
- Messages
- 143
- Reaction score
- 2
- Location
- TENNESSEE
- My Car
- 73 Hardtop 302/c4
65 Fastback
well its mostly sanded down but was starting to clump on the paper. So i let it sit and will hit it with some finer grit before respray. Hopefully i can spray again this weekend
JRANGER
Well-known member
- Joined
- Jun 4, 2018
- Messages
- 143
- Reaction score
- 2
- Location
- TENNESSEE
- My Car
- 73 Hardtop 302/c4
65 Fastback
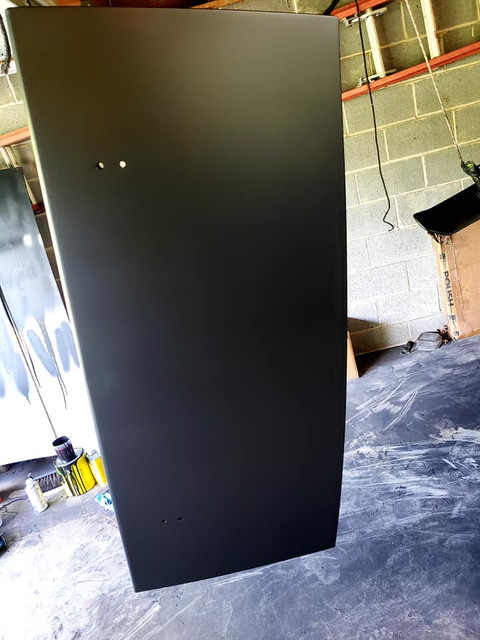
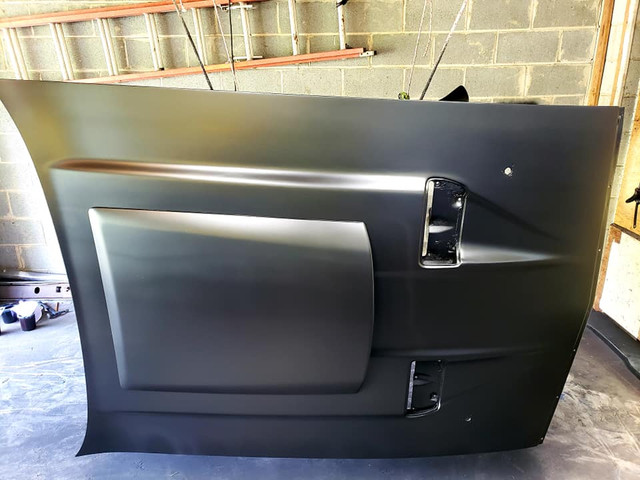
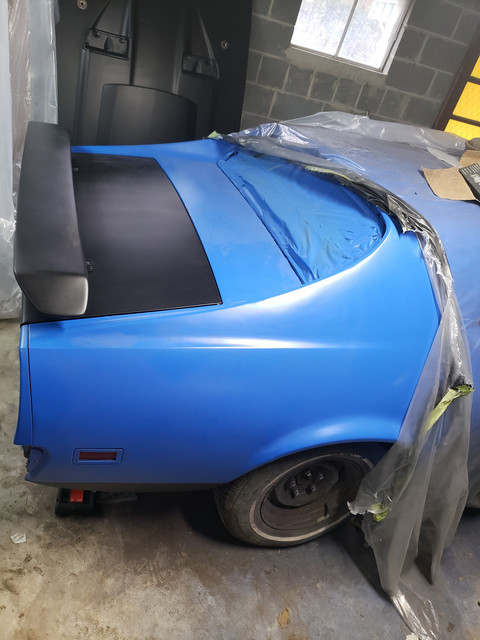
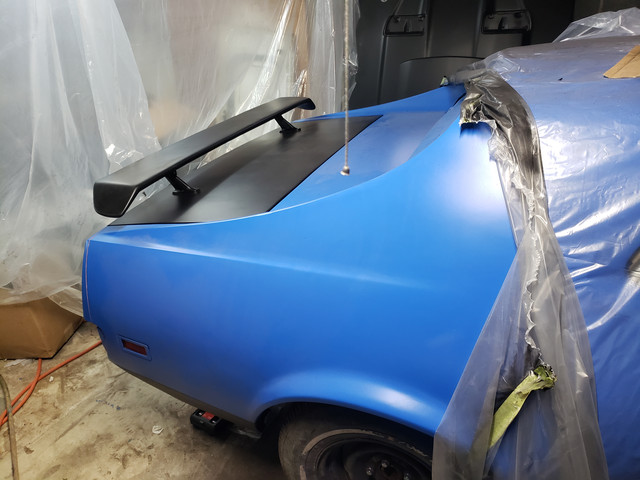
went much much better this time around even though it doesnt show well in pics. Spent the morning sanding everything then i hit it with 3 coats. Amazing what setting your gun to the proper operating PSI will do. I also remember to actually mix the paint before mixing it with hardner and such. So the sheen is way different. I still have to paint the scoop inserts but they need some work as well as the inner areas of the trunk and fenders.
- Joined
- Mar 30, 2017
- Messages
- 2,399
- Reaction score
- 890
- Location
- The Netherlands
- My Car
- 73 Grande 351C
71 Mach 1 429CJ
Massive difference! Bet it gave you a good feeling after that forced sanding session.
JRANGER
Well-known member
- Joined
- Jun 4, 2018
- Messages
- 143
- Reaction score
- 2
- Location
- TENNESSEE
- My Car
- 73 Hardtop 302/c4
65 Fastback
Yeah man, i was beyond happy after the first coat went down. Just have to remind myself to slow down sometimesMassive difference! Bet it gave you a good feeling after that forced sanding session.
JRANGER
Well-known member
- Joined
- Jun 4, 2018
- Messages
- 143
- Reaction score
- 2
- Location
- TENNESSEE
- My Car
- 73 Hardtop 302/c4
65 Fastback
Im thinking about doing the Mach hood decal/paint with matte black on this satin black. Idea is to use tape to line it out without the little outline and hit it with plasti dip. Its kinda going to be like a ghost look. Just slightly dull in comparison so may be hard to tell unless you look or it may stand out more then i think.
Thoughts?
Thoughts?
JRANGER
Well-known member
- Joined
- Jun 4, 2018
- Messages
- 143
- Reaction score
- 2
- Location
- TENNESSEE
- My Car
- 73 Hardtop 302/c4
65 Fastback
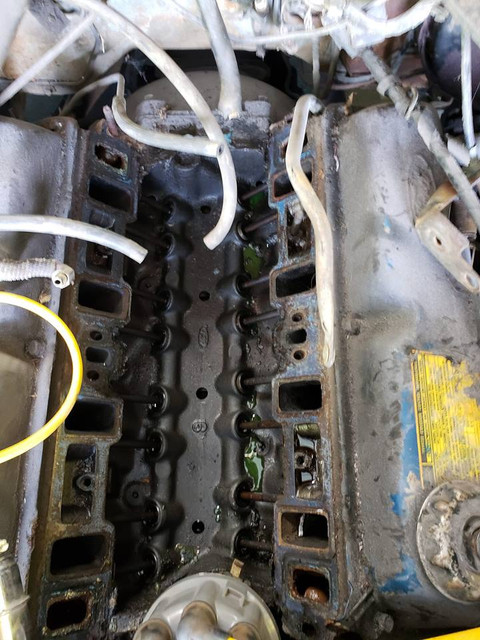
Finally got back to work. So i was all ready to go and remove the intake and it was a giant pain in the butt!!! The distributor is stuck, everything is in the way. I had to use a pry bar to break the manifold free. But ive got it off and cleaned. Next comes installing it but i need to wait on a couple parts.
Can someone help me with what all the vacuum lines go to? I have 3 on the intake that split off the break booster. Then i guess its one, that screw on right below the carbs choke? WTF? Lines everywhere!! lol
Any i can just get rid of?
On the bright side..Engine looks clean
Can someone help me with what all the vacuum lines go to? I have 3 on the intake that split off the break booster. Then i guess its one, that screw on right below the carbs choke? WTF? Lines everywhere!! lol
Any i can just get rid of?
On the bright side..Engine looks clean
JRANGER
Well-known member
- Joined
- Jun 4, 2018
- Messages
- 143
- Reaction score
- 2
- Location
- TENNESSEE
- My Car
- 73 Hardtop 302/c4
65 Fastback
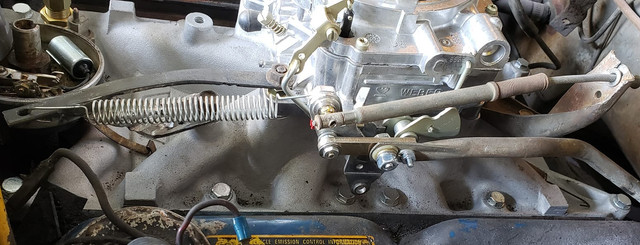
got a little more done. Modified the throttle cable bracket to where it will work. Then made a return spring bracket. Still have a way to o, including some new hoses and fluids. Hopefully ill get her started soon. Need to find a new C clip for the throttle cable as mine is missing.
JRANGER
Well-known member
- Joined
- Jun 4, 2018
- Messages
- 143
- Reaction score
- 2
- Location
- TENNESSEE
- My Car
- 73 Hardtop 302/c4
65 Fastback
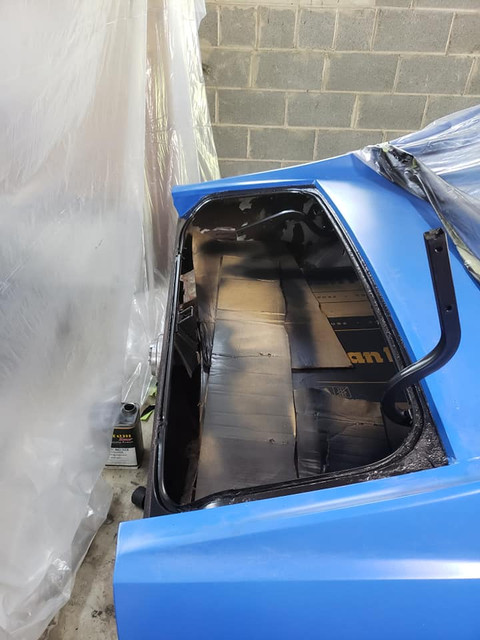
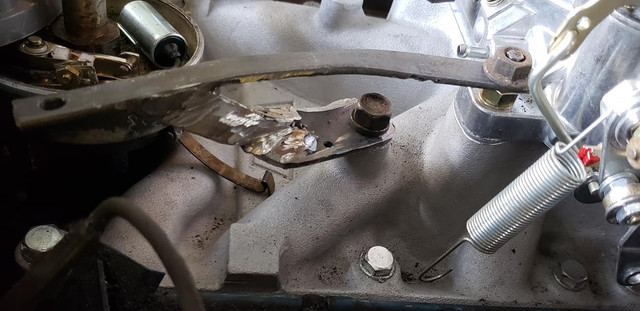
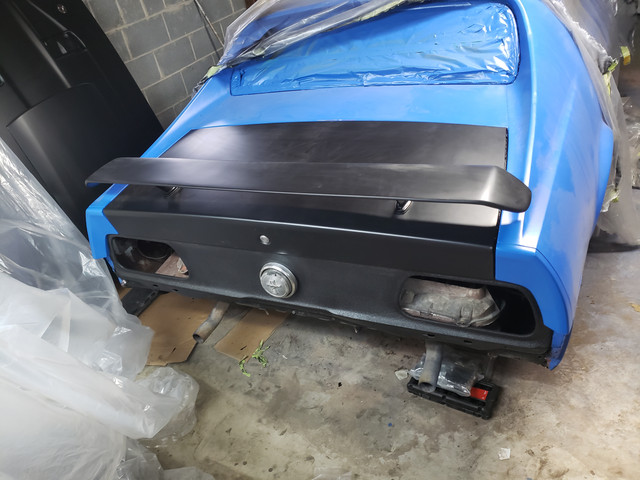
Finally got a little more done. After ripping some threads out of my aluminum intake I found a longer screw for the one corner. Then I realized I didnt need the bracket I made so I setup my spring system. Pulled off the fuel filter and started shaking it and rust just started coming out. So I'll be replacing it. I then installed the trunk finally. It was int he way I was starting to think I'd scratch it. I cant bekieve what a pain in the ass it was then get lined up. It's still too far to one side but without being able to shim it I dont know how to adjust that.
Last edited by a moderator:
JRANGER
Well-known member
- Joined
- Jun 4, 2018
- Messages
- 143
- Reaction score
- 2
- Location
- TENNESSEE
- My Car
- 73 Hardtop 302/c4
65 Fastback
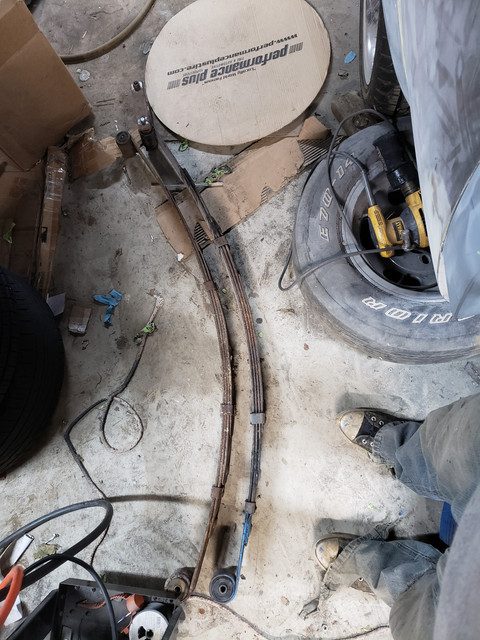
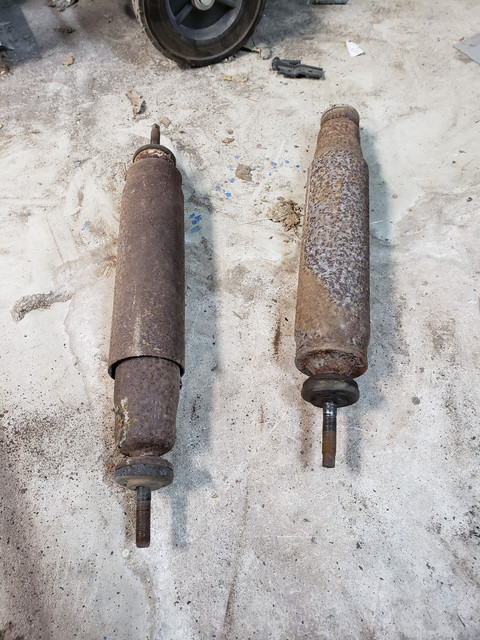
Well did a few more things on the engine and its nearly ready to get started and tuned. I moved on to the leaf springs. What a pain! I broke the bolt off one shock and had to cut the shackle bolt on the passenger side. Then on top of it the poly bushing I guess I ordered are a pain!! Plus the exhaust is in the way. I did change over to 5 leaf springs and I added a 1"
Similar threads
- Replies
- 10
- Views
- 536
- Replies
- 0
- Views
- 234
- Replies
- 117
- Views
- 8K