- Joined
- Mar 30, 2017
- Messages
- 2,400
- Reaction score
- 892
- Location
- The Netherlands
- My Car
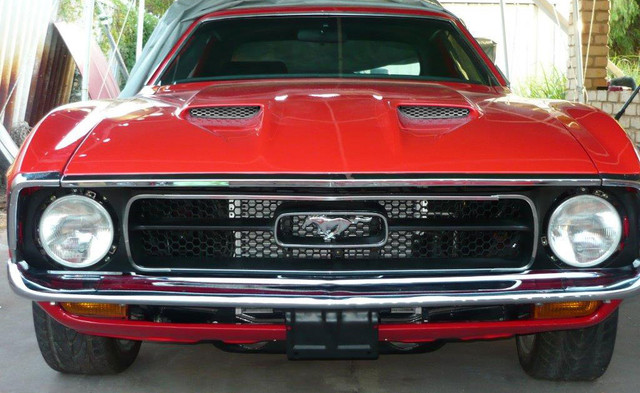
- 73 Grande 351C
71 Mach 1 429CJ
aw man... I know the energy you put into this baby. The excellent repair you did on the rear window filler, so sorry to see this.
When I got my 73 back from paint the first time like 25 years ago, spend the day after to put most of the accessories back and went for a ride. The cleveland freshly rebuild, I could not resist to burn bits of rubber and did some smoky circle... only I forgot the batt that I got relocated into the trunk wasn't secured yet. They was a loud bang. I let you guess what the batt attached to a long cable did from the inside to the bling bling quarter...
So yeah, don't be too mad at yourself, we all do mistakes and we usually do them when a fresh paint is applied, not before! Tho looking at the damage, you are one unlucky B..
The paint job you did looks awesome.