The clock works by rewinding the mainspring (the 45 seconds of excitement)
when the points short out and supply energy to the coils. You can manually
rewind the mainspring once the back is removed. The points look a lot like
the points in the distributor and next to them are two coils. When the points
make contact, after the mainspring winds down, it charges the coils resulting
in an electromagnet which "kicks" a hammer and rewinds the main spring.
This is full battery power and over time the points eventually fuse and that
results in fried coils. You can manually rewind the mainspring and the clock
will tick down. I love that tic tic tic sound and jerky second hand. So a friend
built a device that uses a capacitor bank to energize the coils hence no direct
connection to the battery. The points never wear out and once the caps have
fired, that's it, until the clock winds down. I think the schematic is in the public
domain, will have to ask the author Laser Sam. Google 'laser sam', he built the
device that makes my clock keep perfect time.
mike
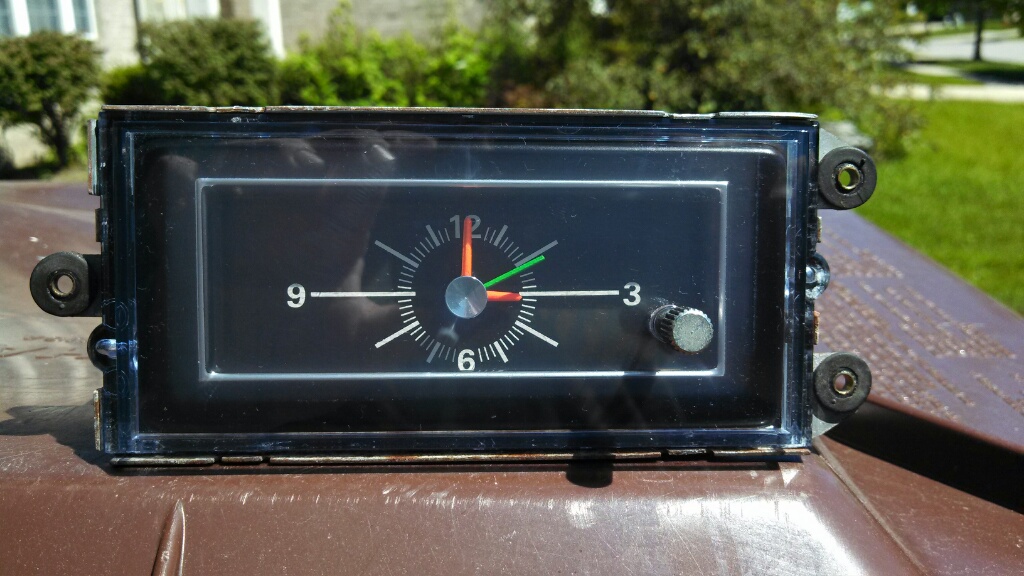
After goodnigh's tip I did get the knob off, was rusted on. Thanks again!
Pulled the clock apart and cleaned the face then polished most of the scratches off the lens.
Reassembled :
I see you have the grommets, those get lost first.
Good looking clock, now we got to make it work!
mike


")