cudak888: 1971 M-code "Soylent Green" - 2024: Help me measure the frame!

7173Mustangs.com

Help Support 7173Mustangs.com:

This site may earn a commission from merchant affiliate links, including eBay, Amazon, and others.
NOT an acceptable repair method..

I've not found this! What documentation is this based off of?
I-Car..the standard of the collision industry..

http://www.i-car.com/html_pages/training_programs/welding/structural.shtml

I have this certification..
Sorry, still can't find it.
Take the course..or call any I-car certified collision shop...Ask them if it's ok to to use flux core & gas together when replacing a trunk floor (considered a structural piece) as a approved repair procedure..On the other hand it really doesn't matter..I get the fact that you & your friend the welder are hobbyists having fun building a car the way you guys see fit..For me it was a different story since I did this as a living..When a family came in to my shop I had an obligation to repair their vehicle back to pre accident condition while retaining the built in crumple zones..in other words I could be liable if they got in another accident & my work didn't perform properly to protect them..So by getting certified in the proper repair techniques I felt confident When a Mom who takes her kids in a car I repaired got in an accident..The crush zones / work I performed would protect them as designed from the factory...bottom line..if using flux core & gas together was safe good repair technique you would see all shops using it..They don't & It would be taught in training for techs..Your not gonna tell me your pal knows better than I-Car..Who by the way if you look at the web site does training for o.e.m.'s He may have years of experience welding..but he doesn't have years of working in the collision industry..Go take a Class you might be surprised what you learn..

Here's the I-car vision statement from their web site

The I-CAR Vision

The I-CAR vision is that every person in the collision industry, current and future, has the necessary knowledge and skills relevant to their position to achieve a complete and safe repair.

Formed by the collision industry in 1979, I-CAR, the Inter-Industry Conference on Auto Collision Repair, is an international, not-for-profit training organization. All I-CAR activities and resources focus on helping the industry achieve a high level of technical training.

I-CAR develops and delivers technical training programs to professionals in all areas of the collision industry. In addition, I-CAR provides a communication forum for anyone interested in proper collision repair. I-CAR's primary funding is derived from student tuition and services. This assures that I-CAR can remain unbiased in developing programs and services on an industry-wide basis.

I-CAR’s mission is that I-CAR will be the leader in research, development and delivery of quality, convenient, cost-effective educational programs for the collision industry.

We will fulfill our mission by:

Raising the level of knowledge and skills required of individuals involved in the repair process.

Preparing individuals for career opportunities and advancement.

Administering programs to recognize professional achievement.

Improving communication and promoting the value of education throughout the collision repair, insurance, and related industries.

Creating public awareness of a complete and safe repair.

 
They don't & It would be taught in training for techs..
Might I ask what the properties are of such a weld that make them structurally unsafe? Does the sheilding gas keep the fluxcore too cool, thereby causing insufficient adhesion/penetration (and therefore a weld that might snap on impact)?

-Kurt
I don't have the answer to that....But..I'm sure an I-car instructor would..They do the testing analysis & work hand in hand with o.e.m.'s on repair techniques..materials to use...My guess is that flux is corrosive..so unless a proper neutralizing technique is used... down the road it could promote a break down of metal surrounding the weld...

 
I don't have the answer to that....But..I'm sure an I-car instructor would..They do the testing analysis & work hand in hand with o.e.m.'s on repair techniques..materials to use...My guess is that flux is corrosive..so unless a proper neutralizing technique is used... down the road it could promote a break down of metal surrounding the weld...
Seeing that MIG has since replaced brazing as the primary technique for these repairs, I assume I-car categorizes brass repairs as similarly unsafe due to the difficulty of removing all flux after brazing (not to mention general strength comparisons)?

-Kurt

 
Last edited by a moderator:
Practiced MIG welding on some scrap for the first time today. Couldn't have been more successful - perfect penetration and weld pooling.

Time to make a nice big order at NPD :D

-Kurt

 
Last edited by a moderator:
Practiced MIG welding on some scrap for the first time today. Couldn't have been more successful - perfect penetration and weld pooling.

Time to make a nice big order at NPD :D

-Kurt
Sweet Practice makes perfect...::goodjob::

 
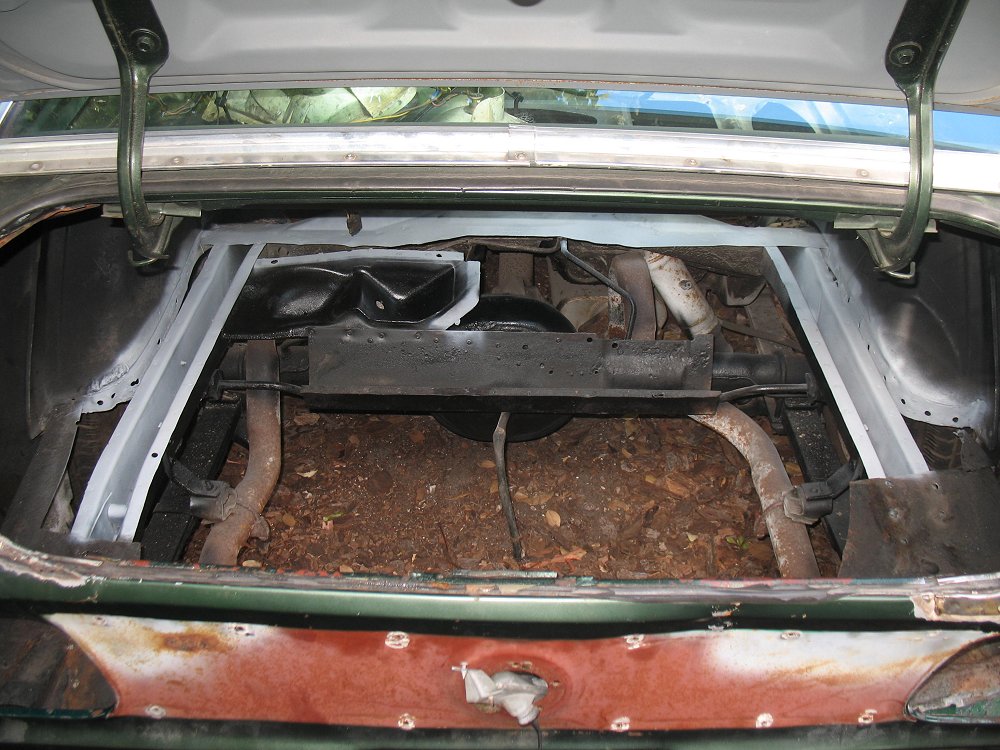
Ground everything smooth today and prepped it with a carload of Eastwood stuff. Time to find something to weld between the frame rails before I take out the rest.

I made it a point to fix the drain hole in the staggered shock mount too. Both are free and clear now.

71_mustang_89.jpg


Gas tank hanger still has to come out too.

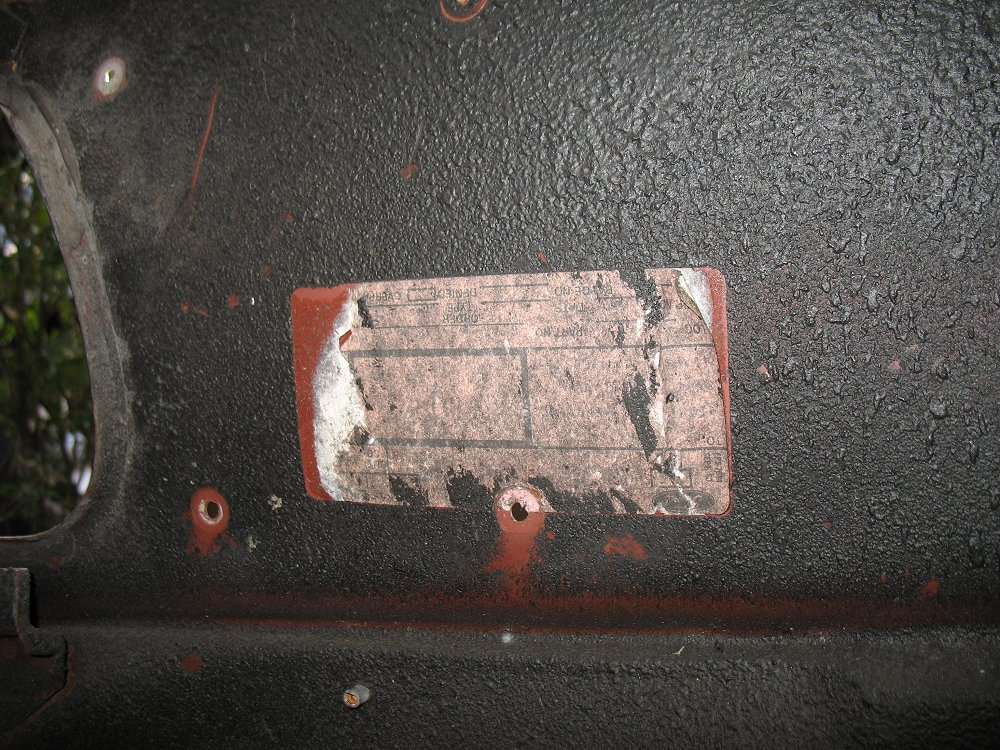
Incidentally, the previous taillight panel replacement goes back quite a bit. I unearthed a Ford part sticker under the black splatter paint:

71_mustang_90.jpg


-Kurt

 
Last edited by a moderator:
About time there's some progress.

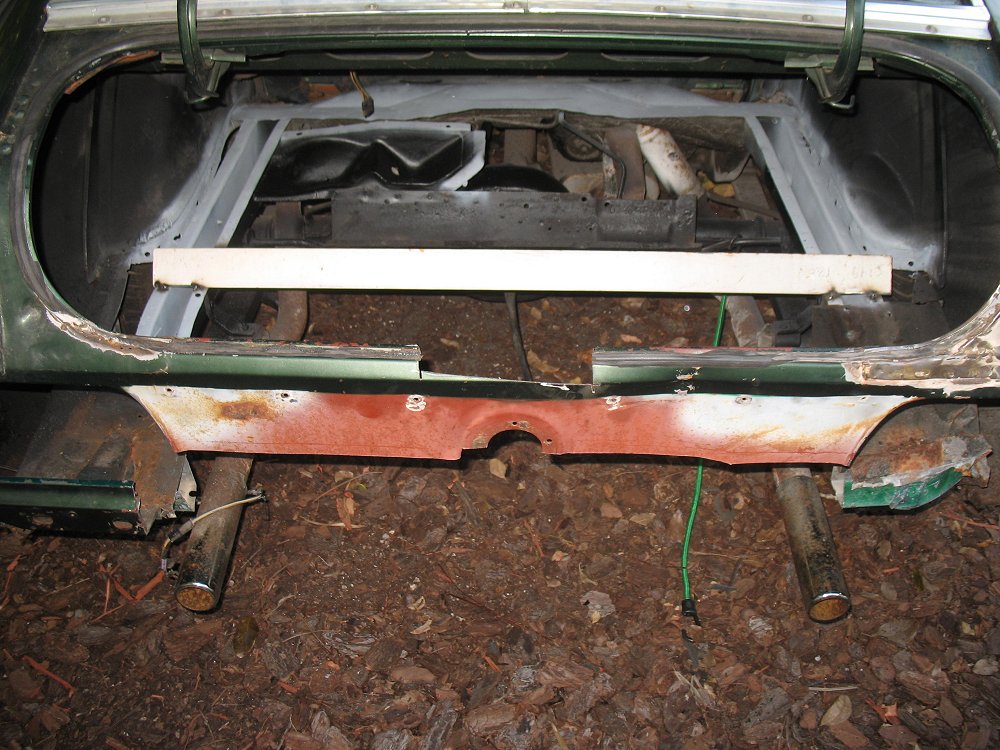
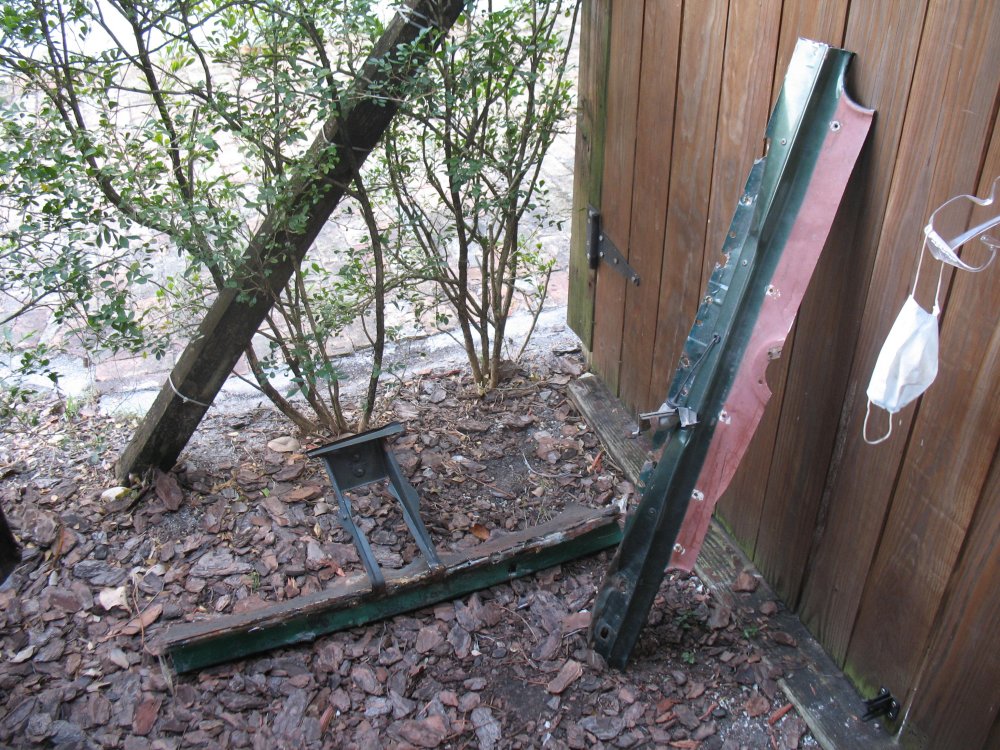
Welded (not too well, but what can you do when you're trying to weld 1/8"-thick steel onto frame rails made of Kleenex?) in my own version of the Redneck Gas Tank Hammock to hold the frame rails together, then cut out the subframe connector at the back.

71_mustang_91.jpg


71_mustang_92.jpg


71_mustang_93.jpg


Called it quits once the subframe connector was out - sun was already going down for the day.

-Kurt

P.S.: How is the trunk latch mount supposed to sit? The Ford dealer that did the garbage tail light panel swap stuck the bottom tabs of the latch mount between the taillight panel and the subframe connector. Is that the correct manner to mount it?

 
Last edited by a moderator:
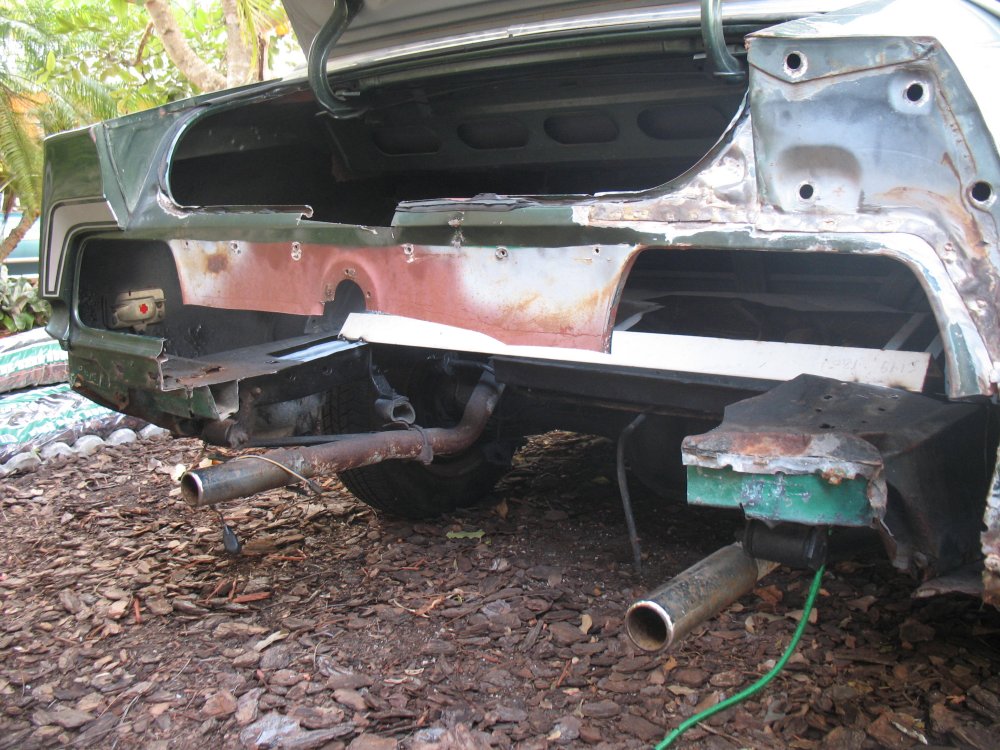
Morning update: No more trunk floor. Gone. Vamoose.

The quarter panel extension (where the valance bolts to) is in VERY bad condition - note that there isn't much welded around the back of the dropoff. I'm certain that I'll have to patch it.

Note the lousy dealer-repair brazing under the chopped taillight panel buried under 1/8" of bodyfiller (which, to it's credit, seems to have held up VERY well):

71_mustang_94.jpg


71_mustang_95.jpg


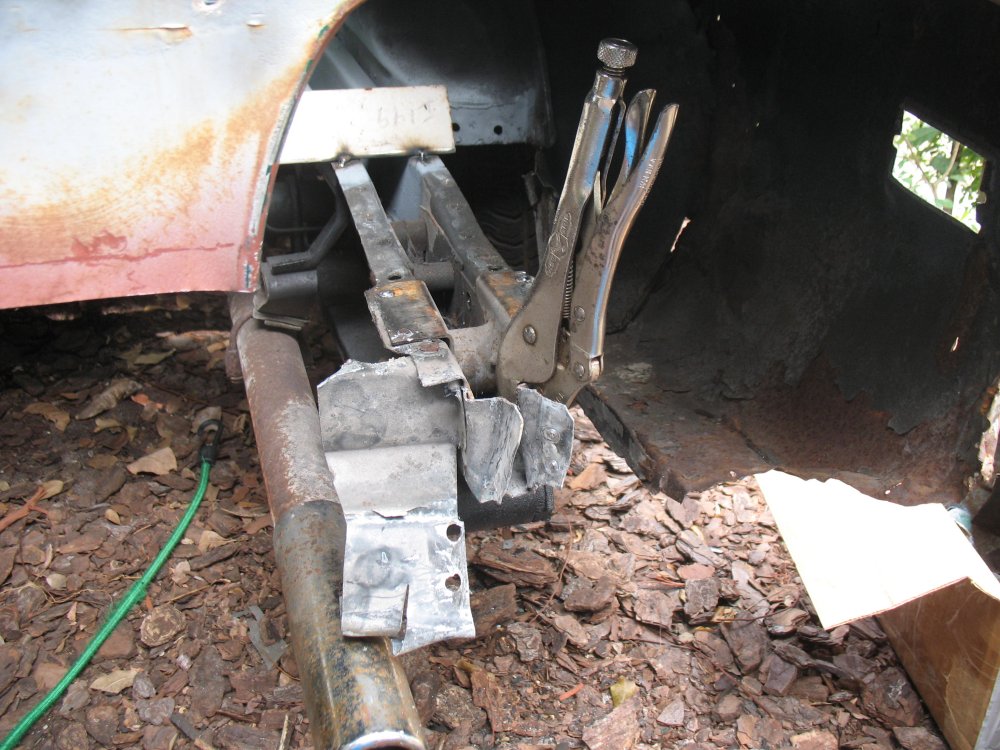
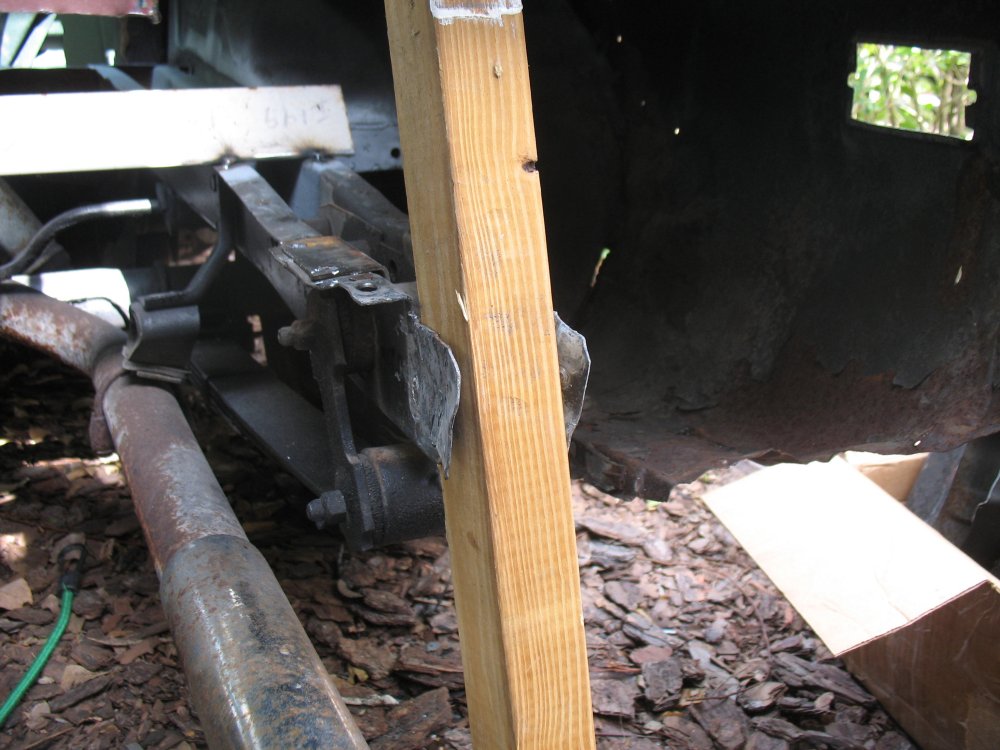
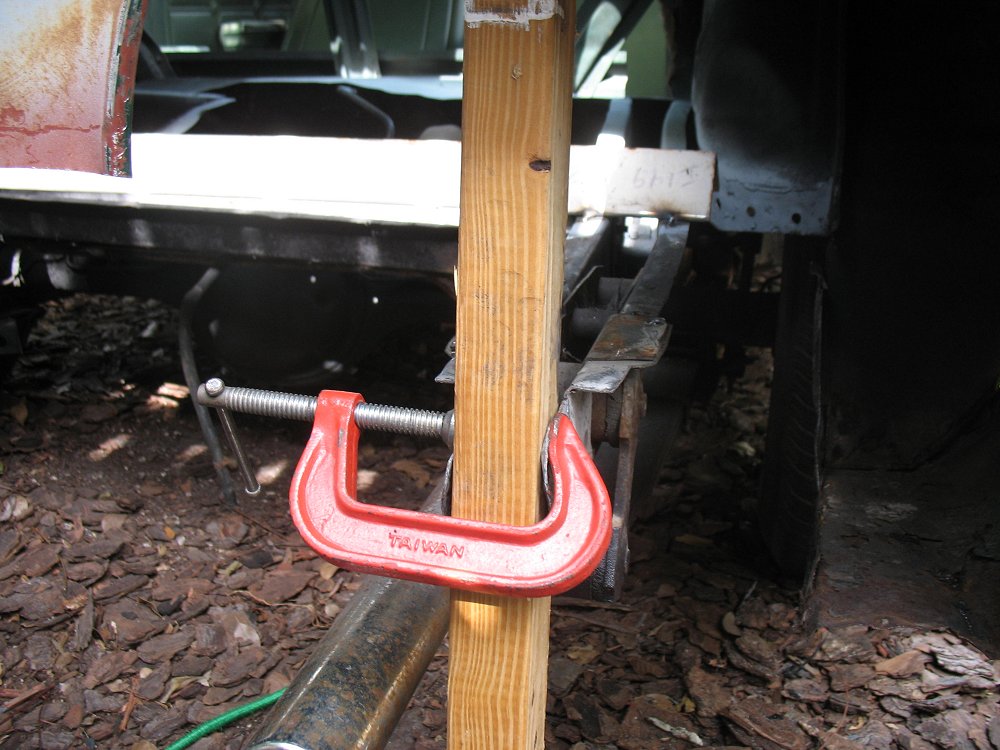
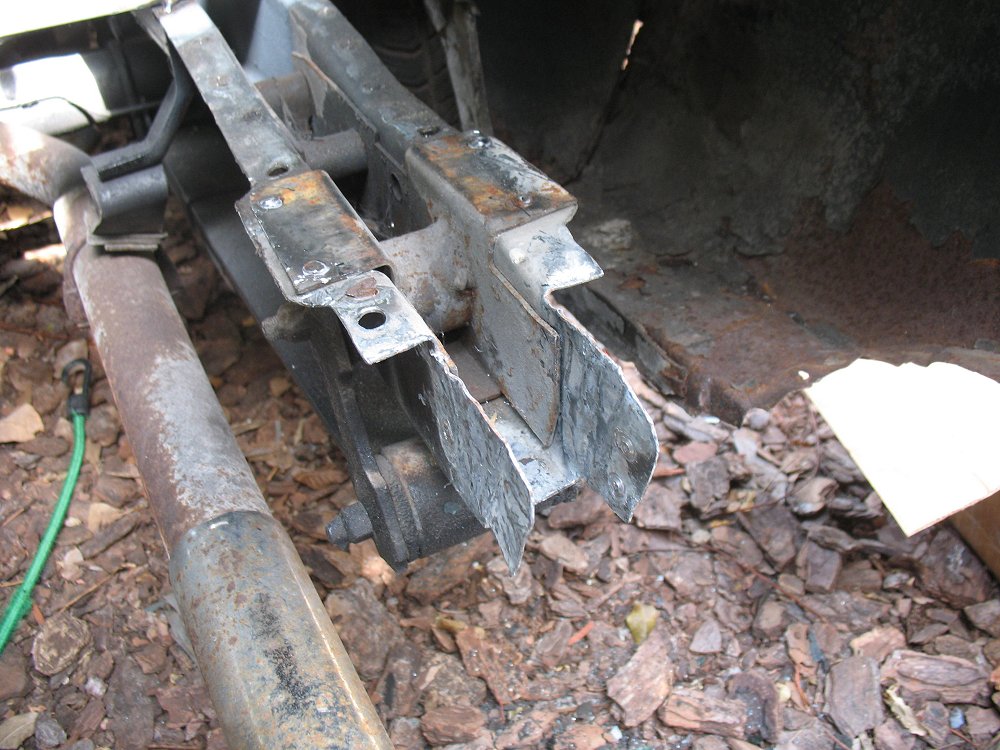
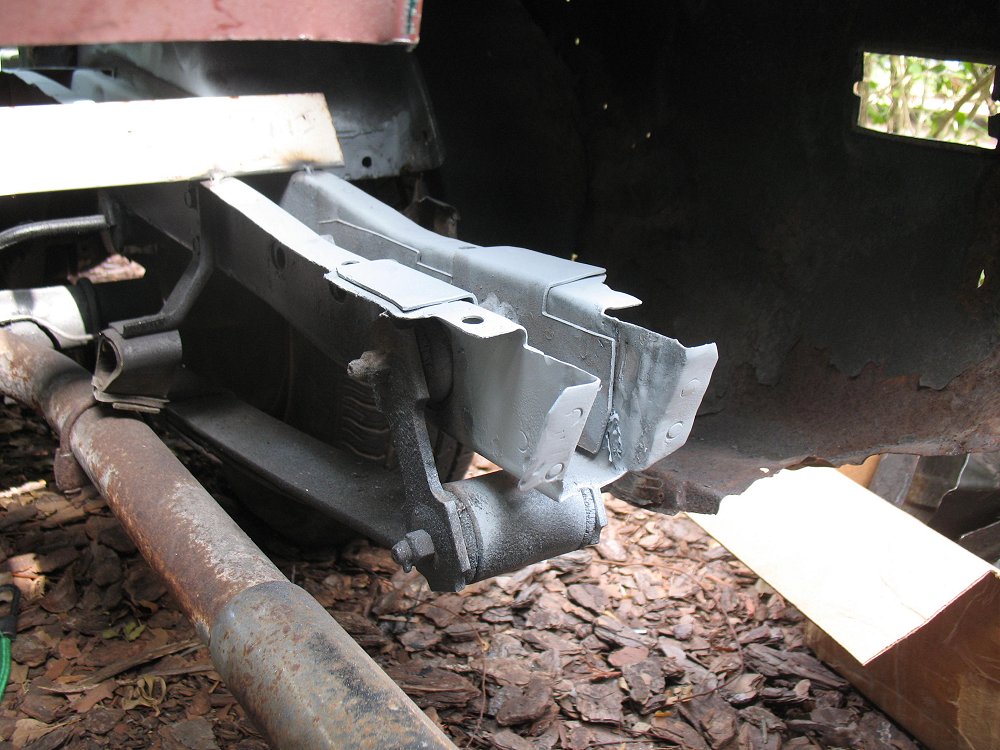
Got the damage removed on the right side. The frame rail was bent more than you see in the first photo, but I started repairing it before I thought to photograph it.

71_mustang_96.jpg


71_mustang_97.jpg


Easy-squeezie...

71_mustang_98.jpg


71_mustang_99.jpg


Done.

71_mustang_100.jpg


And the rear floor crossmember is in :D

71_mustang_101.jpg


71_mustang_102.jpg


The right frame rail fixed up correctly, and everything measures up within 1/8".

-Kurt

 
Last edited by a moderator:
Do yourself a favor & get some ESAB All-State Easy Grind 023 wire..BIG difference in the way it welds & grinds..YOU can thank me later

http://www.weldingsupply.com


Get the easygrind stuff as per Scott - it welds like butter.
I just ordered a roll of that Easy Bake Oven welding wire. I'll thank you now...thanks for the tip Scott.


Looking good Kurt.

 
Last edited by a moderator:
The first new panel is officially in. I had a bit of trouble finding just the right voltage to heat the new rear floor crossmember (not to mention the wind picked up), so some of the first welds were cold and useless (in short, no pictures of the welds so you can laugh at me).

Suffice it to say that I found the right voltage and got some good, solid welds down. My back was killing me from the first few go-arounds, so I tacked it in for now and resolved to be content with it until I can do the rest.

71_mustang_103.jpg


71_mustang_104.jpg


71_mustang_105.jpg


I threw some rubberized undercoating on the areas that won't receive any welds; yet, are easily accessible to road grime despite being covered by the floor.

-Kurt

 
Last edited by a moderator:
Lookin' awesome! Good call on getting some primer or at least something inside the frame rails. While I had mine apart, I ran some Rust Bullet through the frame rails all the way down to the torque boxes, by using a sponge on a flexible magnet. Sealing it up while you have access is the main point, so I'm sure whatever you use along those lines will be fine.

 
Lookin' awesome! Good call on getting some primer or at least something inside the frame rails. While I had mine apart, I ran some Rust Bullet through the frame rails all the way down to the torque boxes, by using a sponge on a flexible magnet. Sealing it up while you have access is the main point, so I'm sure whatever you use along those lines will be fine.
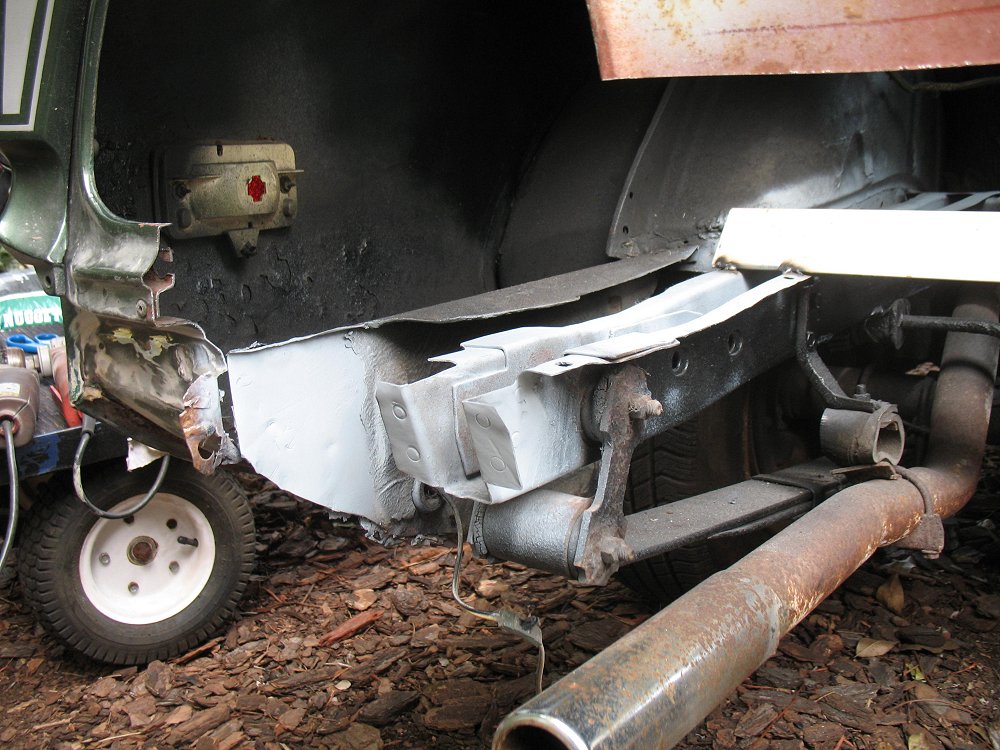
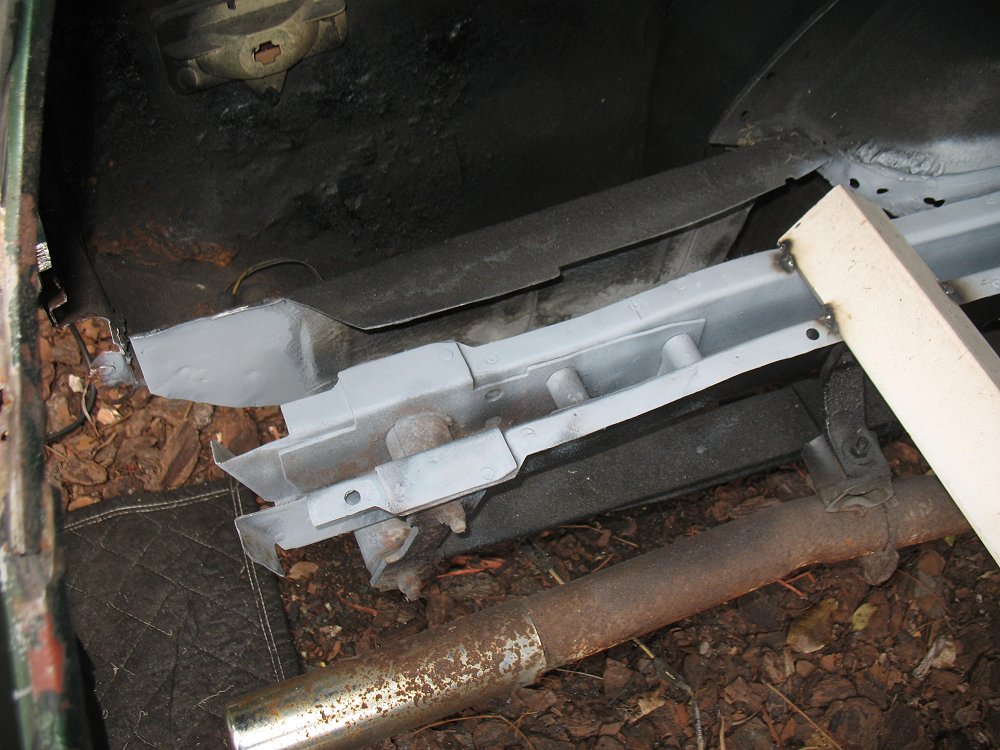
I sprayed Eastwood Rust Encapsulator in the framerail channel first (the spray nozzle on that stuff makes it VERY easy to cover the entire channel without missing anything either), but made it a point not to cover the areas to be welded with it - then I sprayed the edges with weld-through primer.

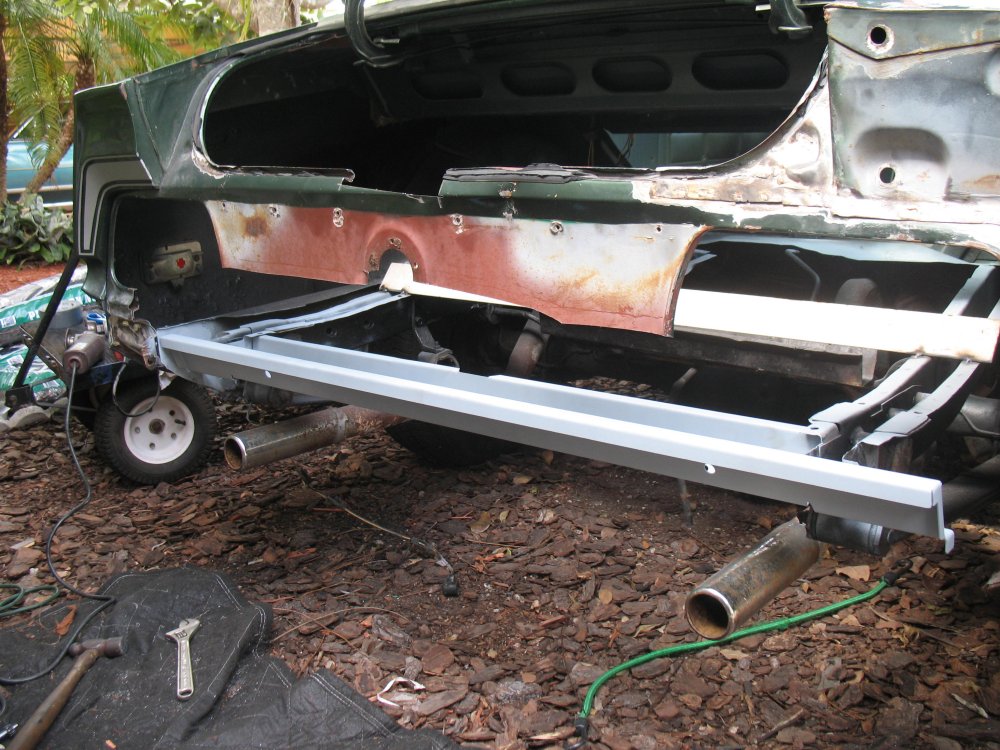
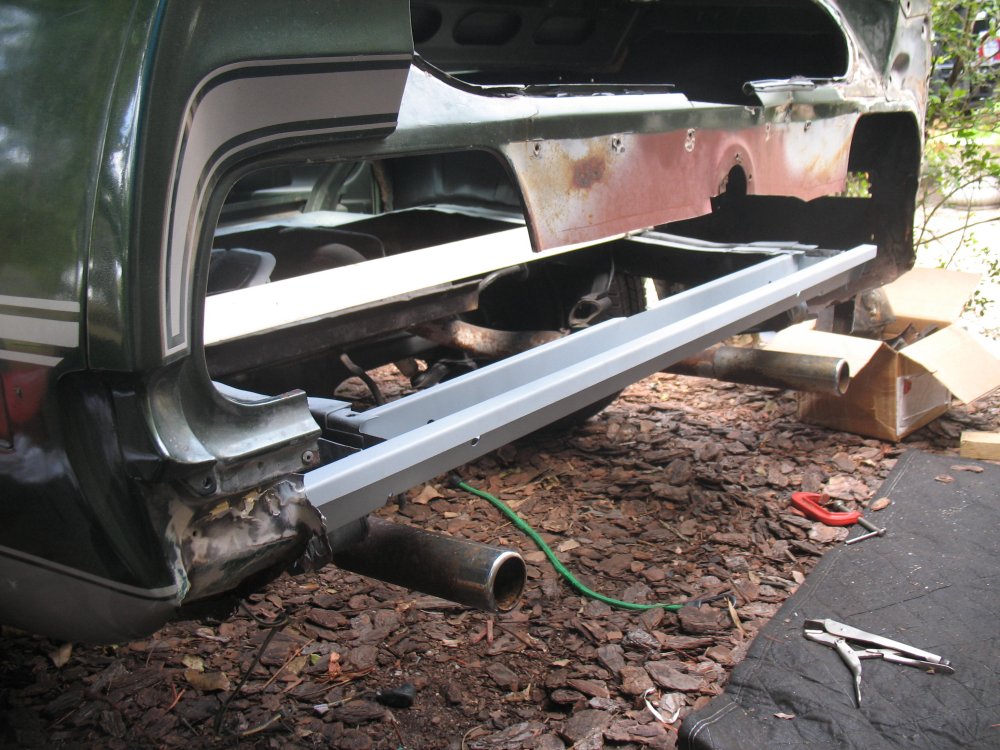
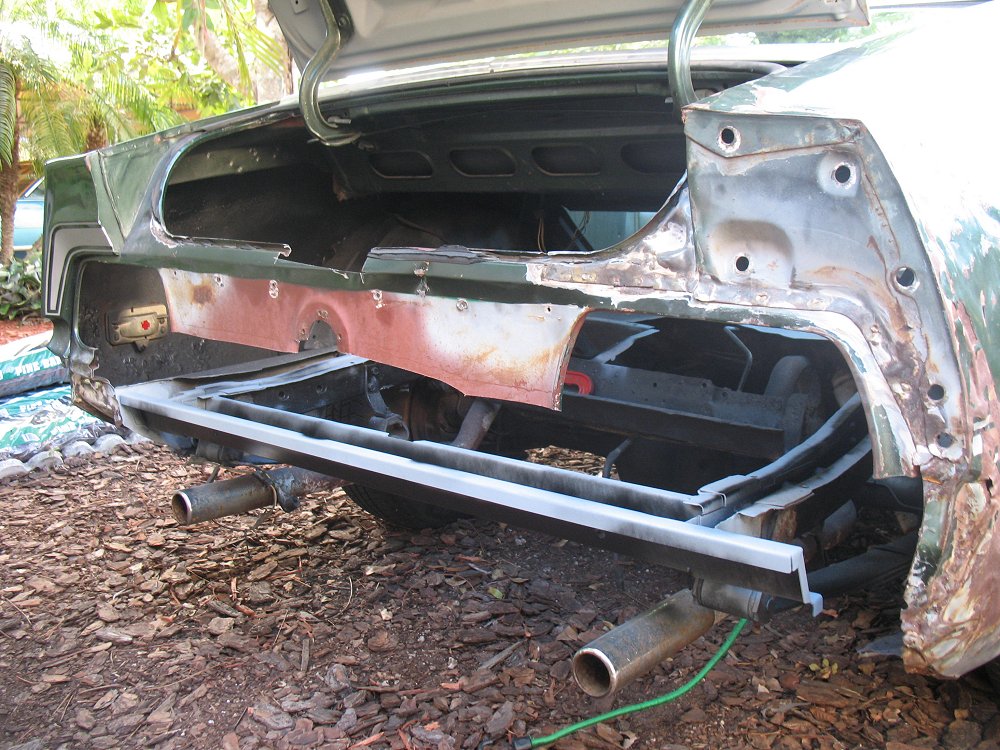
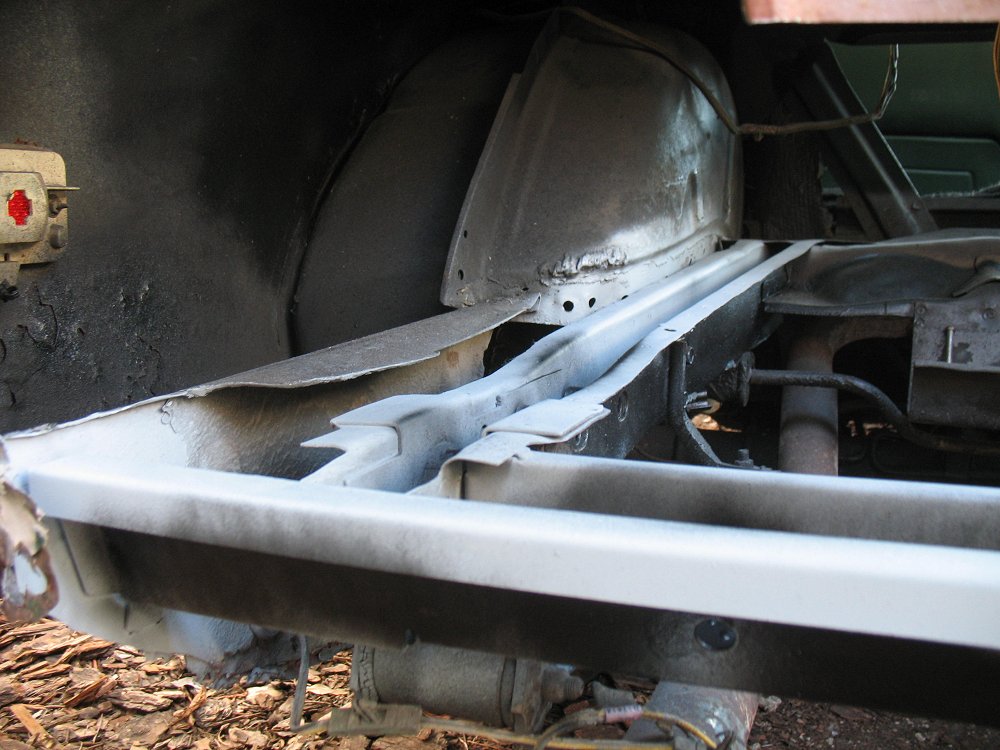
Granted, the grey primer completely hid the fact I had put Rust Encapsulator in the channel, but it's there. You can see that I put a bit more of the black Encapsulator over the edges after I welded the subframe connector in.

I had considered Rust Bullet too, but I can only do (and tolerate) so much without aggravating the neighbors or my nose. The Eastwood stuff has made a good enough track record for itself and is quick enough to apply without any fuss, so I went for it.

I ran out of the stuff too in the process...time to go to NAPA again.

-Kurt

 
Last edited by a moderator:
Lookin' awesome! Good call on getting some primer or at least something inside the frame rails. While I had mine apart, I ran some Rust Bullet through the frame rails all the way down to the torque boxes, by using a sponge on a flexible magnet. Sealing it up while you have access is the main point, so I'm sure whatever you use along those lines will be fine.
I sprayed Eastwood Rust Encapsulator in the framerail channel first (the spray nozzle on that stuff makes it VERY easy to cover the entire channel without missing anything either), but made it a point not to cover the areas to be welded with it - then I sprayed the edges with weld-through primer.

Granted, the grey primer completely hid the fact I had put Rust Encapsulator in the channel, but it's there. You can see that I put a bit more of the black Encapsulator over the edges after I welded the subframe connector in.

I had considered Rust Bullet too, but I can only do (and tolerate) so much without aggravating the neighbors or my nose. The Eastwood stuff has made a good enough track record for itself and is quick enough to apply without any fuss, so I went for it.

I ran out of the stuff too in the process...time to go to NAPA again.

-Kurt
You're doing a fine job, Sir. Dare I say even better than mine. I didn't think to punch holes in the new pan and plug-weld it to the frame rails - I just welded the edges of the frame rails to the trunk pan above from the underside (mine is on a drive-on lift, so it's a lot easier for me to work underneath than most). I'm building a daily driver for me, not so much restoring an actual valuable car like yours. ;)

 
You're doing a fine job, Sir. Dare I say even better than mine. I didn't think to punch holes in the new pan and plug-weld it to the frame rails - I just welded the edges of the frame rails to the trunk pan above from the underside (mine is on a drive-on lift, so it's a lot easier for me to work underneath than most). I'm building a daily driver for me, not so much restoring an actual valuable car like yours. ;)
I haven't punched a single hole yet - the rear frame crossmember was put on as you describe. Granted, I plan to rectify that the next time I'm out there, mainly as it'll be easier than scraping out the mess I've already made inside :dodgy:

Valuable? Hardly - and I intend to daily-driver this one too. I realize it's a big job, but I could not get away with just doing the quarter panel replacement - the rear crossmember and taillight panel had to be fixed, and with them, the trunk floor.

Either way, we'll both get a kick out of our little projects once they're done. Heck, it would not be as much fun if we didn't get to immerse ourselves in them to start with.

-Kurt

 
Last edited by a moderator:
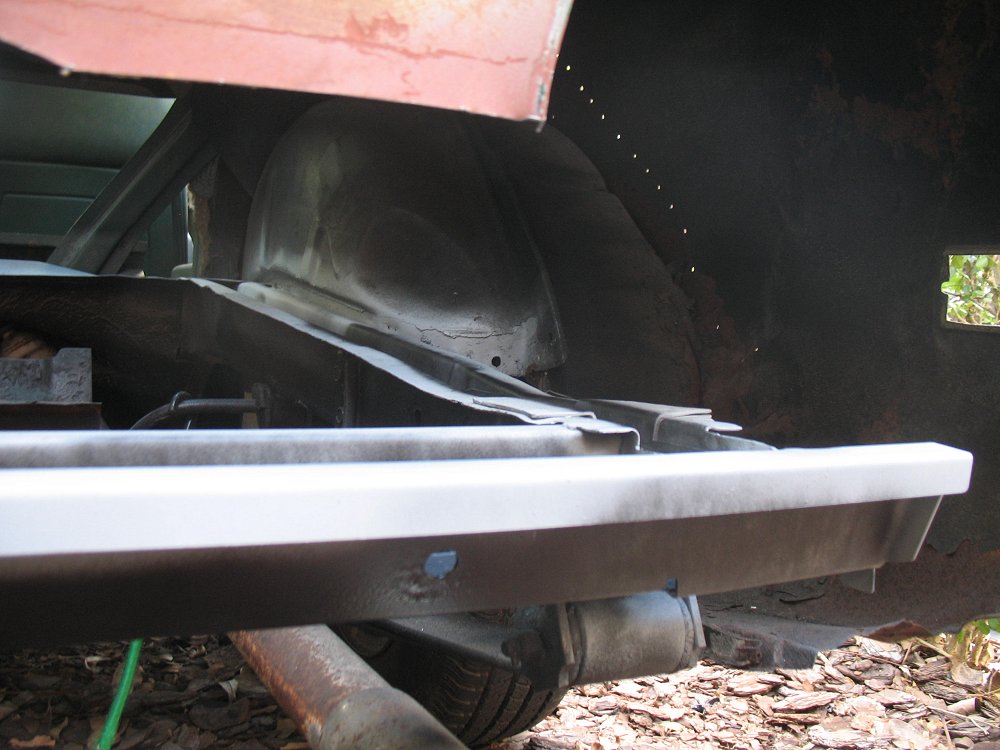
Put some (very successful, if difficult due to the lack of anywhere to rest my arm) welds in this morning - the subframe connector isn't going anywhere now.

-Kurt

 
Put some (very successful, if difficult due to the lack of anywhere to rest my arm) welds in this morning - the subframe connector isn't going anywhere now.

-Kurt
Kurt,

That's the rear frame connector. Sub frame connectors connect the front frame rails to the rear ones.

 
Back
Top