cudak888: 1971 M-code "Soylent Green" - 2024: Help me measure the frame!

7173Mustangs.com

Help Support 7173Mustangs.com:

This site may earn a commission from merchant affiliate links, including eBay, Amazon, and others.
Let me recap this to make sure I have it right then:

A. Planish both sides (or as much as I can)

B. Bump the seam/HAZ with dolly-on-dolly from both sides to stretch the HAZ outwards

C. Now that the HAZ has been stretched to compensate for the shrinking, take the shrinking disk and shrink it back down, just at the point it should be.

D. Finish the remainder of planishing until welds are as smooth as possible (without damaging the metal).

E. Hope that I don't need too much polyester body filler after all of this.

-Kurt
You got it ..The only thing is your first skim coat of filler on the outside seam

should be mar glass /fibral pressed in as tight as possible along the seam..from there on use rage or what ever filler your using
Q do you have video of you doing this?
I don't of that exact procedure..but there are plently of vids on you tube on how to use a shrinking disc..the only vid I have is of how to grind the welds down..

 
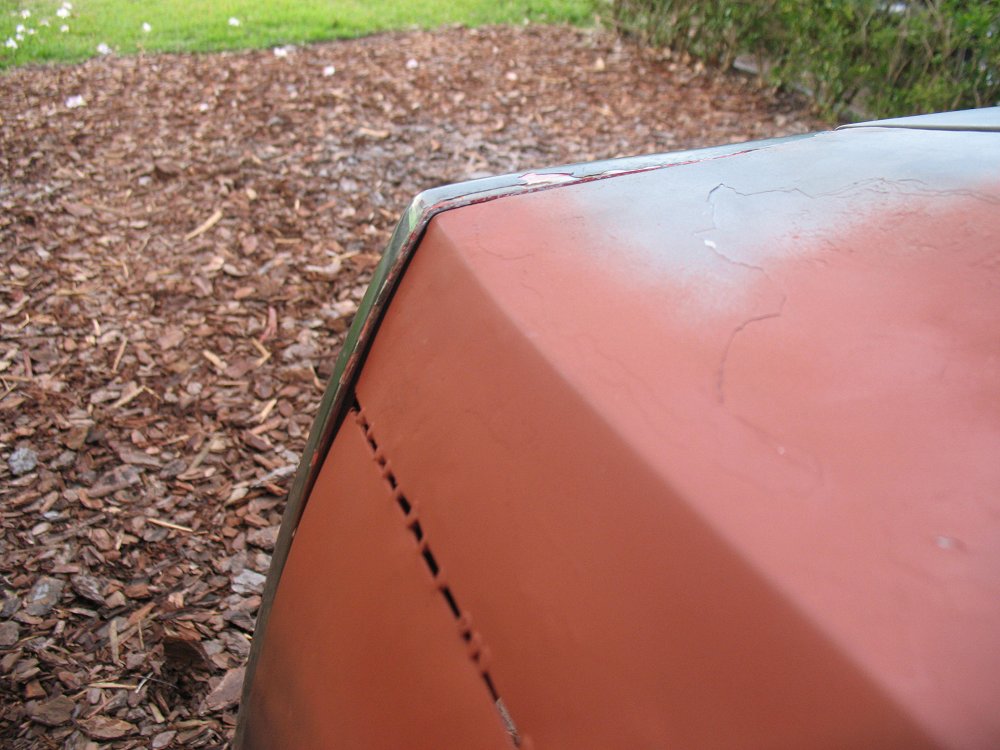
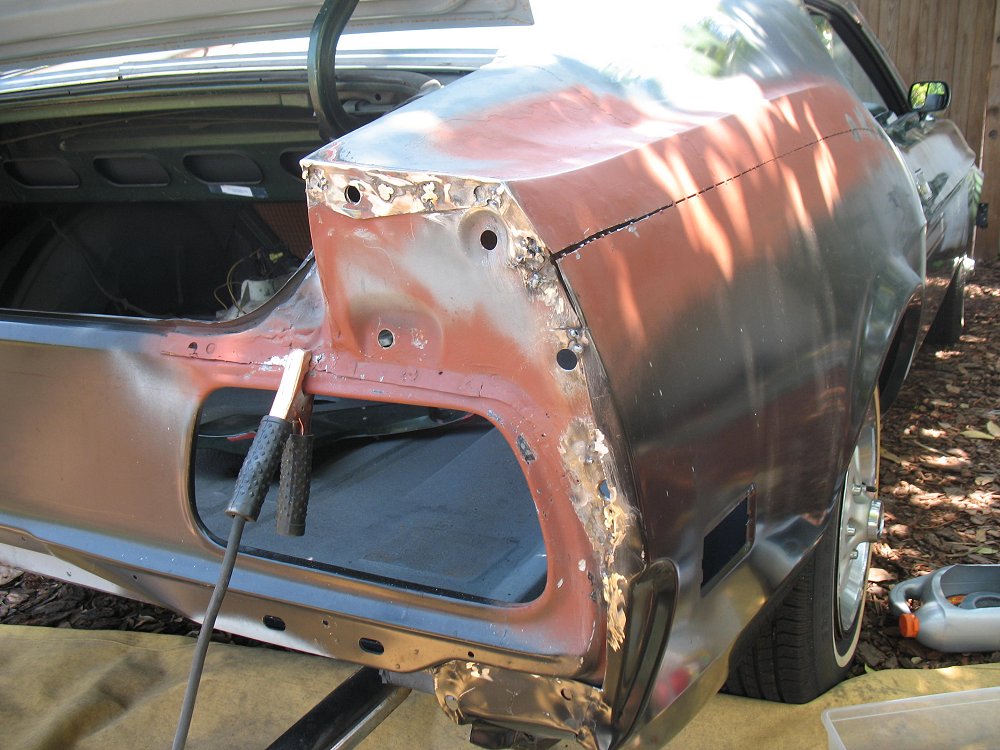
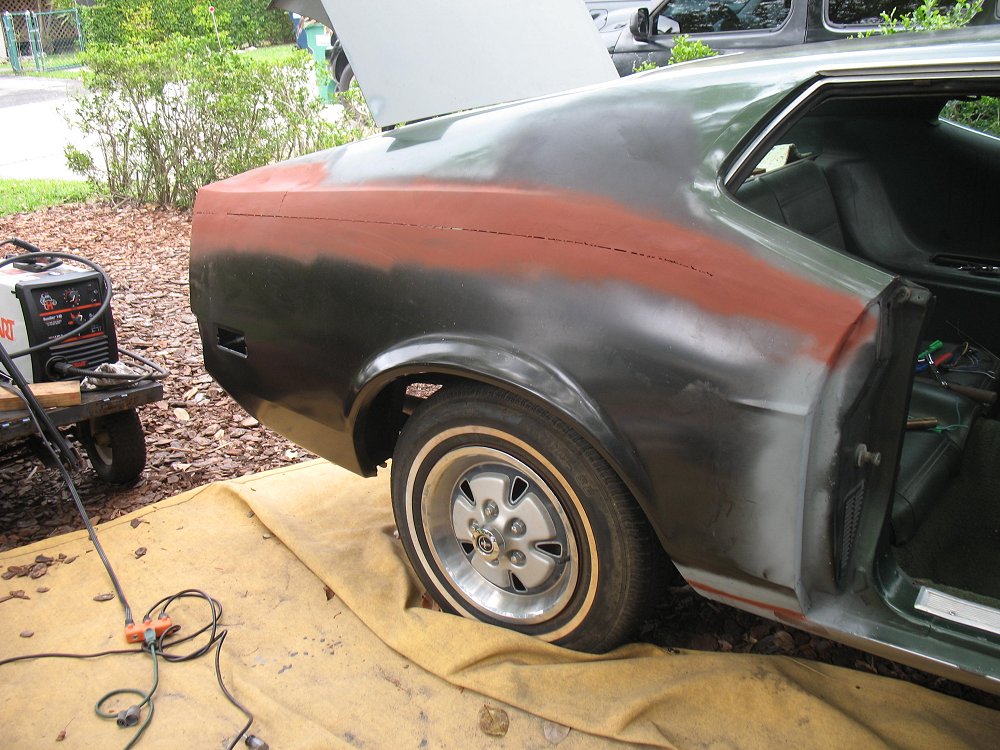
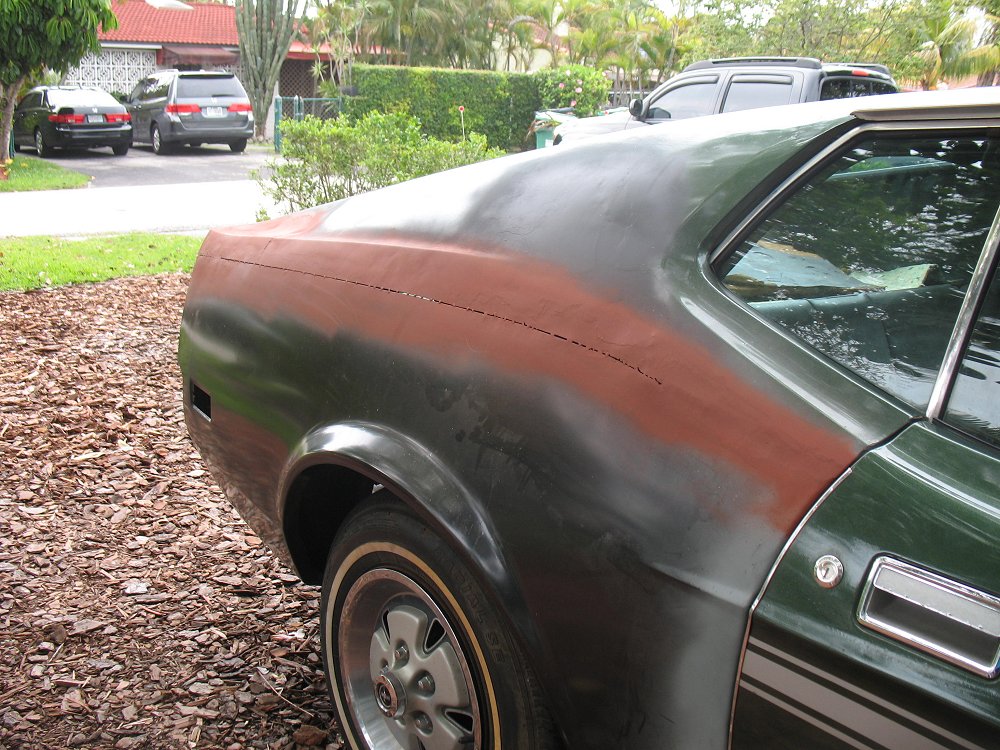
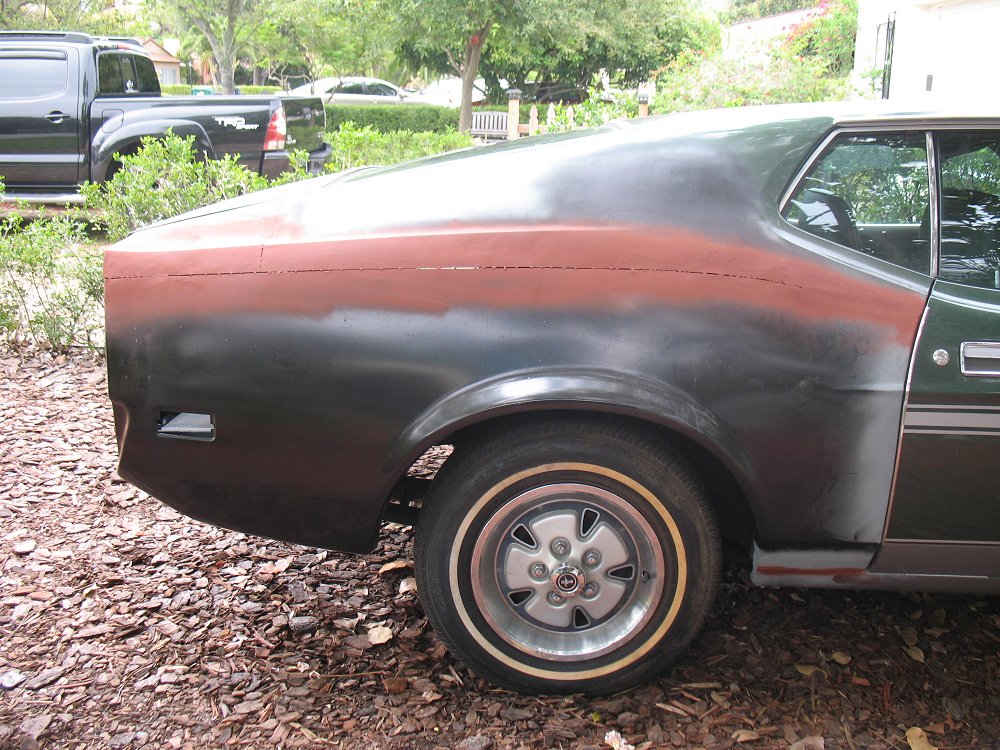
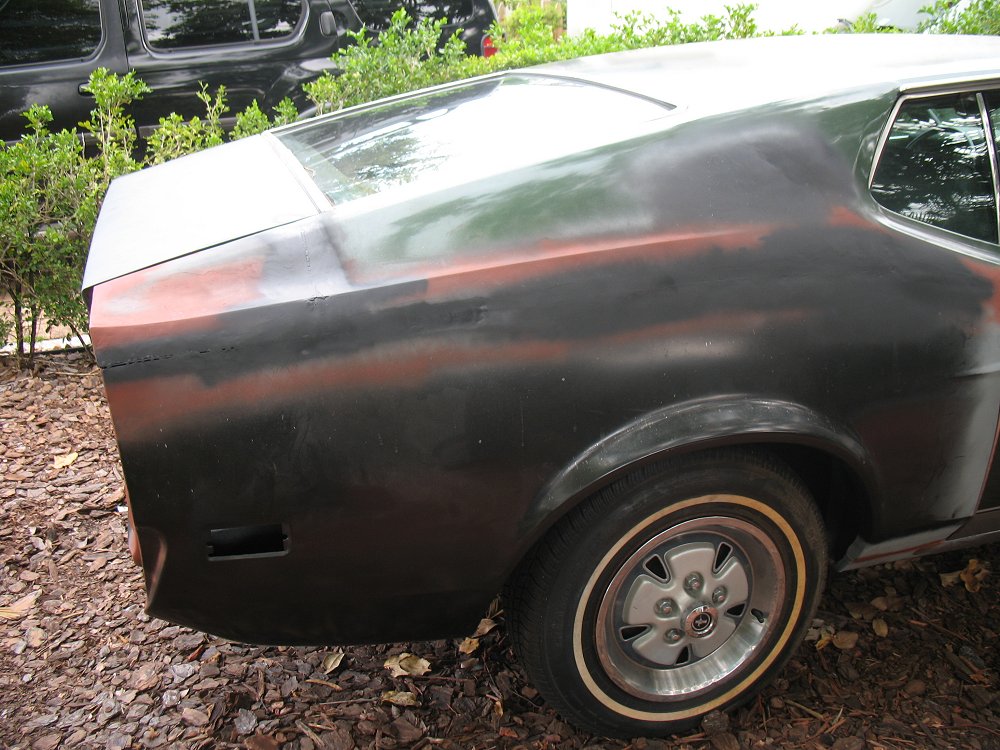
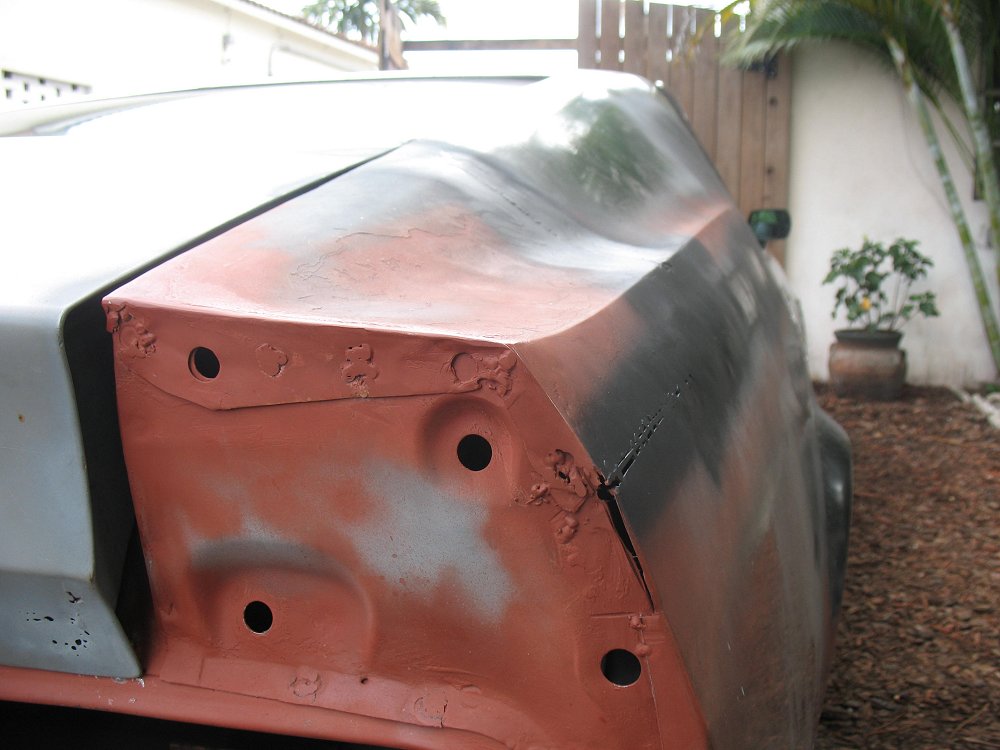
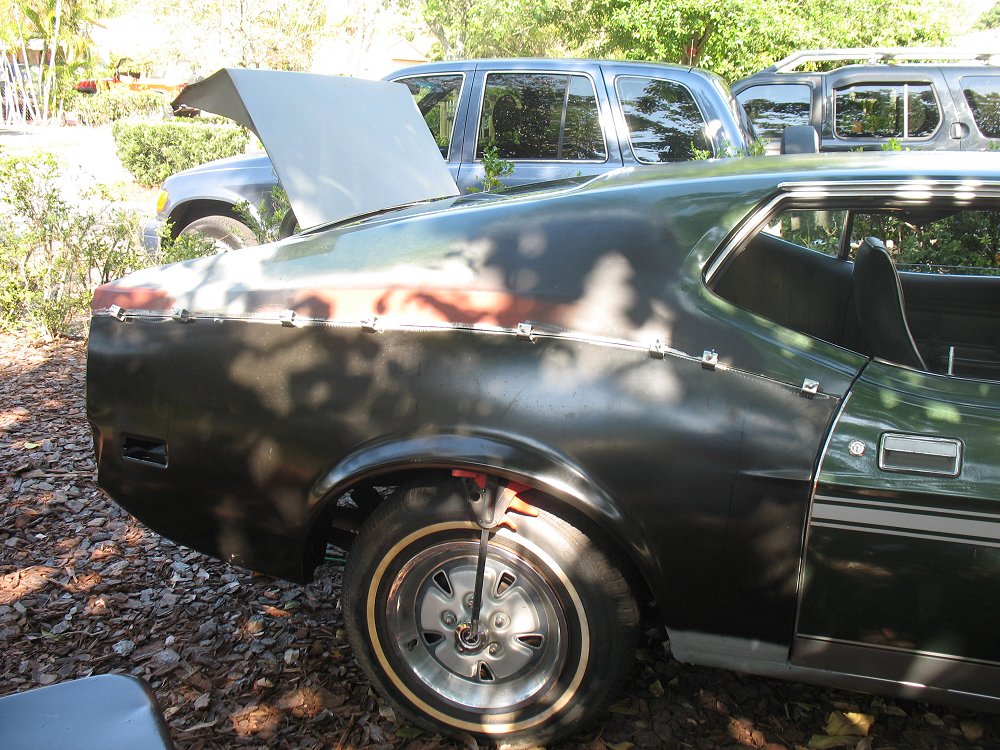
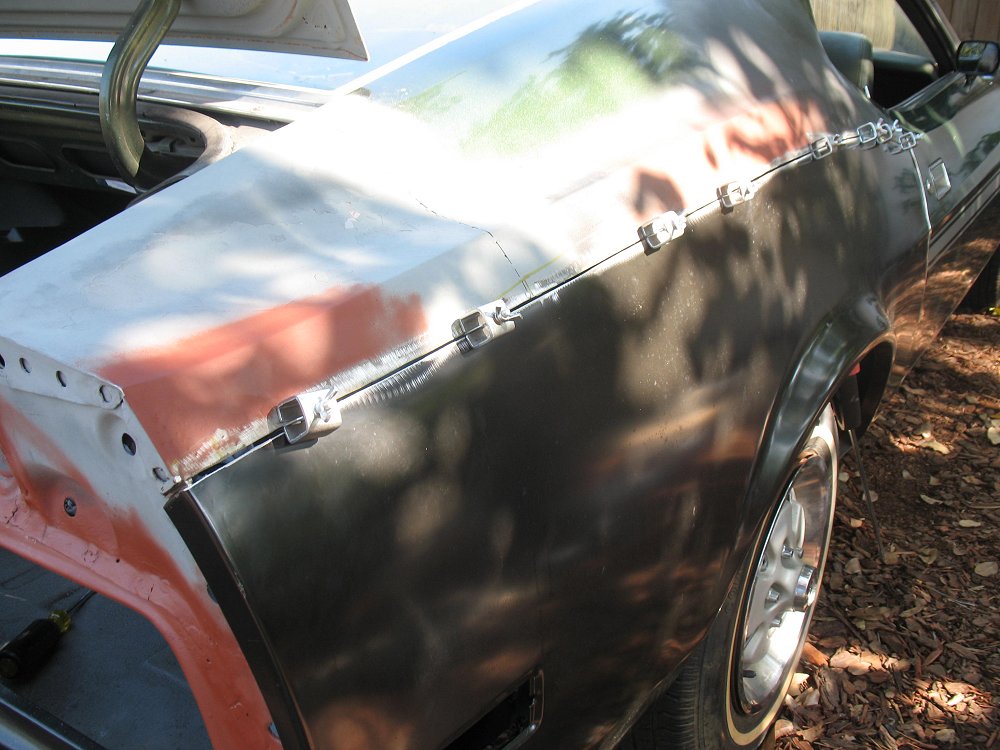
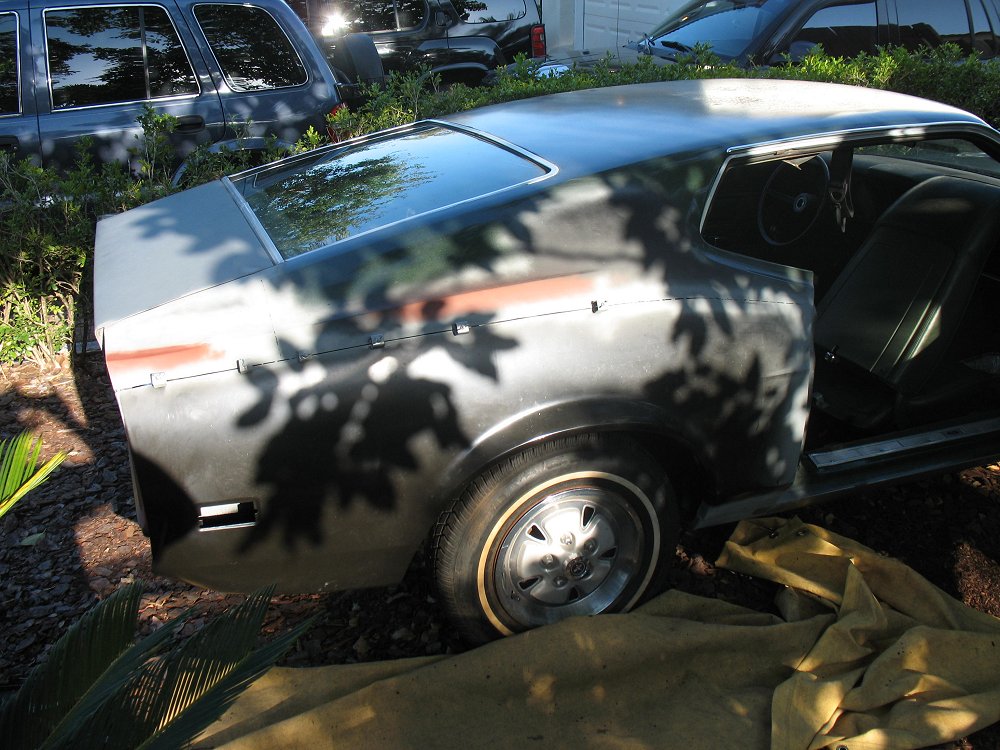
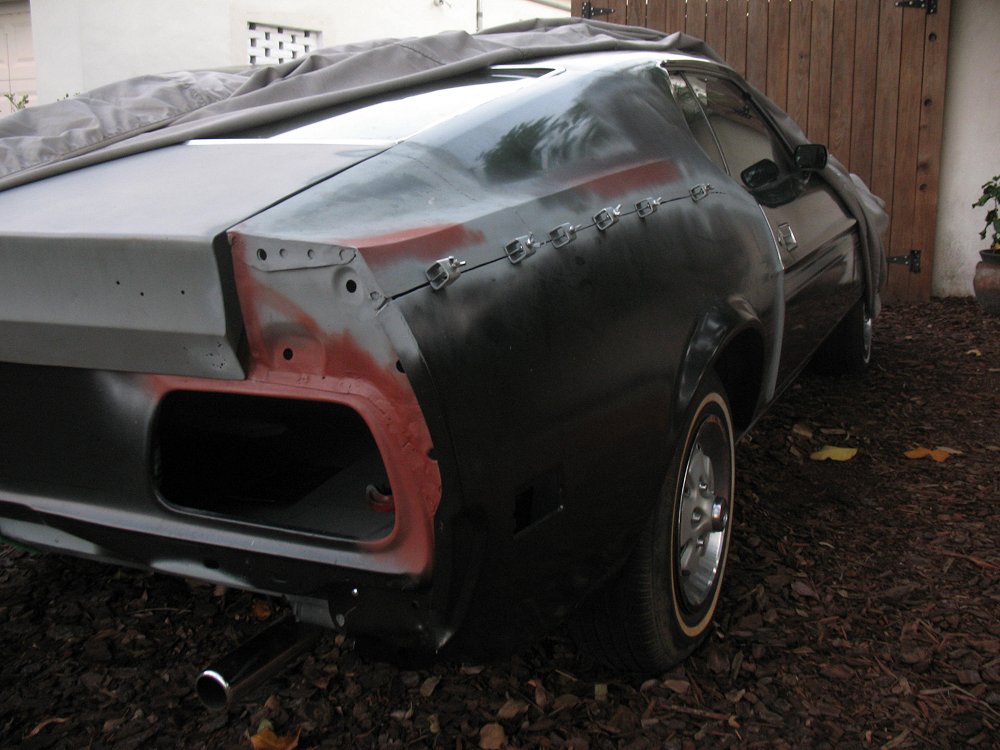
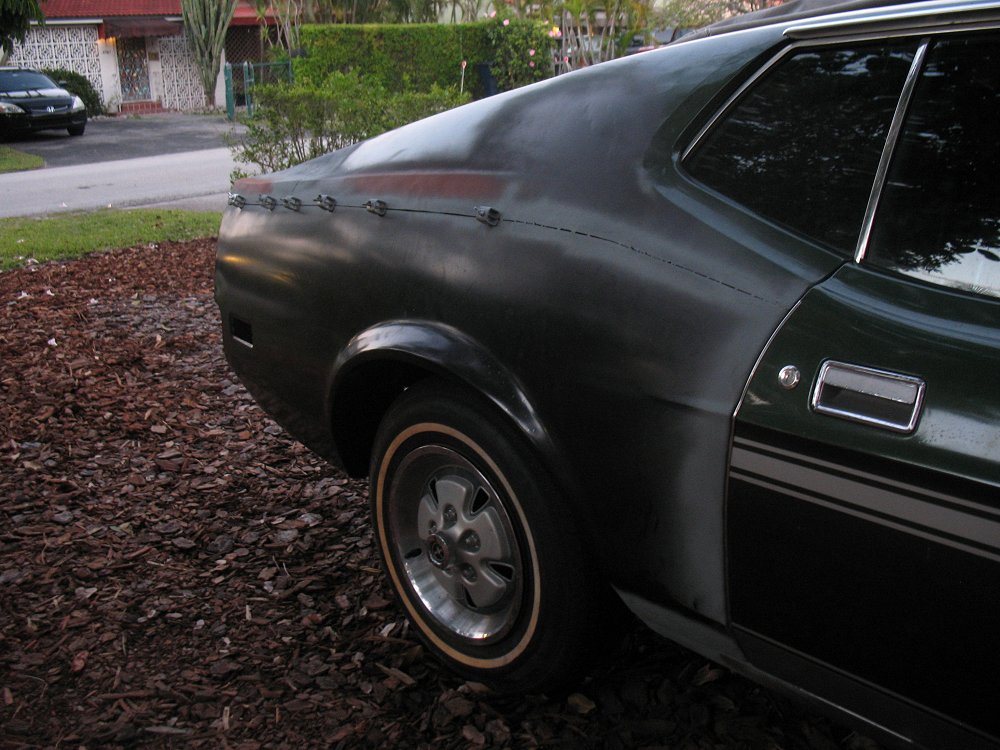
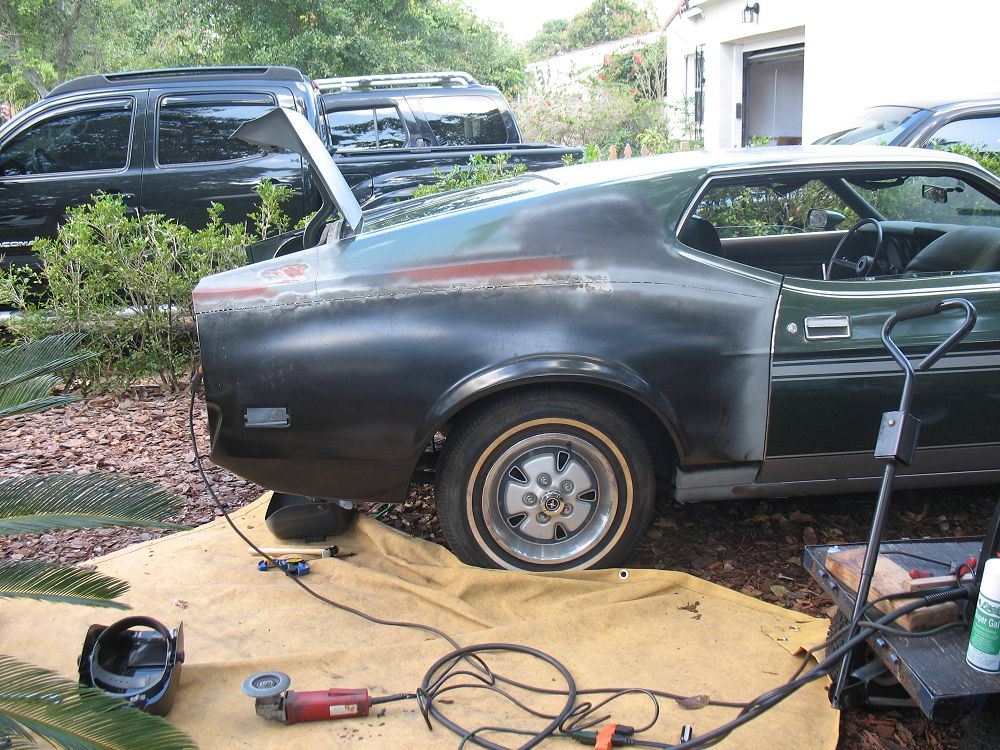
Project is back up and running. I made the final quarter panel cut today, but had the time of my life trying to get the repop panel to fit correctly at the rocker AND at the taillight panel.

As a result, the gap turned out a bit wider than I cared for - but eh, it's going to be a driver anyway.

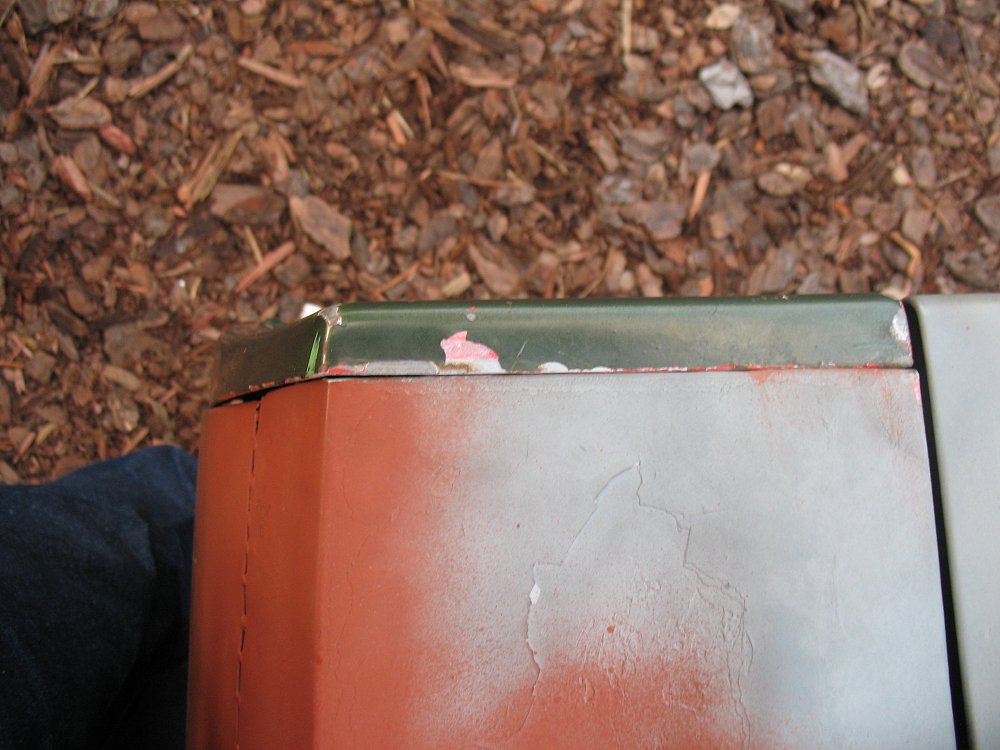
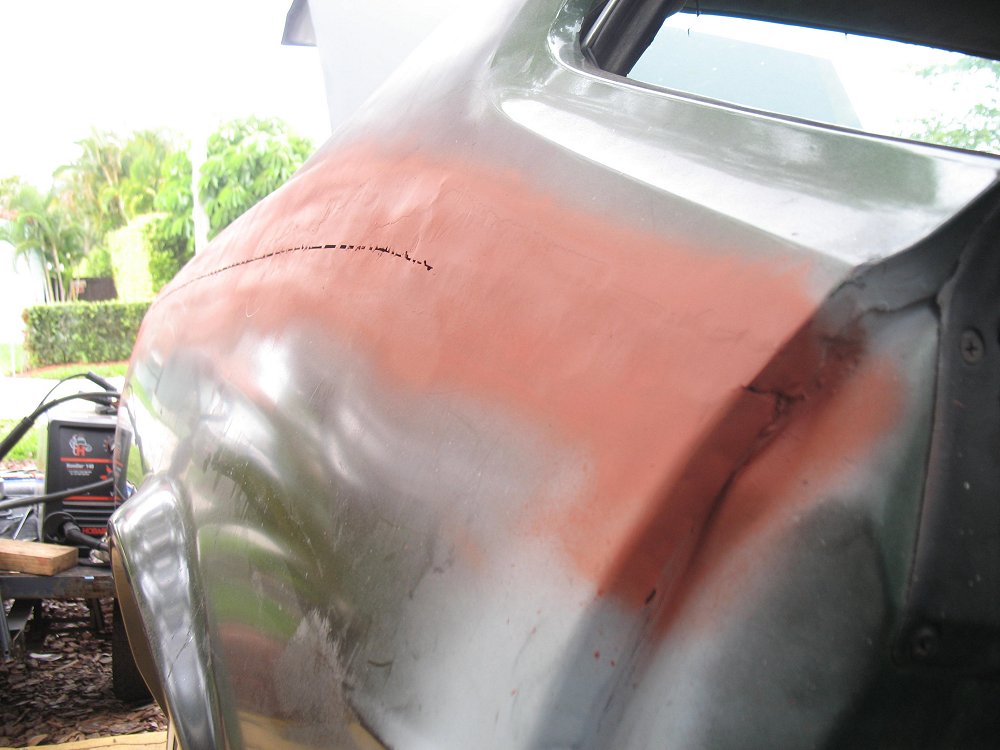
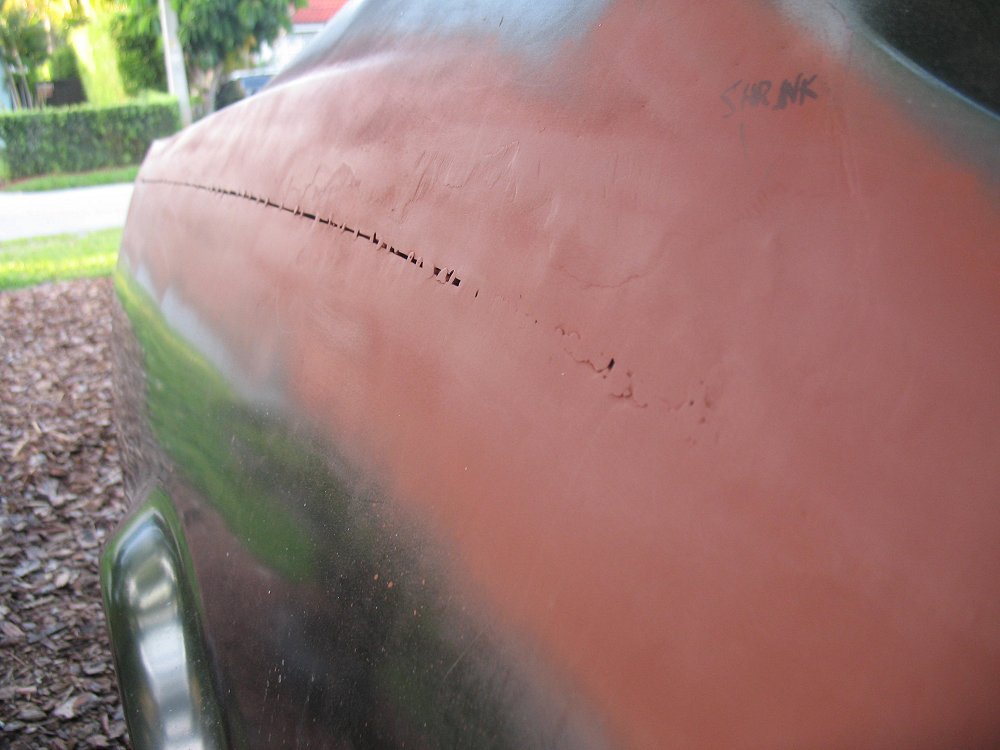
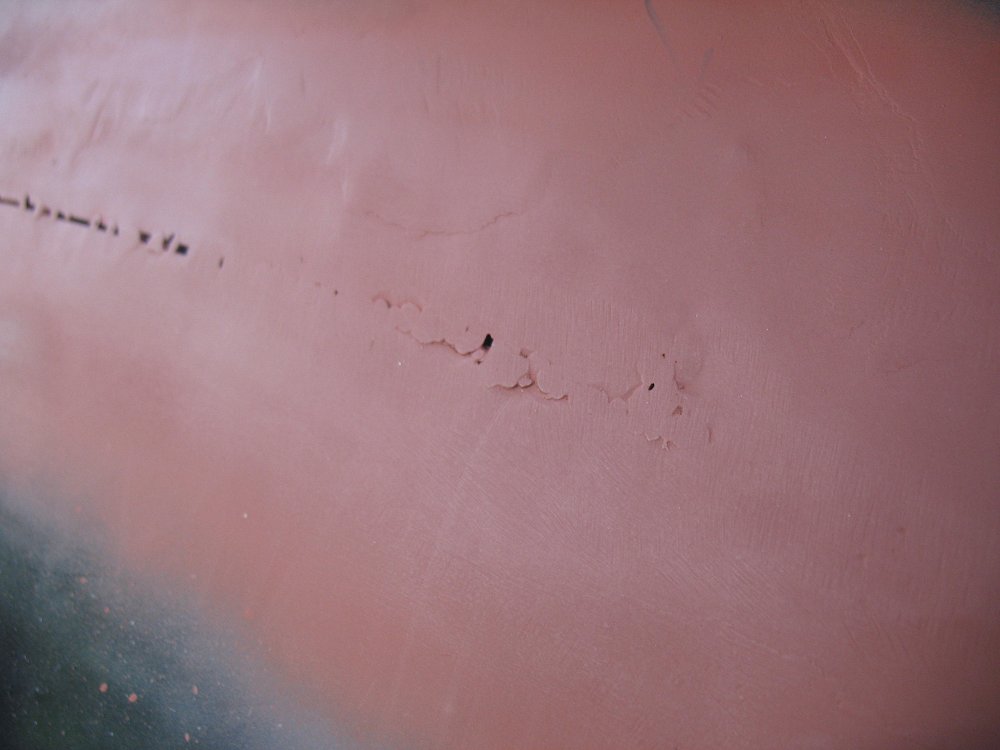
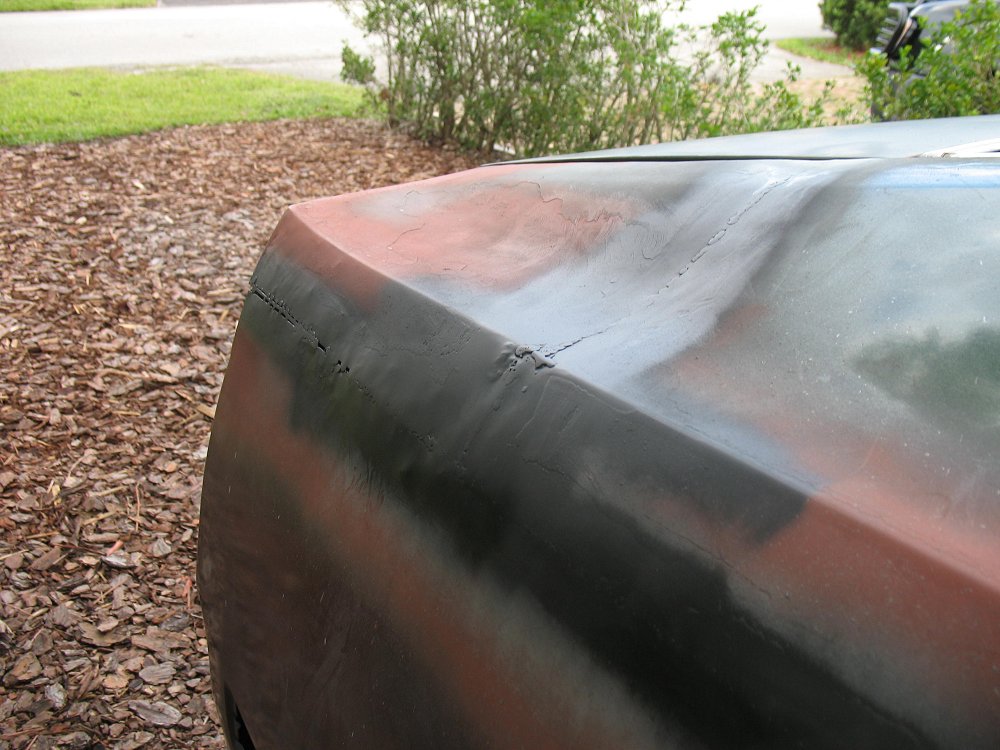
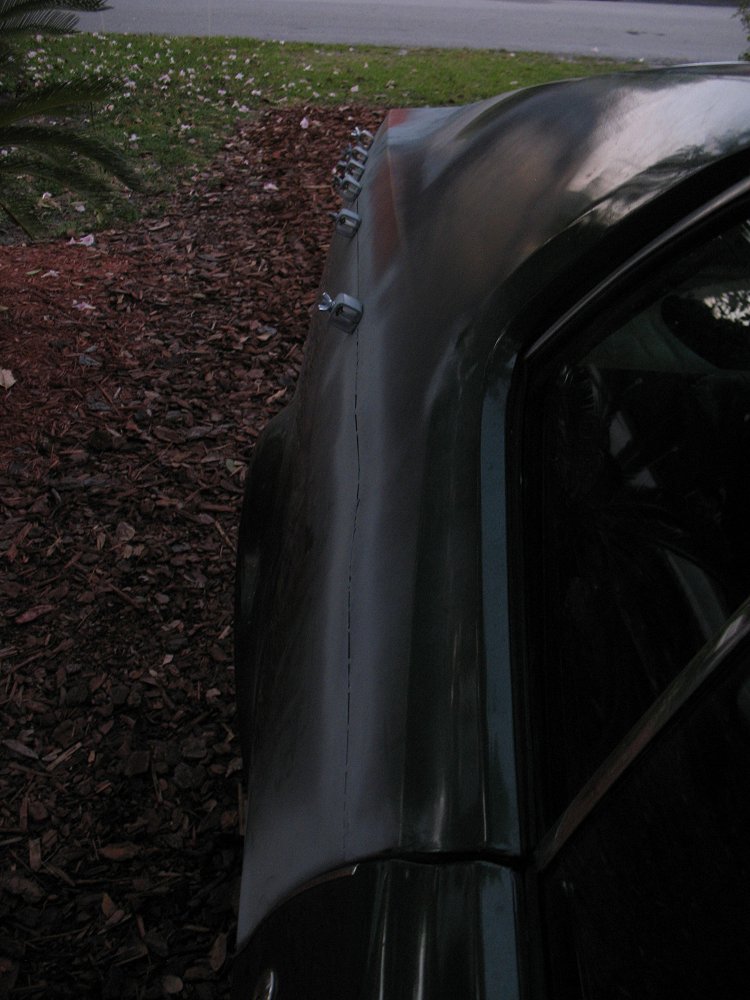
That one spot that shrunk on the original panel is still proving to be a royal pain. I couldn't even push it out with PDR techniques when the skin was off the car. At this point, I see no other solution other than stitch welding some pins on it and stretching the metal.

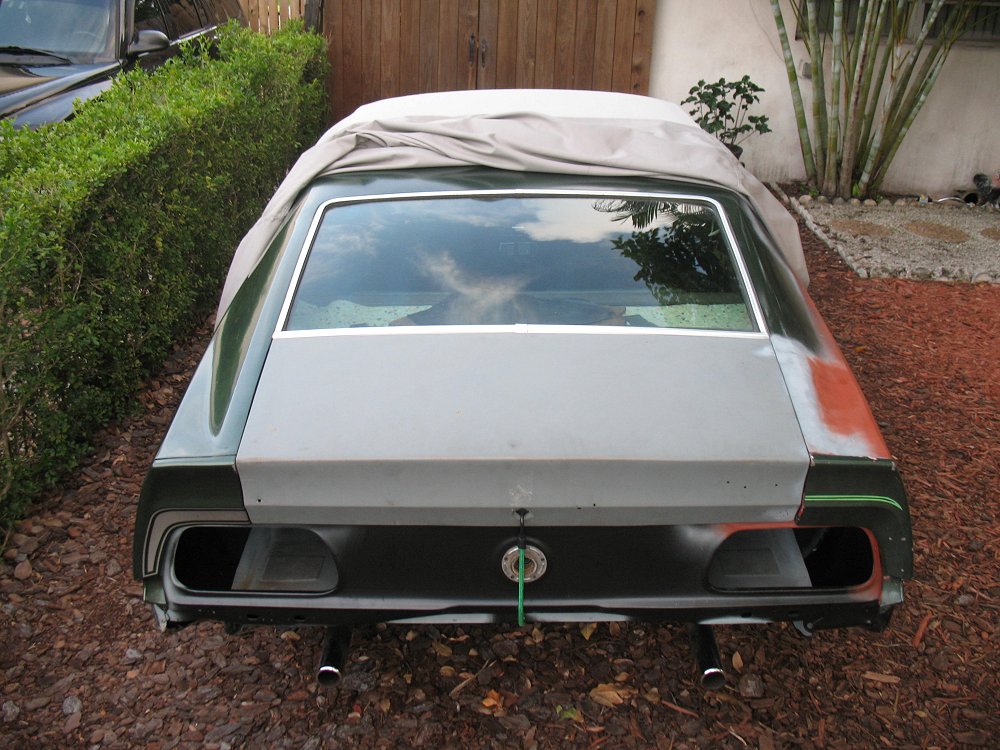
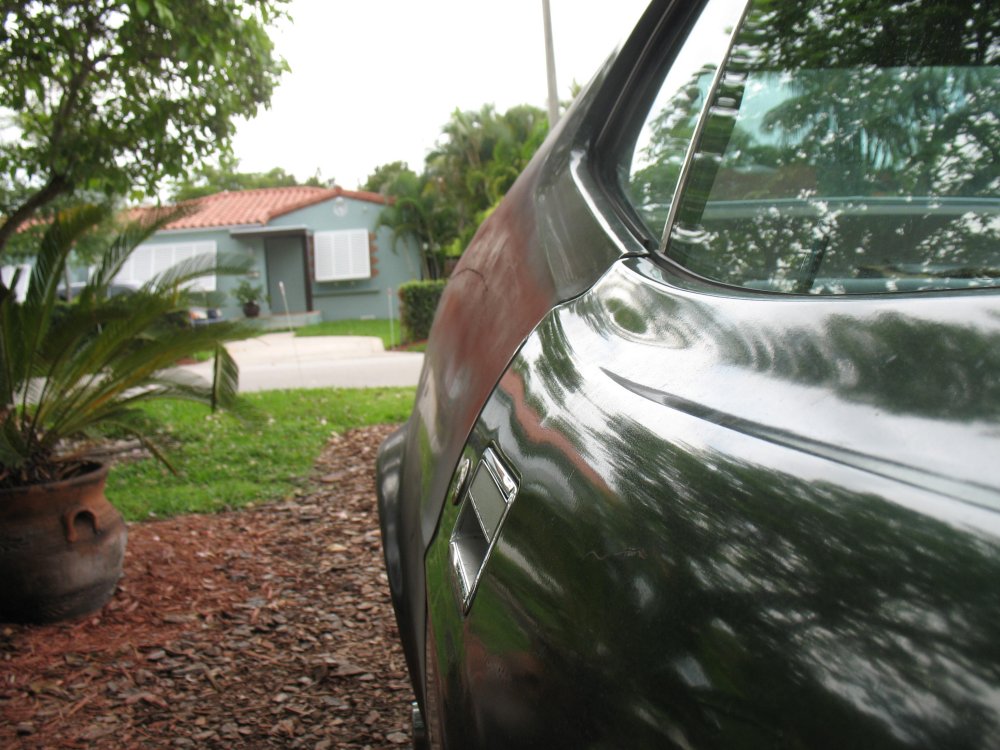
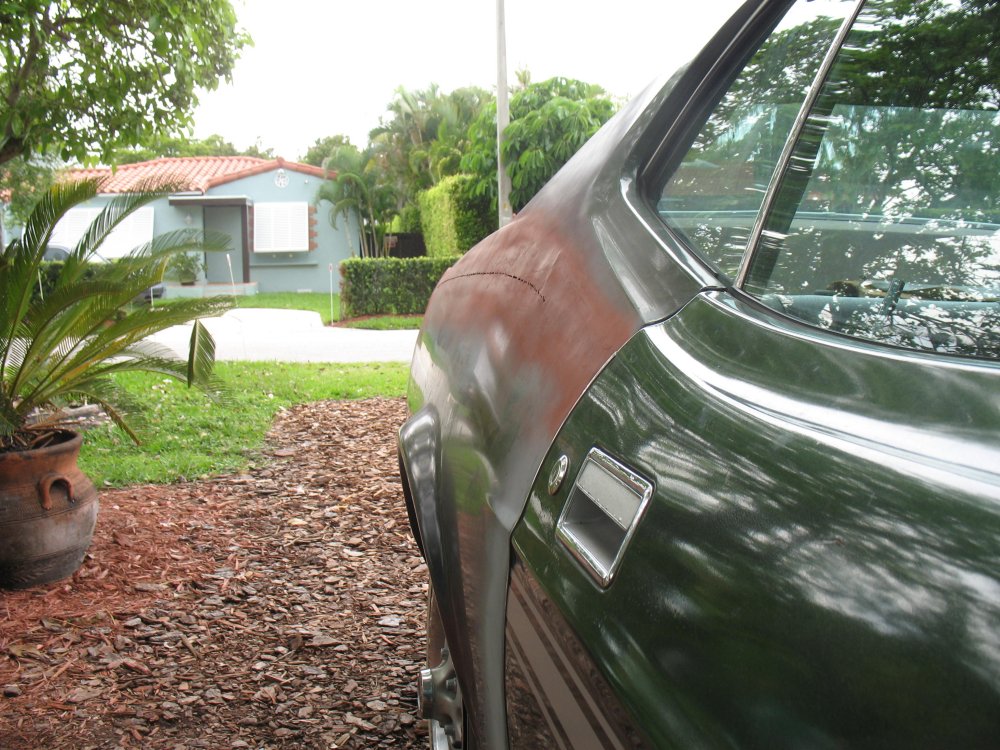
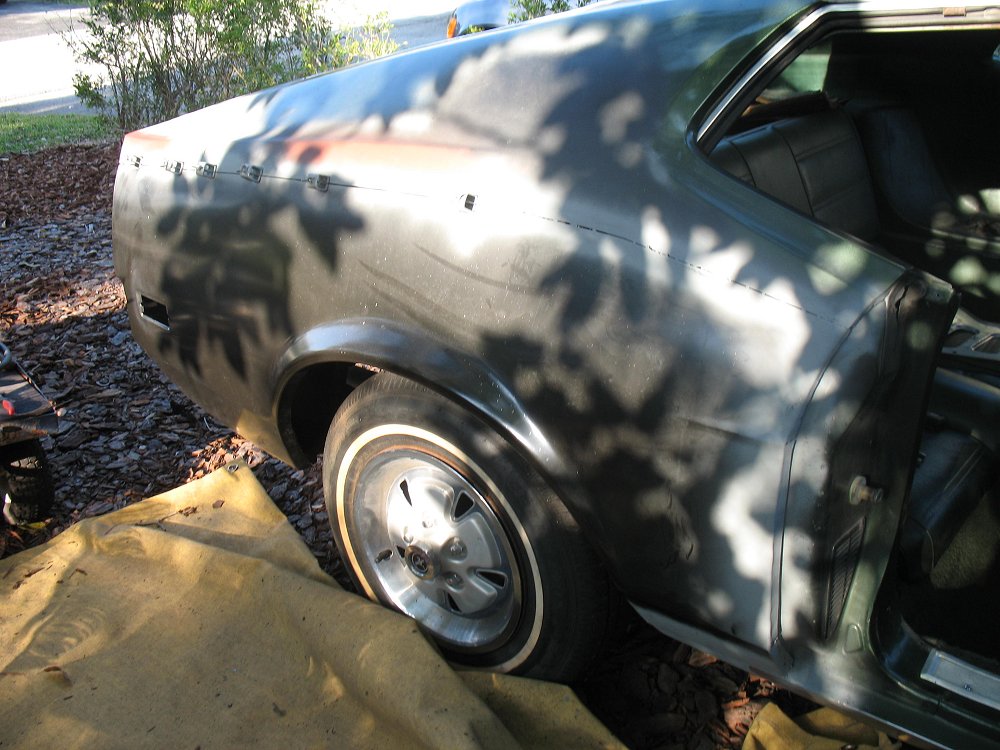
In the meantime, a few lousy, mid-afternoon shots. Between the sun's brightness and the tree's shadows, the camera didn't quite know how to expose the shot.

I might step out later and take some better photos.

71_mustang_153.jpg


71_mustang_154.jpg


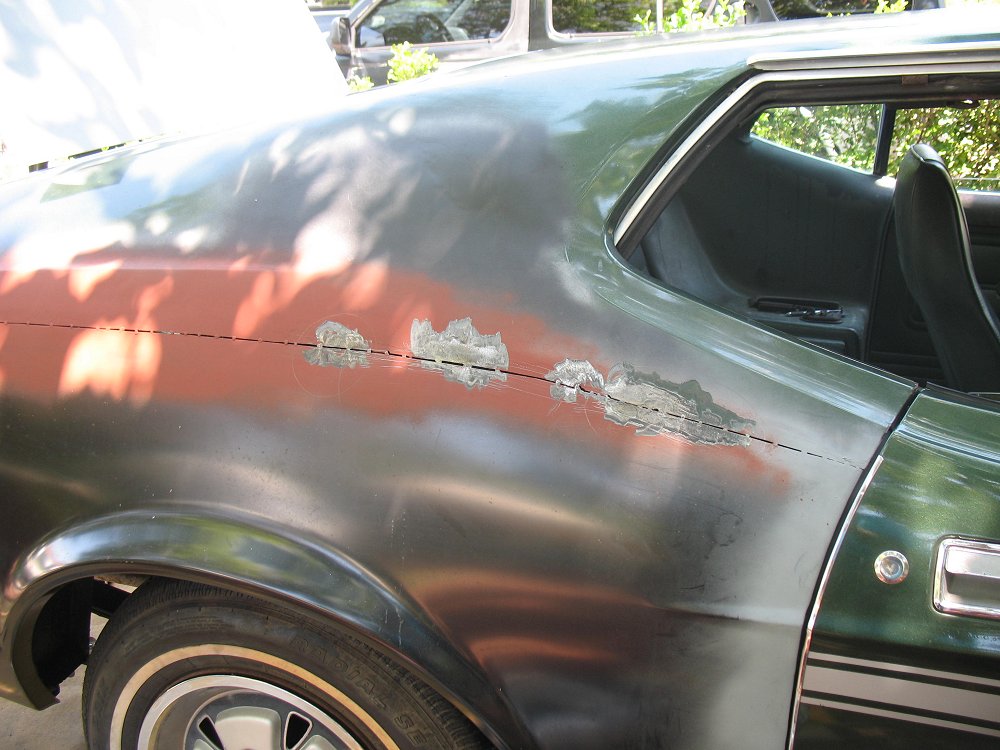
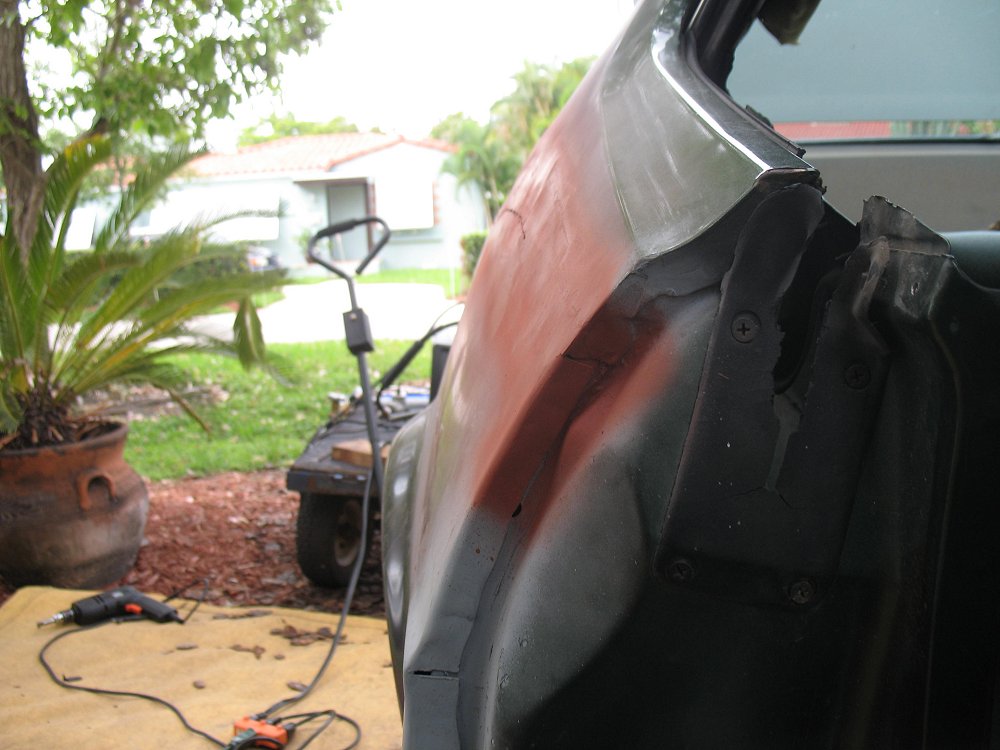
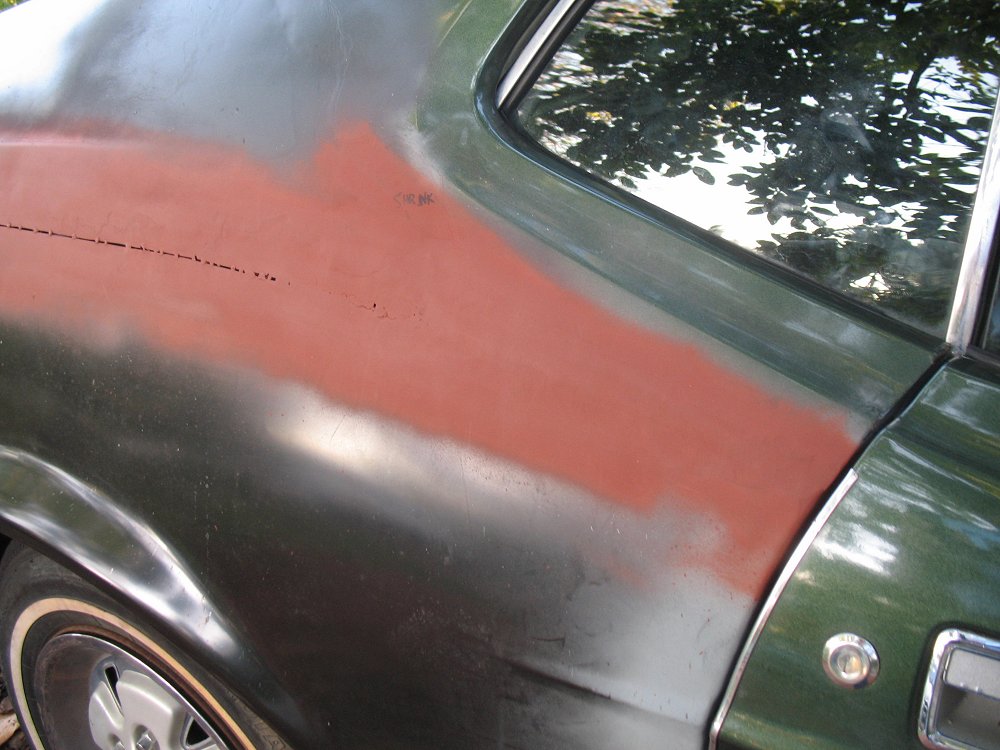
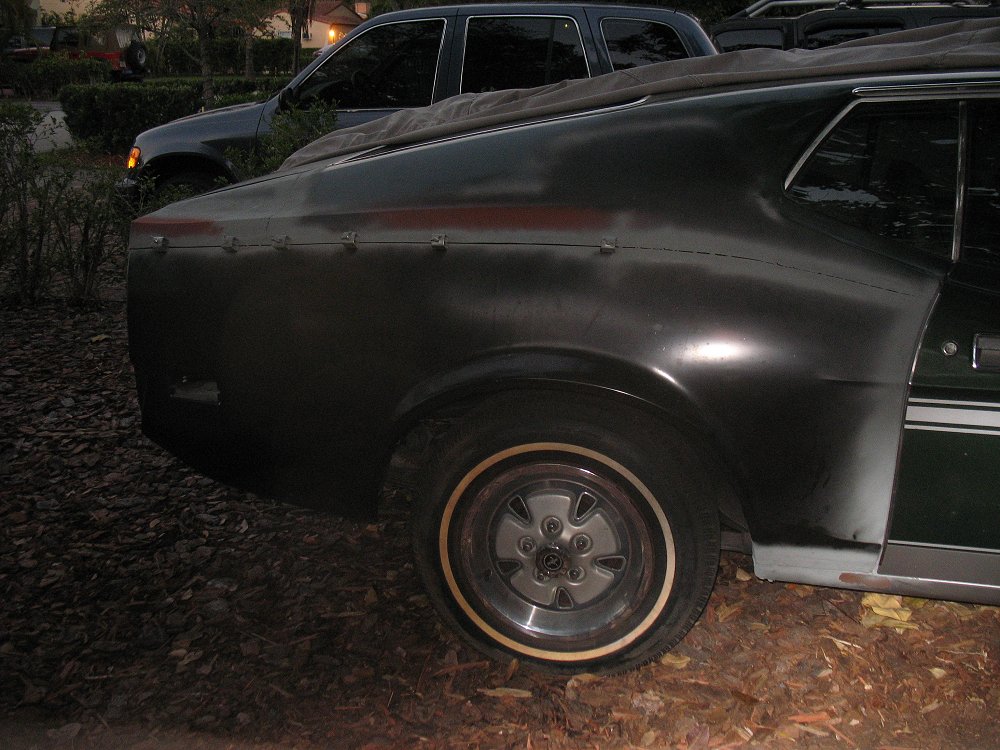
I was able to put a few good tacks about 1/3 of the way down the panel, plus three tacks at the rear.

I would have done more, but something in the air (still don't know what it is) irritated my eye out of the blue and forced me to make an emergency dash for the hose - had I been welding, I would have thought that a spark flew into it, but I wasn't touching a single tool. I called it quits at that point.

71_mustang_155.jpg


71_mustang_156.jpg


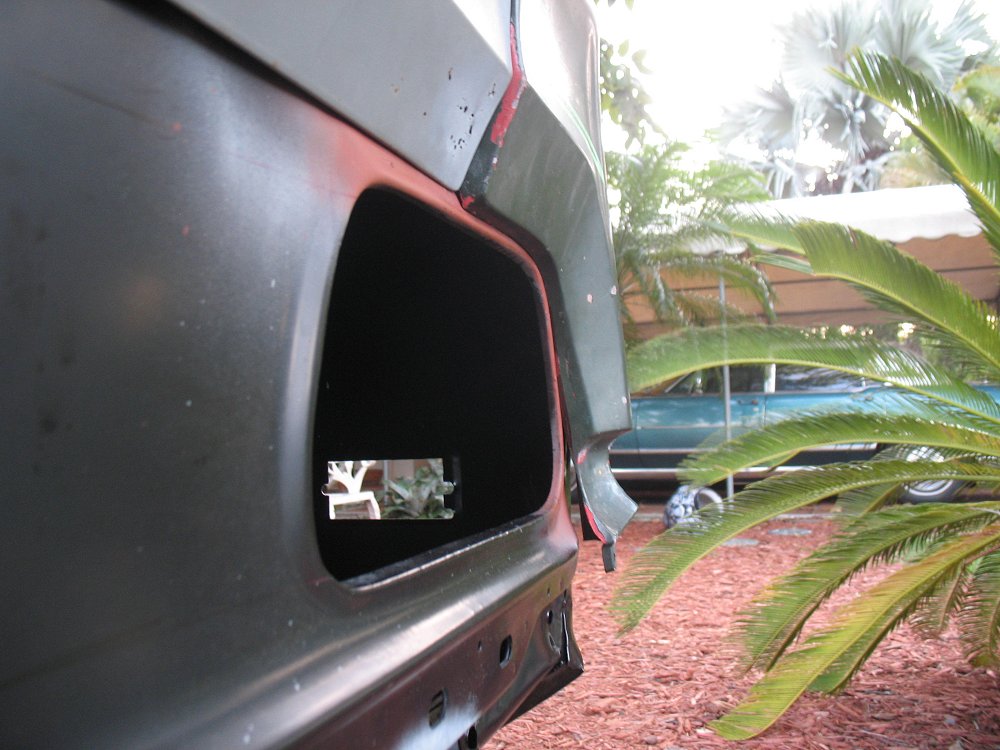
Oh, another thing to make my day: The argent area on the rocker panel is a huge silver sticker. Not just the top, but almost ALL of it. Grrrrrrrrrr...

-Kurt

 
Better photos:

71_mustang_157.jpg


Noteworthy in this shot is the improper curve at the back of the repop panel. I intend to cut a portion of the rear flange off, pull the edge into shape against the end cap receiver, tack the skin, and weld the original flange onto the new panel:

71_mustang_158.jpg


Tacks came out well:

71_mustang_159.jpg


The low spot is quite obvious here. I wish Eastwood would sell their stitch welding adapter without the garbage slide hammer that comes with it. I can't bring myself to pay $79 for that welding tip, knowing that $30 of the price is being spent on something that will wind up in the trash can.

71_mustang_160.jpg


-Kurt

 
Last edited by a moderator:
About time I make some progress on this thing.

I was lucky too - neighbor offered to climb into the trunk and hold the brass heatsink against the back end of the panel while I tacked it.

The results? Not bad at all, considering the gap:

71_mustang_161.jpg


I planished the welds afterwards - forgot to photograph it. Hammer and dolly work came out good too, and I think I'll be able to shrink a few troublesome spots before tacking the rest and closing it up.

Now if I can only find a bit of time to do it all...

-Kurt

 
Last edited by a moderator:
Nice work Kurt, especially outdoors in the dirt... on a tarp. :D That's dedication!
Thanks - though I don't have much of a choice ;) .

FYI, that's a welding mat. Helps to keep the mulch from catching on fire :p

Thankfully, the car cover is quite waterproof too, so protecting the in-progress work isn't too difficult.

Unfortunately, it looks as if I won't be able to postpone an even worse job in the future. I knew the cowl hat on my car was bad, but I didn't expect to pull it right out just by feeling around for it:

71_mustang_163.jpg


71_mustang_162.jpg


It looks as if someone tried undercoating it at one time, which probably contributed to more long-term damage than good.

Frankly, I like a car without A/C (even in muggy Florida), but the lack of quarter windows on the '71/73s renders the idea of plating out the heater box hole quite unfeasible.

Job ain't ever done, is it?

-Kurt

 
Last edited by a moderator:
I checked the fit of the end cap today while hammer-and-dollying the welds.

It looks as if the upper half was welded a bit lower than it should have - near as I can figure it, I need to split the welds (quite a gap there anyway), tack the panels behind the end cap in their proper spots, put a filler piece in the gap, and close it up. Doesn't help that the repop panel has too aggressive a curve (that's not shrinking from the HAZ - the panels met like that to begin with).

71_mustang_165.jpg


71_mustang_166.jpg


That's not the only thing driving me nuts - the donor end cap doesn't sit against the taillight panel correctly. I spent quite a bit of time to make sure the taillight panel went in straight (ignore the trunk edge - the donor trunk was repaired incorrectly, and sits 1/4" too far inwards); if anything, that isn't the problem.

From a comparison against the left side, it would appear that the end cap casting has excess material on the inner edge, which I've lightly marked with a red marker. Very tempting to grind it off.

71_mustang_167.jpg


71_mustang_168.jpg


-Kurt

 
Last edited by a moderator:
Doesn't help that the repop panel isn't curved right at the end.
OK - so it wasn't just me when I did mine, then. Sorry it worked out like that for you too, but at the same time I'm glad I'm not the only one.

Lookin' GREAT though, Kurt! You're kickin' much ass on this - can't wait to see it back together! ::thumb::

 
Lookin' GREAT though, Kurt! You're kickin' much ass on this - can't wait to see it back together! ::thumb::
Thanks, Eric. As a first-timer to all of this, the kudos helps - especially through the difficult bits.

-Kurt
Right there with ya, Brutha! :D

 
Today sees a very happy cudak888 - as I tacked the quarter closed all the way up to the quarter window today.

I also had an opportunity to open up the back end and re-align the panels - an absolute MESS of a job, as seen here - but the progress is good. I'm not concerned. I put some TIG filler rod in the gap and tacked that (I'll get some photos of that later); seems to work well.

71_mustang_169.jpg


The shrinking disc worked wonders to bring the high spots down on the quarter panel, and I was able to make my own PDR tool (out of a junk bicycle fork blade!) to stretch the low spot from the inside.

Insert ridiculously satisfactory grin here.

71_mustang_170.jpg


After some backbreaking work, this is what I have to show - and I'm not particularly complaining either. Half of the uneveness is from the grinder, not the HAZ, which I've been able to keep to a minimum.

There are a few high spots from stretching, but the shrinking disk will take care of those in no time.

71_mustang_171.jpg


I'm tickled at how well the panels line up, in comparison to the warpage that I had a few weeks ago. What's more, the panels were acting up today (lots of blow-through, regardless of cleanliness of the panels or welder settings - I think there is some undercoating in the back contributing to this issue); yet, I was able to close up the gap without (apparently) warping anything.

71_mustang_172.jpg


71_mustang_173.jpg


71_mustang_174.jpg


71_mustang_175.jpg


71_mustang_176.jpg


71_mustang_177.jpg


-Kurt

 
Last edited by a moderator:
Looks very nice ! Glad you took my advice..amazing what you can do with the right tools & perseverance..You should be proud..One more hint get a copper spoon at harbor freight..Hold clamp behind the panel when filling in the gap..will prevent blow through

http://www.harborfreight.com/welding-spoon-66785.html

 
Last edited by a moderator:
71_mustang_179.jpg


Did some work today, but I'm not entirely pleased. Looks as if I have a HAZ to contend with.

Also ran out of welding wire in the middle of the job, hence the pinholes. Time to have the tank refilled too.

71_mustang_180.jpg


71_mustang_181.jpg


71_mustang_182.jpg


Tried stretching it from the inside. Not an easy task.

-Kurt

 
I made more progress today - distance-wise - than any other day in the past. Some of it good, some of it not so:

Mid-way bit needs stretching. I tried doing when it was tacked, to no avail. No stitch welder on hand, so it looks as if it'll get body filler there whether I like it or not:

71_mustang_185.jpg


Some bits need shrinking, as obvious from this photo:

71_mustang_186.jpg


An area close to the back of the panel came off phenomenally well, by comparison. Not touching the end until I have a different end cap here:

71_mustang_187.jpg


I debated whether showing the not-so-successful part of the work, but someone here may learn from it. I'm not willing to take the slightest criticism about it though - the sloppy result is punishment enough, thank you. At any rate, I'll fix it the next time around.

71_mustang_188.jpg


-Kurt

 
Last edited by a moderator:
Still looks WAY better than my quarters, Kurt. Nice Job!

I wish I'd had more knowledge and patience when I stuck mine on. Now, I need to find a way to fix all the heat puckers in mine (at least to the point I won't have to use very much bondo).

 
Still looks WAY better than my quarters, Kurt. Nice Job!

I wish I'd had more knowledge and patience when I stuck mine on. Now, I need to find a way to fix all the heat puckers in mine (at least to the point I won't have to use very much bondo).
Sounds as if you have one hell of a job ahead of you. Stitch welder time?

-Kurt
Nah - they're already welded up. The sad part is that I have a really nice Miller MIG wire-feed welder at my disposal in the Auto Hobby Shop... and I screwed up my panels by flanging the car's metal and trying to do a lap joint. It was going fine until it started puckering because I was trying to do too much too fast - rookie mistake. The flanger was the first mistake - weakened the edge of the car's quarter panel and made it wavy from the get-go. Then the heat made the replacement sheet metal pretty much conform to the car's metal... so, it's a bit of a surfer's delight.

Now, I'm going to maybe get (or rent, if possible) a stud welder, use a hand-held LP torch to lightly heat the puckers, and 'gently' pull them out as much as possible and hold while cooling. If that doesn't work... then I might just cut 'em off and start over - I don't want a bondo-baby.

If I can get mine to look as good as yours does right now, I'll be happy. ::thumb::

 
Back
Top