- Joined
- Dec 24, 2010
- Messages
- 2,910
- Reaction score
- 70
- Location
- U.S.A.
- My Car
- 1972 Q code Mach 4spd
2004 350z
2005 Corvette
1971 Camaro SS/RS
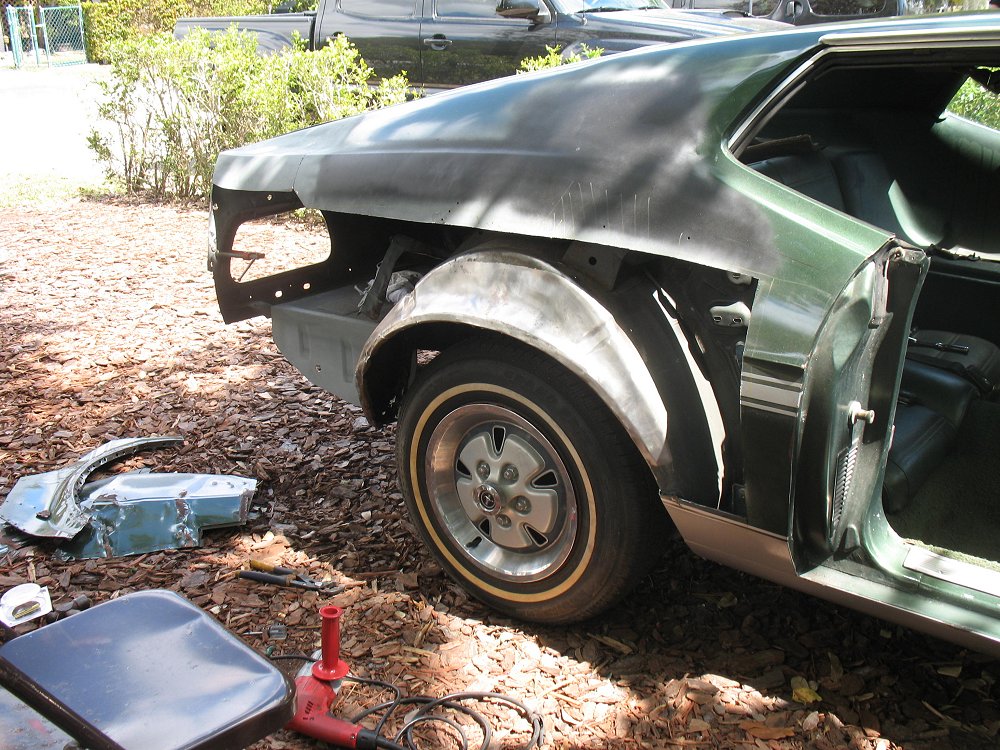
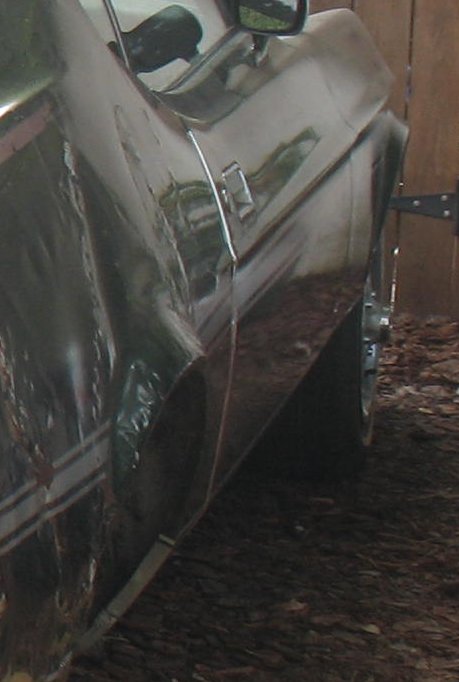
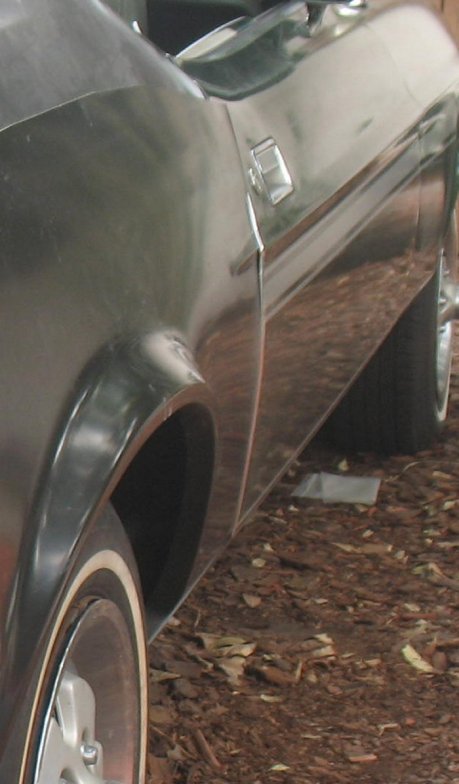
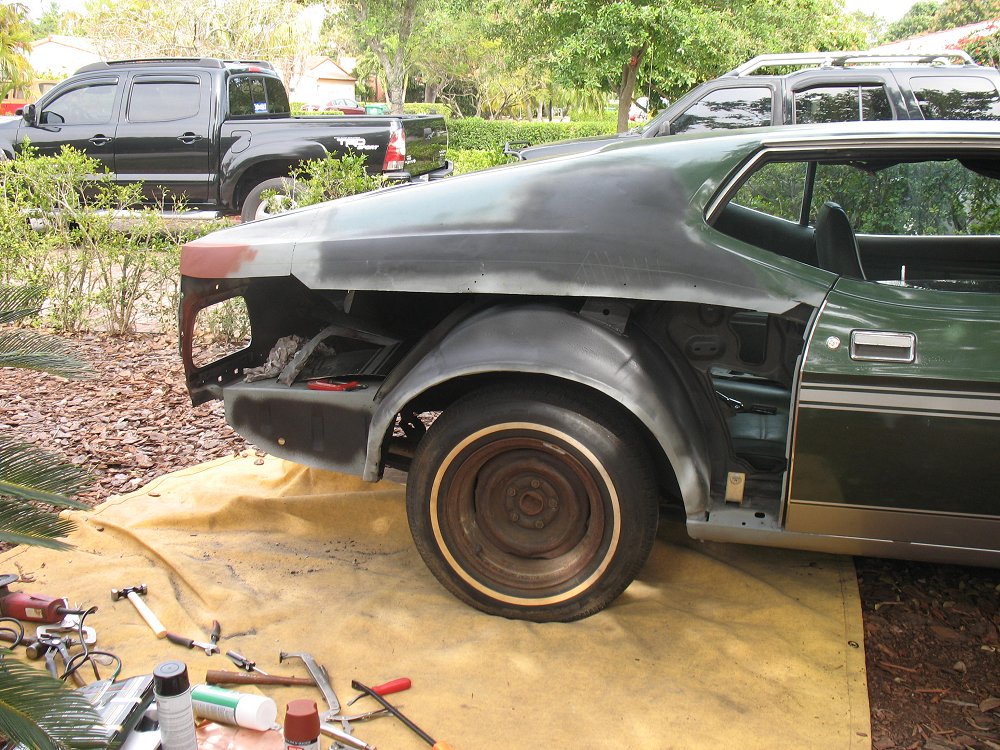
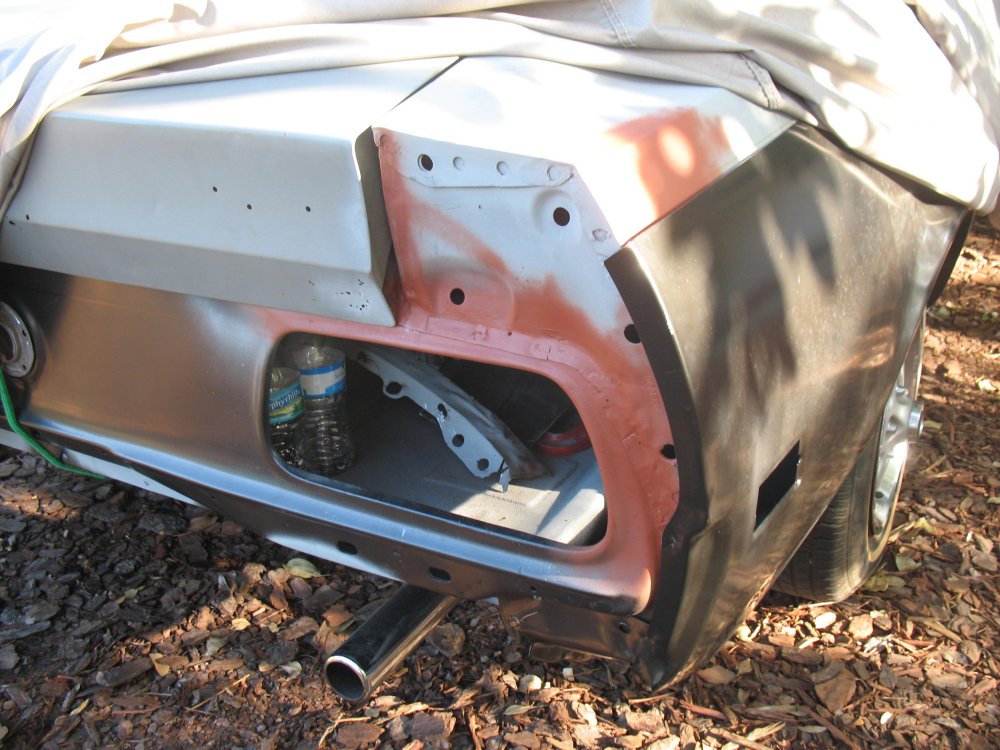
You can get behind the c-piller..Your gonna have to buy a pdr (paintless dent repair) tool
http://www.pdrtoolstore.com/products.php?cat=17
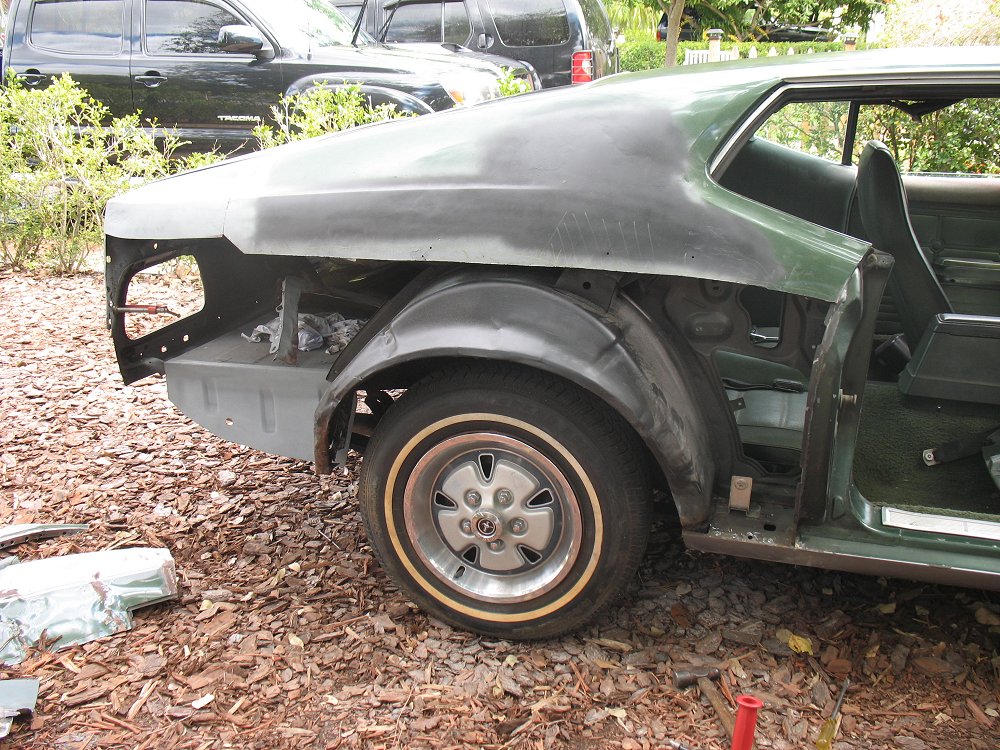
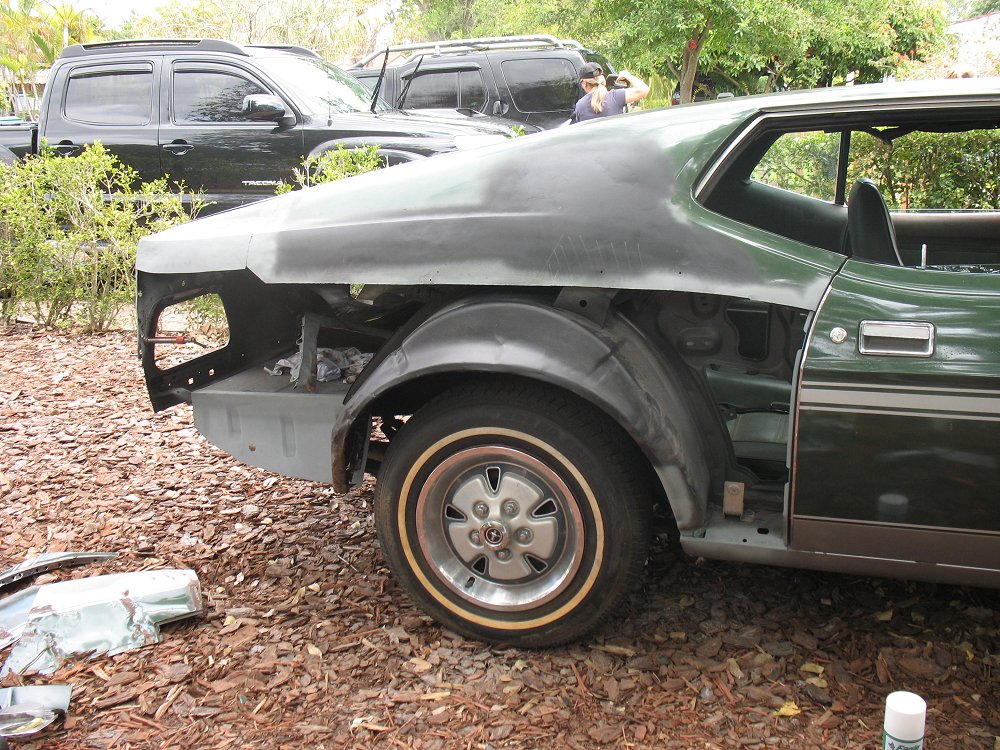
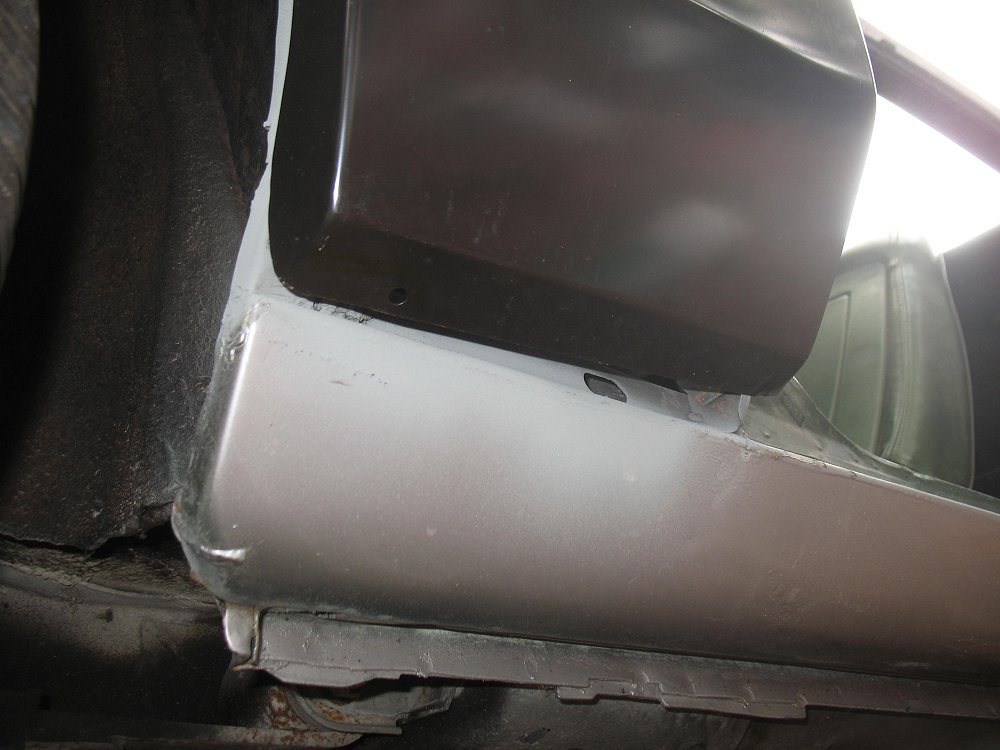
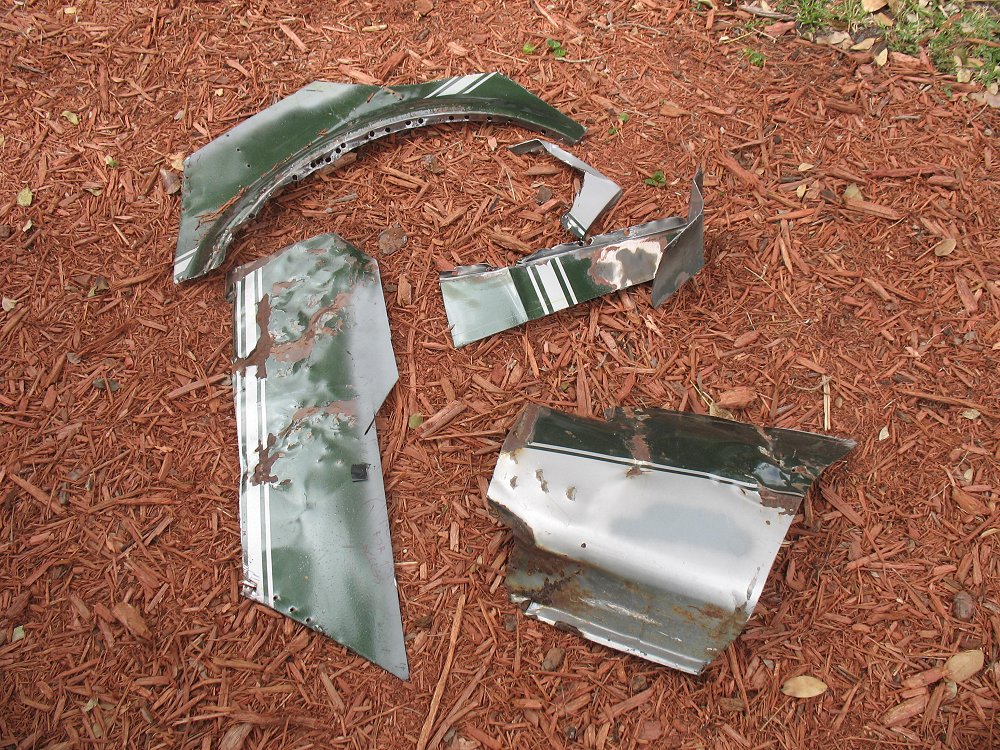
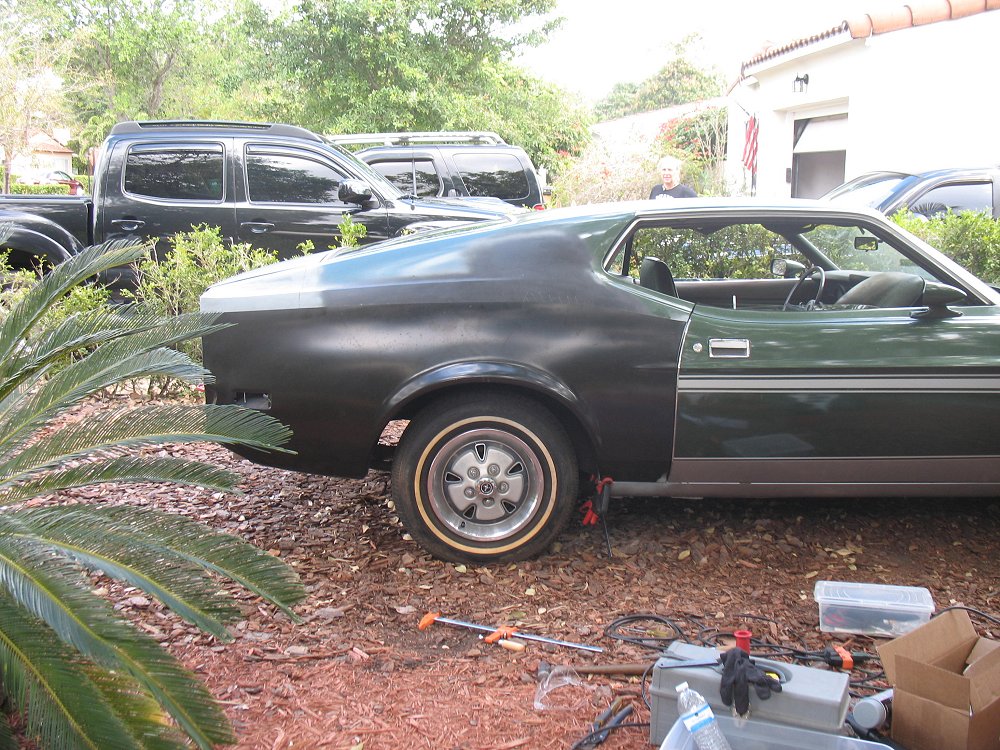
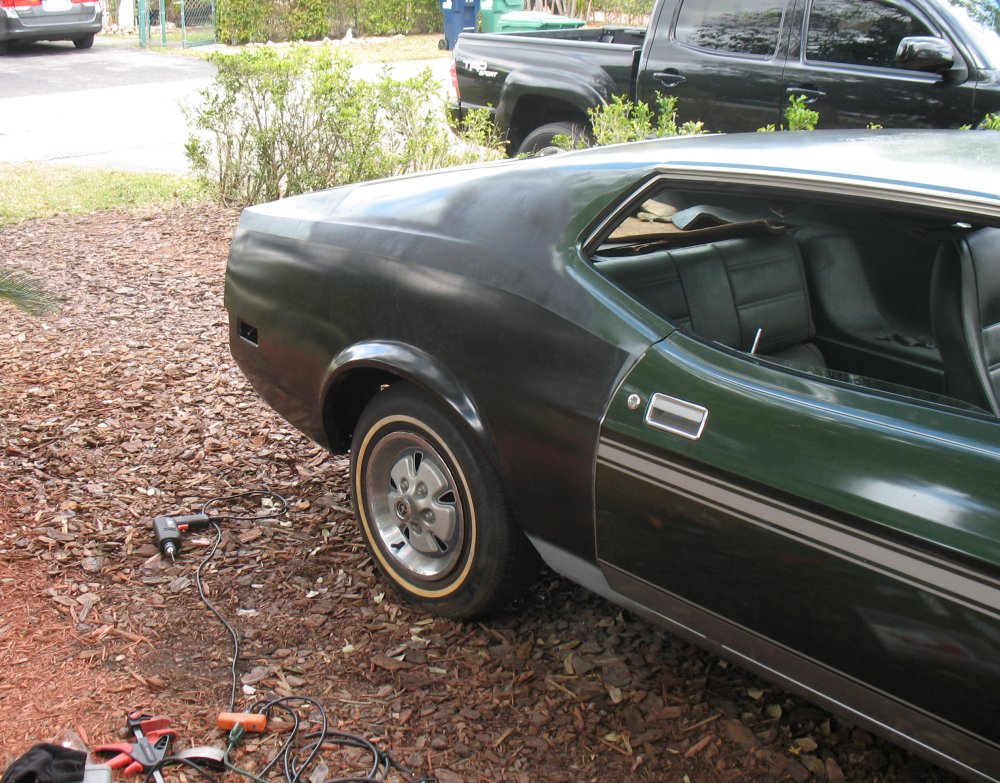
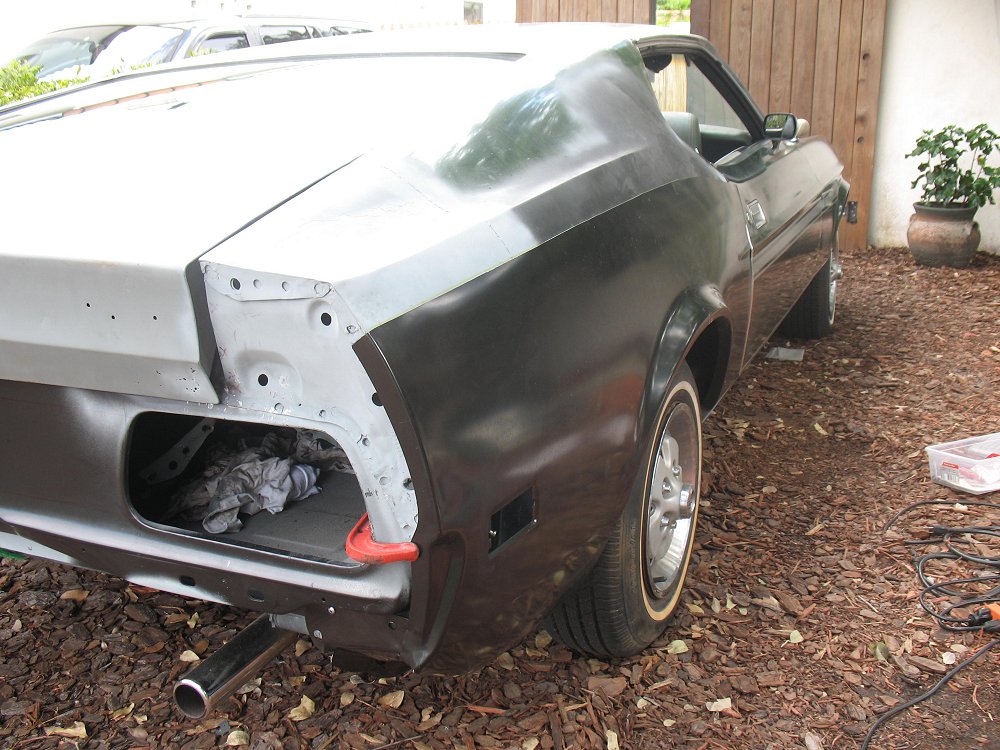
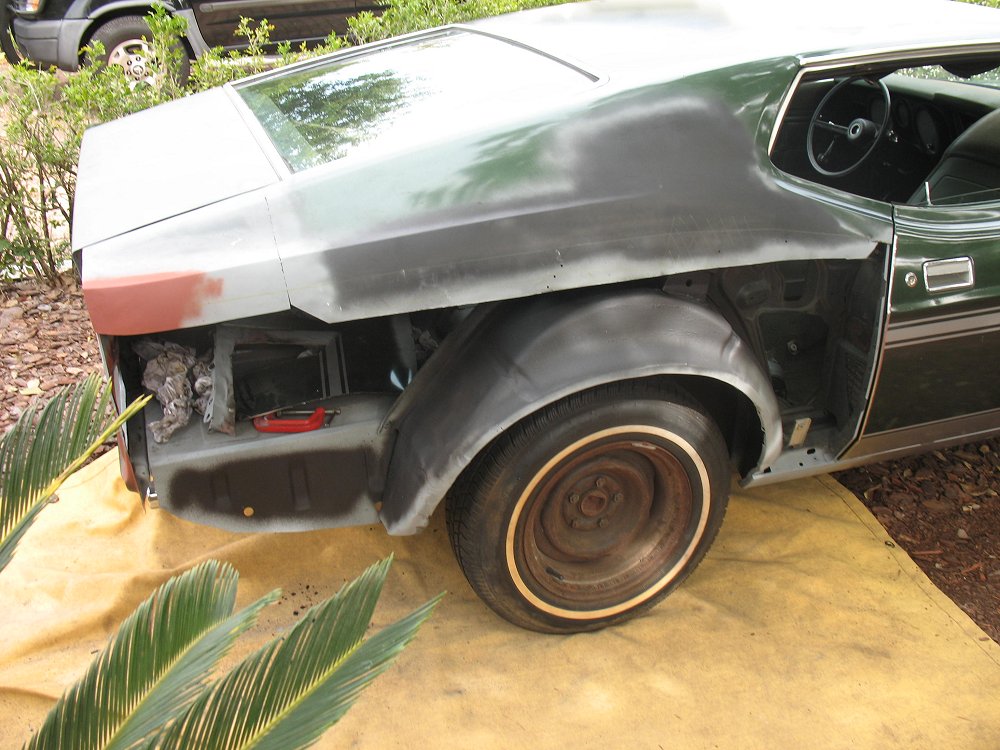
You could have gone in when you had the rear section peeled back..too late now..you can also go in from the door jamb but you need to remove the qtr window..On the otr dents your trying to hammer out you need a 2x4 on the out side of the qtr..ball peen hammer on the inside (get a helper one holds the 2x4 the other hits from inside the trunk..once it's out..then hammer dolly what ever smooth.
http://www.pdrtoolstore.com/products.php?cat=17
You could have gone in when you had the rear section peeled back..too late now..you can also go in from the door jamb but you need to remove the qtr window..On the otr dents your trying to hammer out you need a 2x4 on the out side of the qtr..ball peen hammer on the inside (get a helper one holds the 2x4 the other hits from inside the trunk..once it's out..then hammer dolly what ever smooth.