- Joined
- Dec 24, 2010
- Messages
- 2,888
- Reaction score
- 45
- Location
- U.S.A.
- My Car
- 1972 Q code Mach 4spd
2004 350z
2005 Corvette
1971 Camaro SS/RS
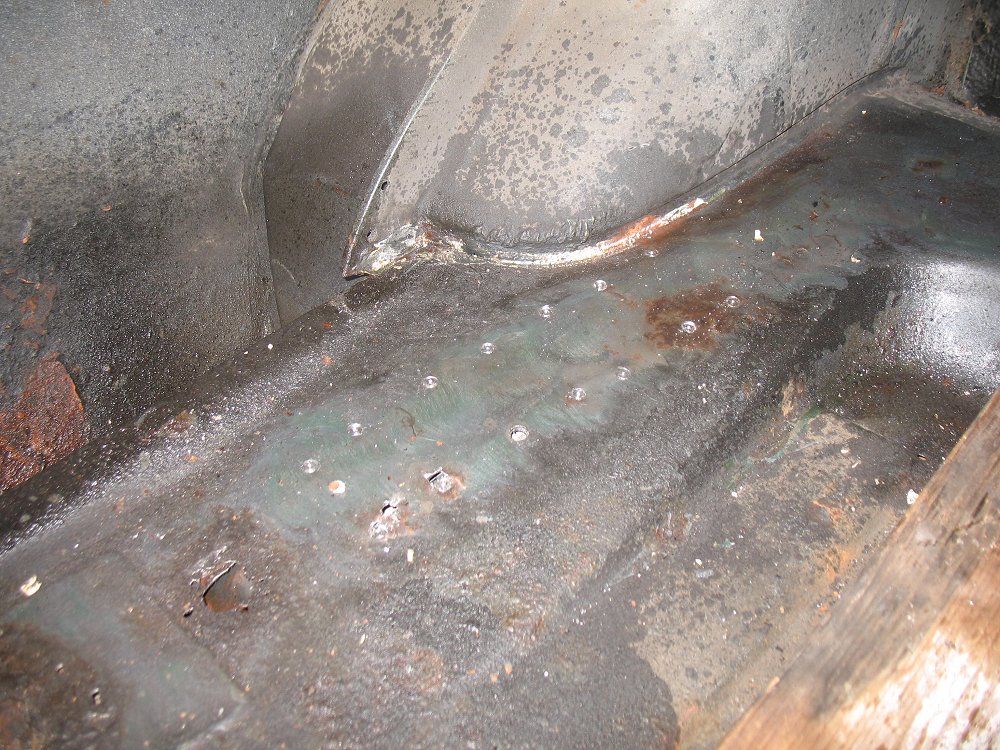
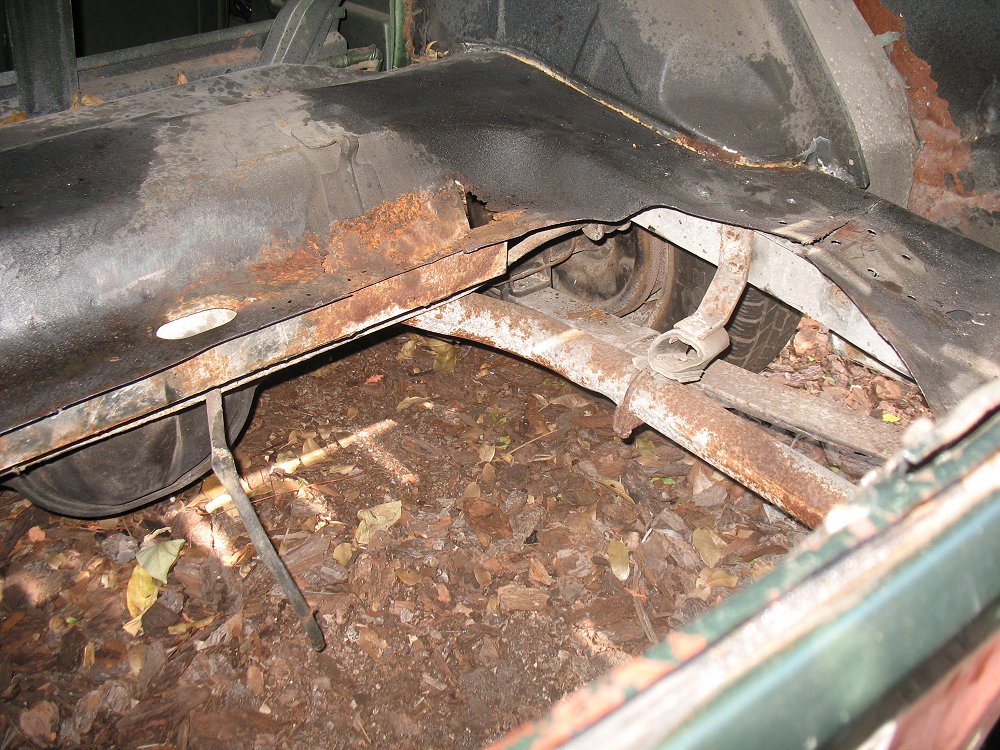
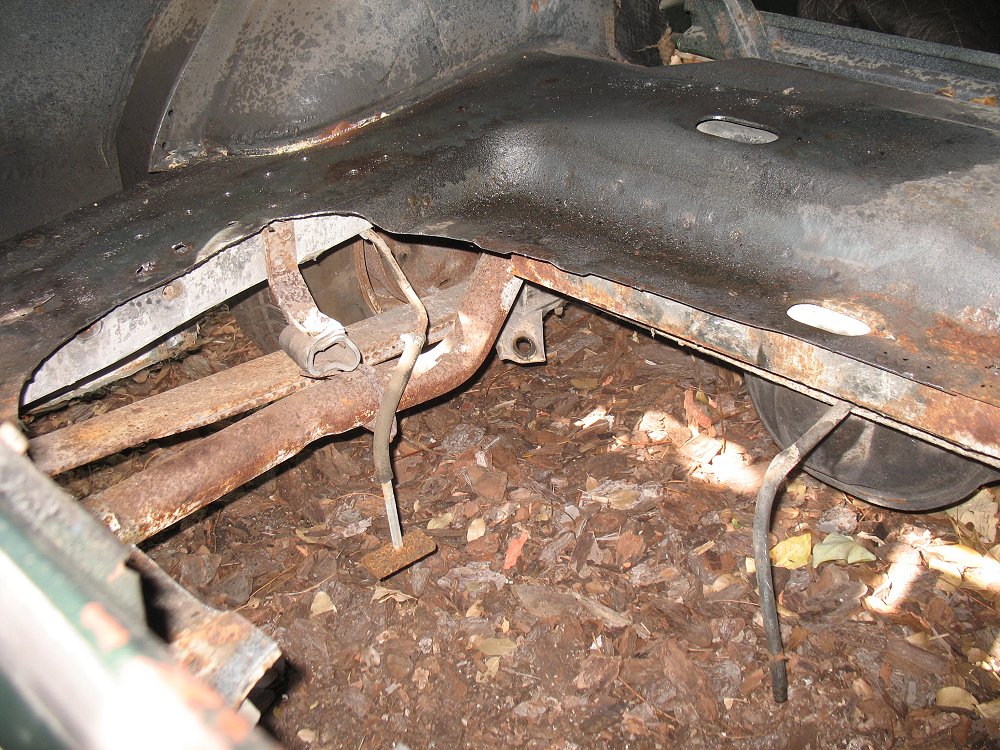
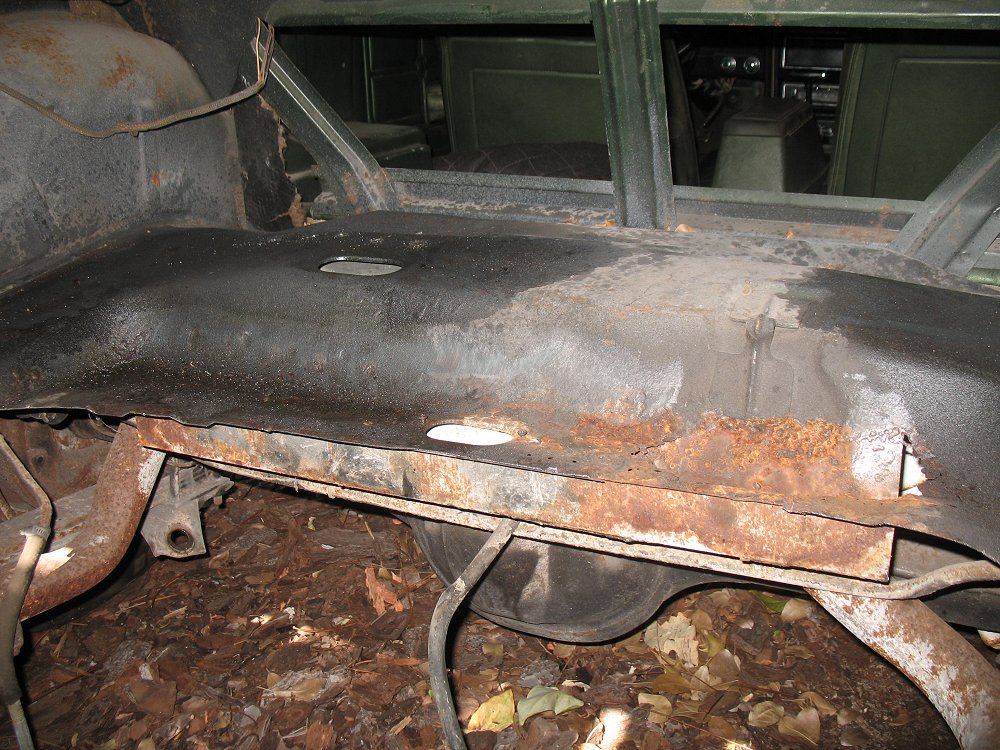
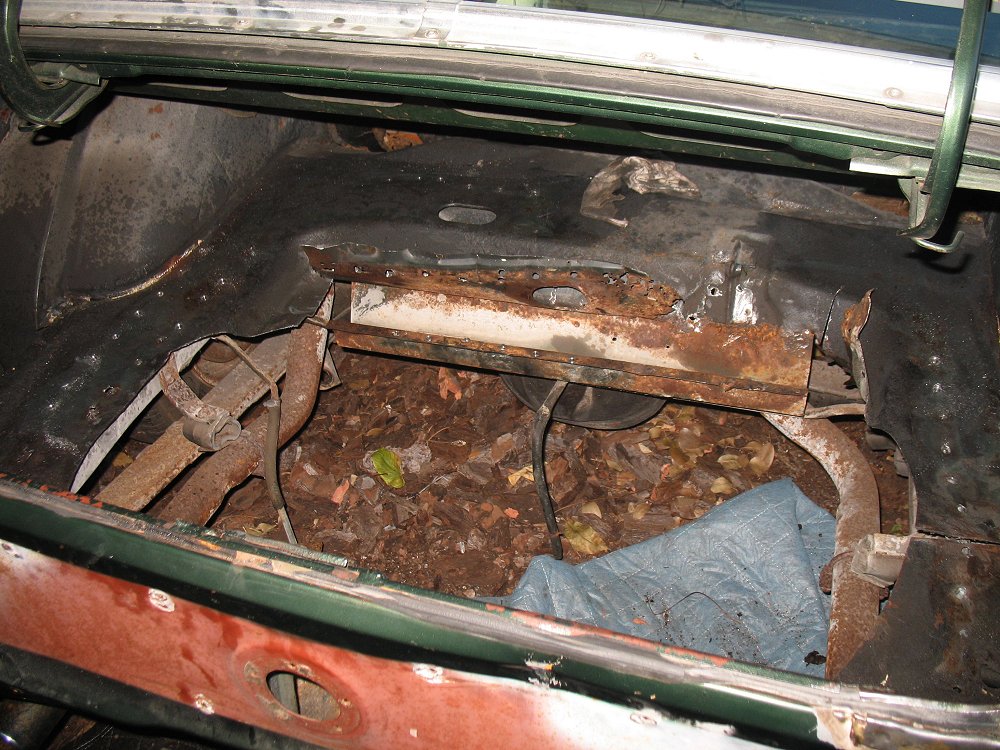
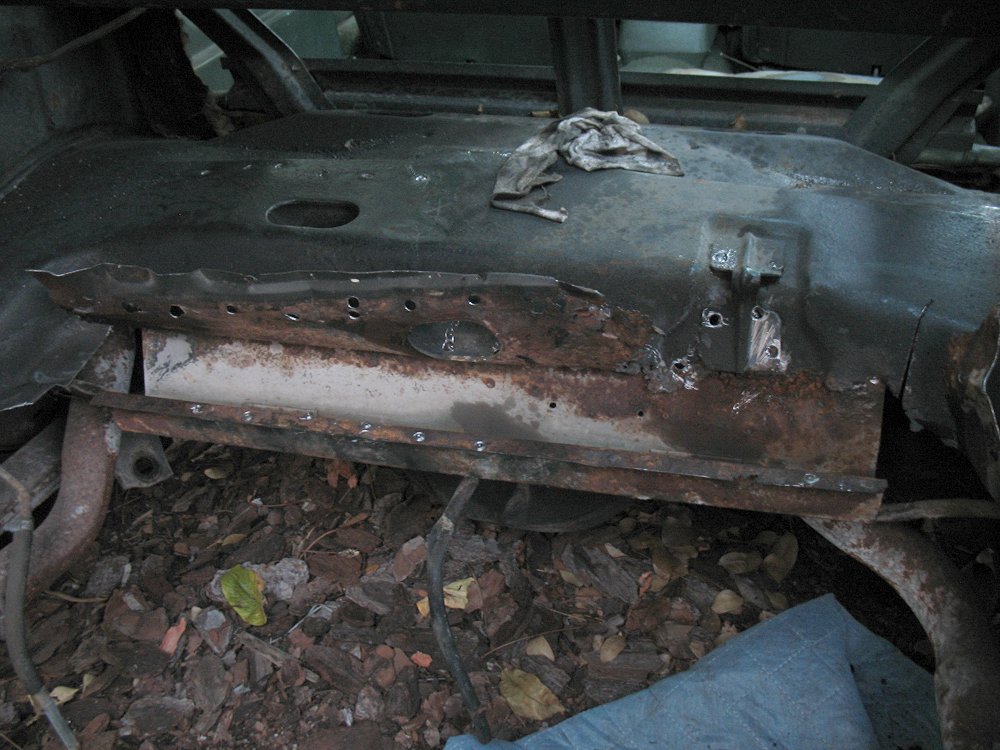
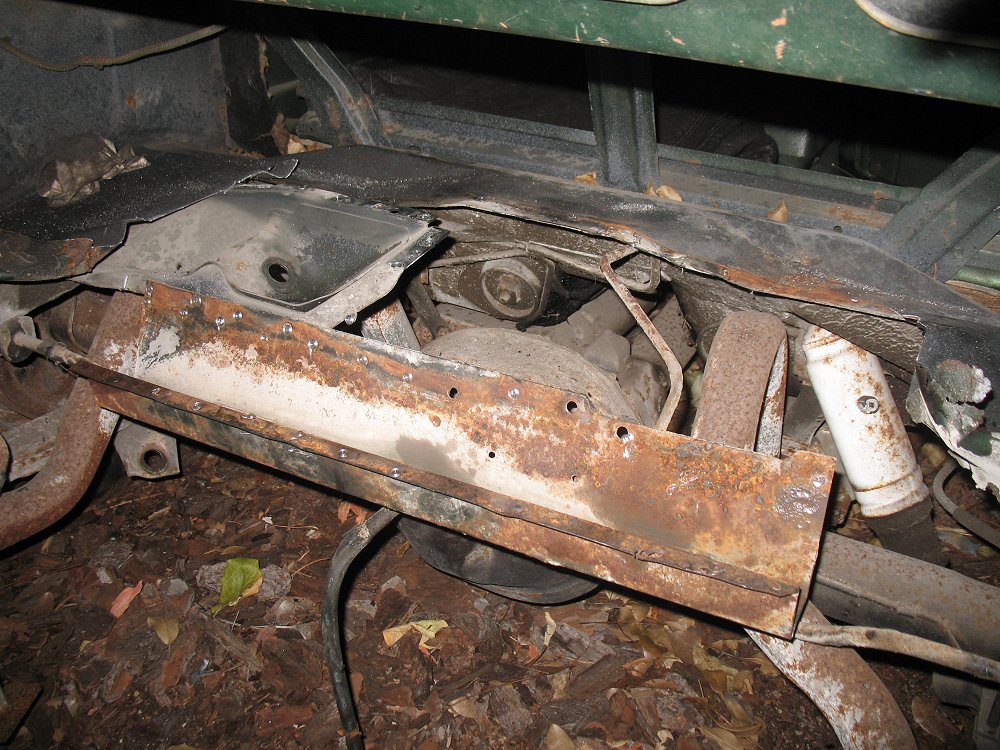
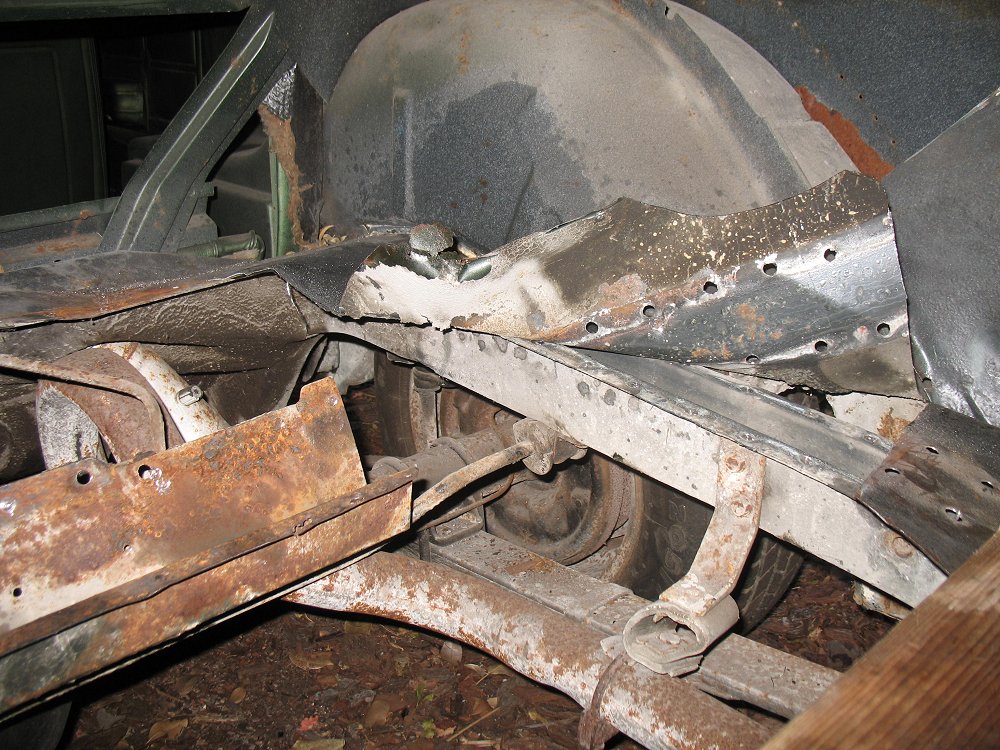
A is the answer..you should be drilling the spot welds from the trunk floor not the frame rails..Just take some 80 grit on a palm sander run over the floor where you think the welds are & they will appear ...You can use a 90 degree drill attachment to get into the hard spots..or get a mini air powered belt sander & sand the weld thin..Using the mig just plug weld the new floor in..You will need to mark the new holes on the new floor ..drill while out of the car..The install..then fill the drilled hole over the frame rail..PS YOU SHOULD NOT CUT OUT THE OLD FLOOR TILL THE NEW ONE IS IN YOUR HANDS..A. Drill holes in the trunk floor and MIG the floor to the frame from the top
or
B. Continue drilling out the original spotwelds through the framerails, and MIG from the bottom?
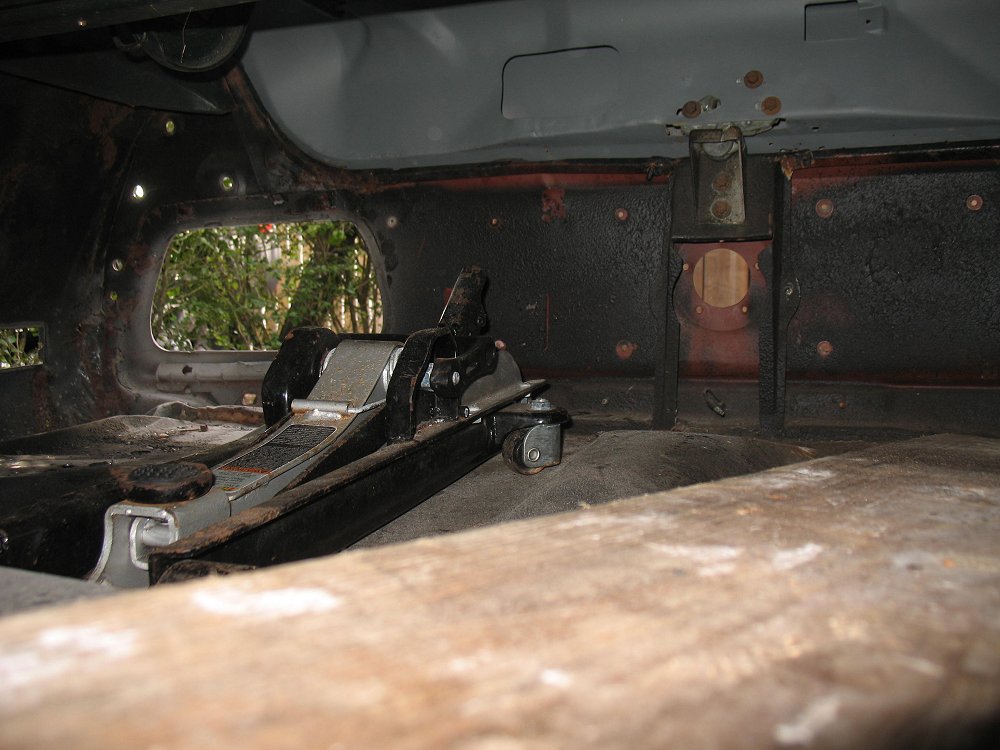
"A" sounds a bit messy, but easier for welding; "B" would seem to be the ideal route for a nice job, but I'm not sure how much of a pain it will be to MIG upside-down the car - and I'd be a bit concerned about the fuel line, which is right below the left frame rail (would blowing it out with a bottle of compressed CO2 eliminate the risk?).
-Kurt
Last edited by a moderator: