Dynacorn full floor pan?

7173Mustangs.com

Help Support 7173Mustangs.com:

This site may earn a commission from merchant affiliate links, including eBay, Amazon, and others.
Joined
Jan 7, 2015
Messages
8,032
Reaction score
532
Location
Western North Carolina
My Car
Multiple Mustangs!
Again working on the 72 Q code vert. The PO had the car dip stripped and was back to epoxy primer and had applied the sealer. He had also put floor patch panels in and did a sorry lap weld job that I do not like. Used the long ones for front and rear. So I am looking at cutting the whole thing out. Looking at going to NPD, 100 miles away, and pick up the front floor pan assembly. I understand that the flange on the side is turned the wrong way for convertible and will need to be reversed, probably cut off and weld back on, might crack if you bend it back. I can do some measurements before I buy it to see how it looks.

I do have a couple parts car convertibles to get the seat pans and such out of.

Has anyone put the whole assembly in before? Will I have to split down the middle put in then weld back to get inside the car?

Going to get the car on the lift and pull strings and see where the chassis is right now might have to do a little fixture to hold in position.

He also put quarters on but did lap welds so I am going to cut them back out but not until the floor is back. I have already cut the trunk filler panel out and got a rust free one for replacement.

Tell me your pains and sorrows and why I should not do it, lol. It does look bad now. I thought I would be getting ready to paint now but really just starting over due to bad work.

David

 
I HAVE NOT done the full replacement myself, but I did speak with someone who has.

He told me to do a full, one piece floor you need to remove the windshield, steering column and the dash assembly.  The rear pan area on the one piece floor that covers the rear torque boxes under the rear seat and interior quarters may need to be folded upward to clear the windshield opening.

The complete floor should pass in through the windshield opening at the base of the A-pillars and drop onto the frame support areas.   A couple hundred spot welds later and you should be good!

kcmash

 
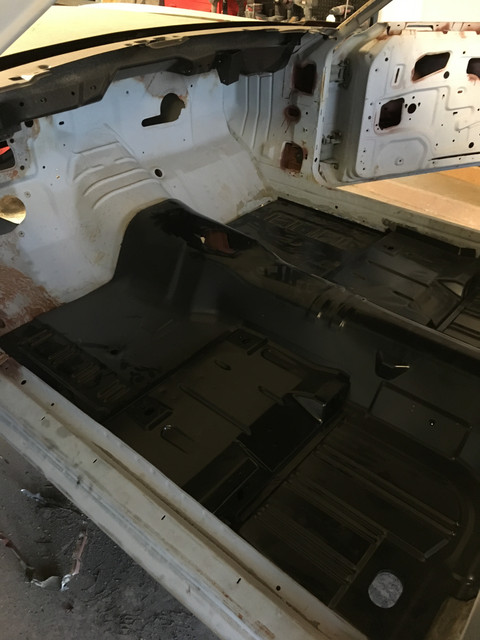
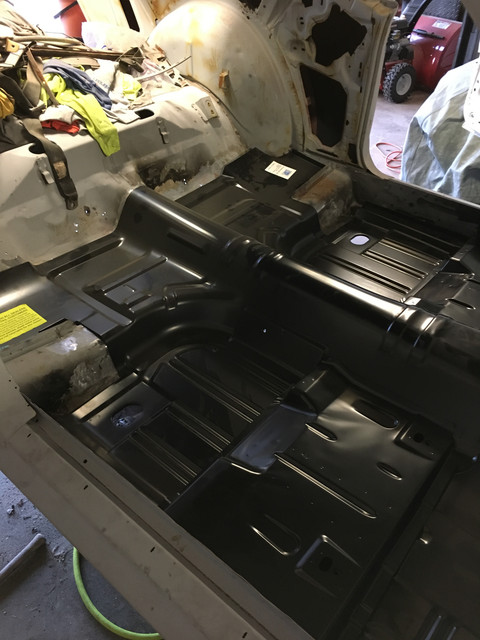
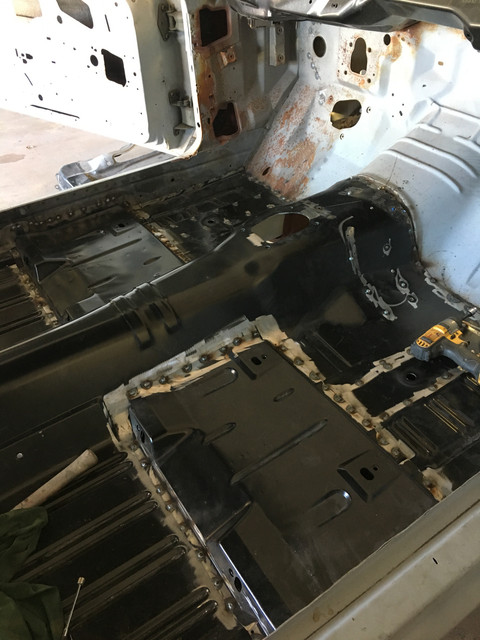
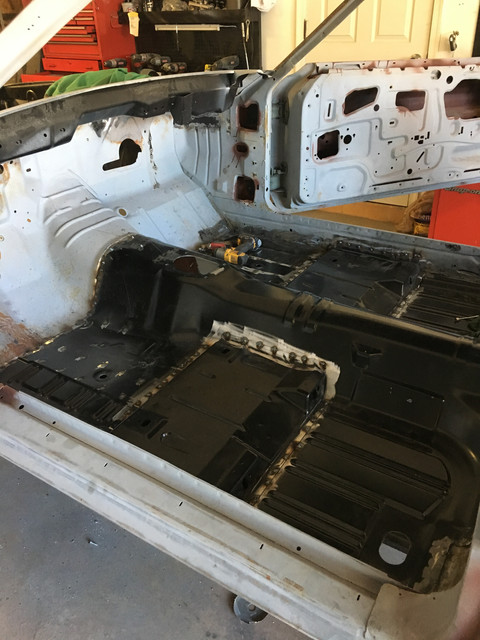
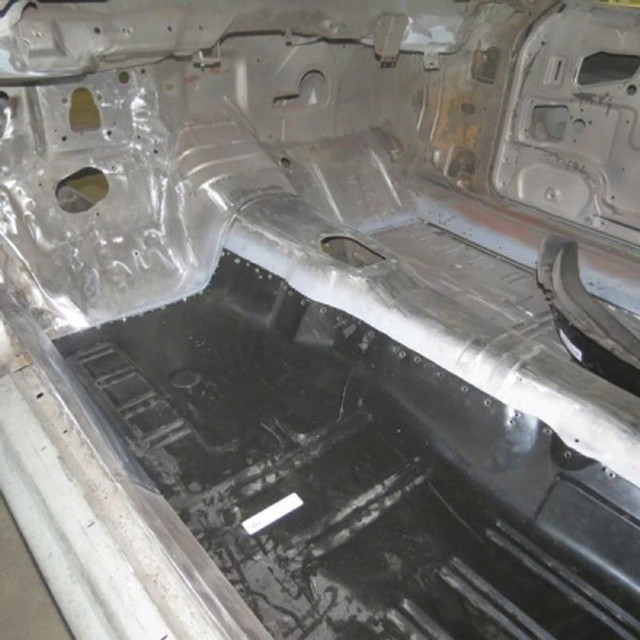
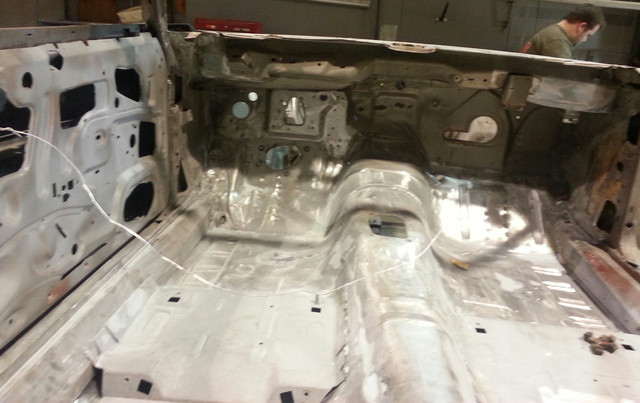
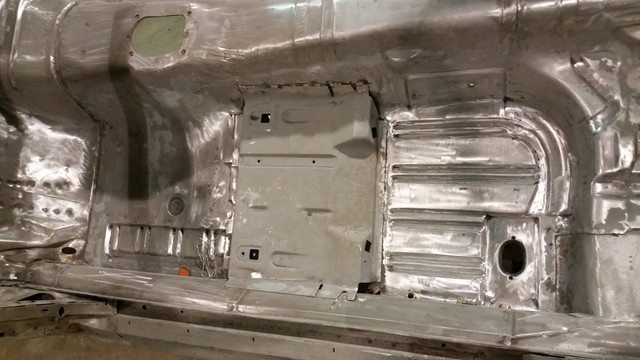
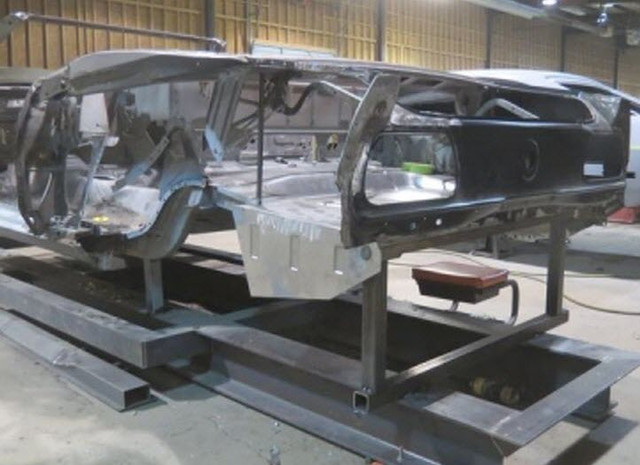
I installed a one piece pan. It wasn’t that bad. You need to slide it through the windshield area in order to get it in the car. Once it’s prepped and fitted where you want it, use sheet metal screws to hold it in and then go around and plug weld the perimeter holes you made. I used an air punch for my holes.

 
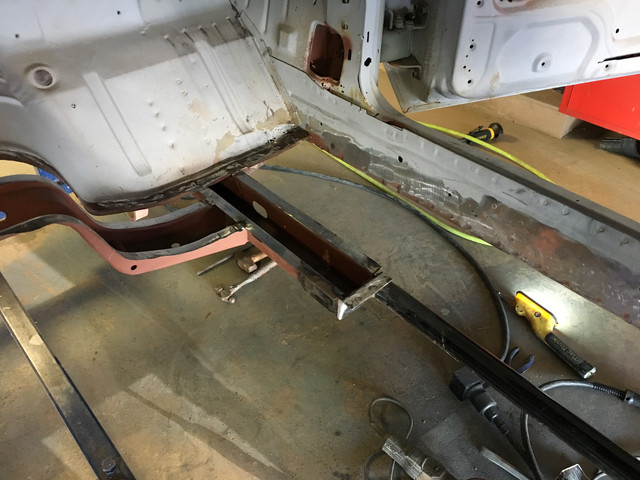
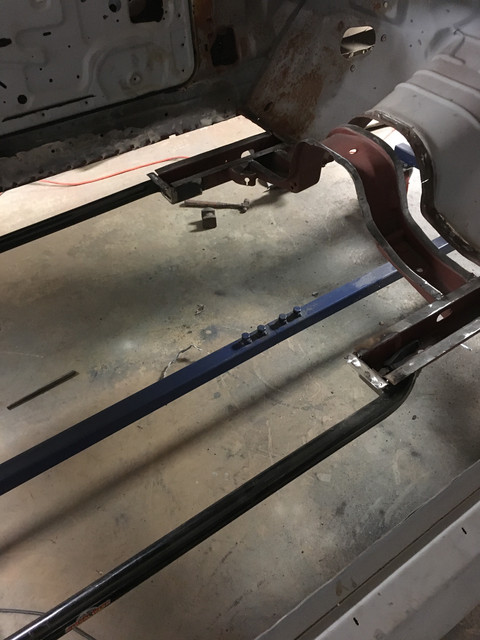
Here’s a couple of pics


Very nice work. That looks like the way to go! A little more prep work but overall much nicer than 2 separate patches. 

David, since its a convertible, cant you just drop the floor pan right in place? No need to come through windshield?  Just remember to properly brace it before cutting anything out!

 
I have seen John's fastback in person and he did all the work himself and did a fantastic job. Can't wait to see the whole car completed. It's going to be one sweet ride!

I took a different route when replacing my vert's floor pans. I used the two full sections, which do not cover the area under the rear seats. I kept the original tunnel and quarter sections under the rear seats. The full pan has the advantage of having the rear sections under the seat and eliminates the long weld seam along the tunnel. Either way, you still have to bend down the outer lip for verts.  I also had to replace the driverside inner frame rail. I had a shop do the sheet metal, welding and grinding work.


how do i delete plenty of fish

 
Last edited by a moderator:
Here’s a couple of pics


Very nice work. That looks like the way to go! A little more prep work but overall much nicer than 2 separate patches. 

David, since its a convertible, cant you just drop the floor pan right in place? No need to come through windshield?  Just remember to properly brace it before cutting anything out!
Kevin,

Not sure if it will drop into the vert or not in one piece. That is another reason I was asking. My friend that restores cars has not done a 71 - 73 so he could not answer. He has done several camaro and firebirds and they would not drop in had to split down the middle put in and then have one weld seam down the center of the tunnel.

So in some of the pictures looks like one had the seat risers and everything already in the assembly. What all comes in the full floor?

I use to have to go to Ford when supplying new models sheet metal and we would go to the quality area and they have a Buck the holds all the sheet metal in body position and you do a SCREW build. The panels are all blued and scribe marked with the body coordinates in 100 mm grids. When you align the panels using the locating holes on the BUCK you can see if anything is off by looking at the scribe lines. Lots of screws later there sits a whole under body. Then they take to the crusher and make a bail out of it, lol. If the BUCK for our cars was still around you could build a perfect body.

In some of the picture posted I see someone does have a really nice BUCK for doing the bodies that would be sweet for sure.

Thanks for all the info.

David

 
Here’s a couple of pics


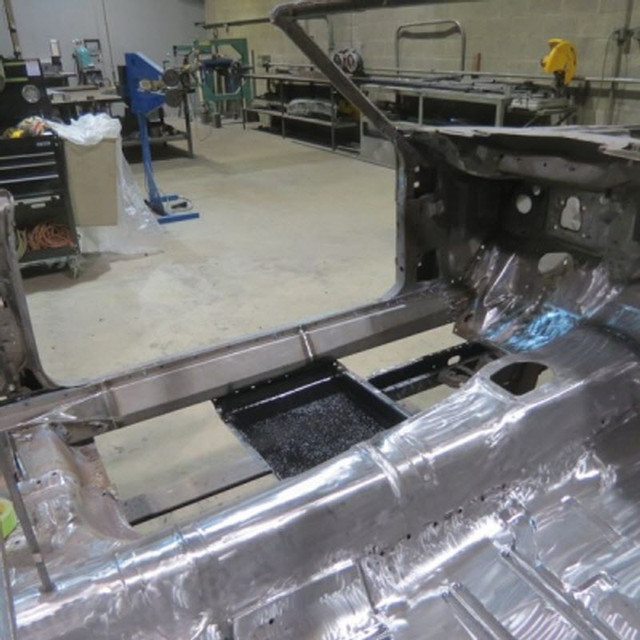
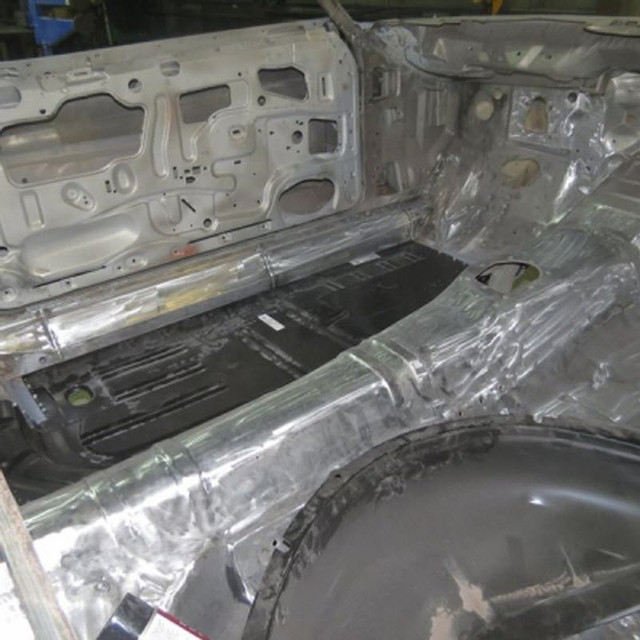
Great info . I am planning in replacing my full floor pan. I did replace with full drive and passenger pans but not happy with the end result. I have a few questions if you don't mind me asking. Did the subframe connectors helped during the floor installation? I don't have a body cart but have 6 ton jacks. Where should I place them? Pics of the work I did. Any feedback is greatly appreciated.
 

Attachments

  • 697-2f415c554e6e3f2ee021b7e5553f59be.jpg
    697-2f415c554e6e3f2ee021b7e5553f59be.jpg
    10.6 KB
  • 696-a2d0efadfea589aad9e0771878efff6a.jpg
    696-a2d0efadfea589aad9e0771878efff6a.jpg
    10.8 KB
  • 2118-c0bd4a0fe62d19a57b15d7bf08b5152e.jpg
    2118-c0bd4a0fe62d19a57b15d7bf08b5152e.jpg
    11.4 KB
  • 2120-c781c2a437a845132972d19d03dc396d.jpg
    2120-c781c2a437a845132972d19d03dc396d.jpg
    9.7 KB
  • 2117-4d4489d9e72937bcc845ade94befcde7.jpg
    2117-4d4489d9e72937bcc845ade94befcde7.jpg
    10.6 KB
Back
Top