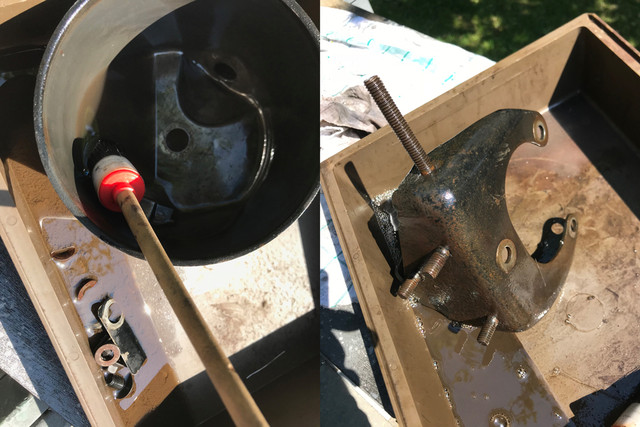
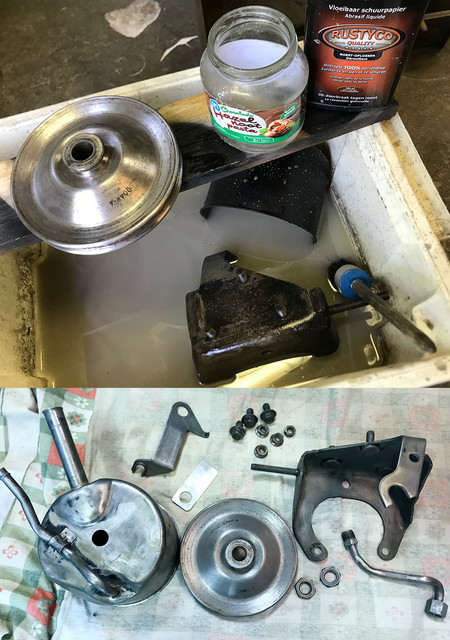
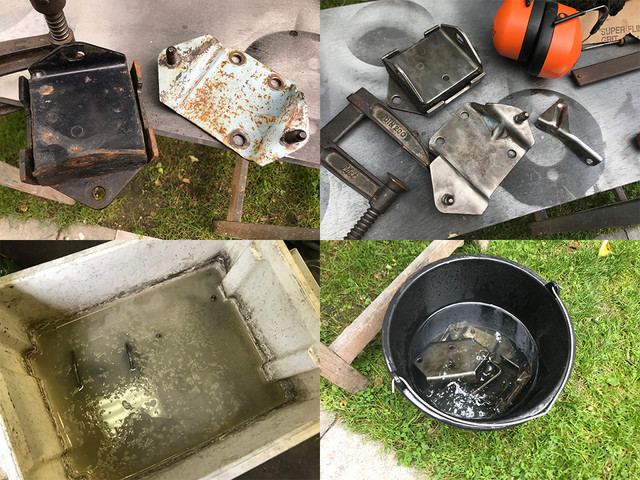
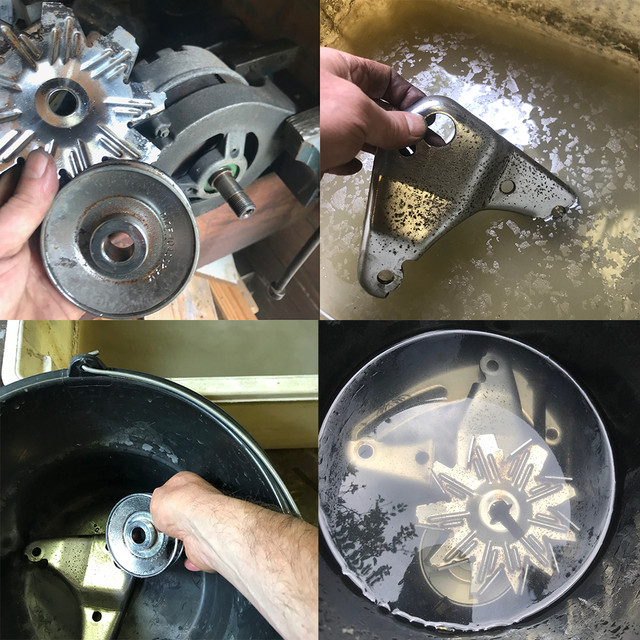
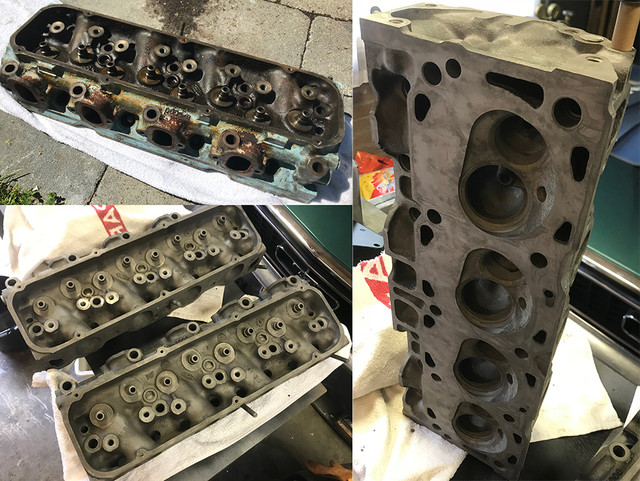
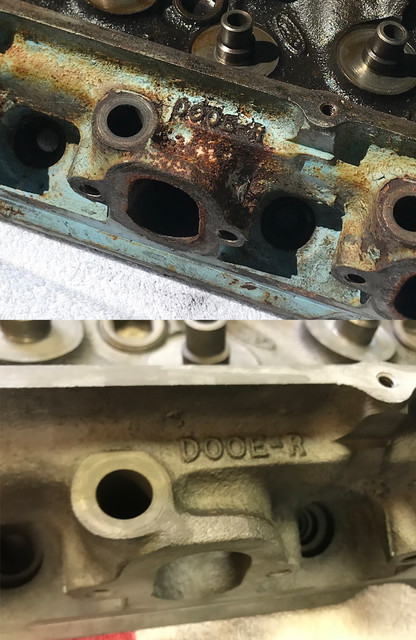
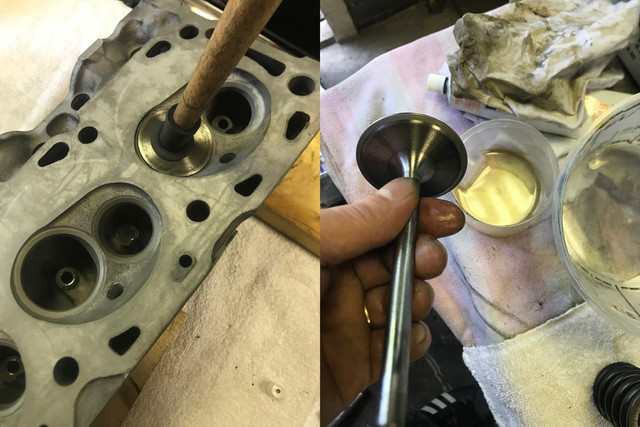
Still with an unusually nice weather over here, continued where I've left.
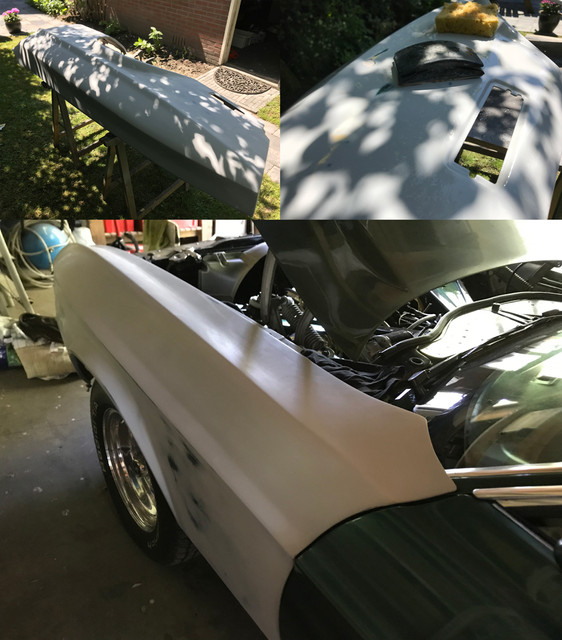
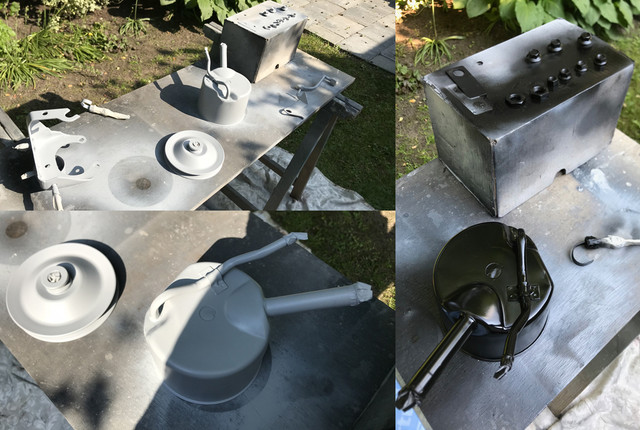
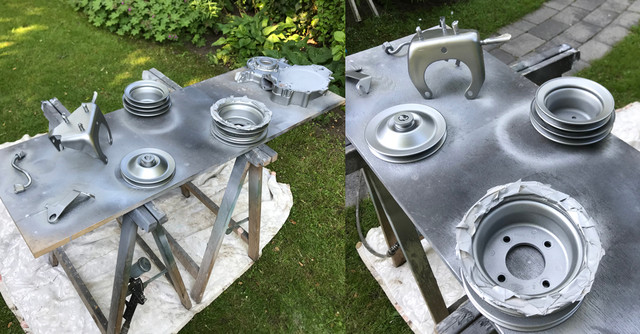
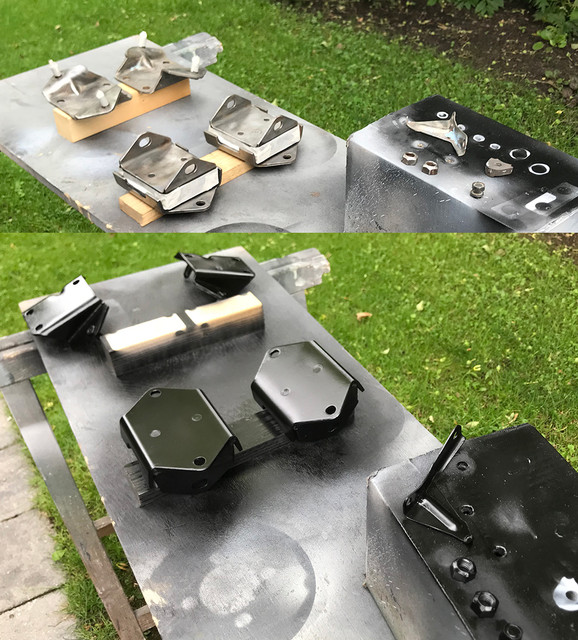
So first thing on the agenda was to apply the clear coat
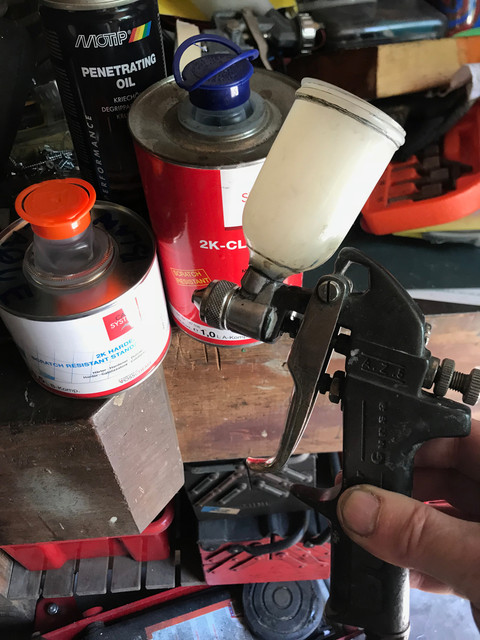
In case you spray yourself, for this job I've used this gun(.8 mm nozzle), its way more economical than a "regular" gun (1.4mm). Its more directive and almost as precise as an airbrush. Makes it ideal for this kind of job.
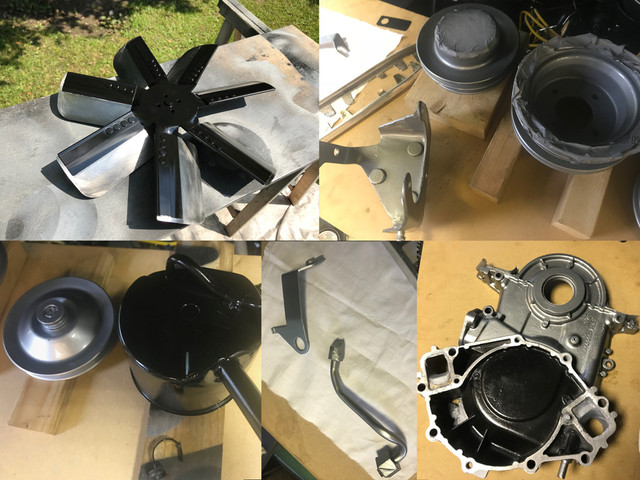
Clear coat layer added, i've let dry, and reapplied 2 hours later on the other side of some parts.
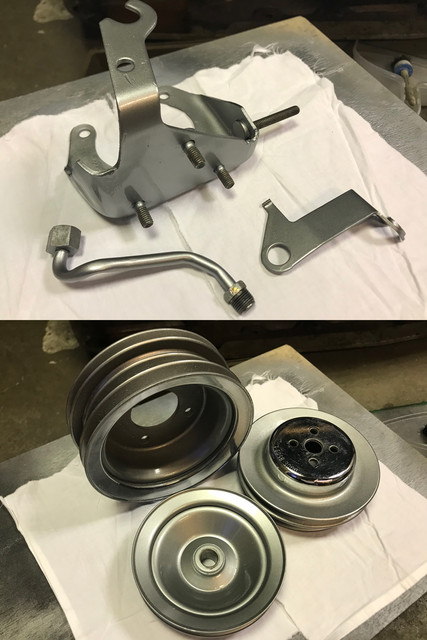
(forward in time to yesterday eve)
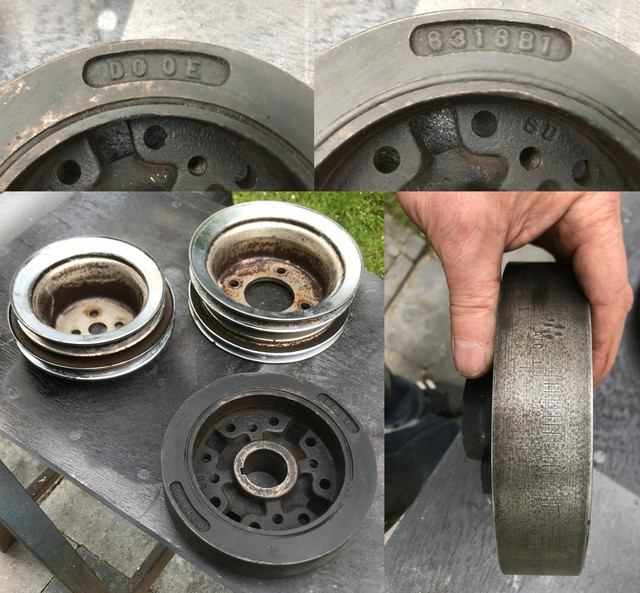
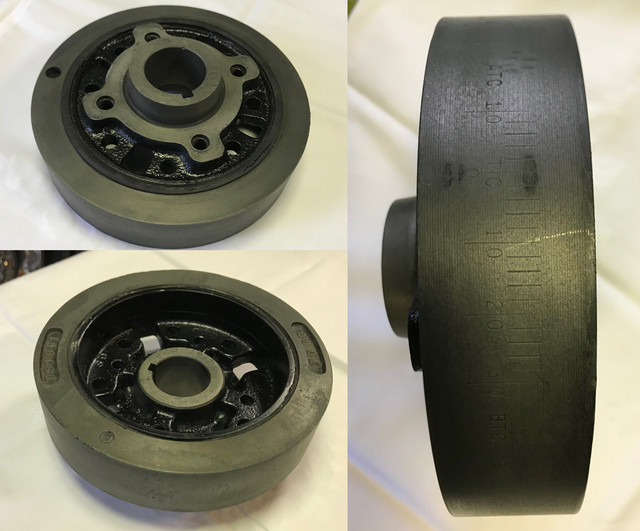
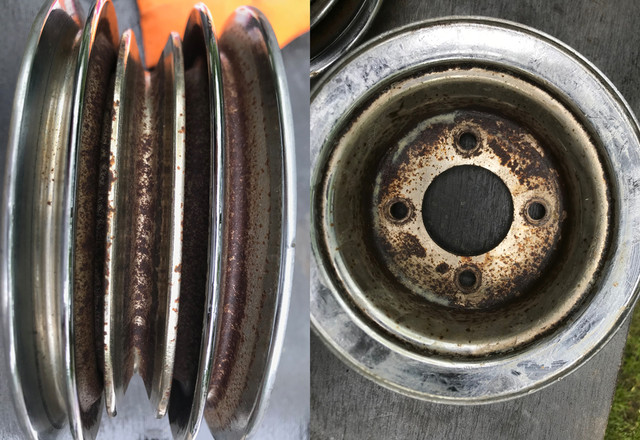
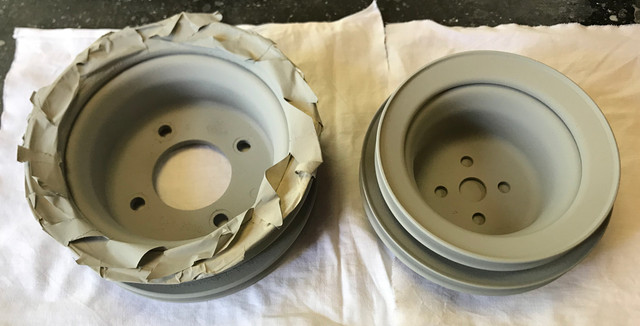
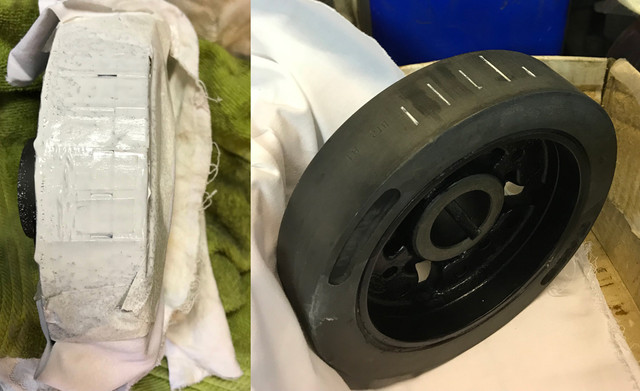
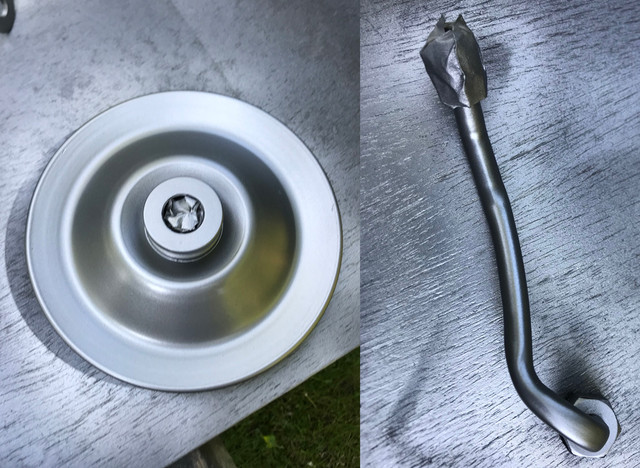
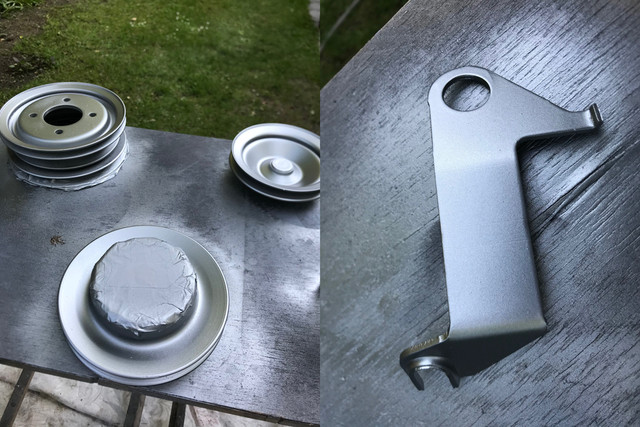
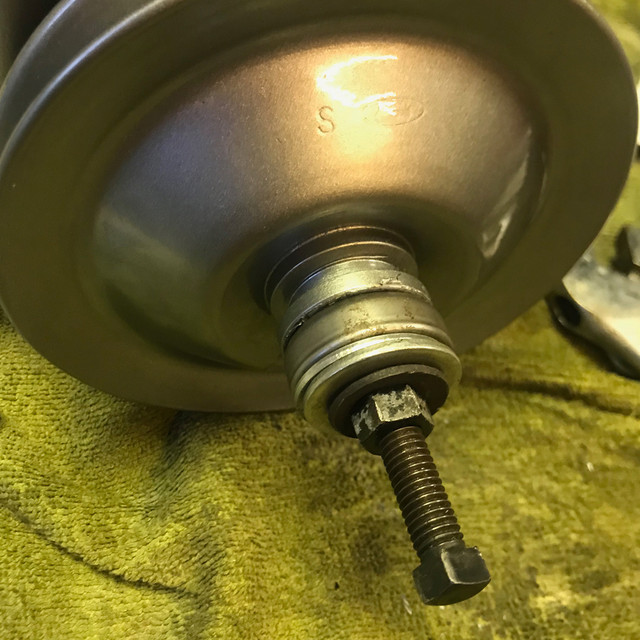
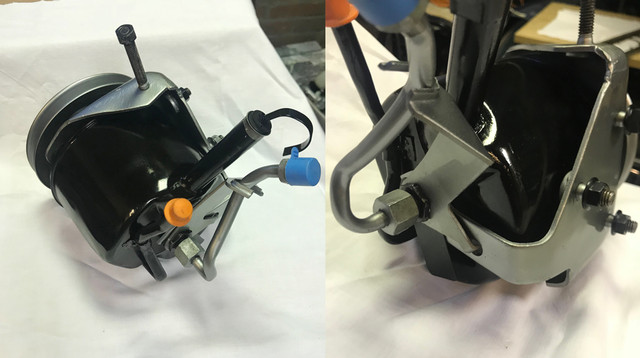
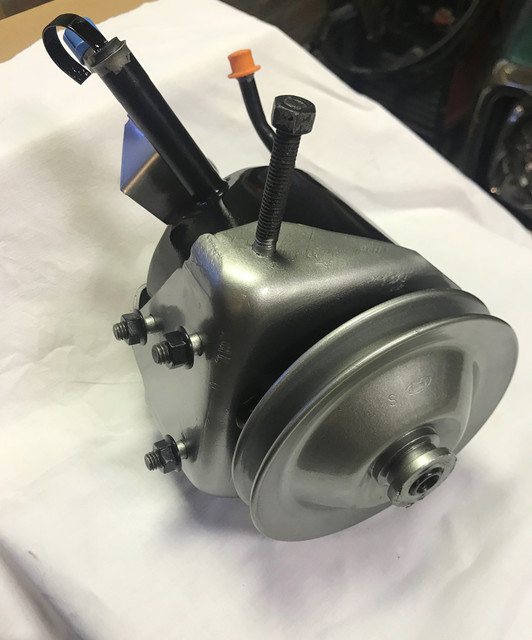
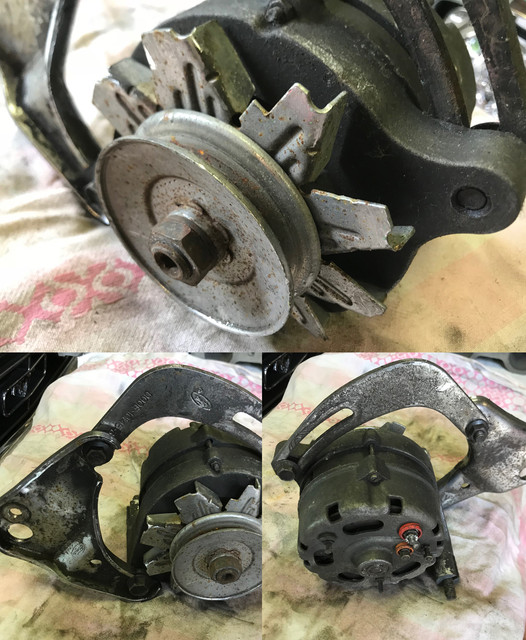
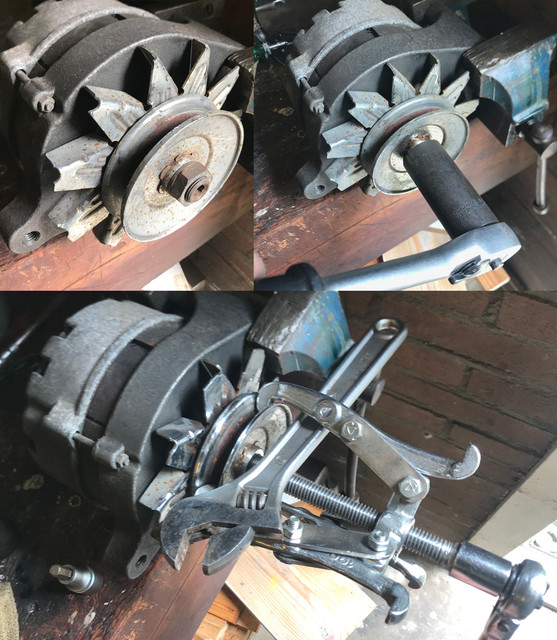
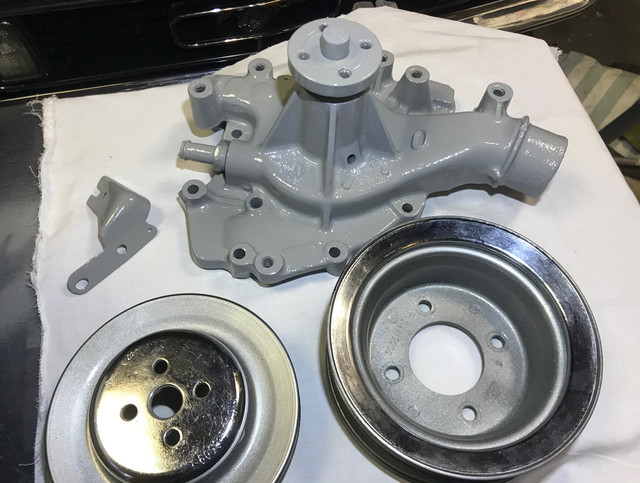
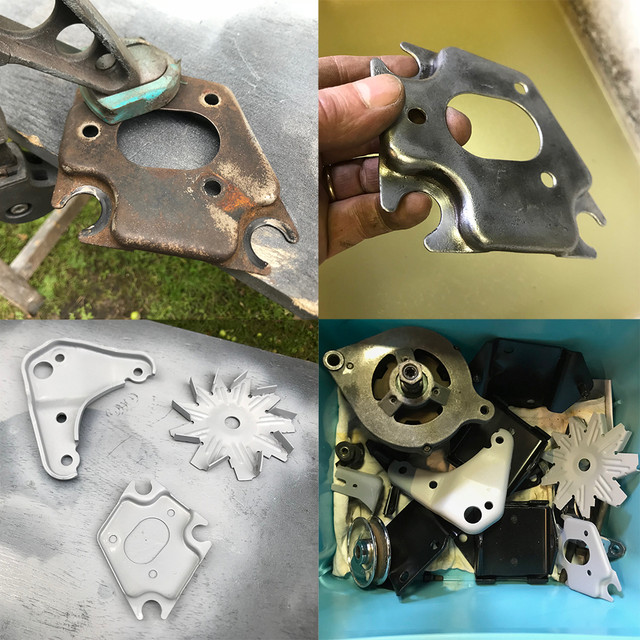
Not fully hard, as it will take a few days to reach that state, but hard enough to the touch, it was time to remove the maskings as waiting longer would potentially lead to unsharp masking lines or even damage. The bits of chrome left over to the pulleys turned out nice and they marry well with the grey.
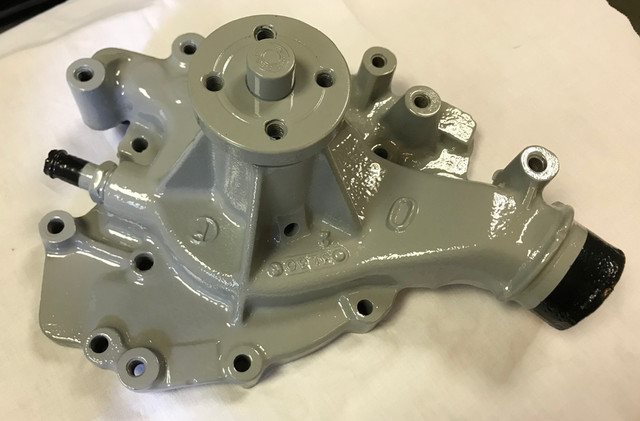
At this point, i can now mark the waterpump/crankshaft puleys, the fan and the chaincover done. After the pump reassembly, i will probably need to retouch the front pulley at center, and the bolts.
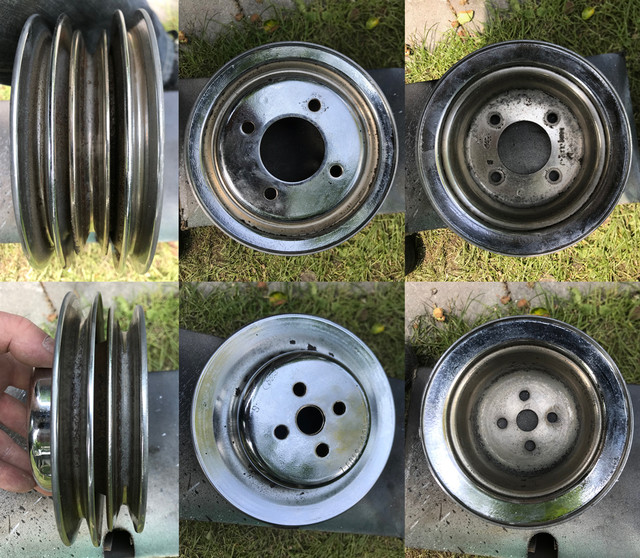
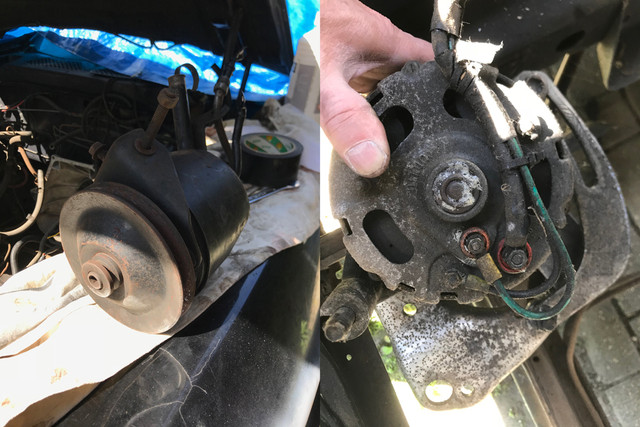
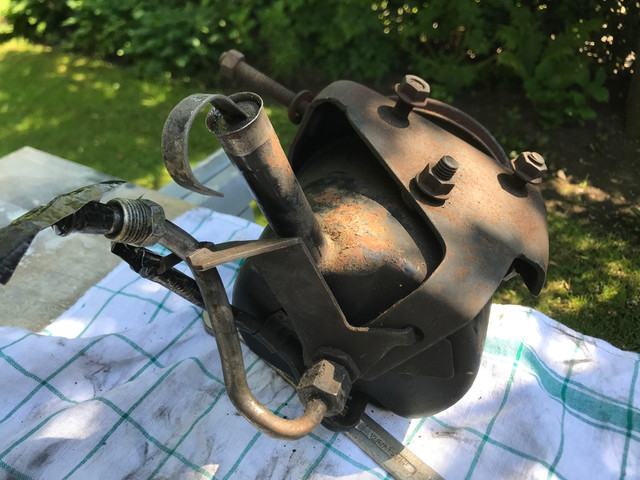
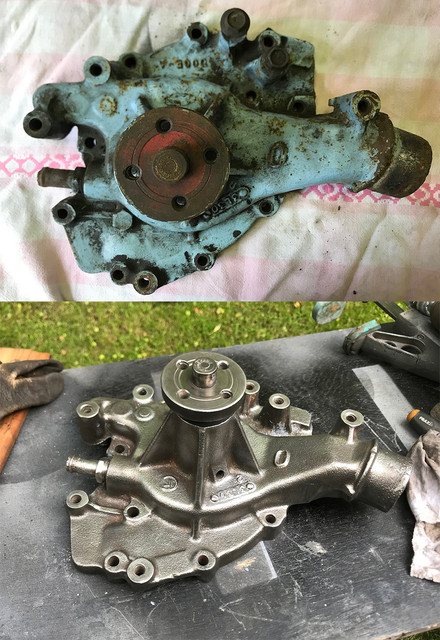
Comparing the parts state before and now, its clear a bit of love makes a difference!
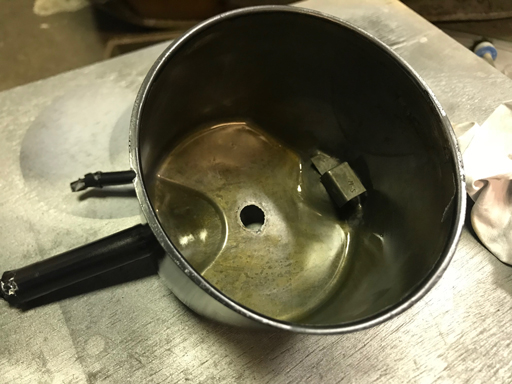
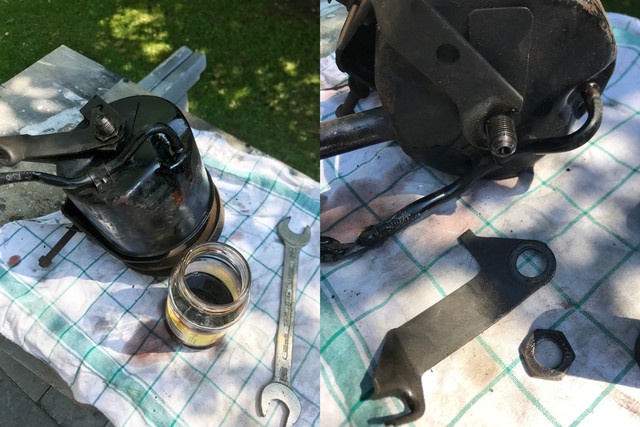
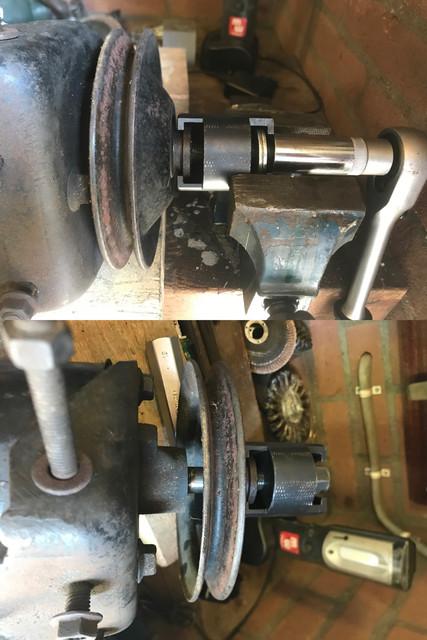
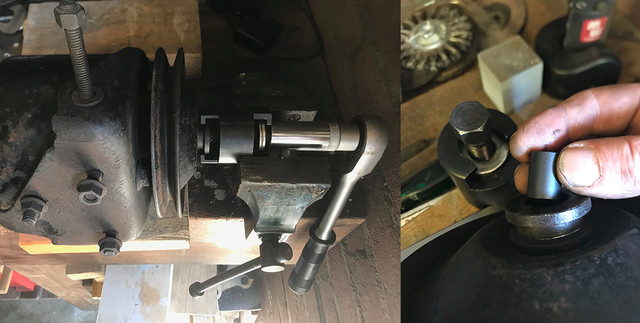
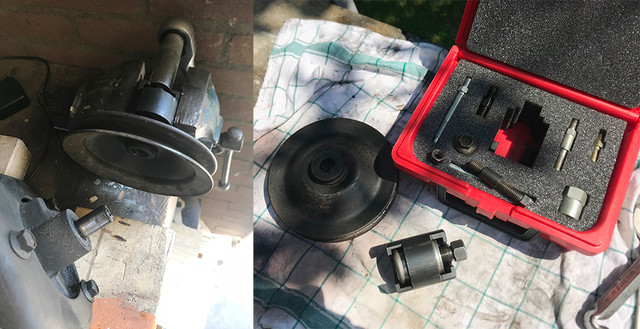
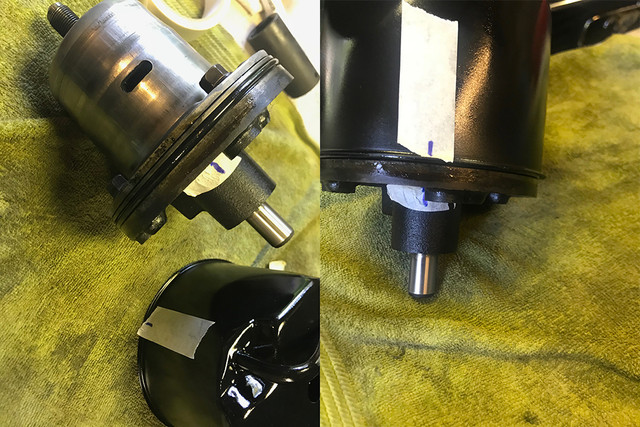
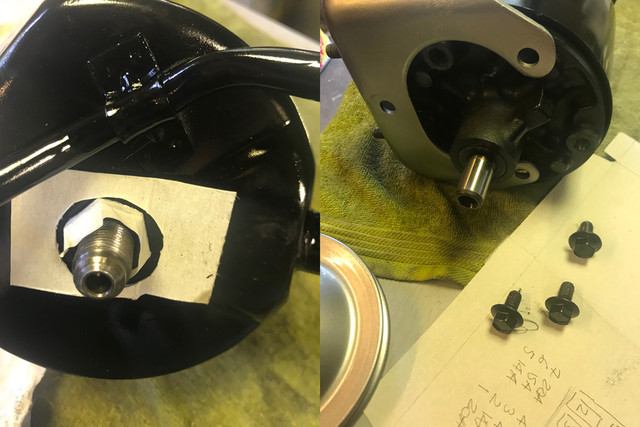
I've forgot to mention, that for the pump pulley and the casing you must mask the axle holes. because the puley needs be pushed back in, a layer of paint, would make the job very hard, removing the paint there would be very hard. As for the casing, you don't want any paint in it, as its not just a casing for the looks, its a tank full of oil and you don't want paint chemicals in the oil or even worth, chunks of dry paint entering your steering components.
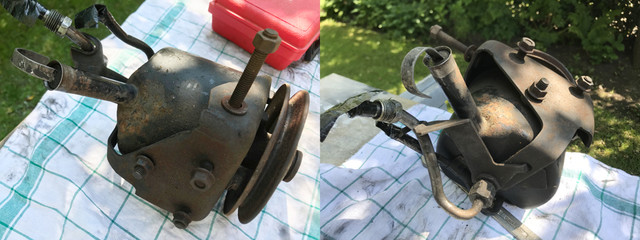
Meanwhile all this spraying I was busy with the pump...
First if you do the same: TAKE PICTURES! While its pretty straight forward job, this pump parts design allows few combinations for reassembly. all wrong except the right one!
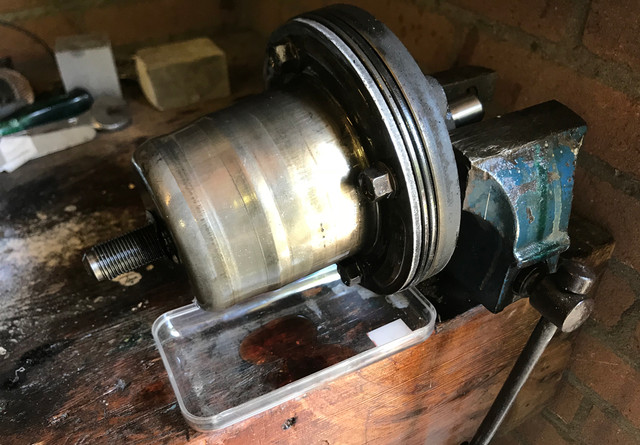
Also you will need a vice even if all could be done "free hand", its really a must to have the pump secured while you work.
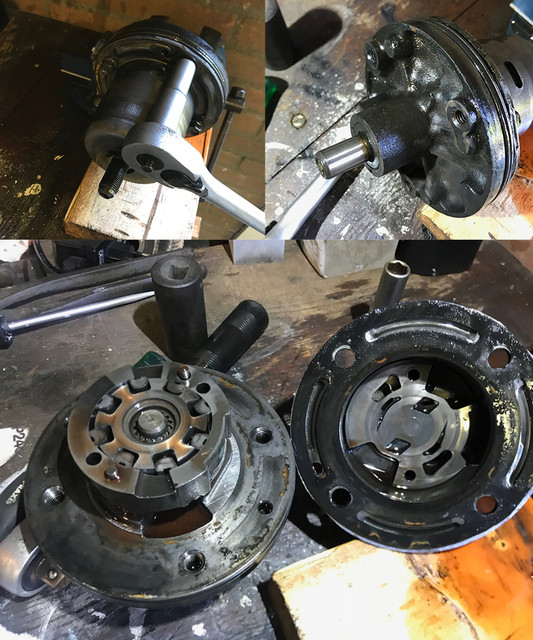
To open it, you need remove the 4 main bolts. As they are in oil all the time, they come out pretty easy. at this point. Take care you open gently, not because it would break, but because lots of components are spring loaded.
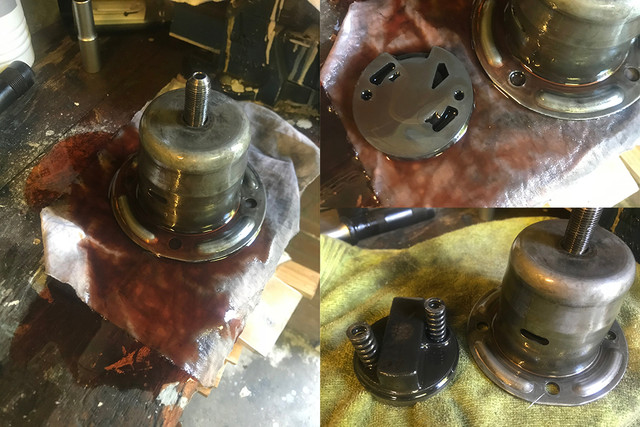
For the manifold side, as the parts are sealed with a o-ring, you need to tap gently, a tiny firm at the inlet.
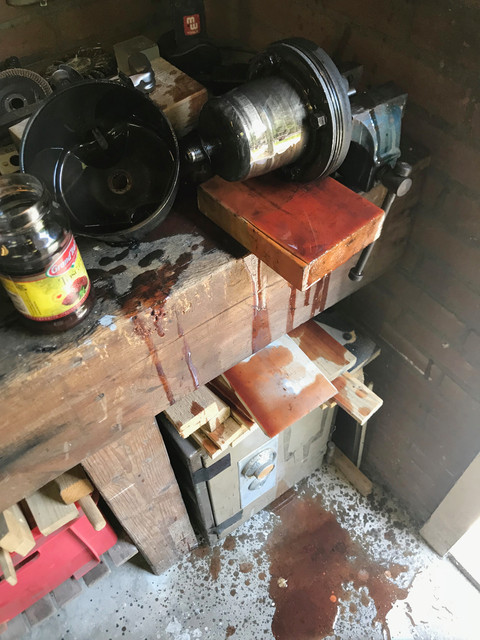
and then: woosh! Again!
I was thinking I've learned that empty isn't empty. well, once more when its empty: its not!

If the pump o-ring is ok, there is still another glass of oil trapped in there above!
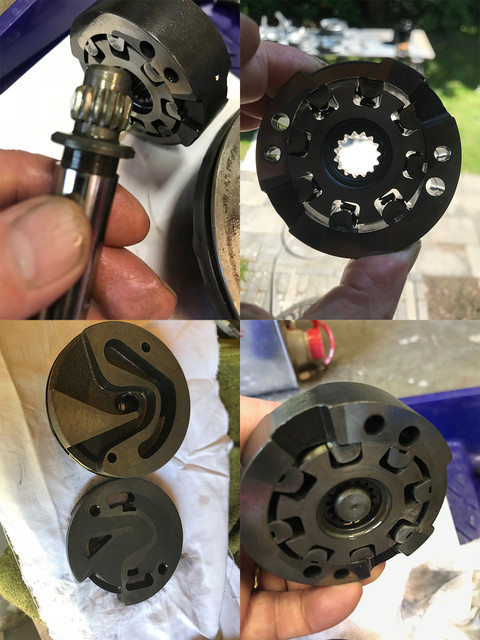
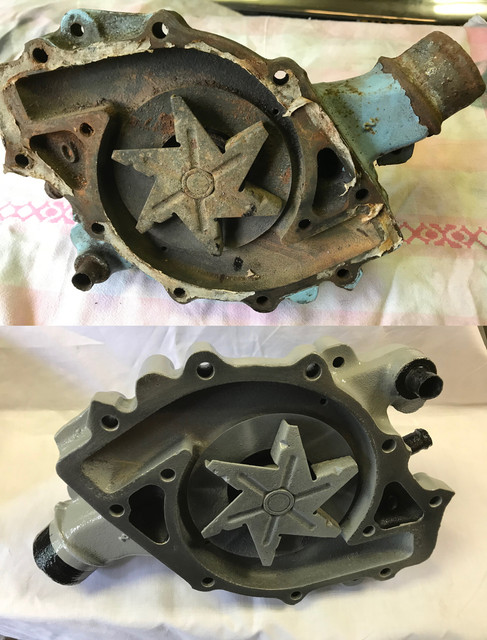
Then once you have both sides apart, its time to inspect for unusual wear. On mine, that was pumping ok, all was looking fine.
Notice here on pict top right the springs (taken against light to see the small springs). You really do not want to put this apart, because if its damaged/having wear. You will have to buy a new pump.
if ok, its fine as is. it just needs to be cleaned and inspected.
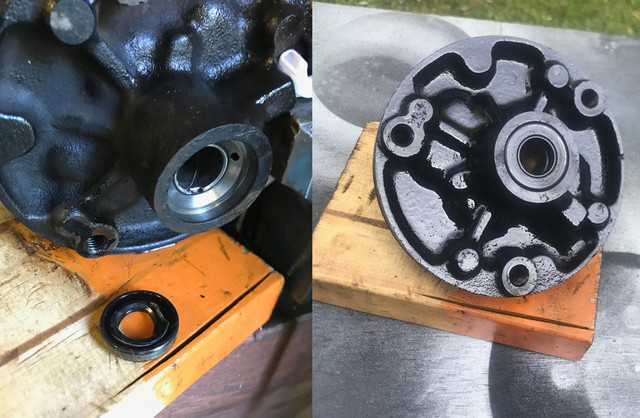
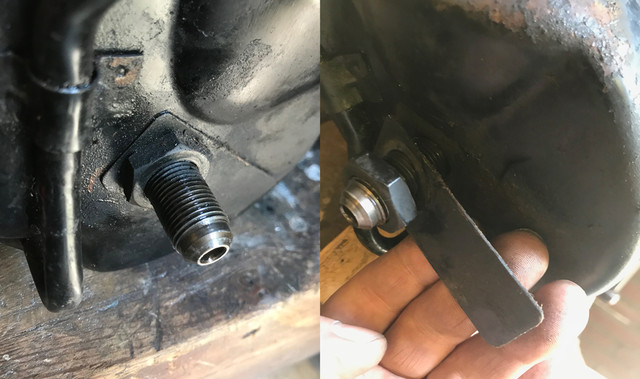
While busy cleaning the metal parts, also cleaned and painted the front of the pump and changed the axle seal.
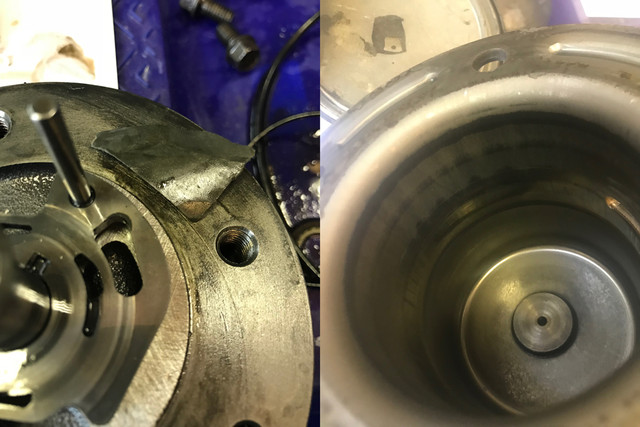
Each and every part needs to be clean to be inspected, so you can also judge the wear by the black metal residues on the cloth you are using.
Also, on mine the old gasket left residues, so as you don't want to have any solid residues in there, i've used a small bits of 800 water sand paper, oiled it and
removed the gasket rests. Once done, cleaned all the surface before do anything else.
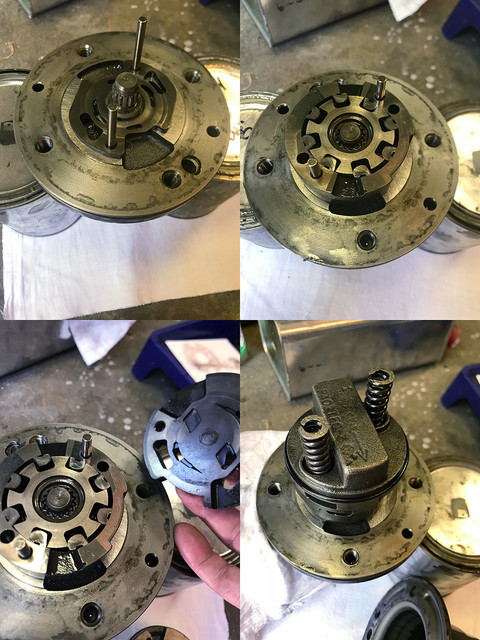
Here the a blank reassembly, still dirty, but wanted take picts before do it for real in one go, with fresh oil.
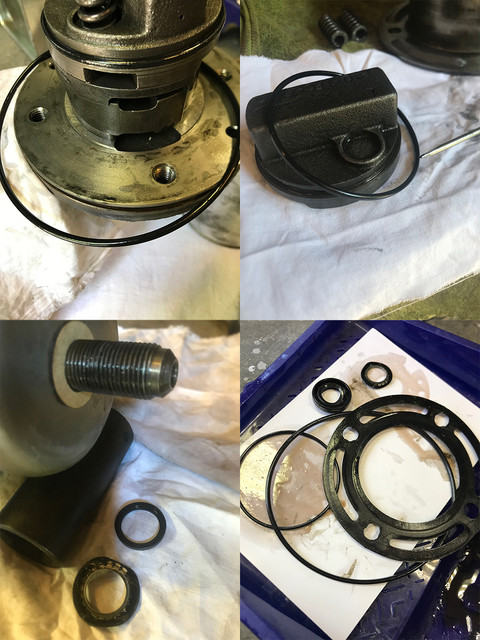
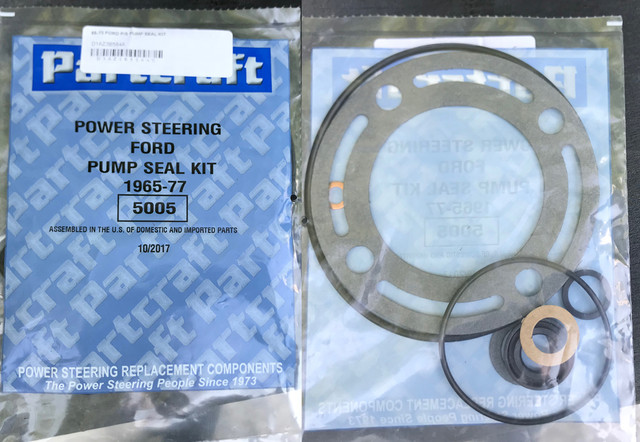
On this pict, the gasket, seals i've replaced. In the kit I bought, there are still 3 rings/gaskets left over. Made for a broad range of similar pumps, i suppose they ware for other applications.
As I haven't see any other to be changed parts. I know that on some casings, you also have some kind of a filter at the rear of the casing. So i guess these are made for this kind of diffs.
bath the new o-rings in oil before install them and later on, the surface of the casing where they are supposed to be in contact with.
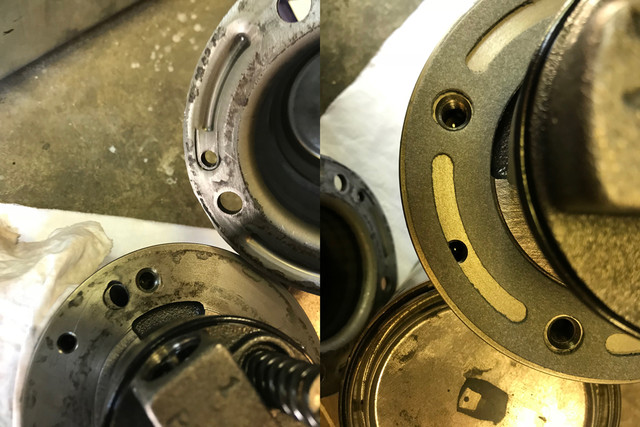
On pict left, notice the extra hole. make sure you align before put the bolts back on. On the right the gasket. Can't say i'm impressed by the fit for the secondary passages.
After inspection of the old one, I saw its the exact same shape. So I guess it got to be ok, and resisted to modify/cut the gasket to fit better.
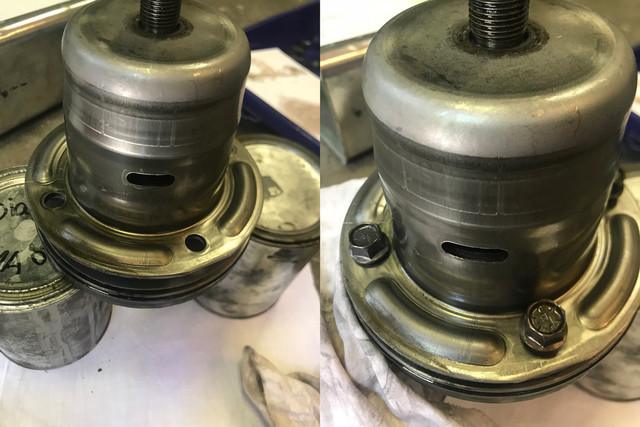
Finally its time to do the reassembly, this time, all clean. only o-rings and surface oiled. Using two cans of paint I had laying around, its just a matter of putting the parts on top of each other.
On the manifold, the two springs being loose, you need to gently lowdown so they do not fall. if the assembly is nicely vertical, all goes smooth. on the last bits, you need press a bit more as
you now have a new o-ring. Once popped in, set back the bolts. As you don't want to have leaks, make sure you tight first by hand, and then one turn at a time. jump to opposite bolt
so that both surfaces are always parallel. I couldn't find infos on the exact torque, but remembered the force i've used to loose them.
All with all, its pretty easy repair and considering the kit is really cheap vs new pump, 12 dollars I think.
From what I saw, the o-rings are the ones making the diff and I think that's what my 73 pump needs. The old ones are very hard to the touch and probably are loosing their sealing properties. If yours is not working properly, may your pump be damaged inside, this kit is useless and you will need a new pump anyway, but being in oil all the time, chances are high this dirty job is worth the effort. Glad I did it.
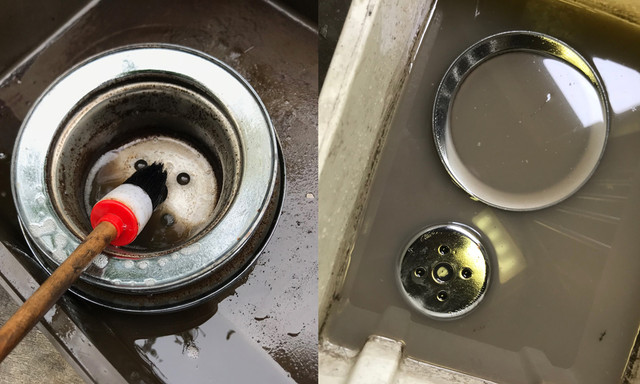
And as a bonus, you have in the end a shiny garage floor

Next time I do this, I'll surely take this in account!
Been busy on other stuffs this weekend, but to keep a bit of logic in this thread, I'll finish this pump chapter first once back together.


