- Joined
- Jan 24, 2012
- Messages
- 4,628
- Reaction score
- 1,507
- Location
- Tucson, AZ
- My Car
- No Mustangs at the moment.
Slacker. *G*


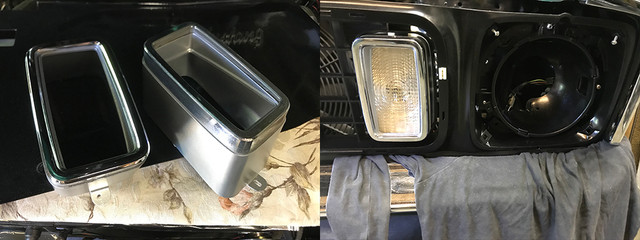
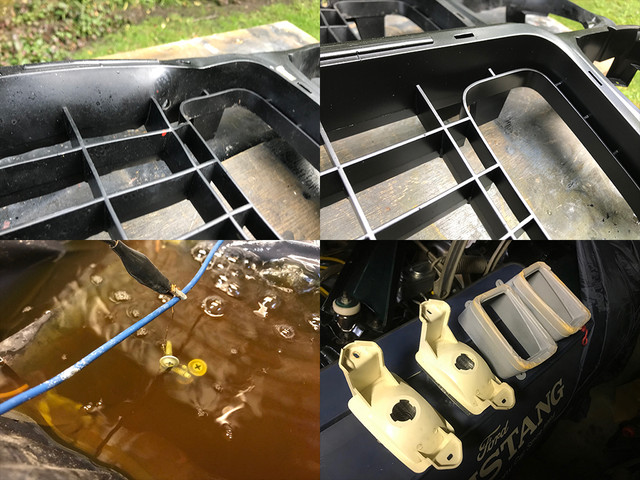 Then plated the lights screw, cleaned the lenses, primed and refreshed the lights covers... all was good.
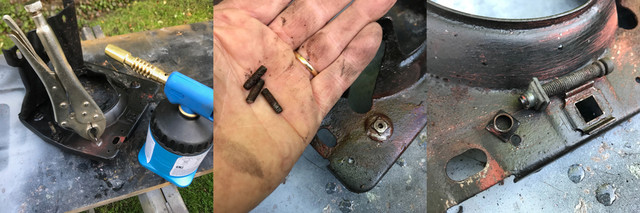
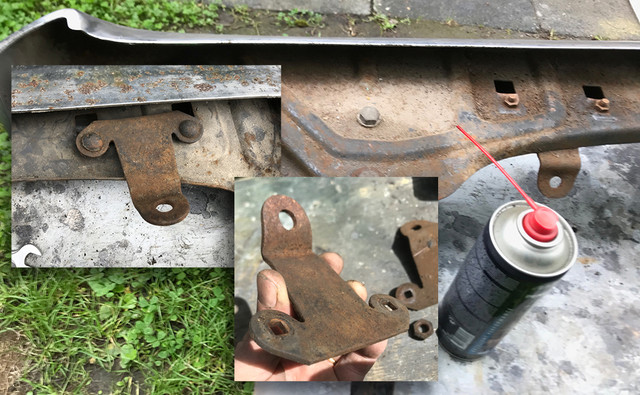
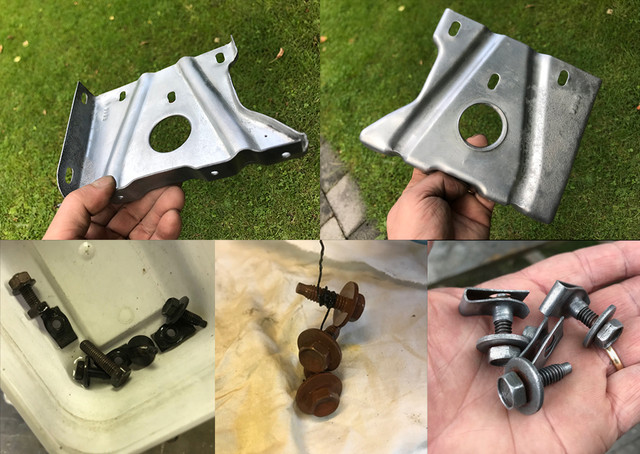
I hate when stuff brakes on me, especially when I'm careful. These screws and clips were just so weak I wonder how long it would have take for them to break alone.I know that two steps backwards feeling Fabrice. My molded screw hole at rear of black glove box front have snapped.
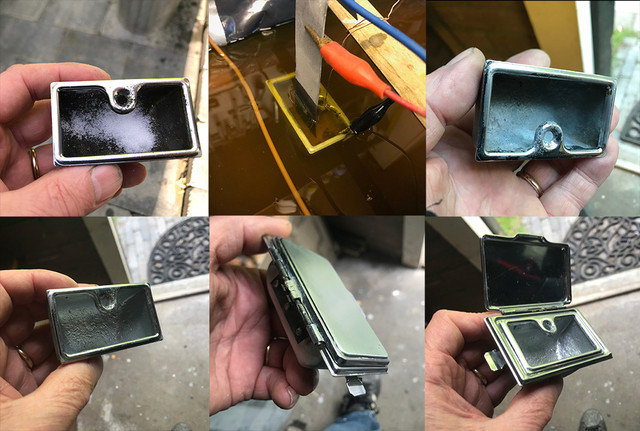
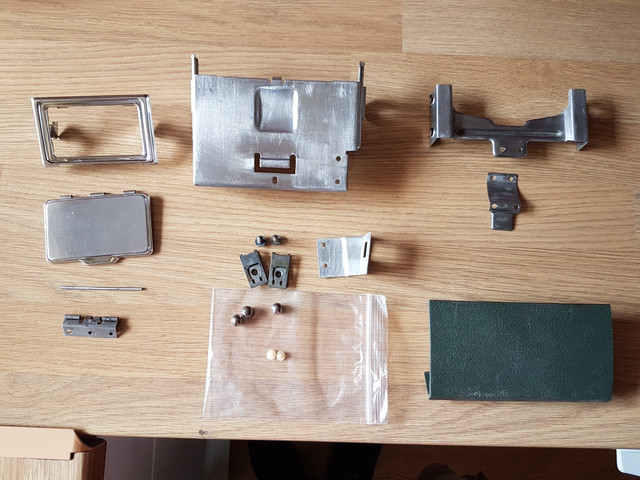
Looking at your work last weekend i saw you tackle the ashtray. Just wondered why you didnt attempt to remove the top chrome piece. I did attempt mine and failed. Those 4 lugs inside the ashtray are stronger than they look.
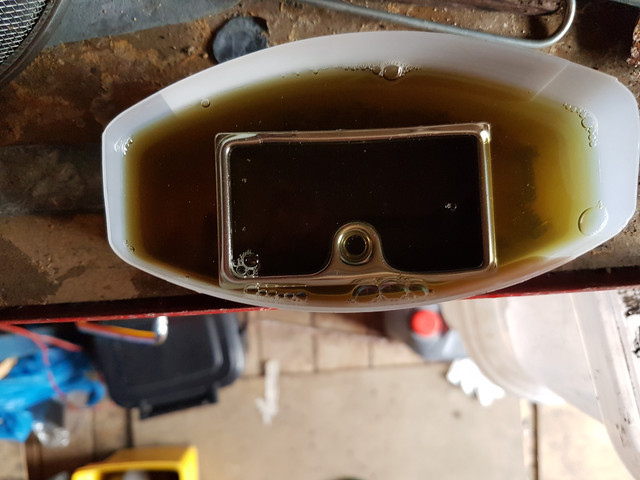
I had to go same route as you for rear ashtray and soak it in sauce because the chrome top was bending as i tried to remove it. If i had carried on i know it would have broken.I hate when stuff brakes on me, especially when I'm careful. These screws and clips were just so weak I wonder how long it would have take for them to break alone.I know that two steps backwards feeling Fabrice. My molded screw hole at rear of black glove box front have snapped.
Looking at your work last weekend i saw you tackle the ashtray. Just wondered why you didnt attempt to remove the top chrome piece. I did attempt mine and failed. Those 4 lugs inside the ashtray are stronger than they look.
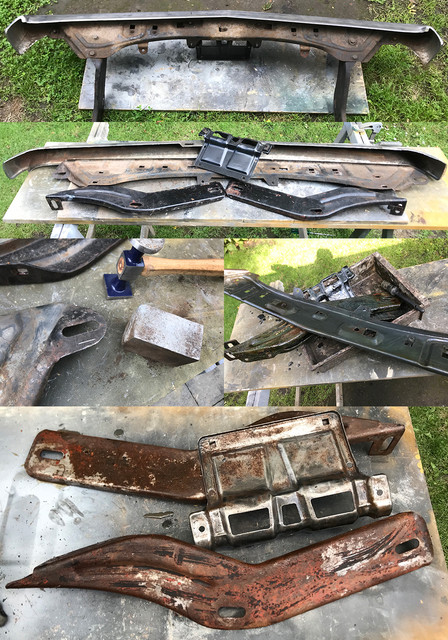
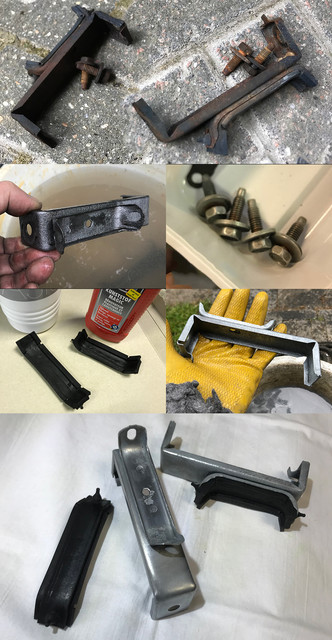
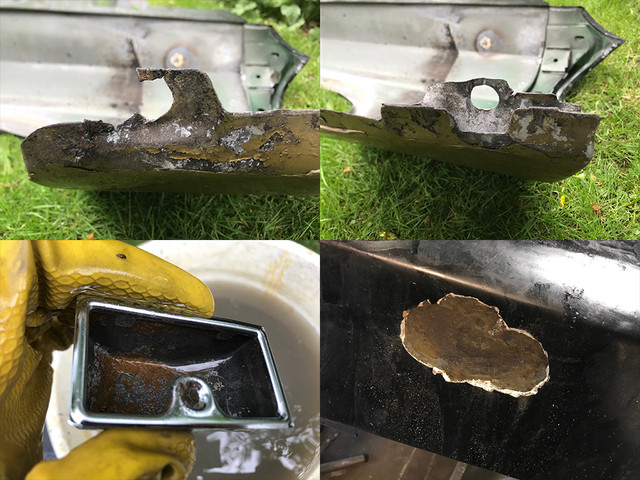
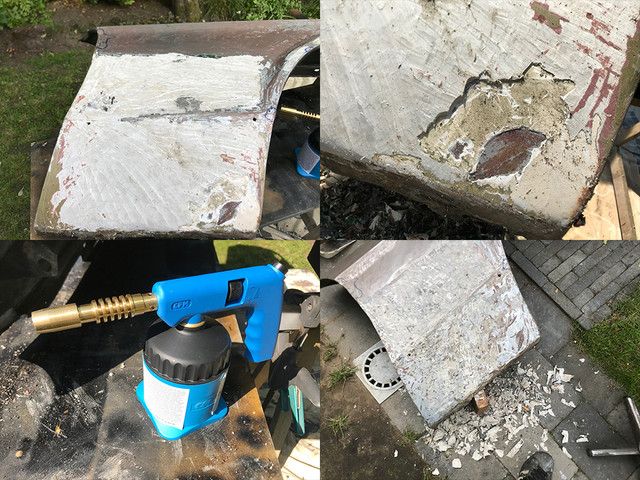
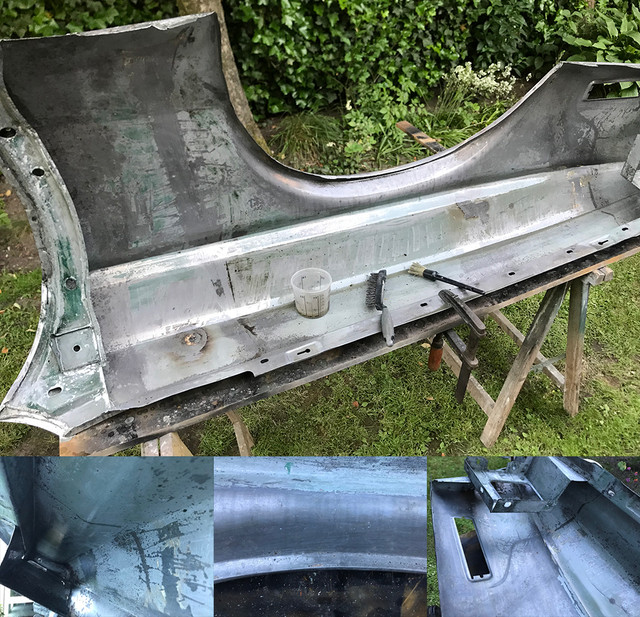
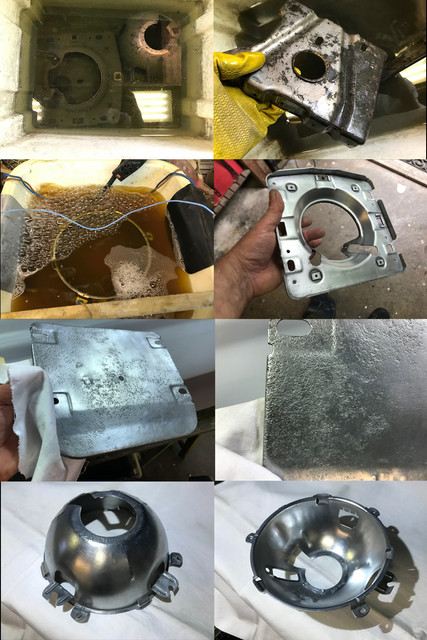
For the ashtray, the top/cap is looking fine now, rust was only on mechanism which is now restored and greased. It's the insert, the actual ashtray that you can take out, that was pitted beyond repair, I saw on one place the rust devoured the metal so much I could see the plating from the other side! Thats the part I will replace by a new/better one eventually.
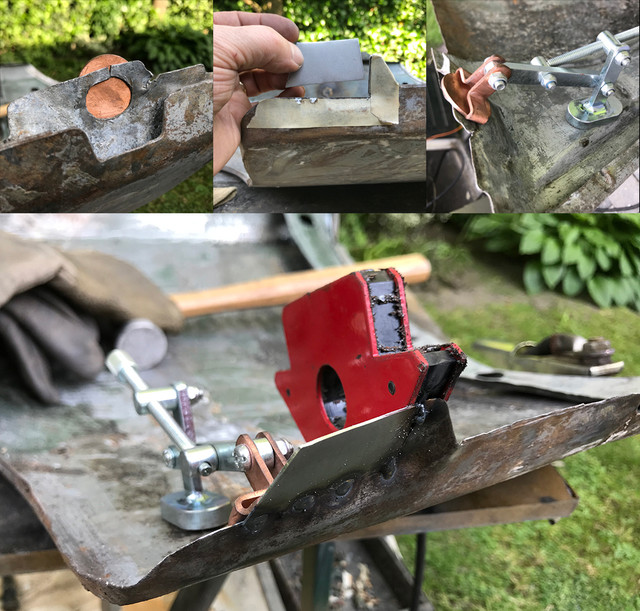
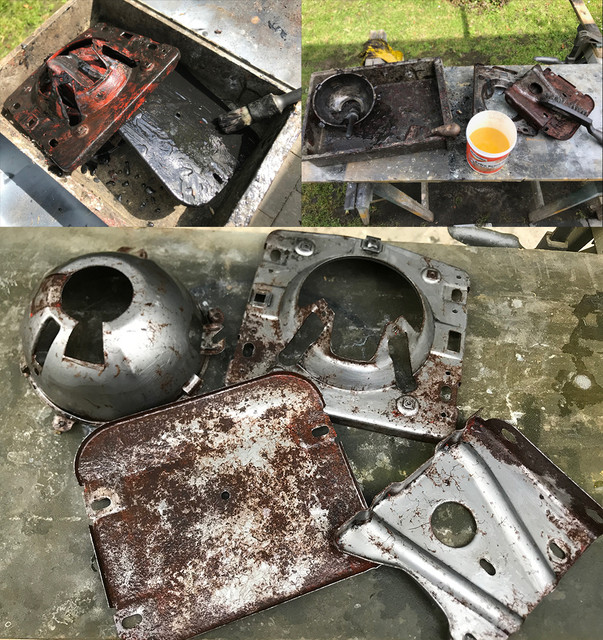
There are 4 bits of metal pressed, but they didn't look like a good idea to play with on mine. If you do it this way on yours, please send some picts.
That will not really change anything for this one, but as I want go take a look at my 73's as well, much less rusted, It might come handy if I could re-plate only the bottom.

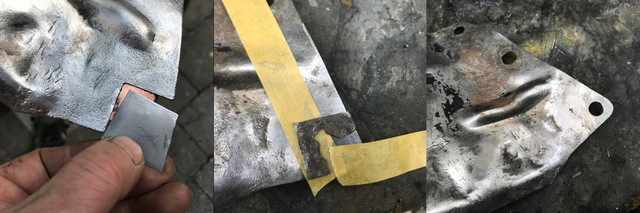

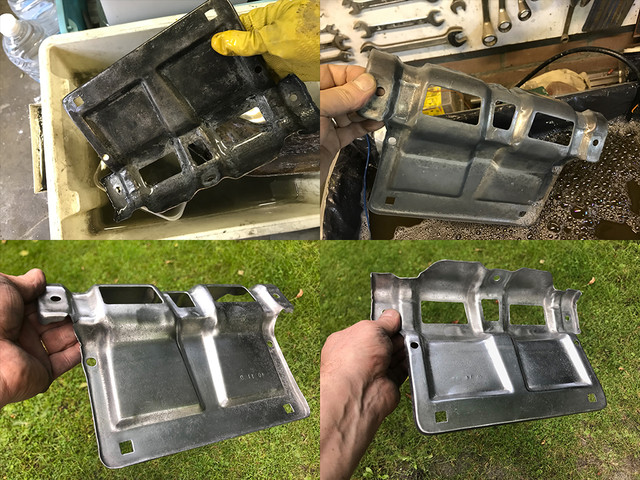
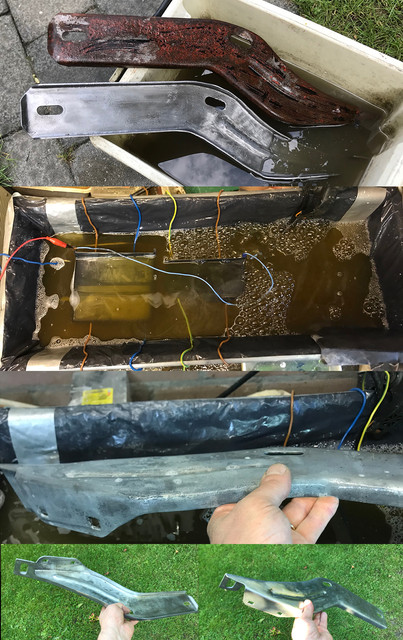
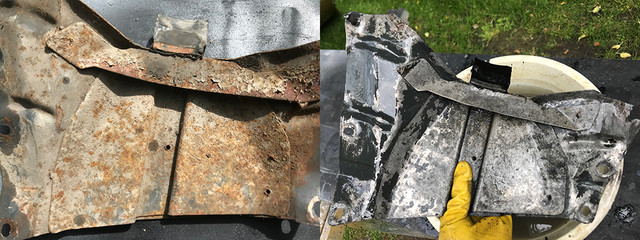
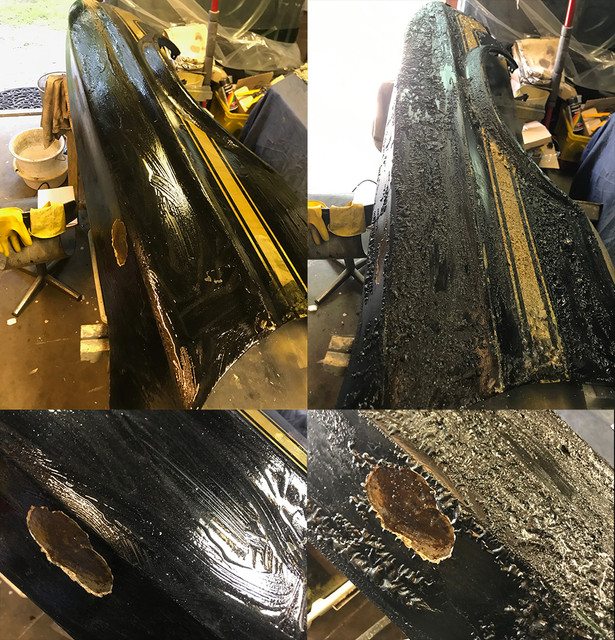
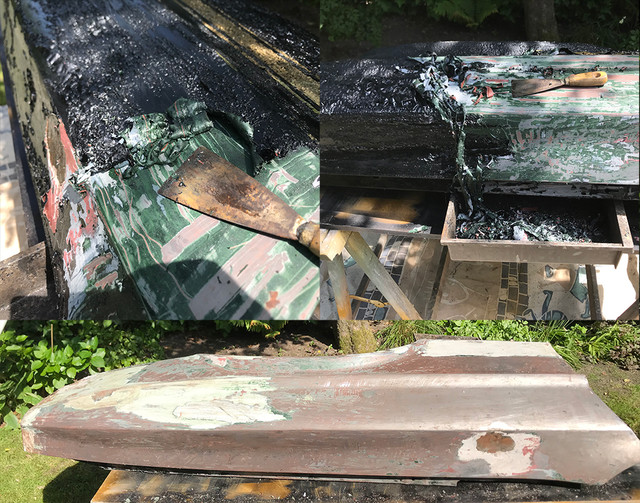
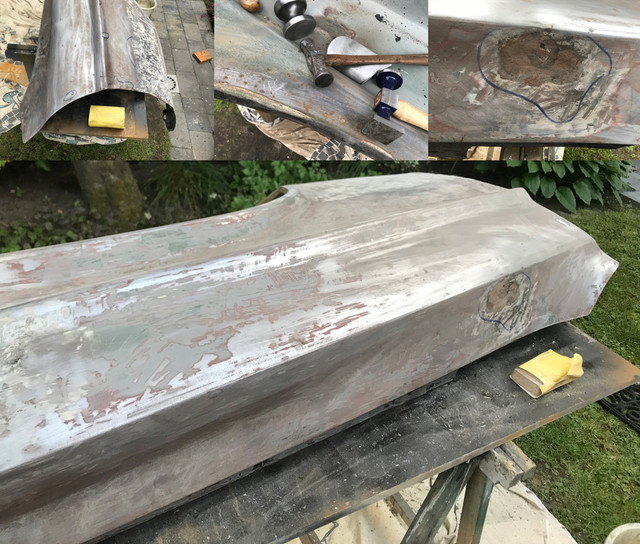
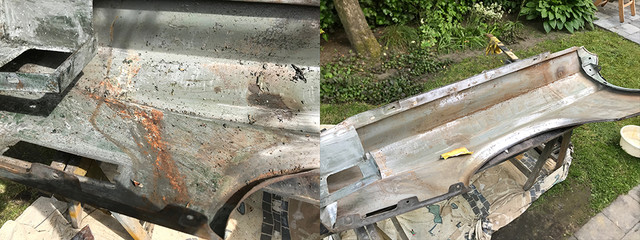
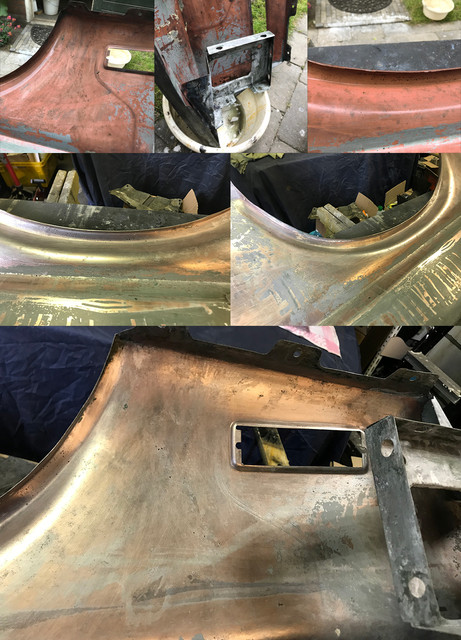
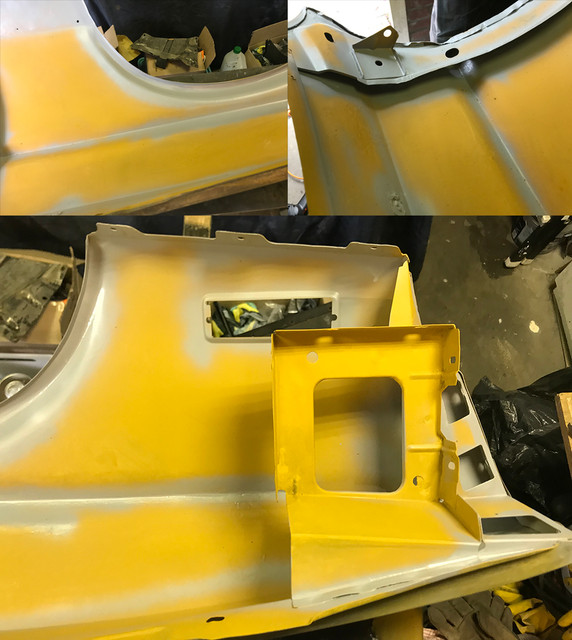
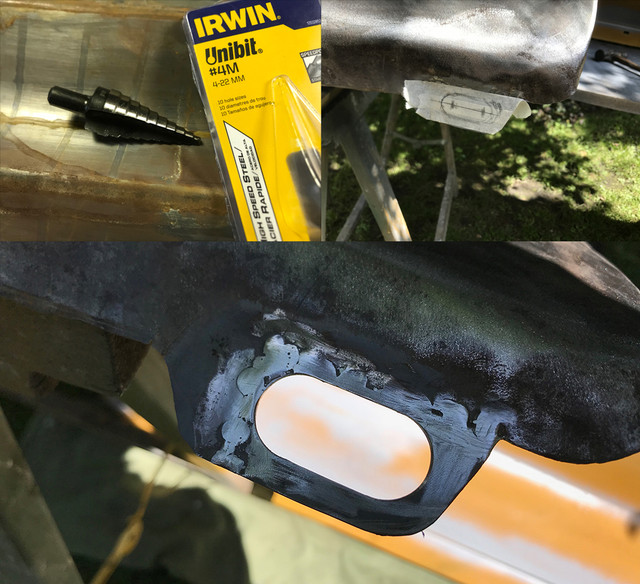
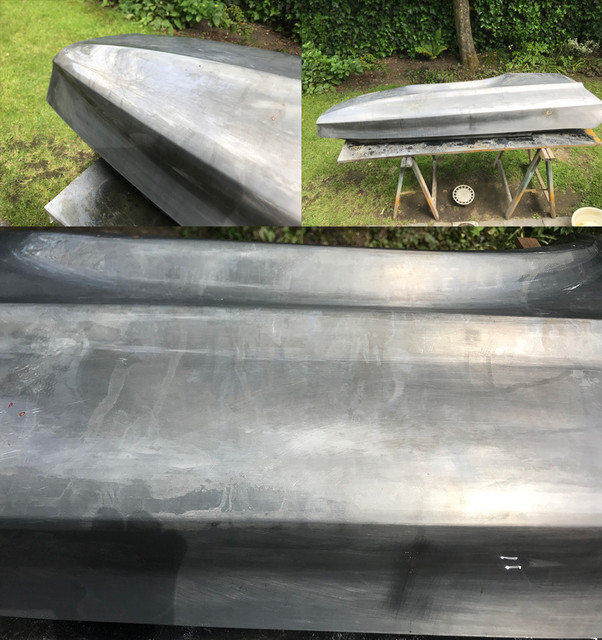
The pits are rust free and zinc protected now, after a thick coat of epoxy and filler primer, bits of sanding, color and coat, they'll belong to the pastThats some serious pitting Fabrice. I am sure nobody will even know once you have weaved your magic.
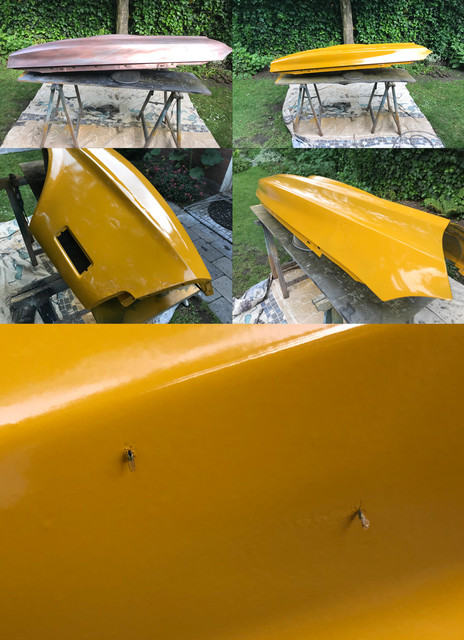
I noticed you use yellow epoxy primer. Any reason why you use yellow? or did i mis-read you previous post a week or two ago?
Once i have zinc plated the hinge on the ashtray i wil re-assemble it and post a picture.