- Joined
- Feb 1, 2013
- Messages
- 3,760
- Reaction score
- 43
- Location
- Richland, WA
- My Car
- 1973 Mustang Mach 1 Q code C6 tranny
Good luck on your project. I'll be following your thread.


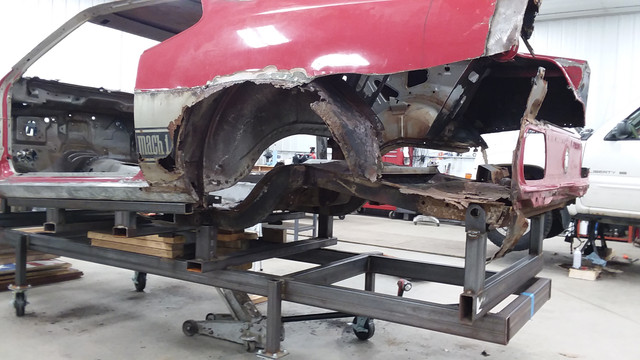
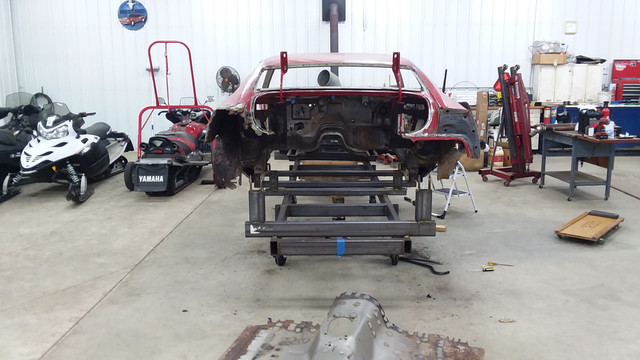
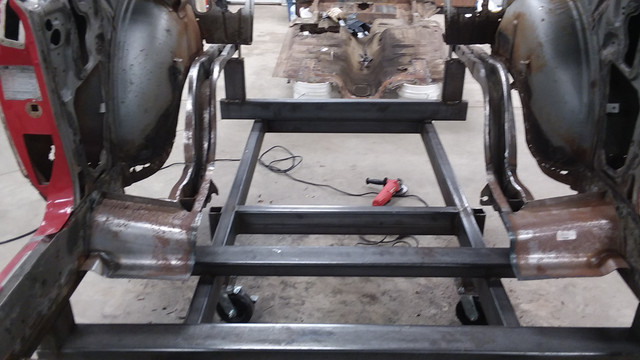
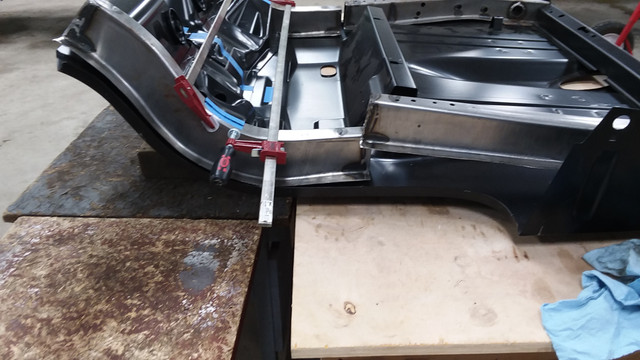
 The car is sitting on the table it still needs to be centered and leveled. Does anyone have the frame measurements that I can use as a guide to center and level the car to the table?


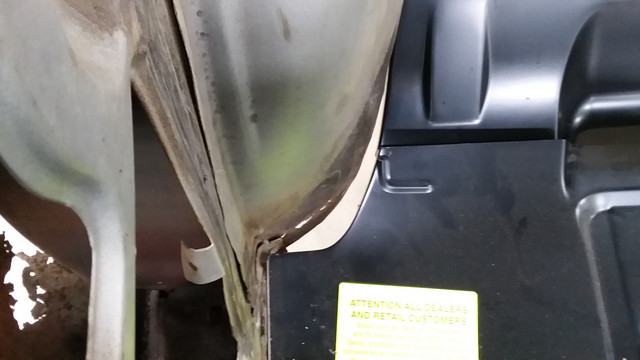


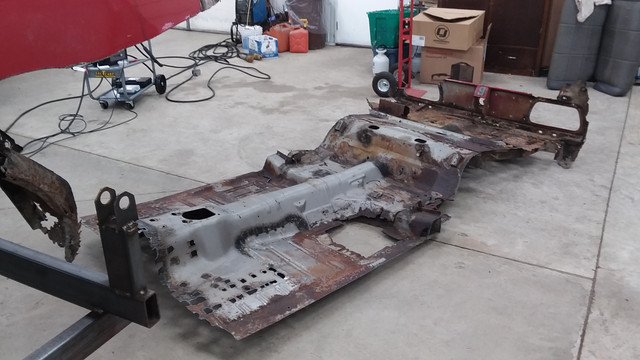
I seen the post. Very nice work. I'm looking for the easy way out. If can just use a flat piece under the floor to weld the seatbelt nut to it will save me some time.Hey Steve,
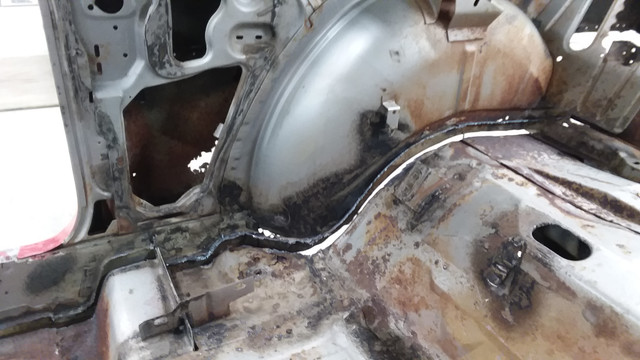
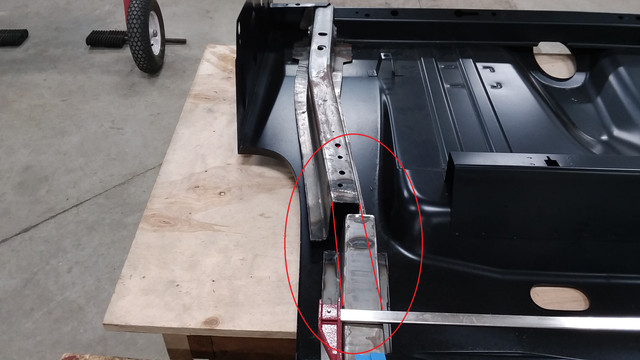
I don't know if anyone has eliminated the rise, but I just finished the passenger side earlier today. I posted a write up and pictures in my build thread for The Rickster. I've done it by cutting out a small section of the inner wheelhouse, and modifying the flange to fit, and also by leaving the flange in place and making my patch to fit it. If you have any additional questions for me , I'll do my best to answer them for you. Good luck with your project.
Ron